
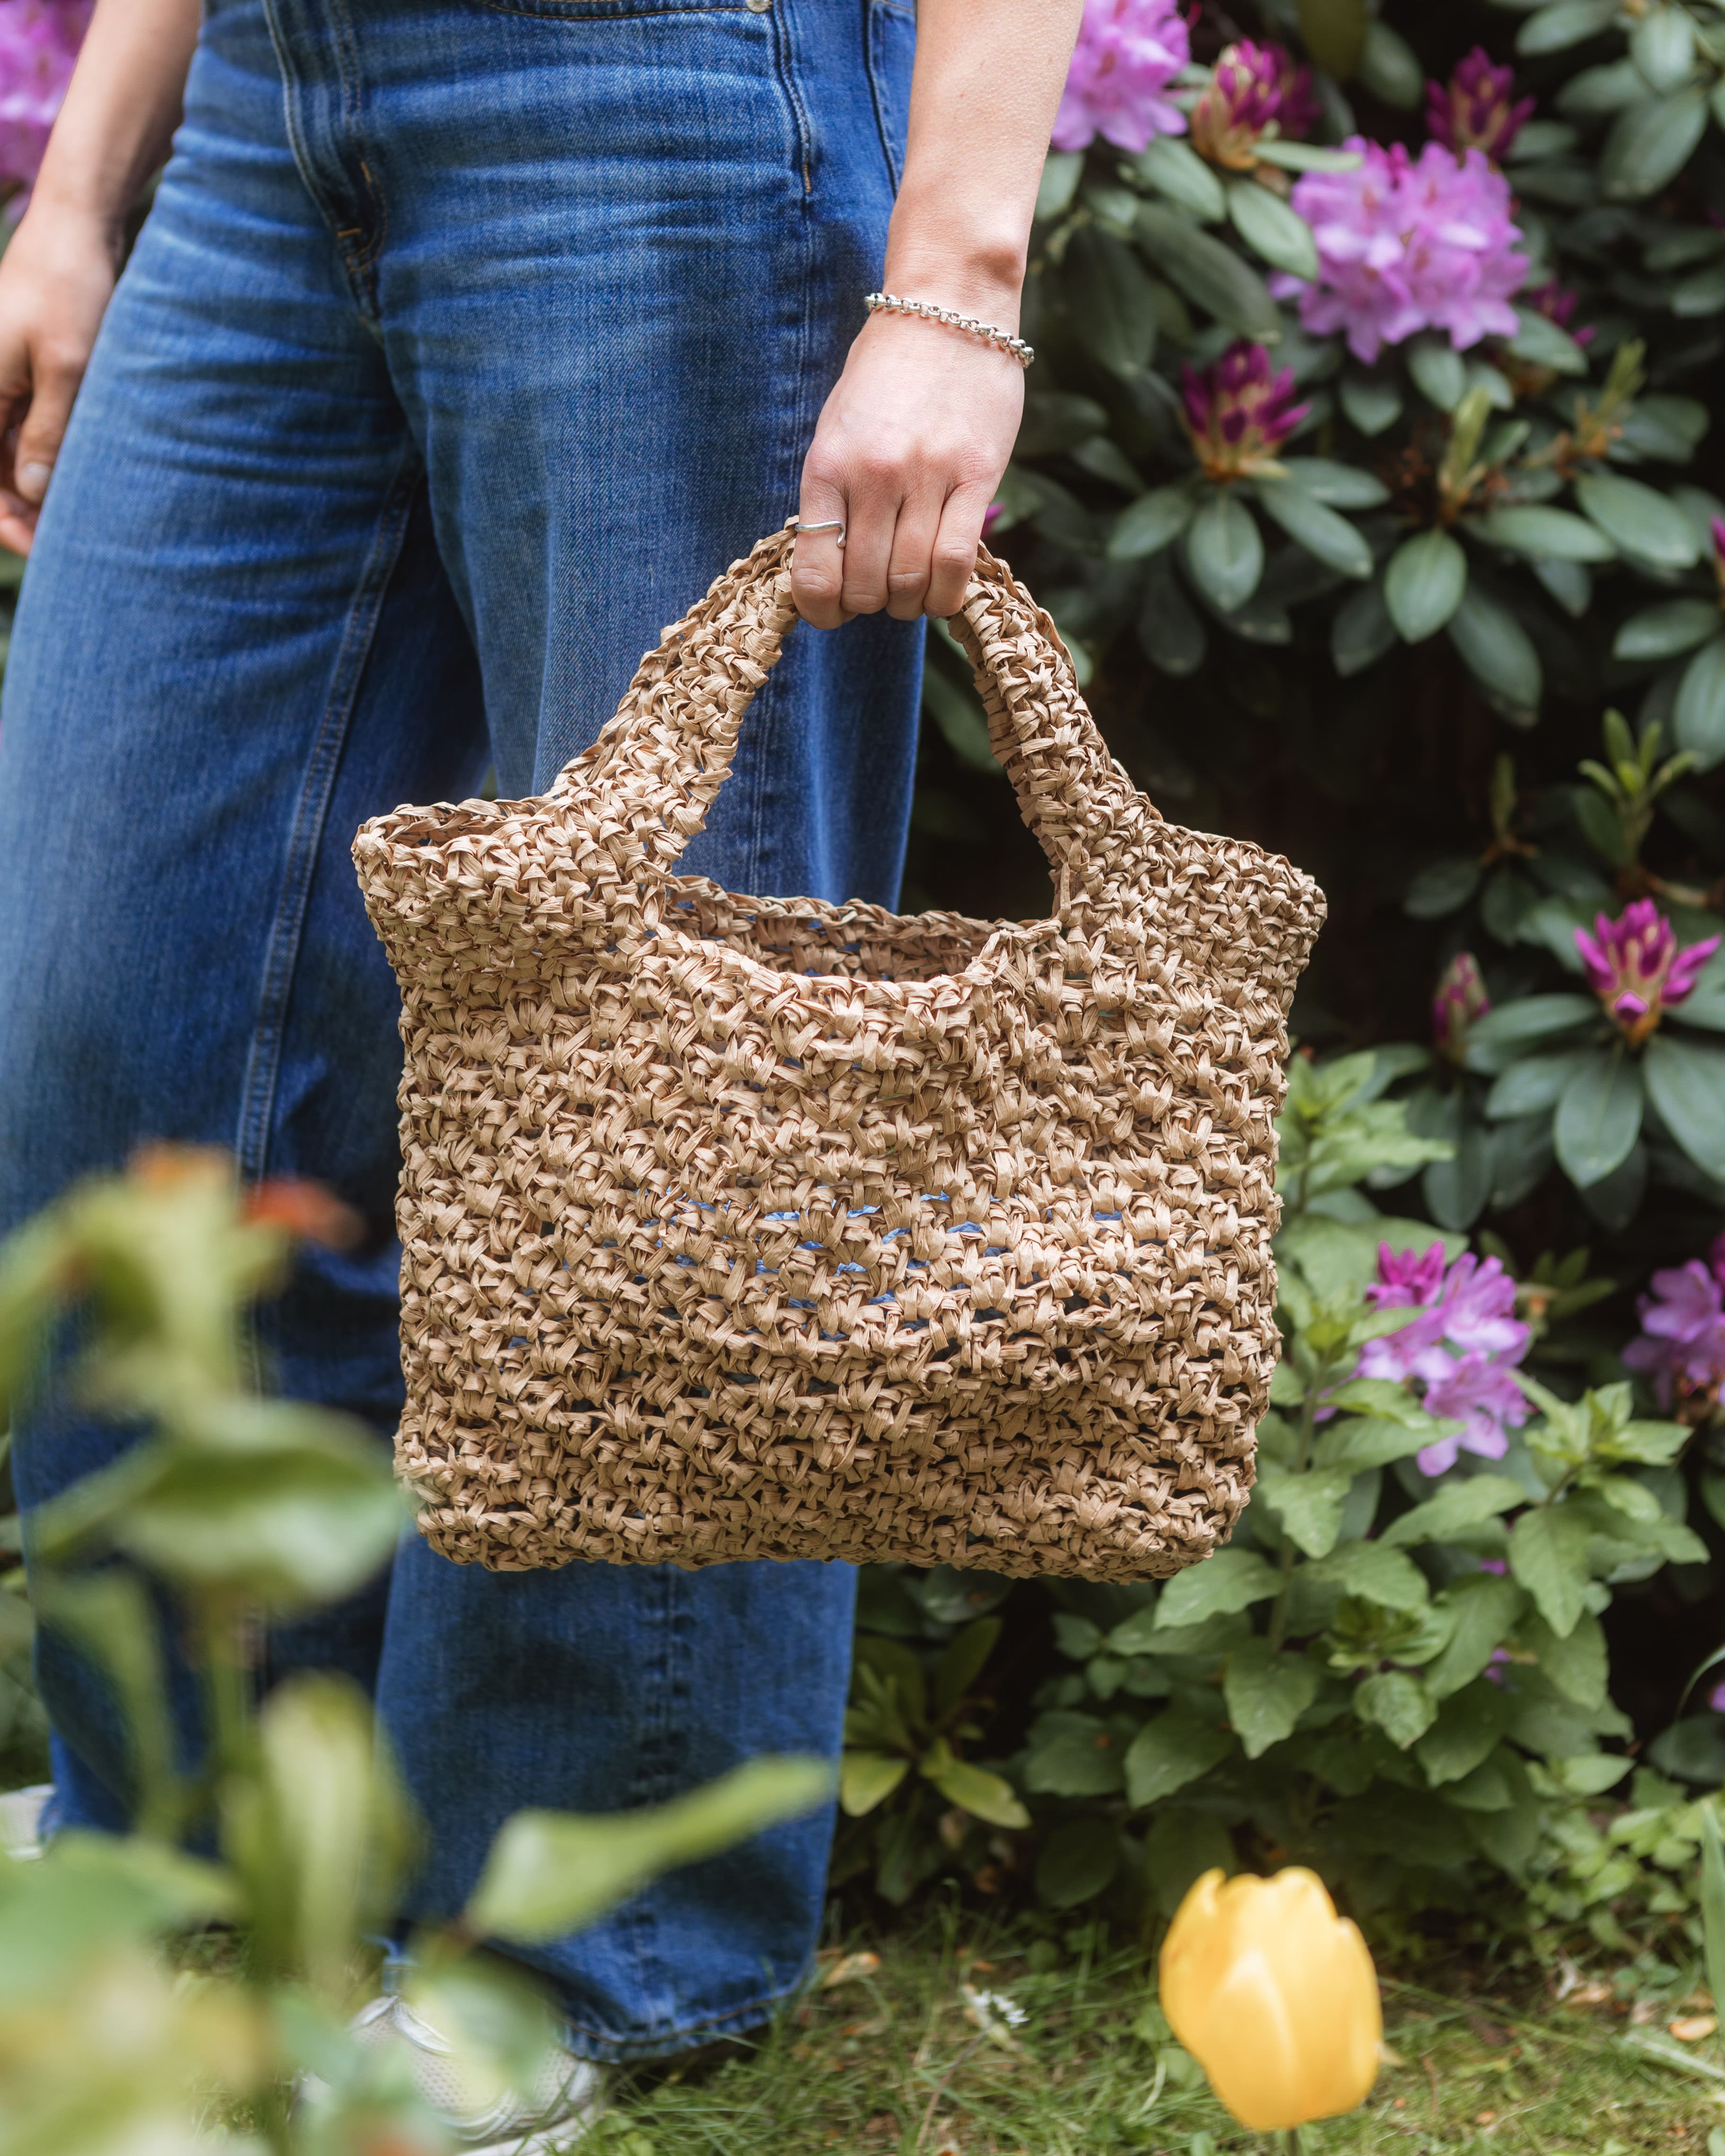
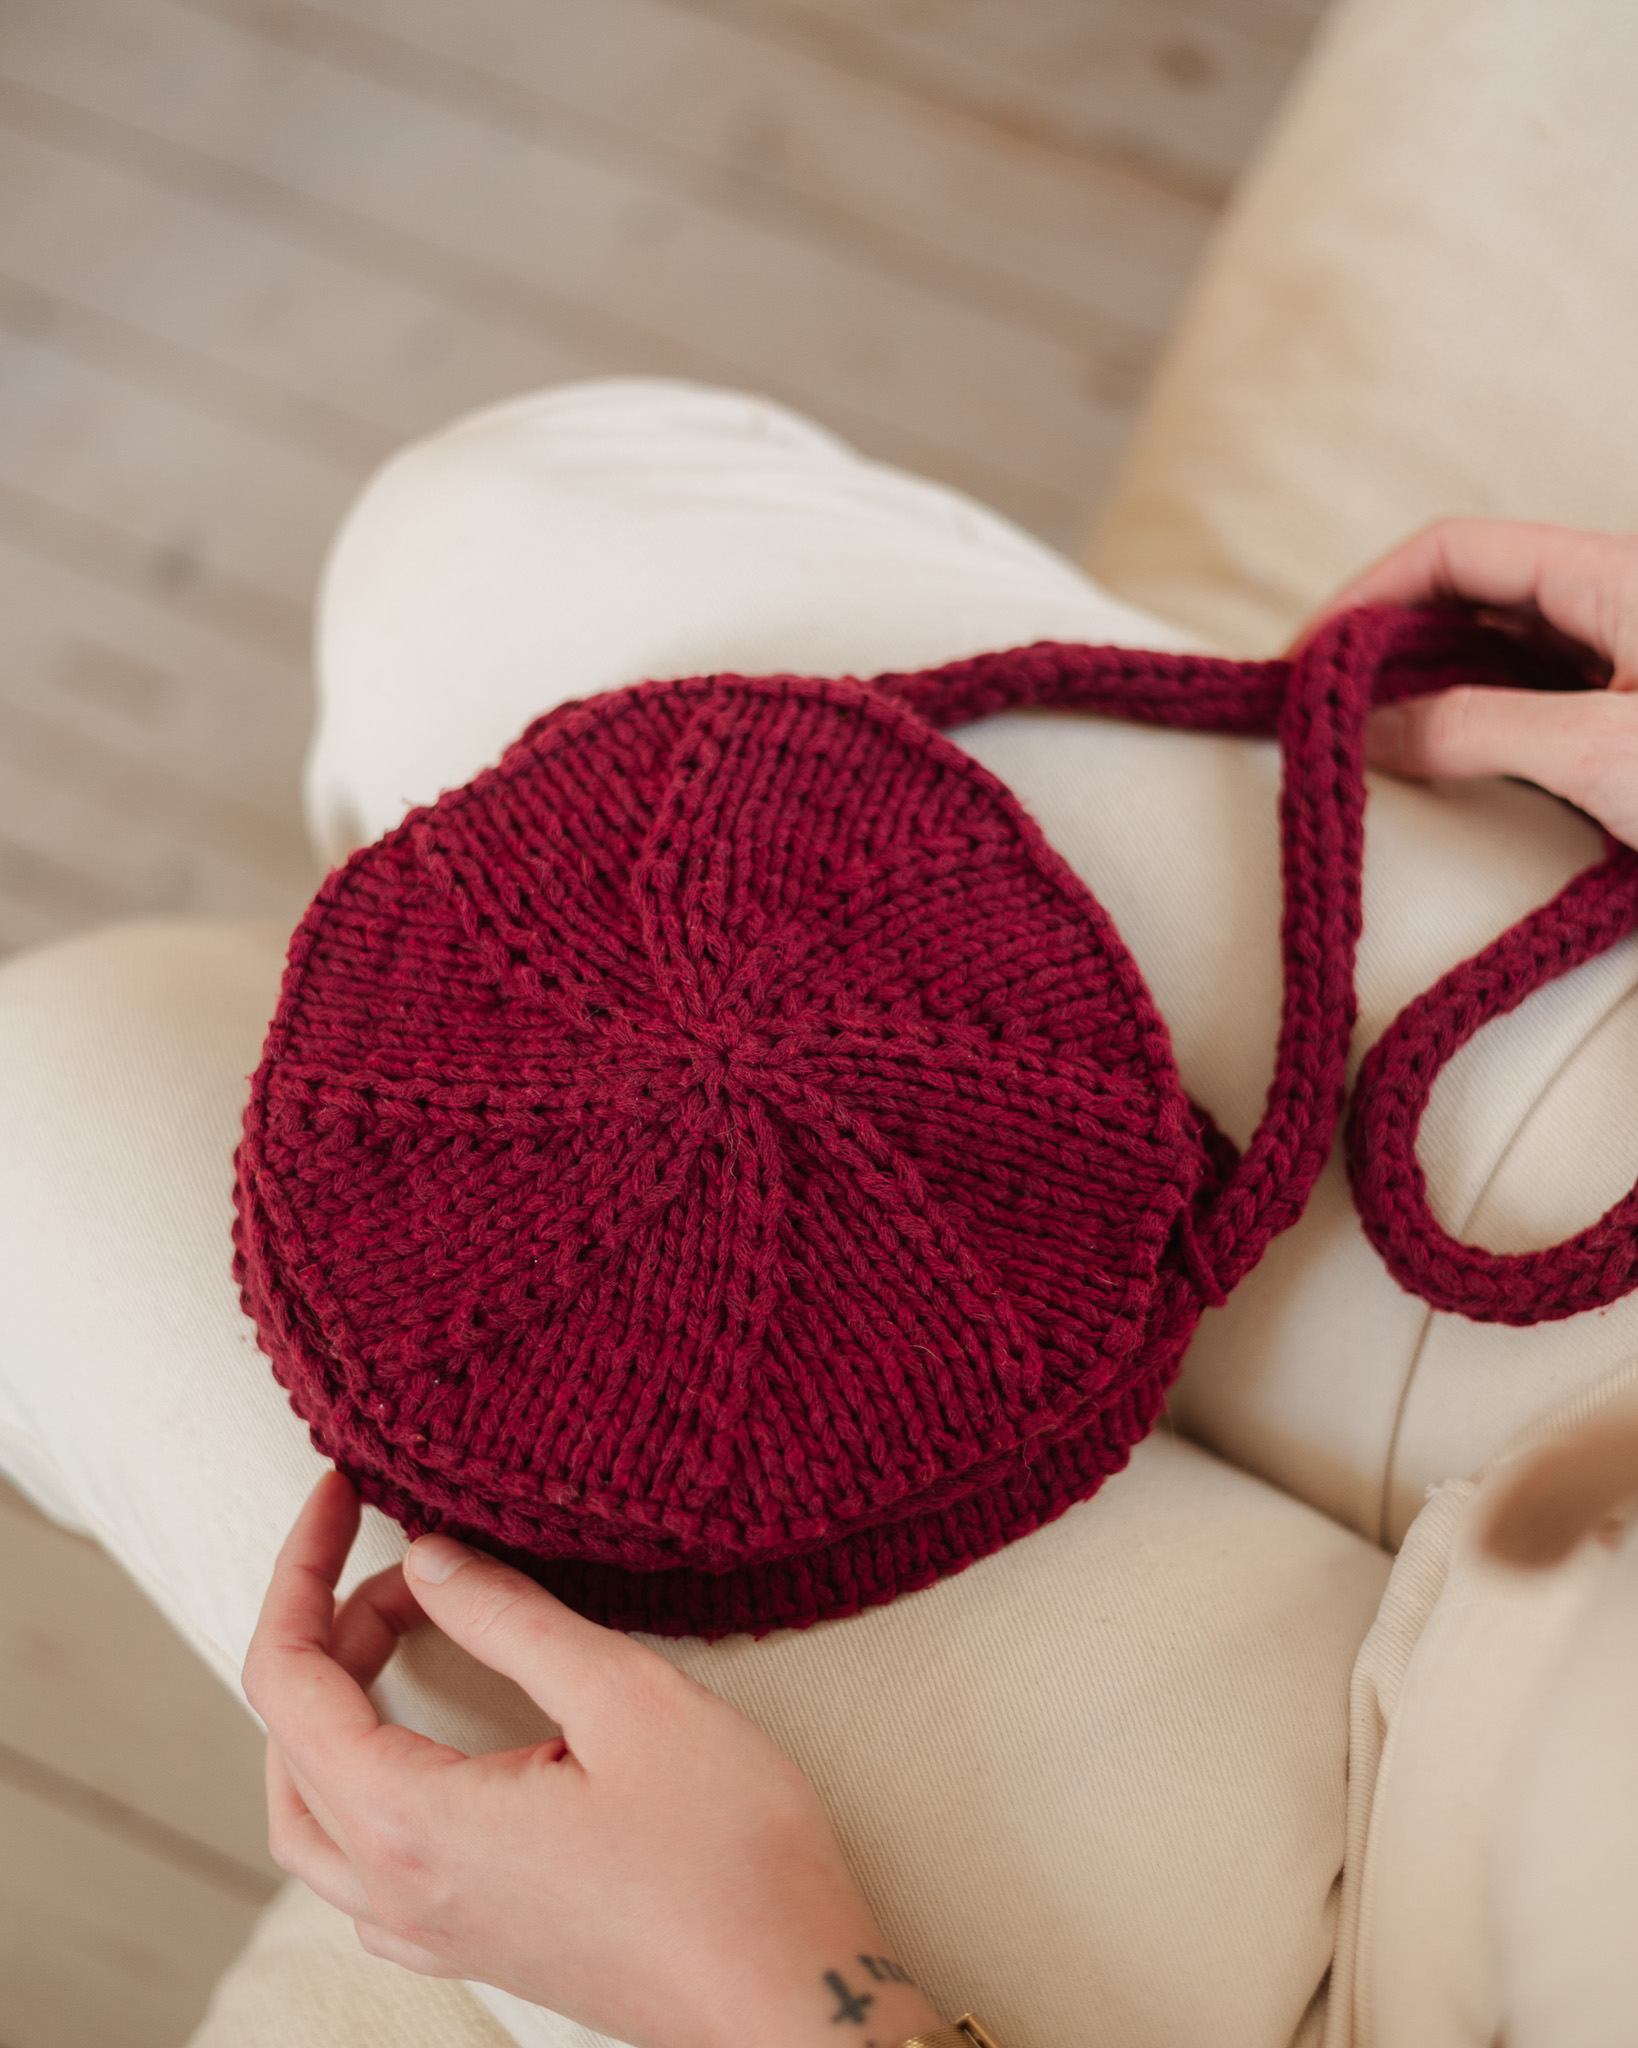
Crochet bag “Signe”
Ready for the catwalk? The hottest trend of spring is here - a mischievous, multi-colored bag!
With this instruction you will learn how to crochet a bag of yarn EKO Medium 1000g as well as one or two rolls of our other yarn EKO Nano. The idea is that you mix your favorite colors and create your own design! This basic instruction will help you understand how to easily get to the design, and if you want to try some other combination of yarns, you can also do well. The colors in the video are orange, lavender and chalk pink.
Yarn consumption: about 400-900g depending on the size of your bag (see step 2)

Here's how to do it
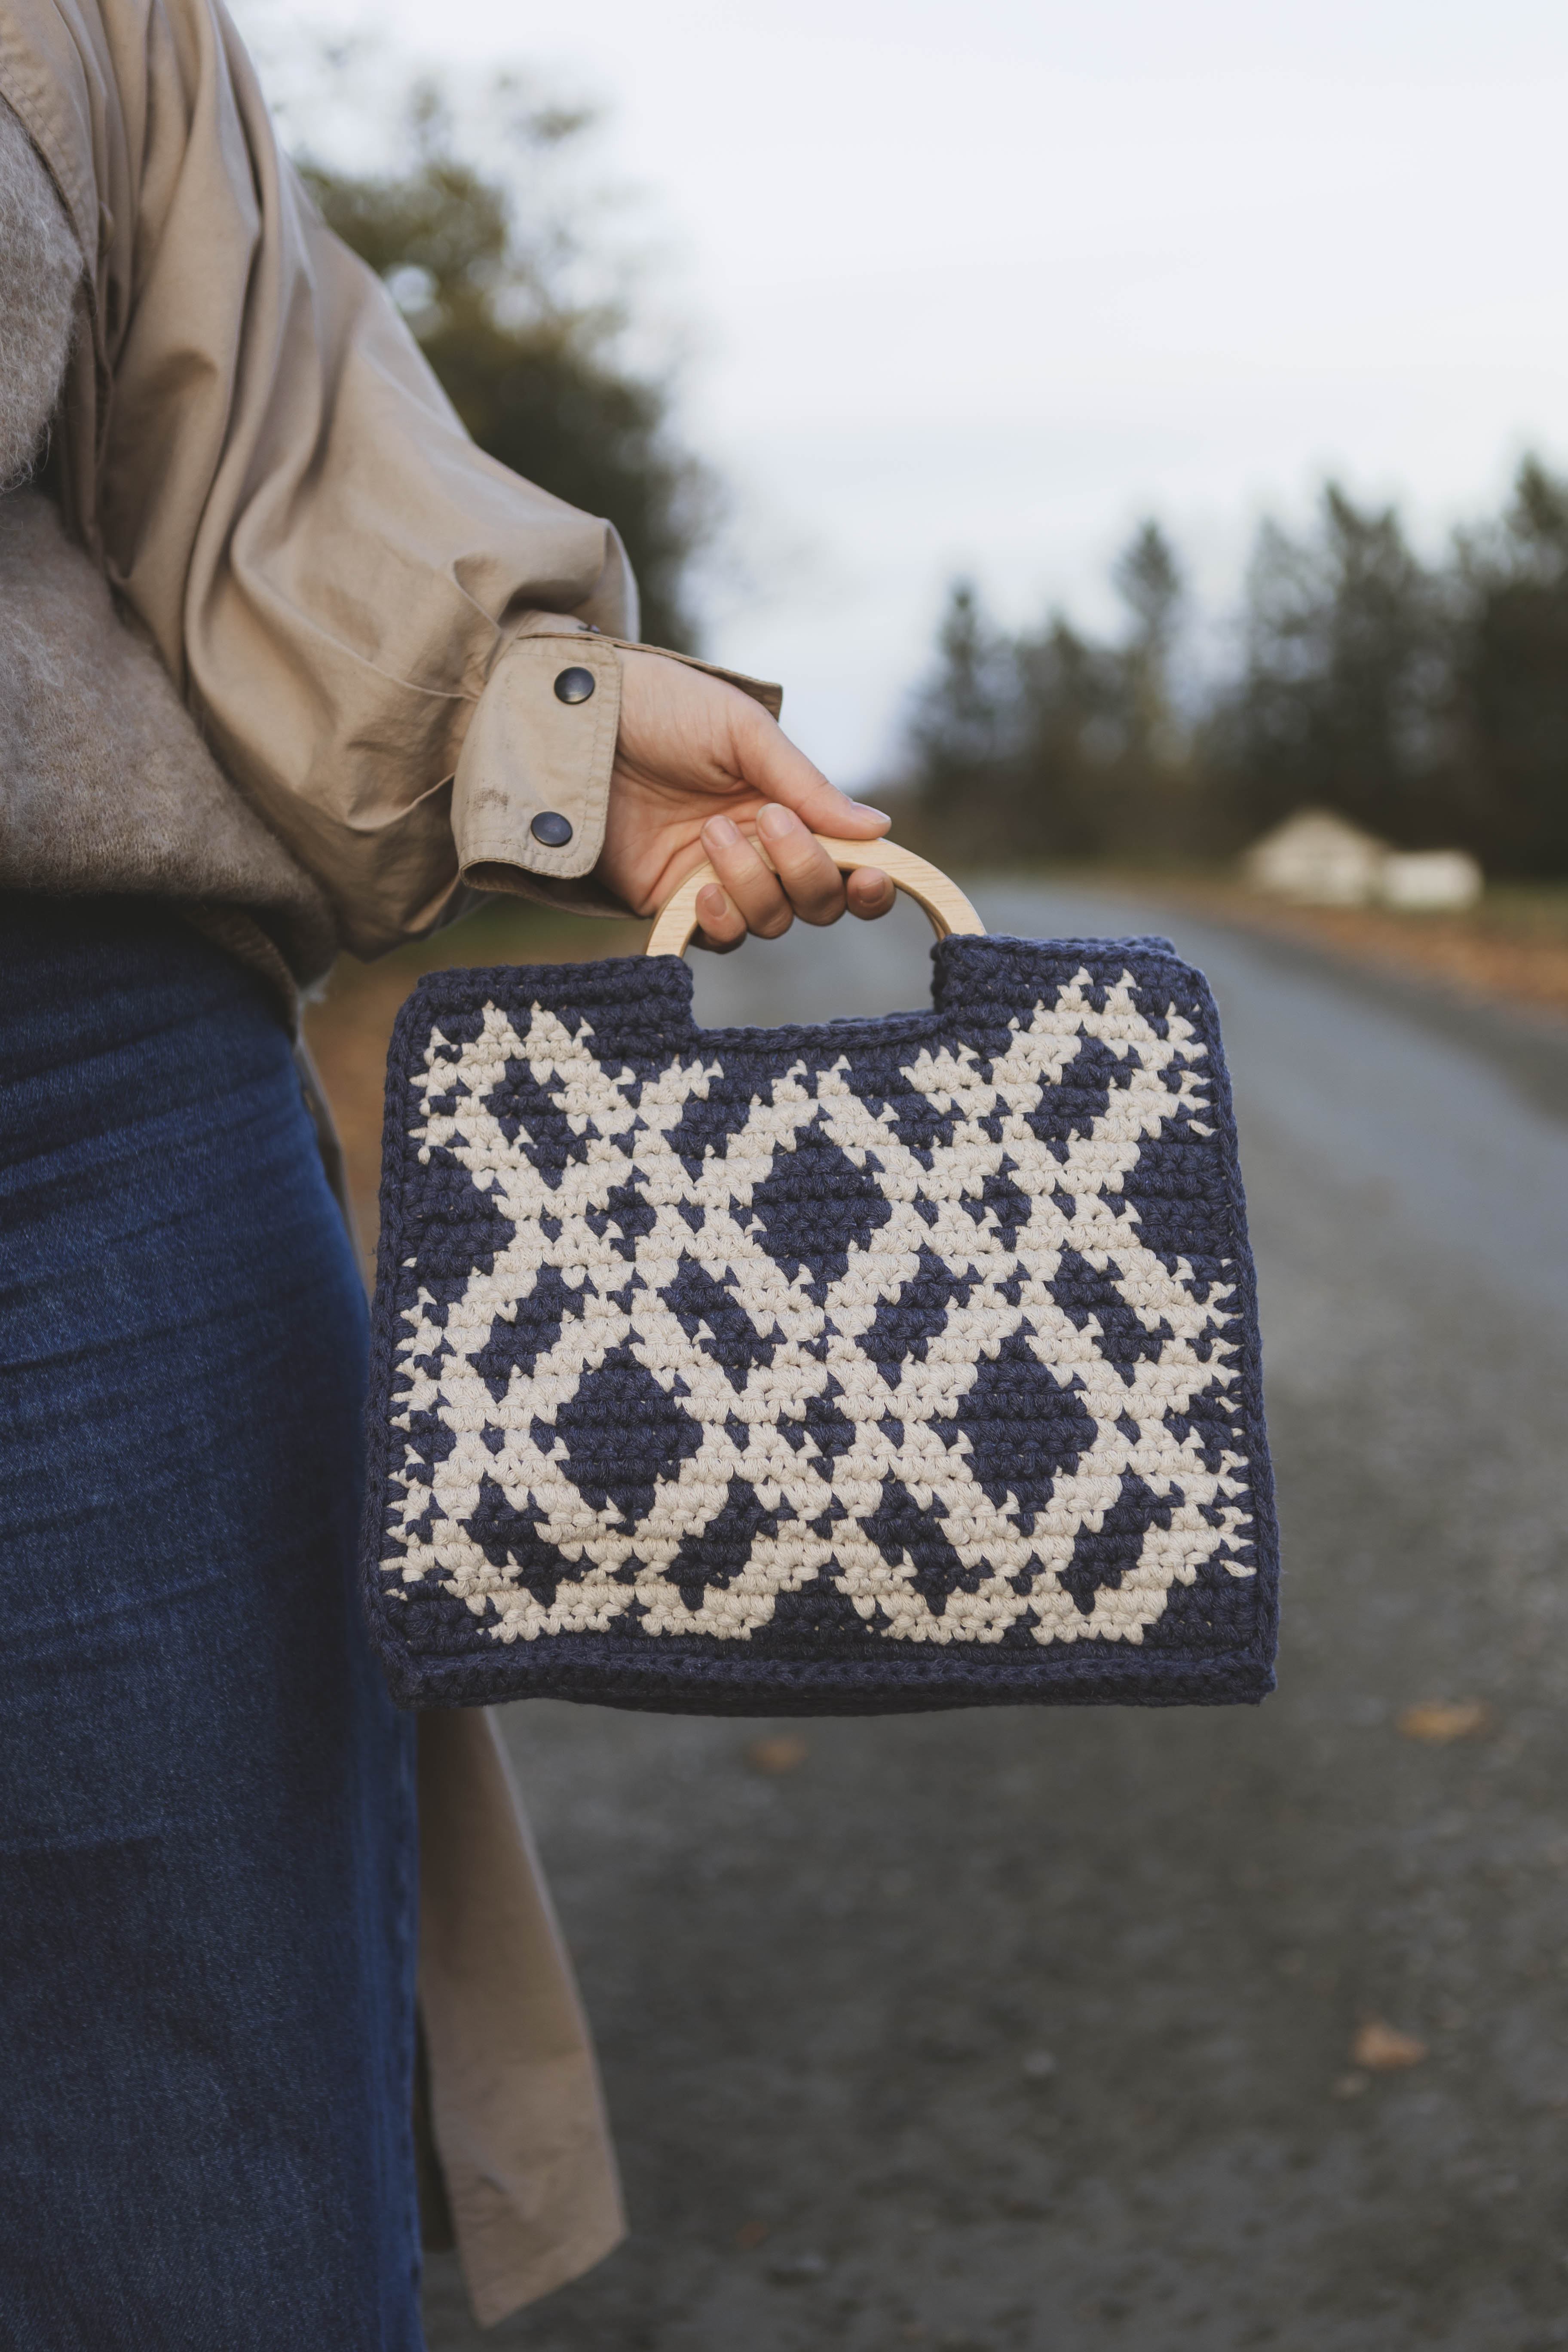
With this instruction you will learn to crochet a bag with the yarn EKO Medium 1000g and one or two rolls of our other yarn EKO Nano. So we want you to mix your favorite colors and create your very own design! This bag should definitely not look perfect, it should be FUN to make! So no pressure, just play with the colors and the crochet hook - whatever you do, the bag will be beautiful. I have chosen to let the yarn ends hang and toss and the handle is attached in a way I felt for that particular day. Do as you wish - or follow me! The instructions help you understand how to measure the bottom and the side, so that during the process you can decide for yourself how big a bag you want to make. You can choose to crochet a larger bag to accommodate your laptop, see examples of sizes in the instructions under step 2. Have fun! // The creator Salli

This is what you need:
Here you can directly purchase the material for the product. Please note that the instruction is digital and appears here on the page (no written instruction).

EKO Medium Tube yarn | 1000g
A medium-thick tube yarn for crocheting, made of 80% recycled cotton
Buy product

.jpg)
Unleash your creativity
For only 85kr per month you get access to all our 300+ beginner-friendly instructions for crochet, knitting and macrame.
A perfect way to get started with your new hobby!

The Chain
We start by making a slip knot, which we then thread the crochet hook through. Take the end of the yarn and twist 1 turn around your fingers. Then bring the yarn under to create a loop. →
The pictures show only one yarn - but you will use both EKO Medium and EKO Nano at the same time. Watch the video for clarification.
To start with the bottom, make a running knot, see the picture below.

The size
Now we will start crocheting chain stitches. It is now that you decide the size of your bag, see the diagram below. If you want to make a medium-sized bag, crochet 24 or 25 chain stitches for the bottom part. You decide the height yourself - you can also make the bag higher at the edges if you want further forward.
To make a chain stitch, pick up the yarn with the crochet hook and thread through the loop that is on your crochet hook. Repeat this 24 times if you want the Medium large bag.
.png)
Bottom
In this instruction, we pick up the yarn from below and thread the yarn through the loop on the hook. Single crochets can be made in different ways, but we have chosen this technique for this tutorial and pick from the bottom throughout the process. Once you have made the chain with chain stitches and are happy with the length, it is time to make solid stitches.

To start with the single stitches, make an extra chain stitch at the end of your bottom (this is to reach your first single stitch better).
Now thread the crochet hook into the first chain stitch of your first strip that you just created. Catch the yarn on the other side and pull it through your chain stitch. Now you have temporarily got two loops on the crochet hook. Join these two loops by hooking the yarn once more around the hook and this time pulling through both loops. You only get one loop around the hook and now you have made your first single crochet. Now you continue to do the same until the end of the strip.

The first row is always the hardest, it will be much easier when you have a little to hold on to. When you get to the end of your strip, make an extra chain stitch (this is so you can reach the other side better) then you should continue crocheting around a total of 1.5 rounds.
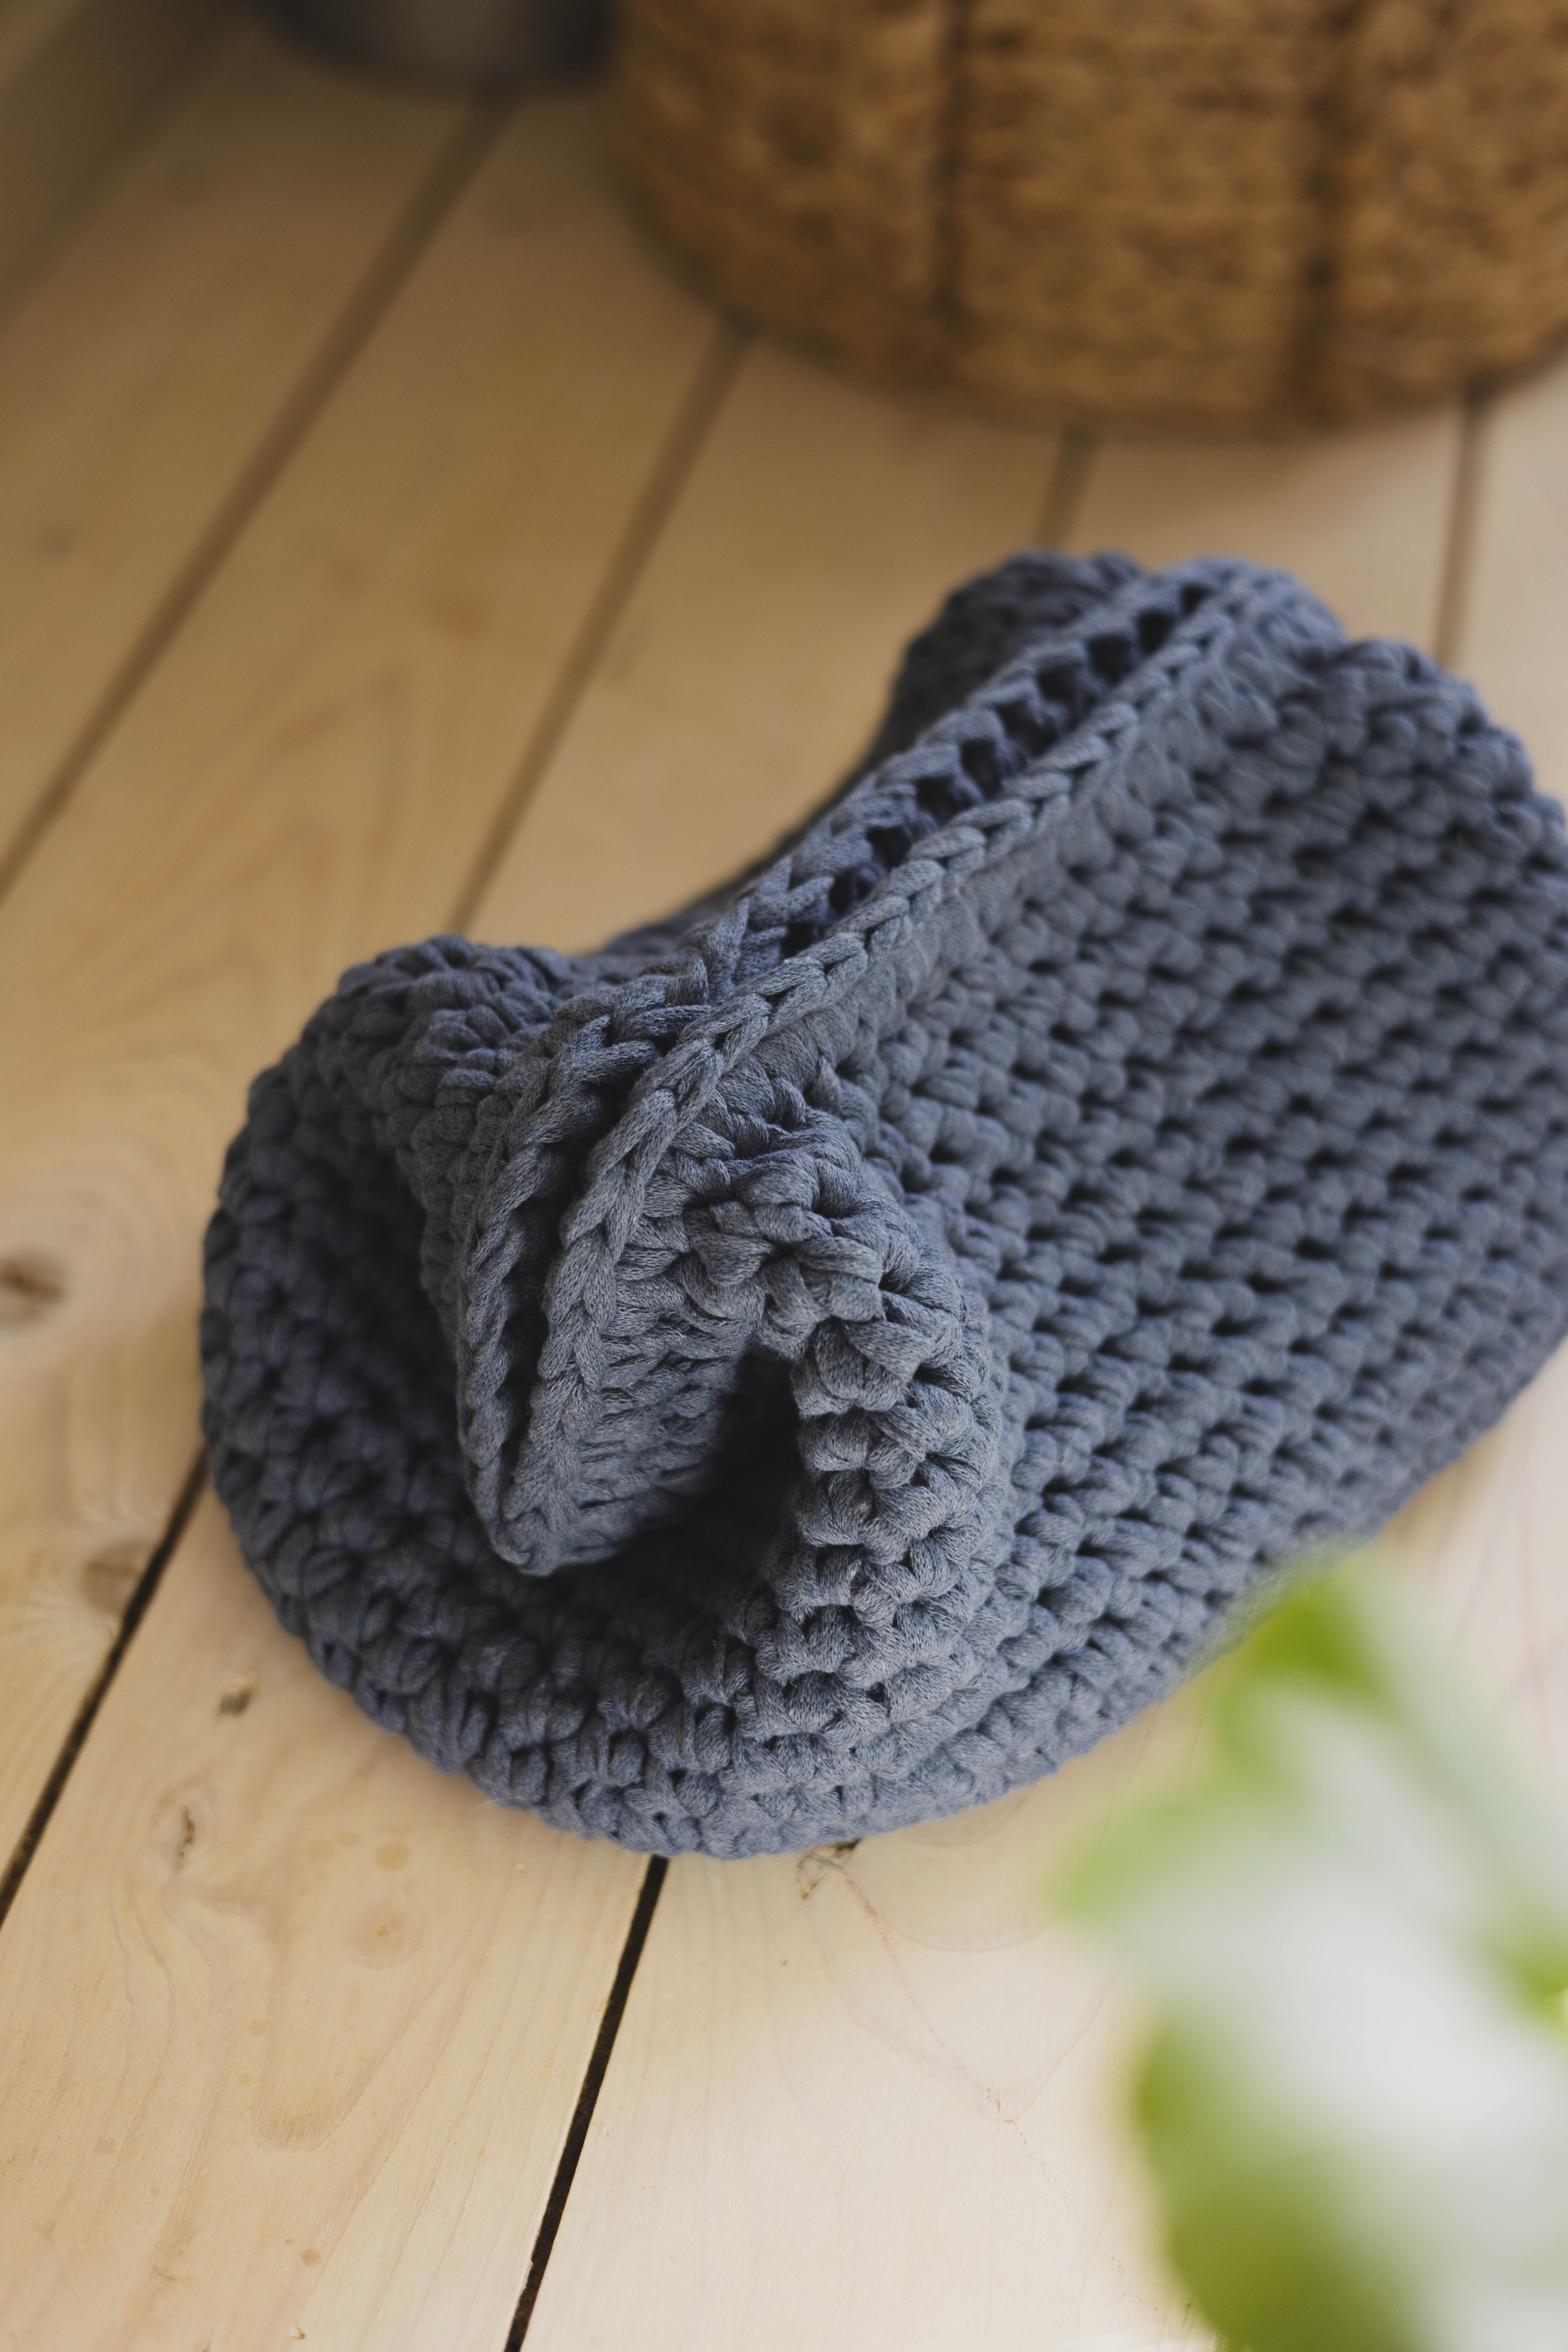
To make the side of the bag go up, you crochet a round where you only thread the needle through the back part of the stitches (see picture). Crochet a total of one round. You will quickly see that the bag will begin to twist upwards. When you have made one round, continue crocheting as usual (thread the crochet hook through the entire row) and crochet around until you have reached the height of the bag that you desire.
If you want to change the color of one of the yarns, it´s easy - take a look at the video 9:00 minutes in.

The handle
You start the handle the same way you started the bottom.
We drill by making a loop knot, which we then pass the crochet through. Take the end of the yarn and twist 1 turn around your fingers. Then fold the yarn underneath so that you create a loop. →
Now we will do as a first start - a chain, this time only 8 chain stitches. To make a chain stitch, pick up the yarn with the crochet hook and thread through the loop that is on your crochet hook. Repeat this 8 times if you want a handle as big as I did in the video.
Now you crochet back and forth using fixed stitches until you have made the handle as far as you want. At each end before you are going to turn on your work, make an additional air mesh- this is important for the handle to be equally wide all the way. Watch vNow you crochet back and forth using single stitches until you have made the handle as long as you wanted. At each end before you turn your work, make an extra chain stitch - this is important so that the handle is the same width all the way through. See video at 1:30 p.m
To attach this handle, you can do a little as you like - but I used slip stitches. Only used one yarn as you are going through quite a few layers.
See video 17.20.
To finish, cut the yarn leaving a 5-10 cm tail. Tie the remaining tail in a knot around the last loop to prevent it from unraveling. Tighten and hide the tail by attaching it through some nearby loops - or just leave it hanging.
Good job!
Abbreviations
st = stitch
sc = single crochet
ch = chain
sl st = slip stitch
blo = back loop only
(.....) = Indicates the number of stitches in the row
Base:
Begin with one strand of EKO Medium and one strand of EKO Nano. Choose the size you want for the bag and adjust the number of chains in the foundation chain accordingly. In this pattern, a bag with a base length of 38 cm is made.
- Base length 28 cm: 20 ch
- Base length 38 cm: 24 ch
- Base length 48 cm: 30 ch
Row 1: 24 ch, turn (24)
Round 1: 1 ch, starting in the 2nd stitch from the hook, work 24 sc, 1 ch, then 24 sc back along the other side of the foundation chain (49). Note: The first ch does not count in the total stitch count for this round.
Side of the bag:
From now on, work in a spiral, meaning no turning; just continue crocheting in the same direction. Crochet as many rounds as you like until the bag reaches your desired height.
Round 2: 49 sc in blo (49)
Round 3 onwards: 49 sc (49)
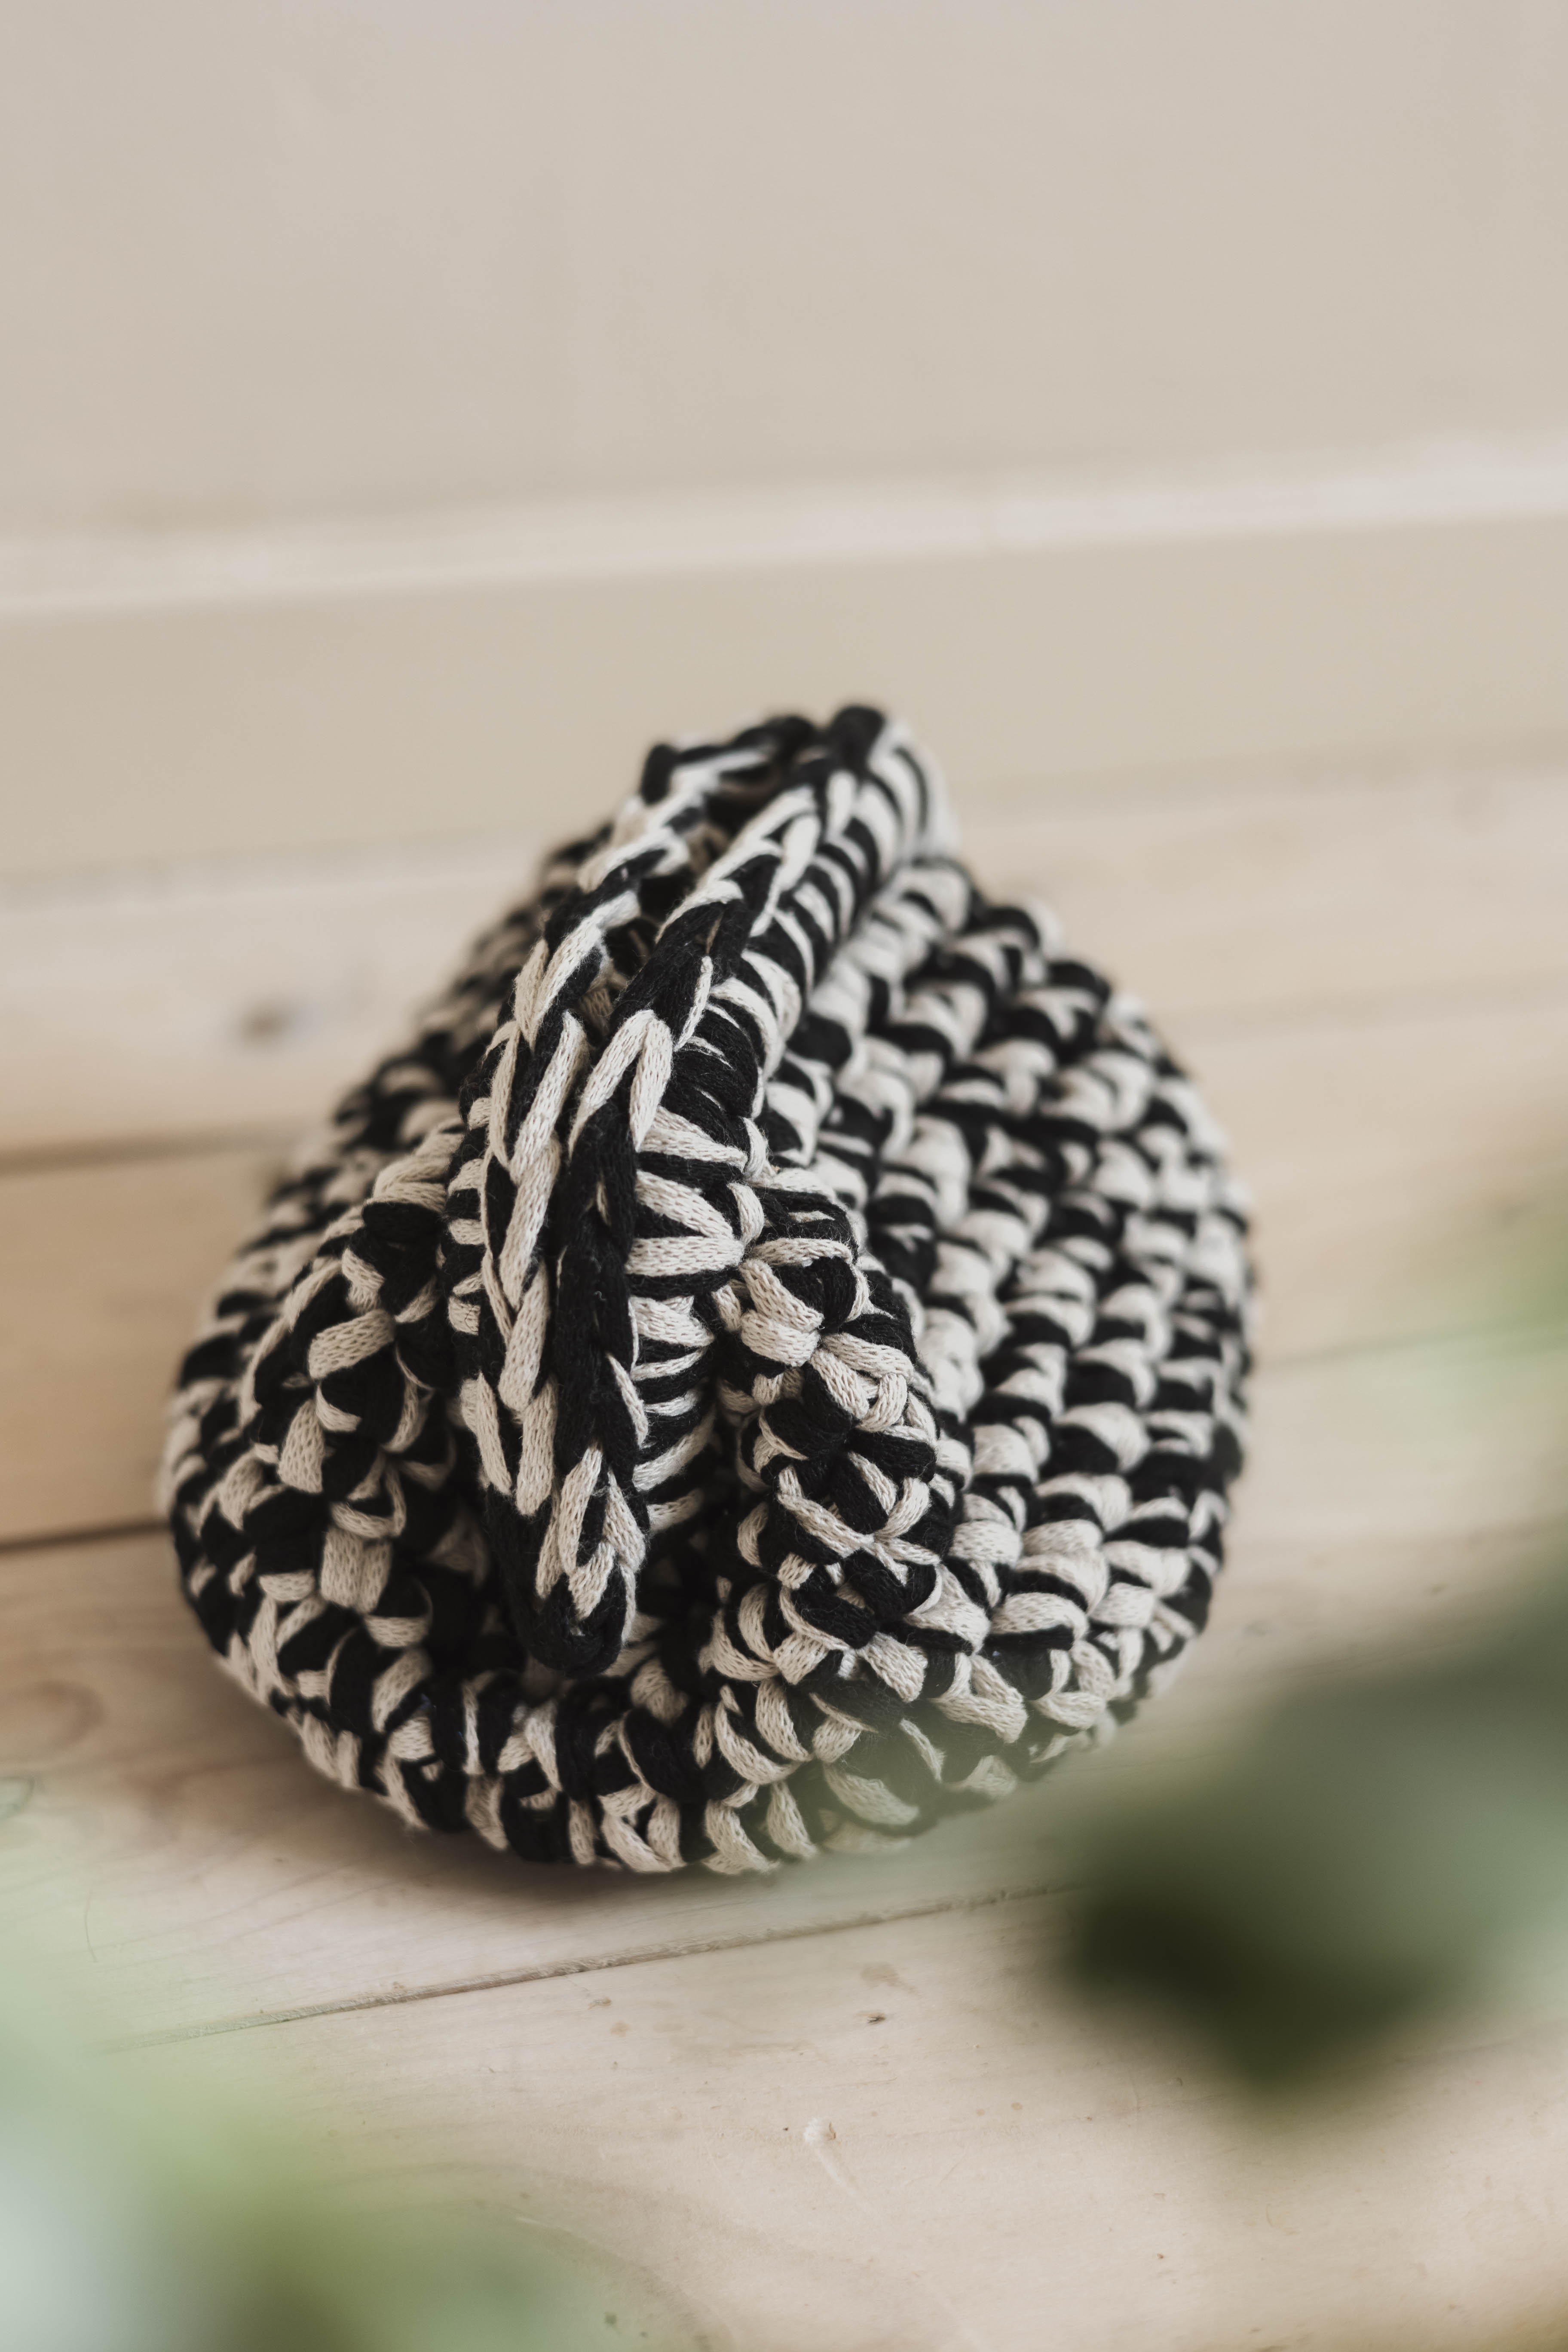
Switch yarn colors one strand at a time wherever you feel it suits. If you want fringes on the outside of the bag, simply leave the yarn ends hanging on the outside without weaving them in.
Handle
Row 1: 9 ch (9)
From now on, end each row with 1 turning ch and turn your work. Each new row begins in the 2nd stitch from the hook. Turning chains are not included in the total stitch count for the row.
Rows 2 onwards: 8 sc, turn (8)
Crochet as many rows as needed until you’re satisfied with the handle length. Feel free to change yarn colors on the handle as well.
Attach the handle:
Use only one strand of yarn to attach the handles. Sew the handles to the short sides of the bag using sl st. Fasten off and weave in the ends.
Your bag is done :)
The rights to this pattern belong to MYO Make Your Own. The pattern or its pictures may not be copied, shared or resold either in parts or in its entirety, but you may sell items you have crocheted from this pattern. If you have questions about the pattern, contact MYO at hello@makeyourown.se.
The Chain
We start by making a slip knot, which we then thread the crochet hook through. Take the end of the yarn and twist 1 turn around your fingers. Then bring the yarn under to create a loop. →
The pictures show only one yarn - but you will use both EKO Medium and EKO Nano at the same time. Watch the video for clarification.
To start with the bottom, make a running knot, see the picture below.
The size
Now we will start crocheting chain stitches. It is now that you decide the size of your bag, see the diagram below. If you want to make a medium-sized bag, crochet 24 or 25 chain stitches for the bottom part. You decide the height yourself - you can also make the bag higher at the edges if you want further forward.
To make a chain stitch, pick up the yarn with the crochet hook and thread through the loop that is on your crochet hook. Repeat this 24 times if you want the Medium large bag.
Bottom
In this instruction, we pick up the yarn from below and thread the yarn through the loop on the hook. Single crochets can be made in different ways, but we have chosen this technique for this tutorial and pick from the bottom throughout the process. Once you have made the chain with chain stitches and are happy with the length, it is time to make solid stitches.
To start with the single stitches, make an extra chain stitch at the end of your bottom (this is to reach your first single stitch better).
Now thread the crochet hook into the first chain stitch of your first strip that you just created. Catch the yarn on the other side and pull it through your chain stitch. Now you have temporarily got two loops on the crochet hook. Join these two loops by hooking the yarn once more around the hook and this time pulling through both loops. You only get one loop around the hook and now you have made your first single crochet. Now you continue to do the same until the end of the strip.
The first row is always the hardest, it will be much easier when you have a little to hold on to. When you get to the end of your strip, make an extra chain stitch (this is so you can reach the other side better) then you should continue crocheting around a total of 1.5 rounds.
To make the side of the bag go up, you crochet a round where you only thread the needle through the back part of the stitches (see picture). Crochet a total of one round. You will quickly see that the bag will begin to twist upwards. When you have made one round, continue crocheting as usual (thread the crochet hook through the entire row) and crochet around until you have reached the height of the bag that you desire.
If you want to change the color of one of the yarns, it´s easy - take a look at the video 9:00 minutes in.
The handle
You start the handle the same way you started the bottom.
We drill by making a loop knot, which we then pass the crochet through. Take the end of the yarn and twist 1 turn around your fingers. Then fold the yarn underneath so that you create a loop. →
Now we will do as a first start - a chain, this time only 8 chain stitches. To make a chain stitch, pick up the yarn with the crochet hook and thread through the loop that is on your crochet hook. Repeat this 8 times if you want a handle as big as I did in the video.
Now you crochet back and forth using fixed stitches until you have made the handle as far as you want. At each end before you are going to turn on your work, make an additional air mesh- this is important for the handle to be equally wide all the way. Watch vNow you crochet back and forth using single stitches until you have made the handle as long as you wanted. At each end before you turn your work, make an extra chain stitch - this is important so that the handle is the same width all the way through. See video at 1:30 p.m
To attach this handle, you can do a little as you like - but I used slip stitches. Only used one yarn as you are going through quite a few layers.
See video 17.20.
To finish, cut the yarn leaving a 5-10 cm tail. Tie the remaining tail in a knot around the last loop to prevent it from unraveling. Tighten and hide the tail by attaching it through some nearby loops - or just leave it hanging.
Good job!
Abbreviations
st = stitch
sc = single crochet
ch = chain
sl st = slip stitch
blo = back loop only
(.....) = Indicates the number of stitches in the row
Base:
Begin with one strand of EKO Medium and one strand of EKO Nano. Choose the size you want for the bag and adjust the number of chains in the foundation chain accordingly. In this pattern, a bag with a base length of 38 cm is made.
- Base length 28 cm: 20 ch
- Base length 38 cm: 24 ch
- Base length 48 cm: 30 ch
Row 1: 24 ch, turn (24)
Round 1: 1 ch, starting in the 2nd stitch from the hook, work 24 sc, 1 ch, then 24 sc back along the other side of the foundation chain (49). Note: The first ch does not count in the total stitch count for this round.
Side of the bag:
From now on, work in a spiral, meaning no turning; just continue crocheting in the same direction. Crochet as many rounds as you like until the bag reaches your desired height.
Round 2: 49 sc in blo (49)
Round 3 onwards: 49 sc (49)
Switch yarn colors one strand at a time wherever you feel it suits. If you want fringes on the outside of the bag, simply leave the yarn ends hanging on the outside without weaving them in.
Handle
Row 1: 9 ch (9)
From now on, end each row with 1 turning ch and turn your work. Each new row begins in the 2nd stitch from the hook. Turning chains are not included in the total stitch count for the row.
Rows 2 onwards: 8 sc, turn (8)
Crochet as many rows as needed until you’re satisfied with the handle length. Feel free to change yarn colors on the handle as well.
Attach the handle:
Use only one strand of yarn to attach the handles. Sew the handles to the short sides of the bag using sl st. Fasten off and weave in the ends.
Your bag is done :)
The rights to this pattern belong to MYO Make Your Own. The pattern or its pictures may not be copied, shared or resold either in parts or in its entirety, but you may sell items you have crocheted from this pattern. If you have questions about the pattern, contact MYO at hello@makeyourown.se.

Share your creations with us
Thank you!
Your comment was sent!