Crochet Bag “Alexandra”
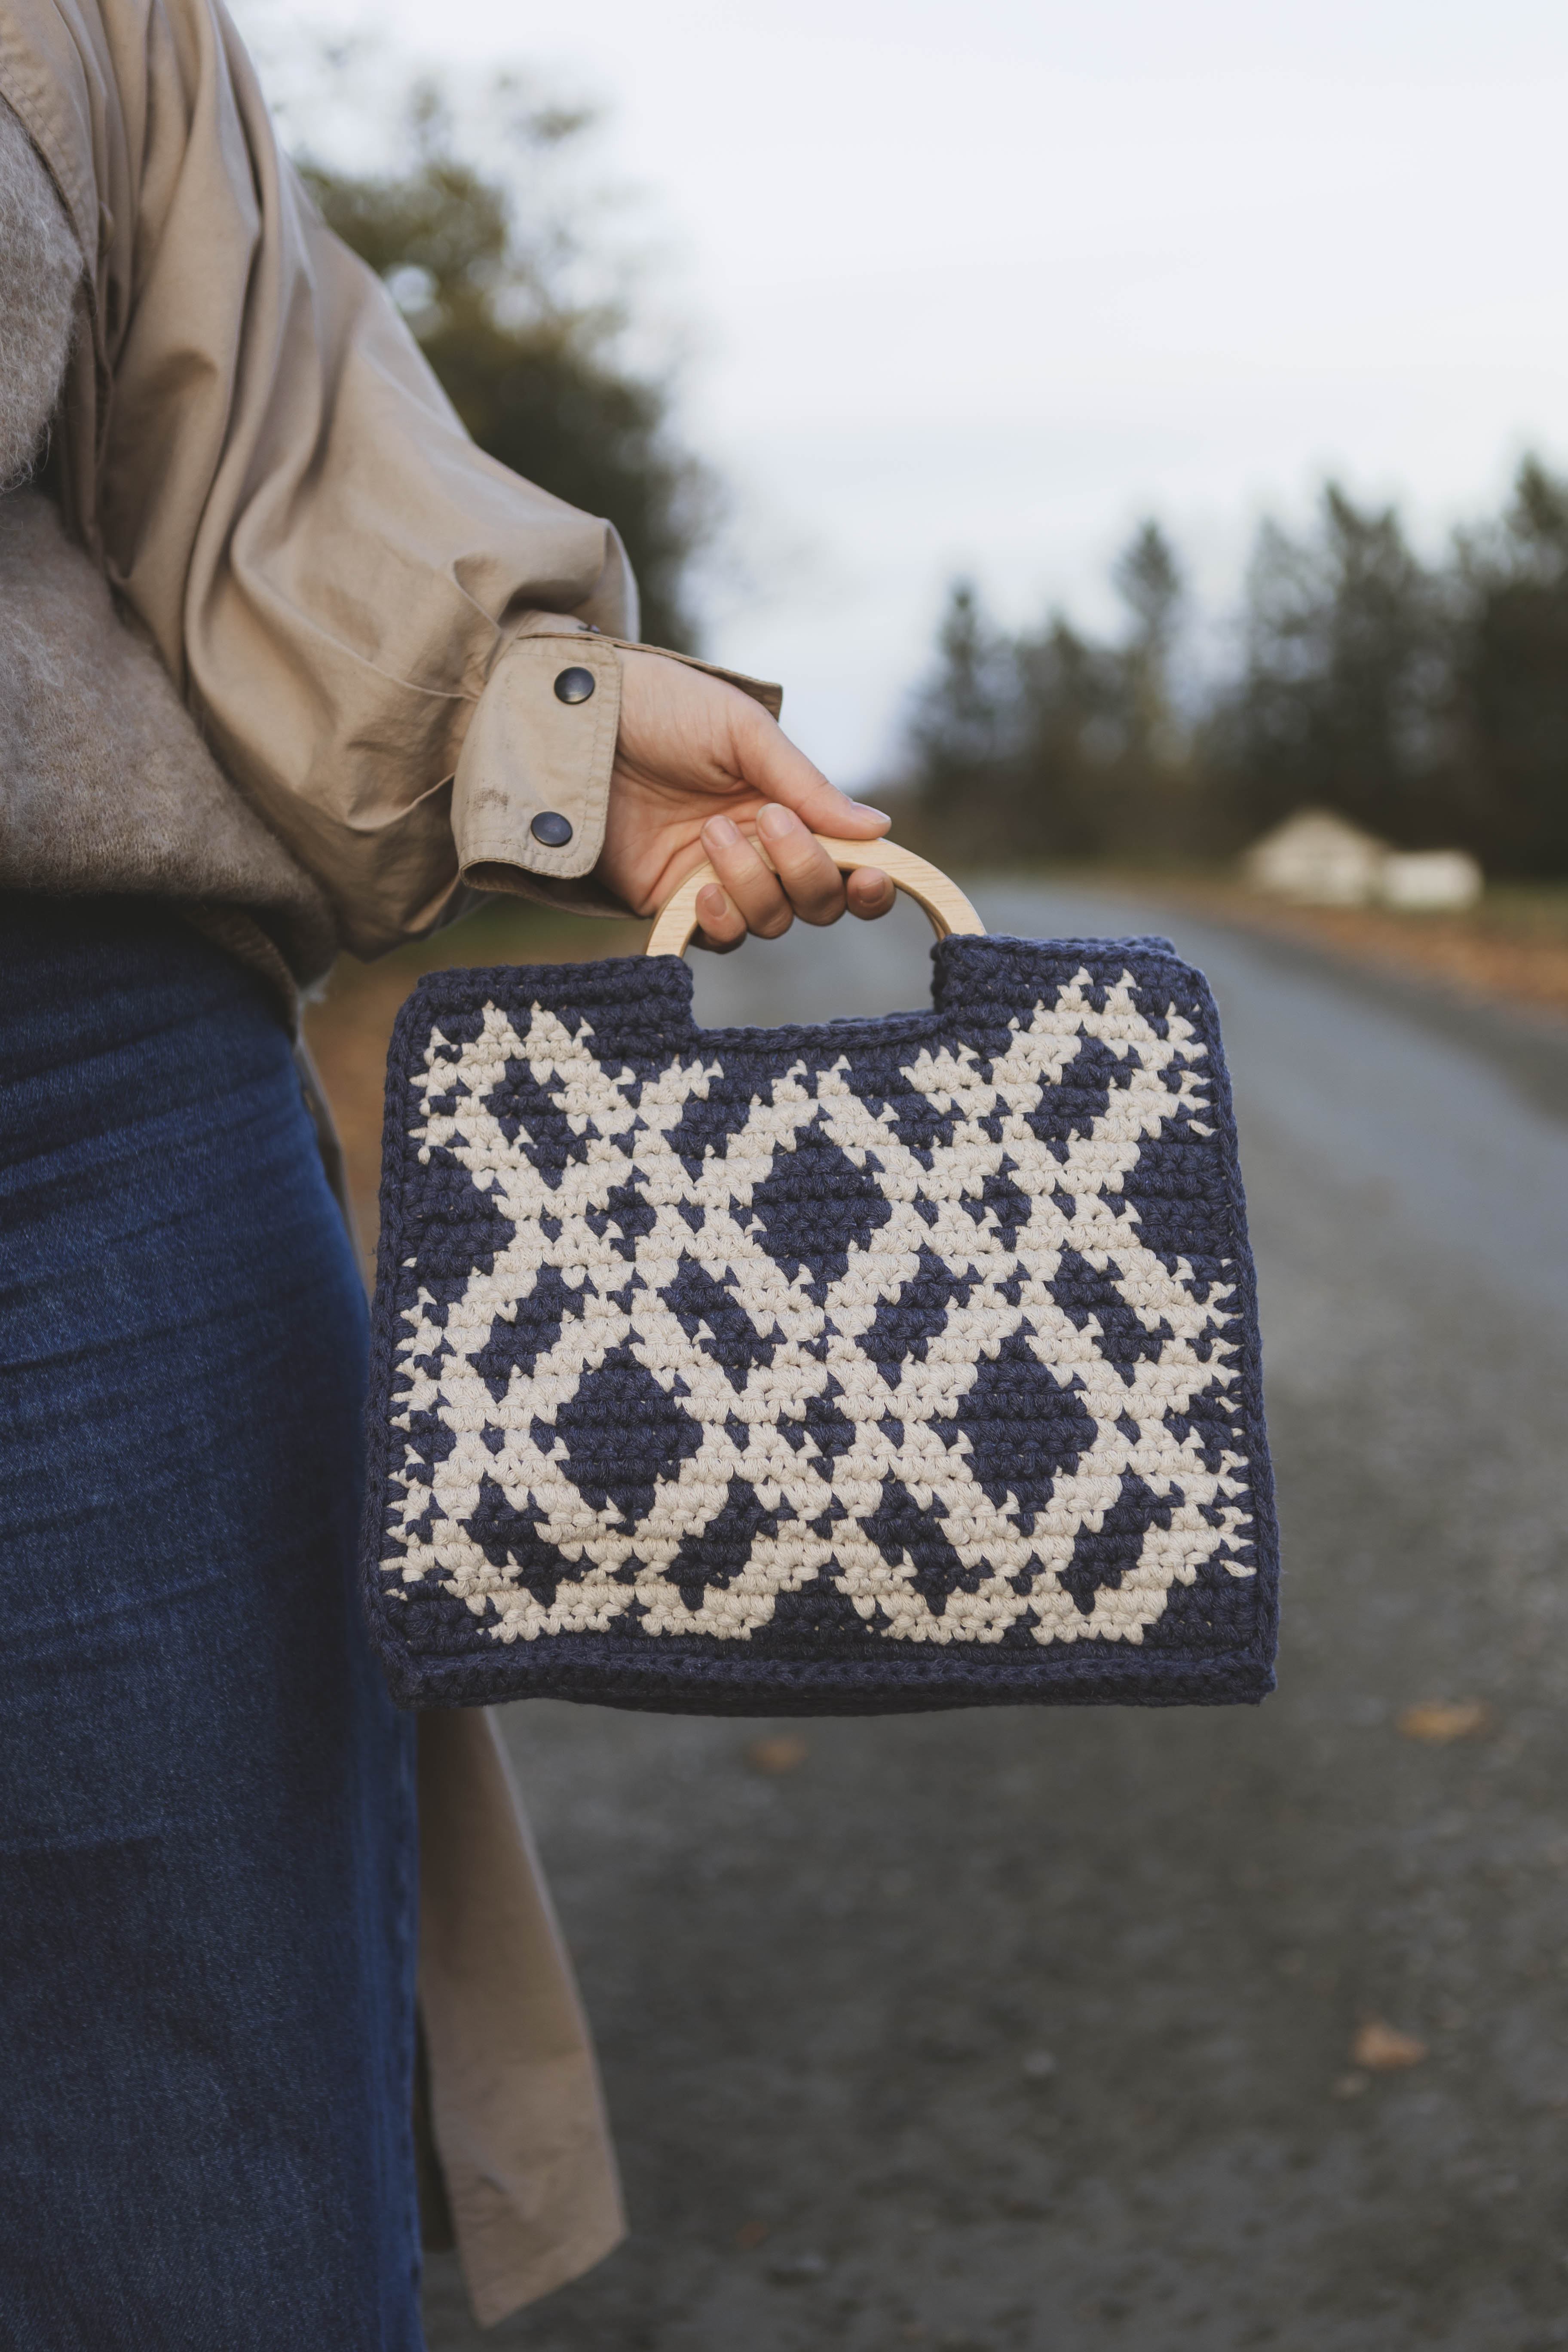
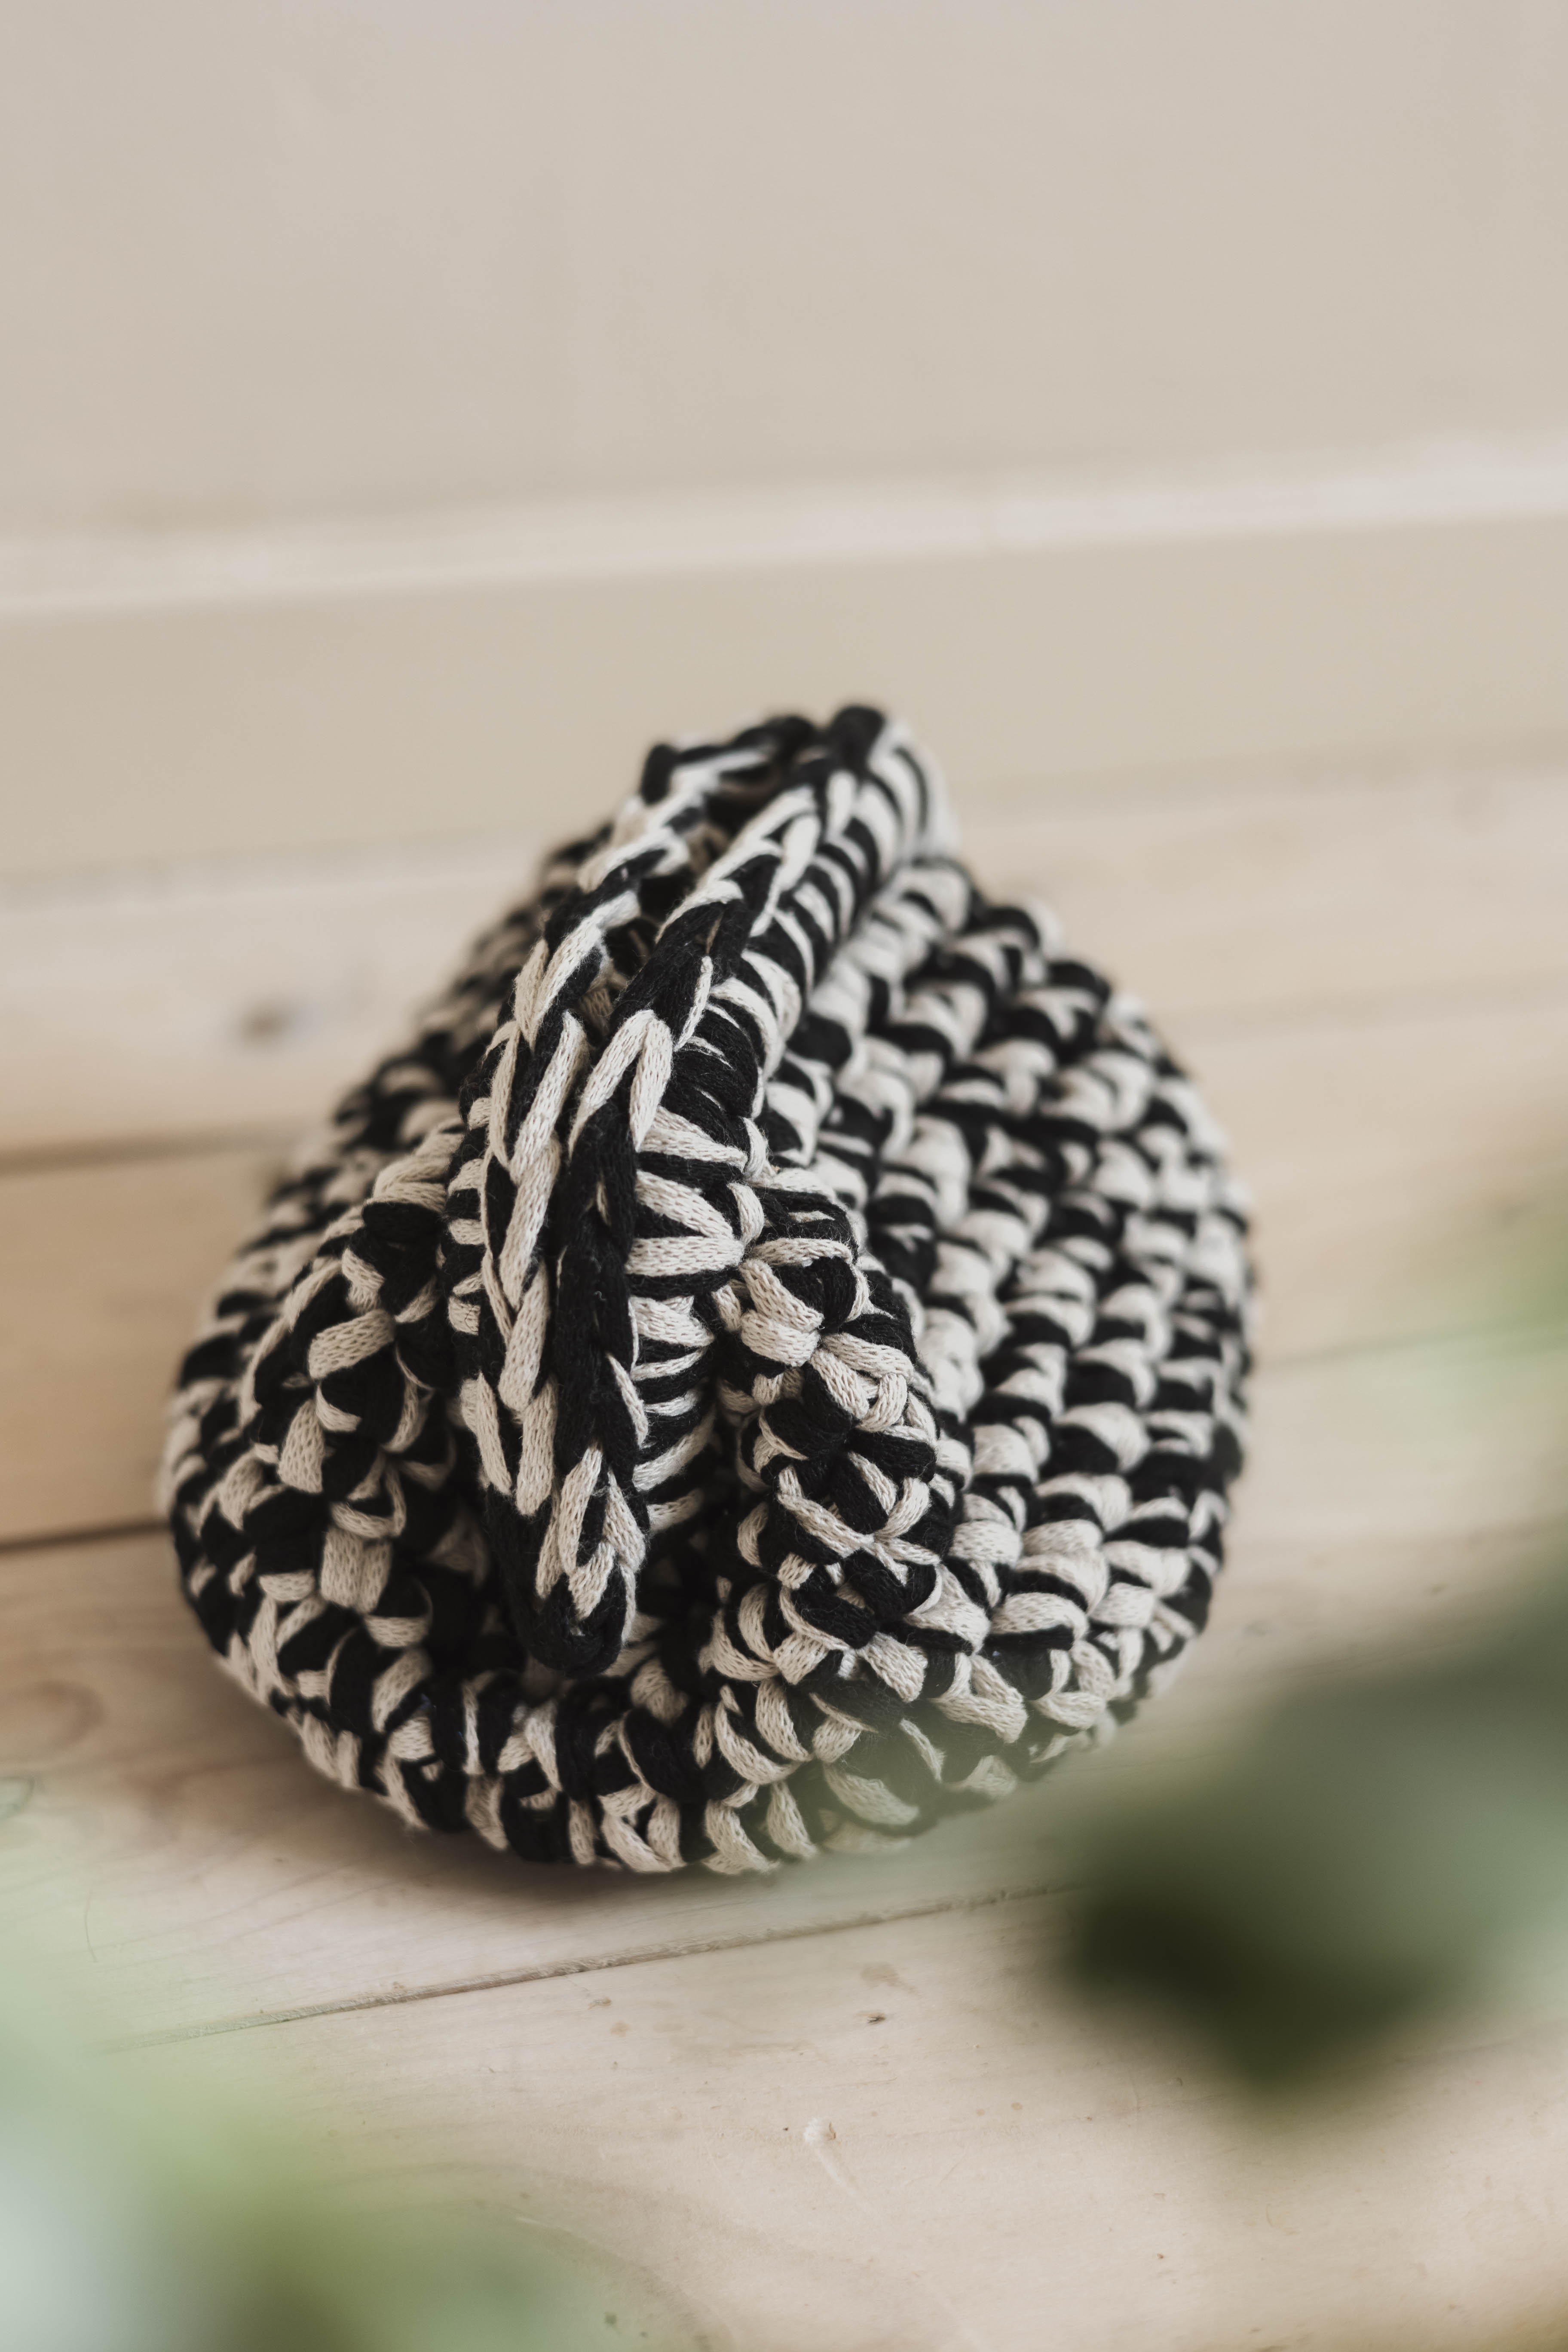
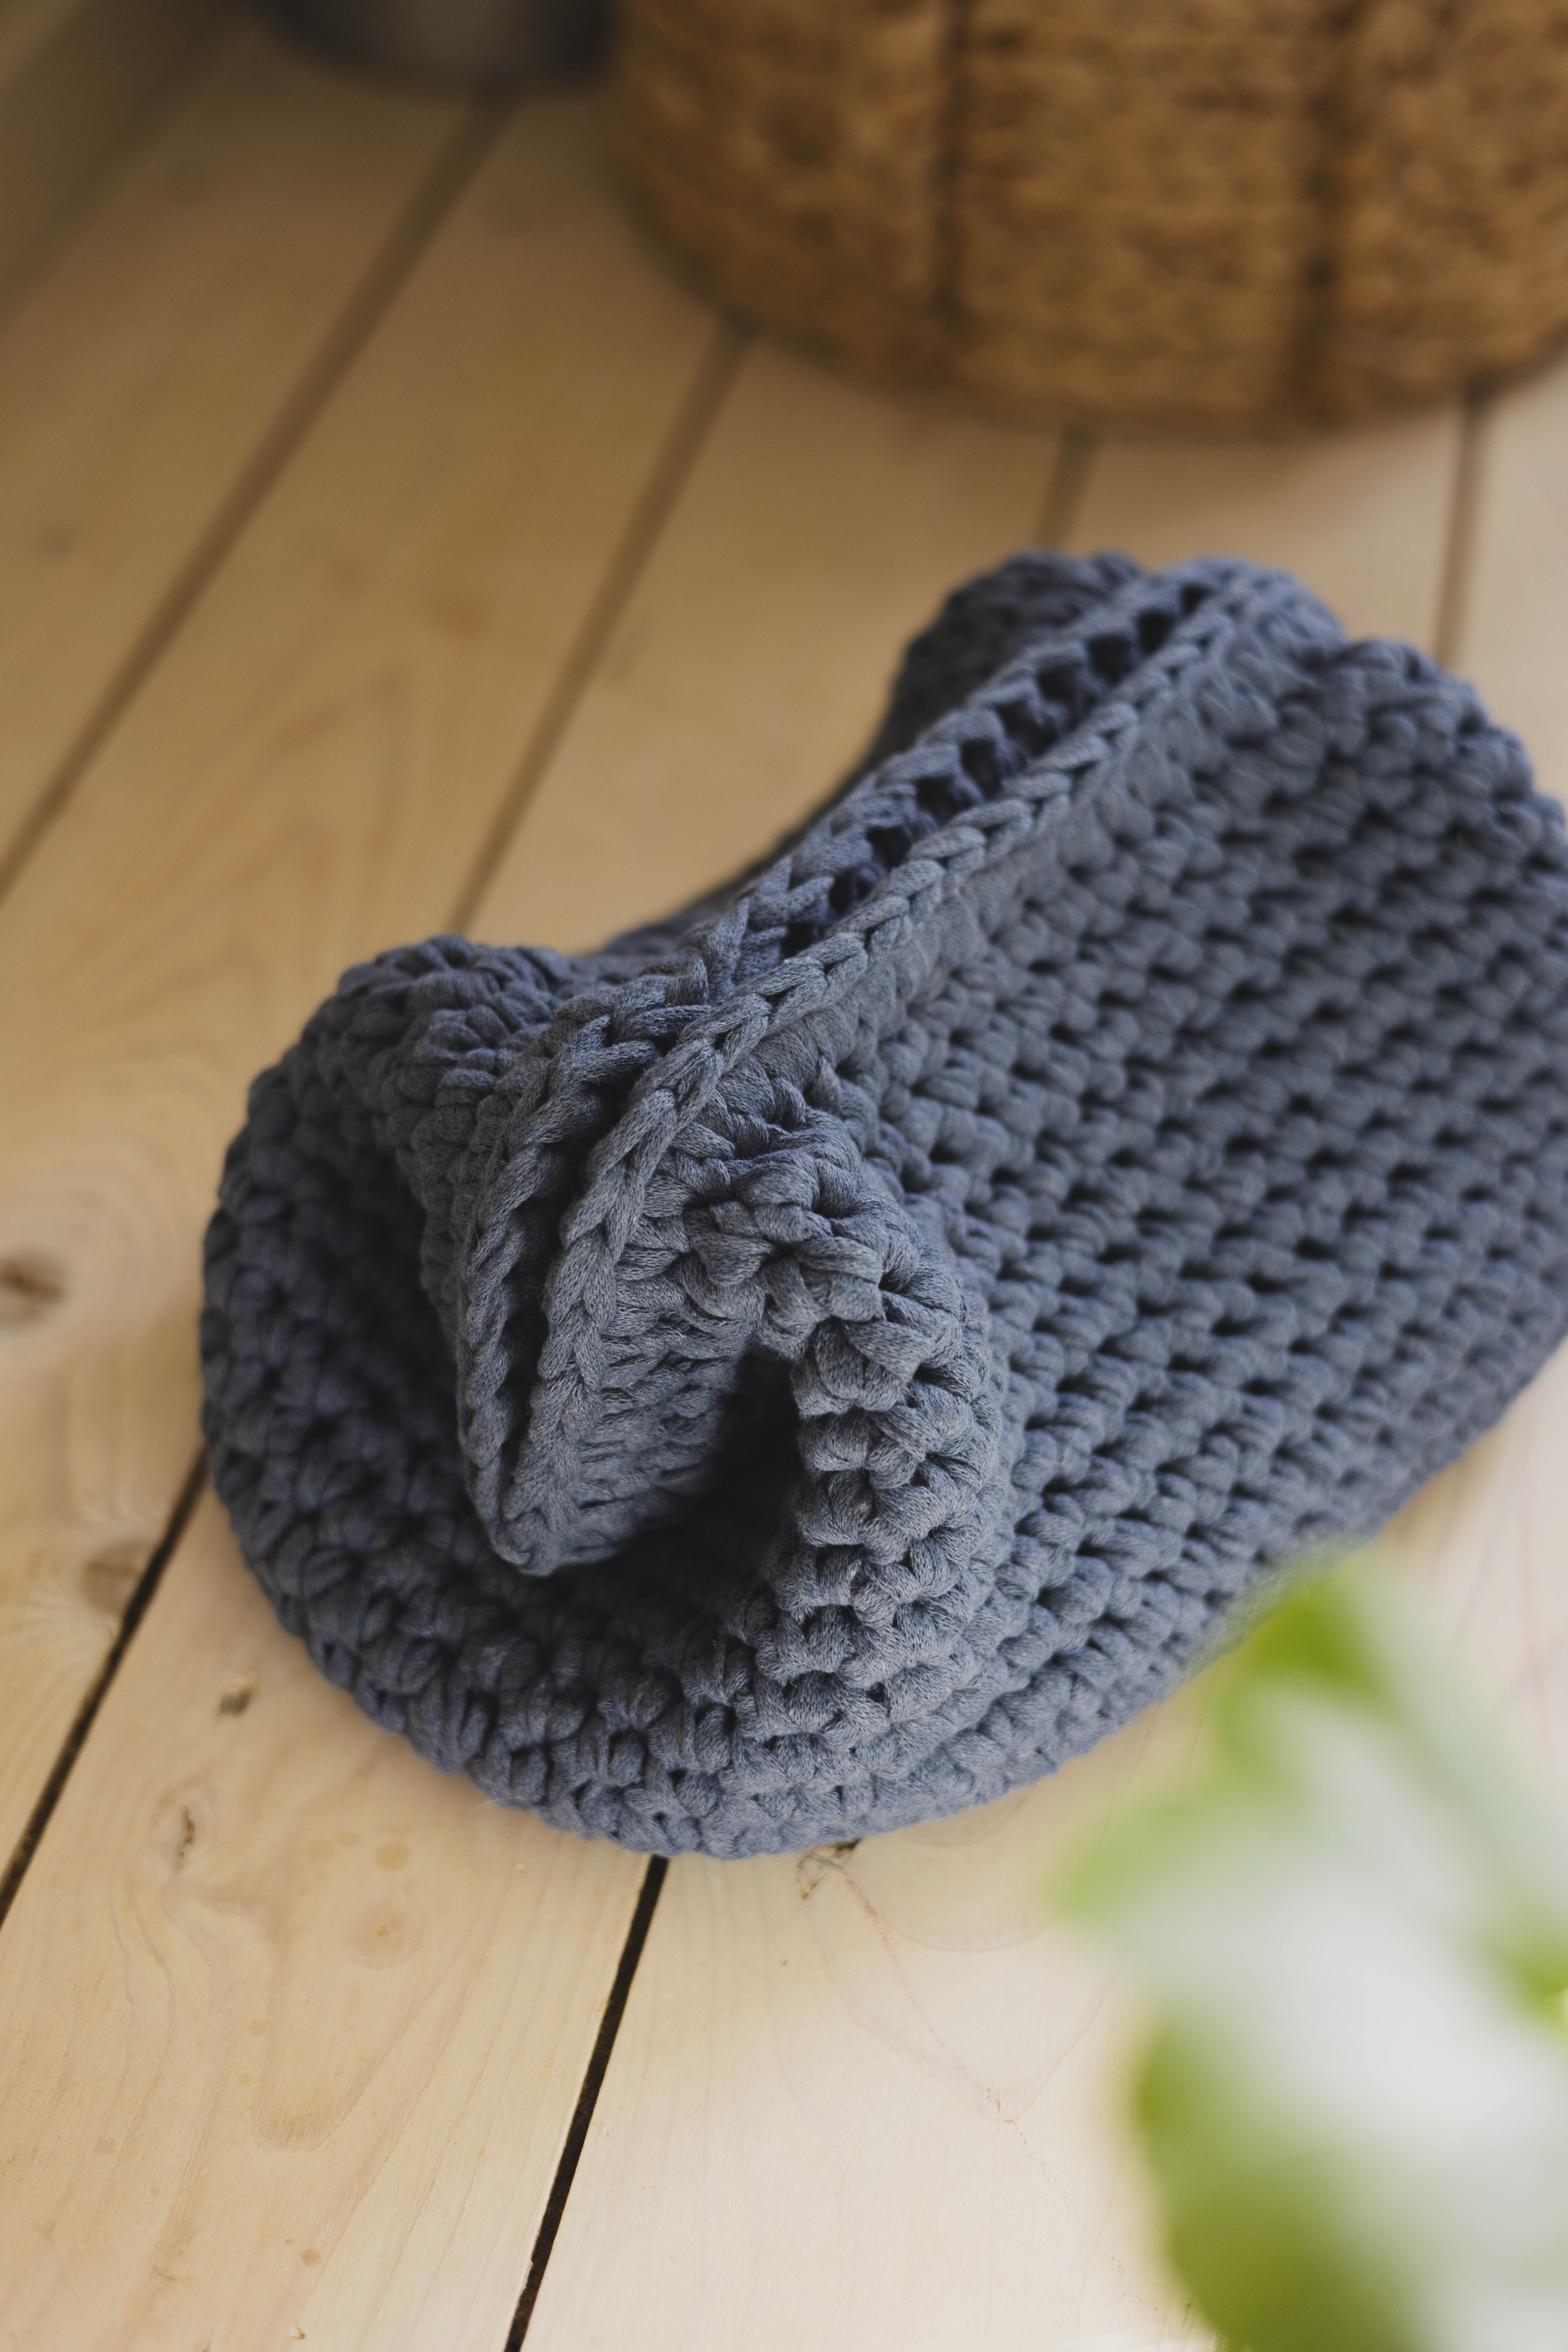
Crochet the two-color bag “Alexandra”, which you can easily crochet in just your favorite colors
The bag is crocheted with two optional colors in EKO Mini together with a 10 mm crochet hook. So choose your favorite colors and make your bag unique!
Yarn consumption: 2 rolls EKO Mini 1000g, the amount depends on the size of the bag you crochet.

This is what you need:
Here you can directly purchase the material for the product. Please note that the instruction is digital and appears here on the page (no written instruction).

EKO Mini tube yarn | 1000g
Narrow "Ribbon" yarn for crocheting, made of 80% recycled cotton
Buy product
Here's how to do it
We crochet this bag with two yarns that we use at the same time. Imagine that the two yarns you use act as one throughout the pattern. In each stitch you will have two threads of yarn with you instead of one, they will constantly be followed through the stitches.

Step 1 - the starting loop
Start by making a slipknot around the crochet hook. One way you can do this is to wrap the yarn around your index and middle finger and then pull the yarn up so that the loop locks when you tighten. Leave about 15 cm tail.
Step 2- The chain
Adjust the size of the loop around your crochet hook. Now we will start crocheting the chain, use the crochet hook and pick up the yarn with the end that comes from the yarn roll (you temporarily have two loops on the crochet hook) and pull through so that a loop is formed (the first loop). Do this until you have worked 30 loose loops.
Step 3 - Round 2
Now start following the chain back and crochet round 2. Skip the first loop and start by going down in the loop that comes after. Catch the yarn and pull through, a single crochet stitch (you now temporarily have two loops on the hook). Pick up the yarn with the needle again and pull through both loops. Repeat 28 times. Then crochet three stitches in the same stitch (which is the stitch at the top). Now you crochet on the other side of the chain, crochet 27 single stitches, then crochet two stitches in the same stitch (in the last stitch).
Step 4 - the side of the bag
Now crochet single stitches in each stitch until the bag is as high as you wish. When you are satisfied, stop at the side of the bag to crochet the shoulder strap. The shoulder strap must start when you are on the side of the bag. It is crocheted by doing chain stitch and you crochet as many as you need to get the shoulder strap as long as you want. In the video, 60 chain stitches are crocheted. The shoulder strap is attached to the other side of the bag by crocheting 2 stitches, before turning and crocheting back along the shoulder strap to reinforce it by using single stitches. Before you crochet the strap on the other side, check that the strap is not twisted. Then fasten by crocheting two stitches when you are back on the side where you started crocheting the shoulder strap.
Step 5 - closing
Finish by cutting the yarn, leaving a 5-10 cm tail. Pull the tail through the last stitch, and secure by passing the tail under a couple of stitches on the inside of the bag before tying a knot.
You now have a new bag, hope you like it! :)
Abbreviations:
st = stitch
ch = chain stitch
sc = single crochet
(...) = indicates the number of stitches for the current row
**... = Repeat the instructions within the ... the specified number of times
Pattern
In this pattern, we will crochet a bag using two yarns at the same time. Imagine the two yarns you’re using working together throughout the entire pattern. In each stitch, you will be carrying both strands of yarn instead of one, and they will follow together through the stitches.
Bag
Row 1: Ch 30, turn (30)
Row 2: Starting in the 2nd ch from the hook, make 28 sc, in the last stitch, make 3 sc in the same stitch, continue on the other side of the chain and make 27 sc, in the last stitch, make 2 sc in the same stitch (60)
From now on, crochet in a spiral. Crochet as many rows as you like until you are satisfied with the height of the bag.
Row 2 and onwards: 60 sc (60)
Strap
It’s important that the shoulder strap is started on one of the short sides of the bag. The strap is made using chain stitches, and you will crochet as many chain stitches as needed to make the strap as long as desired.
Row 1: Starting on one short side of the bag, ch 60, attach the strap with 2 sc on the other side of the bag, turn, 60 sc, 2 sc when you reach where the strap started. Finish and fasten off the yarn (124).
Your bag is done!
The rights to this pattern belong to MYO Make Your Own. The pattern or its pictures may not be copied, shared or resold either in parts or in its entirety, but you may sell items you have crocheted from this pattern. If you have questions about the pattern, contact MYO at hello@makeyourown.se.


