
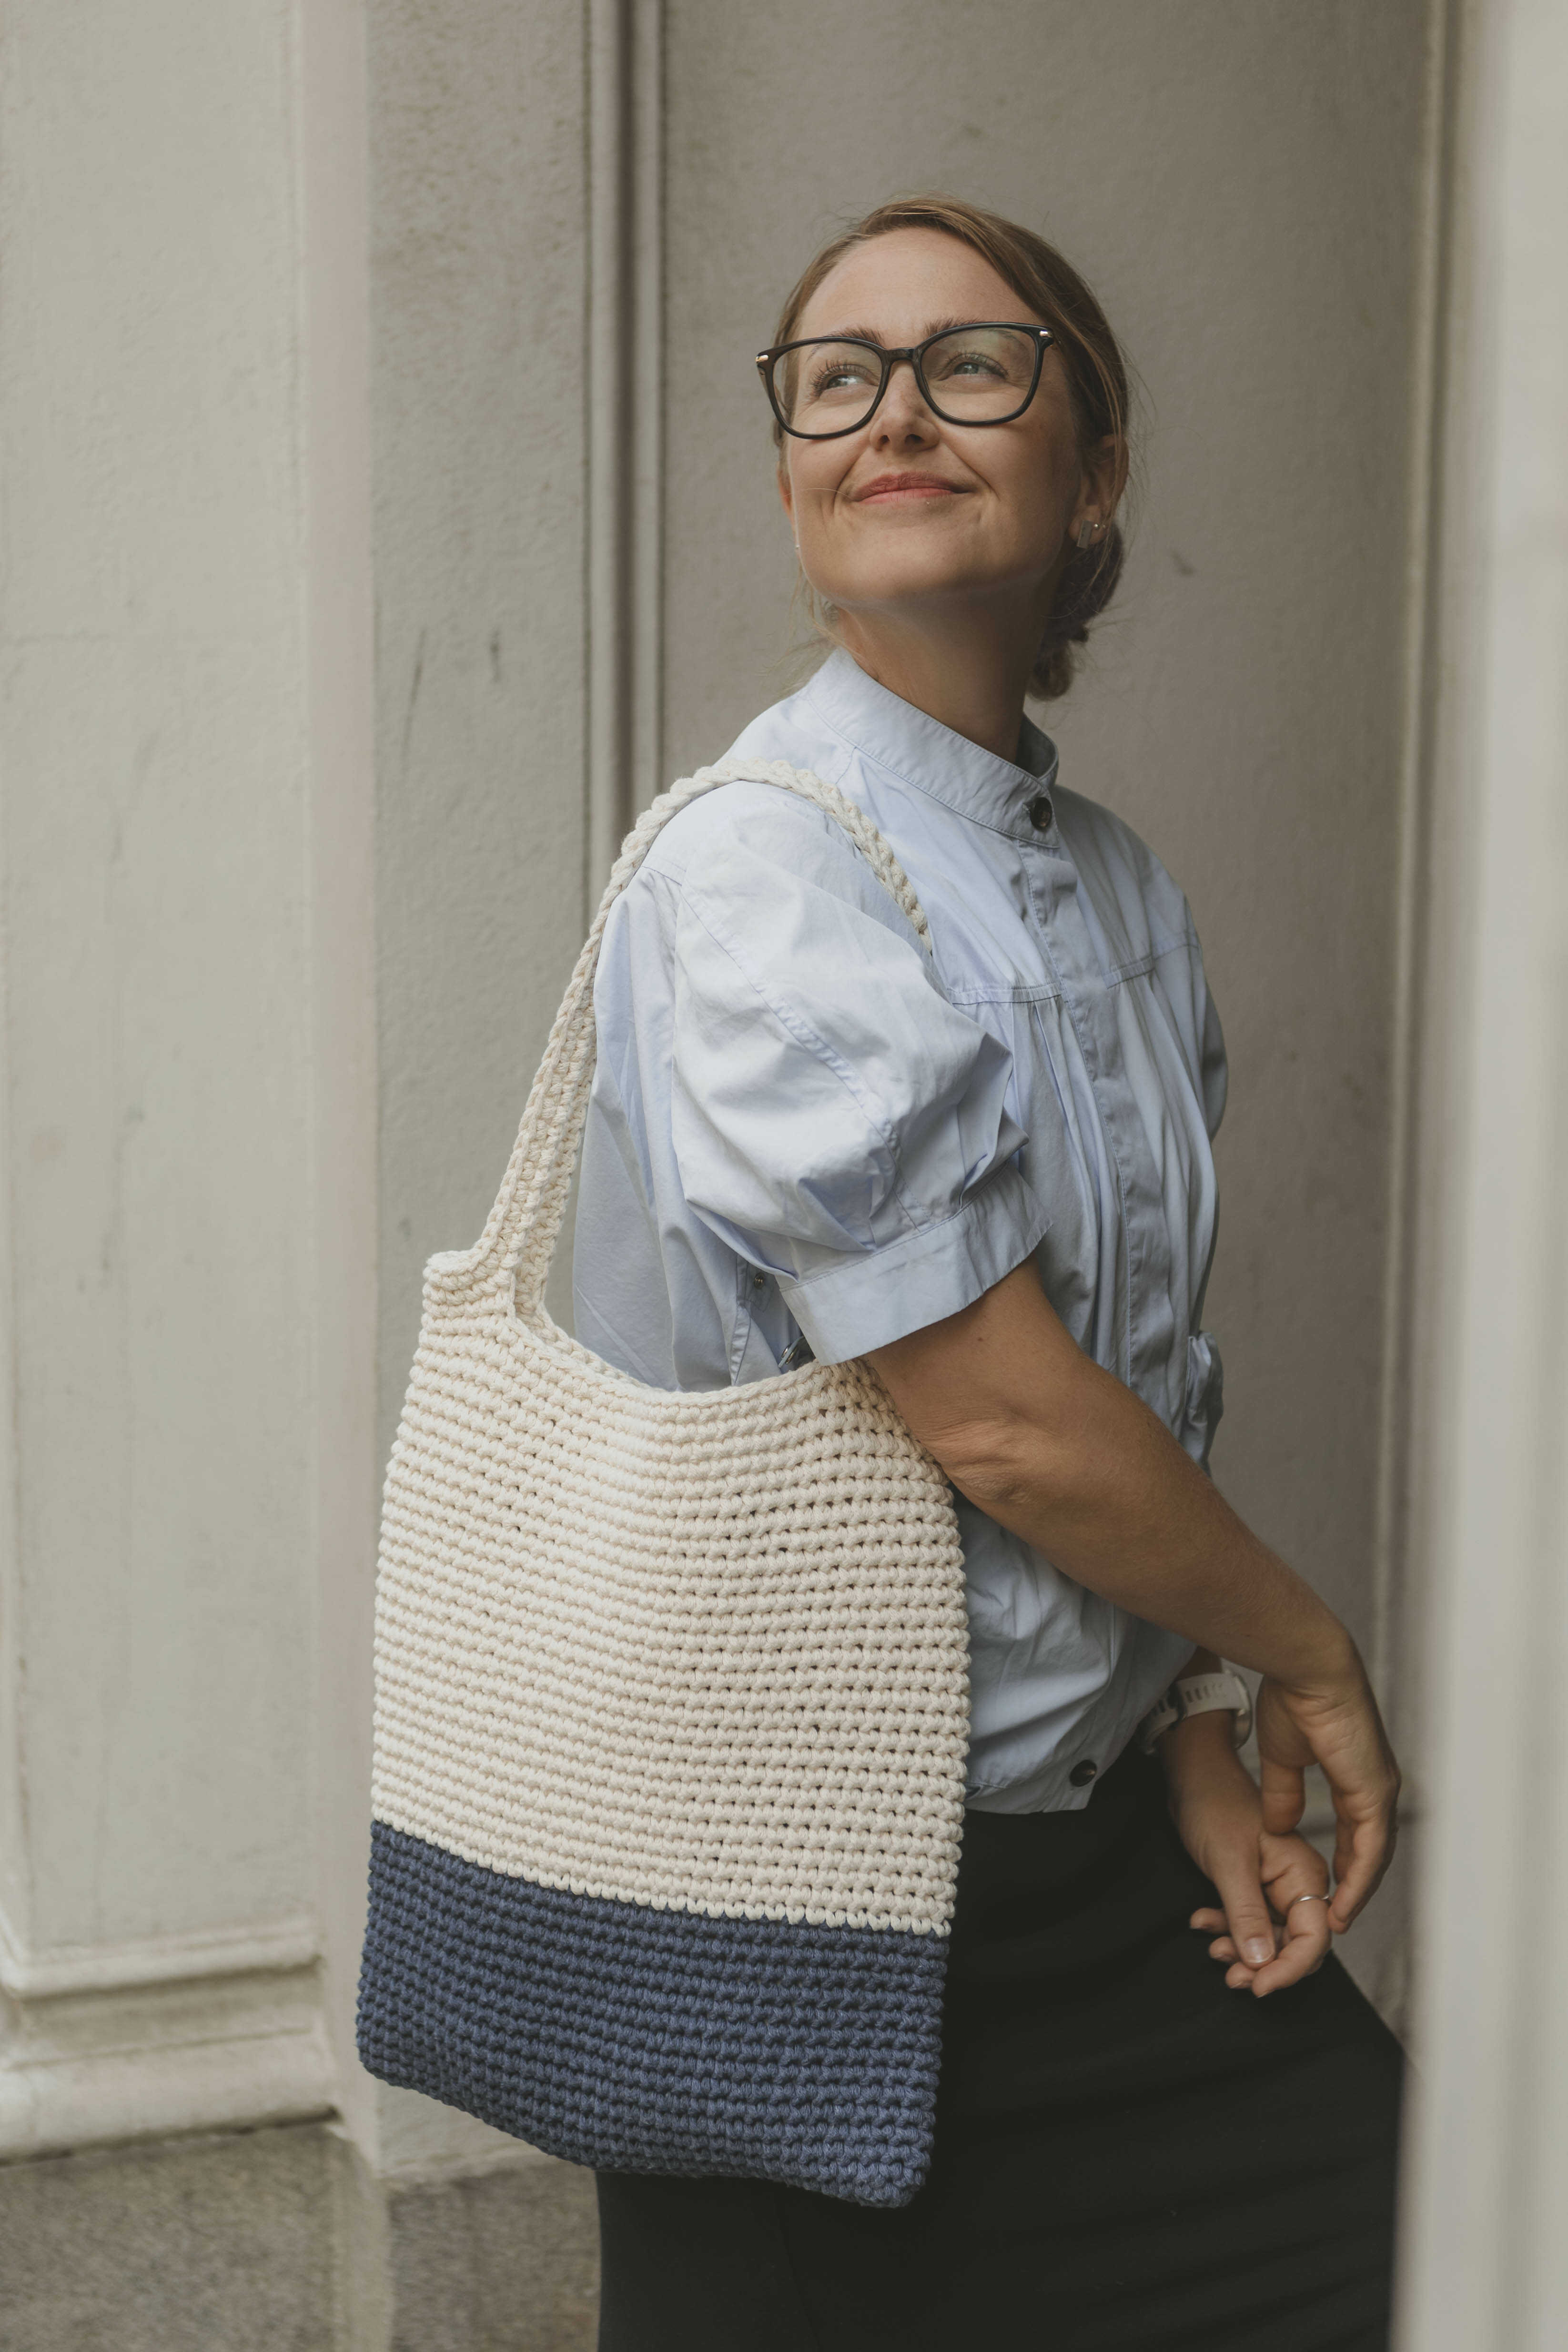
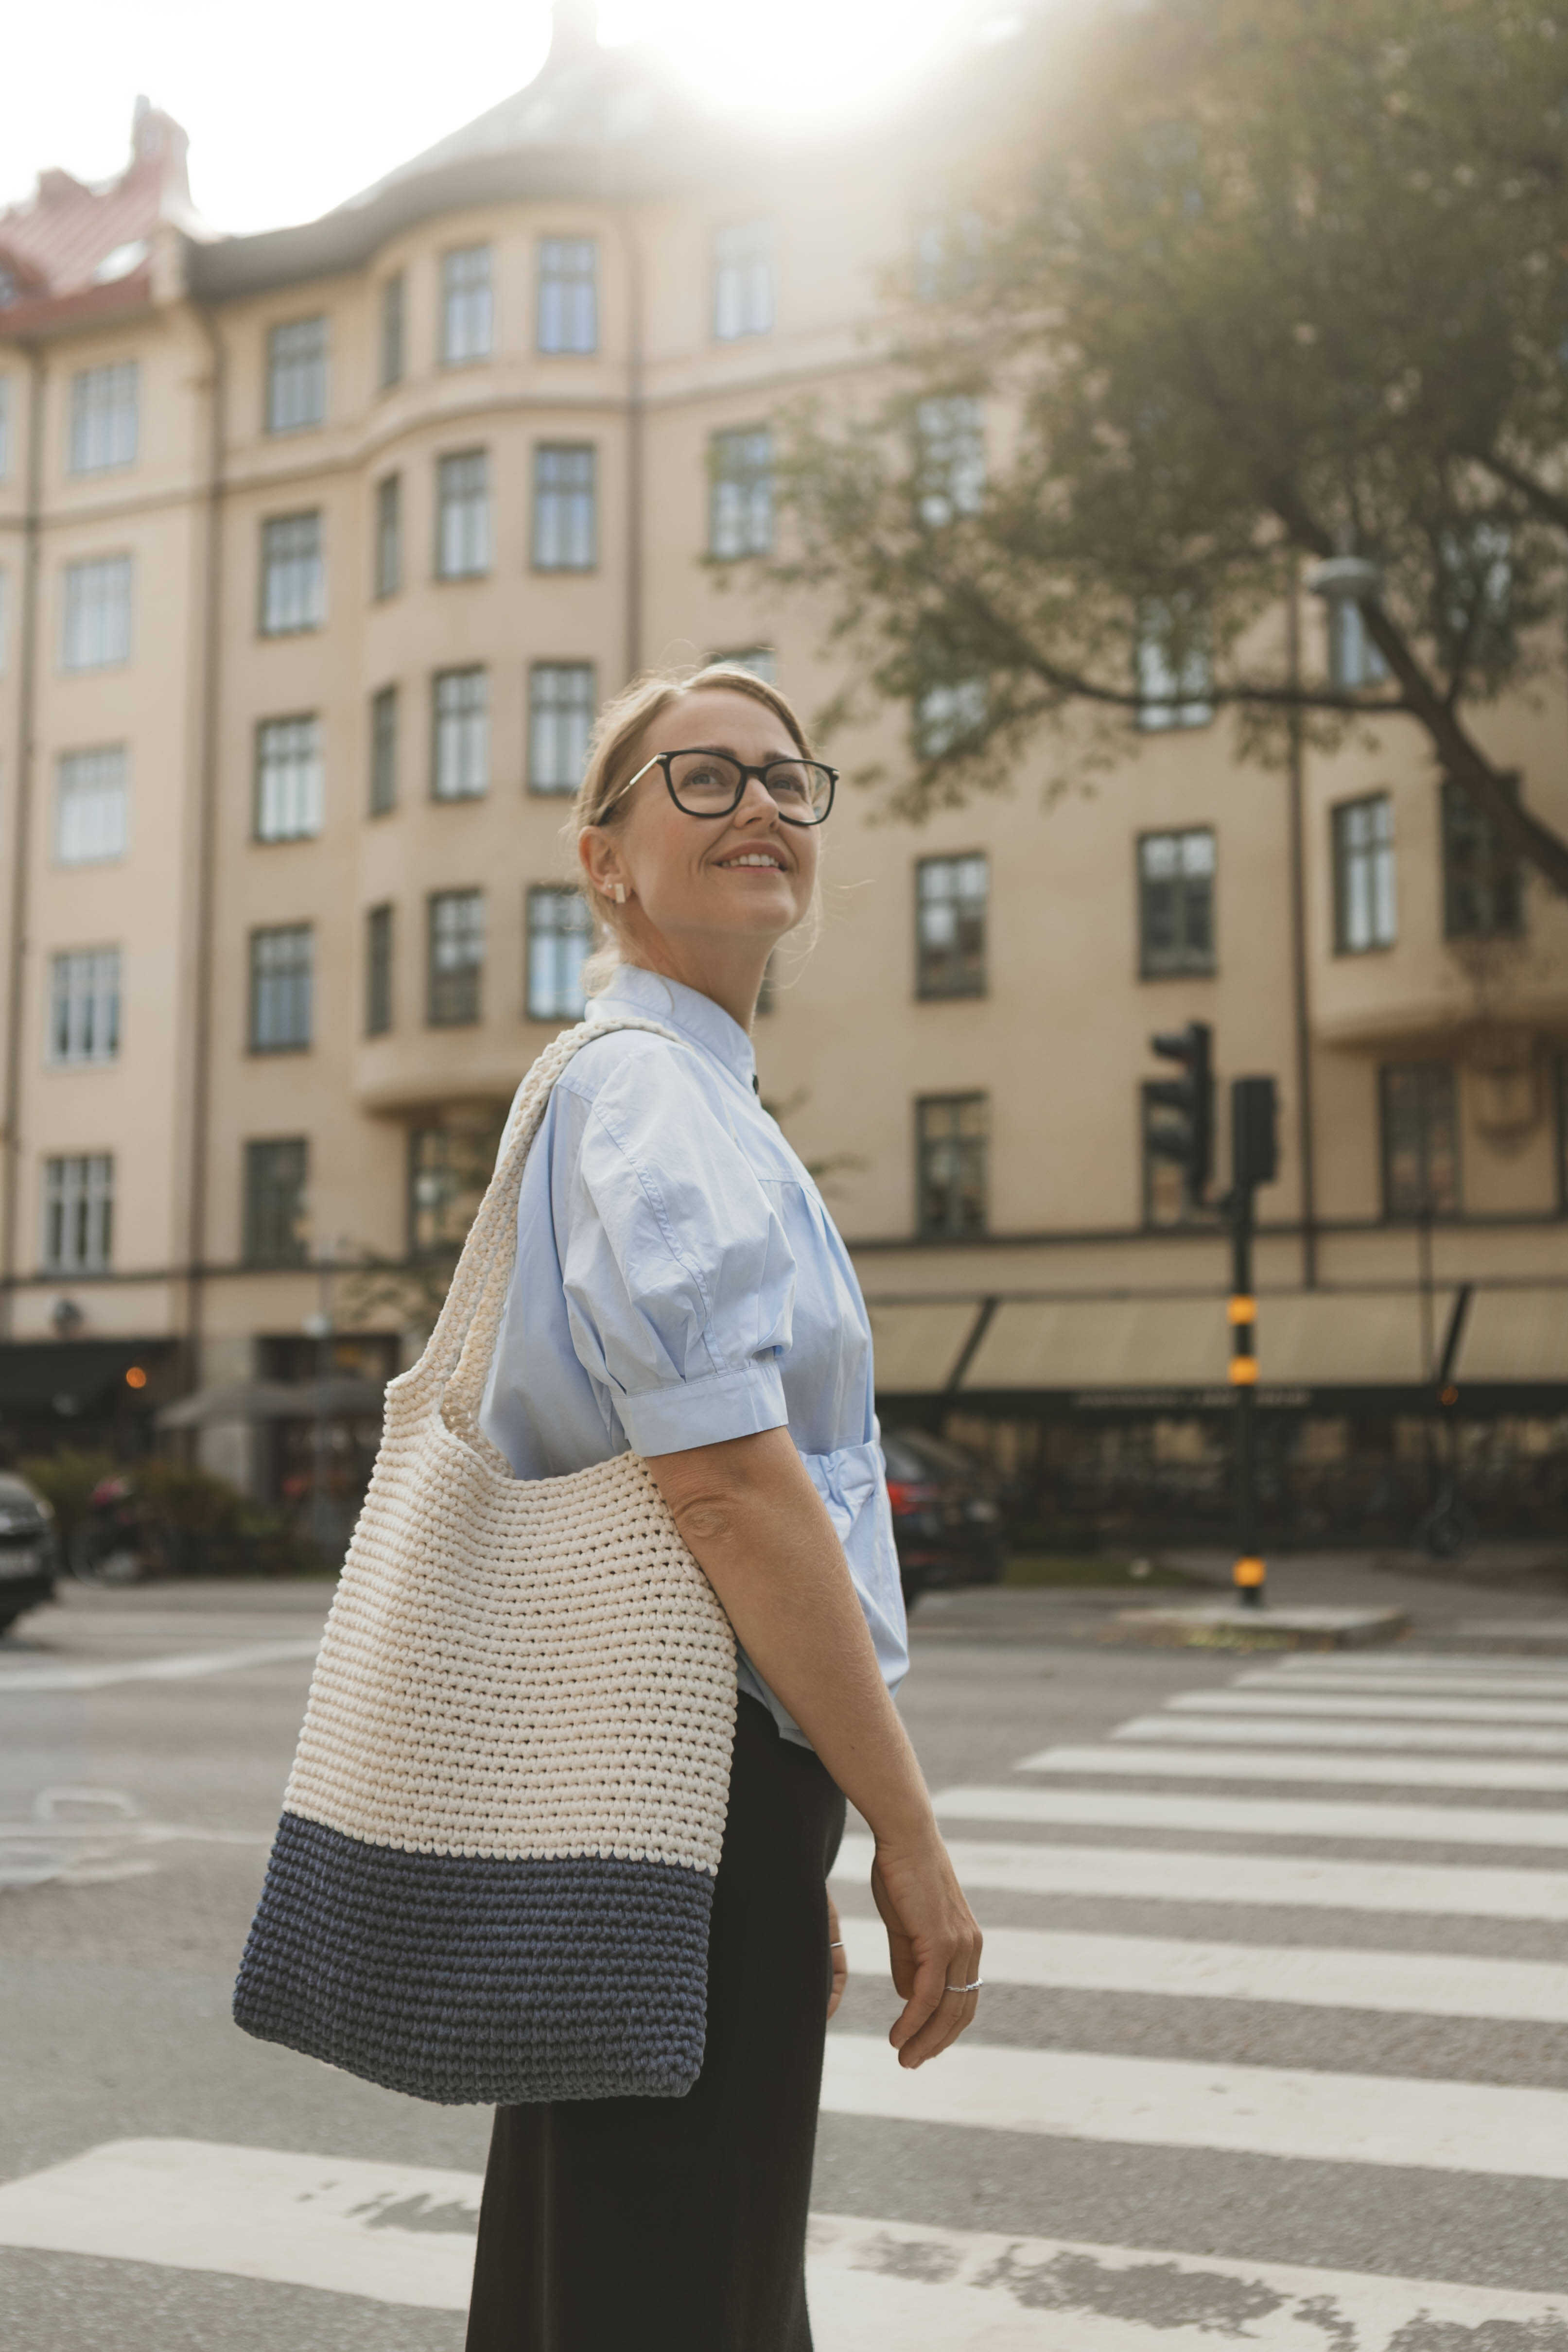
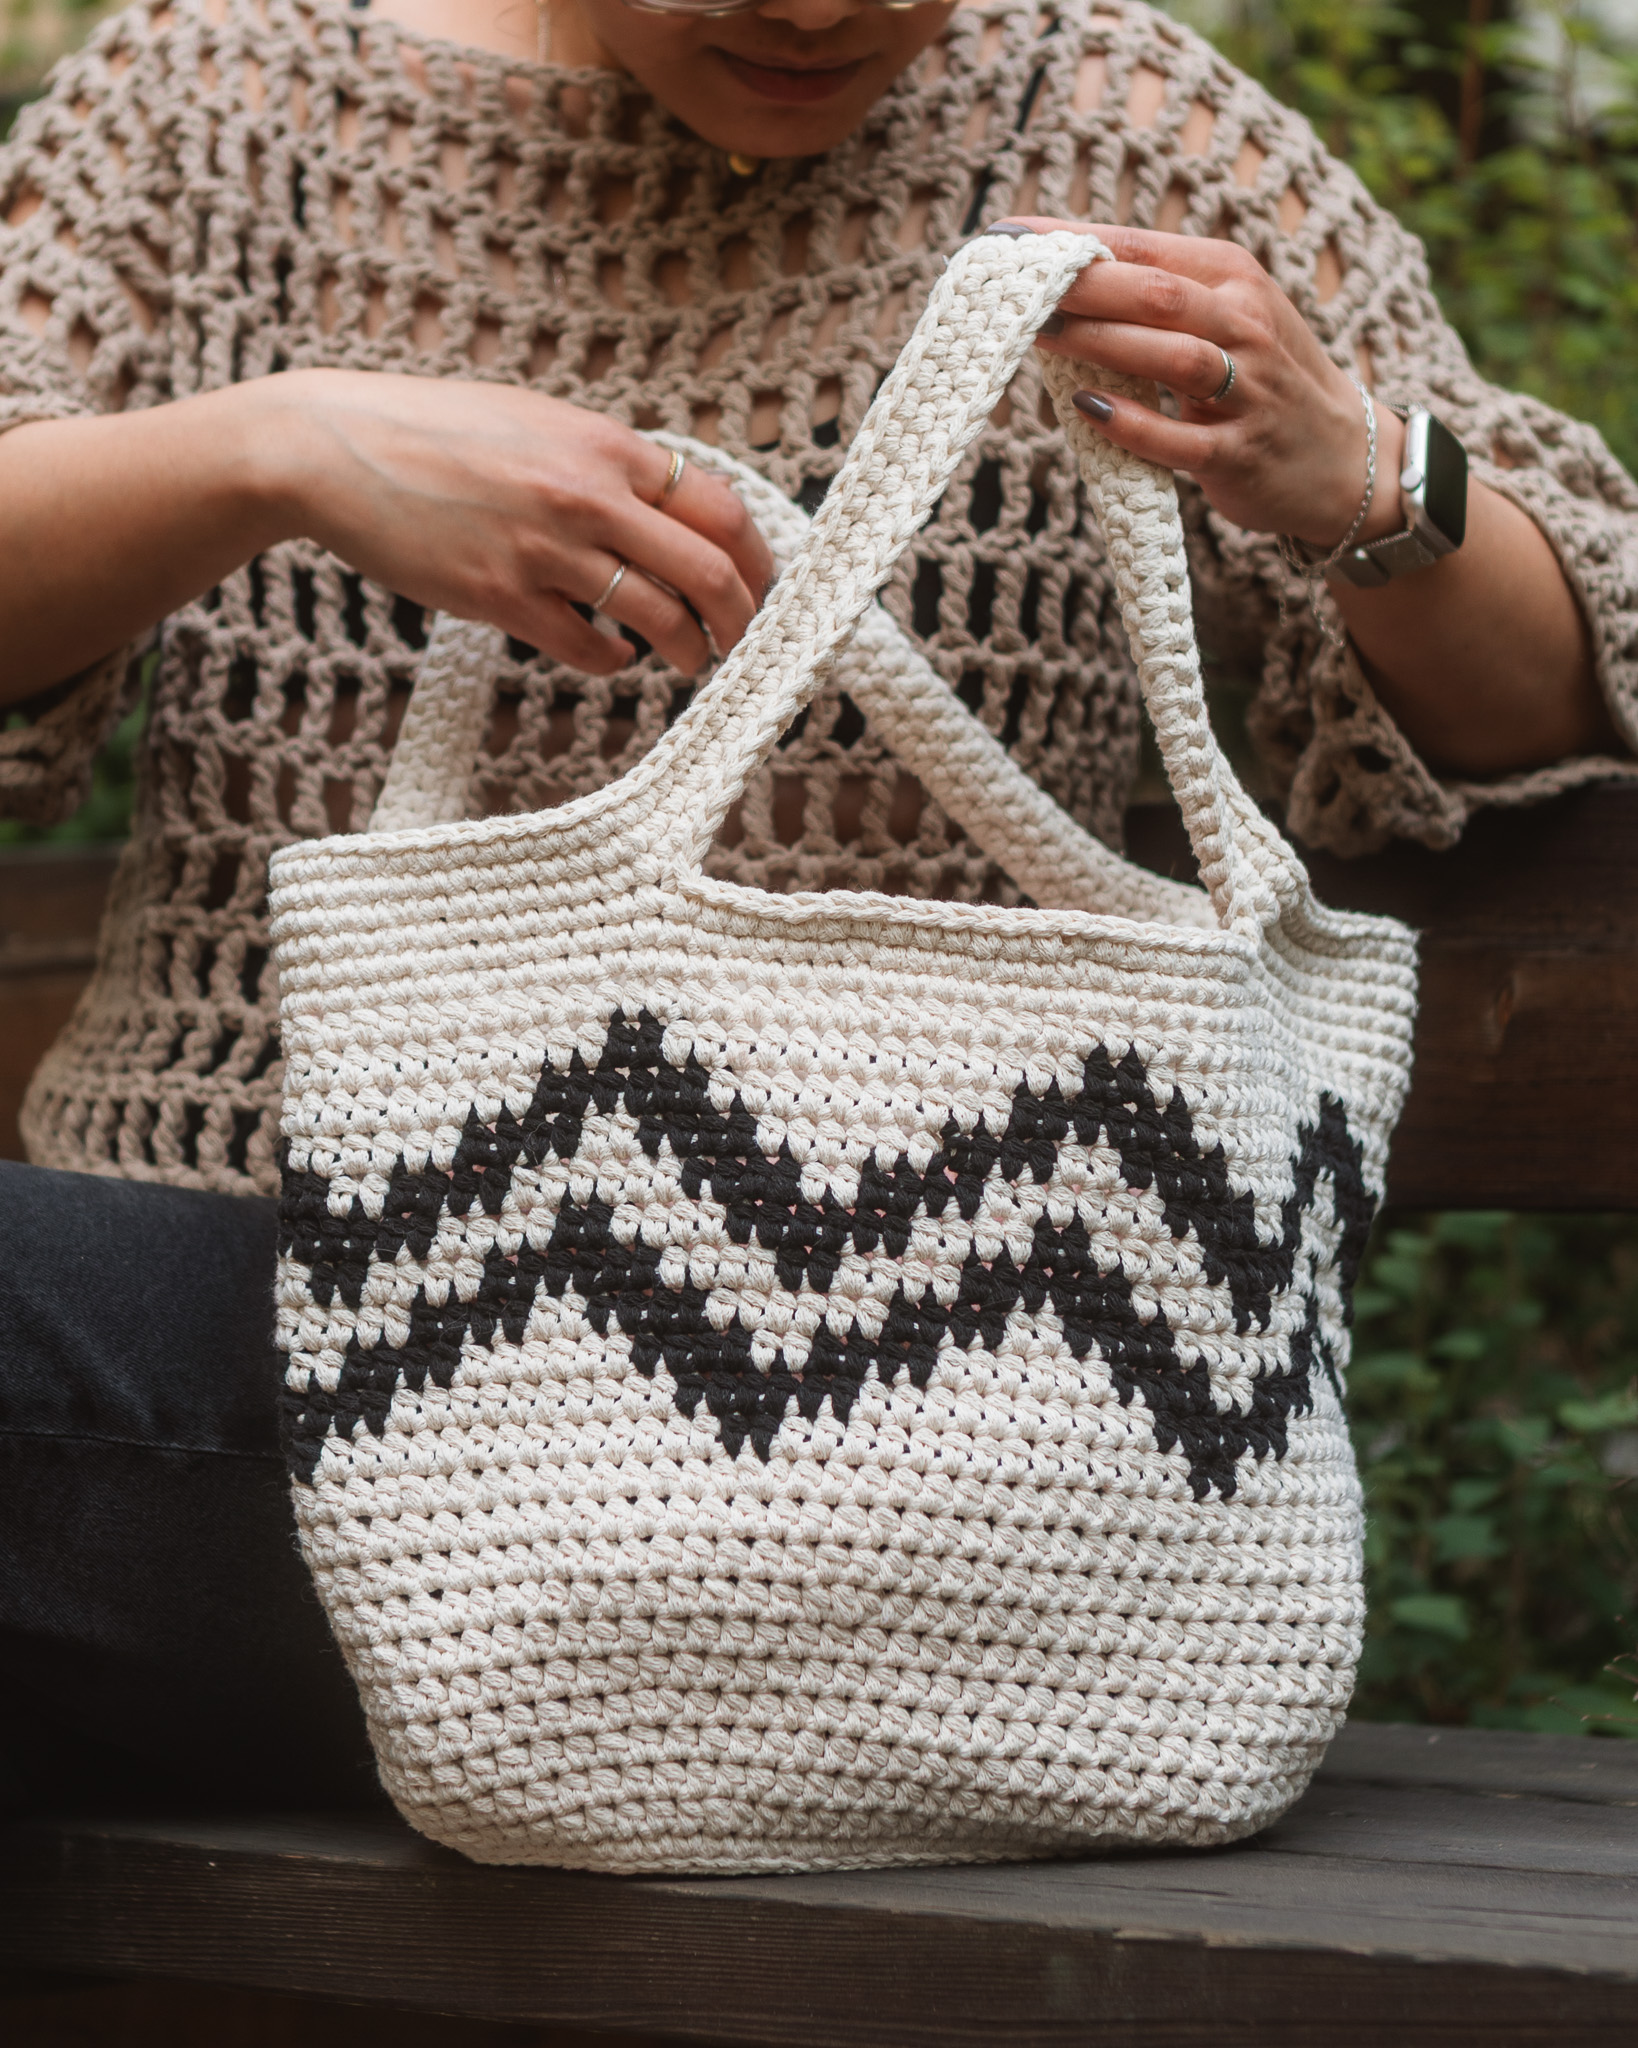
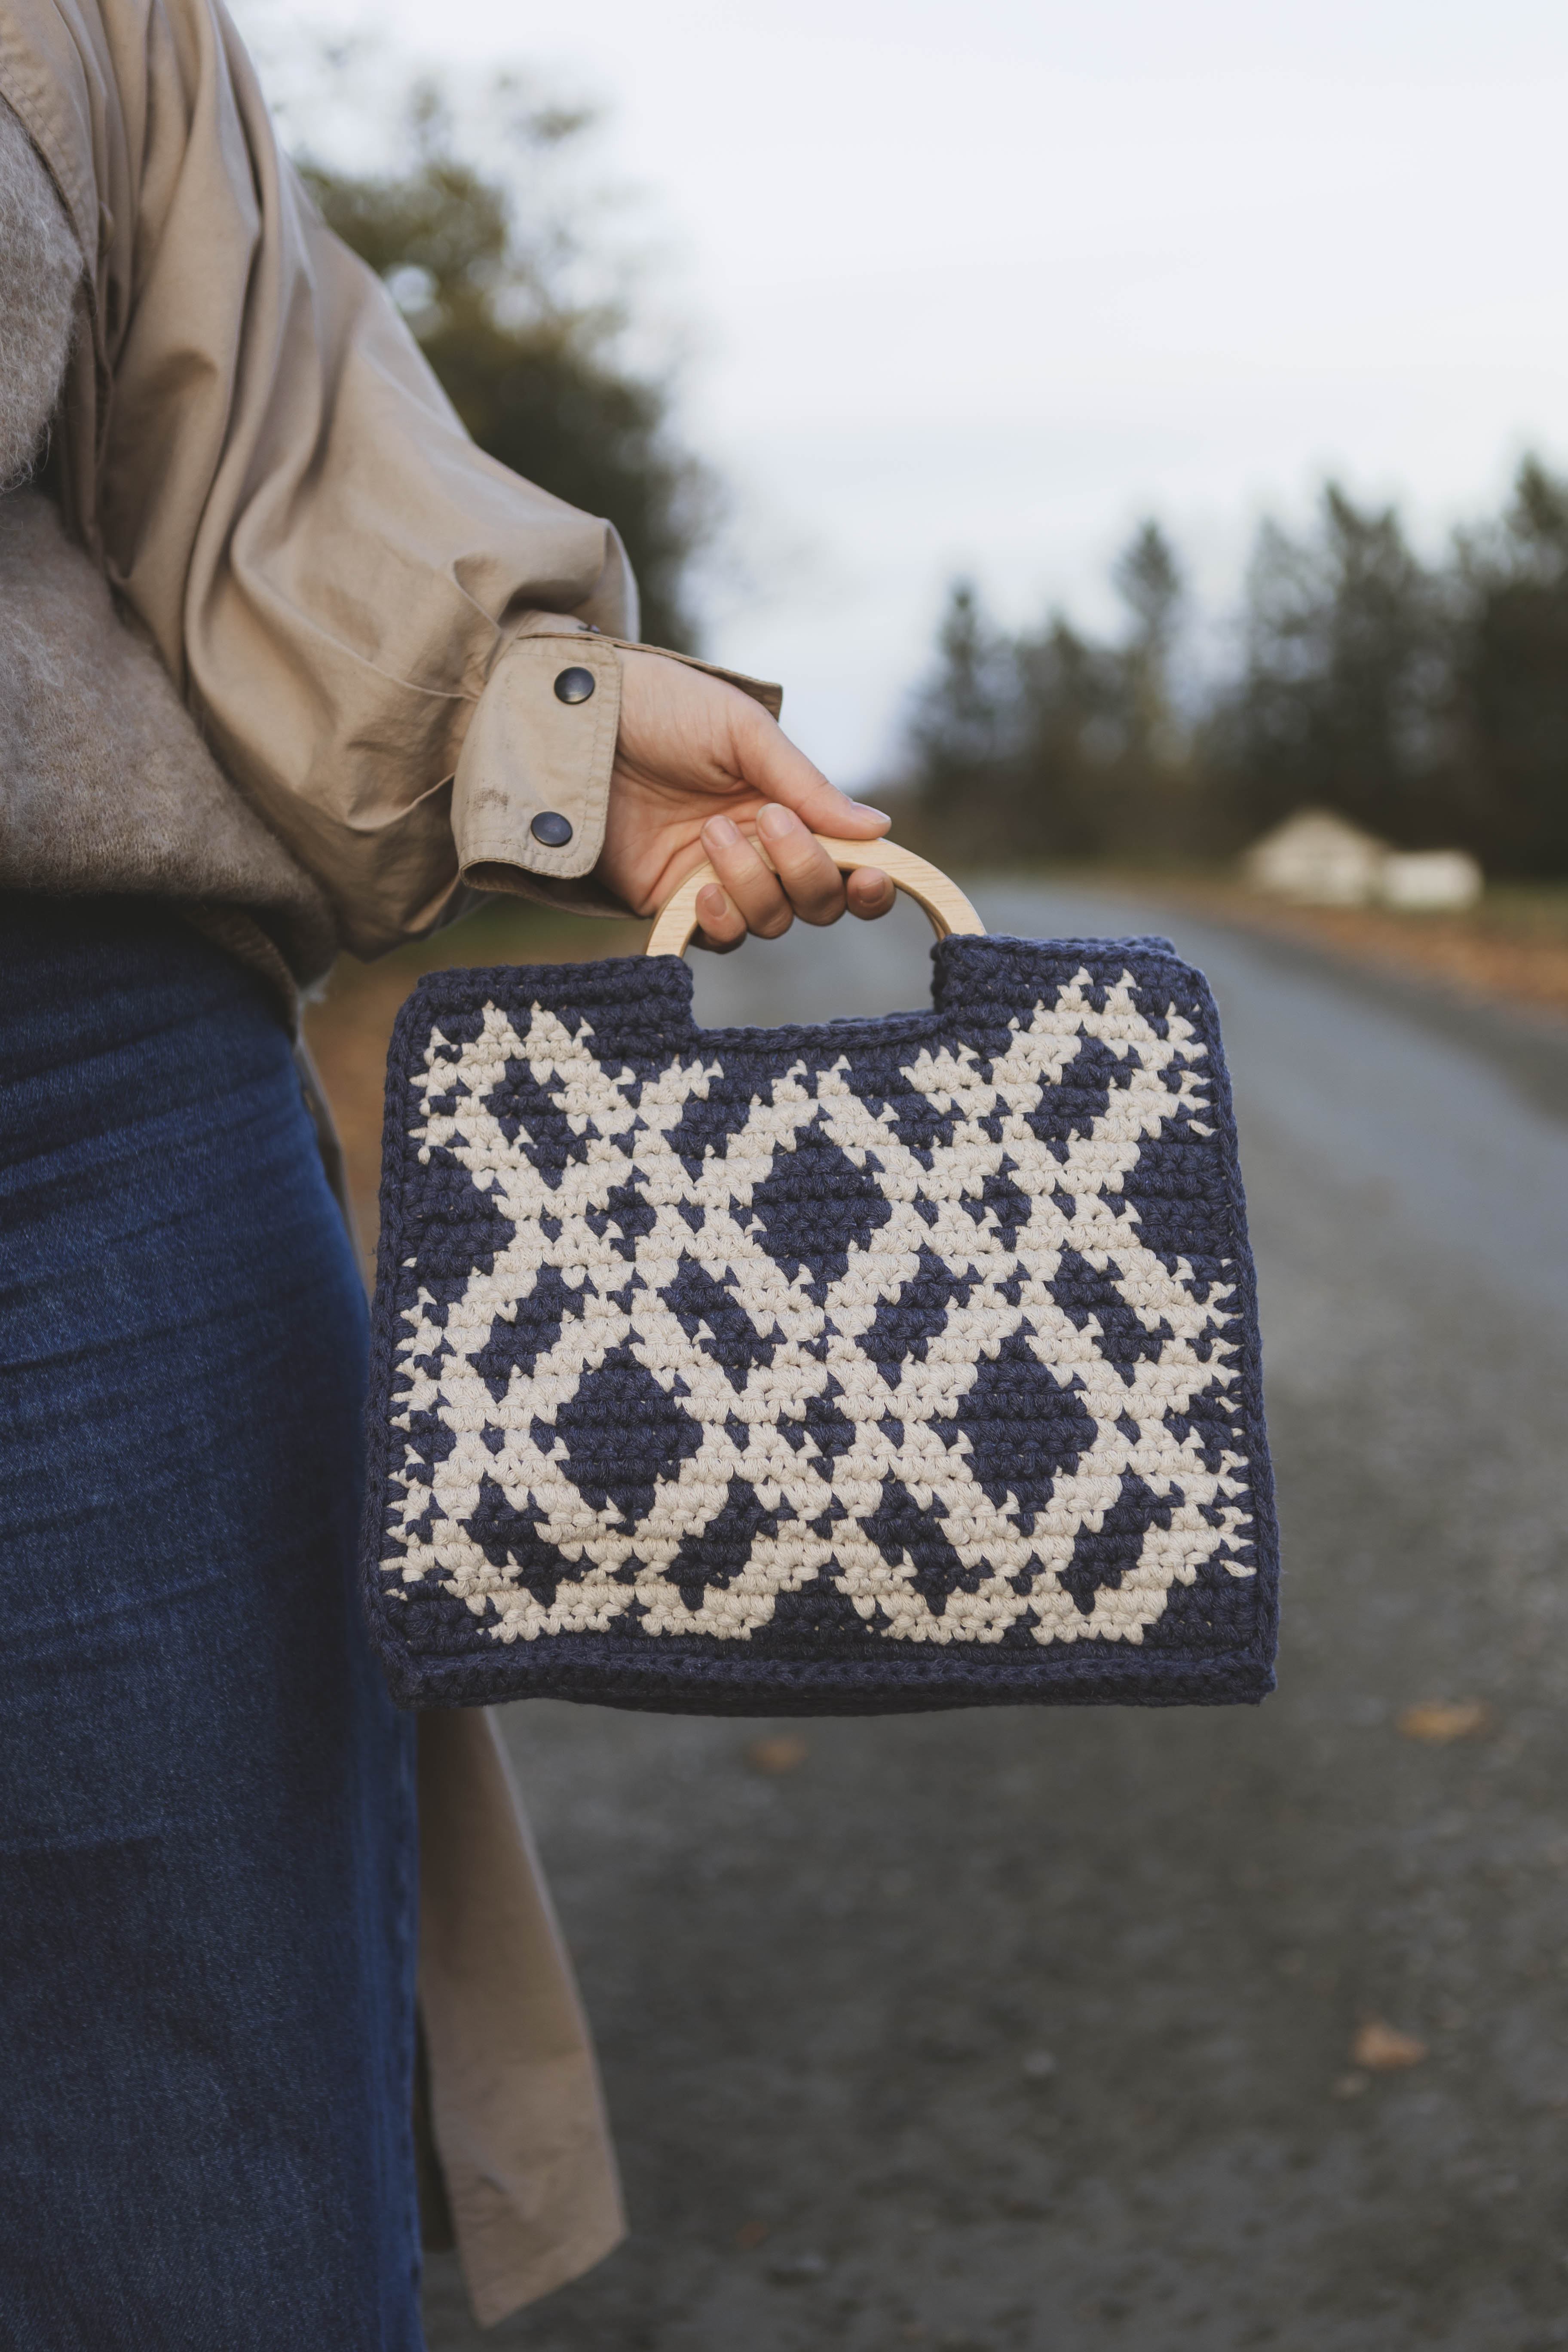
Crochet bag “Linn”
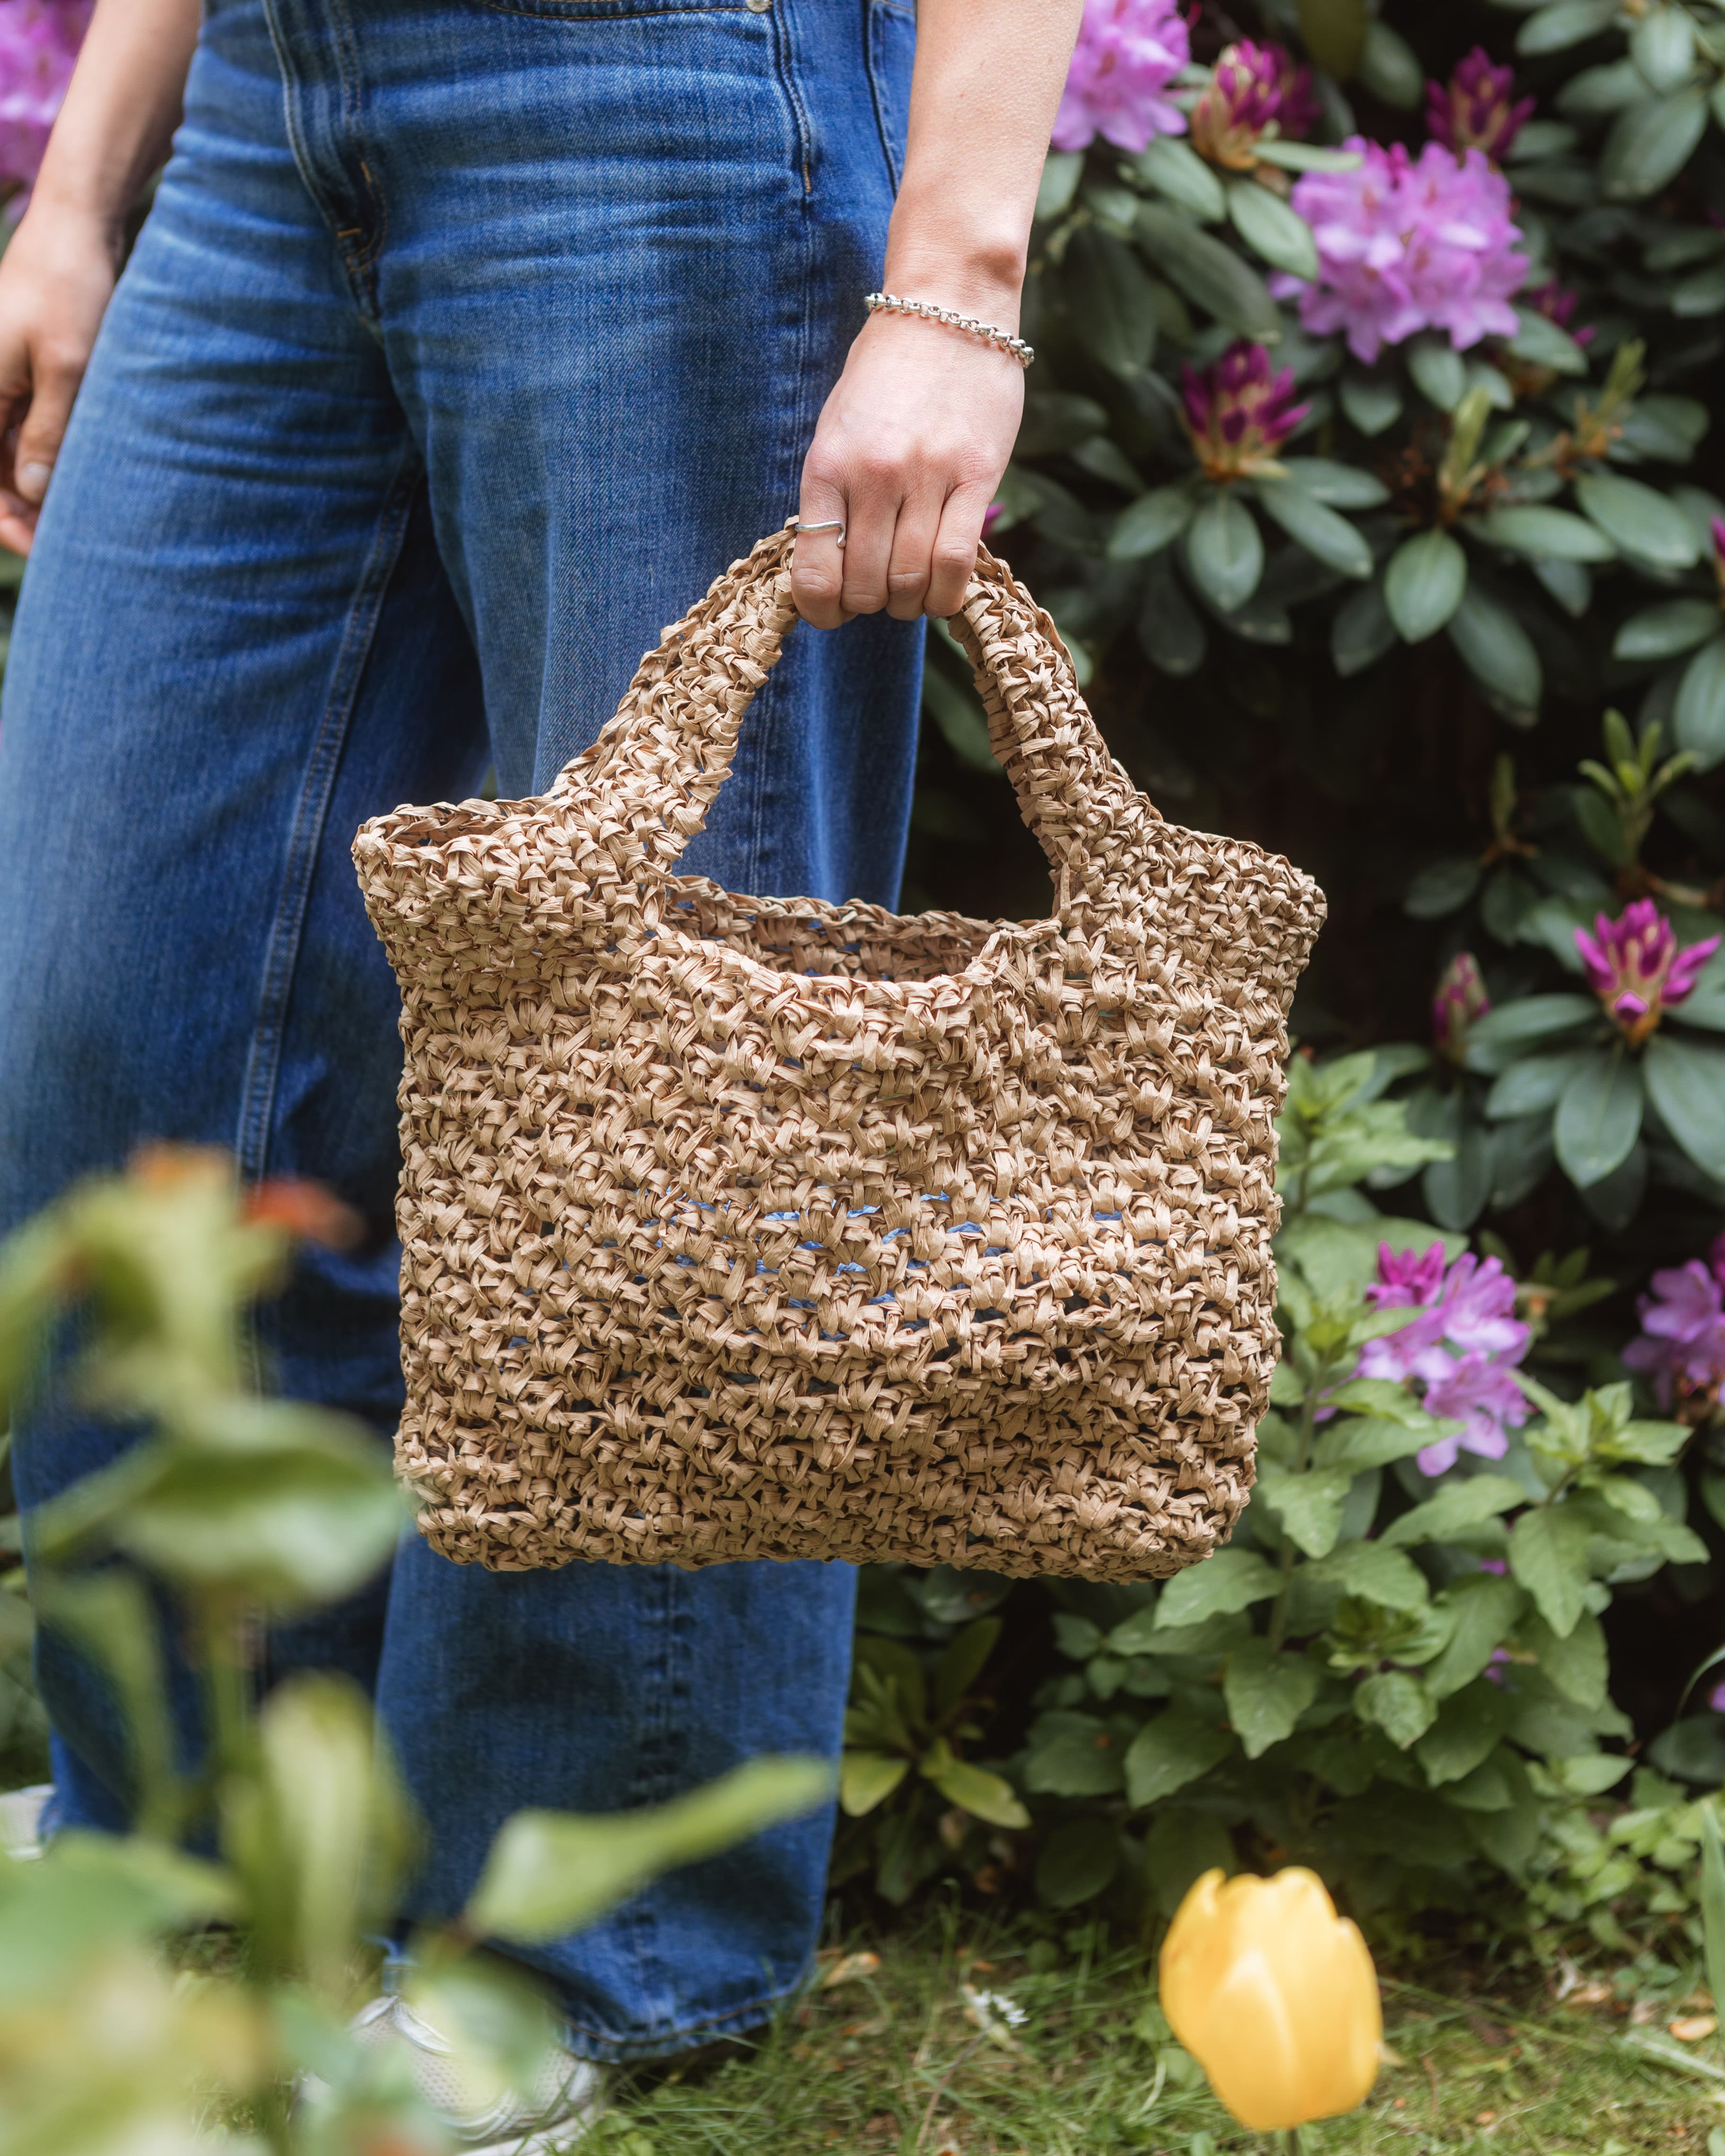
This bag is perfect for everything; the beach, shopping or work!
The size is up to you and choose the colors you want. The yarn used in the video is EKO Nano and the crochet hook is 6 mm (you can also use EKO mini and crochet hook 6-7 mm). The pattern is beginner friendly and fits well if you've never crocheted before, we go through all the steps in the video. We got inspiration for the bag from Linn @avokadoprojektet and Monica Appelgren, who made the nice green and white version. The bag will be approximately 33 x 39 cm in size (handles not included).
The colors of the bag in the video are Chalk Green and Nature White.
Yarn Consumption: Total approx. 550 g, depends on how big you crochet your bag. Approx 375 g of the base color and 175 g of the second color.

Here's how to do it
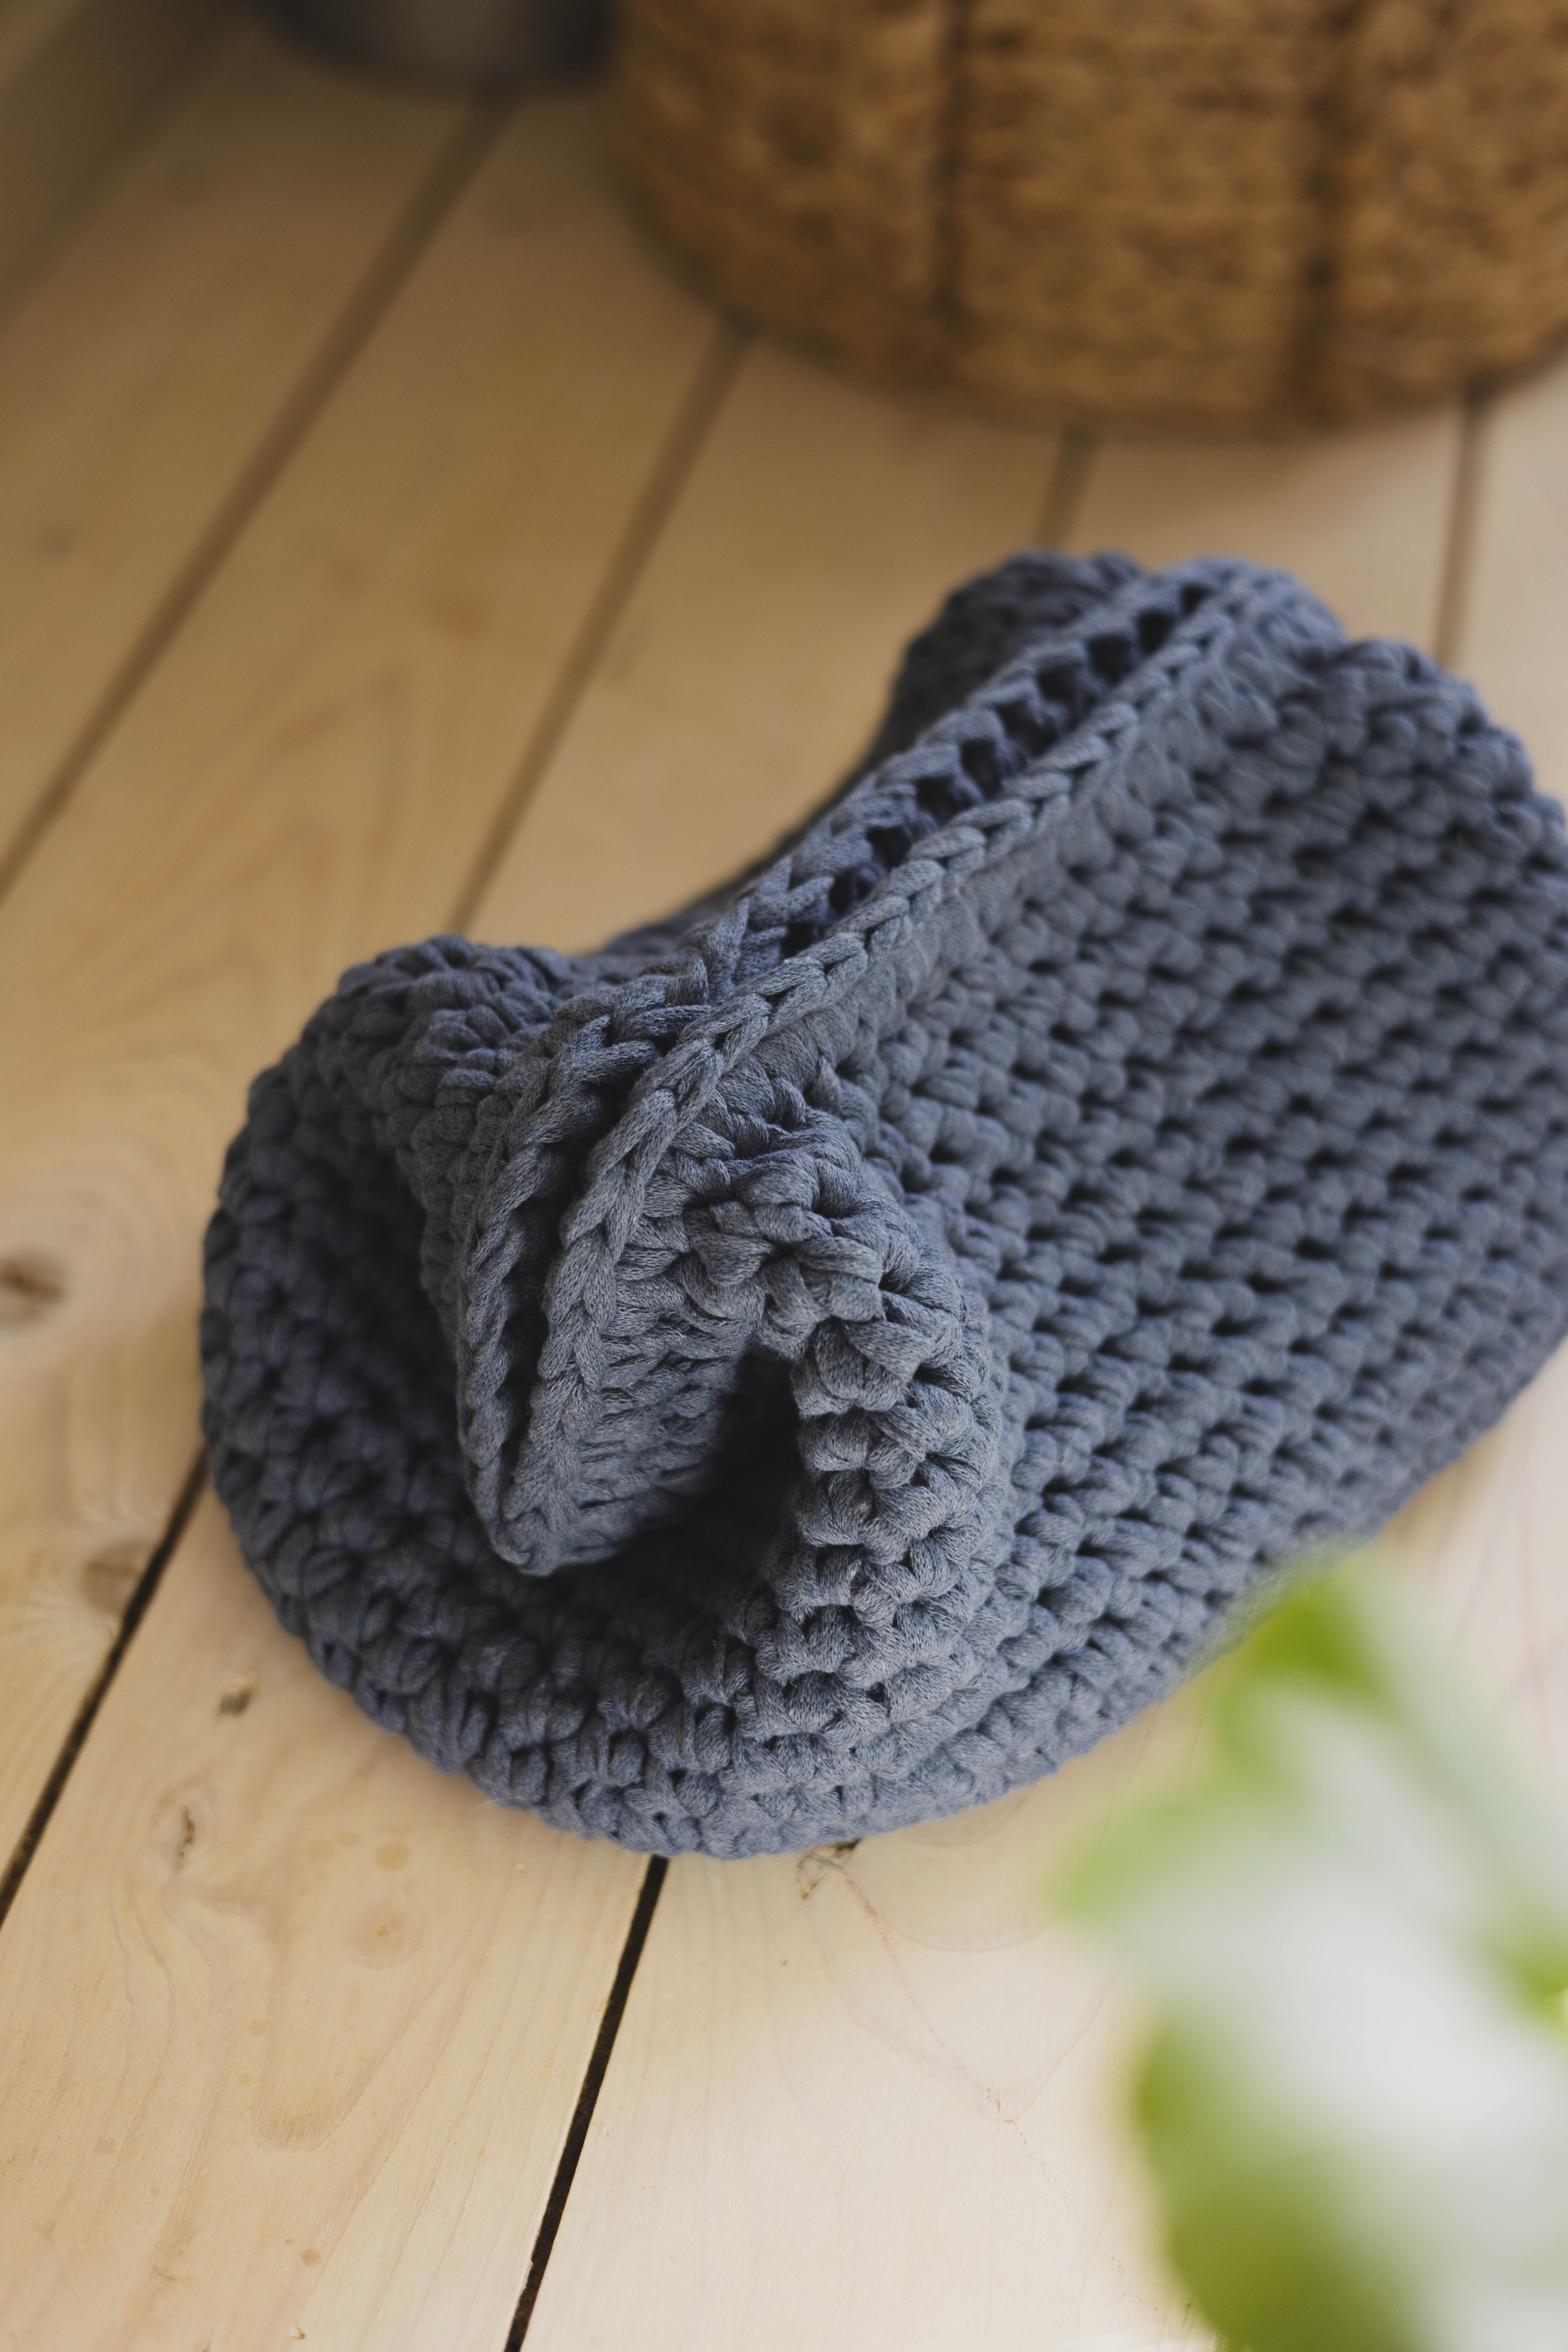
The bag is easy to crochet and we will start with the bottom. You decide the size of the bag by crocheting more or fewer stitches on the chain at the beginning. Then you can crochet it as high as you wish. We will show and explain how to change color, if you want your bag multi-colored. The dimensions of the bag crocheted in the video are about 39 x 32 cm. /Lizette

This is what you need:
Here you can directly purchase the material for the product. Please note that the instruction is digital and appears here on the page (no written instruction).


.jpg)
Unleash your creativity
For only 85kr per month you get access to all our 300+ beginner-friendly instructions for crochet, knitting and macrame.
A perfect way to get started with your new hobby!

Step 1 - the chain
Start by choosing the color you want at the bottom of the bag. The video shows you how to change the color, if you want to do it on your bag.
Start by crocheting a chain. Start by making a slip knot around the crochet hook. One way you can do this is to wrap the yarn around your index and middle finger and then pull the yarn up so that the loop locks when you tighten. Then crochet chain stithces, pick up yarn and pull through. The number of stitches depends on how long you want the bottom of the bag. For reference, 35 stitches are crocheted in the video.
Round 2
Now we will crochet round 2 on the bag. We start by skipping the first stitch and going down into the second stitch. Go down, pick up yarn and pull through. You have two loops on the crochet hook, pick up the yarn again and pull through. You have crocheted a single crochet. Crochet in the same way until you are at the end of the chain.
When you are at the end of the chain, crochet two more single crochets in the same stitch as the last stitch you crocheted. Now you continue crocheting on the other side of the chain, one stitch in each stitch until you are at the last stitch. In the last stitch, you crochet two extra ones in the same stitch.
Now we are going to crochet a stitch in each stitch and you continue so until you have the height of the bag that you want orwant to change color.
Color change
When you have crocheted with color 1 as many rounds as you want and want to change the color, you change color when your are on the side of the bag. You go down into the stitch on the side and pick up yarn and pull through so you have two loops on the crochet hook. Take the new color and make the last pull through with the next color. It will be a nice color change.
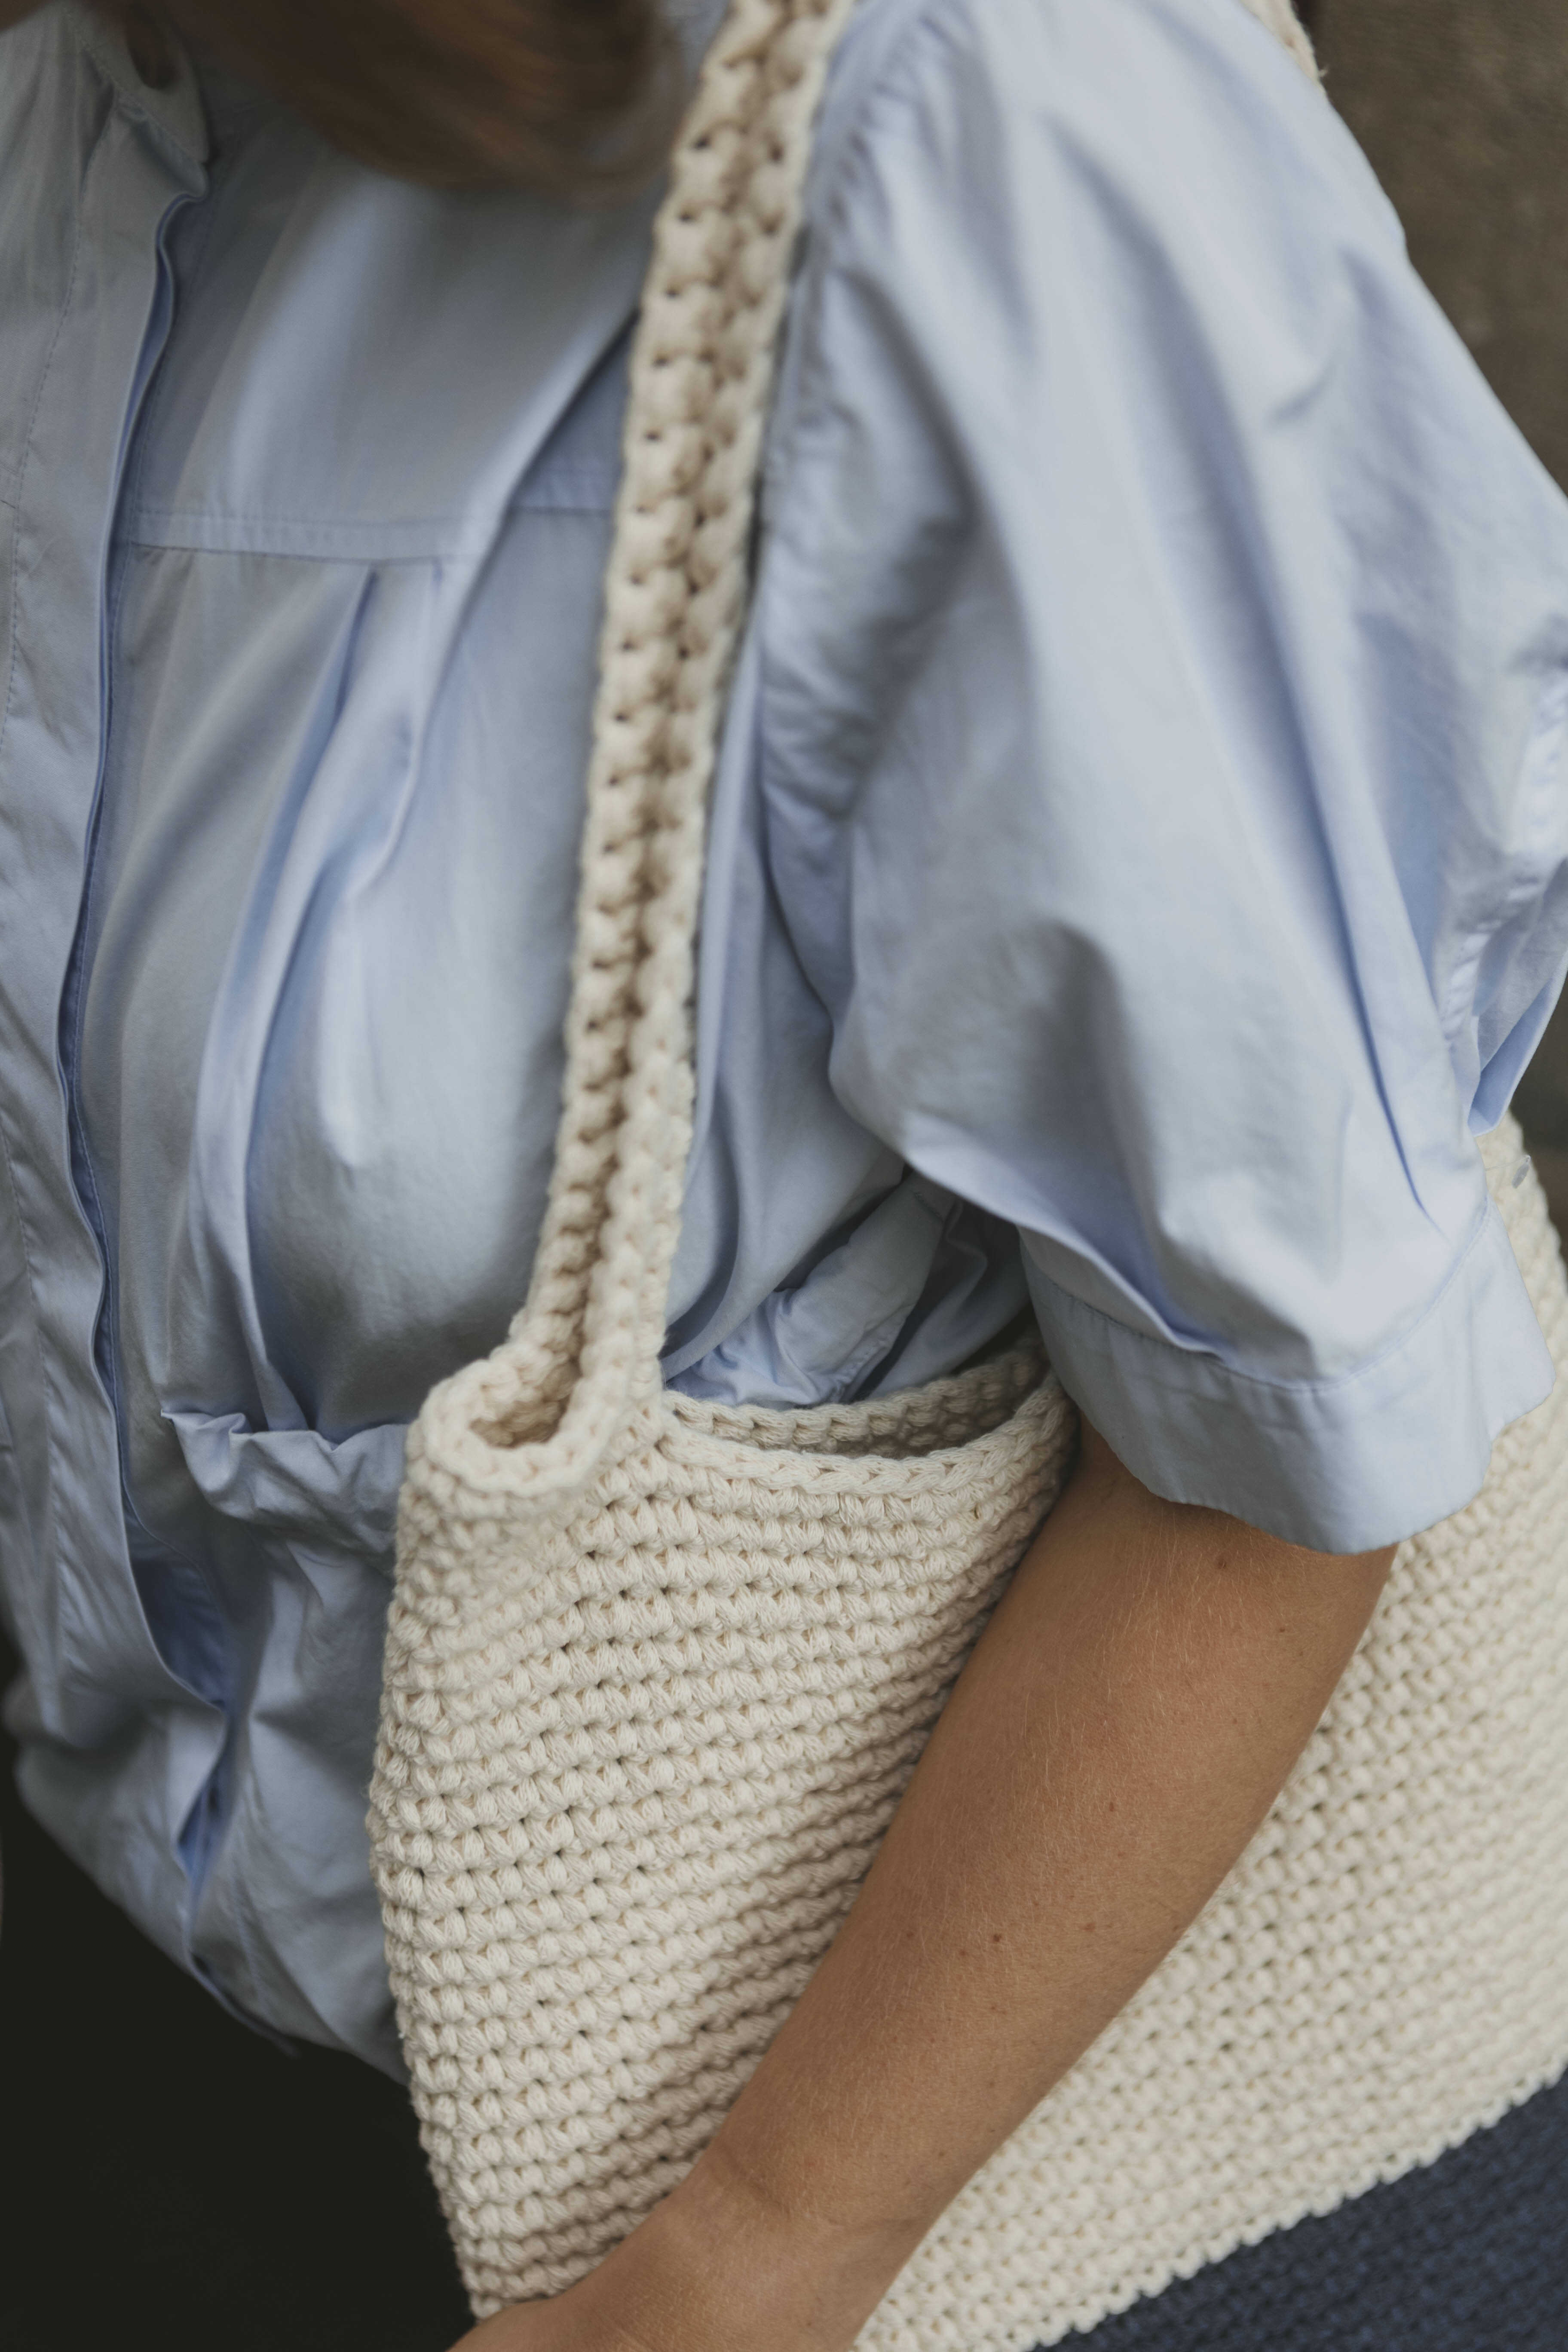
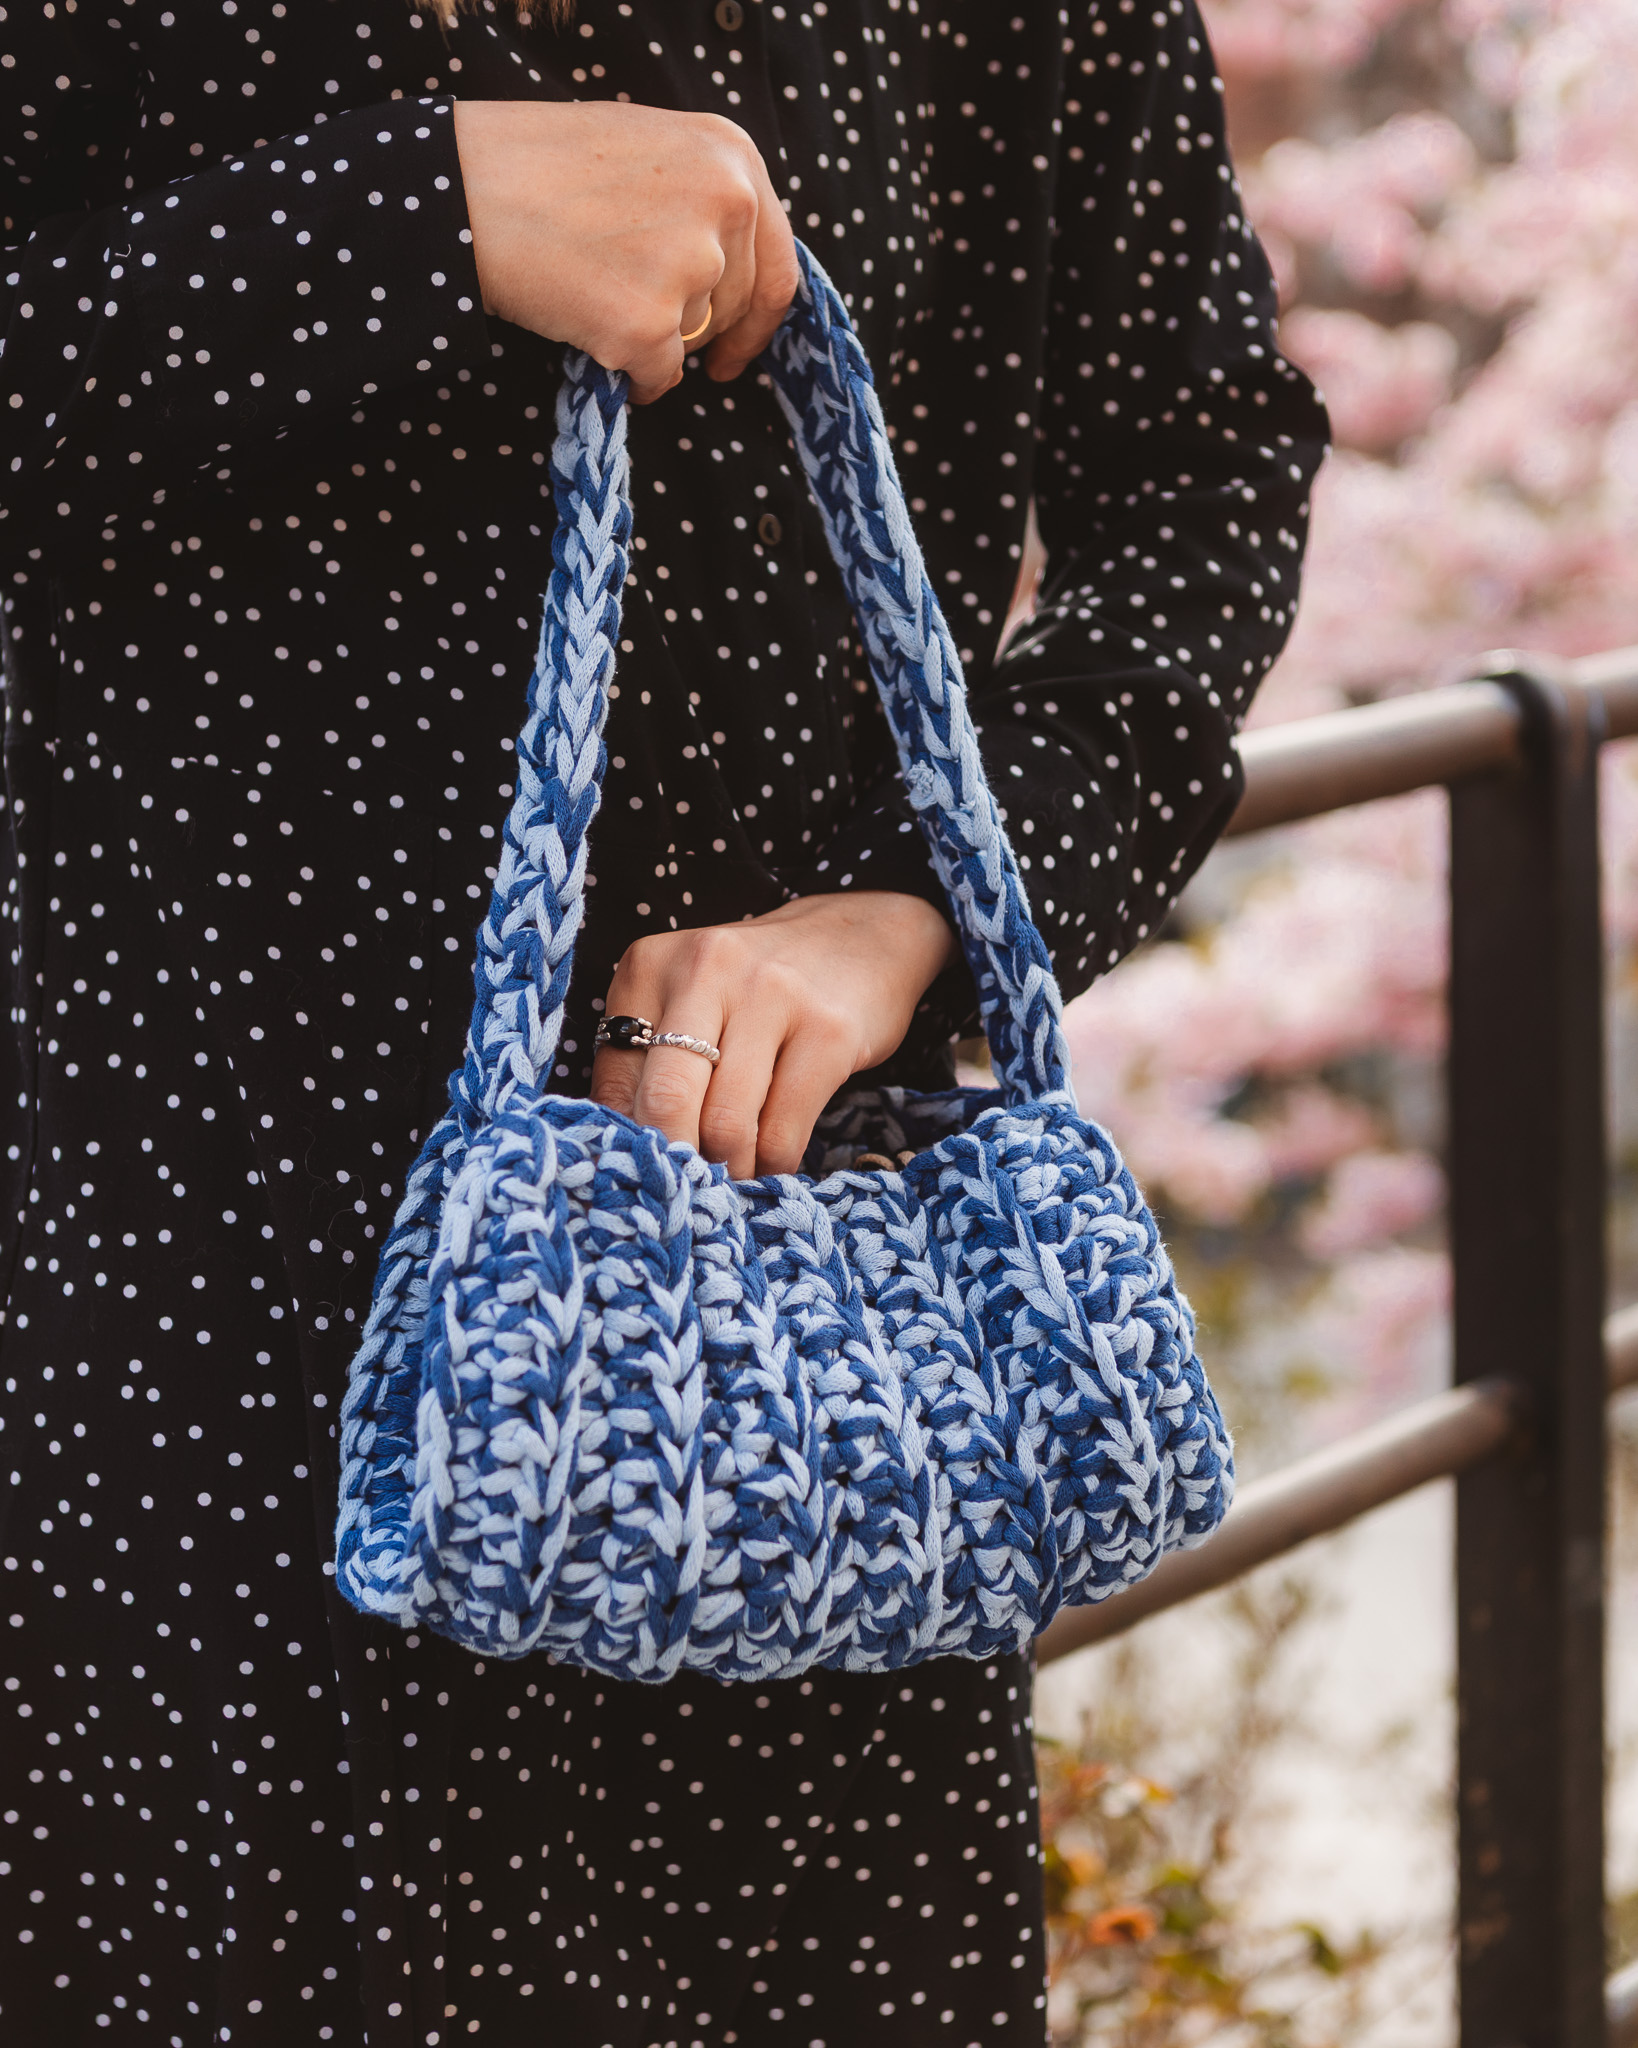
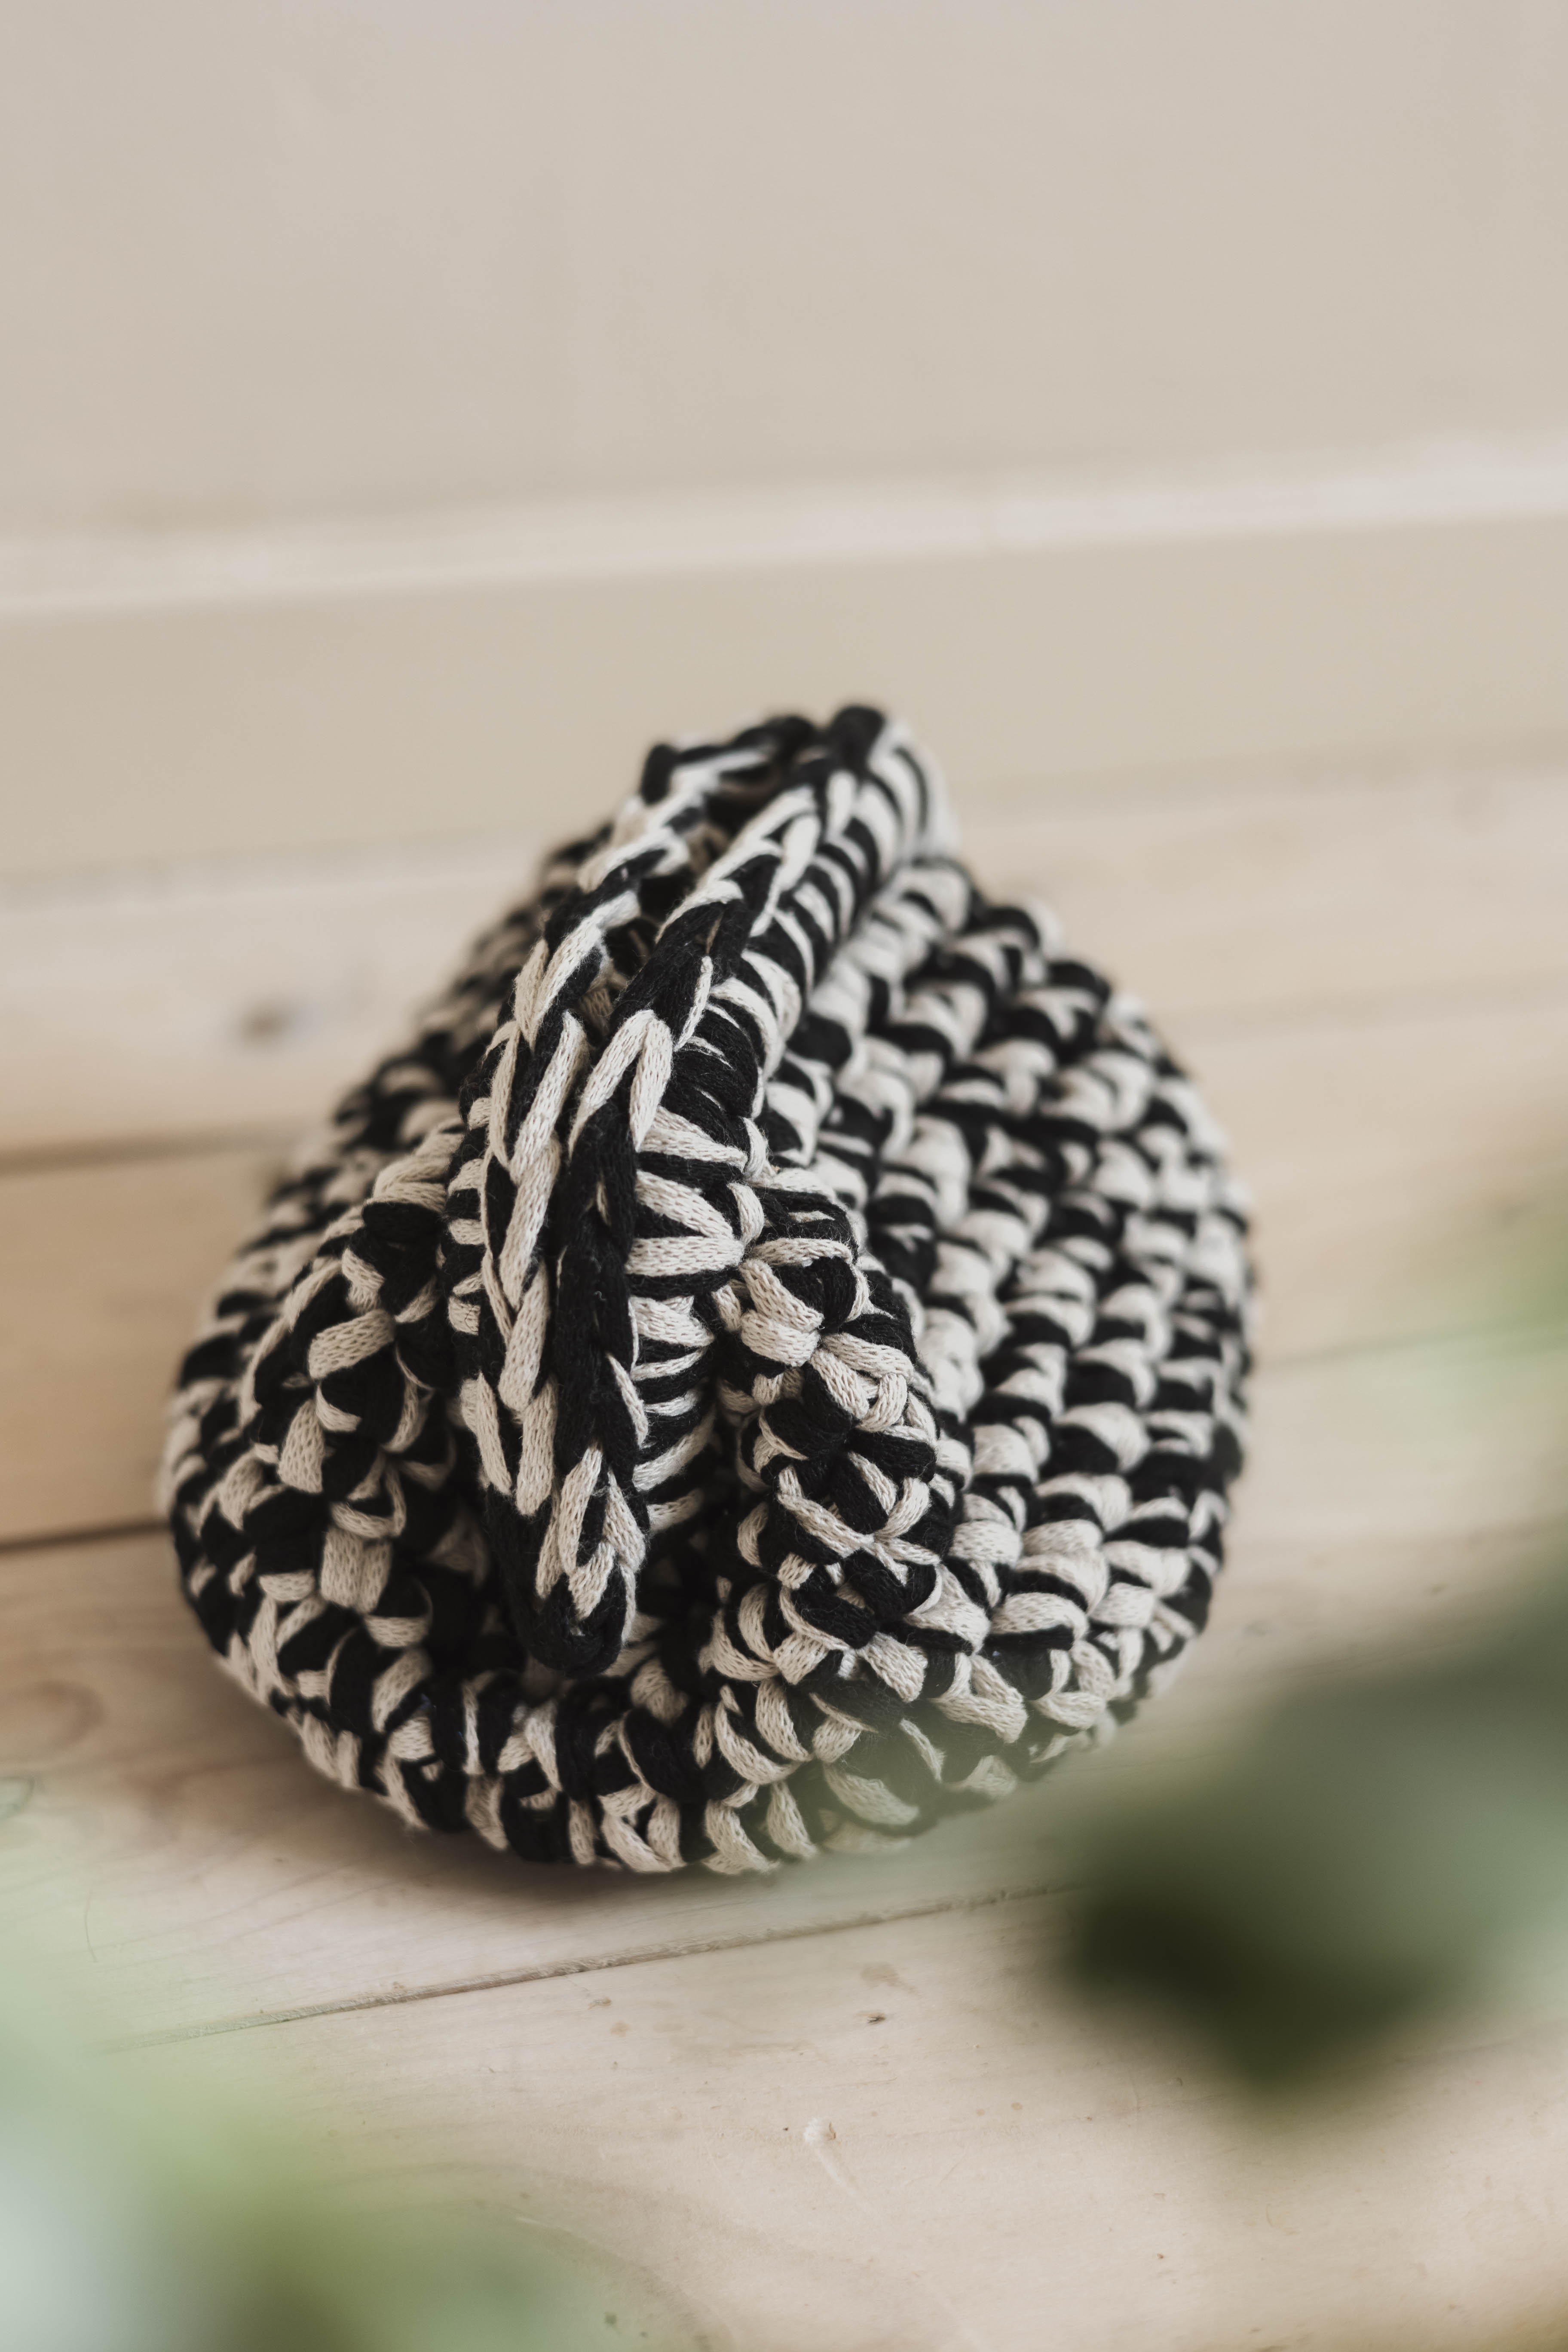
Continue crocheting either until you reach the height of the bag as you wish or until you want to change color again. For reference, we crocheted 15 rows in blue and 27 rows in white on the bag in the picture.
Shoulder Straps
Now it’s time for the round with the shoulder straps. Use 4 stitch markers to mark where you want the straps to start and end. For reference, there are 24 stitches between the straps in the example bag.
Work sc until you reach the st before your first marker. This is your last sc before starting the chains. For reference, the straps in the example bag have 40 chains. Keep in mind the straps may stretch slightly.
When you are happy with the number of chains, insert your hook into the st after the second marker and continue working sc until you reach the third marker. Work the second strap here with the same number of chains as the first strap.
Insert your hook into the st after the last marker and continue working sc until you are back where you started.
Now work 1 sc in each st, including over the chains.
Work as many rounds as needed to achieve the desired thickness for the straps. For reference, we worked 2 additional rounds of sc, for a total of 3 rounds.
Cut the yarn and fasten off.
You’re done! 🙂
Crochet Terms
Abbreviations
st = stitch
ch = chain
sc = single crochet
(...) = indicates the number of stitches in the current round
Now we are going to crochet a beautiful bag! If you need help along the way, check out our simplified version of this pattern. In this case, there are no images for guidance, so we refer to the full-length video tutorial.
Row 1: Ch 35 (35). You can make more or fewer chains depending on whether you want your bag larger or smaller.
Round 2: Start in the 2nd st from the hook; 33 sc, 3 sc in the same st. Work on the other side of the chain: 32 sc, 3 sc in the same st. (71)
Round 3: 1 sc in each st. (71)
Repeat Round 3 until you are satisfied with the height of the bag or want to change color. (In the bag shown in the photos, we worked 15 rounds in blue and 27 rounds in white before starting the shoulder straps.)
Shoulder Straps
Now it’s time for the round with the shoulder straps. Use 4 stitch markers to mark where you want the straps to start and end. For reference, there are 24 stitches between the straps in the example bag.
Work sc until you reach the st before your first marker. This is your last sc before starting the chains. For reference, the straps in the example bag have 40 chains. Keep in mind the straps may stretch slightly.
When you are happy with the number of chains, insert your hook into the st after the second marker and continue working sc until you reach the third marker. Work the second strap here with the same number of chains as the first strap.
Insert your hook into the st after the last marker and continue working sc until you are back where you started.
Now work 1 sc in each st, including over the chains.
Work as many rounds as needed to achieve the desired thickness for the straps. For reference, we worked 2 additional rounds of sc, for a total of 3 rounds.
Cut the yarn and fasten off.
You’re done! 🙂
The rights to this pattern belong to MYO Make Your Own. The pattern or its pictures may not be copied, shared or resold either in parts or in its entirety, but you may sell items you have crocheted from this pattern. If you have questions about the pattern, contact MYO at hello@makeyourown.se.
Step 1 - the chain
Start by choosing the color you want at the bottom of the bag. The video shows you how to change the color, if you want to do it on your bag.
Start by crocheting a chain. Start by making a slip knot around the crochet hook. One way you can do this is to wrap the yarn around your index and middle finger and then pull the yarn up so that the loop locks when you tighten. Then crochet chain stithces, pick up yarn and pull through. The number of stitches depends on how long you want the bottom of the bag. For reference, 35 stitches are crocheted in the video.
Round 2
Now we will crochet round 2 on the bag. We start by skipping the first stitch and going down into the second stitch. Go down, pick up yarn and pull through. You have two loops on the crochet hook, pick up the yarn again and pull through. You have crocheted a single crochet. Crochet in the same way until you are at the end of the chain.
When you are at the end of the chain, crochet two more single crochets in the same stitch as the last stitch you crocheted. Now you continue crocheting on the other side of the chain, one stitch in each stitch until you are at the last stitch. In the last stitch, you crochet two extra ones in the same stitch.
Now we are going to crochet a stitch in each stitch and you continue so until you have the height of the bag that you want orwant to change color.
Color change
When you have crocheted with color 1 as many rounds as you want and want to change the color, you change color when your are on the side of the bag. You go down into the stitch on the side and pick up yarn and pull through so you have two loops on the crochet hook. Take the new color and make the last pull through with the next color. It will be a nice color change.
Continue crocheting either until you reach the height of the bag as you wish or until you want to change color again. For reference, we crocheted 15 rows in blue and 27 rows in white on the bag in the picture.
Shoulder Straps
Now it’s time for the round with the shoulder straps. Use 4 stitch markers to mark where you want the straps to start and end. For reference, there are 24 stitches between the straps in the example bag.
Work sc until you reach the st before your first marker. This is your last sc before starting the chains. For reference, the straps in the example bag have 40 chains. Keep in mind the straps may stretch slightly.
When you are happy with the number of chains, insert your hook into the st after the second marker and continue working sc until you reach the third marker. Work the second strap here with the same number of chains as the first strap.
Insert your hook into the st after the last marker and continue working sc until you are back where you started.
Now work 1 sc in each st, including over the chains.
Work as many rounds as needed to achieve the desired thickness for the straps. For reference, we worked 2 additional rounds of sc, for a total of 3 rounds.
Cut the yarn and fasten off.
You’re done! 🙂
Crochet Terms
Abbreviations
st = stitch
ch = chain
sc = single crochet
(...) = indicates the number of stitches in the current round
Now we are going to crochet a beautiful bag! If you need help along the way, check out our simplified version of this pattern. In this case, there are no images for guidance, so we refer to the full-length video tutorial.
Row 1: Ch 35 (35). You can make more or fewer chains depending on whether you want your bag larger or smaller.
Round 2: Start in the 2nd st from the hook; 33 sc, 3 sc in the same st. Work on the other side of the chain: 32 sc, 3 sc in the same st. (71)
Round 3: 1 sc in each st. (71)
Repeat Round 3 until you are satisfied with the height of the bag or want to change color. (In the bag shown in the photos, we worked 15 rounds in blue and 27 rounds in white before starting the shoulder straps.)
Shoulder Straps
Now it’s time for the round with the shoulder straps. Use 4 stitch markers to mark where you want the straps to start and end. For reference, there are 24 stitches between the straps in the example bag.
Work sc until you reach the st before your first marker. This is your last sc before starting the chains. For reference, the straps in the example bag have 40 chains. Keep in mind the straps may stretch slightly.
When you are happy with the number of chains, insert your hook into the st after the second marker and continue working sc until you reach the third marker. Work the second strap here with the same number of chains as the first strap.
Insert your hook into the st after the last marker and continue working sc until you are back where you started.
Now work 1 sc in each st, including over the chains.
Work as many rounds as needed to achieve the desired thickness for the straps. For reference, we worked 2 additional rounds of sc, for a total of 3 rounds.
Cut the yarn and fasten off.
You’re done! 🙂
The rights to this pattern belong to MYO Make Your Own. The pattern or its pictures may not be copied, shared or resold either in parts or in its entirety, but you may sell items you have crocheted from this pattern. If you have questions about the pattern, contact MYO at hello@makeyourown.se.

Share your creations with us
Thank you!
Your comment was sent!