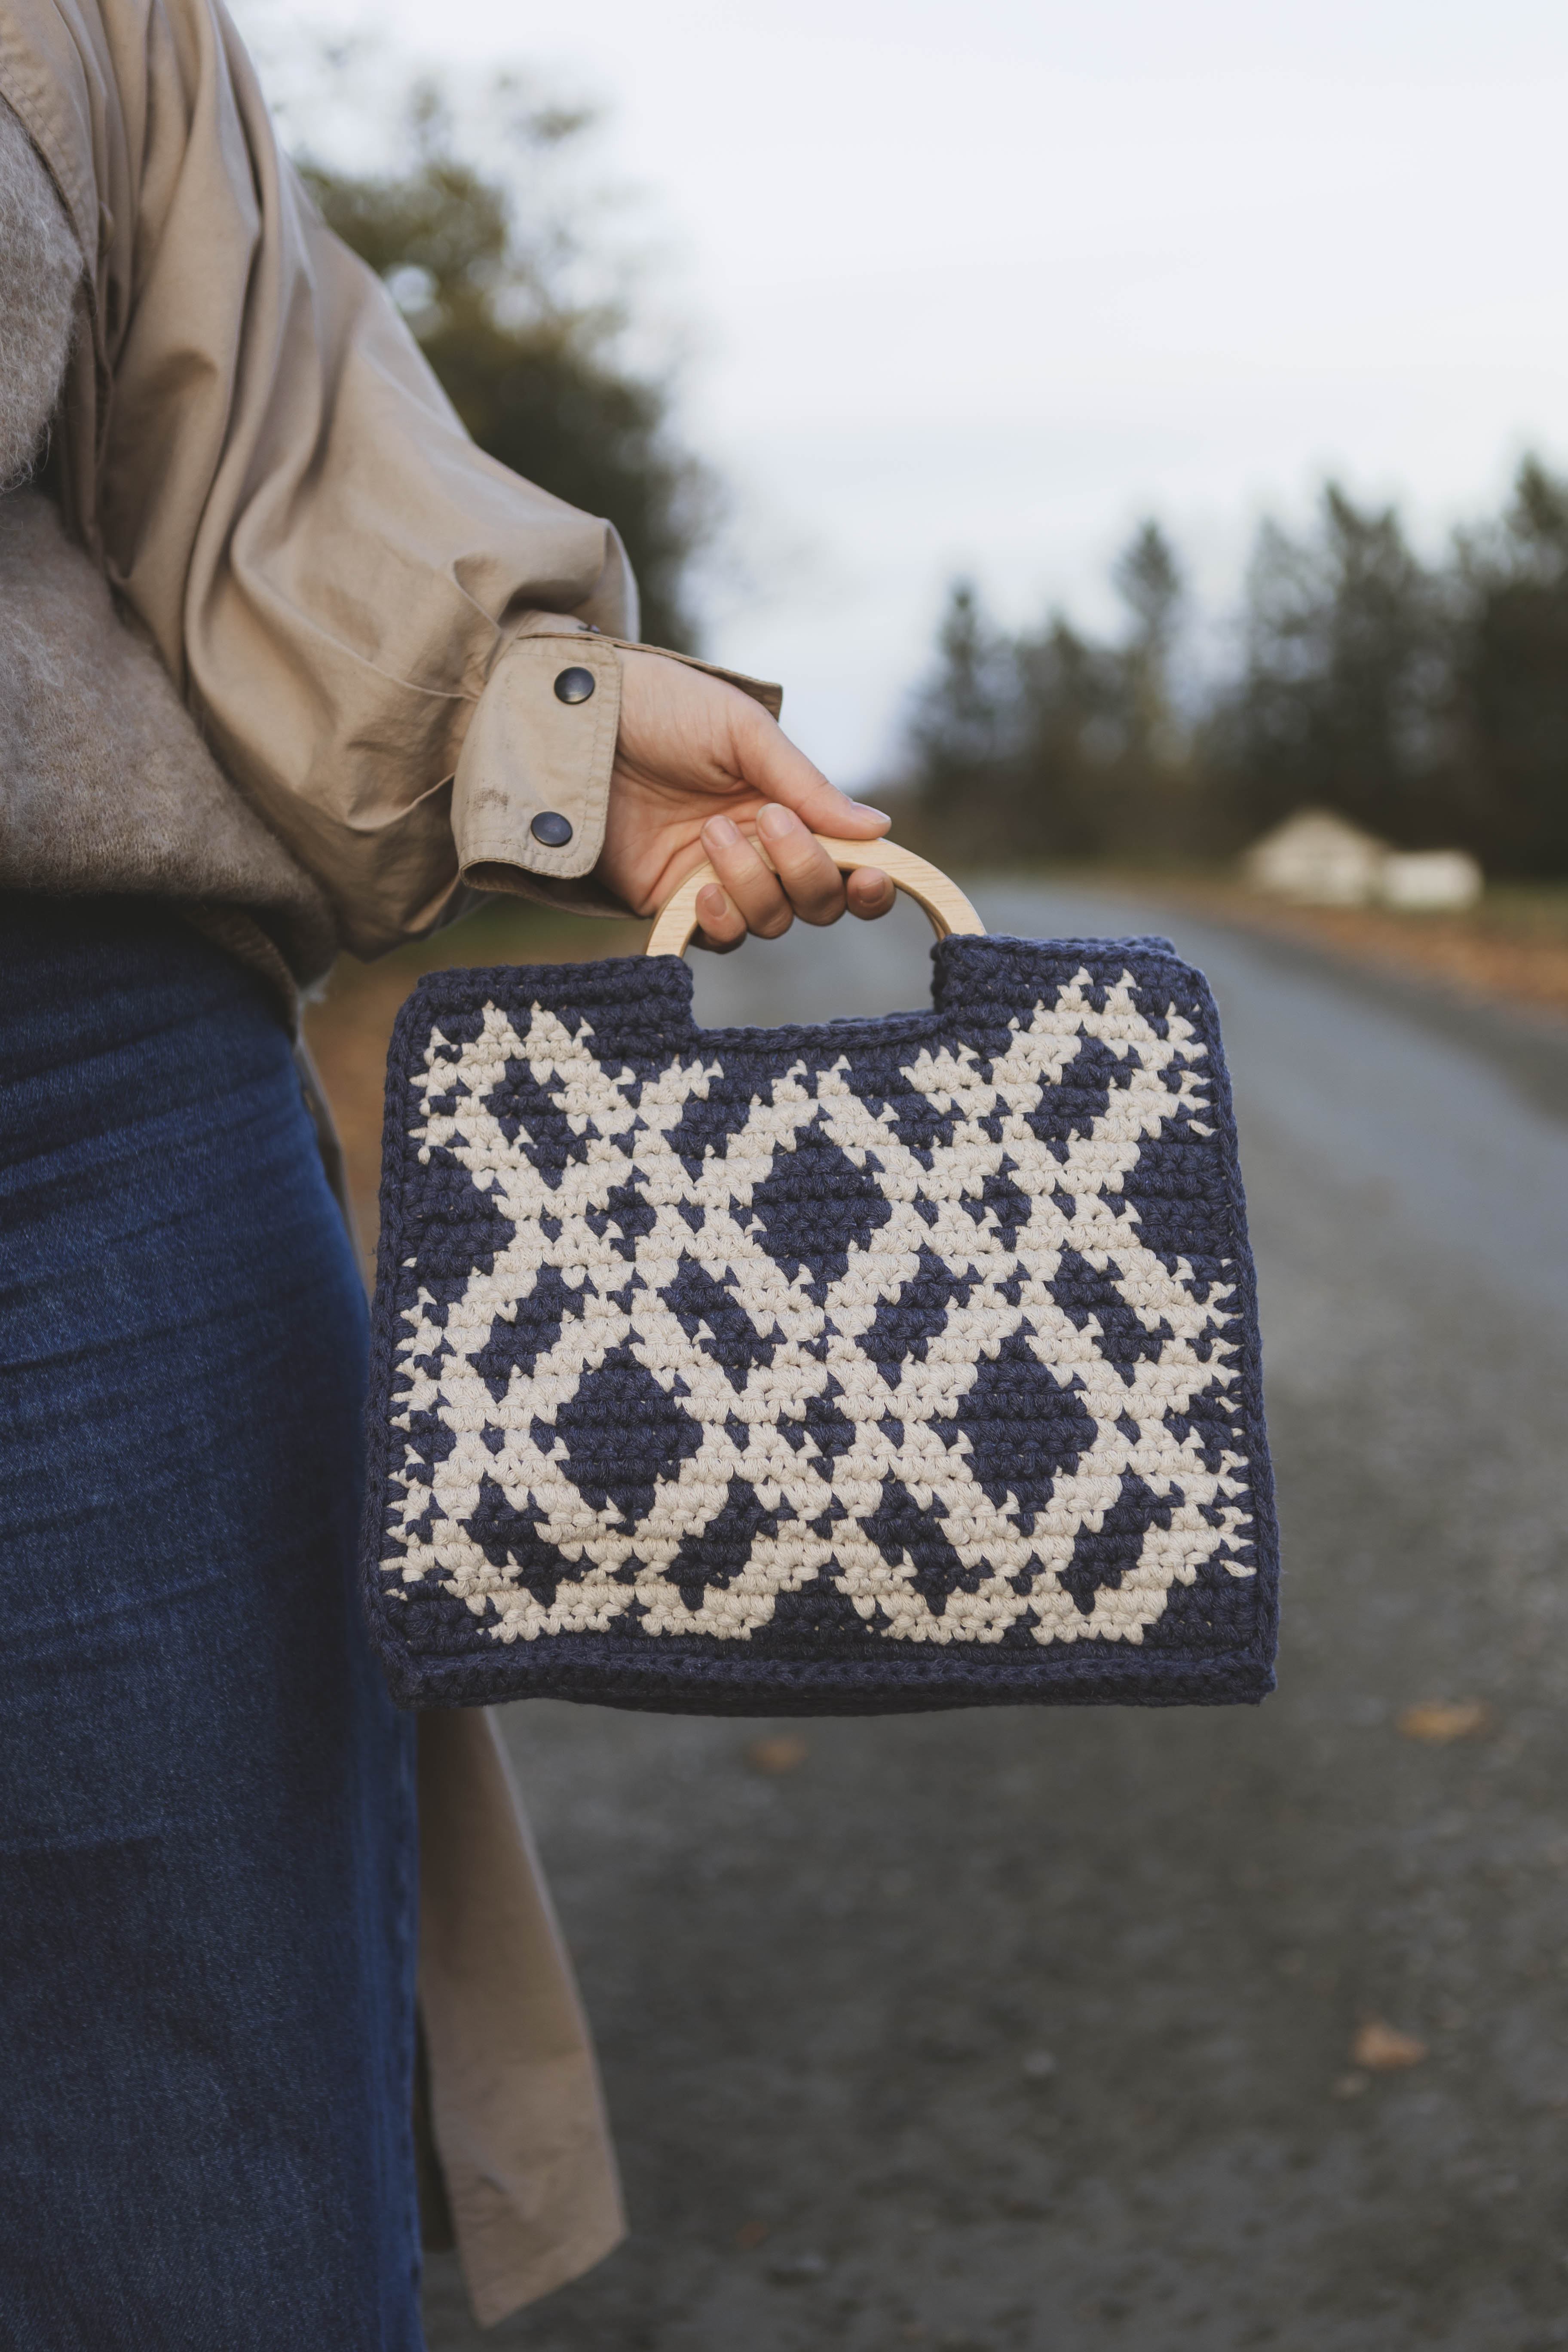
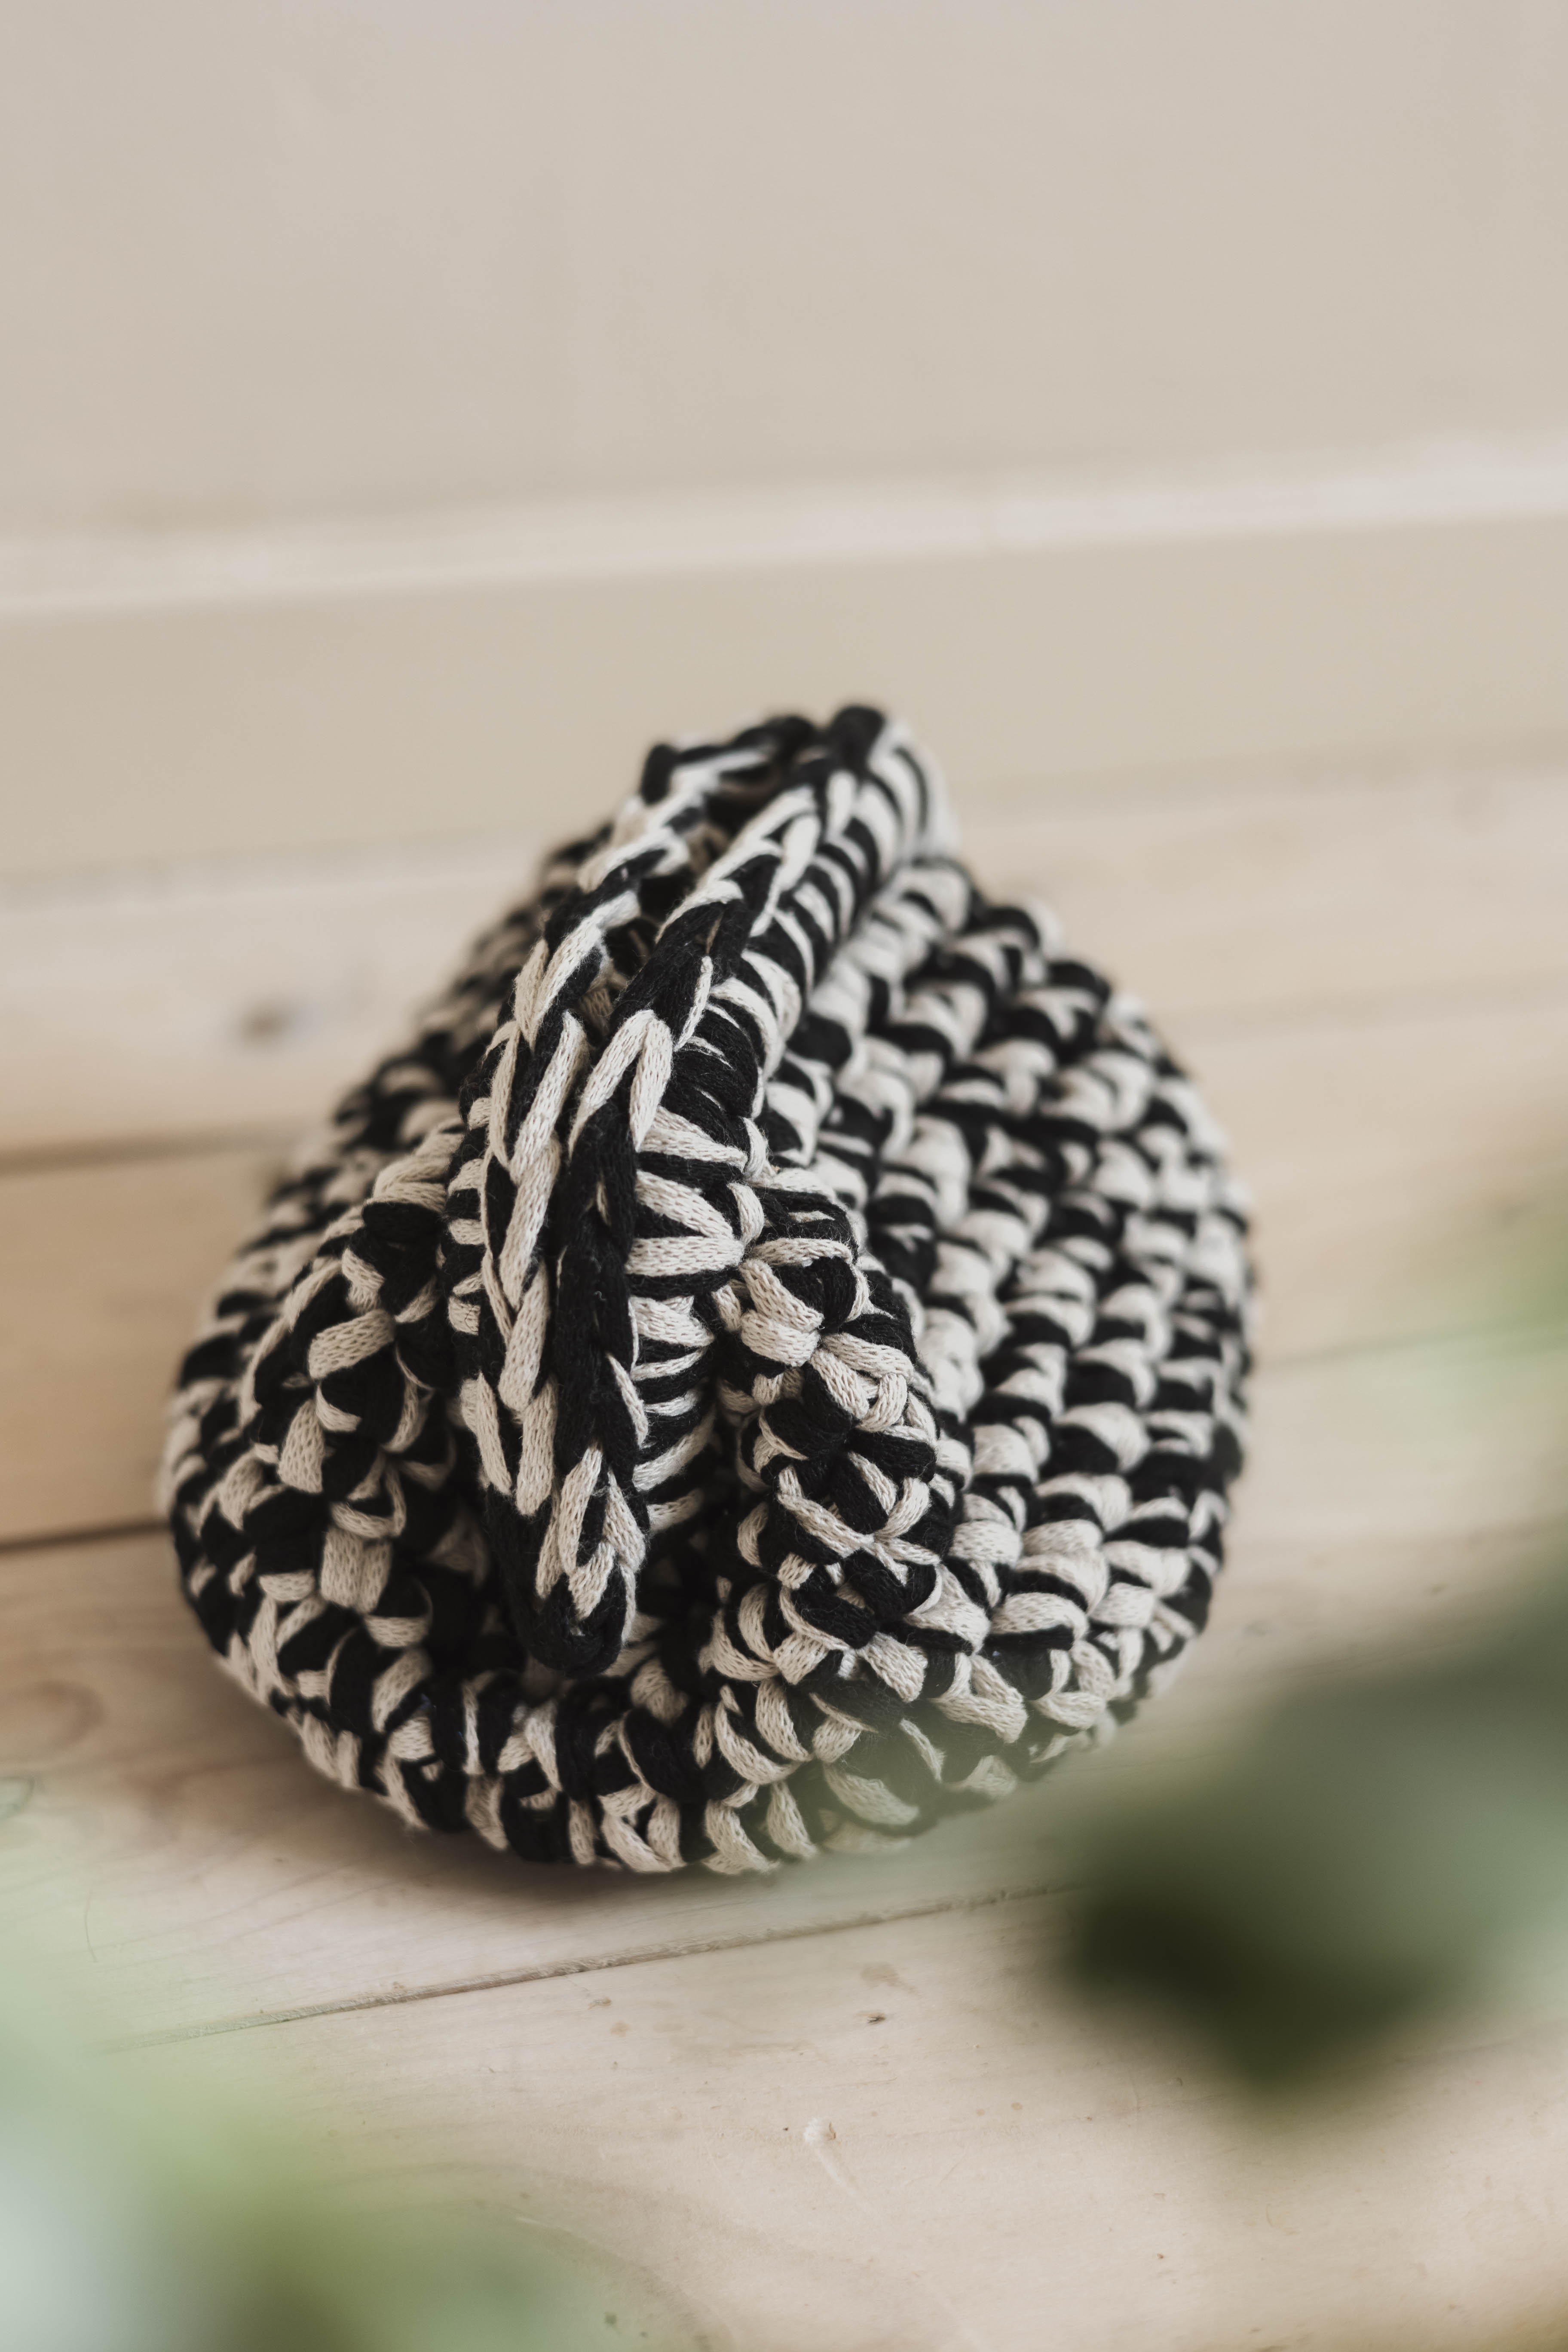
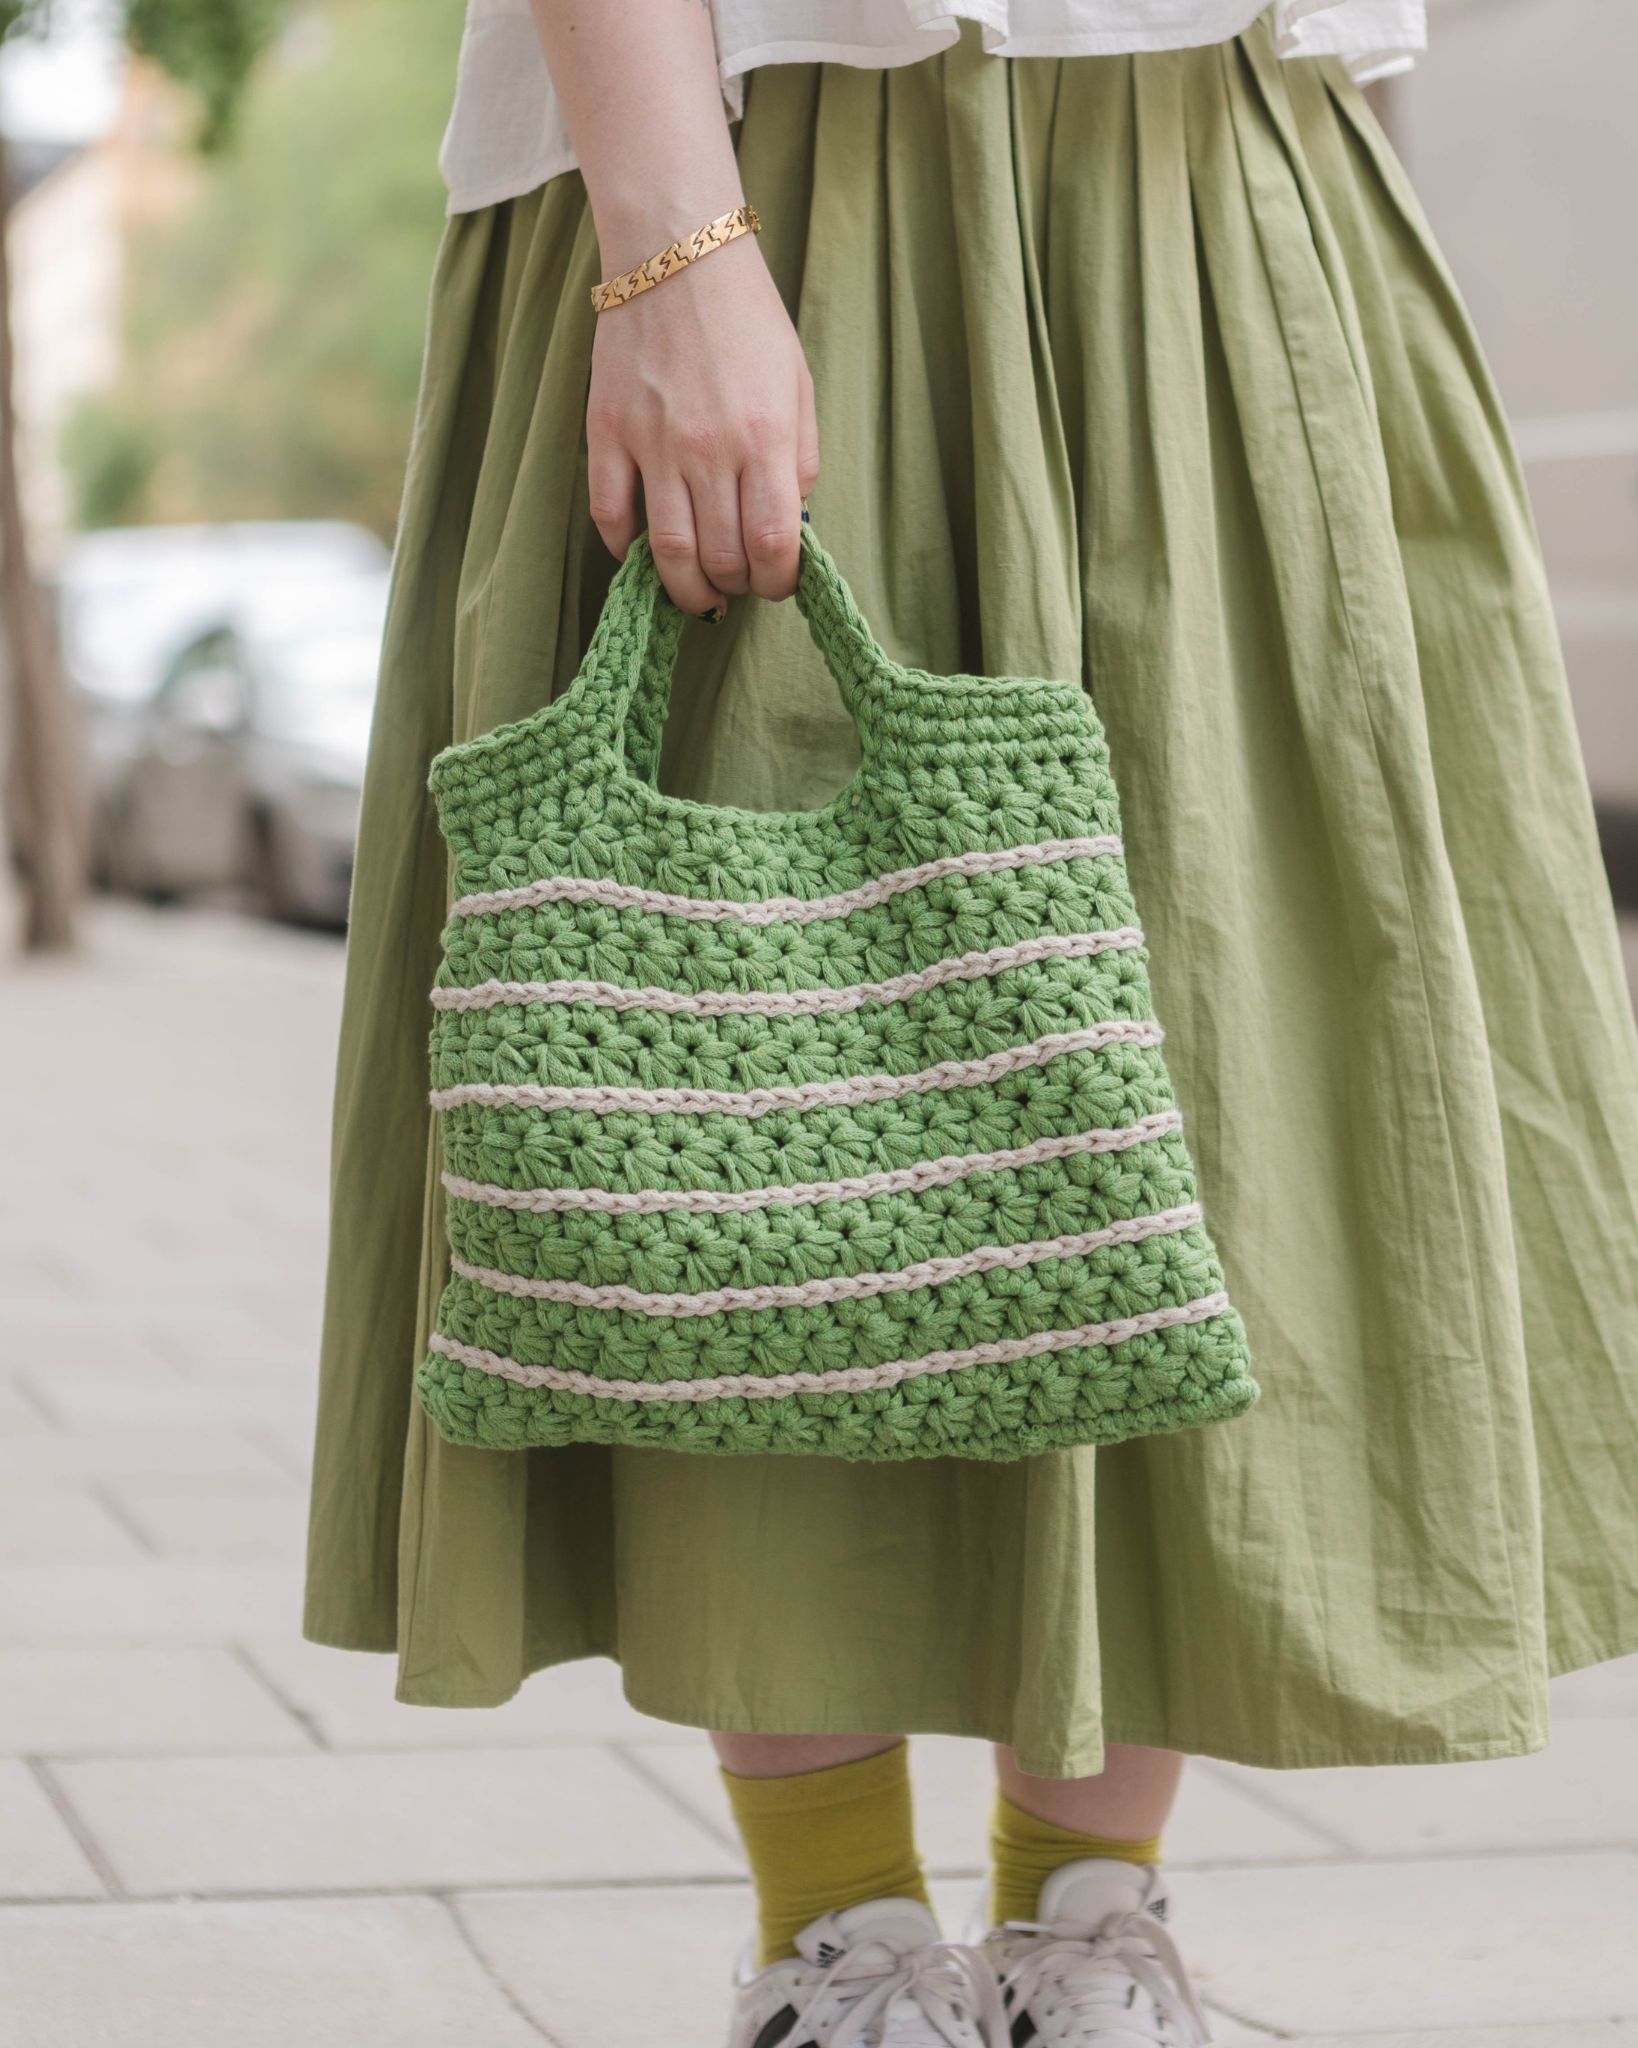
Crochet clutch “Astra”
Crochet a stylish clutch bag that fits every occasion!
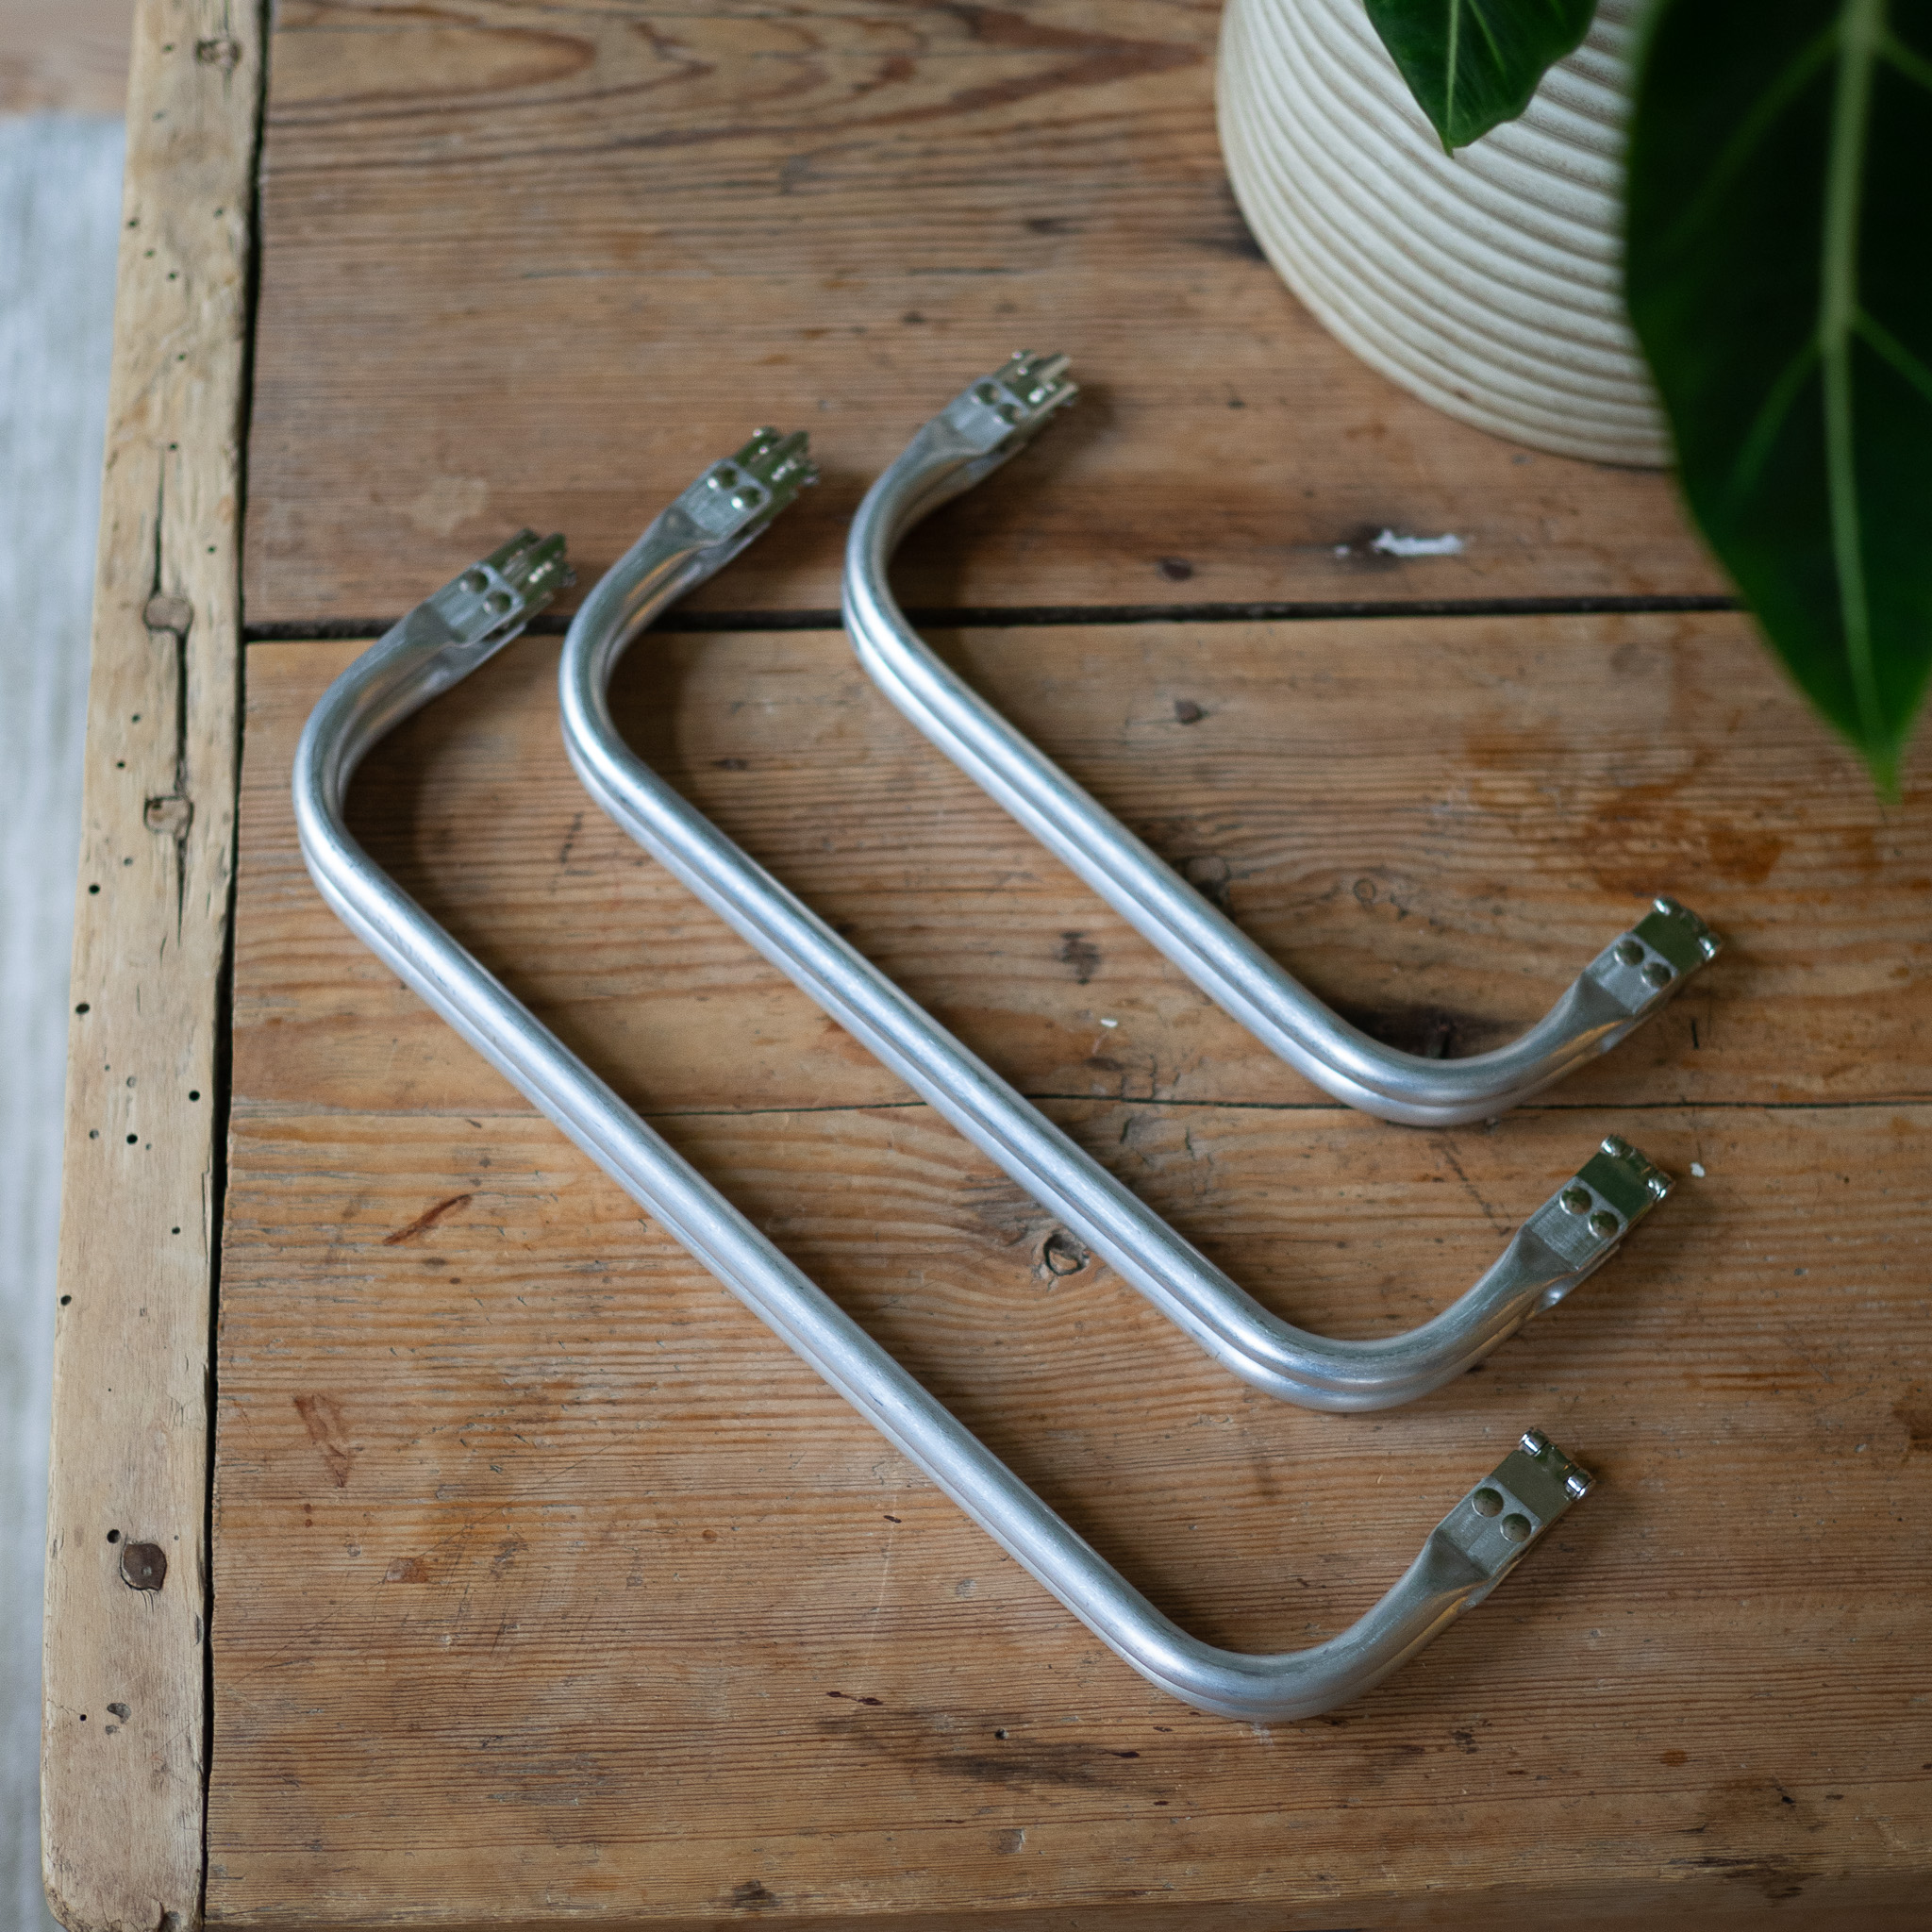
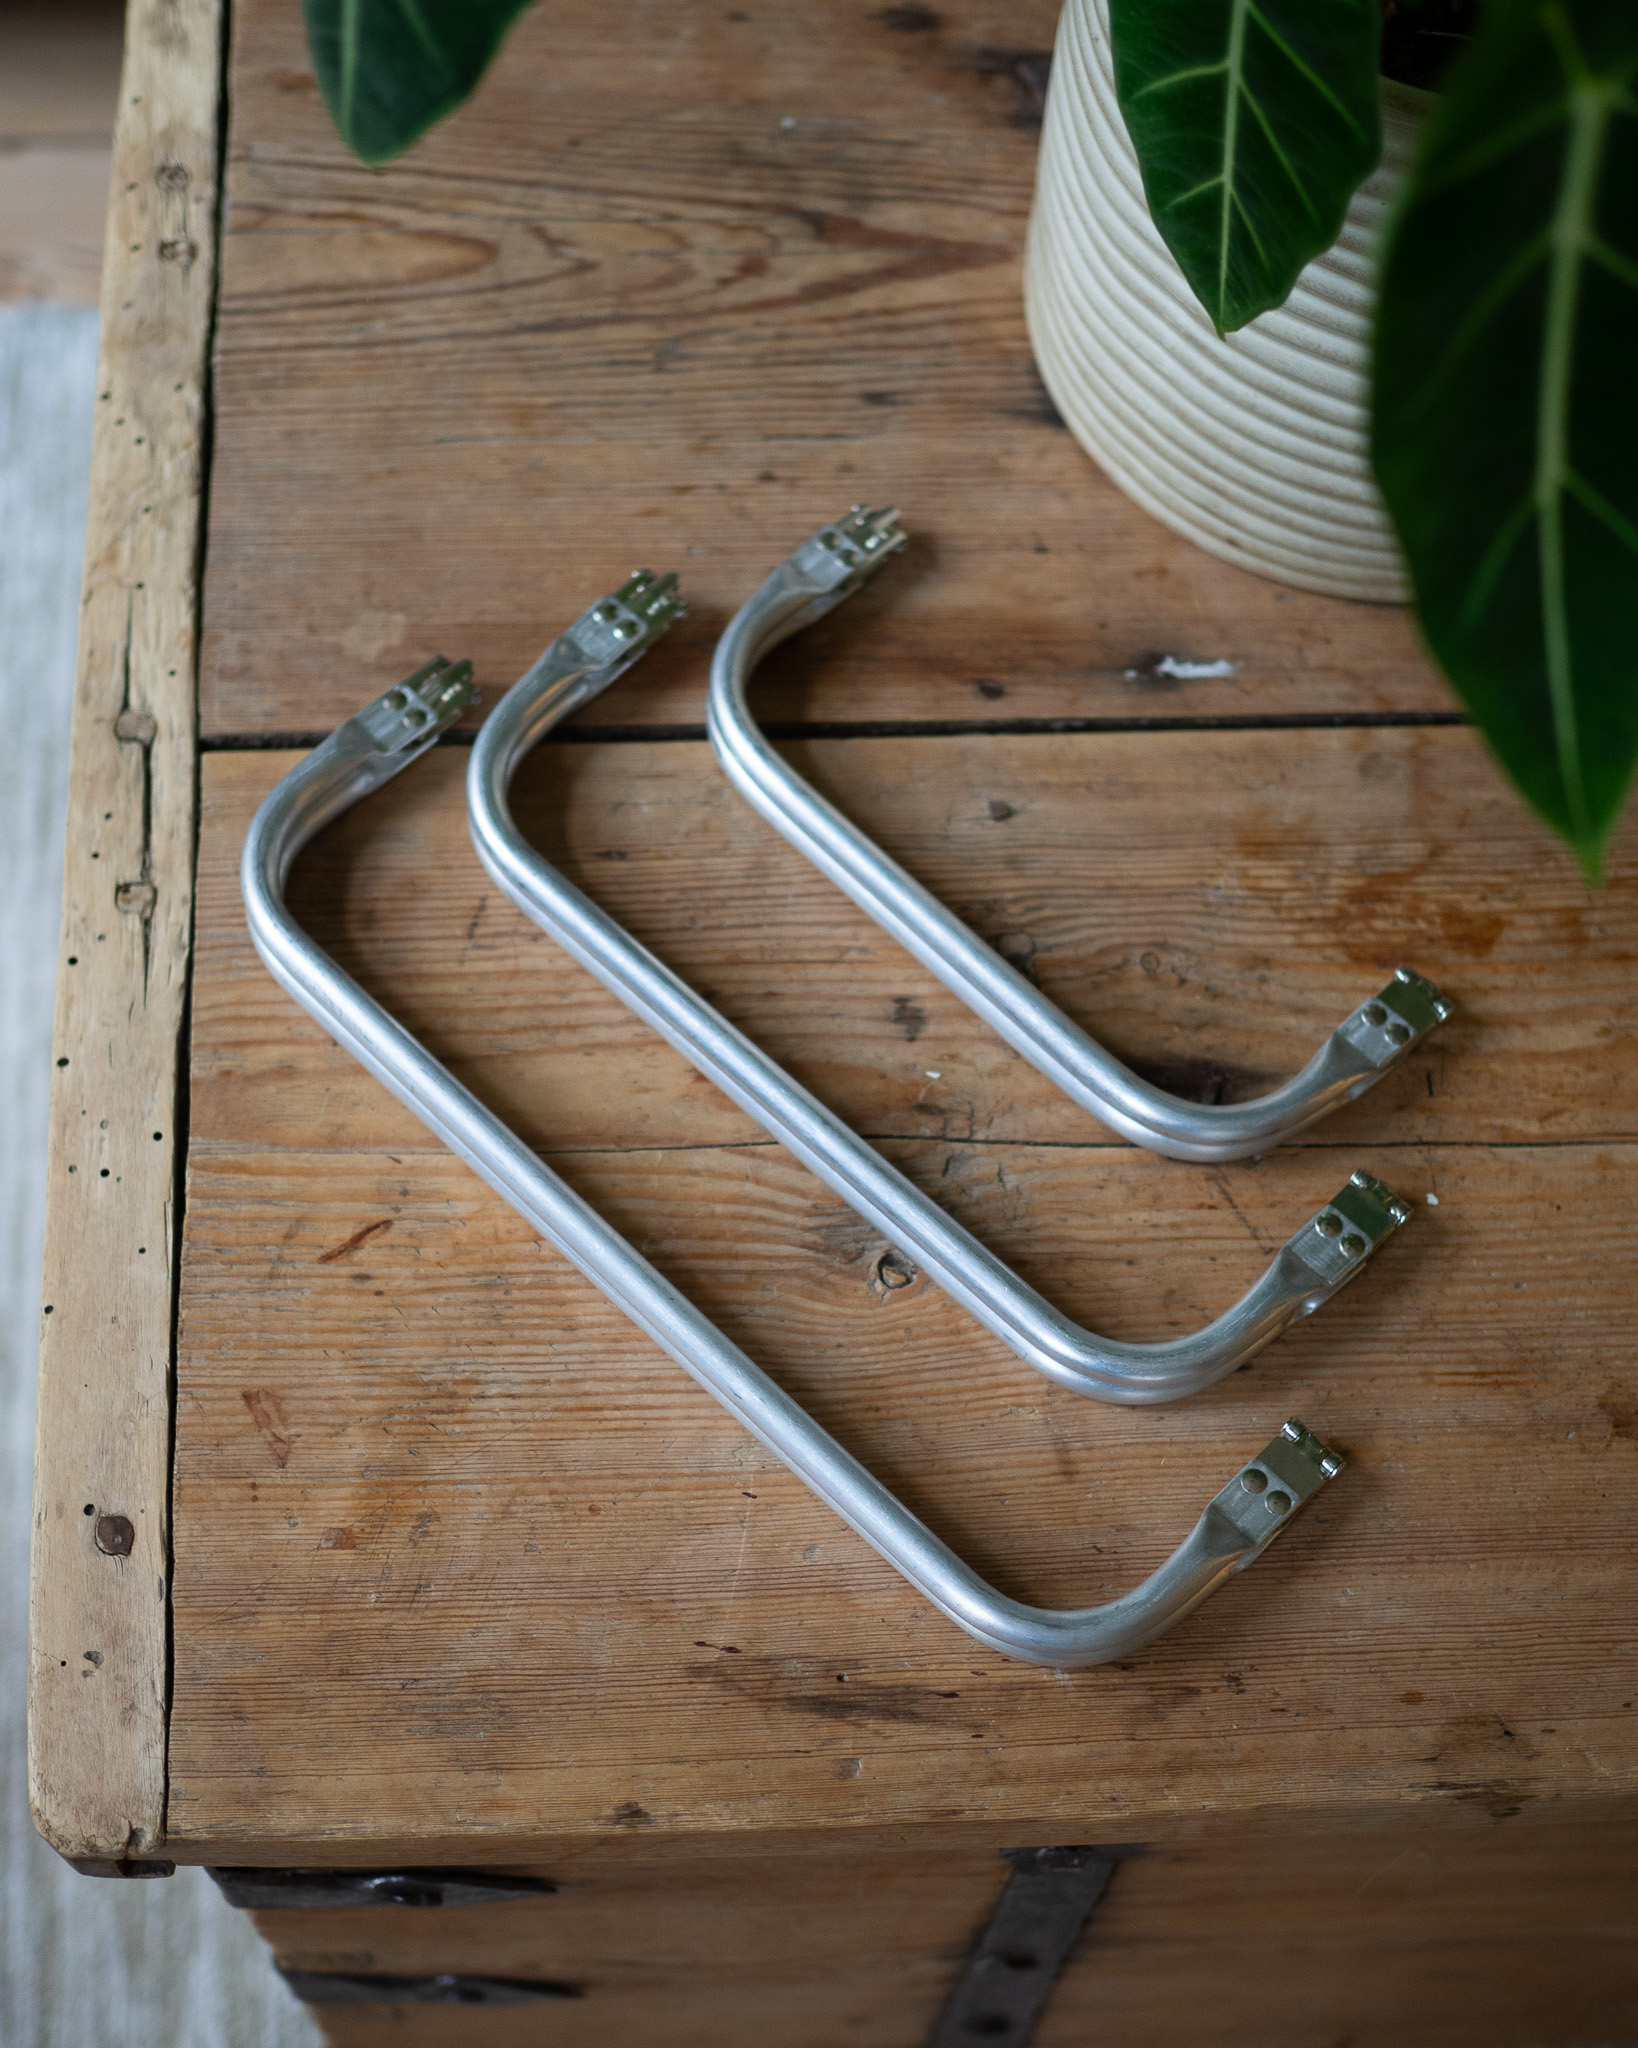
This bag is simple to crochet, and the result is beautiful. It’s the perfect clutch – spacious enough to hold all your essentials. Even though there isn’t a full-length video tutorial, this project is beginner-friendly and easy to follow. All you need is two rolls of our EKO Ribbon yarn, a 25 cm metal clutch frame, and an 8 mm crochet hook. For the bag shown in the pictures, we used the color “Graphite Blue.” Finished size of the clutch is approx. 31 cm long, 22 cm wide, and 18 cm deep.
Yarn Consumption: about 700 g of EKO Ribbon (the exact amount depends on your crochet tension).
Please note: In this pattern, we use videos from our technique school along with pictures. However, there are video tutorials available for some of the steps.
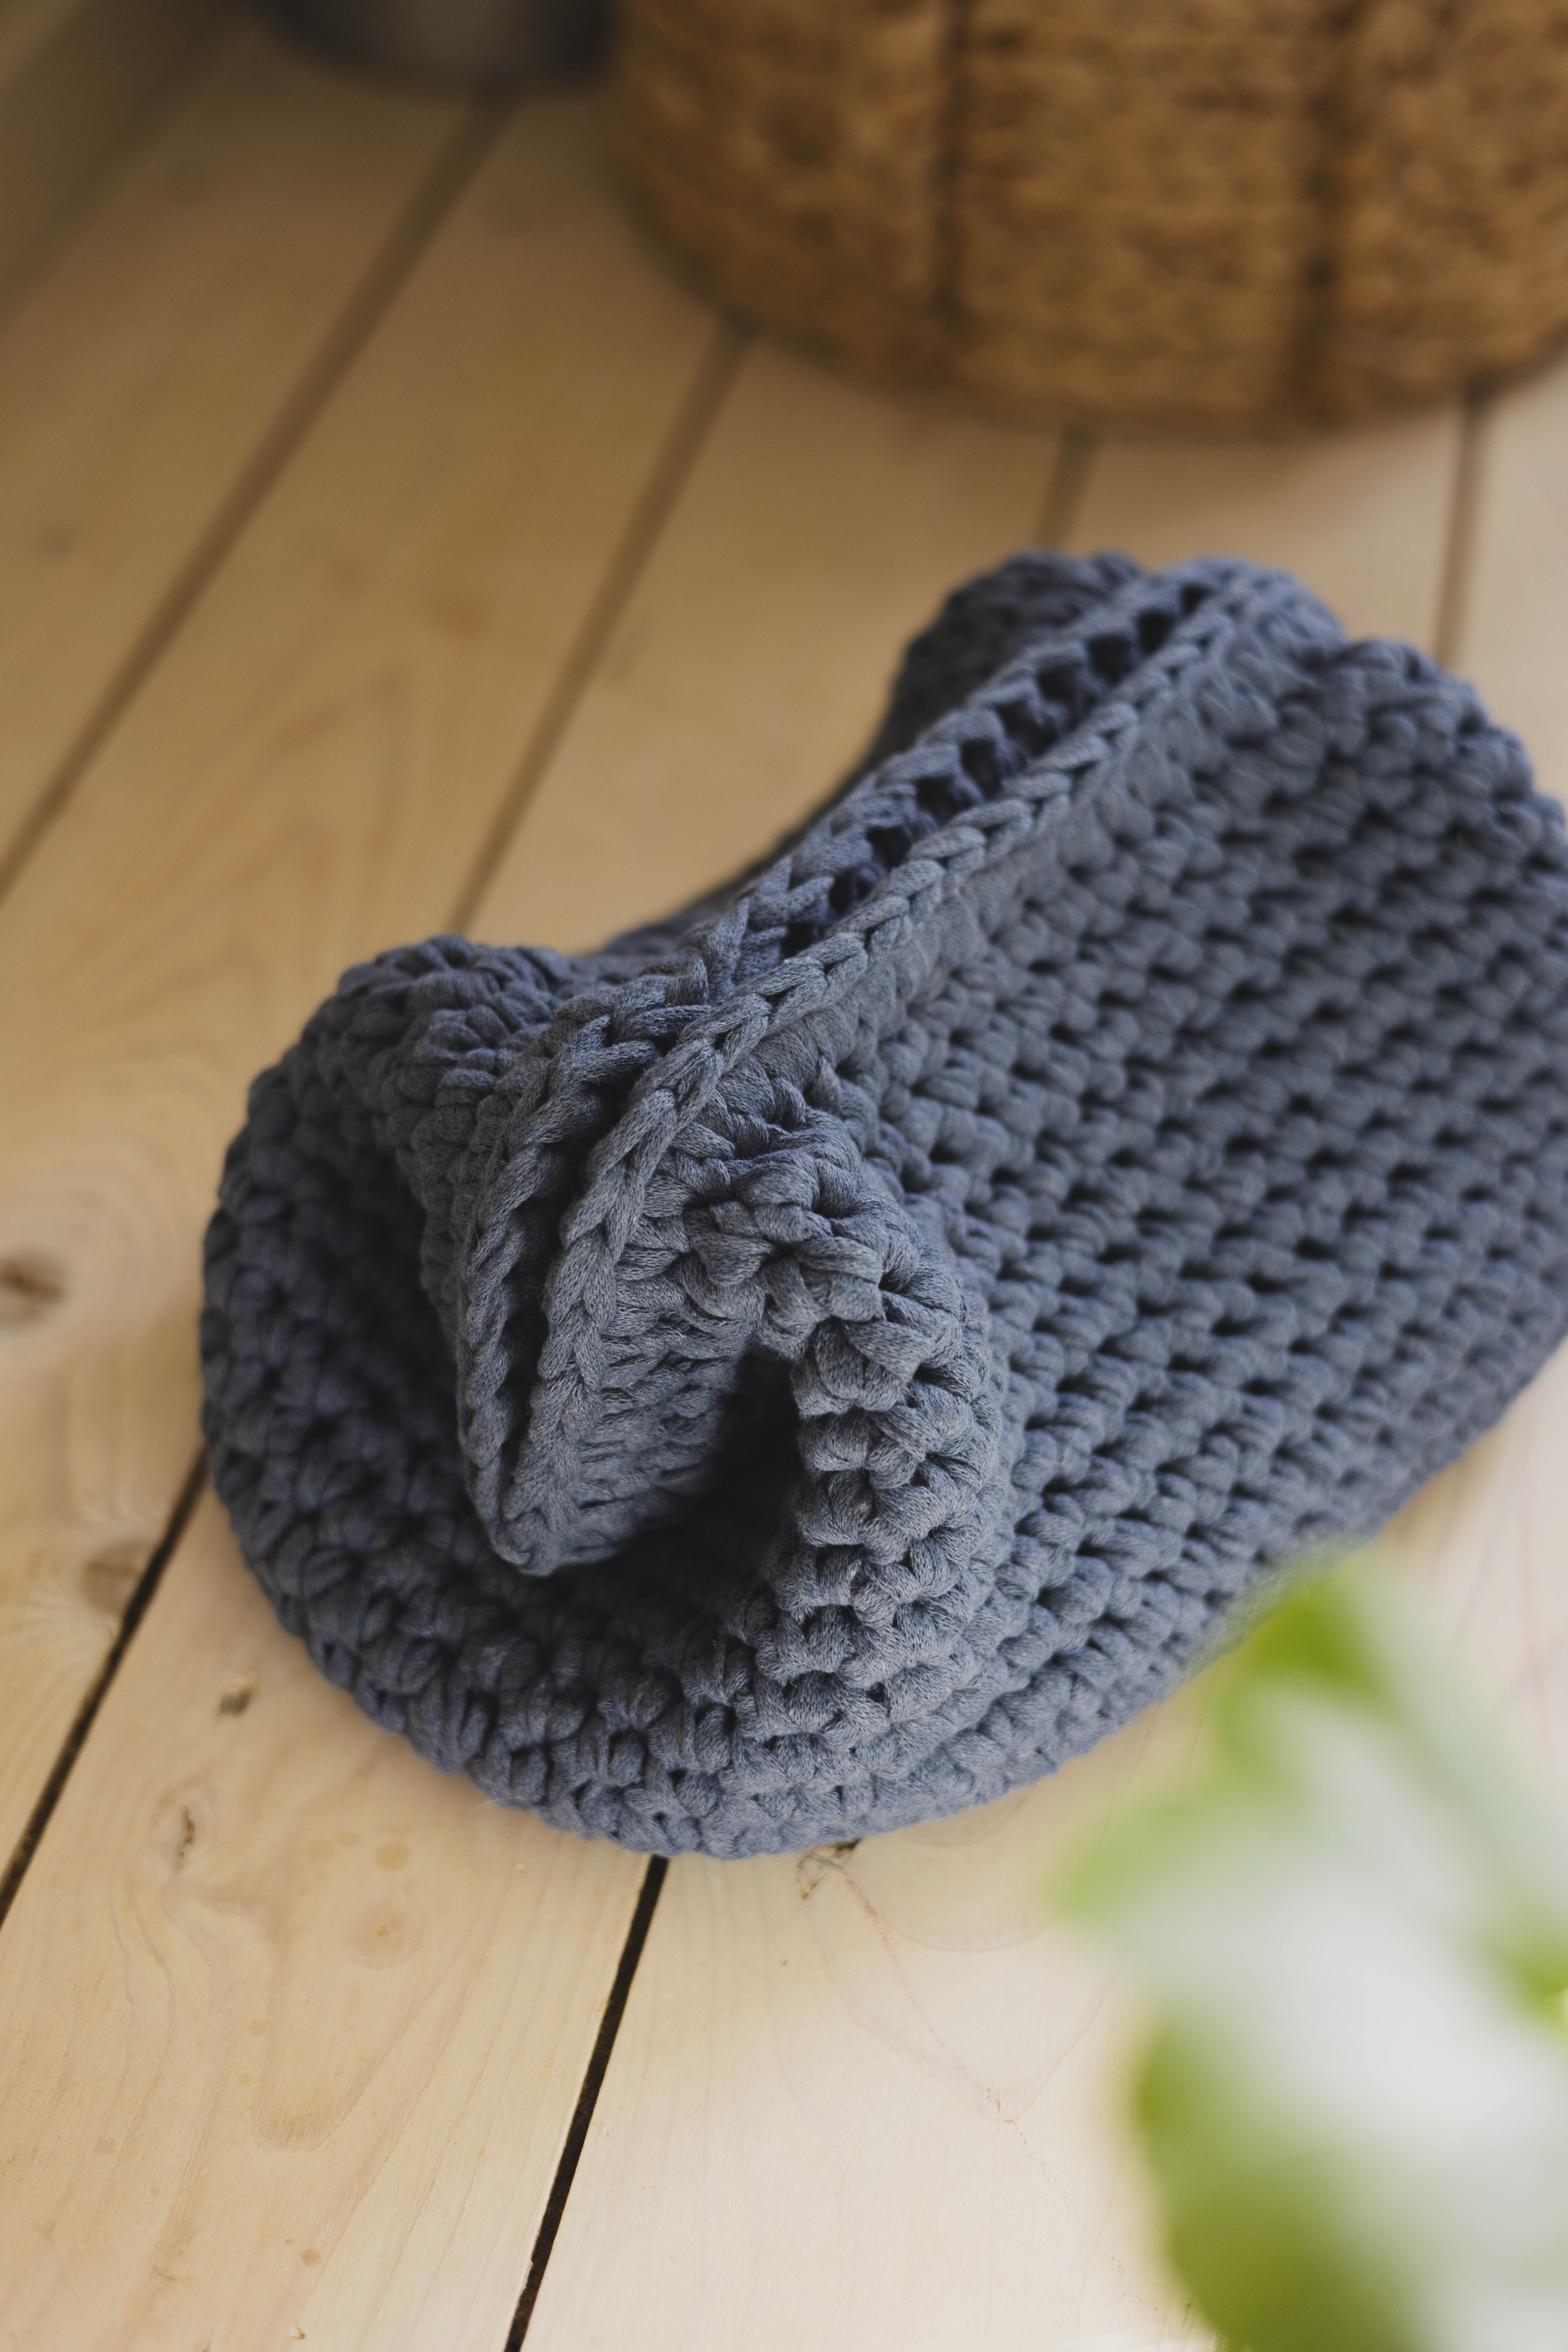
This is what you need:
Here you can directly purchase the material for the product. Please note that the instruction is digital and appears here on the page (no written instruction).


Here's how to do it
You start by crocheting an oval base, then continue working the sides upwards until it’s time to attach the metal clutch frame. Once the frame is in place, you’ll have your very own handmade crochet bag! I hope you’ll enjoy trying out our metal clutch frames and creating your dream bag. Good luck! /Sara

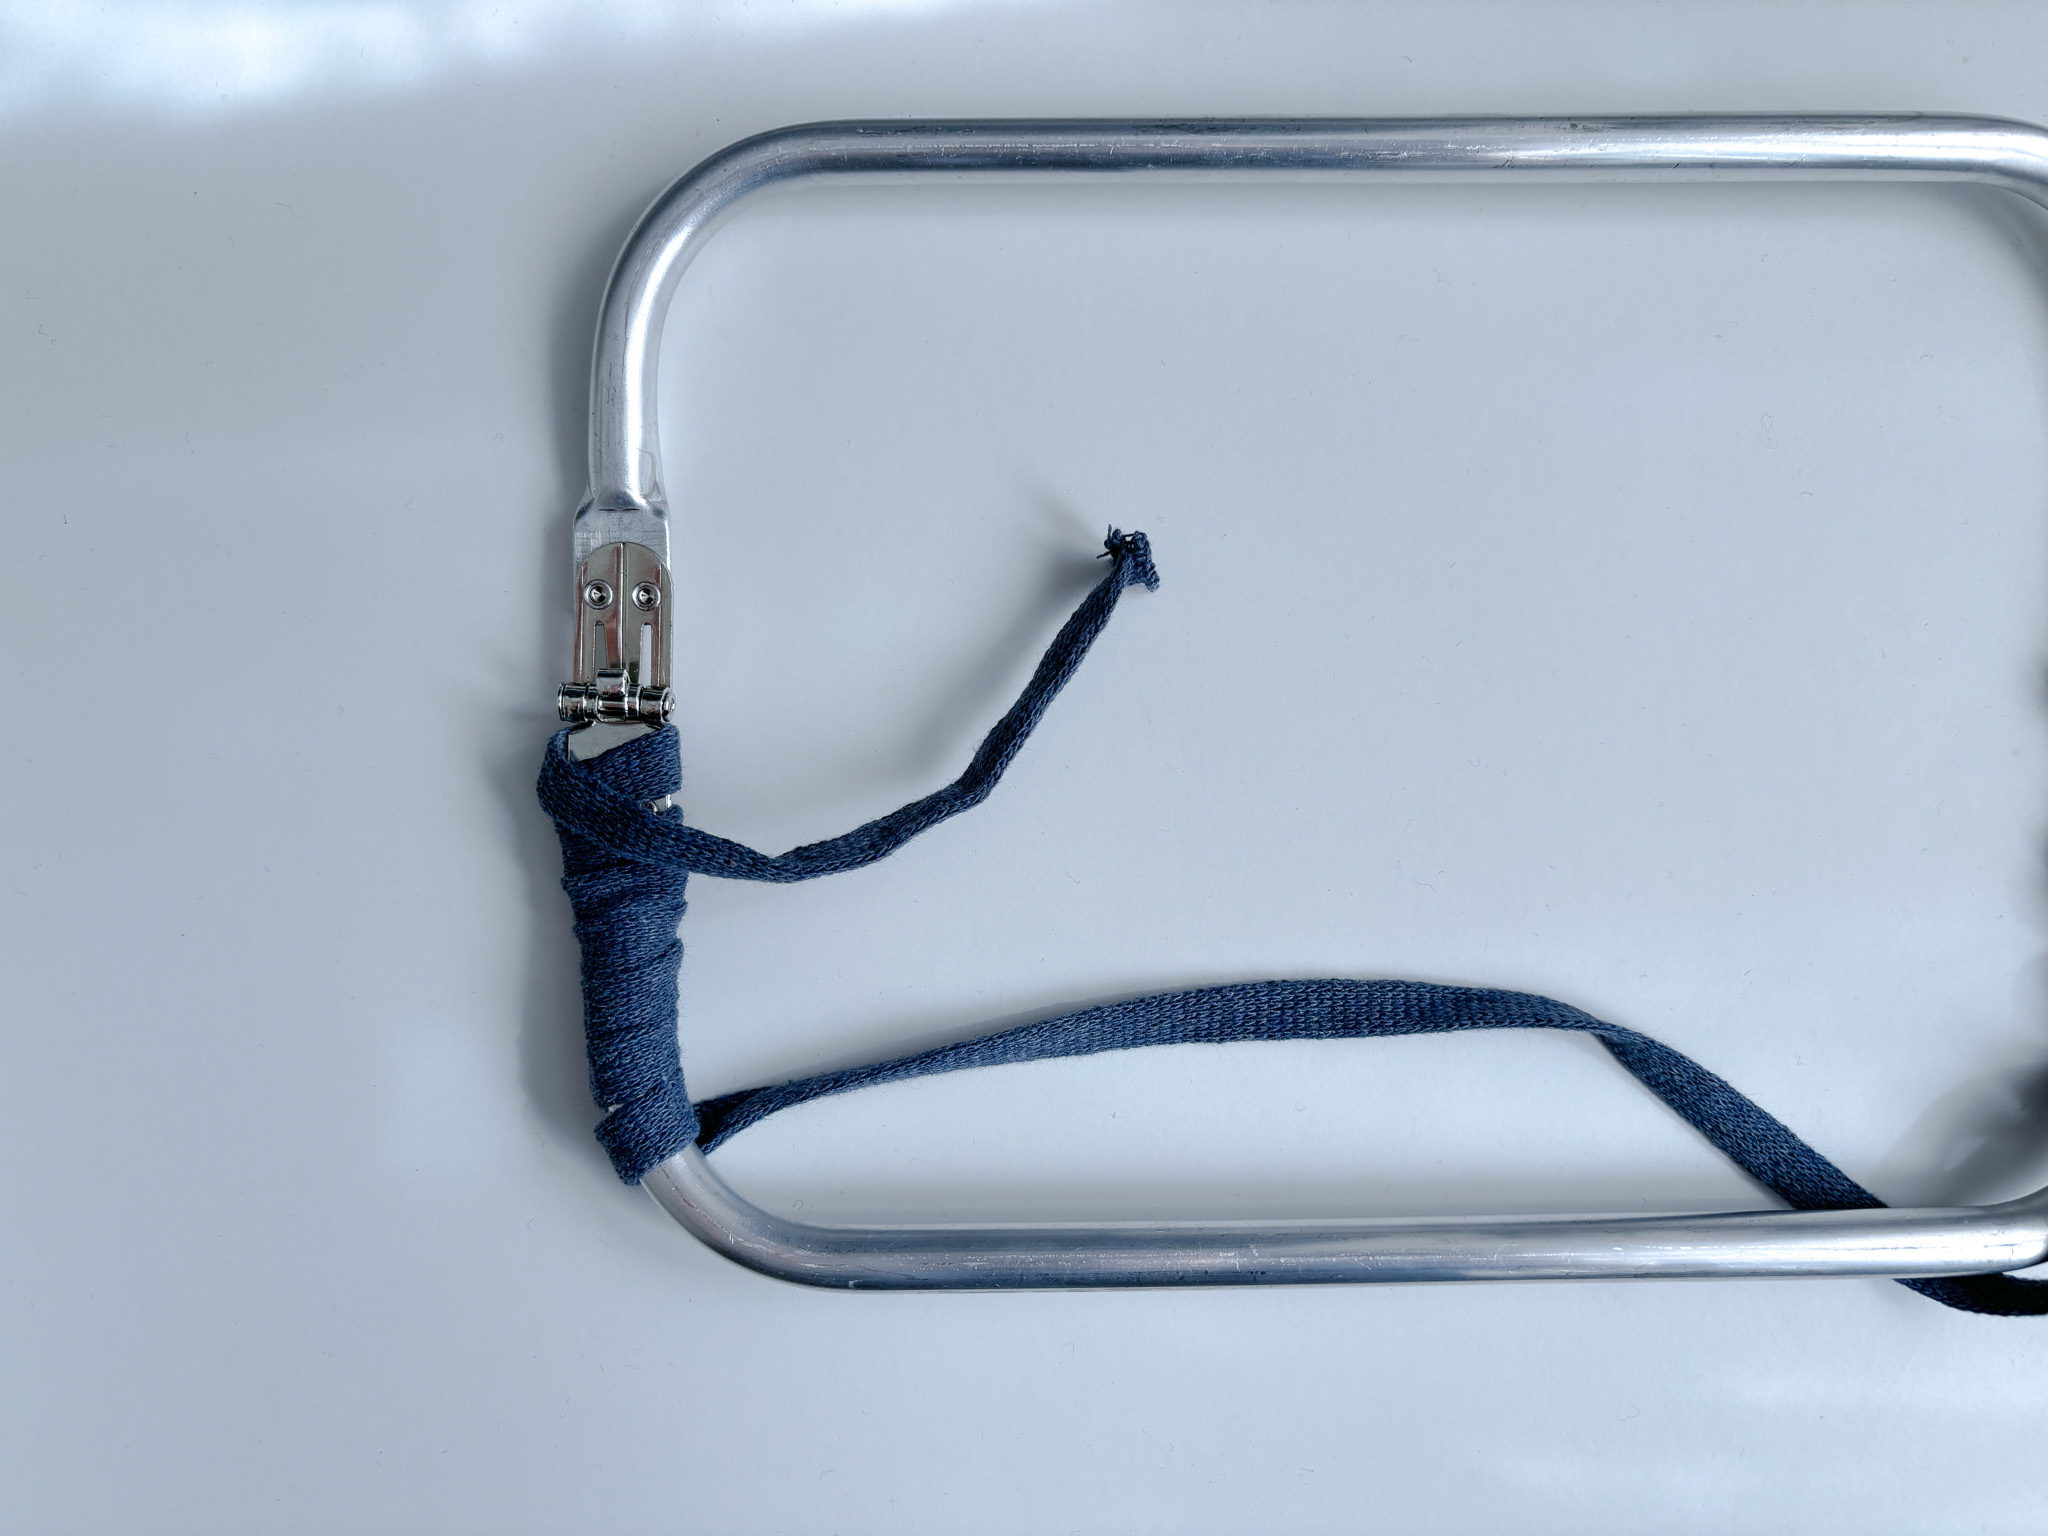
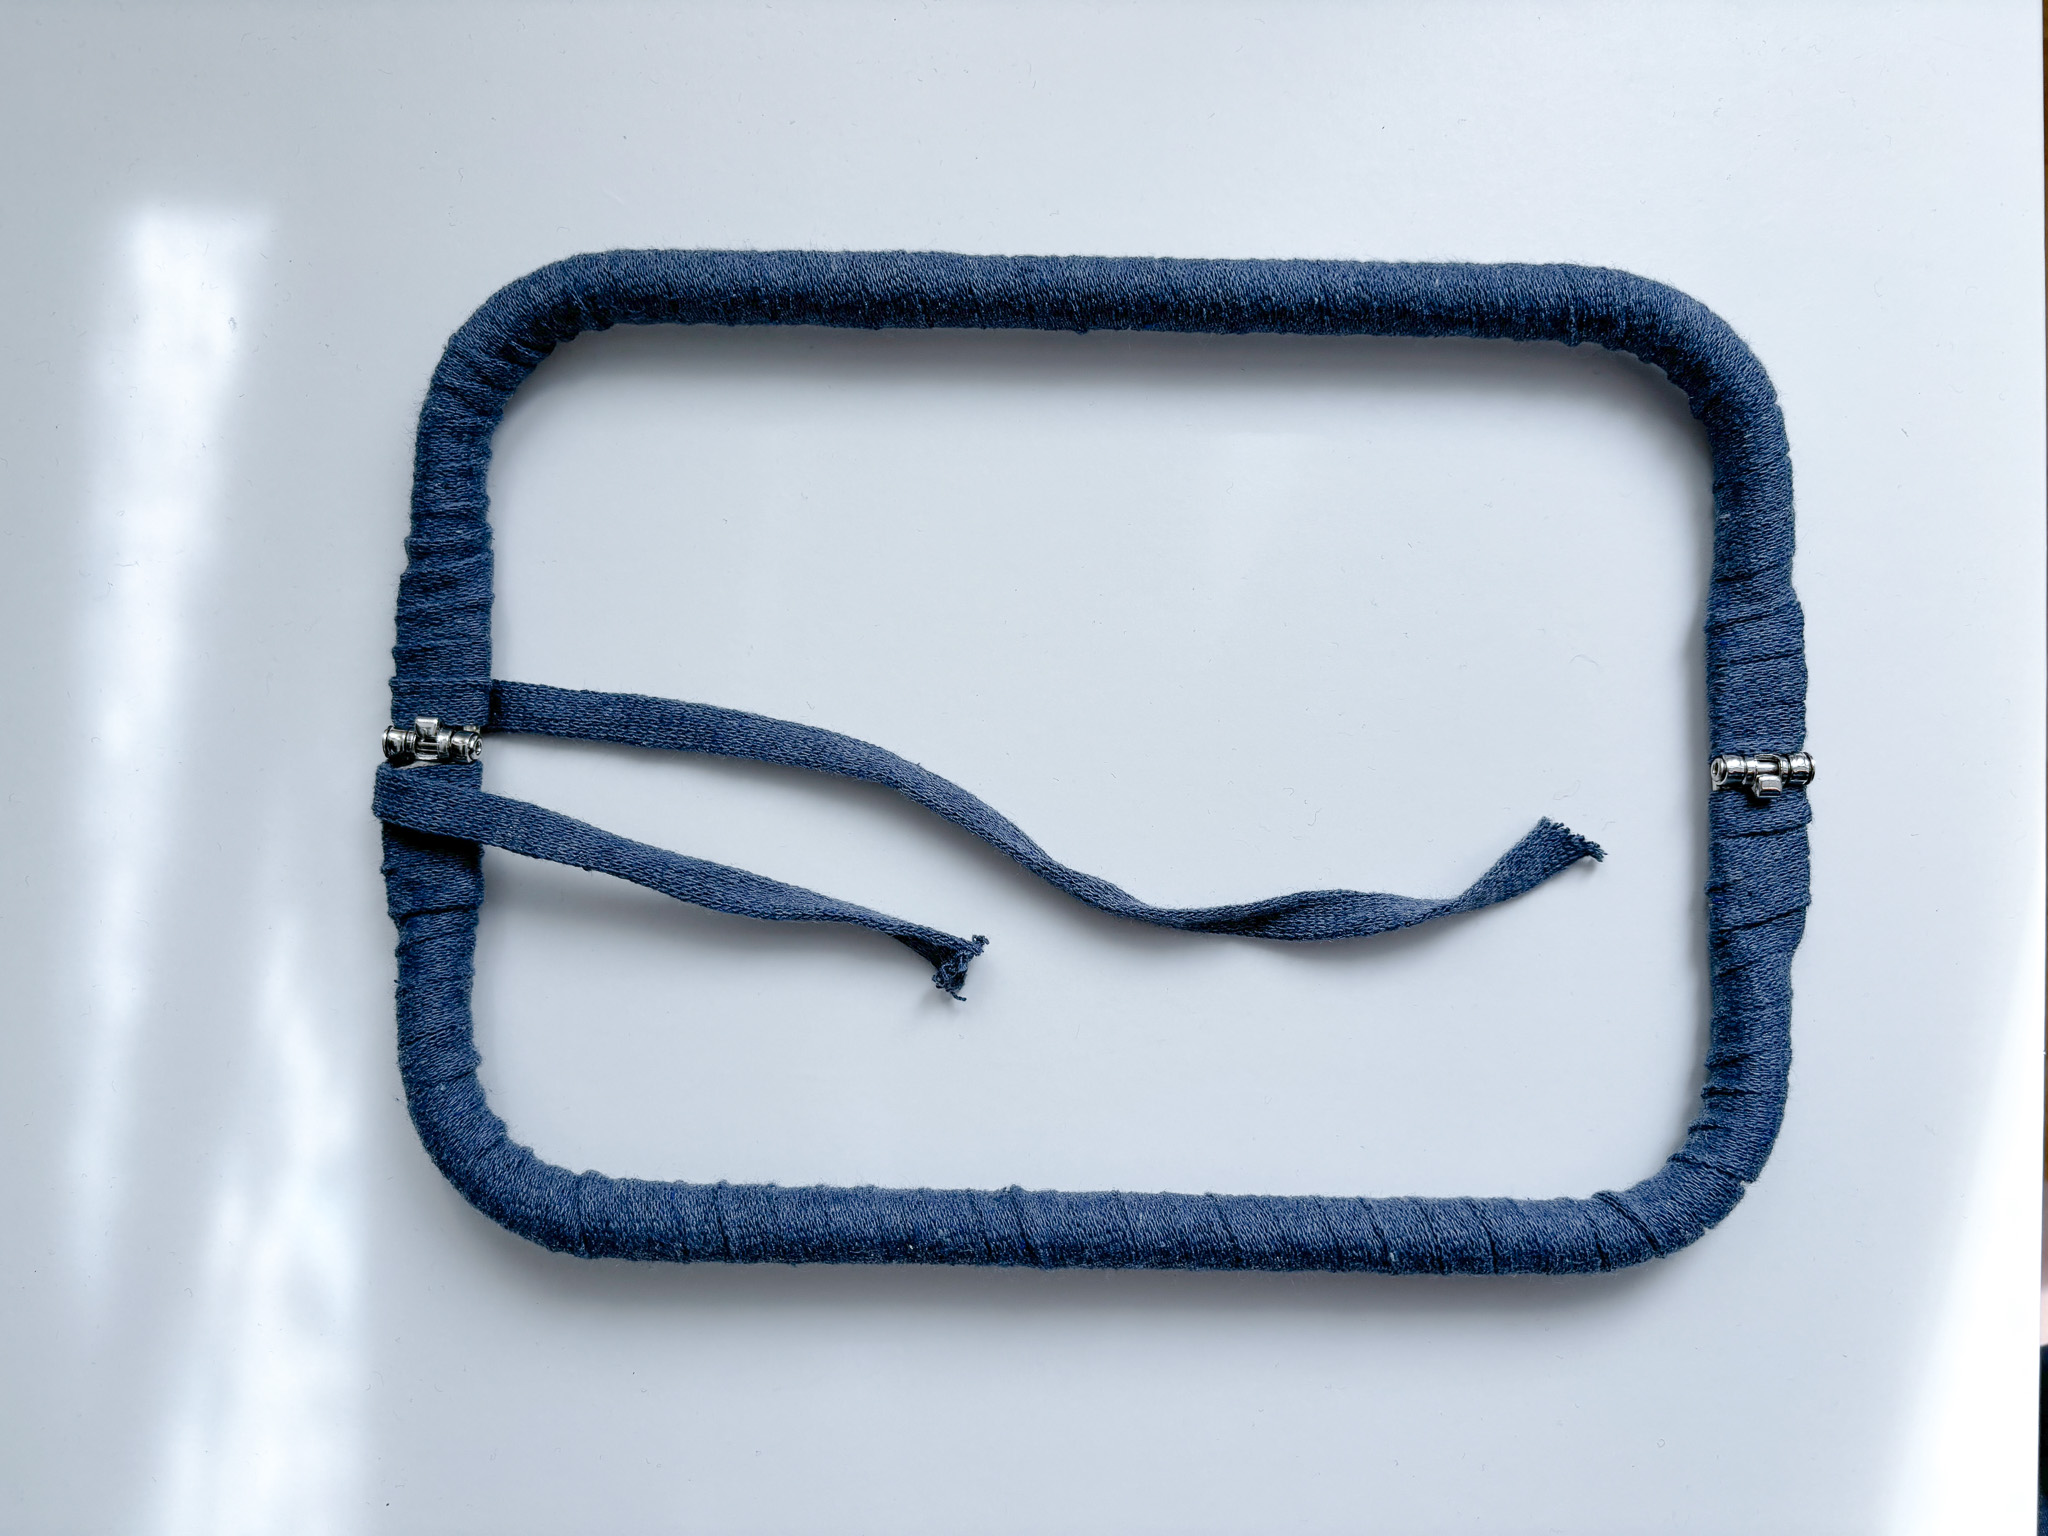
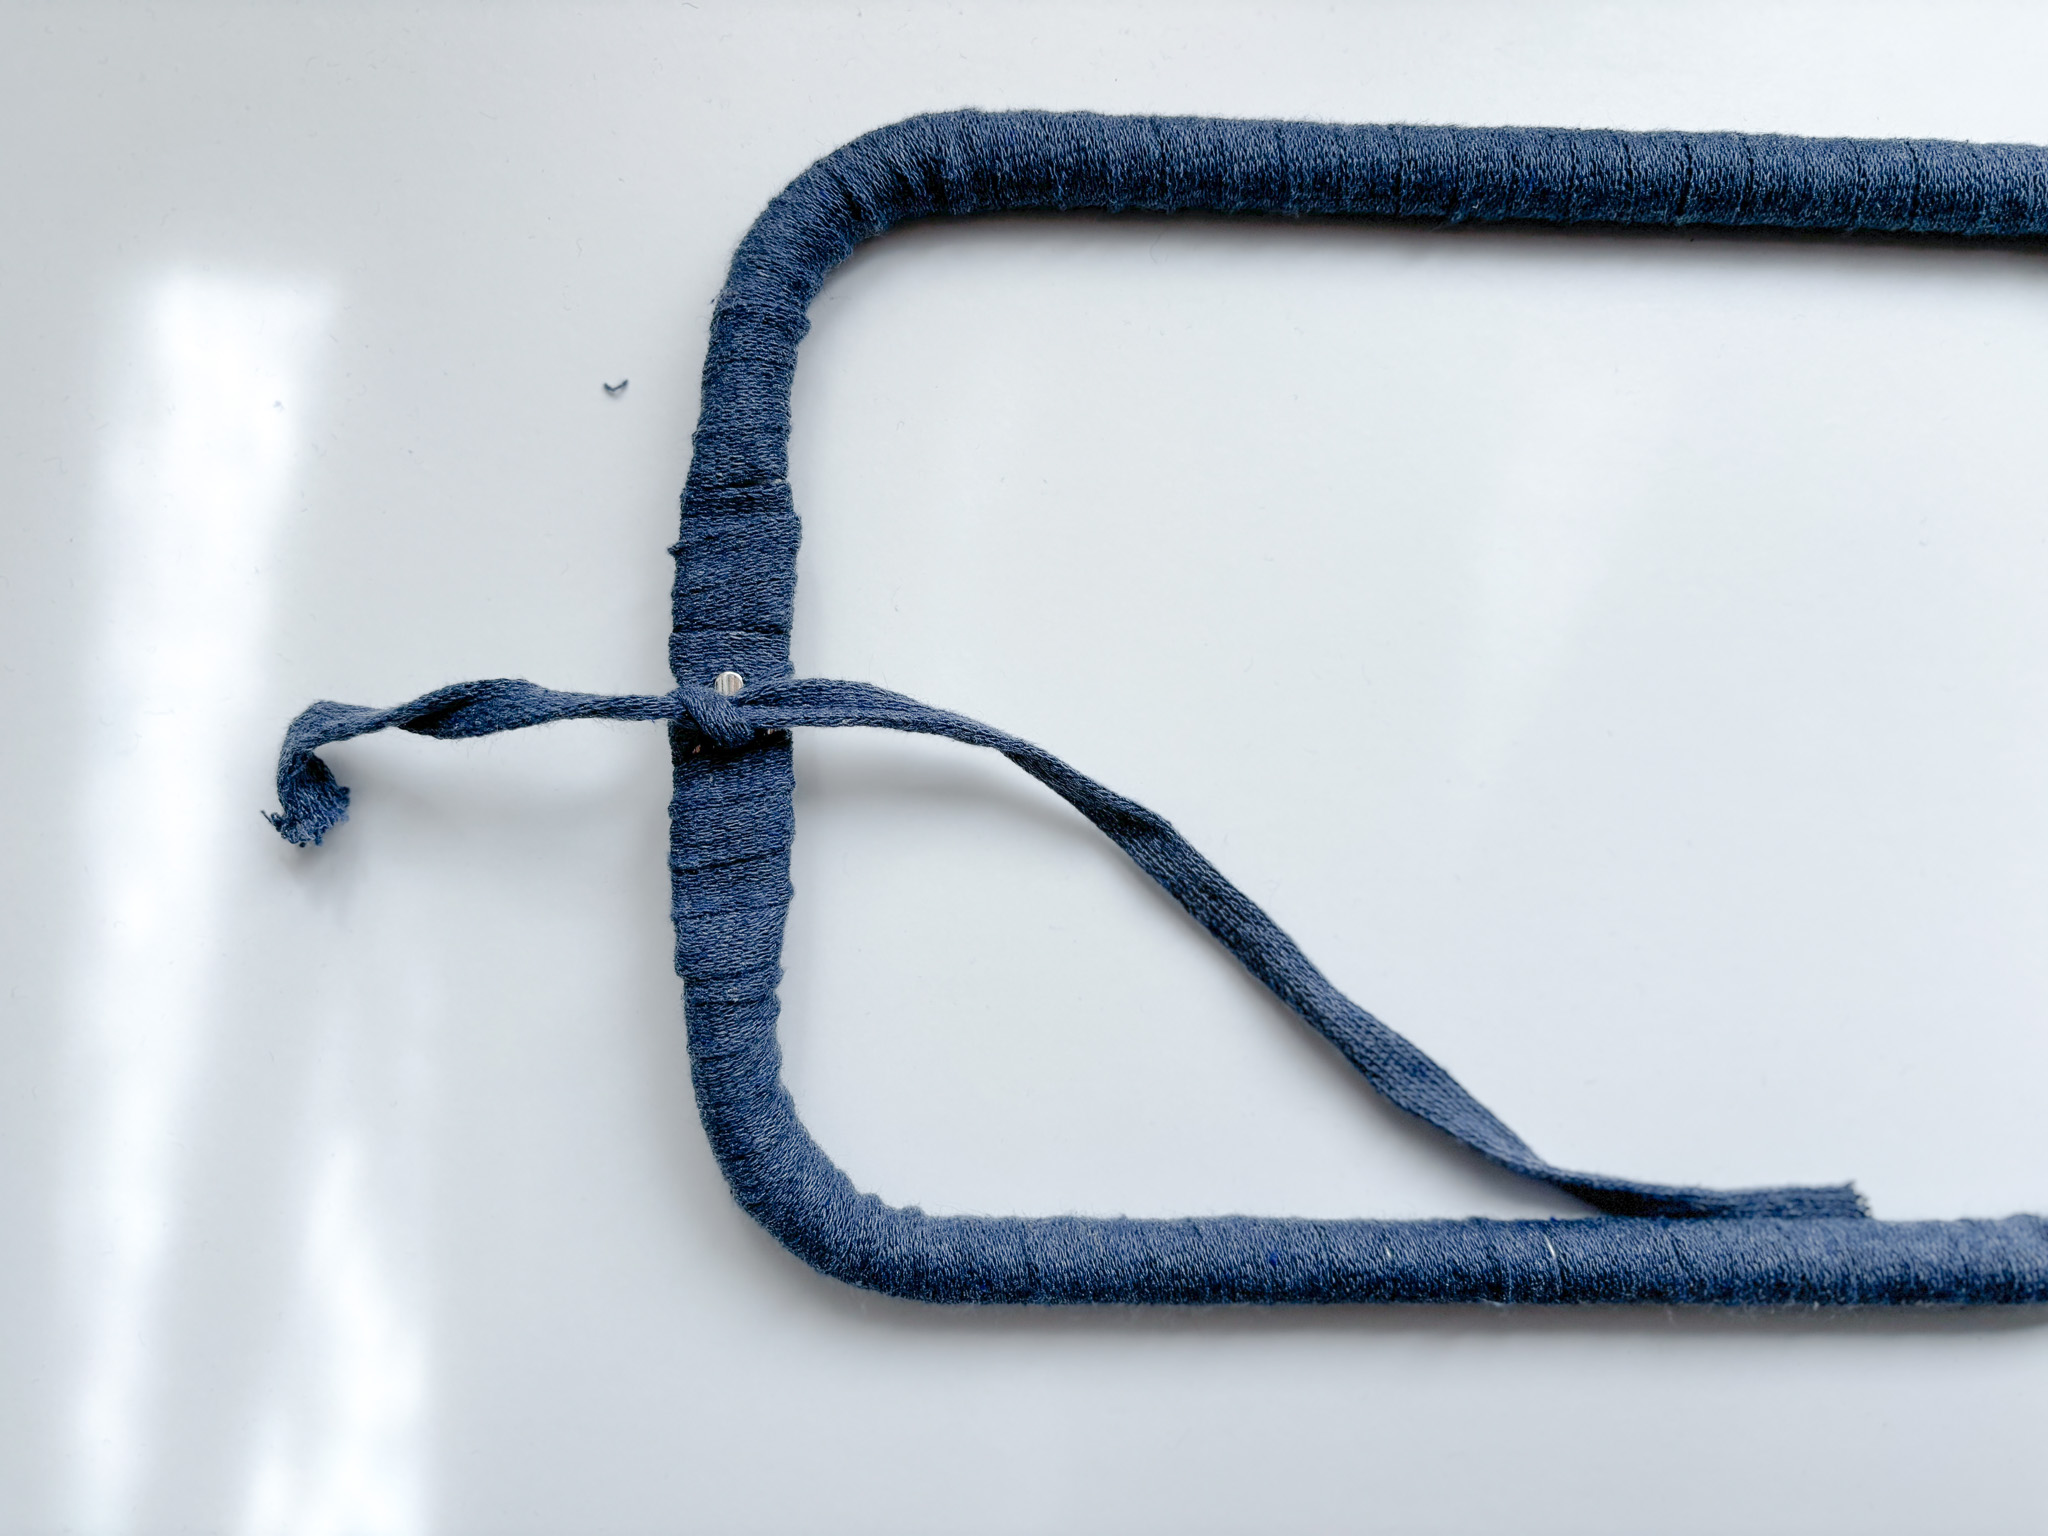
Cover the metal clutch:
Start by wrapping the yarn around the metal clutch. This is done easily by simply winding the yarn around and tying a double knot when the ends of the yarn meet.
Bottom:
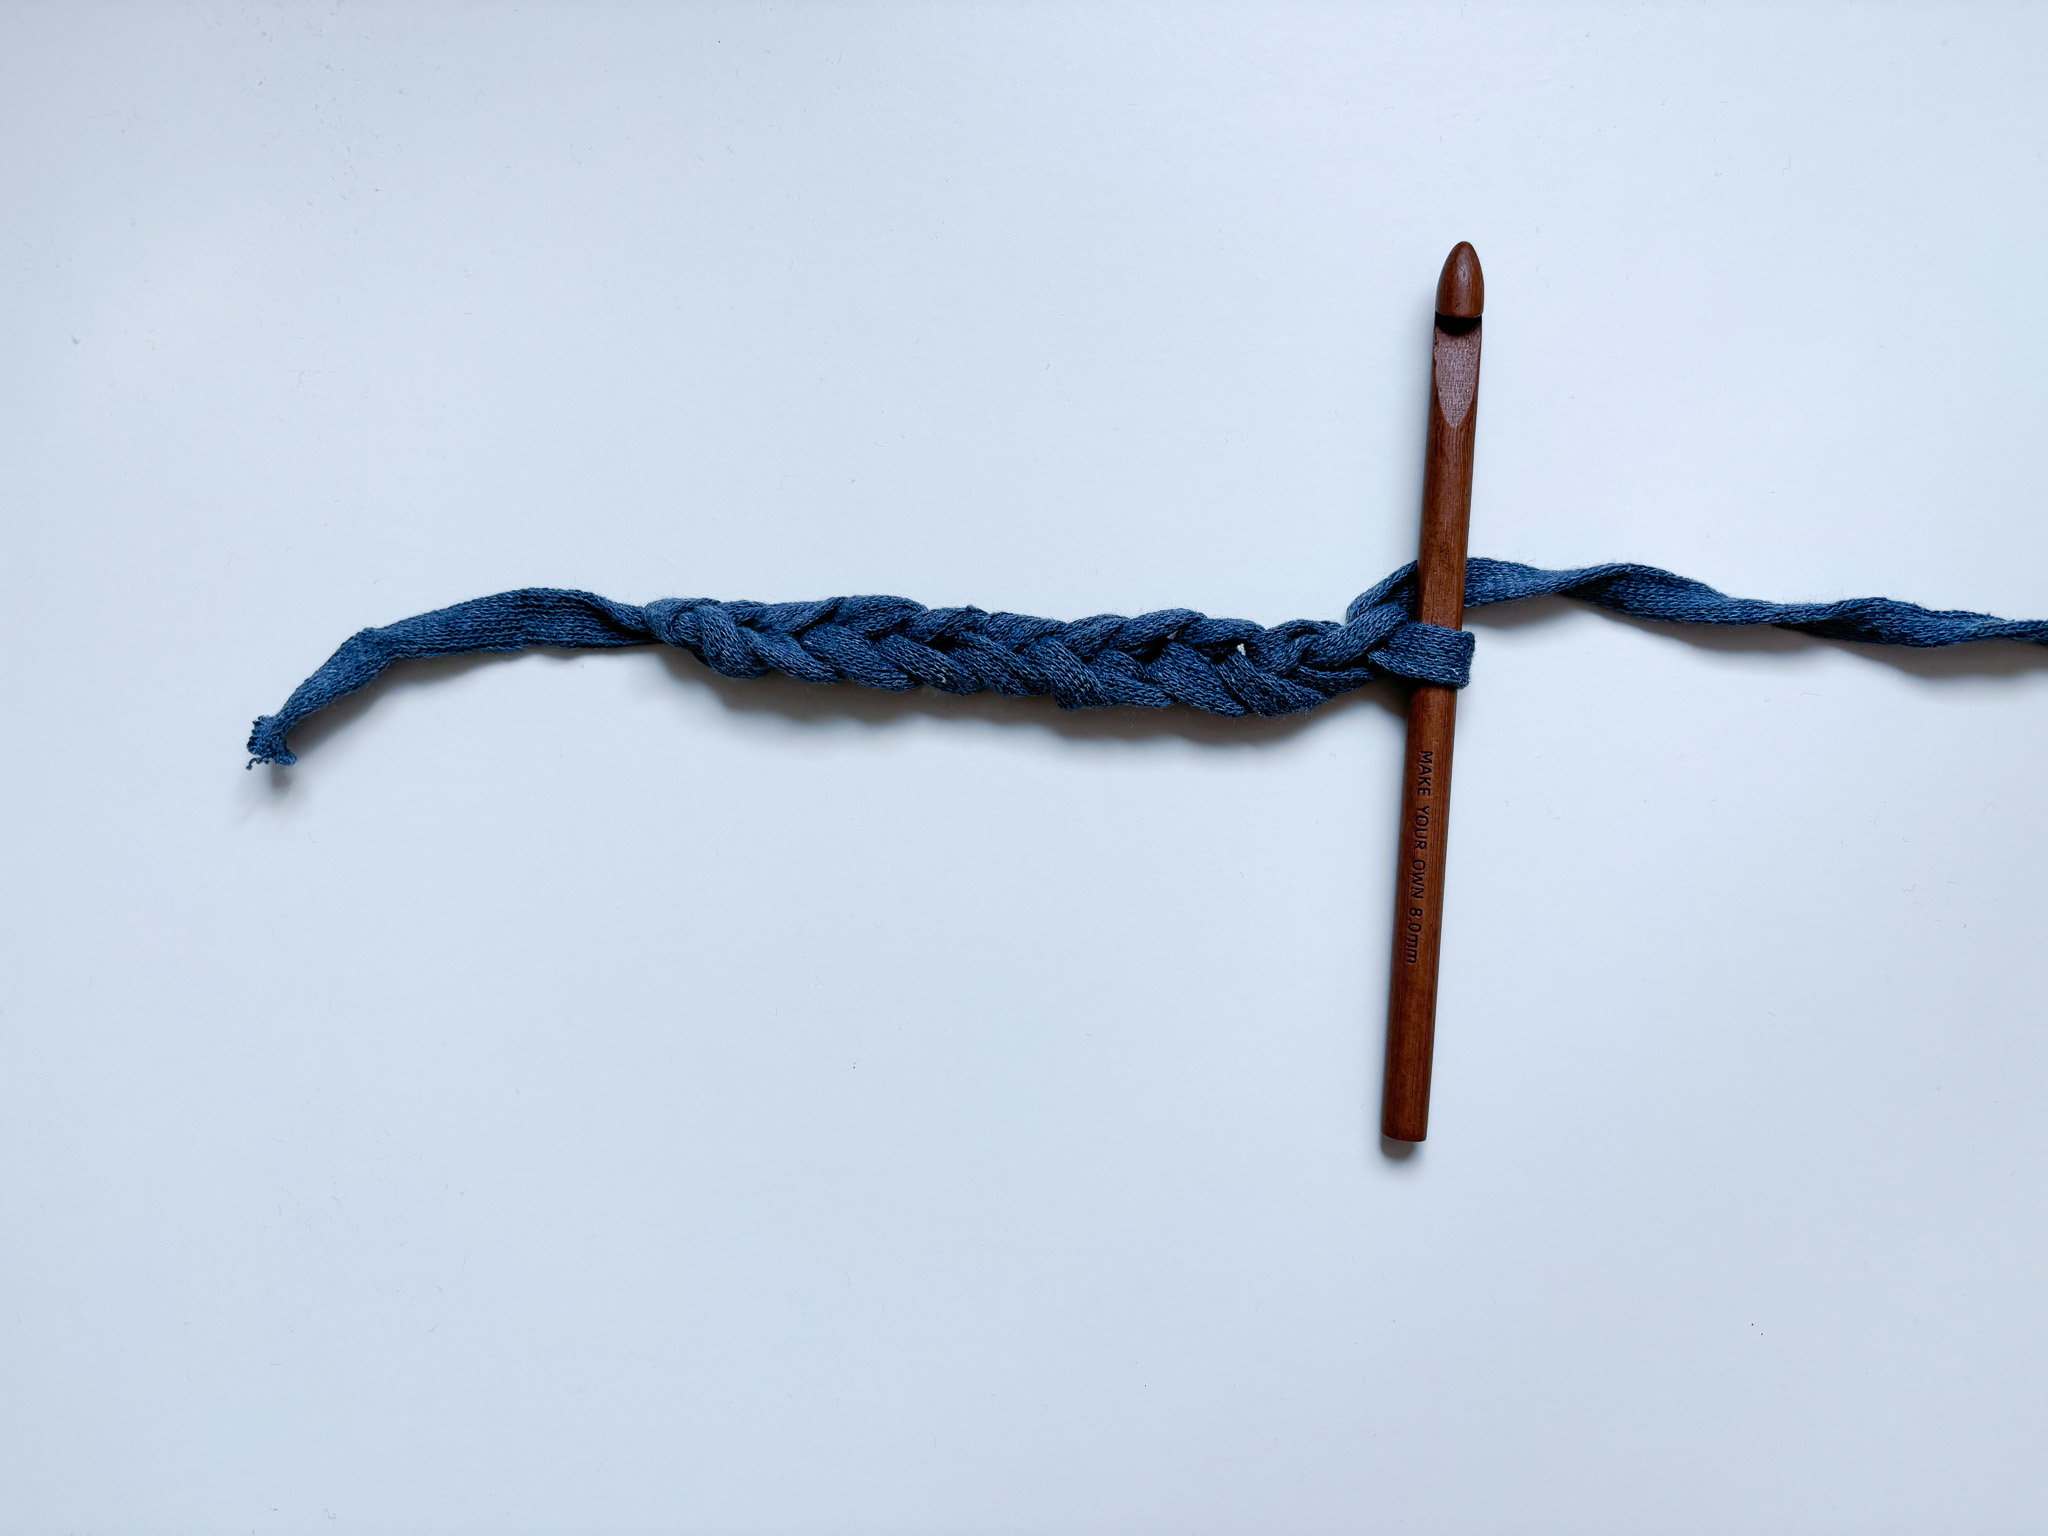
Start by making a chain of 10 stitches. Work around this chain to create an oval shape, which will form the bottom of the bag. To understand it even better, you can watch the instructional video below.
Round 1:
Skip the first chain closest to the hook. Then make 8 single crochets. In the last chain of the row, make an increase by crocheting 3 single crochets into the same stitch. Now start working along the other side of the chain: make 1 single crochet in each of the next 7 stitches, and finish with an increase of 4 single crochets in the last stitch. In this round, you’ll have one stitch less, but afterward, there will be 8 stitches on each side all the way around.
Round 2:
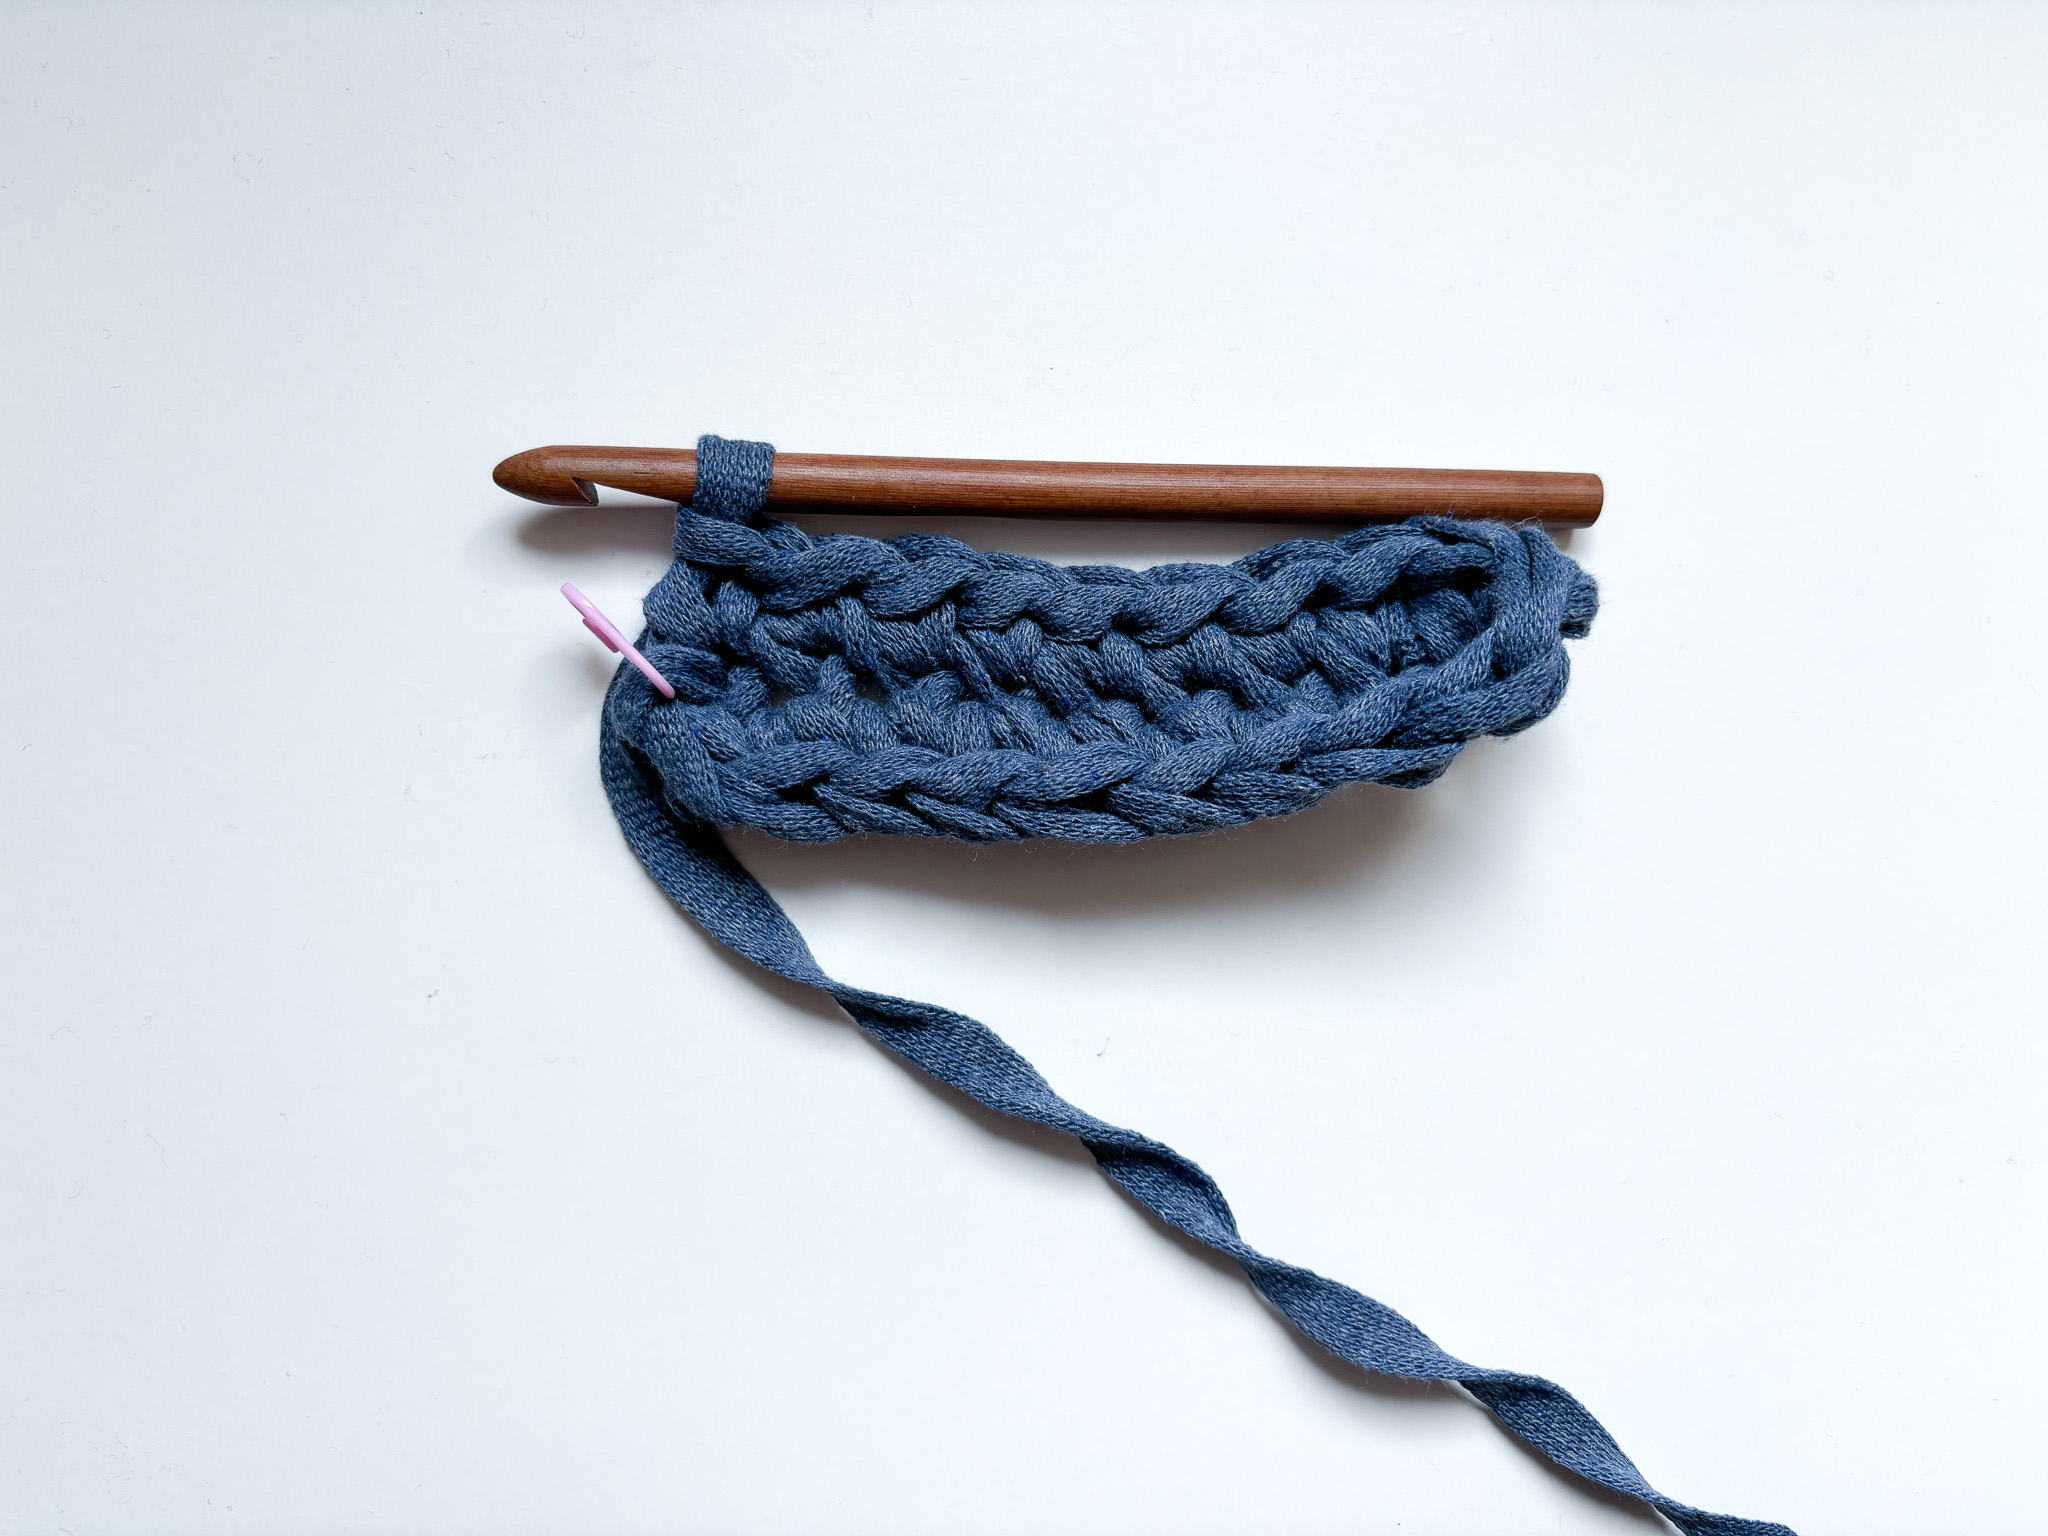
Now make 1 single crochet in each of the next 8 stitches, then make an increase by crocheting 2 single crochets into each of the next 3 stitches. Next, continue on the other side of the oval by making 1 single crochet in each of the next 8 stitches, and then make an increase in the next 3 stitches by crocheting 2 single crochets in each stitch. Remember, there will always be 8 single crochets forming the sides of your oval.
Round 3:
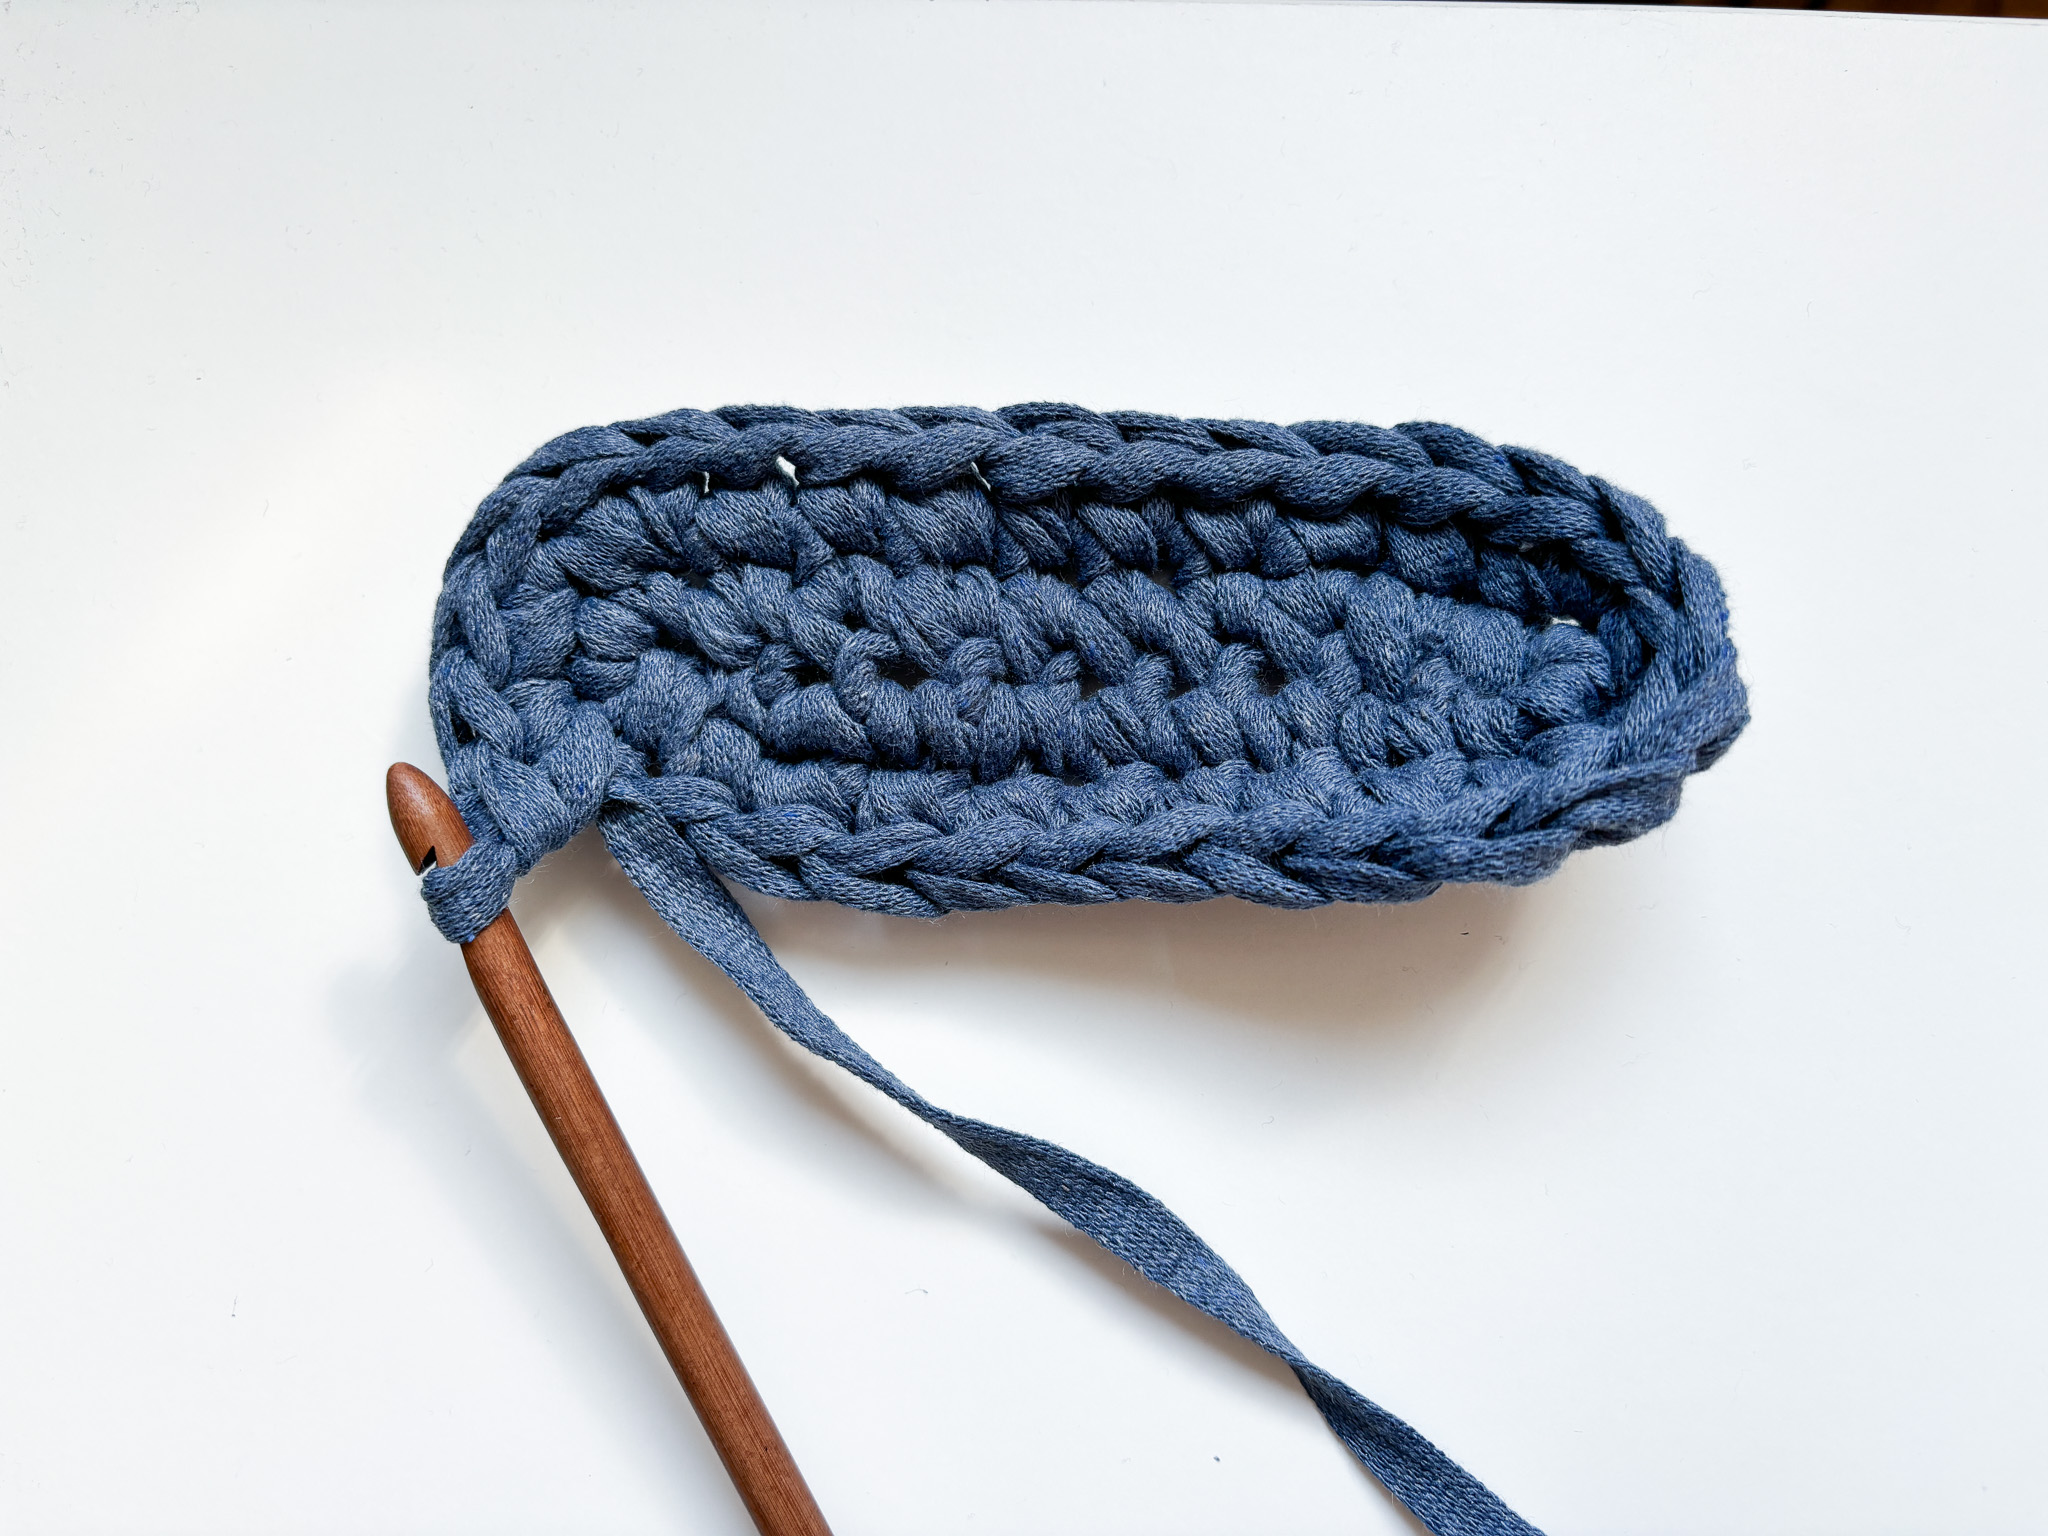
Again, make 1 single crochet in each of the next 8 stitches. When you reach the edge, make an increase in every other stitch. That is, start by crocheting 2 single crochets in the first stitch, then 1 single crochet in the next stitch. Repeat this three times, so the pattern is 1, 2, 1, 2, 1, 2, ending with 2. (Shortened as 1-2, 1-2, 1-2).
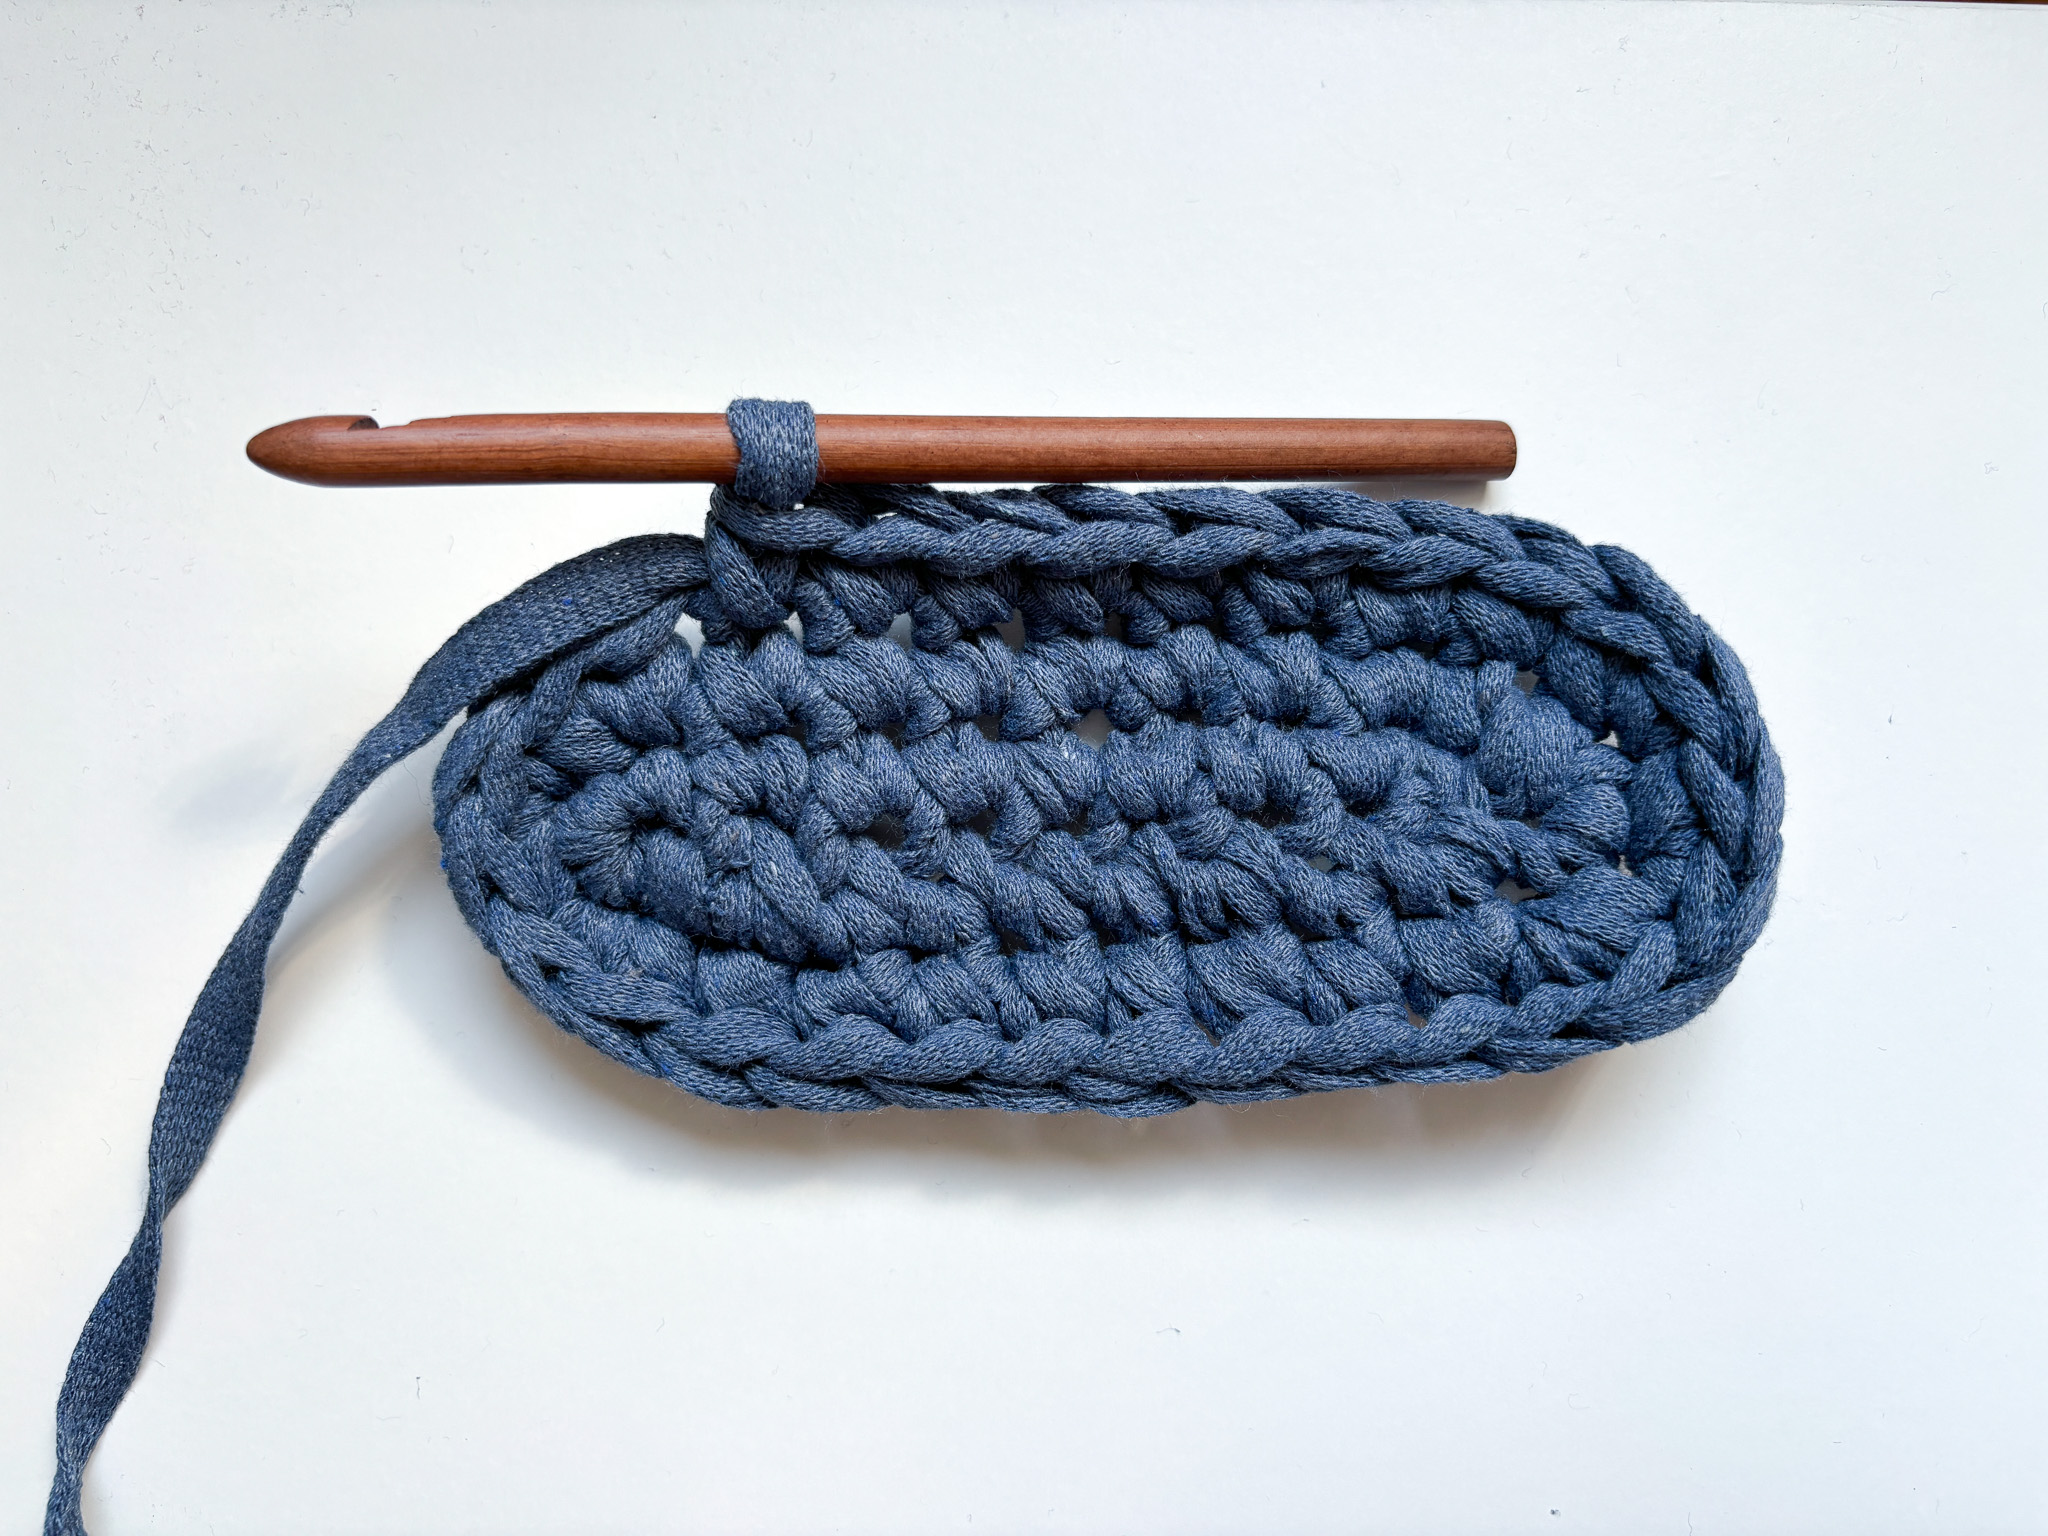
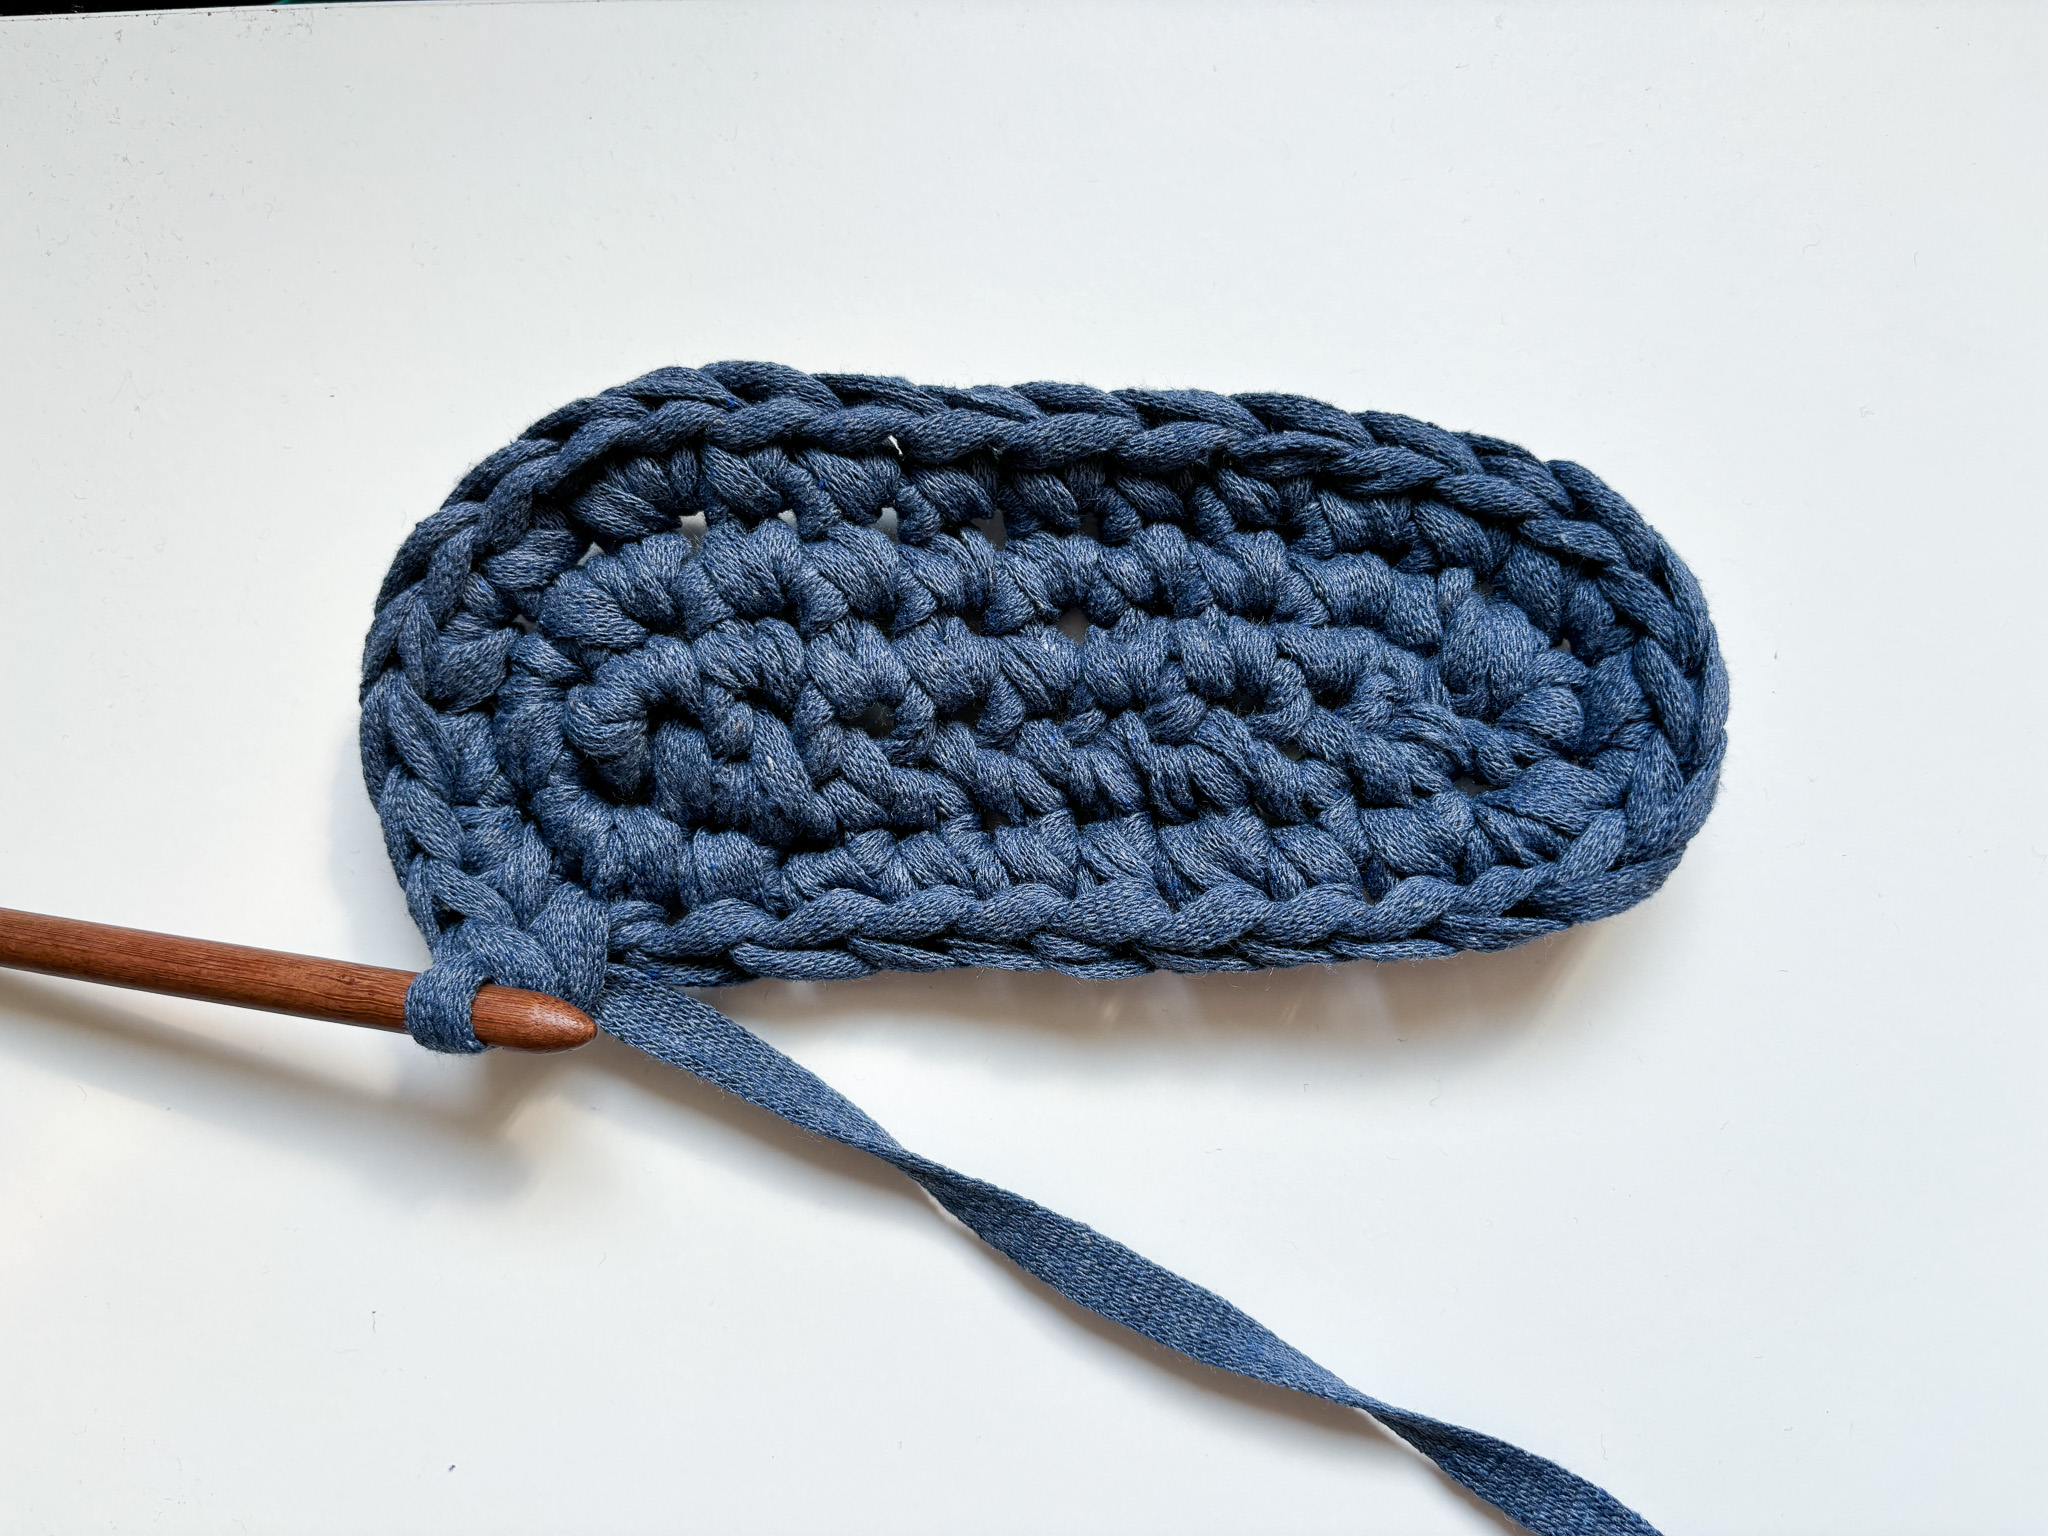
Make 1 single crochet in each of the next 8 stitches, and do the same on the other side. Make an increase in every other stitch 3 times.
Round 4:
Continue by making 1 single crochet in each of the next 8 stitches until you reach the increase section. In this round, increase by making 1 single crochet in each of the first 2 stitches, then make an increase by working 2 single crochets in the next stitch. Repeat this 3 times. (Shortened: 1-1-2 1-1-2 1-1-2)
Once one side is complete, move to the other side and make 1 single crochet in the next 8 stitches, then finish the round with the same increase pattern (1-1-2 1-1-2 1-1-2).
Round 5:
Continue by making 1 single crochet in each of the next 8 stitches. In this round, increase by making 1 single crochet in each of the first 3 stitches, then make an increase by working 2 single crochets in the next stitch. Repeat this 3 times. (Shortened: 1-1-1-2 1-1-1-2 1-1-1-2)
Once one side is complete, move to the other side and make 1 single crochet in the next 8 stitches, then finish the round with the same increase pattern (1-1-1-2 1-1-1-2 1-1-1-2).
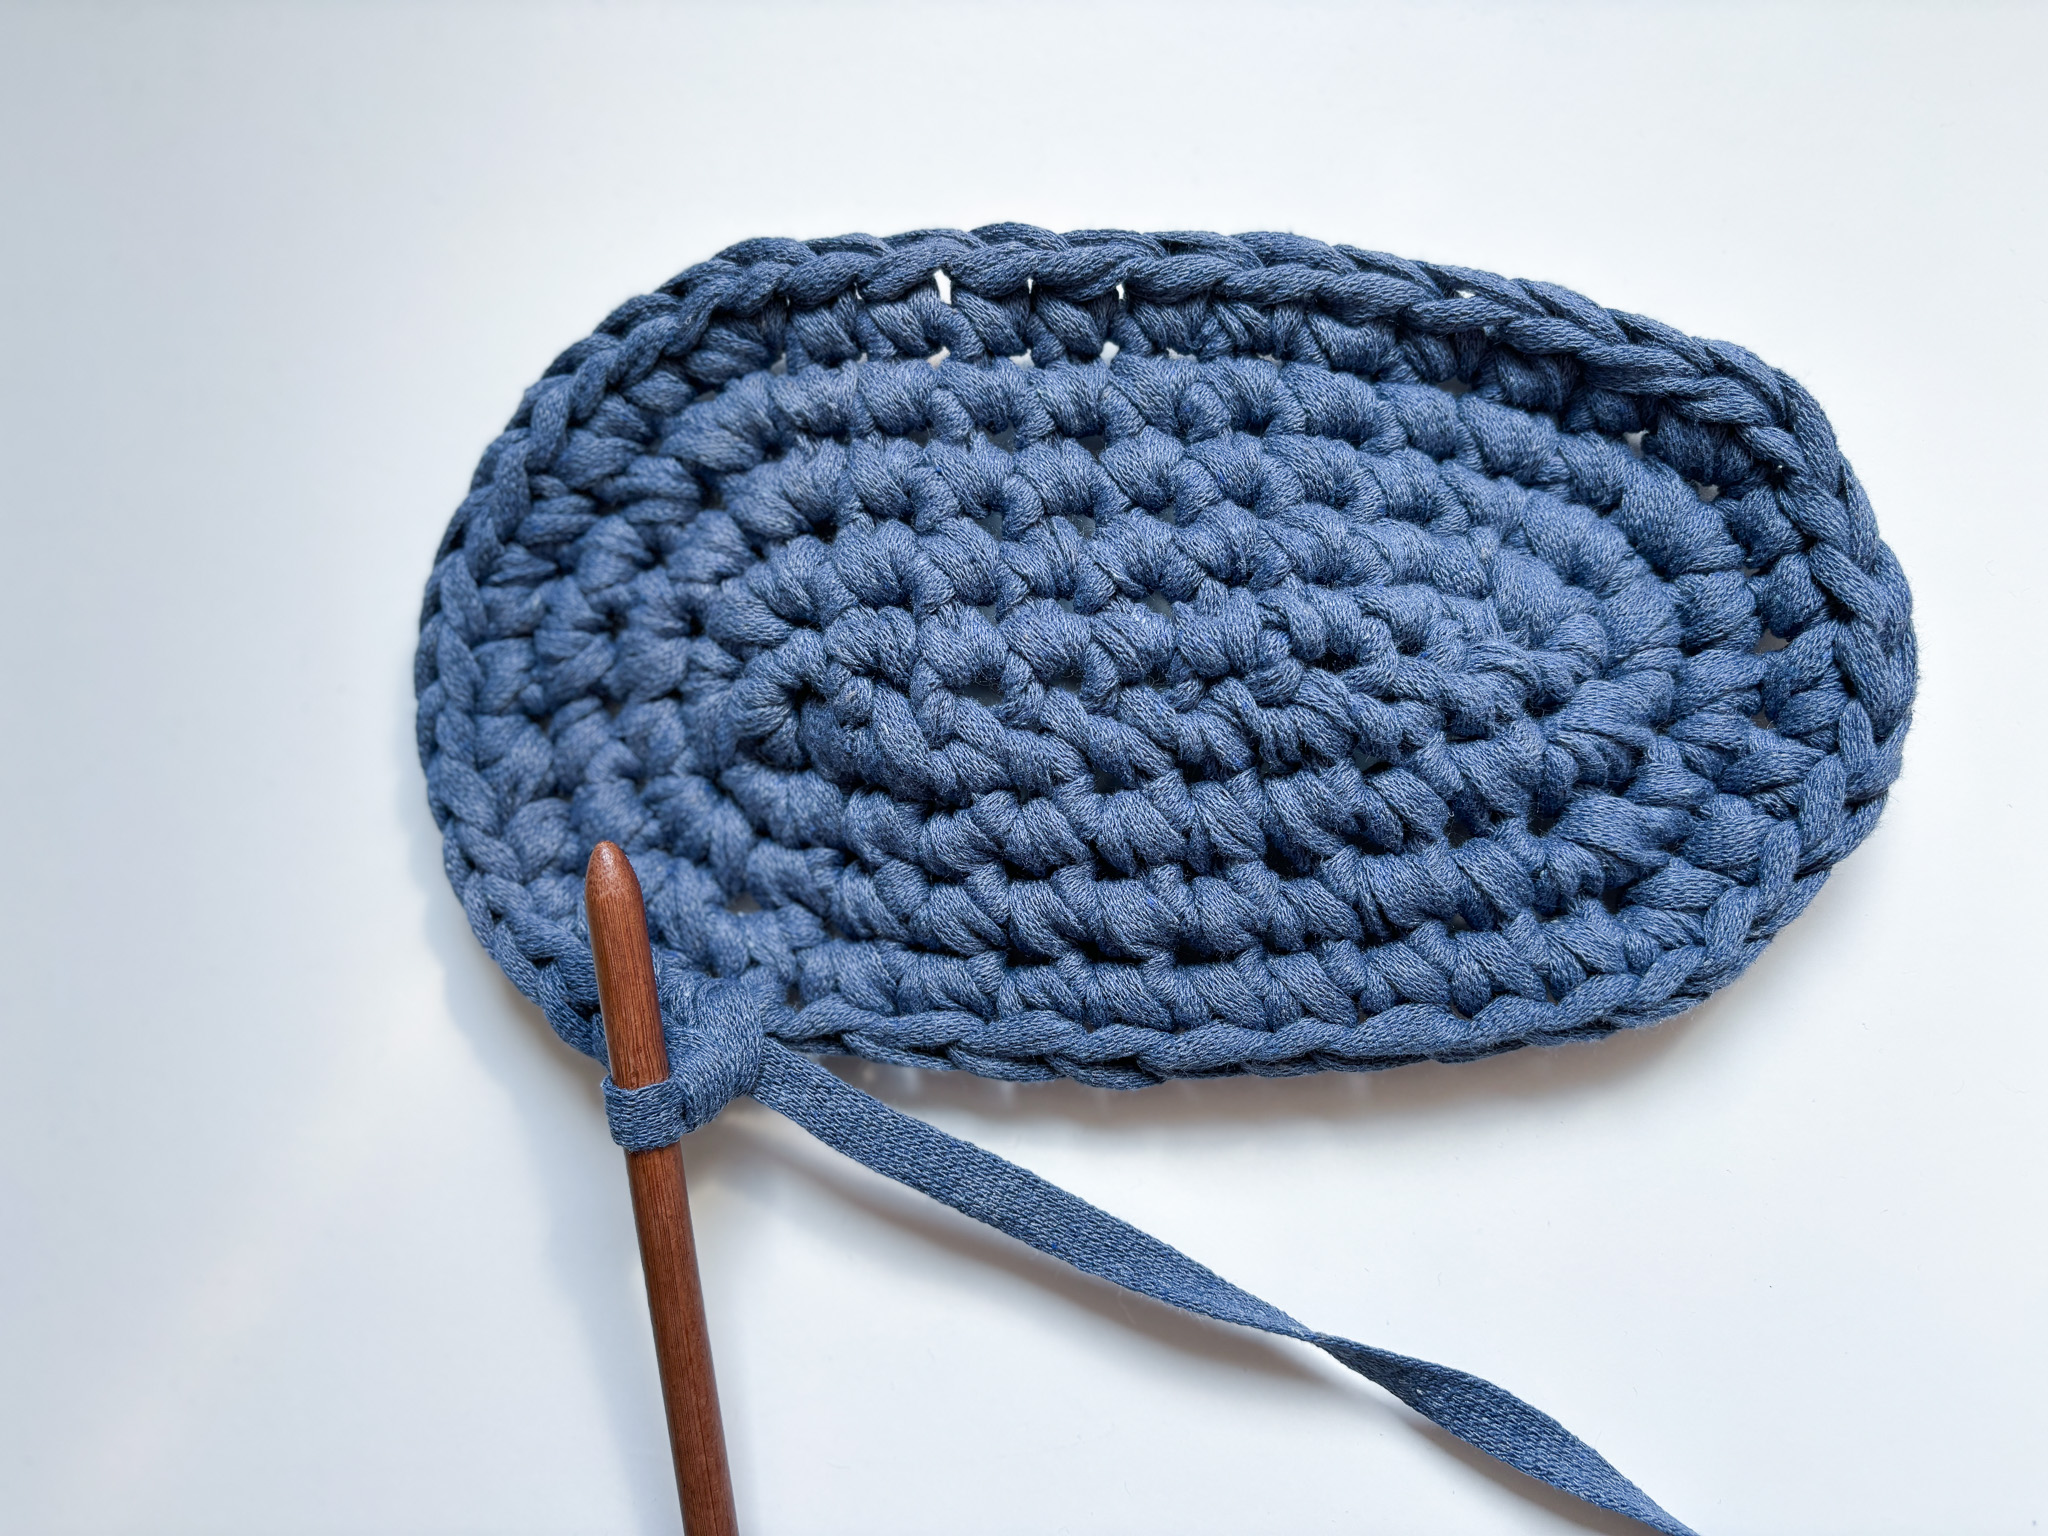
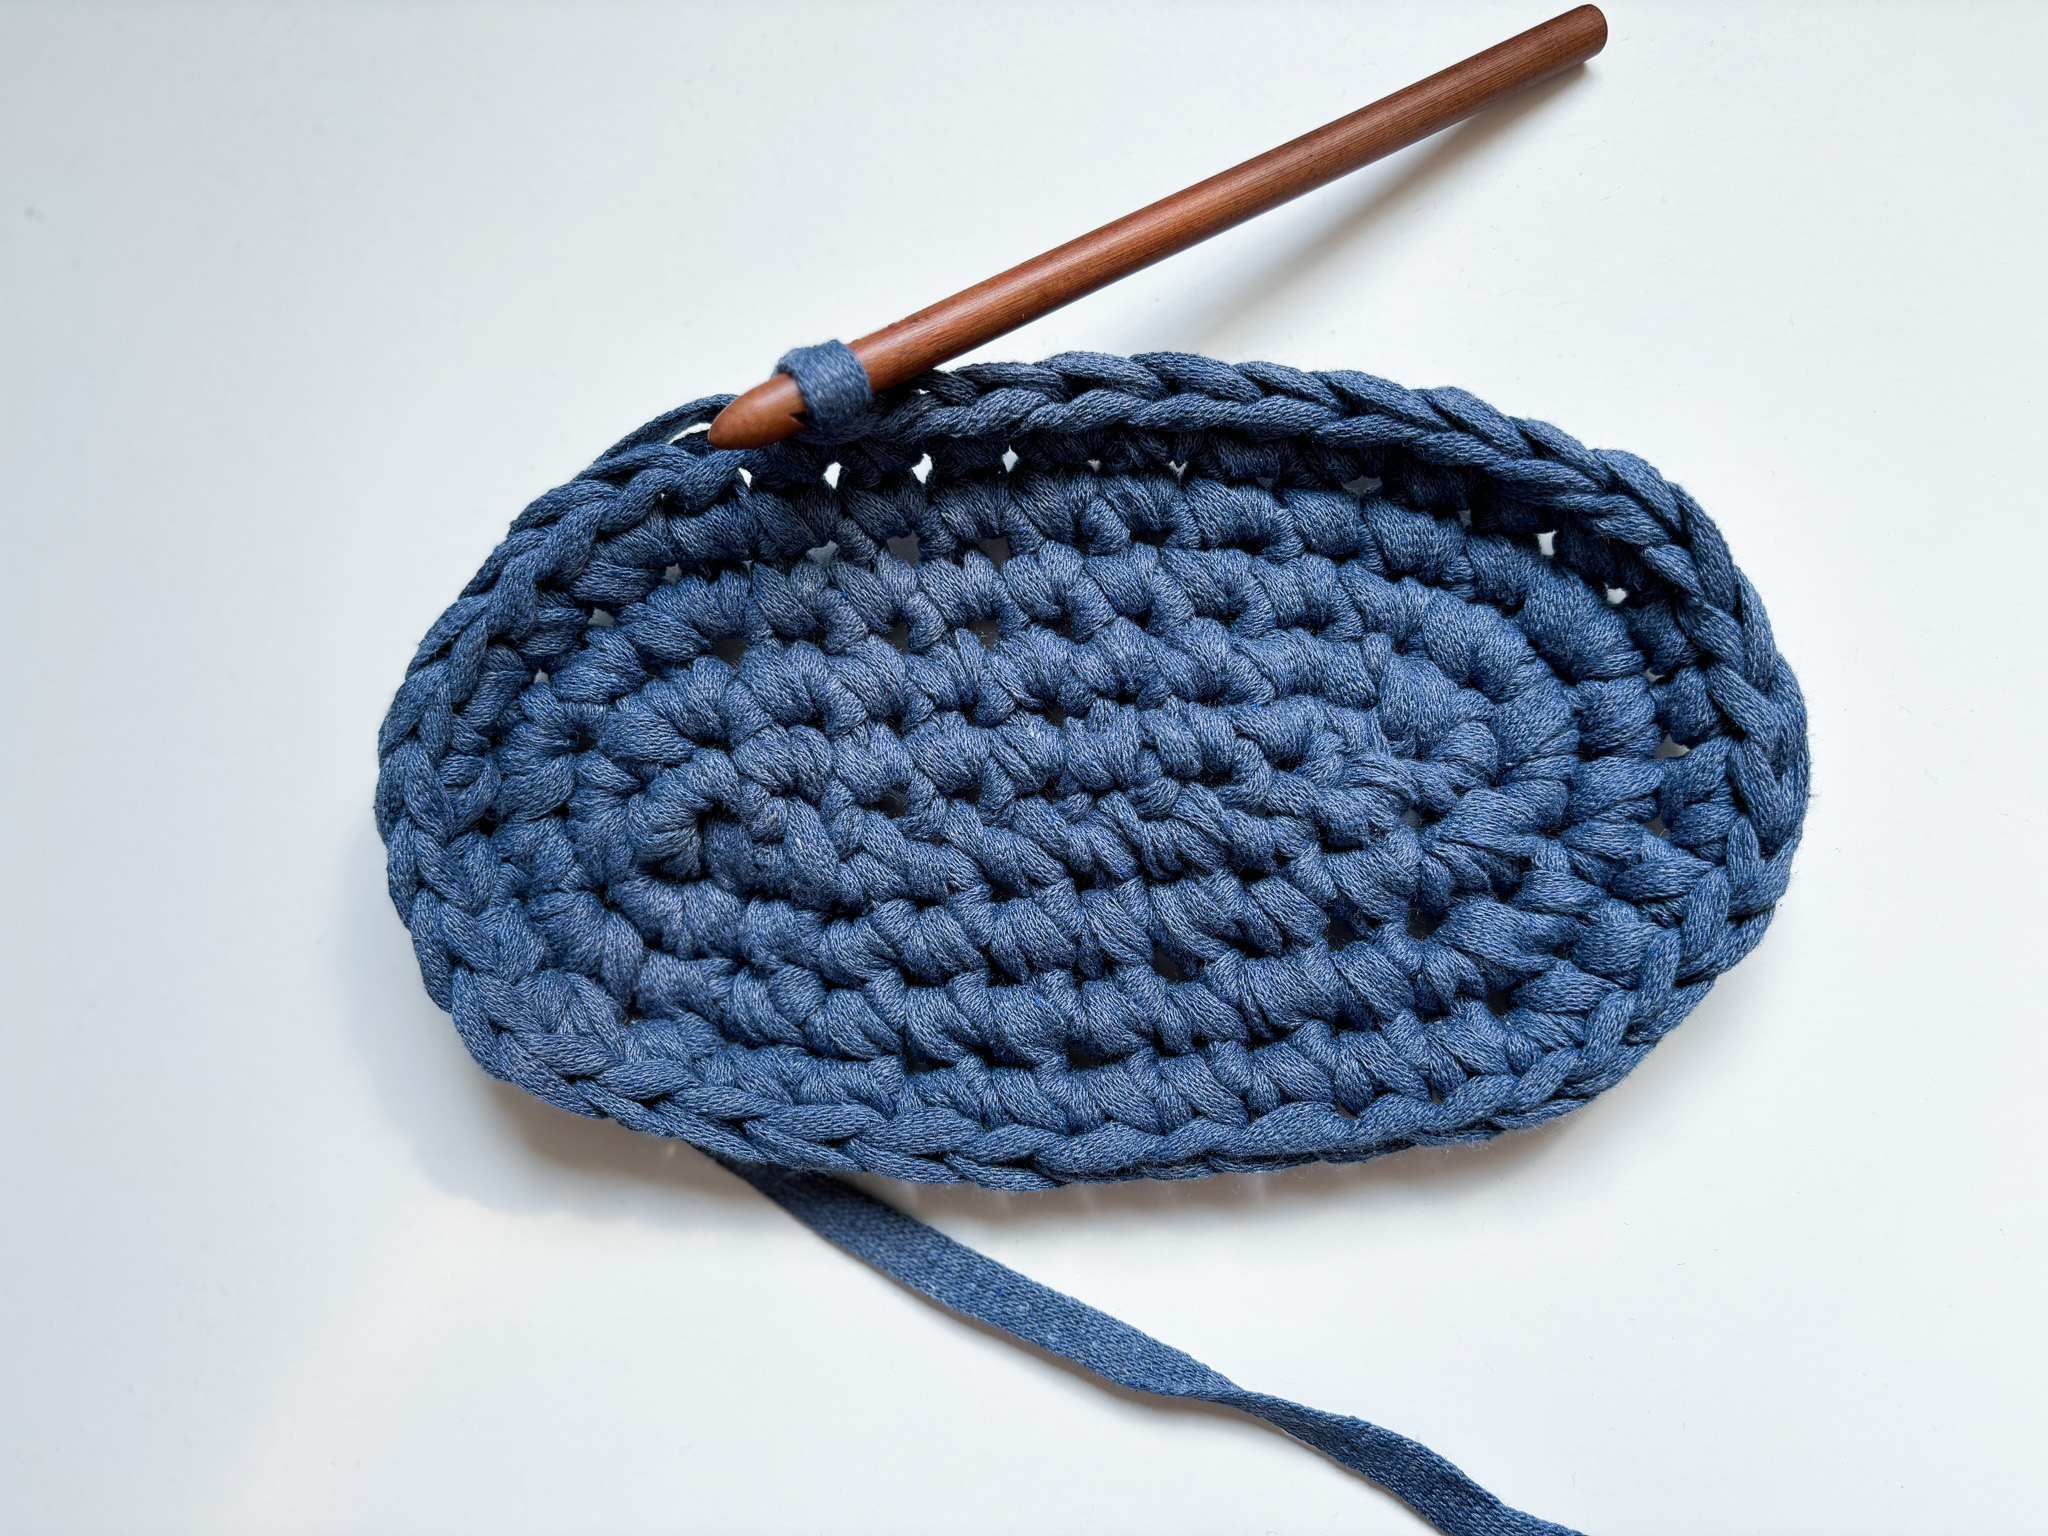
Round 6:
Continue in the same way by making 1 single crochet in each of the next 8 stitches. In this round, increase by making 1 single crochet in each of the first 4 stitches, then make an increase by working 2 single crochets in the next stitch. Repeat this 3 times. (Shortened: 1-1-1-1-2 1-1-1-1-2 1-1-1-1-2)Once one side is complete, move to the other side and make 1 single crochet in each of the next 8 stitches, then finish the round with the same increase pattern (1-1-1-1-2 1-1-1-1-2 1-1-1-1-2).
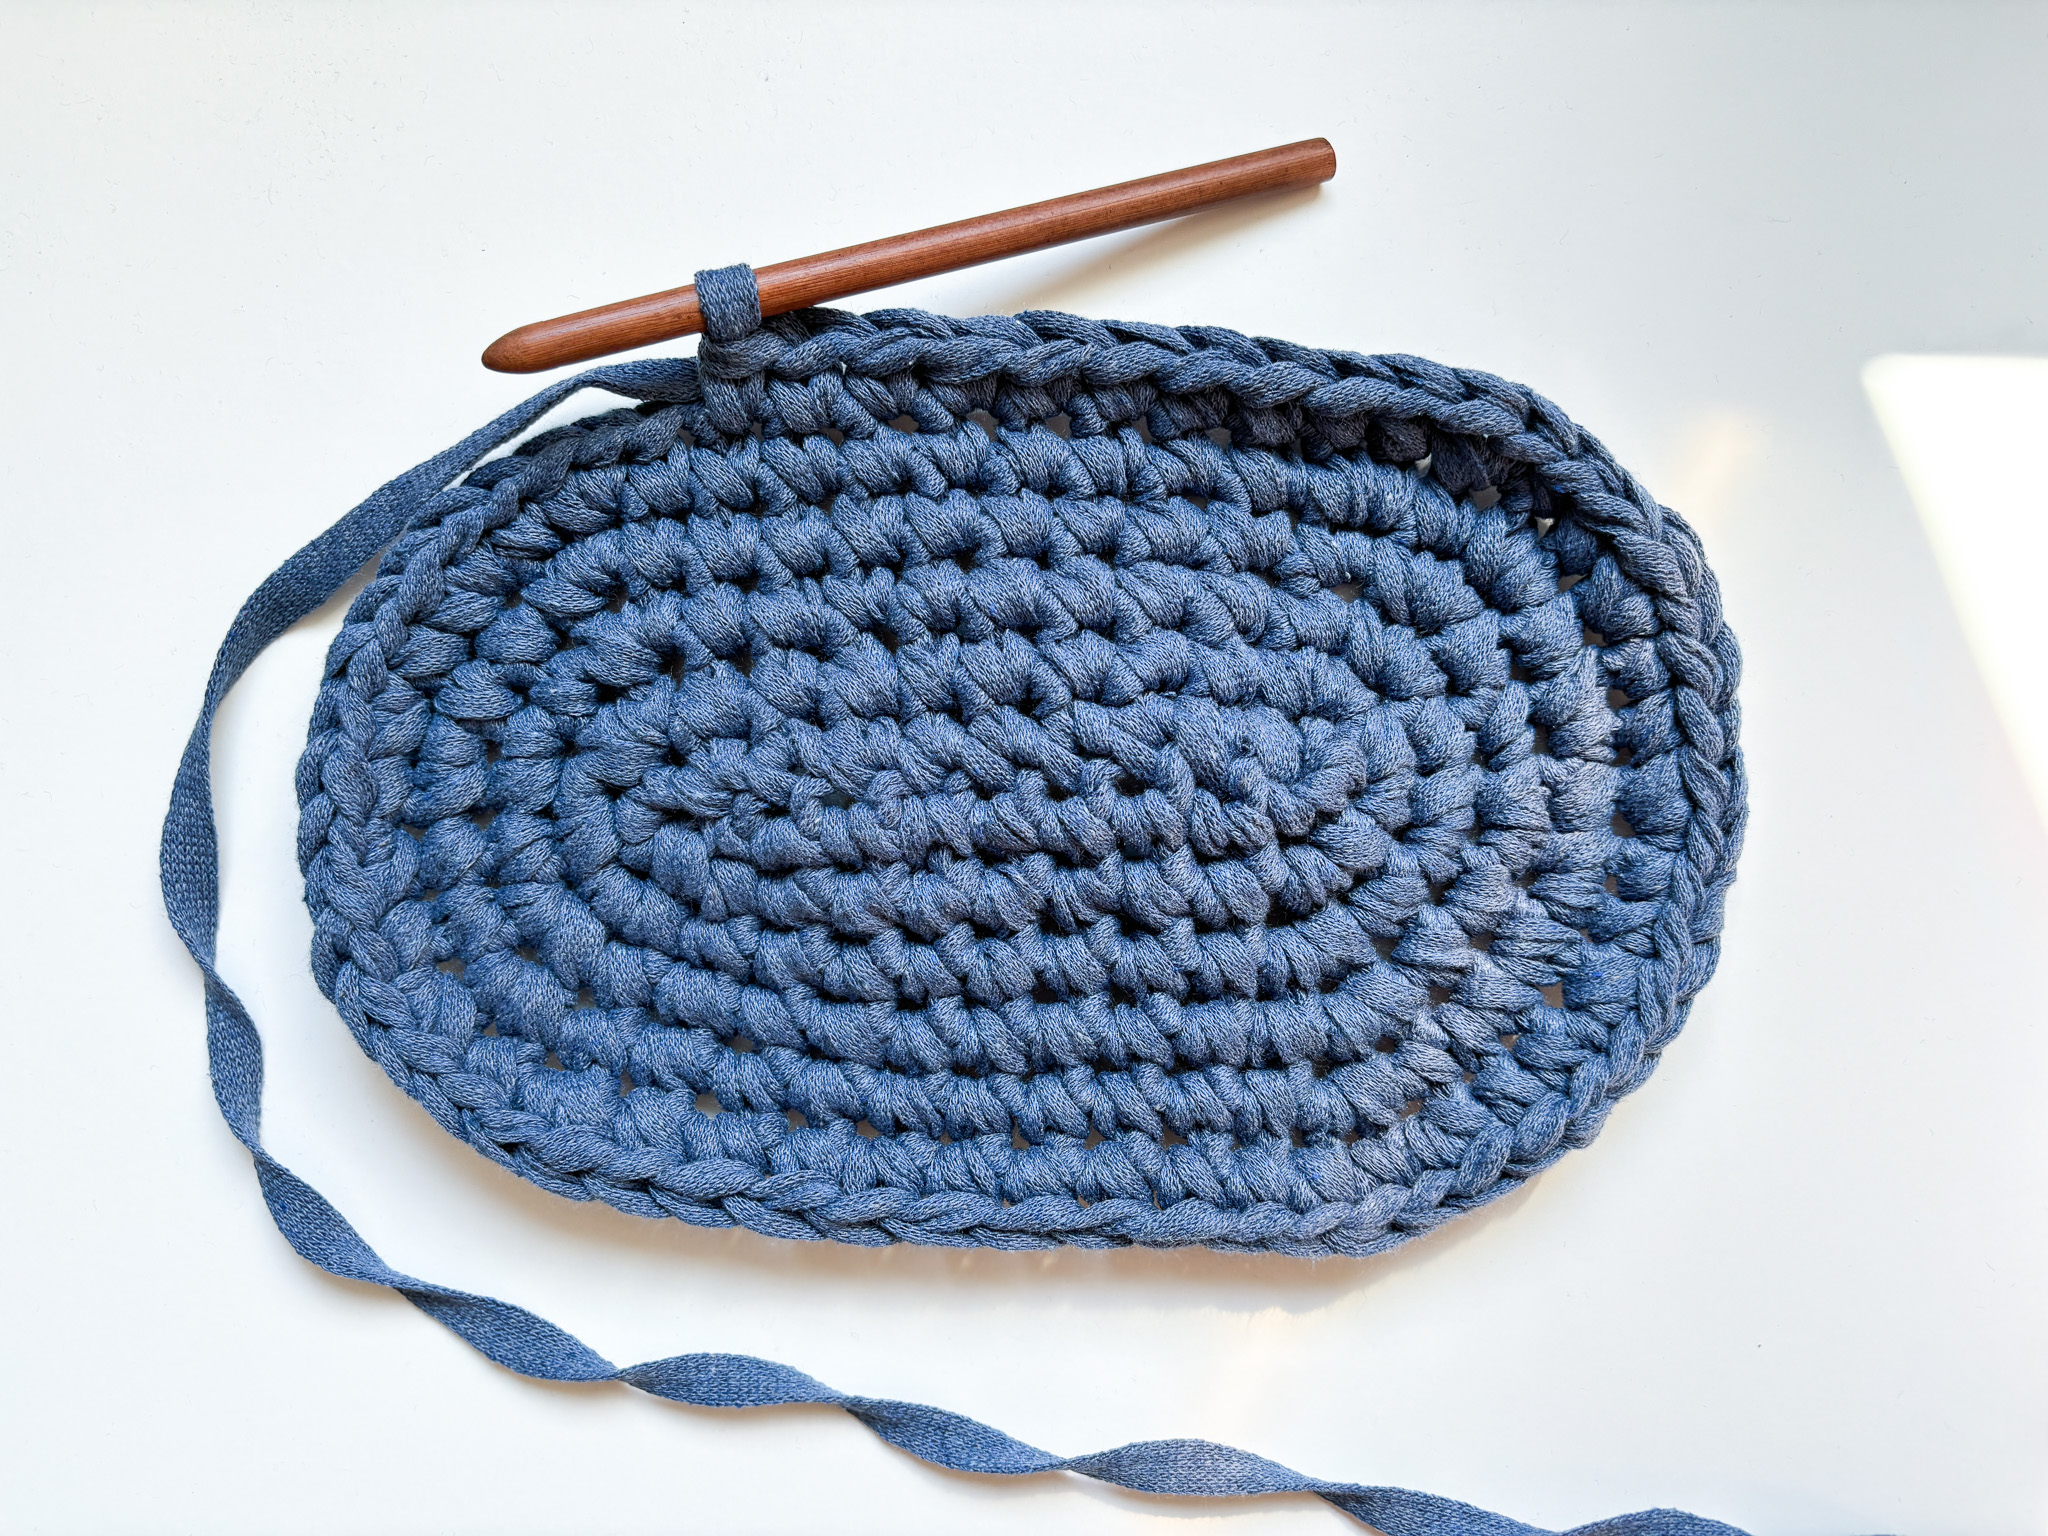
Bottom complete:
You can see that the bottom is finished when it fully covers the metal clutch when it is laid out flat.

Building the sides:
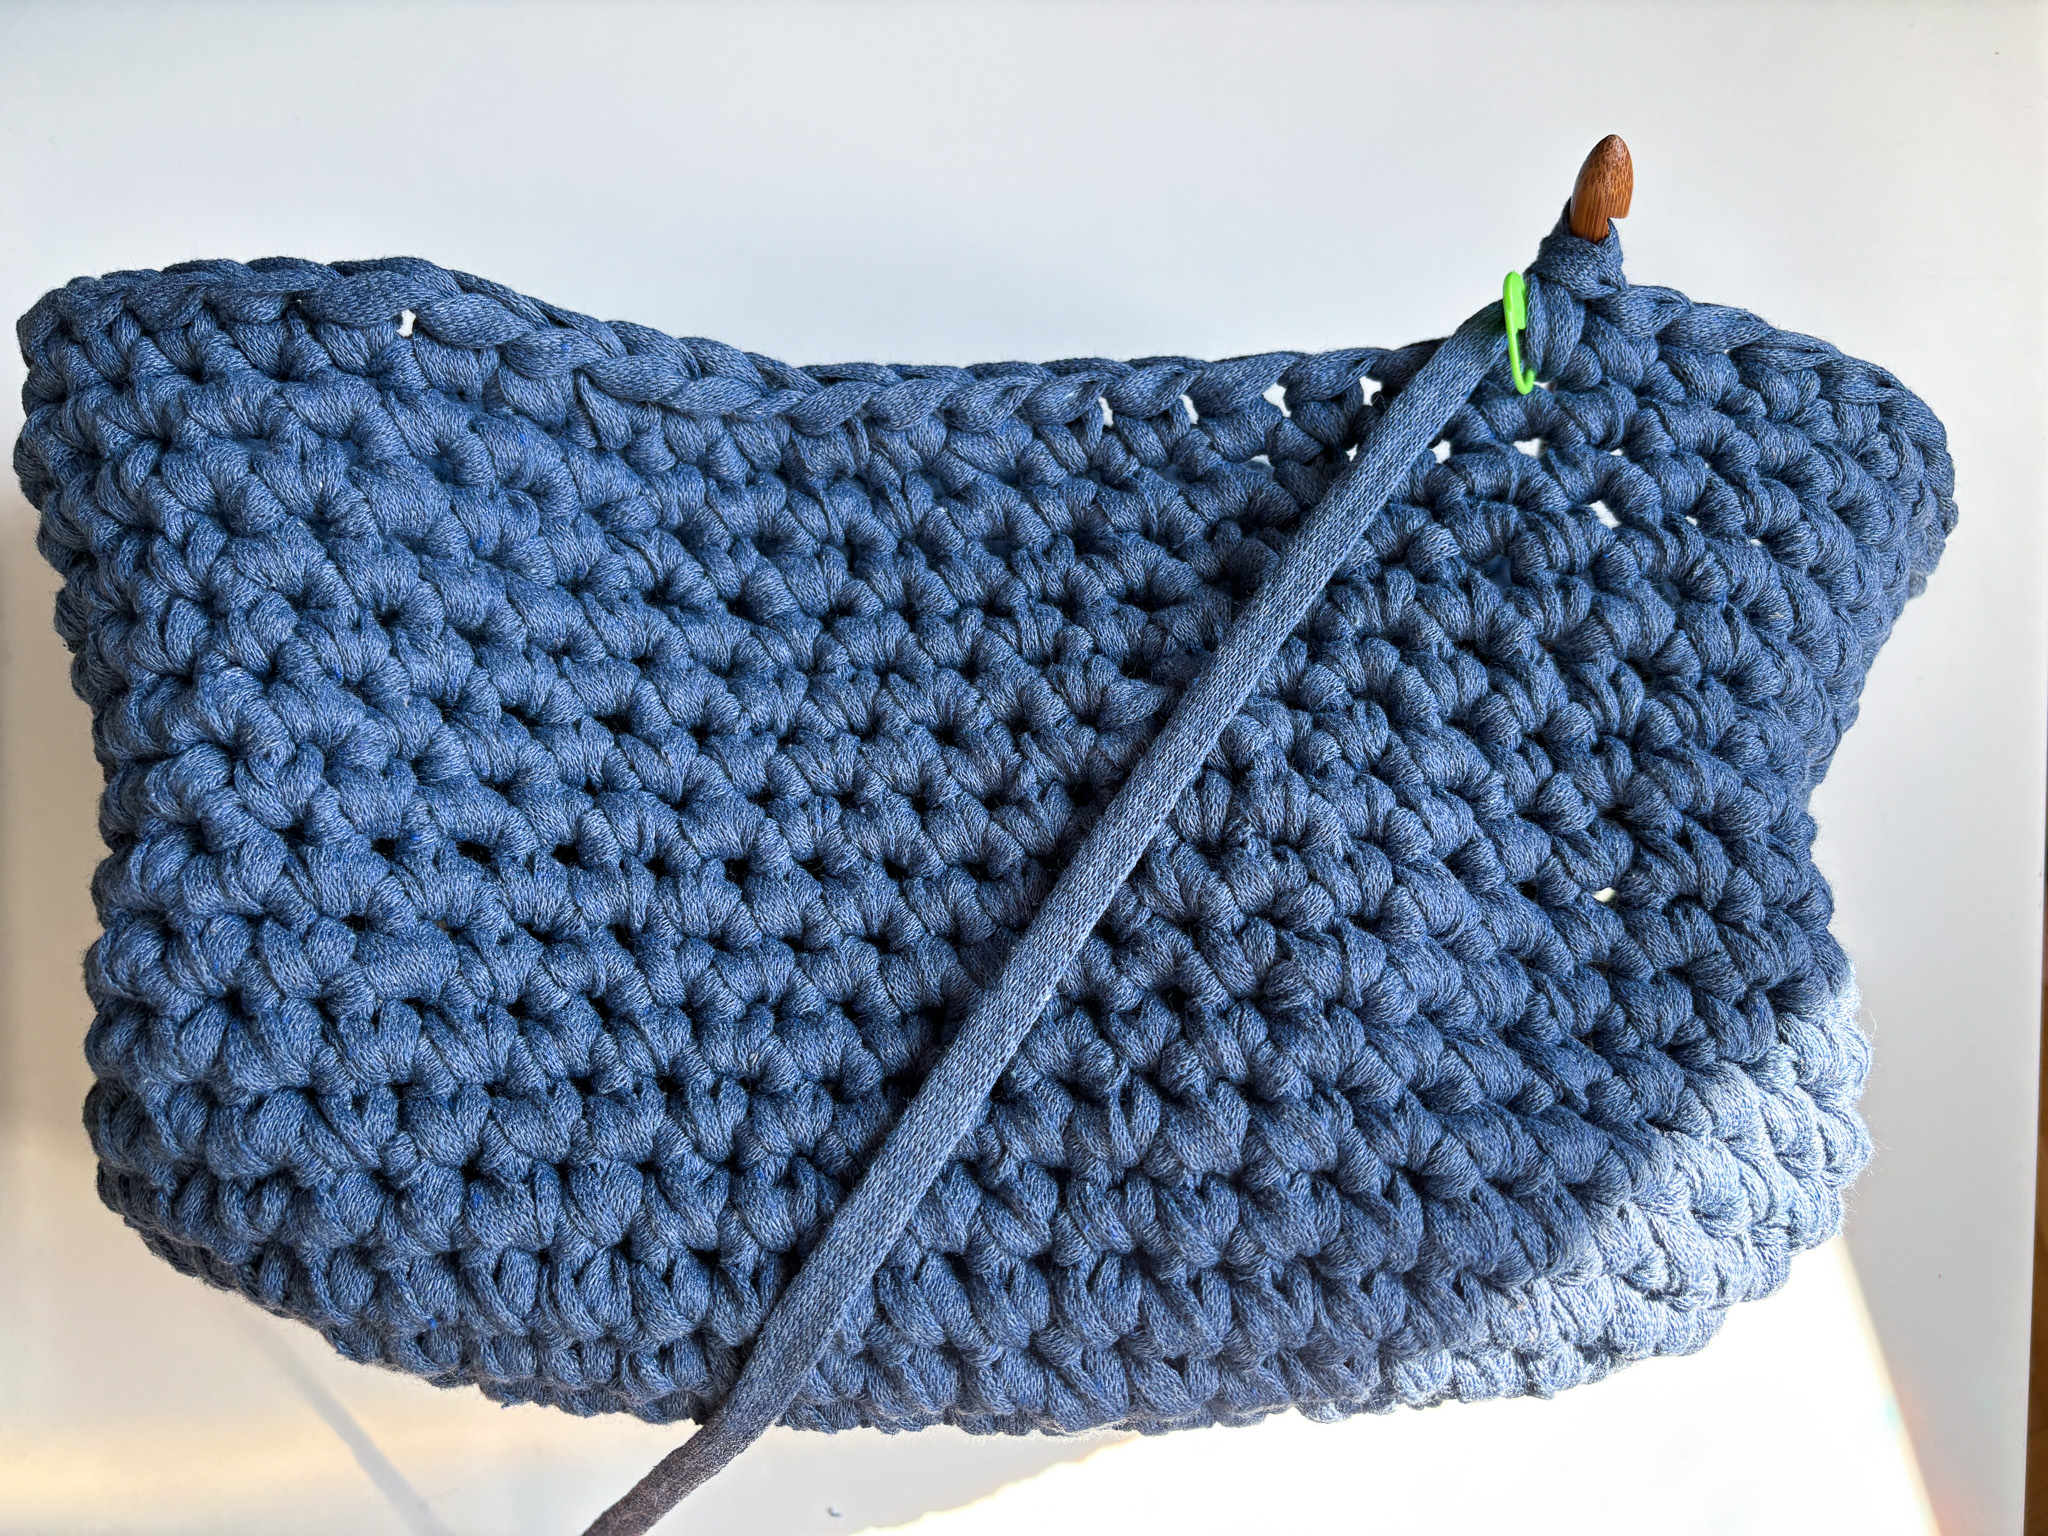
Now it’s time to start building up the sides of the clutch. We do this by continuing to crochet single crochet stitches up along the edges. At this stage, we do not make any increases; just crochet straight up until you have completed 13–15 rounds (depending on how tall you want your clutch). Keep track of your rounds easily by placing a stitch marker or a hair clip in the first stitch you make when you start working the sides.
A Magic Ring (starting the next skein of yarn):
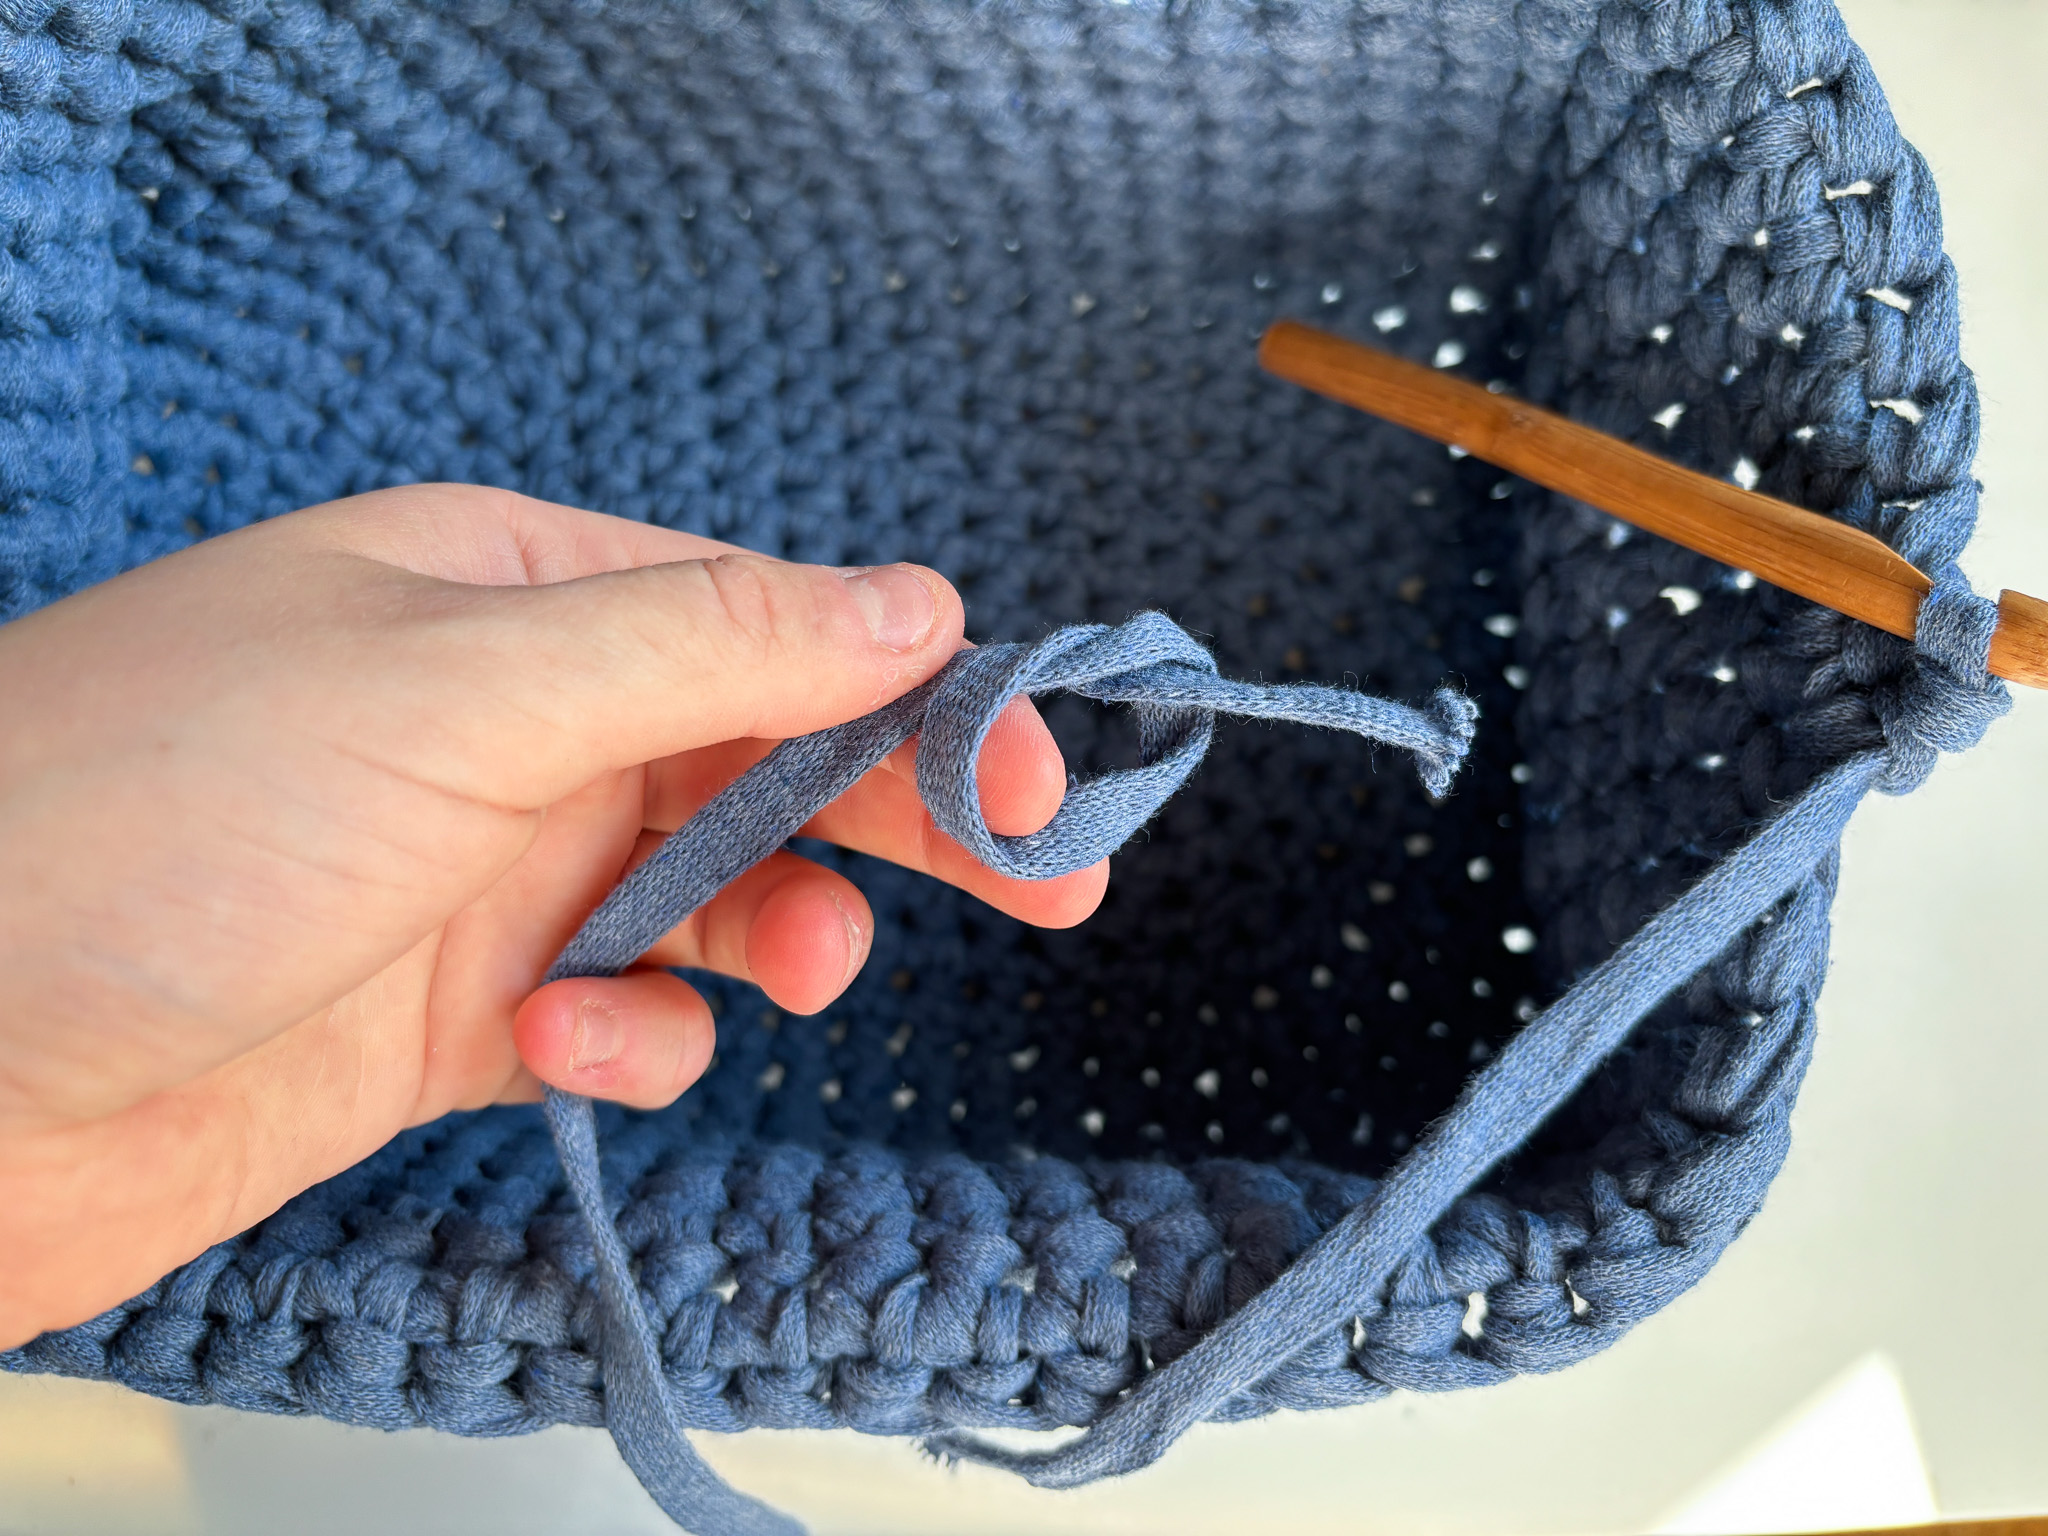
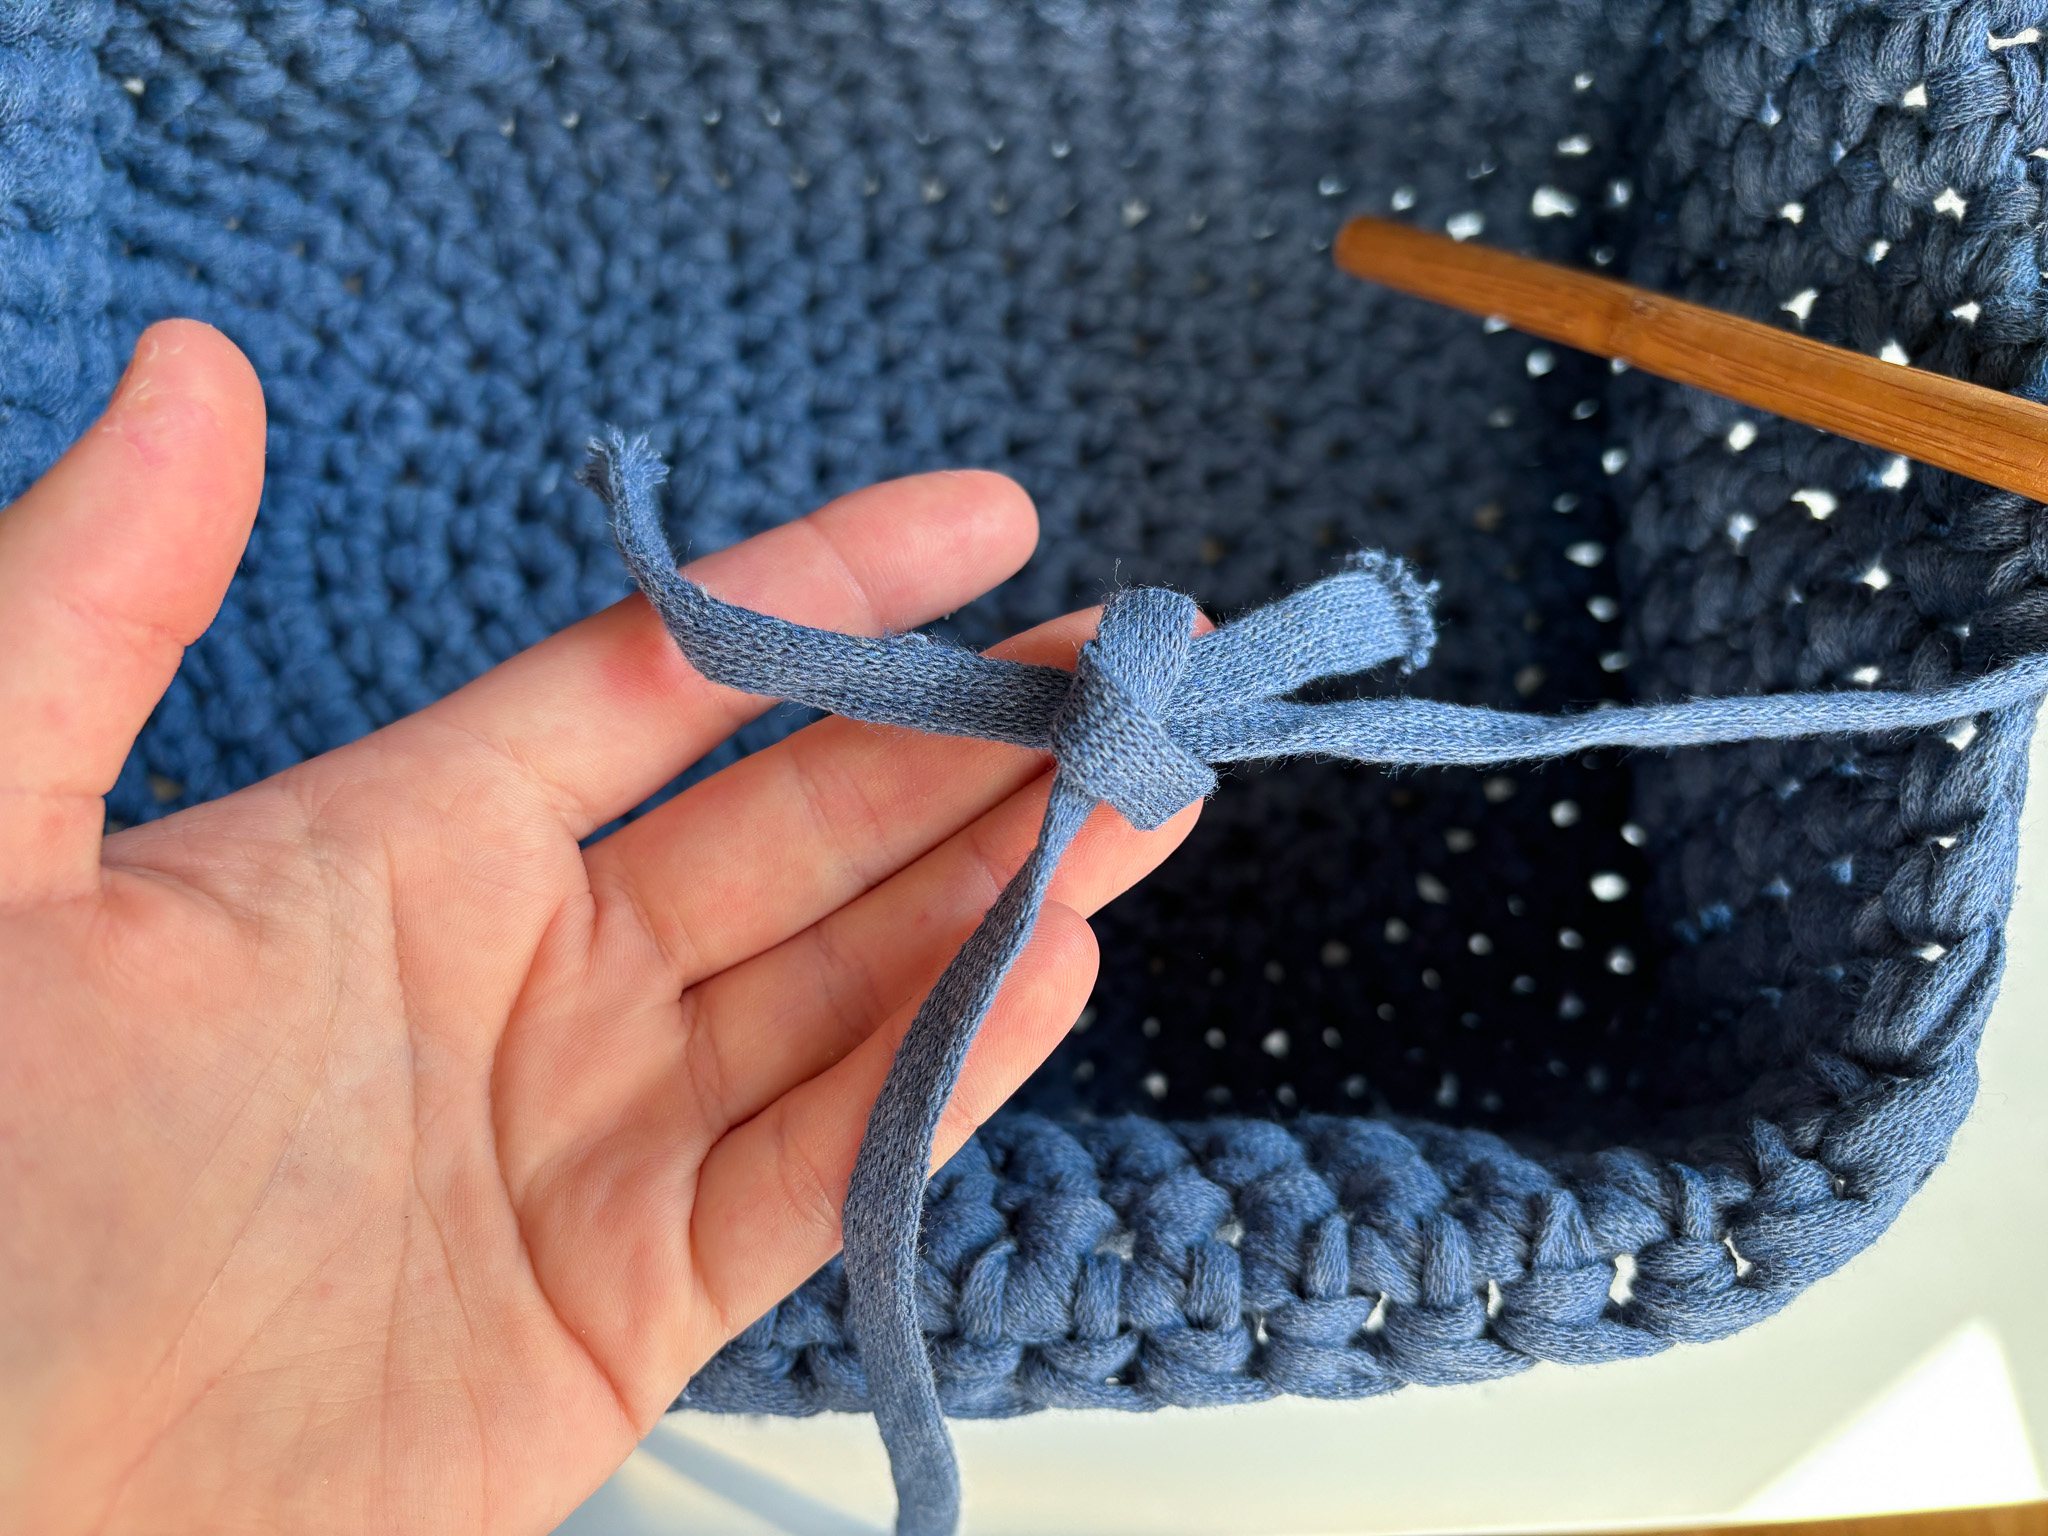
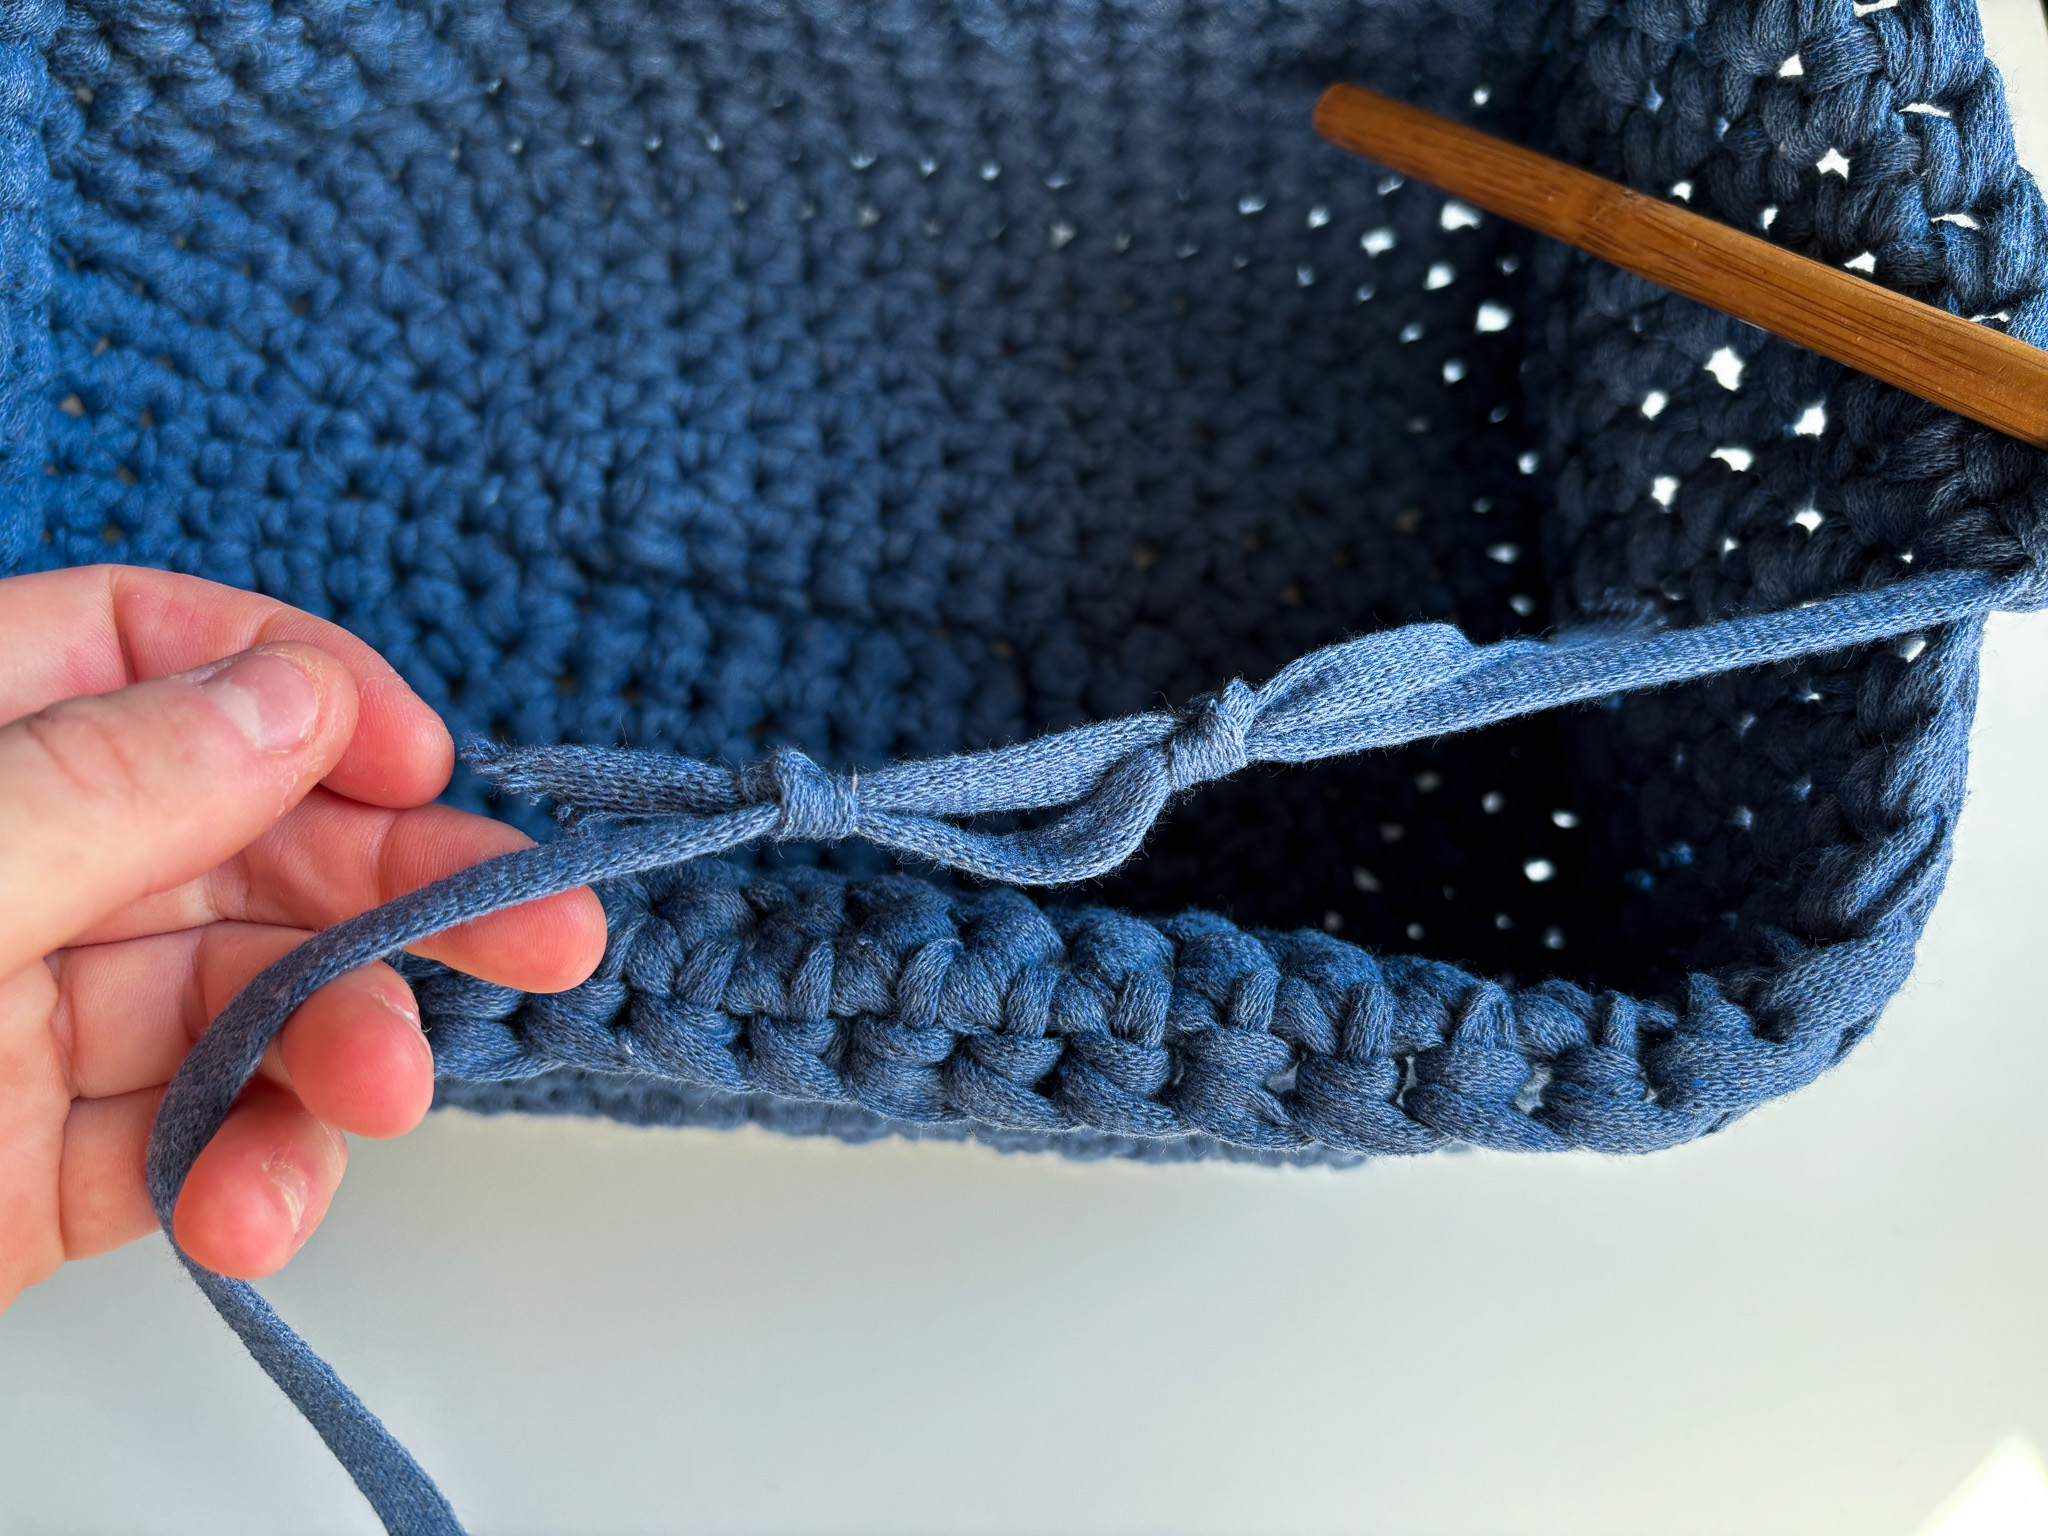
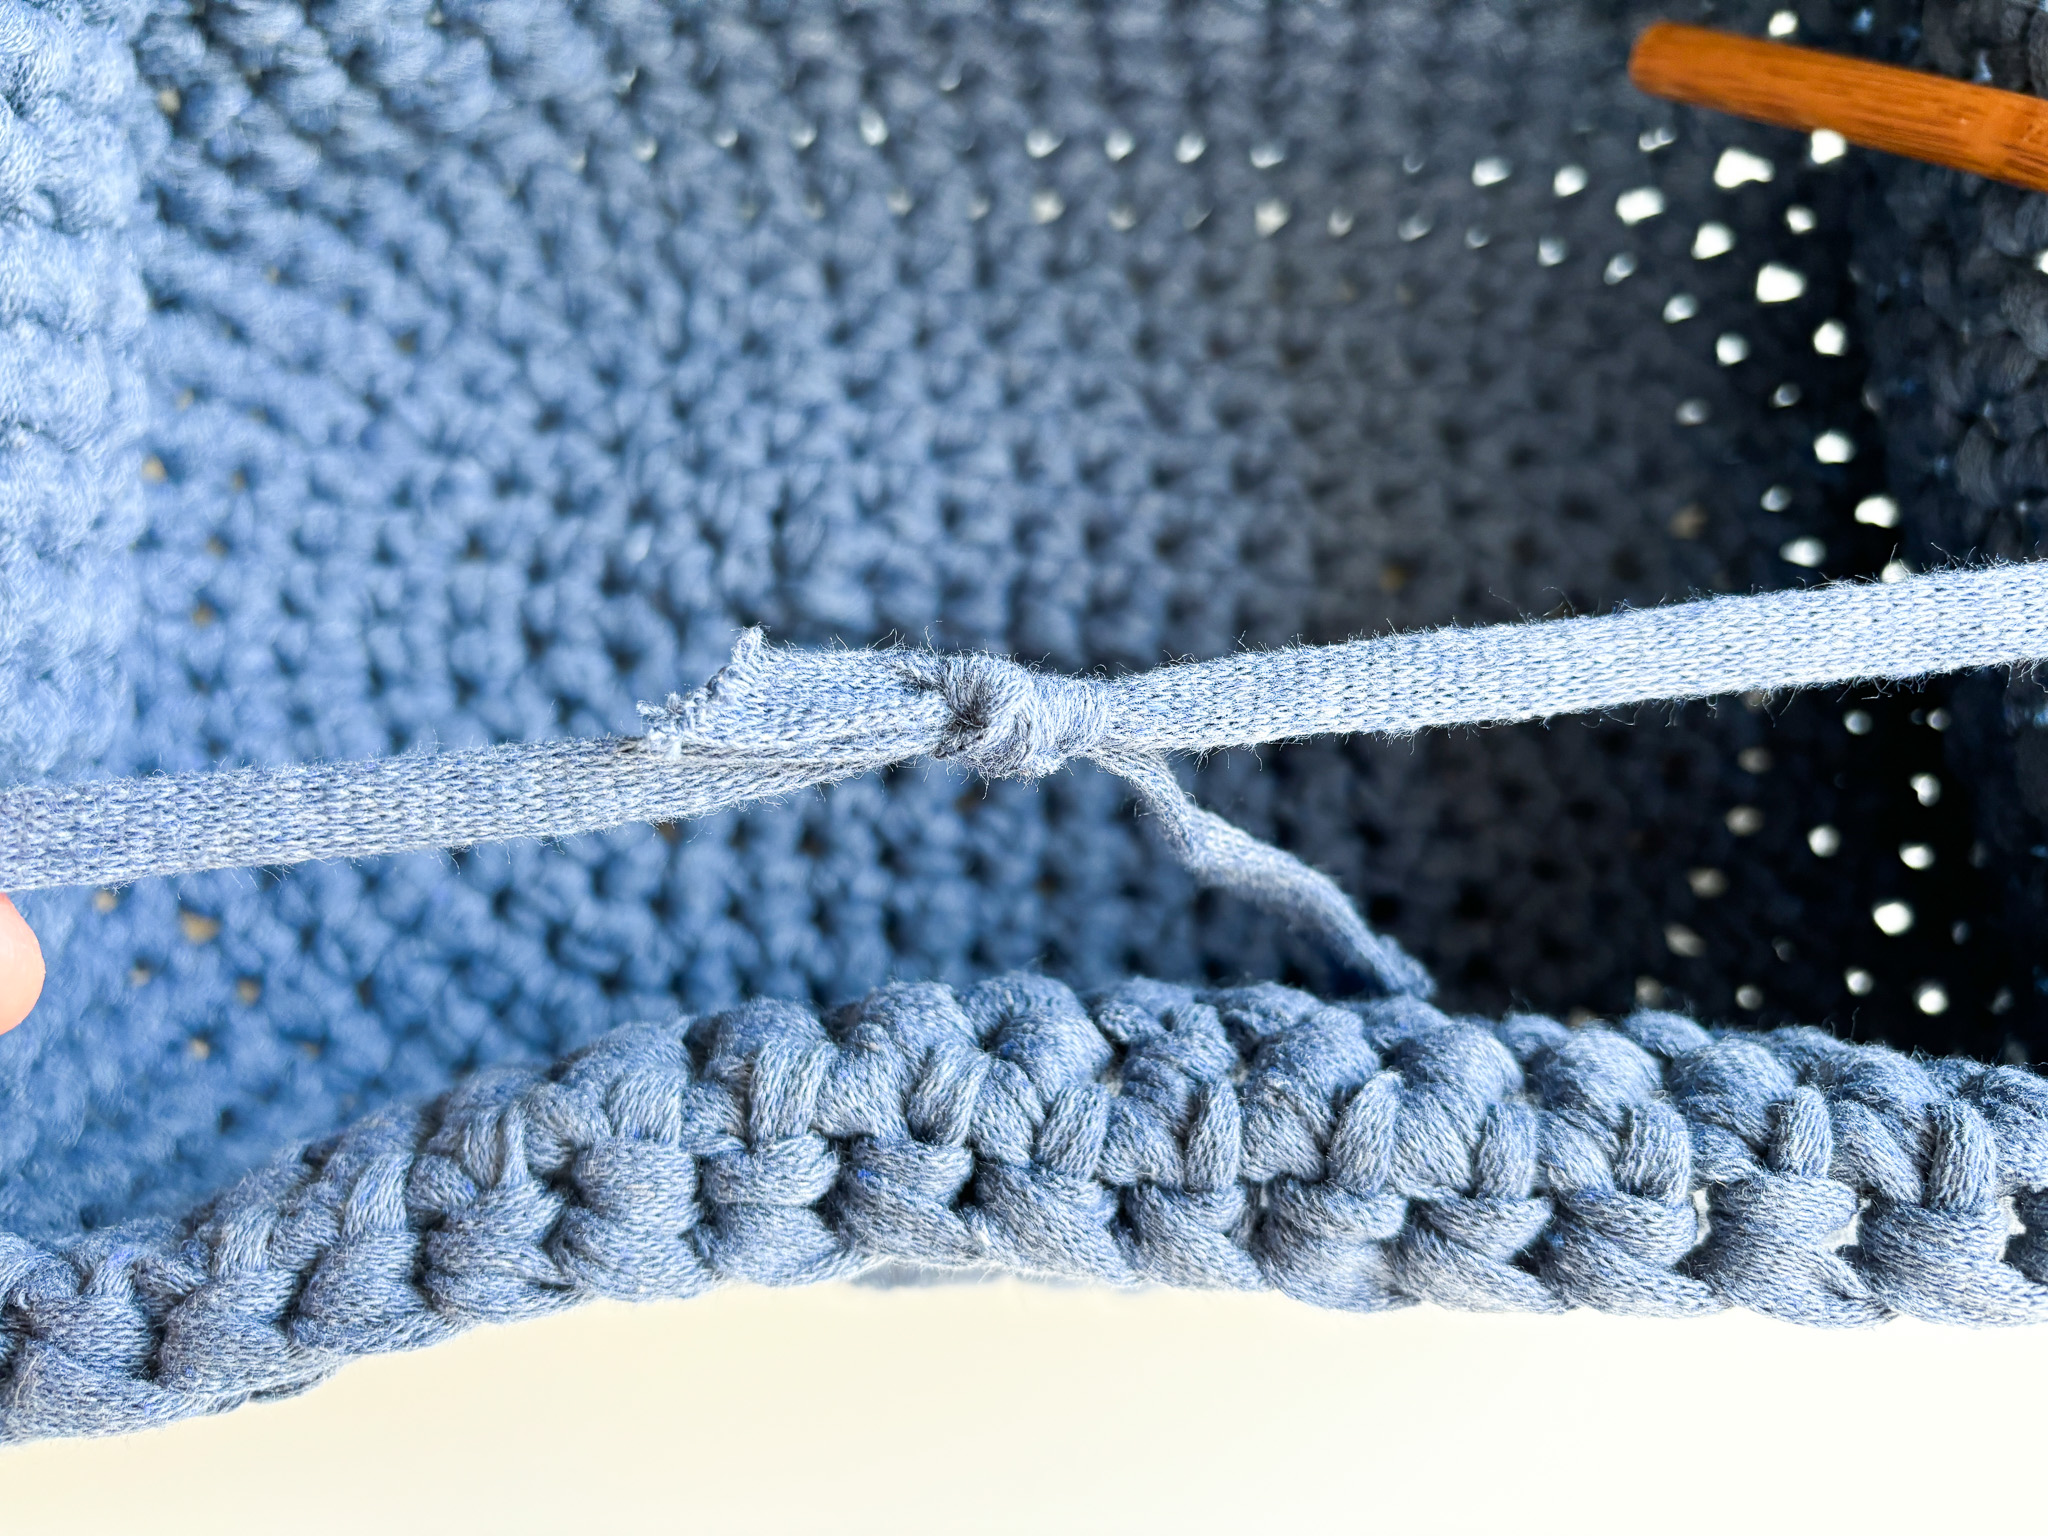
A magic knot is a way to tie two yarn ends together, where each end is wrapped around the other. When you pull it tight, the two knots form a strong connection that won’t come undone. Perfect if your yarn breaks or if you need to change colors. The steps are clearly shown in the pictures below!
Attaching the Metal Clutch:
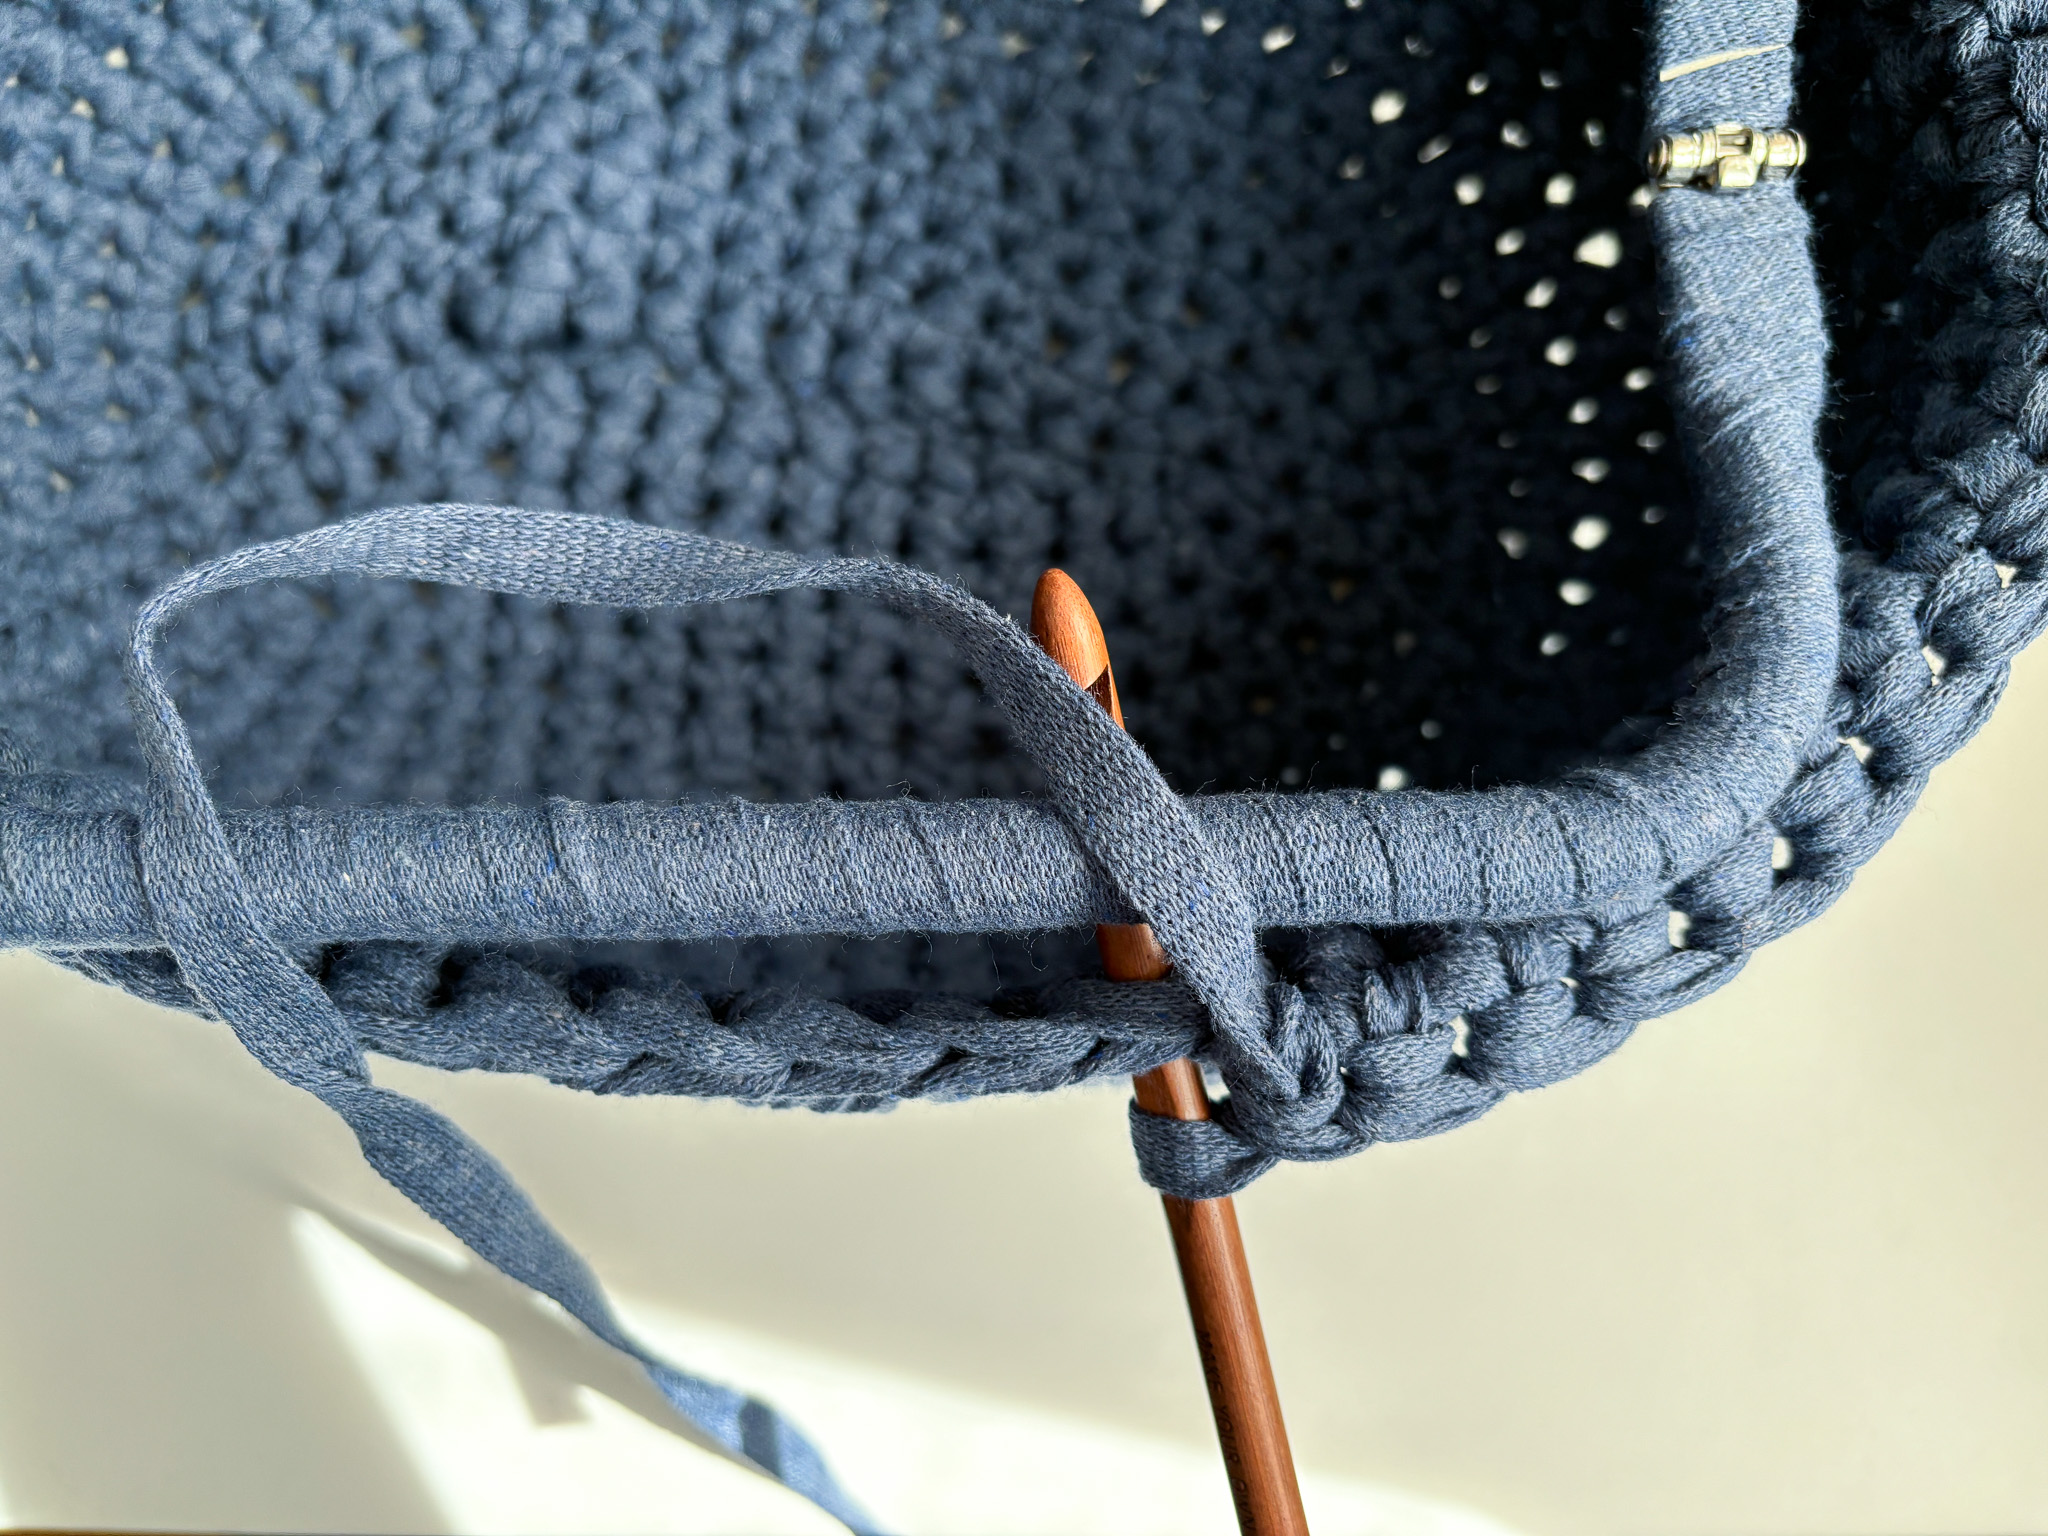
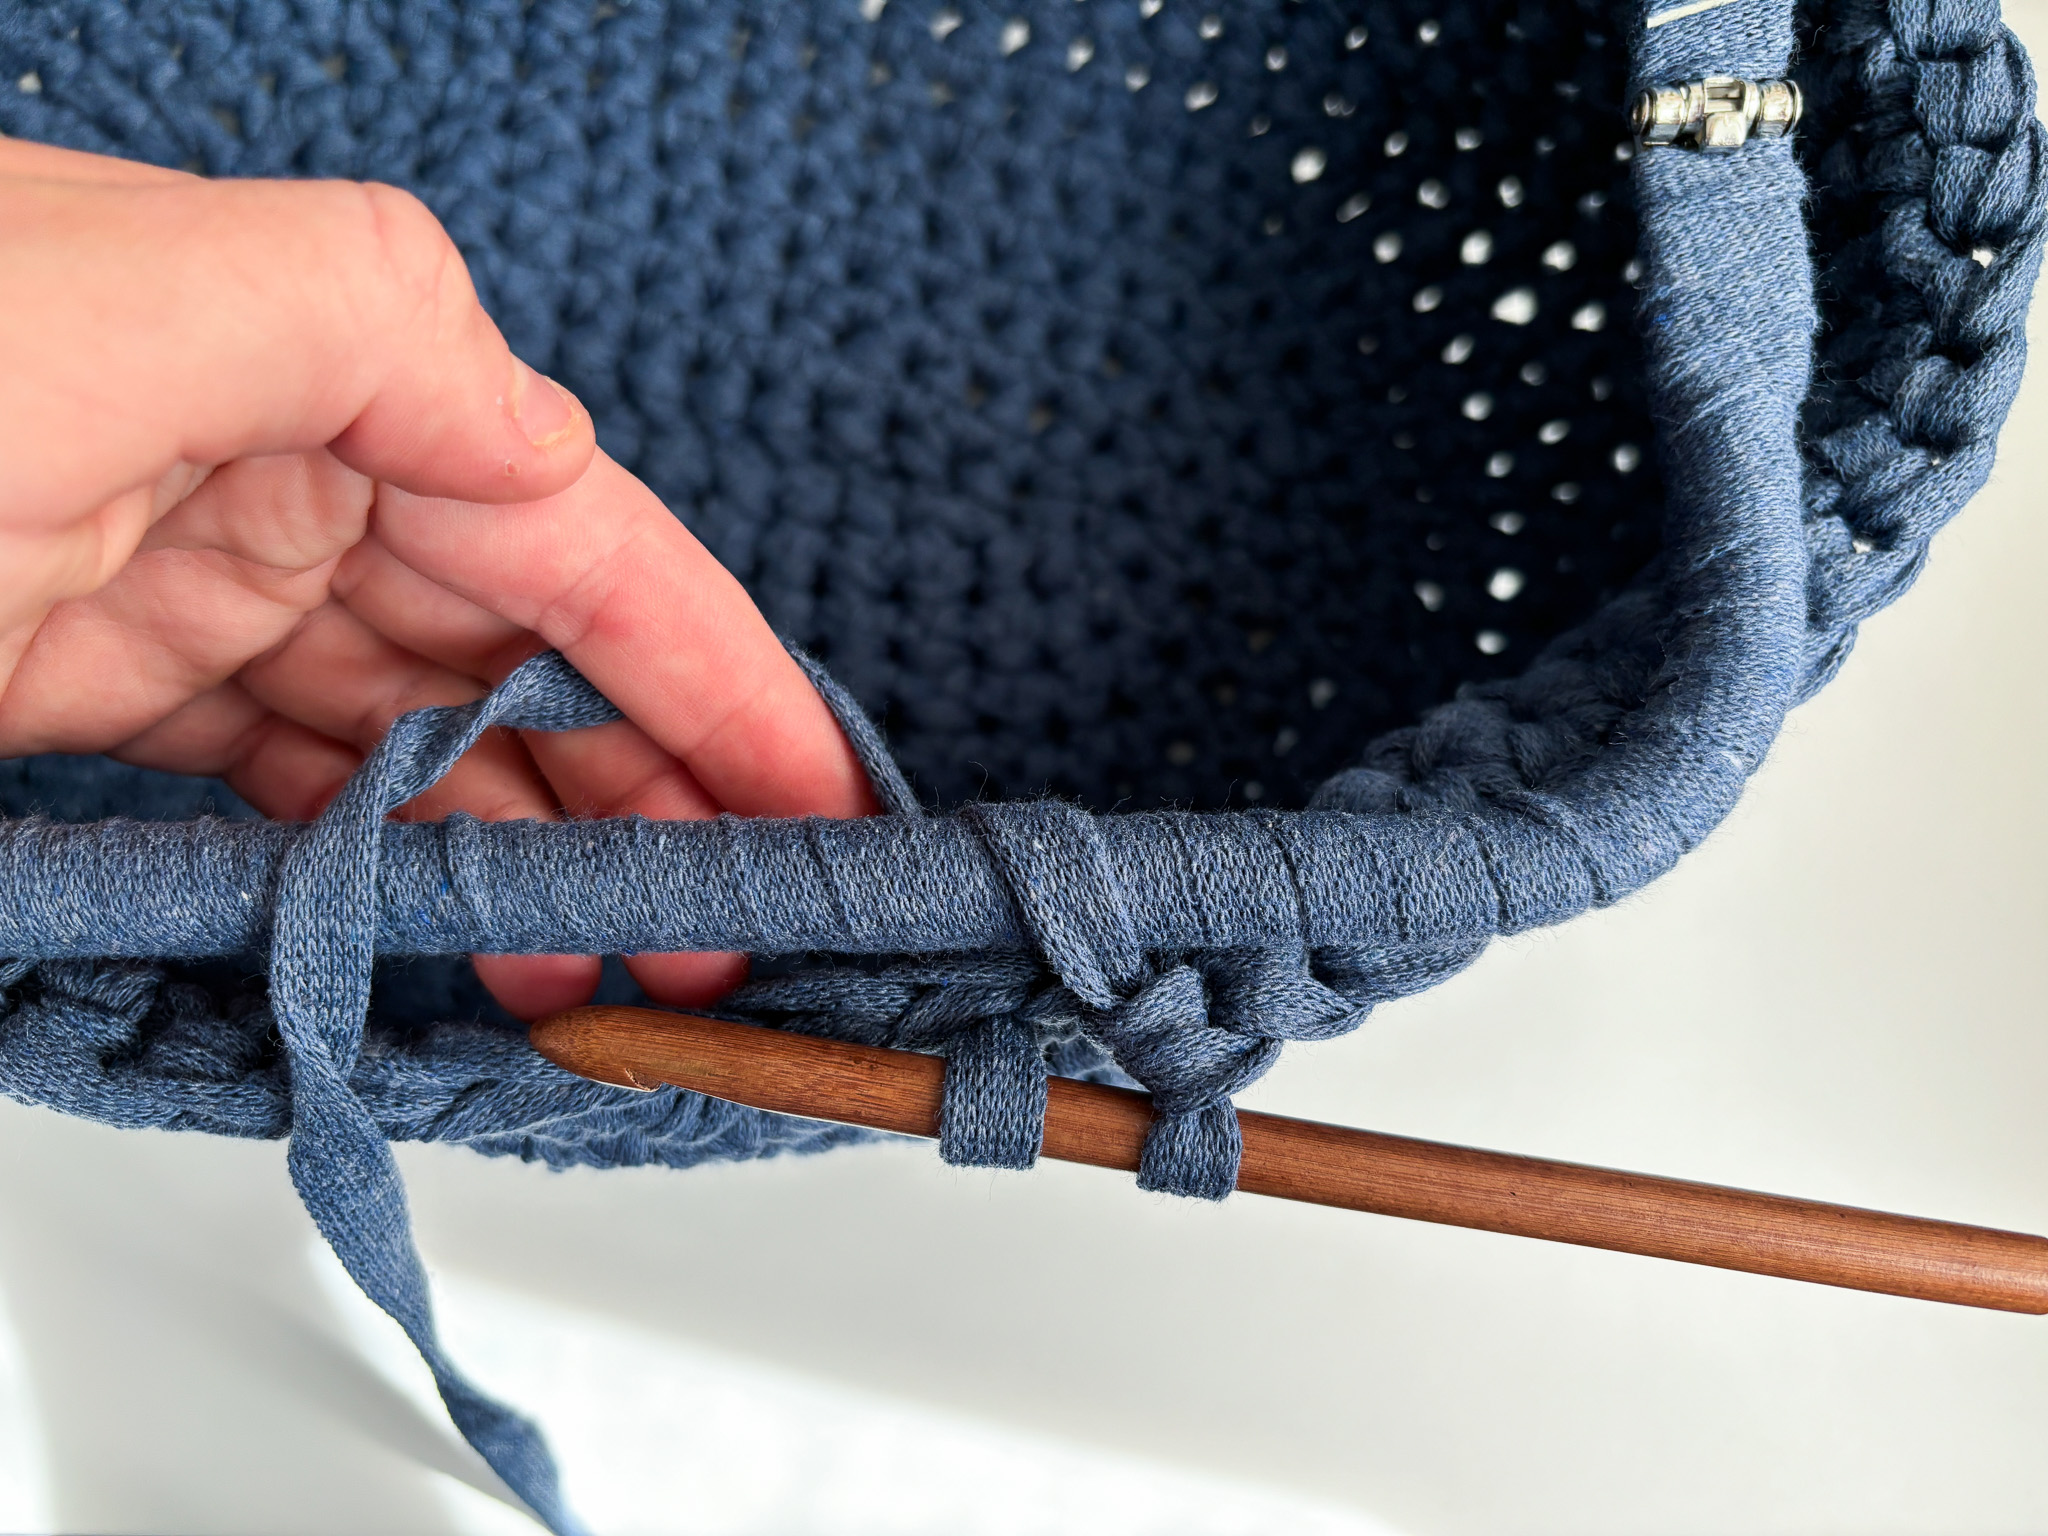
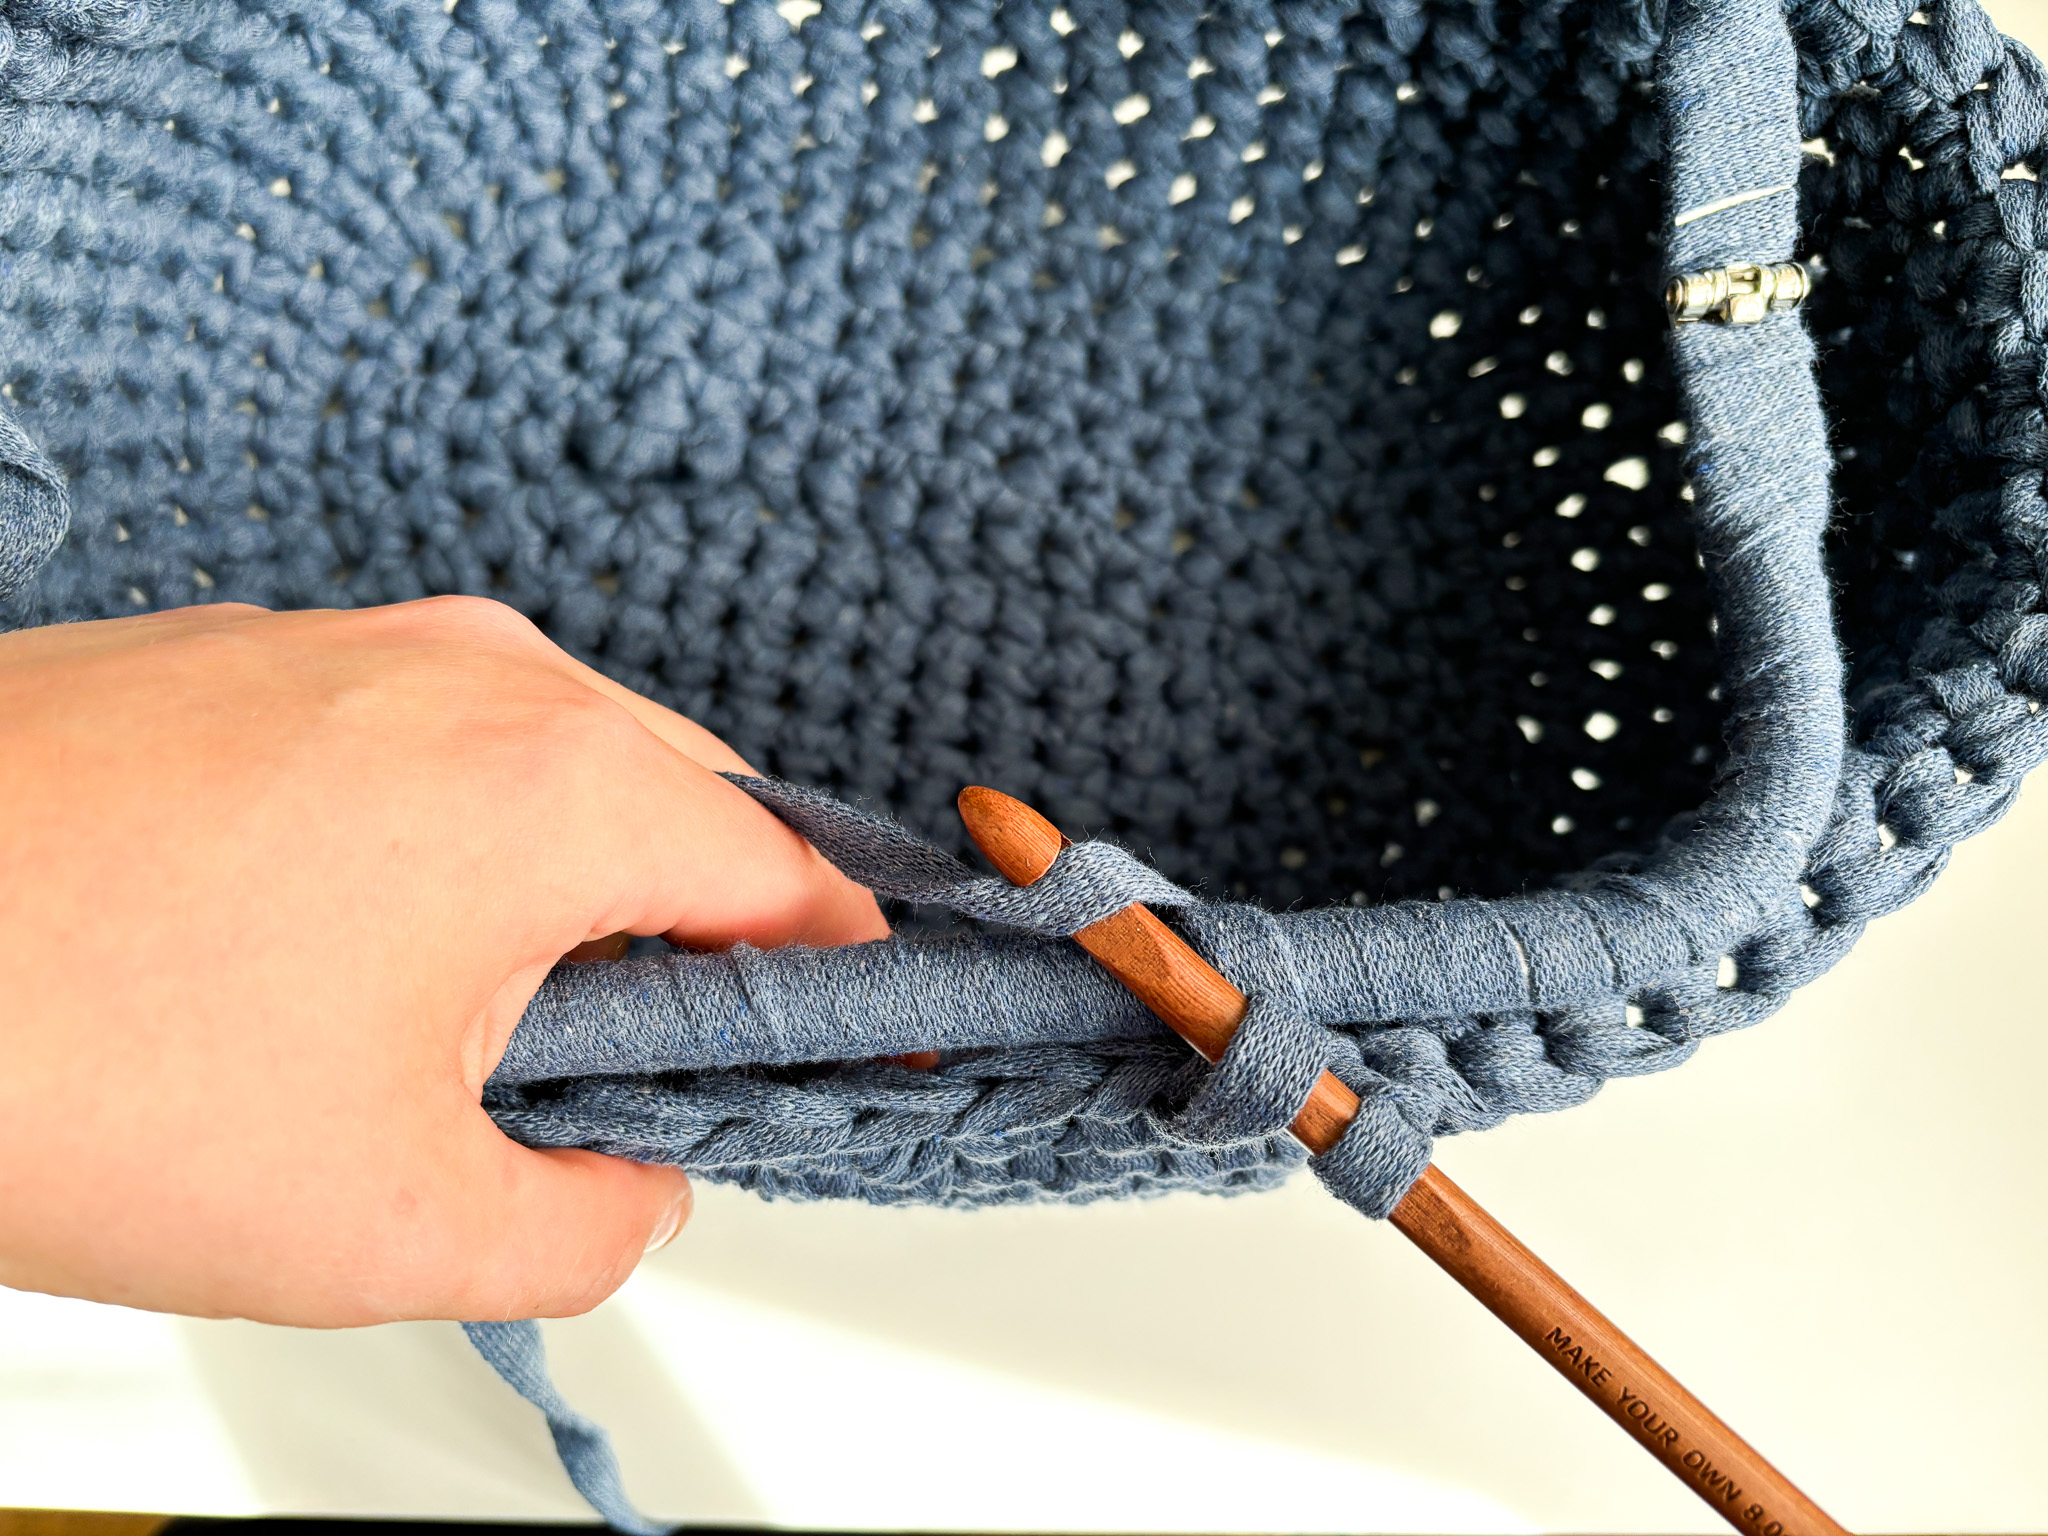
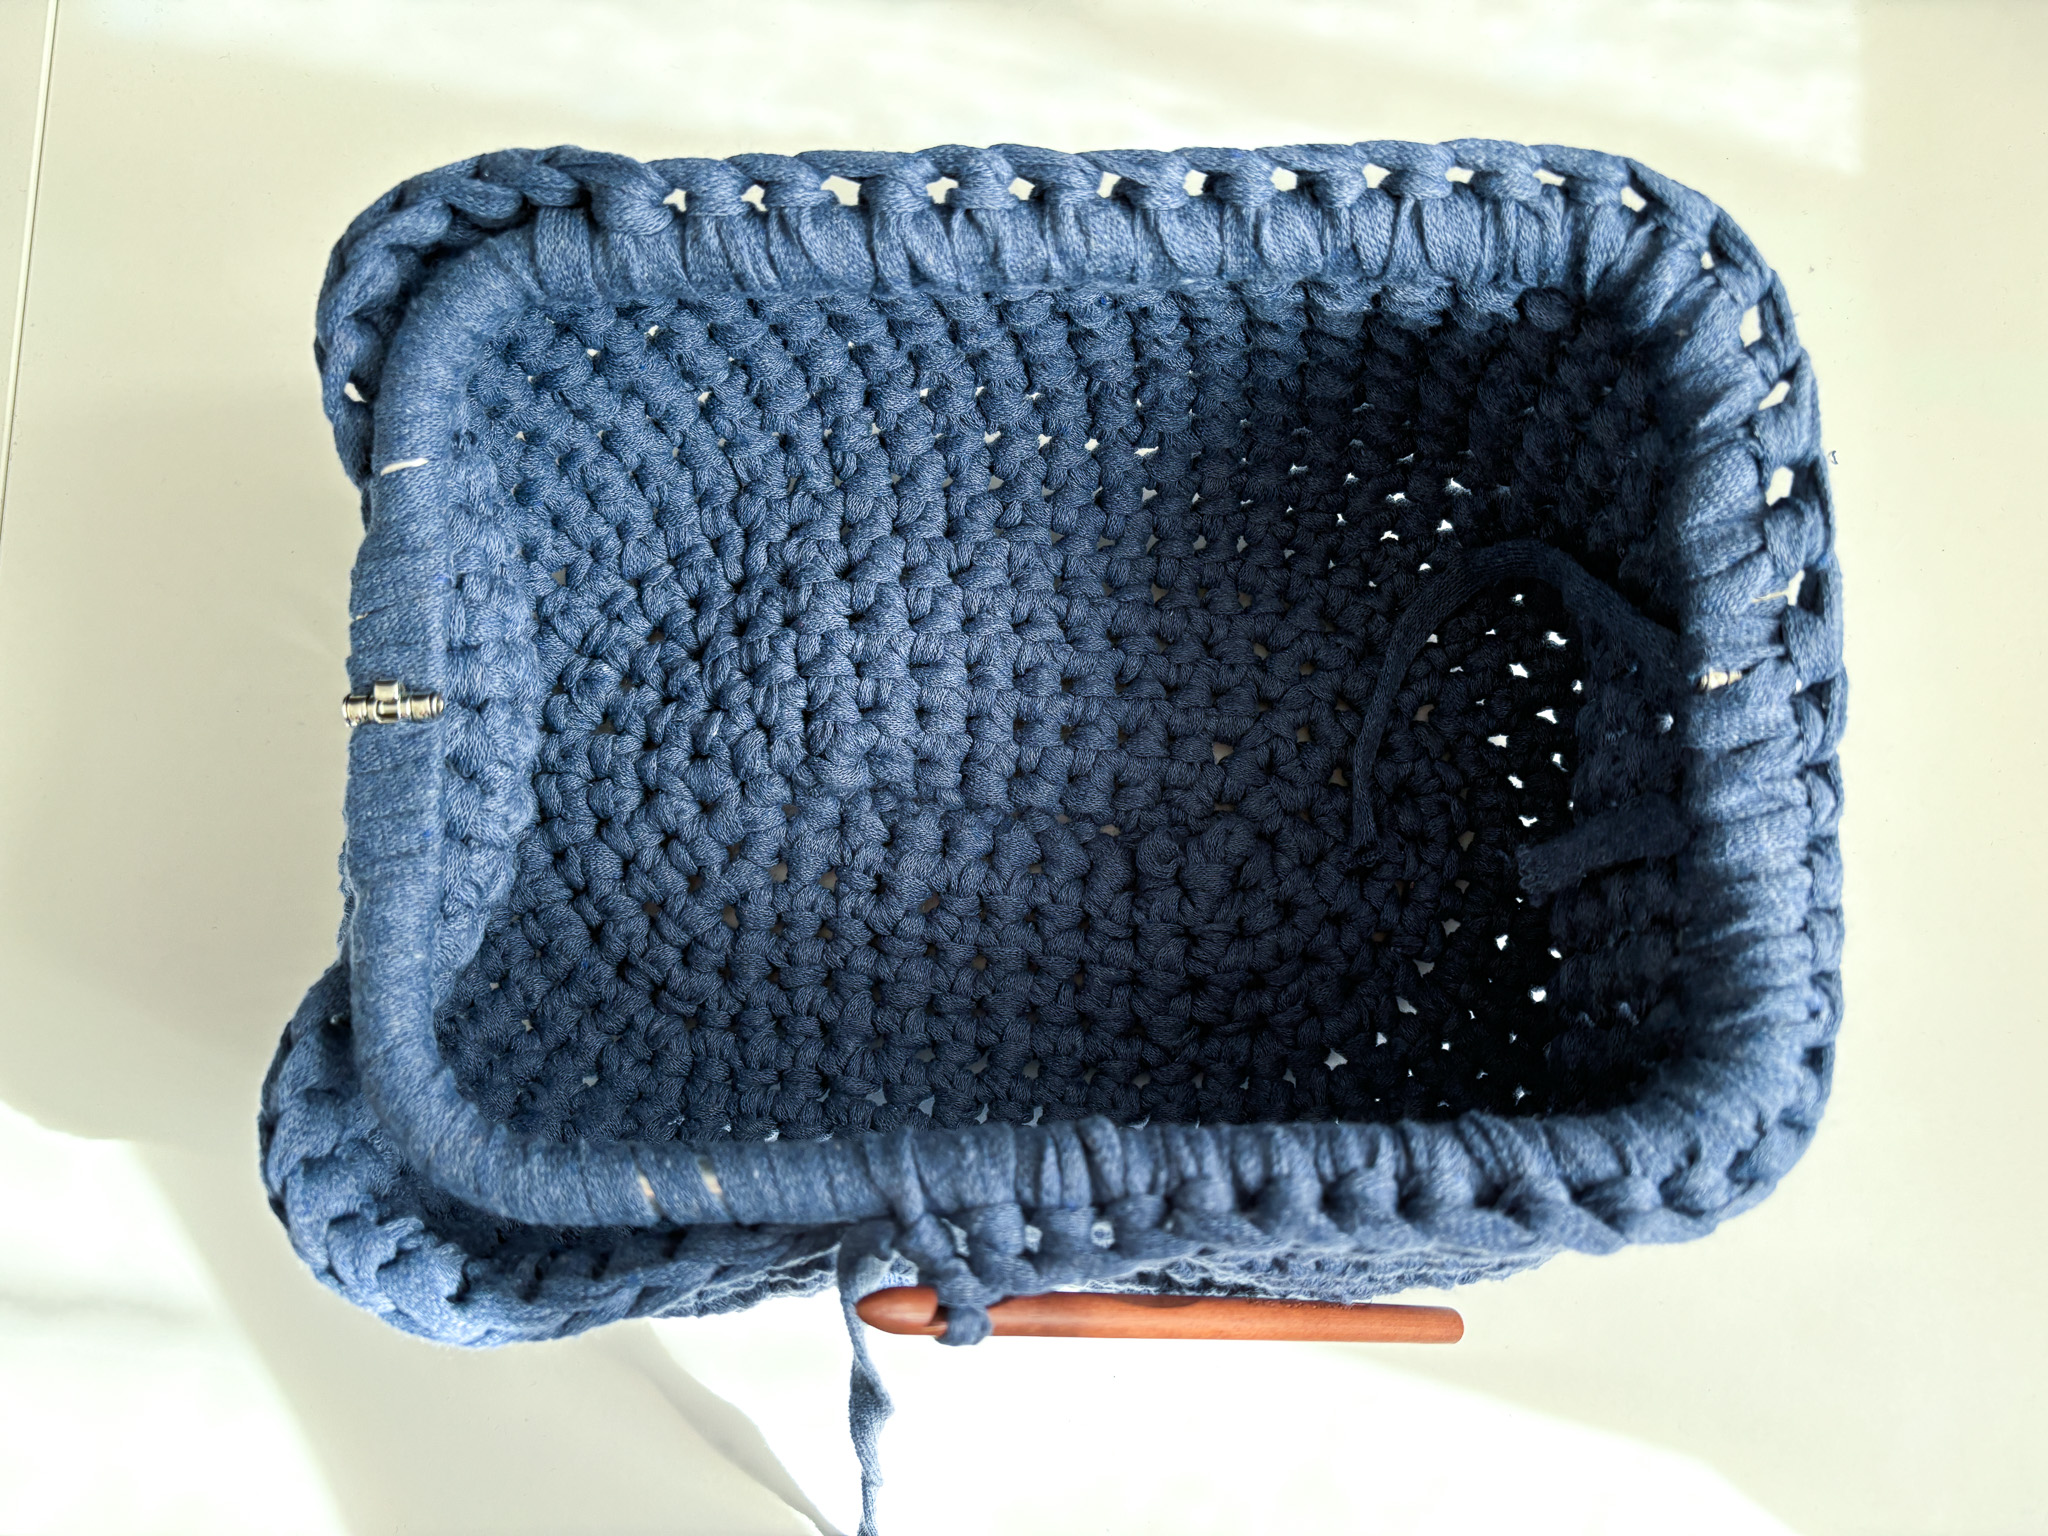
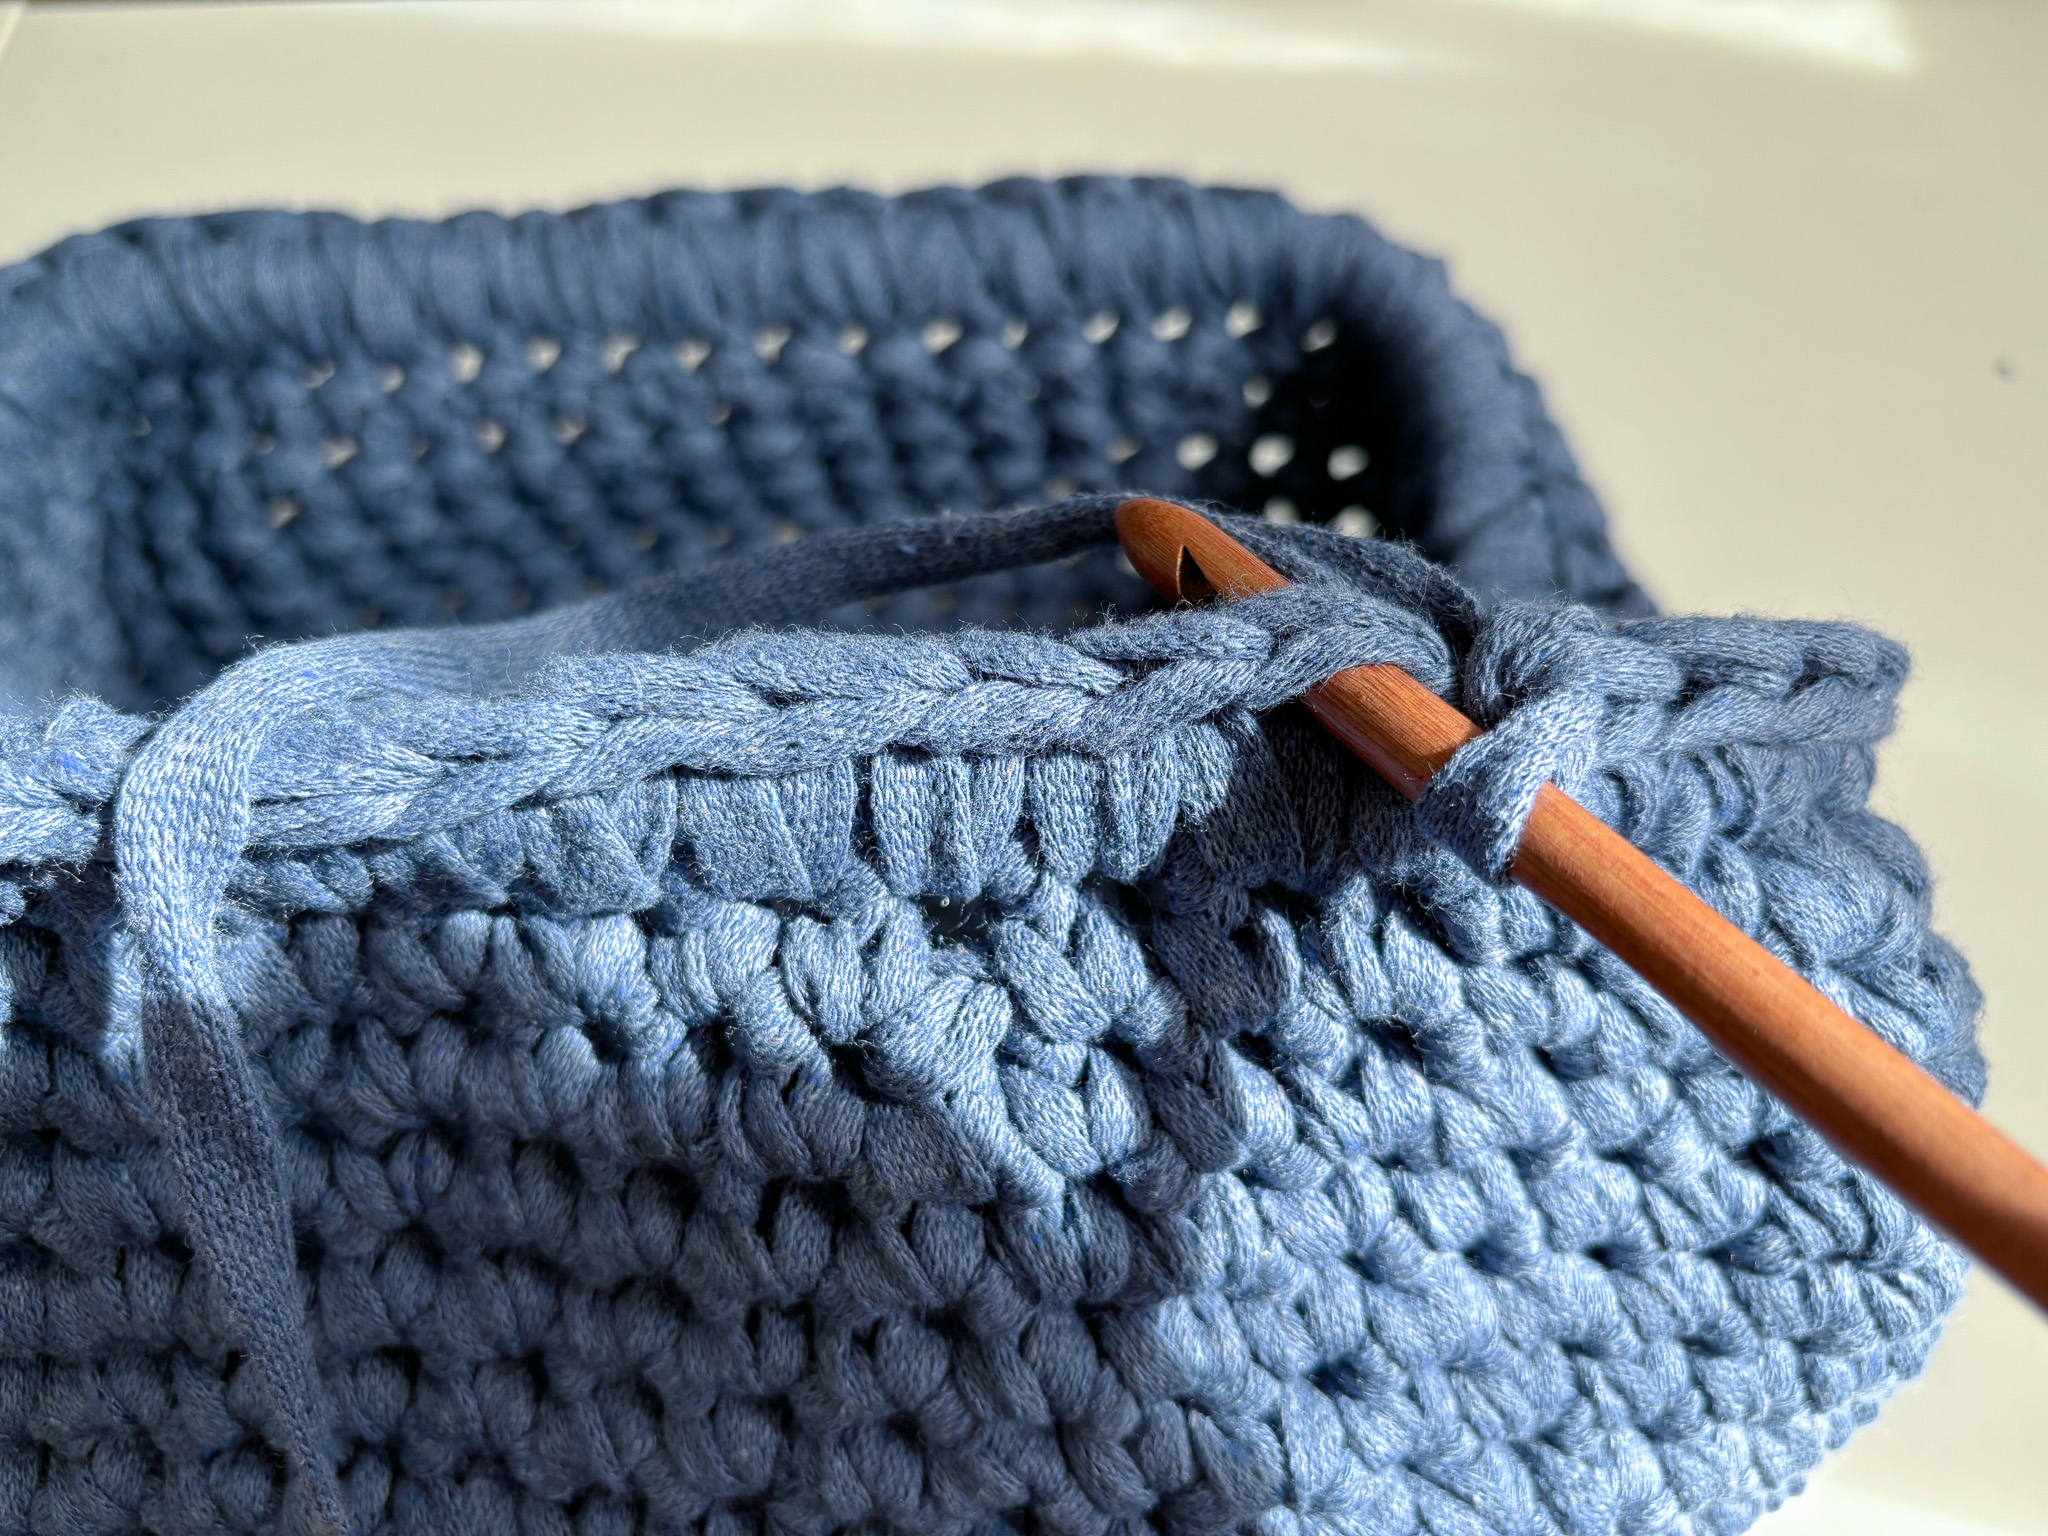
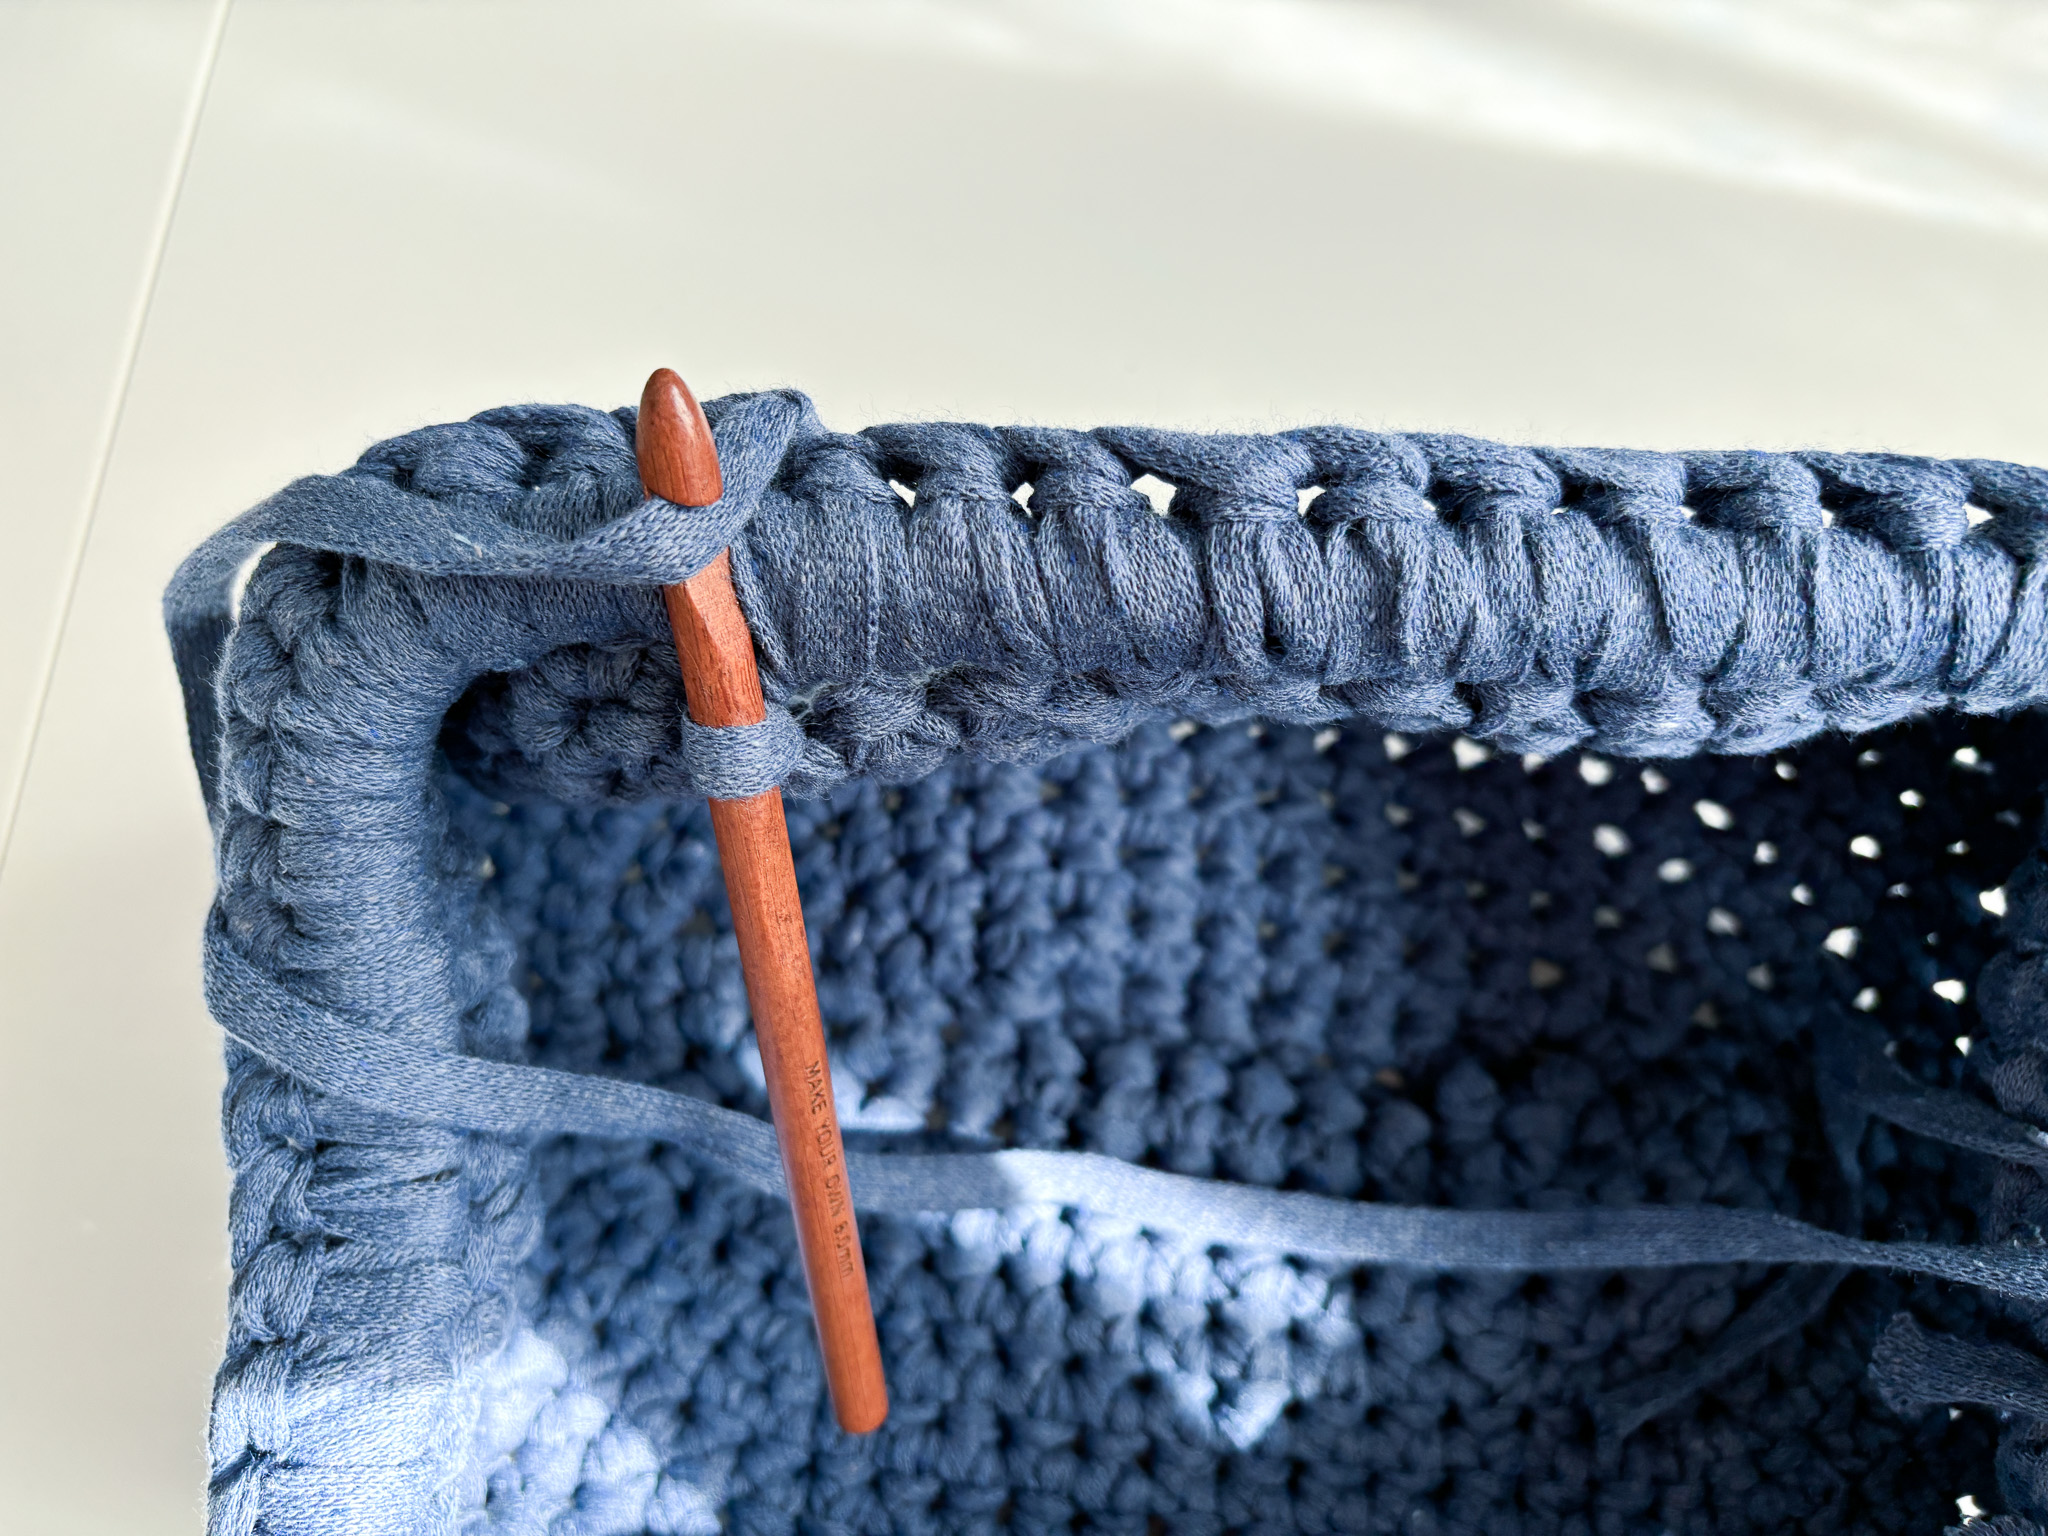
Once you’ve reached your desired height, it’s time to attach the metal clutch. This is done easily by crocheting the metal clutch all the way around using single crochet stitches. Start by placing the metal clutch evenly on the bag, then insert your hook into the next stitch and pull the yarn through over the clutch (see attached picture), making a regular single crochet. Continue this around the entire handle until you reach the edge.
Finishing:
After you’ve made your last single crochet around the bag, finish by making a slip stitch into the first stitch you started with. Then cut the yarn and pull it through the stitch. Secure it easily on the inside of the bag by weaving the yarn through the stitches on the back side.
You are done!
Crochet Terms – Instruction Text
This part of the pattern uses crochet terms. If you need help along the way, you can check the simpler version of this pattern.
Abbreviations (US terms):
st = stitch
ch = chain
sl st = slip stitch
sc = single crochet
inc = 2 sc in the same stitch
sk = skip
*…* = repeat everything between the asterisks the number of times indicated
(...) = number of stitches in the round
Step 1: Cover the Metal Clutch
Before you start crocheting, cover the metal clutch by wrapping yarn around it and tying a double knot where the ends meet. This creates a softer edge to work against and gives a more finished look.

Step 2: Bottom
Ch 10. Start crocheting in the second chain from the hook. You will now work around the chain to create an oval.
Round 1: Ch 1, sc in next 8 sts, 3 sc in last st, sc in next 7 sts on the other side, 4 sc in last st (22)
Round 2: 8 sc, *inc* x3, 8 sc, [inc] x3 (28 sts)
Round 3: 8 sc, *1 sc, inc* x3, 8 sc, *1 sc, inc* x3 (34)
Round 4: 8 sc, *2 sc, inc* x3, 8 sc, '2 sc, inc* x3 (40)
Round 5: 8 sc, *3 sc, inc* x3, 8 sc, *3 sc, inc* x3 (46)
Round 6: 8 sc, *4 sc, inc* x3, 8 sc, *4 sc, inc* x3 (52)
The bottom is complete when it fully covers the metal clutch when laid flat.

Step 3: Build Up the Bag Sides
Now continue crocheting upward without any increases. Work in a spiral (using a stitch marker is helpful to keep track of rounds).
Round 7–19: 52 sc (52)
Crochet as many rounds as needed to reach your desired height – the pattern shows 13 rounds.

Step 4: Magic Knot (for Changing Yarn)
If your yarn runs out or you want to change color:
- Tie Yarn A around Yarn B.
- Tie Yarn B around Yarn A.
- Pull both ends so the knots meet.
- Trim the yarn ends close to the knot.
This knot is strong and nearly invisible – no need to weave in ends!

Step 5: Attach the Metal Clutch
Once the bag has reached your desired height, it’s time to attach the metal clutch.
- Place the clutch evenly around the bag’s opening.
- SC all the way around, working through both the edge of the bag and over the metal clutch.
- Insert your hook into the next stitch, yarn over the clutch, and make 1 sc.
- Continue around until you reach the starting point.

Finishing:
Sl st into the first sc of the round. Cut the yarn and pull it through the loop. Secure the tail discreetly on the inside of the bag.
You are finish!

Cover the metal clutch:
Start by wrapping the yarn around the metal clutch. This is done easily by simply winding the yarn around and tying a double knot when the ends of the yarn meet.


Bottom:
Start by making a chain of 10 stitches. Work around this chain to create an oval shape, which will form the bottom of the bag. To understand it even better, you can watch the instructional video below.

Round 1:
Skip the first chain closest to the hook. Then make 8 single crochets. In the last chain of the row, make an increase by crocheting 3 single crochets into the same stitch. Now start working along the other side of the chain: make 1 single crochet in each of the next 7 stitches, and finish with an increase of 4 single crochets in the last stitch. In this round, you’ll have one stitch less, but afterward, there will be 8 stitches on each side all the way around.

Round 2:
Now make 1 single crochet in each of the next 8 stitches, then make an increase by crocheting 2 single crochets into each of the next 3 stitches. Next, continue on the other side of the oval by making 1 single crochet in each of the next 8 stitches, and then make an increase in the next 3 stitches by crocheting 2 single crochets in each stitch. Remember, there will always be 8 single crochets forming the sides of your oval.

Round 3:
Again, make 1 single crochet in each of the next 8 stitches. When you reach the edge, make an increase in every other stitch. That is, start by crocheting 2 single crochets in the first stitch, then 1 single crochet in the next stitch. Repeat this three times, so the pattern is 1, 2, 1, 2, 1, 2, ending with 2. (Shortened as 1-2, 1-2, 1-2).


Make 1 single crochet in each of the next 8 stitches, and do the same on the other side. Make an increase in every other stitch 3 times.
Round 4:
Continue by making 1 single crochet in each of the next 8 stitches until you reach the increase section. In this round, increase by making 1 single crochet in each of the first 2 stitches, then make an increase by working 2 single crochets in the next stitch. Repeat this 3 times. (Shortened: 1-1-2 1-1-2 1-1-2)
Once one side is complete, move to the other side and make 1 single crochet in the next 8 stitches, then finish the round with the same increase pattern (1-1-2 1-1-2 1-1-2).
Round 5:
Continue by making 1 single crochet in each of the next 8 stitches. In this round, increase by making 1 single crochet in each of the first 3 stitches, then make an increase by working 2 single crochets in the next stitch. Repeat this 3 times. (Shortened: 1-1-1-2 1-1-1-2 1-1-1-2)
Once one side is complete, move to the other side and make 1 single crochet in the next 8 stitches, then finish the round with the same increase pattern (1-1-1-2 1-1-1-2 1-1-1-2).


Round 6:
Continue in the same way by making 1 single crochet in each of the next 8 stitches. In this round, increase by making 1 single crochet in each of the first 4 stitches, then make an increase by working 2 single crochets in the next stitch. Repeat this 3 times. (Shortened: 1-1-1-1-2 1-1-1-1-2 1-1-1-1-2)Once one side is complete, move to the other side and make 1 single crochet in each of the next 8 stitches, then finish the round with the same increase pattern (1-1-1-1-2 1-1-1-1-2 1-1-1-1-2).

Bottom complete:
You can see that the bottom is finished when it fully covers the metal clutch when it is laid out flat.

Building the sides:
Now it’s time to start building up the sides of the clutch. We do this by continuing to crochet single crochet stitches up along the edges. At this stage, we do not make any increases; just crochet straight up until you have completed 13–15 rounds (depending on how tall you want your clutch). Keep track of your rounds easily by placing a stitch marker or a hair clip in the first stitch you make when you start working the sides.

A Magic Ring (starting the next skein of yarn):
A magic knot is a way to tie two yarn ends together, where each end is wrapped around the other. When you pull it tight, the two knots form a strong connection that won’t come undone. Perfect if your yarn breaks or if you need to change colors. The steps are clearly shown in the pictures below!


Attaching the Metal Clutch:
Once you’ve reached your desired height, it’s time to attach the metal clutch. This is done easily by crocheting the metal clutch all the way around using single crochet stitches. Start by placing the metal clutch evenly on the bag, then insert your hook into the next stitch and pull the yarn through over the clutch (see attached picture), making a regular single crochet. Continue this around the entire handle until you reach the edge.


Finishing:
After you’ve made your last single crochet around the bag, finish by making a slip stitch into the first stitch you started with. Then cut the yarn and pull it through the stitch. Secure it easily on the inside of the bag by weaving the yarn through the stitches on the back side.
You are done!


Crochet Terms – Instruction Text
This part of the pattern uses crochet terms. If you need help along the way, you can check the simpler version of this pattern.
Abbreviations (US terms):
st = stitch
ch = chain
sl st = slip stitch
sc = single crochet
inc = 2 sc in the same stitch
sk = skip
*…* = repeat everything between the asterisks the number of times indicated
(...) = number of stitches in the round
Step 1: Cover the Metal Clutch
Before you start crocheting, cover the metal clutch by wrapping yarn around it and tying a double knot where the ends meet. This creates a softer edge to work against and gives a more finished look.

Step 2: Bottom
Ch 10. Start crocheting in the second chain from the hook. You will now work around the chain to create an oval.
Round 1: Ch 1, sc in next 8 sts, 3 sc in last st, sc in next 7 sts on the other side, 4 sc in last st (22)
Round 2: 8 sc, *inc* x3, 8 sc, [inc] x3 (28 sts)
Round 3: 8 sc, *1 sc, inc* x3, 8 sc, *1 sc, inc* x3 (34)
Round 4: 8 sc, *2 sc, inc* x3, 8 sc, '2 sc, inc* x3 (40)
Round 5: 8 sc, *3 sc, inc* x3, 8 sc, *3 sc, inc* x3 (46)
Round 6: 8 sc, *4 sc, inc* x3, 8 sc, *4 sc, inc* x3 (52)
The bottom is complete when it fully covers the metal clutch when laid flat.

Step 3: Build Up the Bag Sides
Now continue crocheting upward without any increases. Work in a spiral (using a stitch marker is helpful to keep track of rounds).
Round 7–19: 52 sc (52)
Crochet as many rounds as needed to reach your desired height – the pattern shows 13 rounds.

Step 4: Magic Knot (for Changing Yarn)
If your yarn runs out or you want to change color:
- Tie Yarn A around Yarn B.
- Tie Yarn B around Yarn A.
- Pull both ends so the knots meet.
- Trim the yarn ends close to the knot.
This knot is strong and nearly invisible – no need to weave in ends!


Step 5: Attach the Metal Clutch
Once the bag has reached your desired height, it’s time to attach the metal clutch.
- Place the clutch evenly around the bag’s opening.
- SC all the way around, working through both the edge of the bag and over the metal clutch.
- Insert your hook into the next stitch, yarn over the clutch, and make 1 sc.
- Continue around until you reach the starting point.

Finishing:
Sl st into the first sc of the round. Cut the yarn and pull it through the loop. Secure the tail discreetly on the inside of the bag.
You are finish!

The rights to this pattern belong to MYO Make Your Own. The pattern or its pictures may not be copied, shared or resold either in parts or in its entirety, but you may sell items you have crocheted from this pattern. If you have questions about the pattern, contact MYO at hello@makeyourown.se.


.jpg)
