
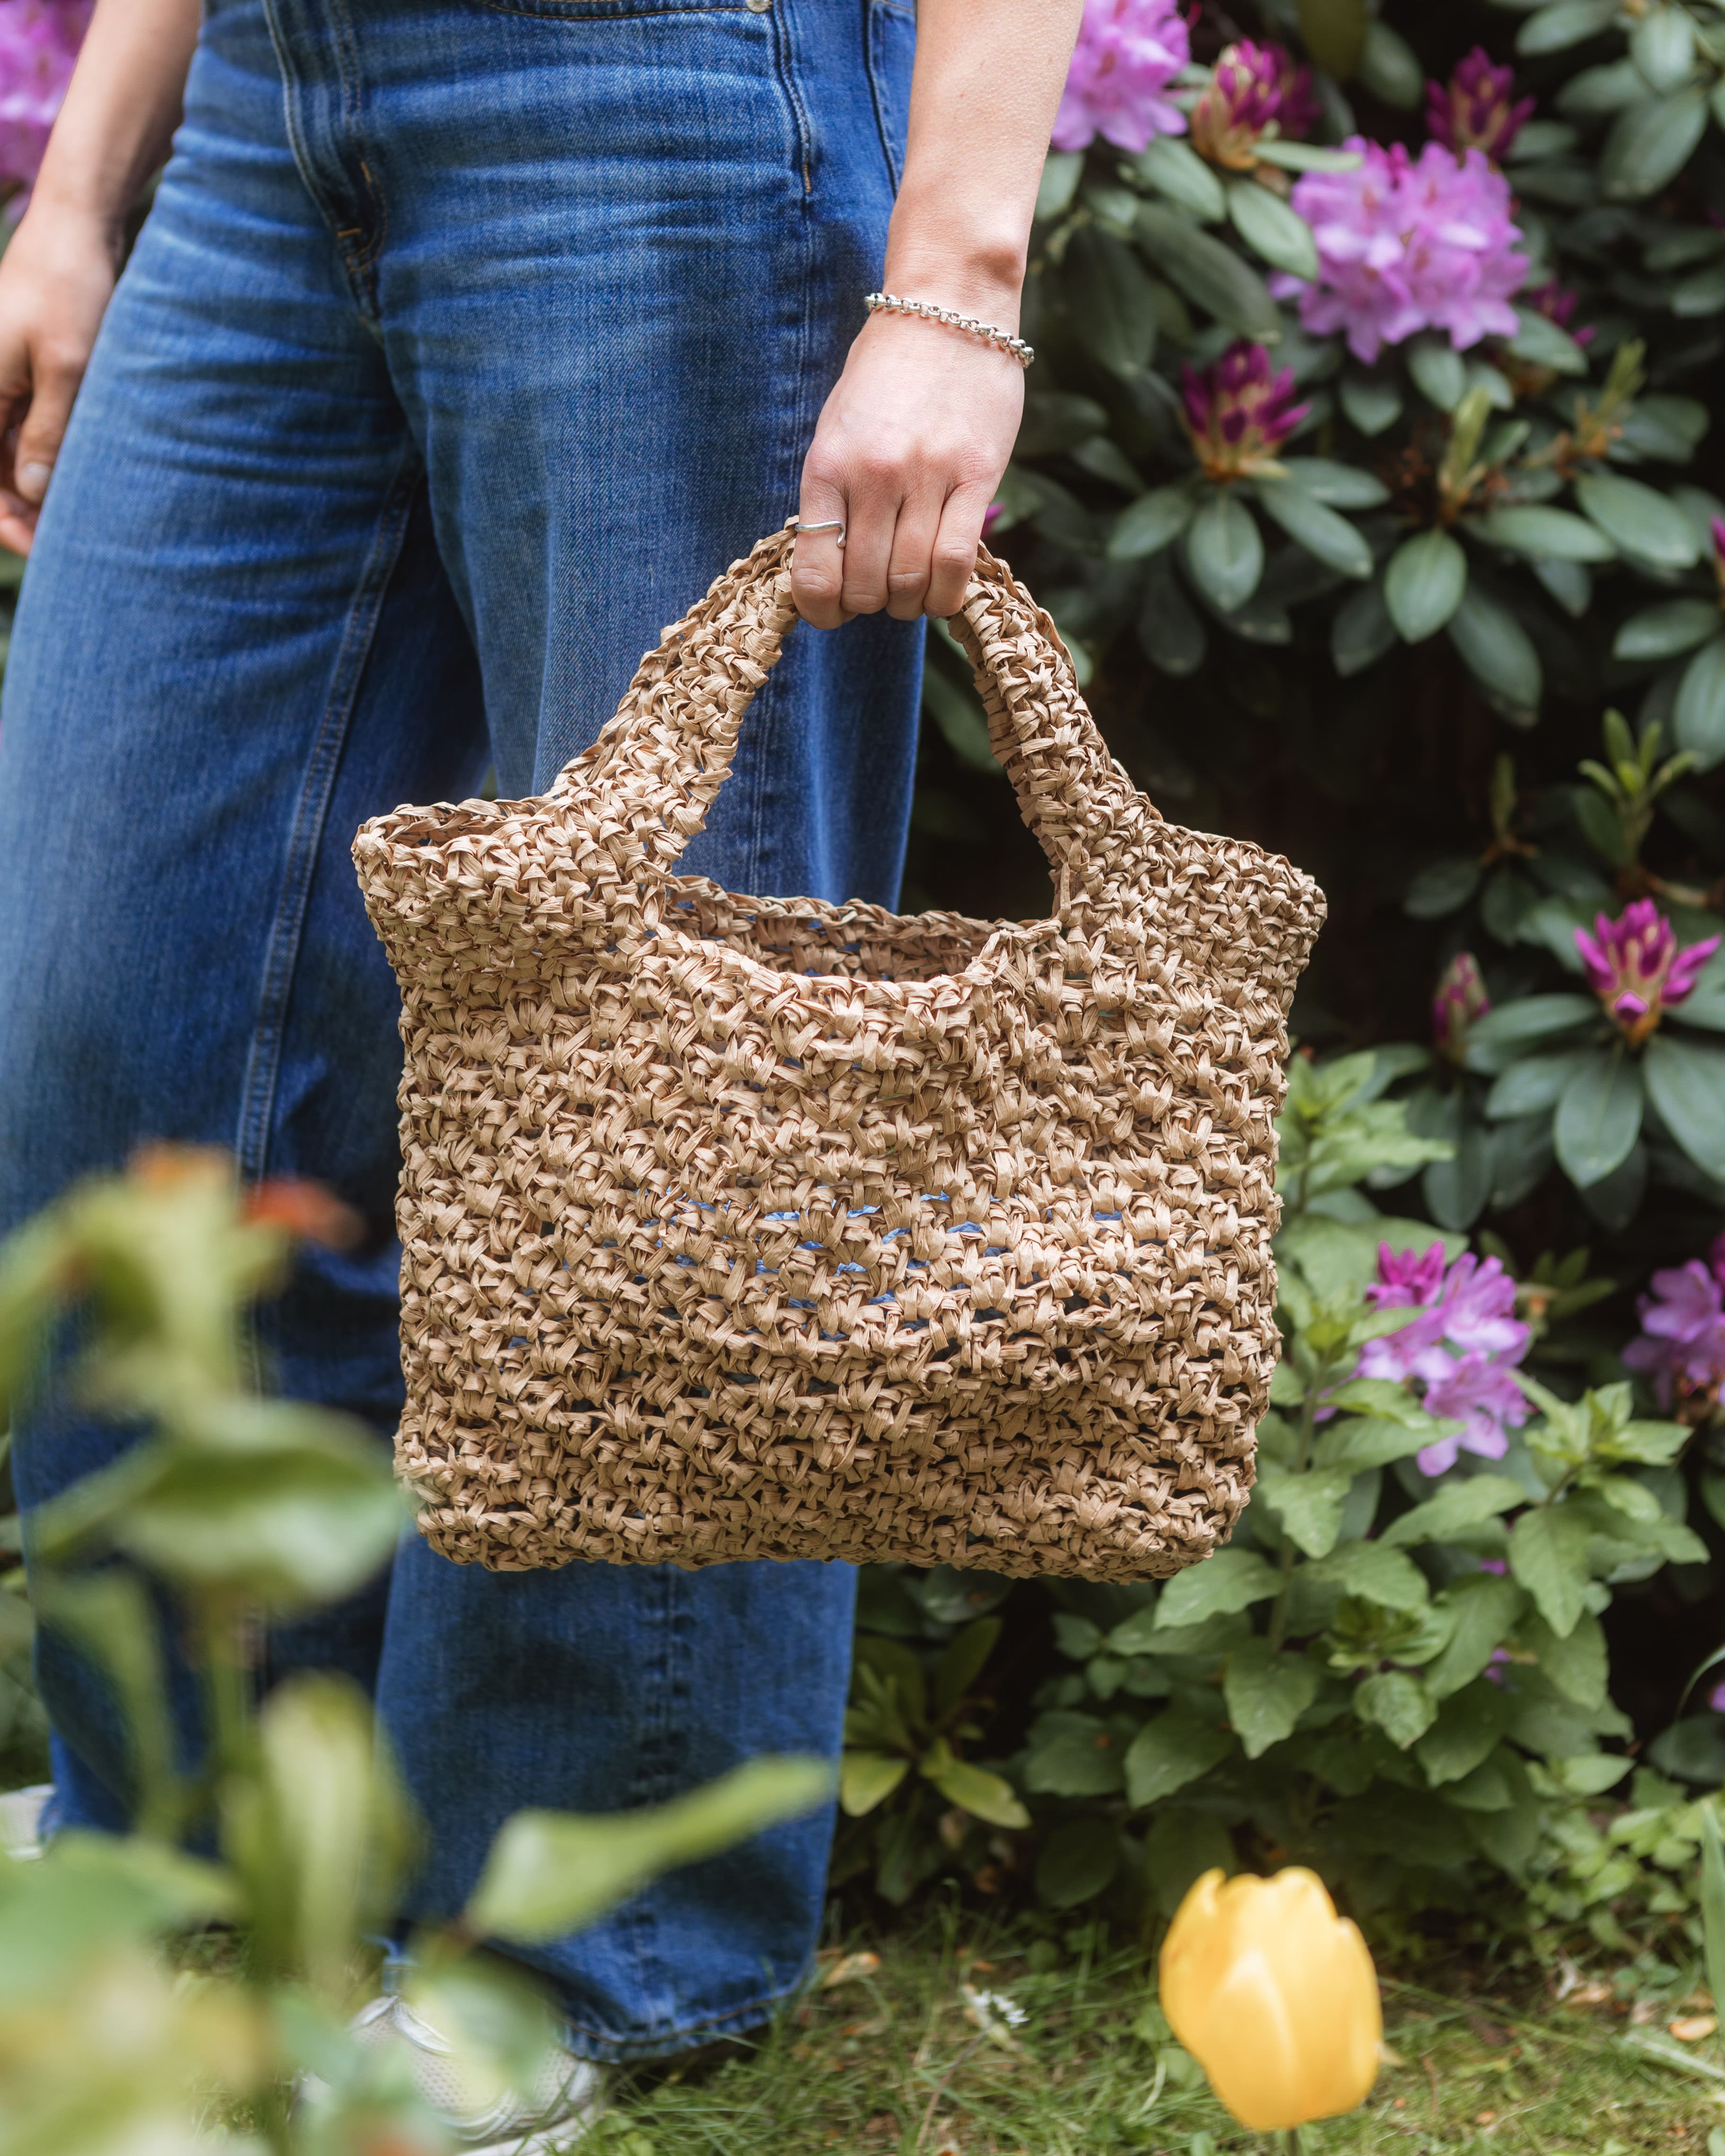
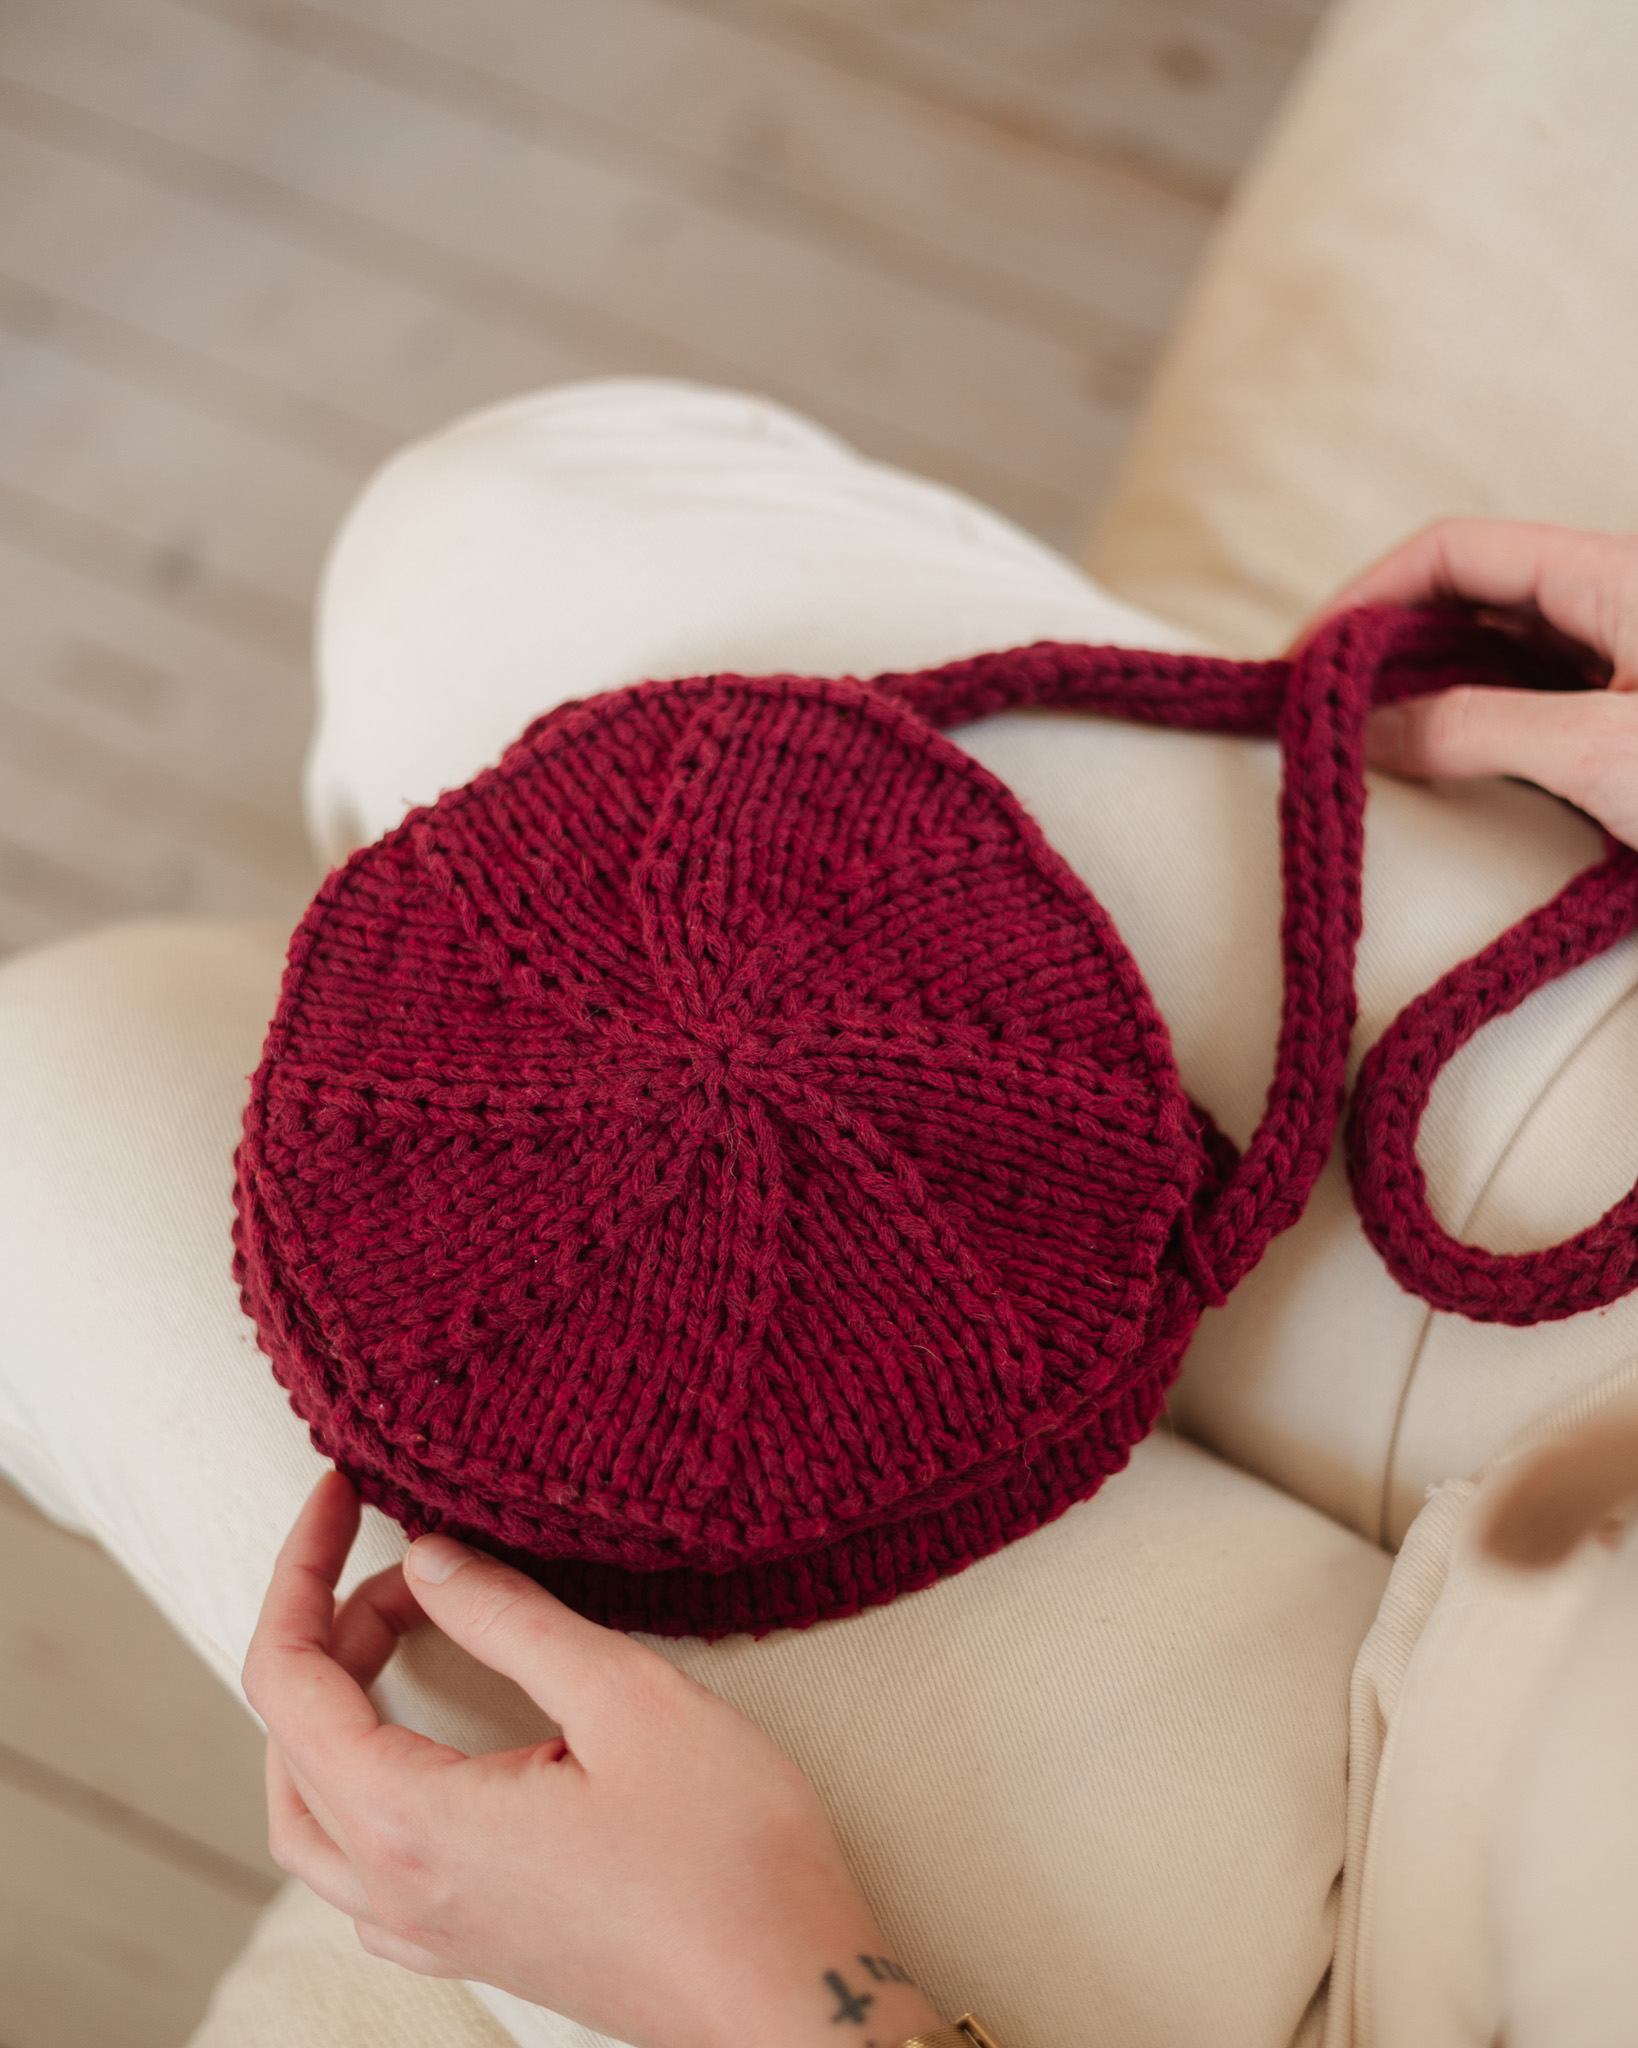
Crochet bag “Emelie”
Crochet MYOs most popular bag!
With this instruction, you will learn how to crochet the bag “Emelie” with yarn EKO Medium 1000 g. The instruction will help you understand how to measure the bottom and side, so that in the process you can decide for yourself how big a bag you want to make. You can choose to crochet a larger bag to fit your laptop, see examples of sizes in the instruction under step 2.
Yarn consumption: about 400-800 g depending on the size of your bag (see step 2)

Here's how to do it

This is what you need:
Here you can directly purchase the material for the product. Please note that the instruction is digital and appears here on the page (no written instruction).

EKO Medium Tube yarn | 1000g
A medium-thick tube yarn for crocheting, made of 80% recycled cotton
Buy product
.jpg)
Unleash your creativity
For only 85kr per month you get access to all our 300+ beginner-friendly instructions for crochet, knitting and macrame.
A perfect way to get started with your new hobby!

The Chain
We start by making a slip knot, which we then thread the crochet hook through. Take the end of the yarn and twist 1 turn around your fingers. Then bring the yarn under to create a loop. →
To start with the single crochet stitches, make an extra chain stitch (this is to reach your first fixed stitch better).
Now thread the crochet hook into the first chain stitch on your first strip that you just created. (see arrow) Pick up the yarn on the other side and pull it through your chain stitch. Now you have temporarily got two loops on the crochet hook. Join these two loops by hooking the yarn once more around the hook and this time pulling through both loops. You only get one loop around the hook and now you have made your first single crochet. Now you continue to do the same until the end of the strip.
The first row is always the hardest, it will be much easier when you have a little to hold on to.

The size
Now we will start crocheting chain stitches. It is now that you decide the size of your bag. See below schedule. If you want to make a medium-sized bag, crochet 25 chain stitches for the bottom part. You decide the height yourself - you can also make the bag higher at the edges if you want further forward.
To make a chain stitch, pick up the yarn with the crochet hook and thread through the loop that is on your crochet hook. Repeat this 24 times if you want the Medium large bag.

Bottom
In this instruction, we pick up the yarn from below and thread the yarn through the loop on the hook. Crochet stitches can be made in different ways, but we have chosen this technique for this tutorial and pick from the bottom throughout the process.Once you have made the chain with chain stitches and are happy with the length, it is time to make single crochet stitches.

To start with the single crochet stitches, make an extra chain stitch (this is to reach your first fixed stitch better).
Now thread the crochet hook into the first chain stitch of your first strip that you just created. Catch the yarn on the other side and pull it through your chain stitch. Now you have temporarily got two loops on the crochet hook. Join these two loops by hooking the yarn once more around the hook and this time pulling through both loops. You only get one loop around the hook and now you have made your first single crochet. Now you continue to do the same until the end of the strip.
The first row is always the hardest, it will be much easier when you have a little to hold on to. When you get to the end of your strip, make an extra chain stitch (this is so you can scan better to the other side) then you will continue crochet around a total of 1.5 rounds.

The first row is always the hardest, it will be much easier when you have little to hold on to.
Sides
To make the sides go up, you crochet a round where you only thread the needle through part of the stitches (see picture). Crochet a total of one round. You will quickly see that the bag will begin to twist upwards. When you have made one round, continue crocheting as usual (thread the crochet hook through the entire row) and crochet around until you have reached the height of the bag that you desire.

The handle
Place markings 10 stitches apart in the center of the bag. Do the same on the other side. This will be the hole for your handle.Then work single crochet stitches until you mark. Here you will now again make chain stitches, in the same way as your first strip.
Make 13 chain stitches and then at the next marking start crochet stitches again. See below pictures.

Continue around and do the same on the next side. Then continue until you reach your first handle again. See the picture below for how it will look after your second and third turn on the handle.

To finish, cut the yarn leaving a 5-10 cm tail. Tie the remaining tail in a knot around the last loop to prevent it from unraveling. Tighten and hide the tail by attaching it through some nearby loops - or just let it hang on the inside of your bag.Good work!

Abbreviations:
st = stitch
Ch = chain stitch
sc = single crochet
blo = back loop only
We’re going to crochet trendy bag! If you need help along the way, check out the easier version of this pattern. Since there are no images included here, we refer you to the full-length video tutorial for guidance.
Row 1: Ch as many stitches as needed for the size of the bag you want. Below, you can see an image with some examples.
Bag Body and Handles (US Terms)
Round 2: Start in the 2nd st from the hook, work 1 sc in each st to the end of the chain, ch 1. Work on the other side of the chain: 1 sc in each st to the end, finish with ch 1.
Round 3: Work another half round, 1 sc in each st. Stop here and prepare to start Round 4.
Round 4: Now at the bottom edge, begin crocheting the sides of the bag. 1 sc in each st in BLO for the entire round.
Round 5: 1 sc in each st. Repeat Round 5 until the bag reaches the height you want. (For handles, add a few extra rounds to increase the height.)
Handles:
Place 2 stitch markers, 10 stitches apart (including the marked stitches), centered on the bag. Do the same on the other side. This marks the holes for your handles.
Then work sc up to the marker before your first handle hole.
Ch 13. Insert your hook in the st after the 2nd marker and work sc until you reach the st before the 3rd marker.
Ch 13, then insert your hook in the st after the 4th marker. Work sc to the end of the round.
Work 2 rounds of 1 sc in each st, or as many rounds as you like to achieve the desired thickness for the handles.
Cut the yarn and fasten off.
Well done, you’re finished 🙂
The rights to this pattern belong to MYO Make Your Own. The pattern or its pictures may not be copied, shared or resold either in parts or in its entirety, but you may sell items you have crocheted from this pattern. If you have questions about the pattern, contact MYO at hello@makeyourown.se.
The Chain
We start by making a slip knot, which we then thread the crochet hook through. Take the end of the yarn and twist 1 turn around your fingers. Then bring the yarn under to create a loop. →
To start with the single crochet stitches, make an extra chain stitch (this is to reach your first fixed stitch better).
Now thread the crochet hook into the first chain stitch on your first strip that you just created. (see arrow) Pick up the yarn on the other side and pull it through your chain stitch. Now you have temporarily got two loops on the crochet hook. Join these two loops by hooking the yarn once more around the hook and this time pulling through both loops. You only get one loop around the hook and now you have made your first single crochet. Now you continue to do the same until the end of the strip.
The first row is always the hardest, it will be much easier when you have a little to hold on to.
The size
Now we will start crocheting chain stitches. It is now that you decide the size of your bag. See below schedule. If you want to make a medium-sized bag, crochet 25 chain stitches for the bottom part. You decide the height yourself - you can also make the bag higher at the edges if you want further forward.
To make a chain stitch, pick up the yarn with the crochet hook and thread through the loop that is on your crochet hook. Repeat this 24 times if you want the Medium large bag.
Bottom
In this instruction, we pick up the yarn from below and thread the yarn through the loop on the hook. Crochet stitches can be made in different ways, but we have chosen this technique for this tutorial and pick from the bottom throughout the process.Once you have made the chain with chain stitches and are happy with the length, it is time to make single crochet stitches.
To start with the single crochet stitches, make an extra chain stitch (this is to reach your first fixed stitch better).
Now thread the crochet hook into the first chain stitch of your first strip that you just created. Catch the yarn on the other side and pull it through your chain stitch. Now you have temporarily got two loops on the crochet hook. Join these two loops by hooking the yarn once more around the hook and this time pulling through both loops. You only get one loop around the hook and now you have made your first single crochet. Now you continue to do the same until the end of the strip.
The first row is always the hardest, it will be much easier when you have a little to hold on to. When you get to the end of your strip, make an extra chain stitch (this is so you can scan better to the other side) then you will continue crochet around a total of 1.5 rounds.
The first row is always the hardest, it will be much easier when you have little to hold on to.
Sides
To make the sides go up, you crochet a round where you only thread the needle through part of the stitches (see picture). Crochet a total of one round. You will quickly see that the bag will begin to twist upwards. When you have made one round, continue crocheting as usual (thread the crochet hook through the entire row) and crochet around until you have reached the height of the bag that you desire.
The handle
Place markings 10 stitches apart in the center of the bag. Do the same on the other side. This will be the hole for your handle.Then work single crochet stitches until you mark. Here you will now again make chain stitches, in the same way as your first strip.
Make 13 chain stitches and then at the next marking start crochet stitches again. See below pictures.
Continue around and do the same on the next side. Then continue until you reach your first handle again. See the picture below for how it will look after your second and third turn on the handle.
To finish, cut the yarn leaving a 5-10 cm tail. Tie the remaining tail in a knot around the last loop to prevent it from unraveling. Tighten and hide the tail by attaching it through some nearby loops - or just let it hang on the inside of your bag.Good work!
Abbreviations:
st = stitch
Ch = chain stitch
sc = single crochet
blo = back loop only
We’re going to crochet trendy bag! If you need help along the way, check out the easier version of this pattern. Since there are no images included here, we refer you to the full-length video tutorial for guidance.
Row 1: Ch as many stitches as needed for the size of the bag you want. Below, you can see an image with some examples.
Bag Body and Handles (US Terms)
Round 2: Start in the 2nd st from the hook, work 1 sc in each st to the end of the chain, ch 1. Work on the other side of the chain: 1 sc in each st to the end, finish with ch 1.
Round 3: Work another half round, 1 sc in each st. Stop here and prepare to start Round 4.
Round 4: Now at the bottom edge, begin crocheting the sides of the bag. 1 sc in each st in BLO for the entire round.
Round 5: 1 sc in each st. Repeat Round 5 until the bag reaches the height you want. (For handles, add a few extra rounds to increase the height.)
Handles:
Place 2 stitch markers, 10 stitches apart (including the marked stitches), centered on the bag. Do the same on the other side. This marks the holes for your handles.
Then work sc up to the marker before your first handle hole.
Ch 13. Insert your hook in the st after the 2nd marker and work sc until you reach the st before the 3rd marker.
Ch 13, then insert your hook in the st after the 4th marker. Work sc to the end of the round.
Work 2 rounds of 1 sc in each st, or as many rounds as you like to achieve the desired thickness for the handles.
Cut the yarn and fasten off.
Well done, you’re finished 🙂
The rights to this pattern belong to MYO Make Your Own. The pattern or its pictures may not be copied, shared or resold either in parts or in its entirety, but you may sell items you have crocheted from this pattern. If you have questions about the pattern, contact MYO at hello@makeyourown.se.

Share your creations with us
Thank you!
Your comment was sent!