
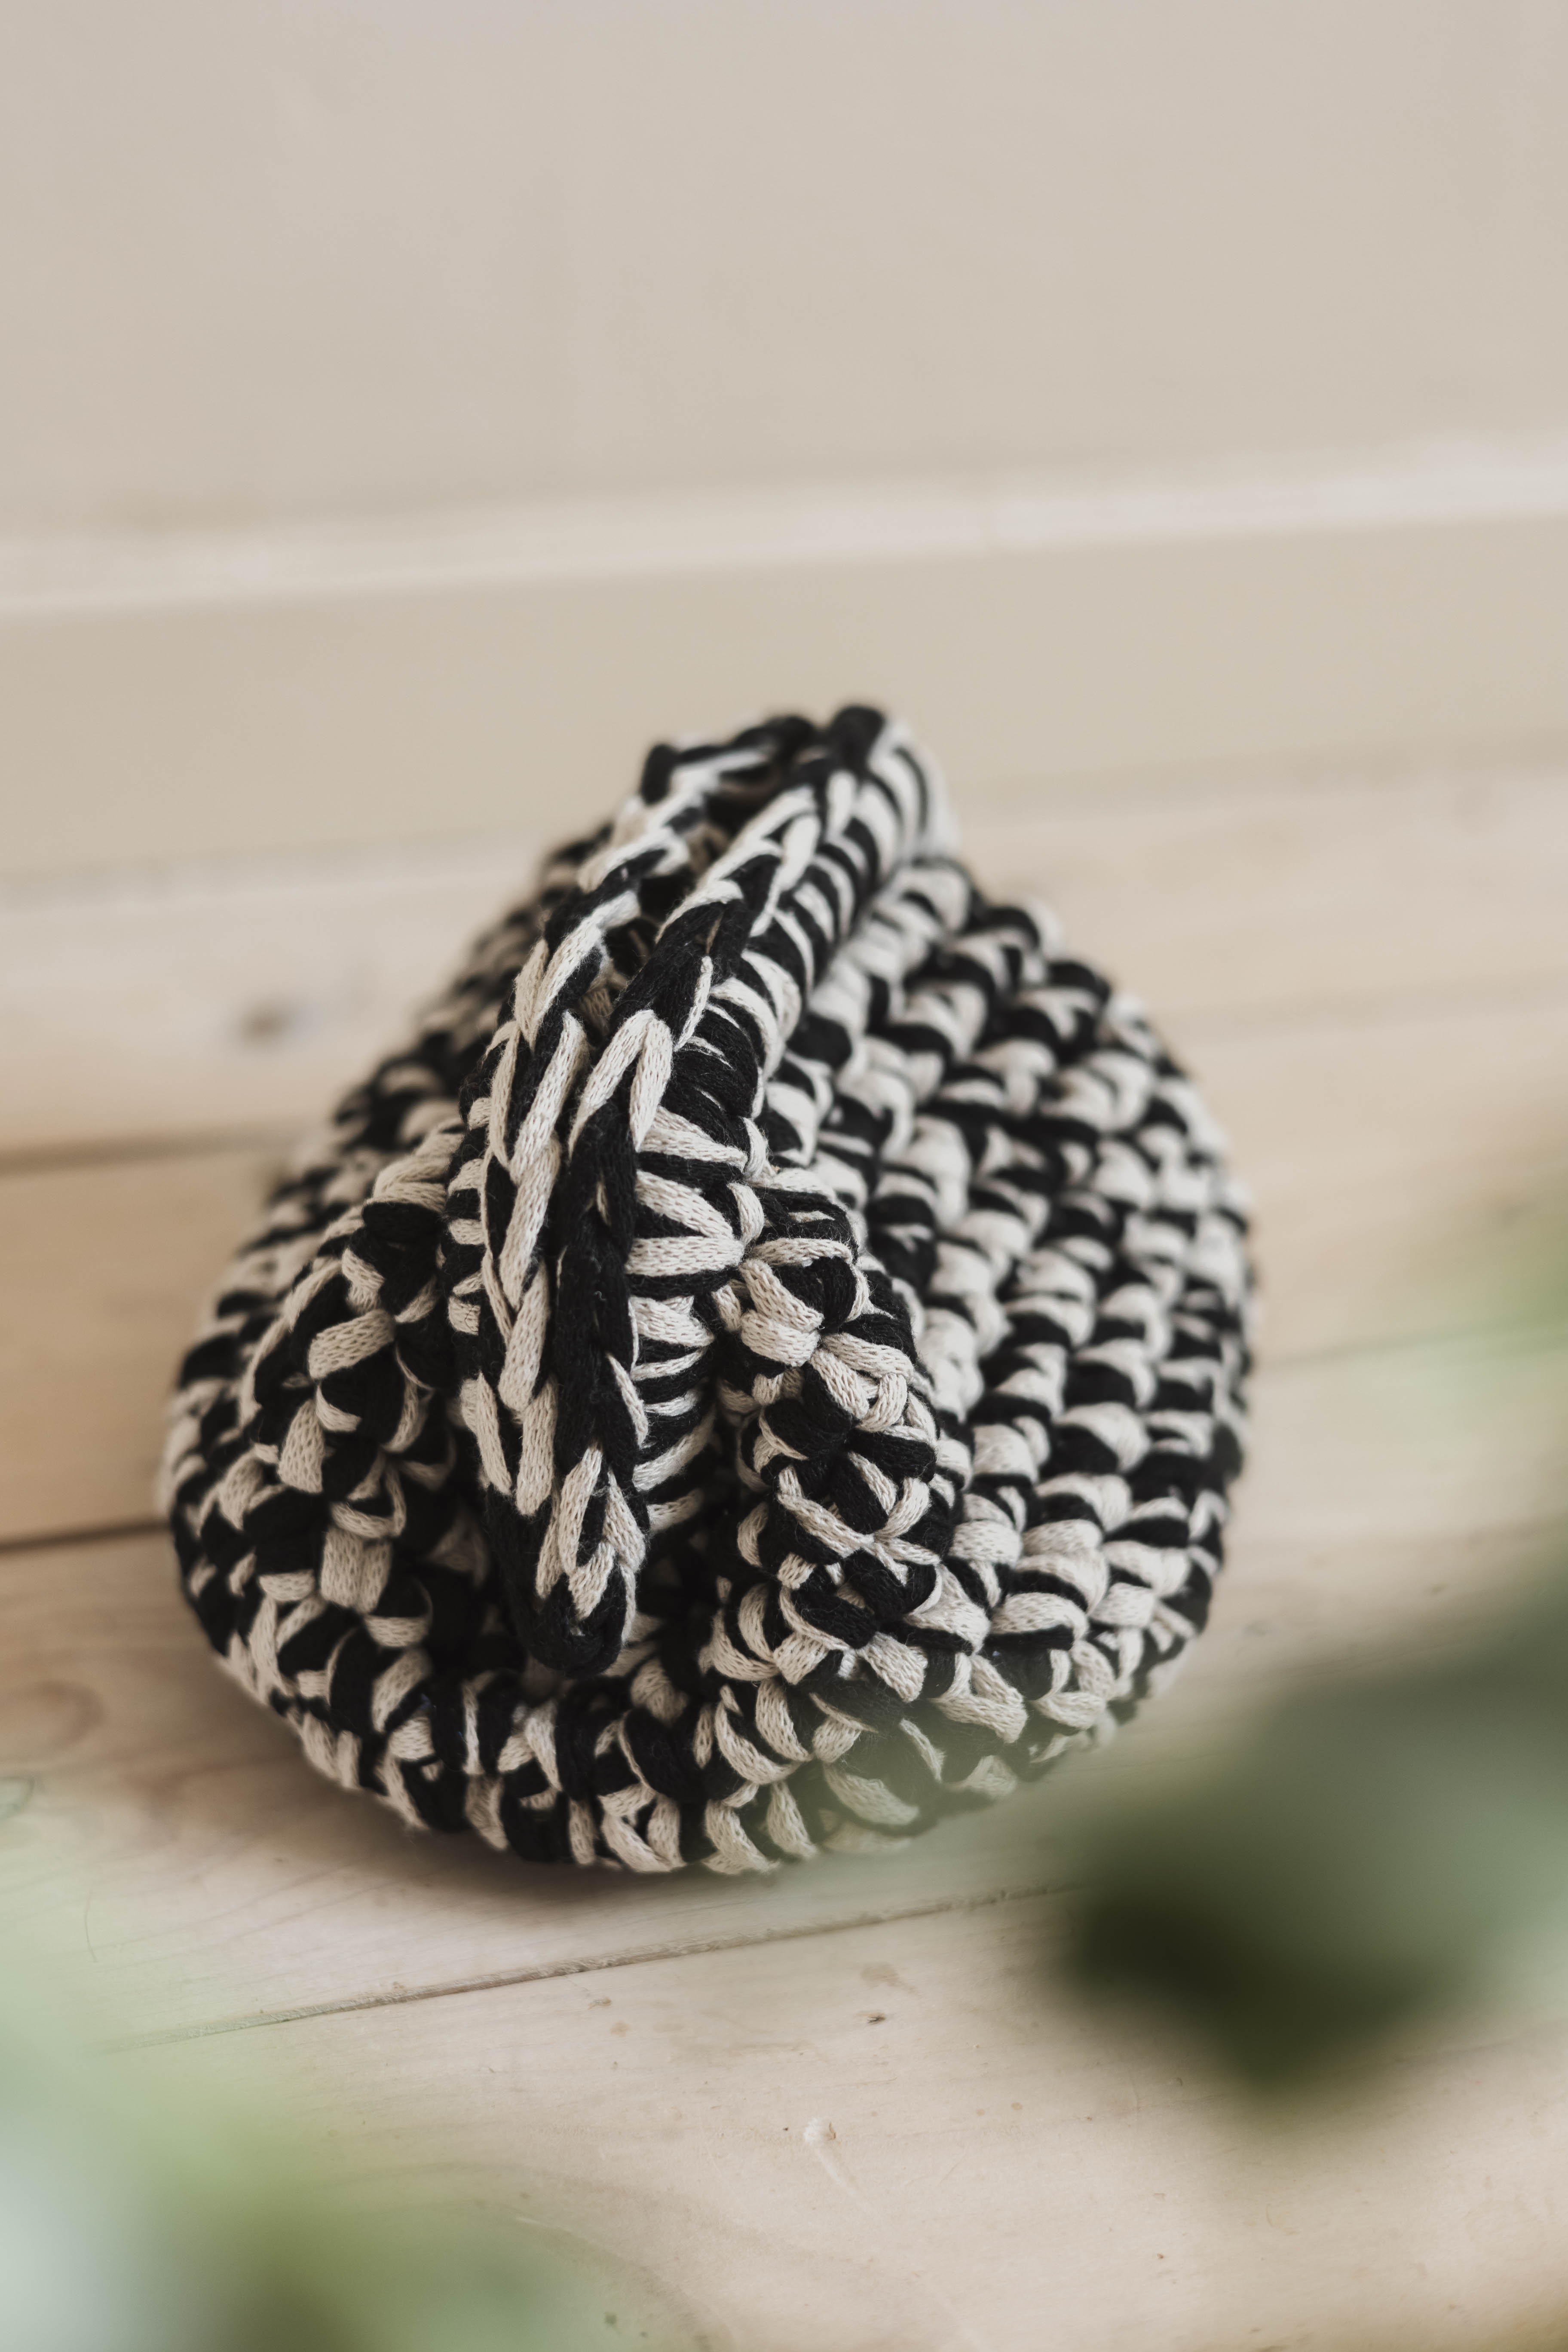
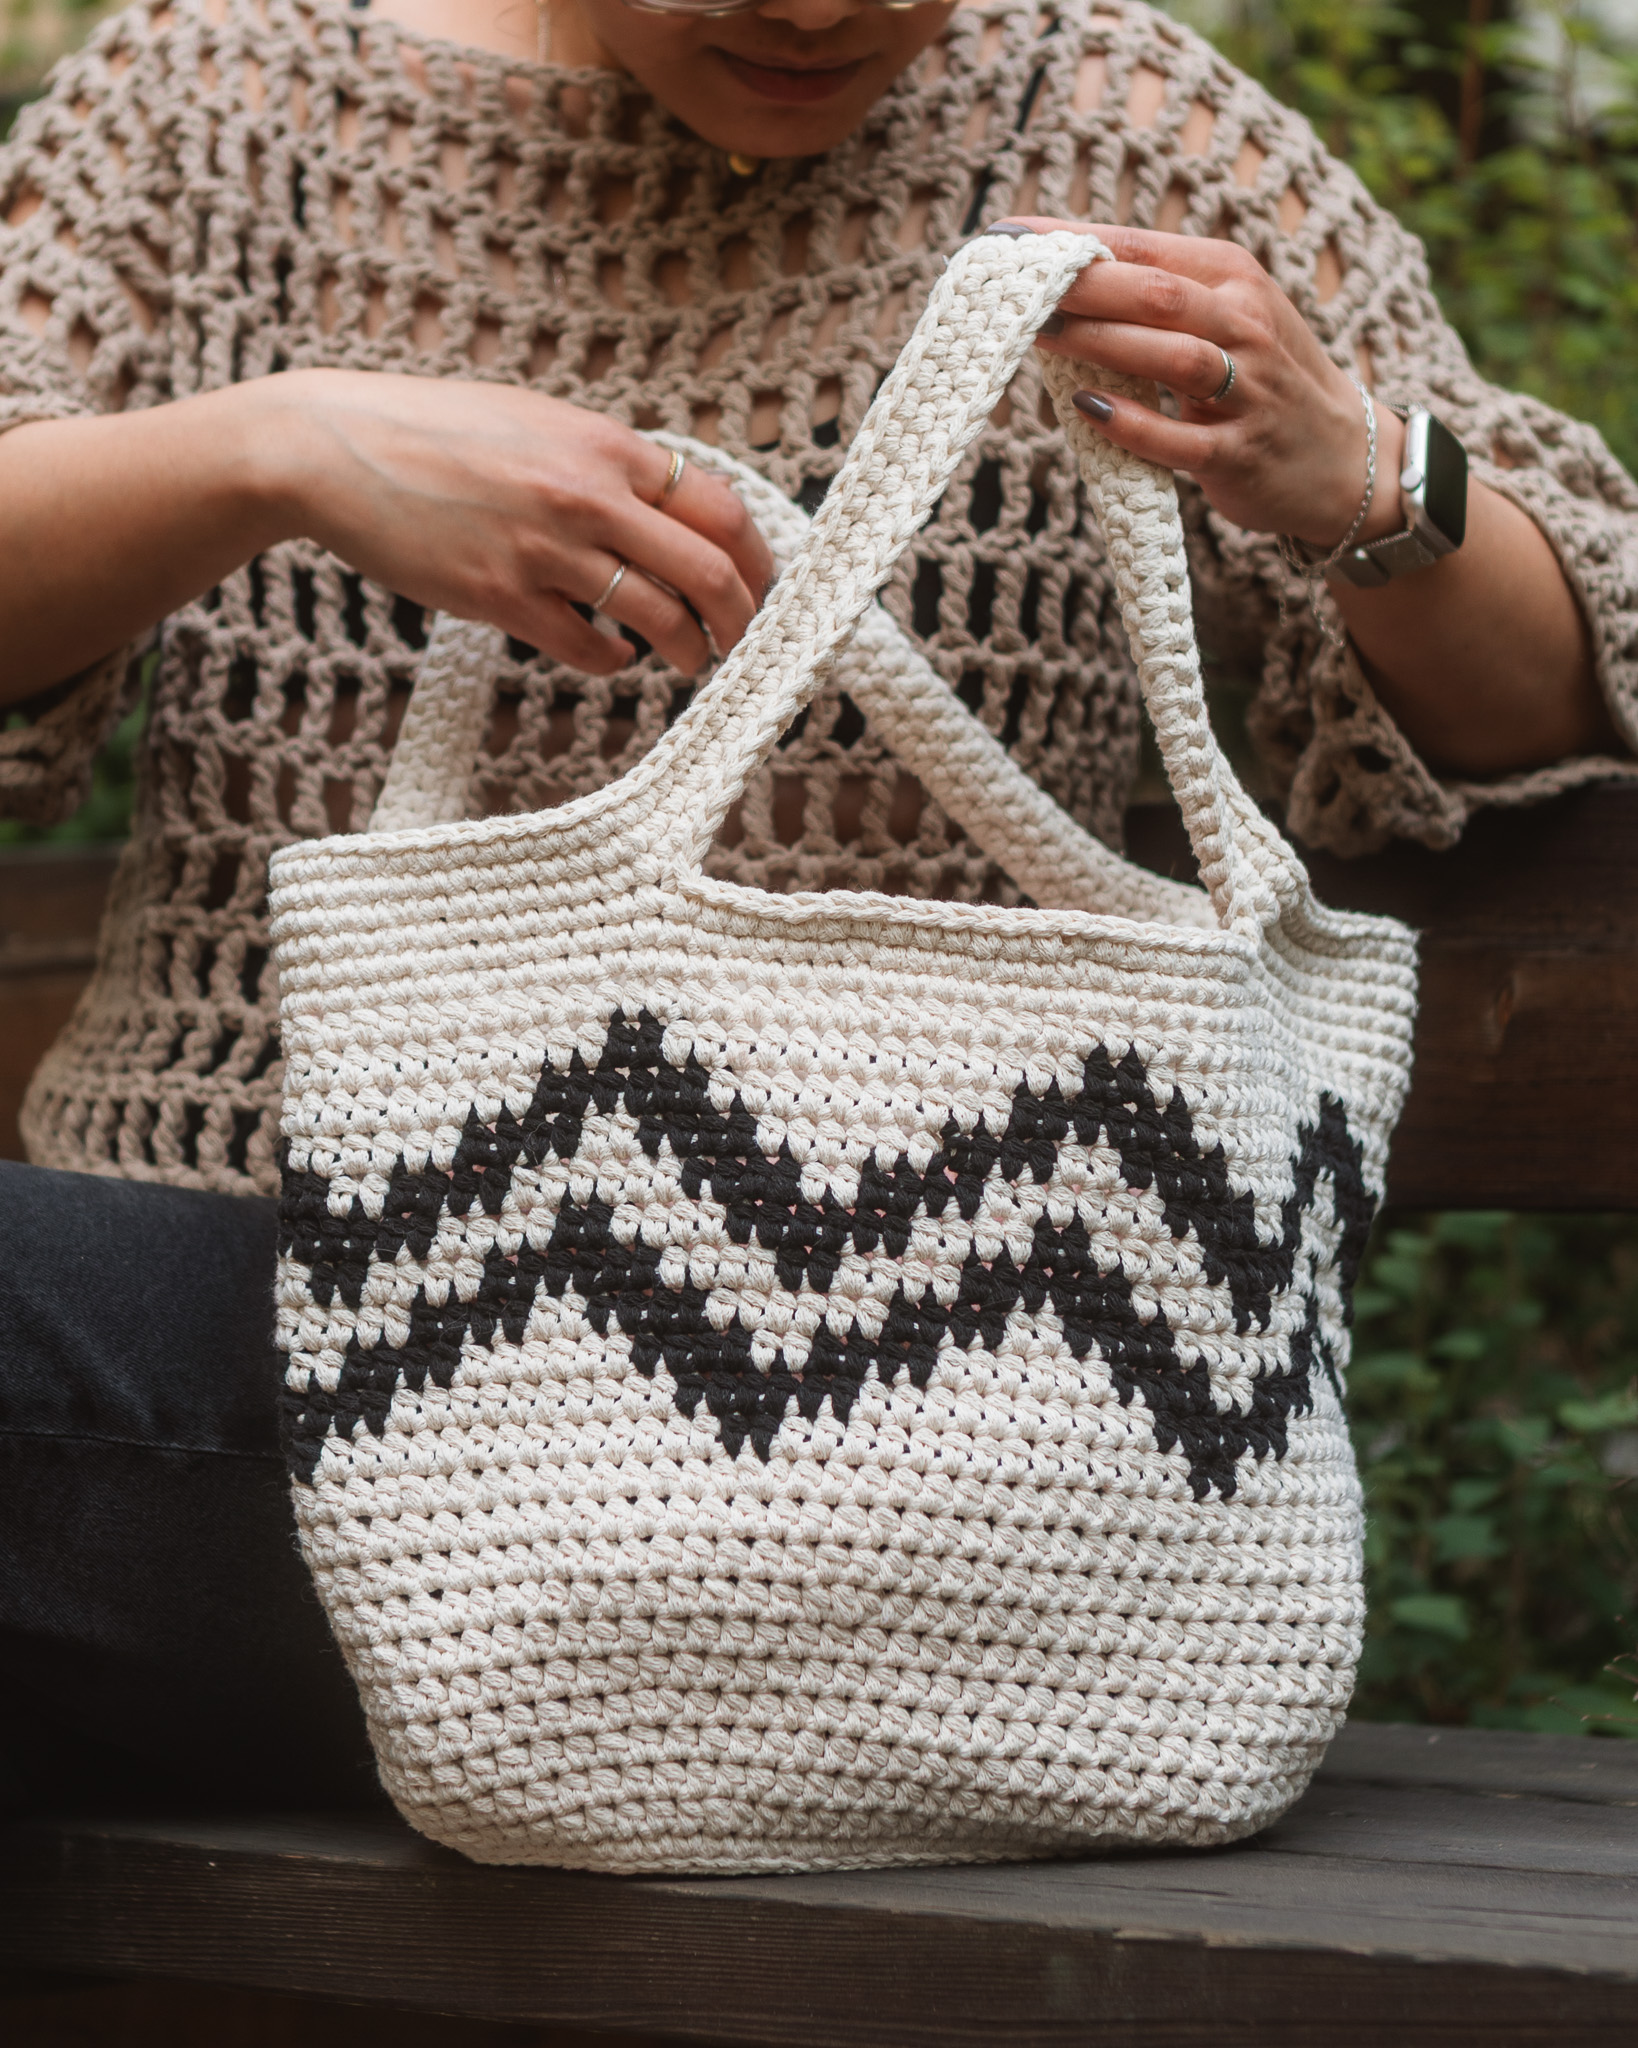
Crochet clutch “Halley”
Crochet a modern small clutch in the size you want!
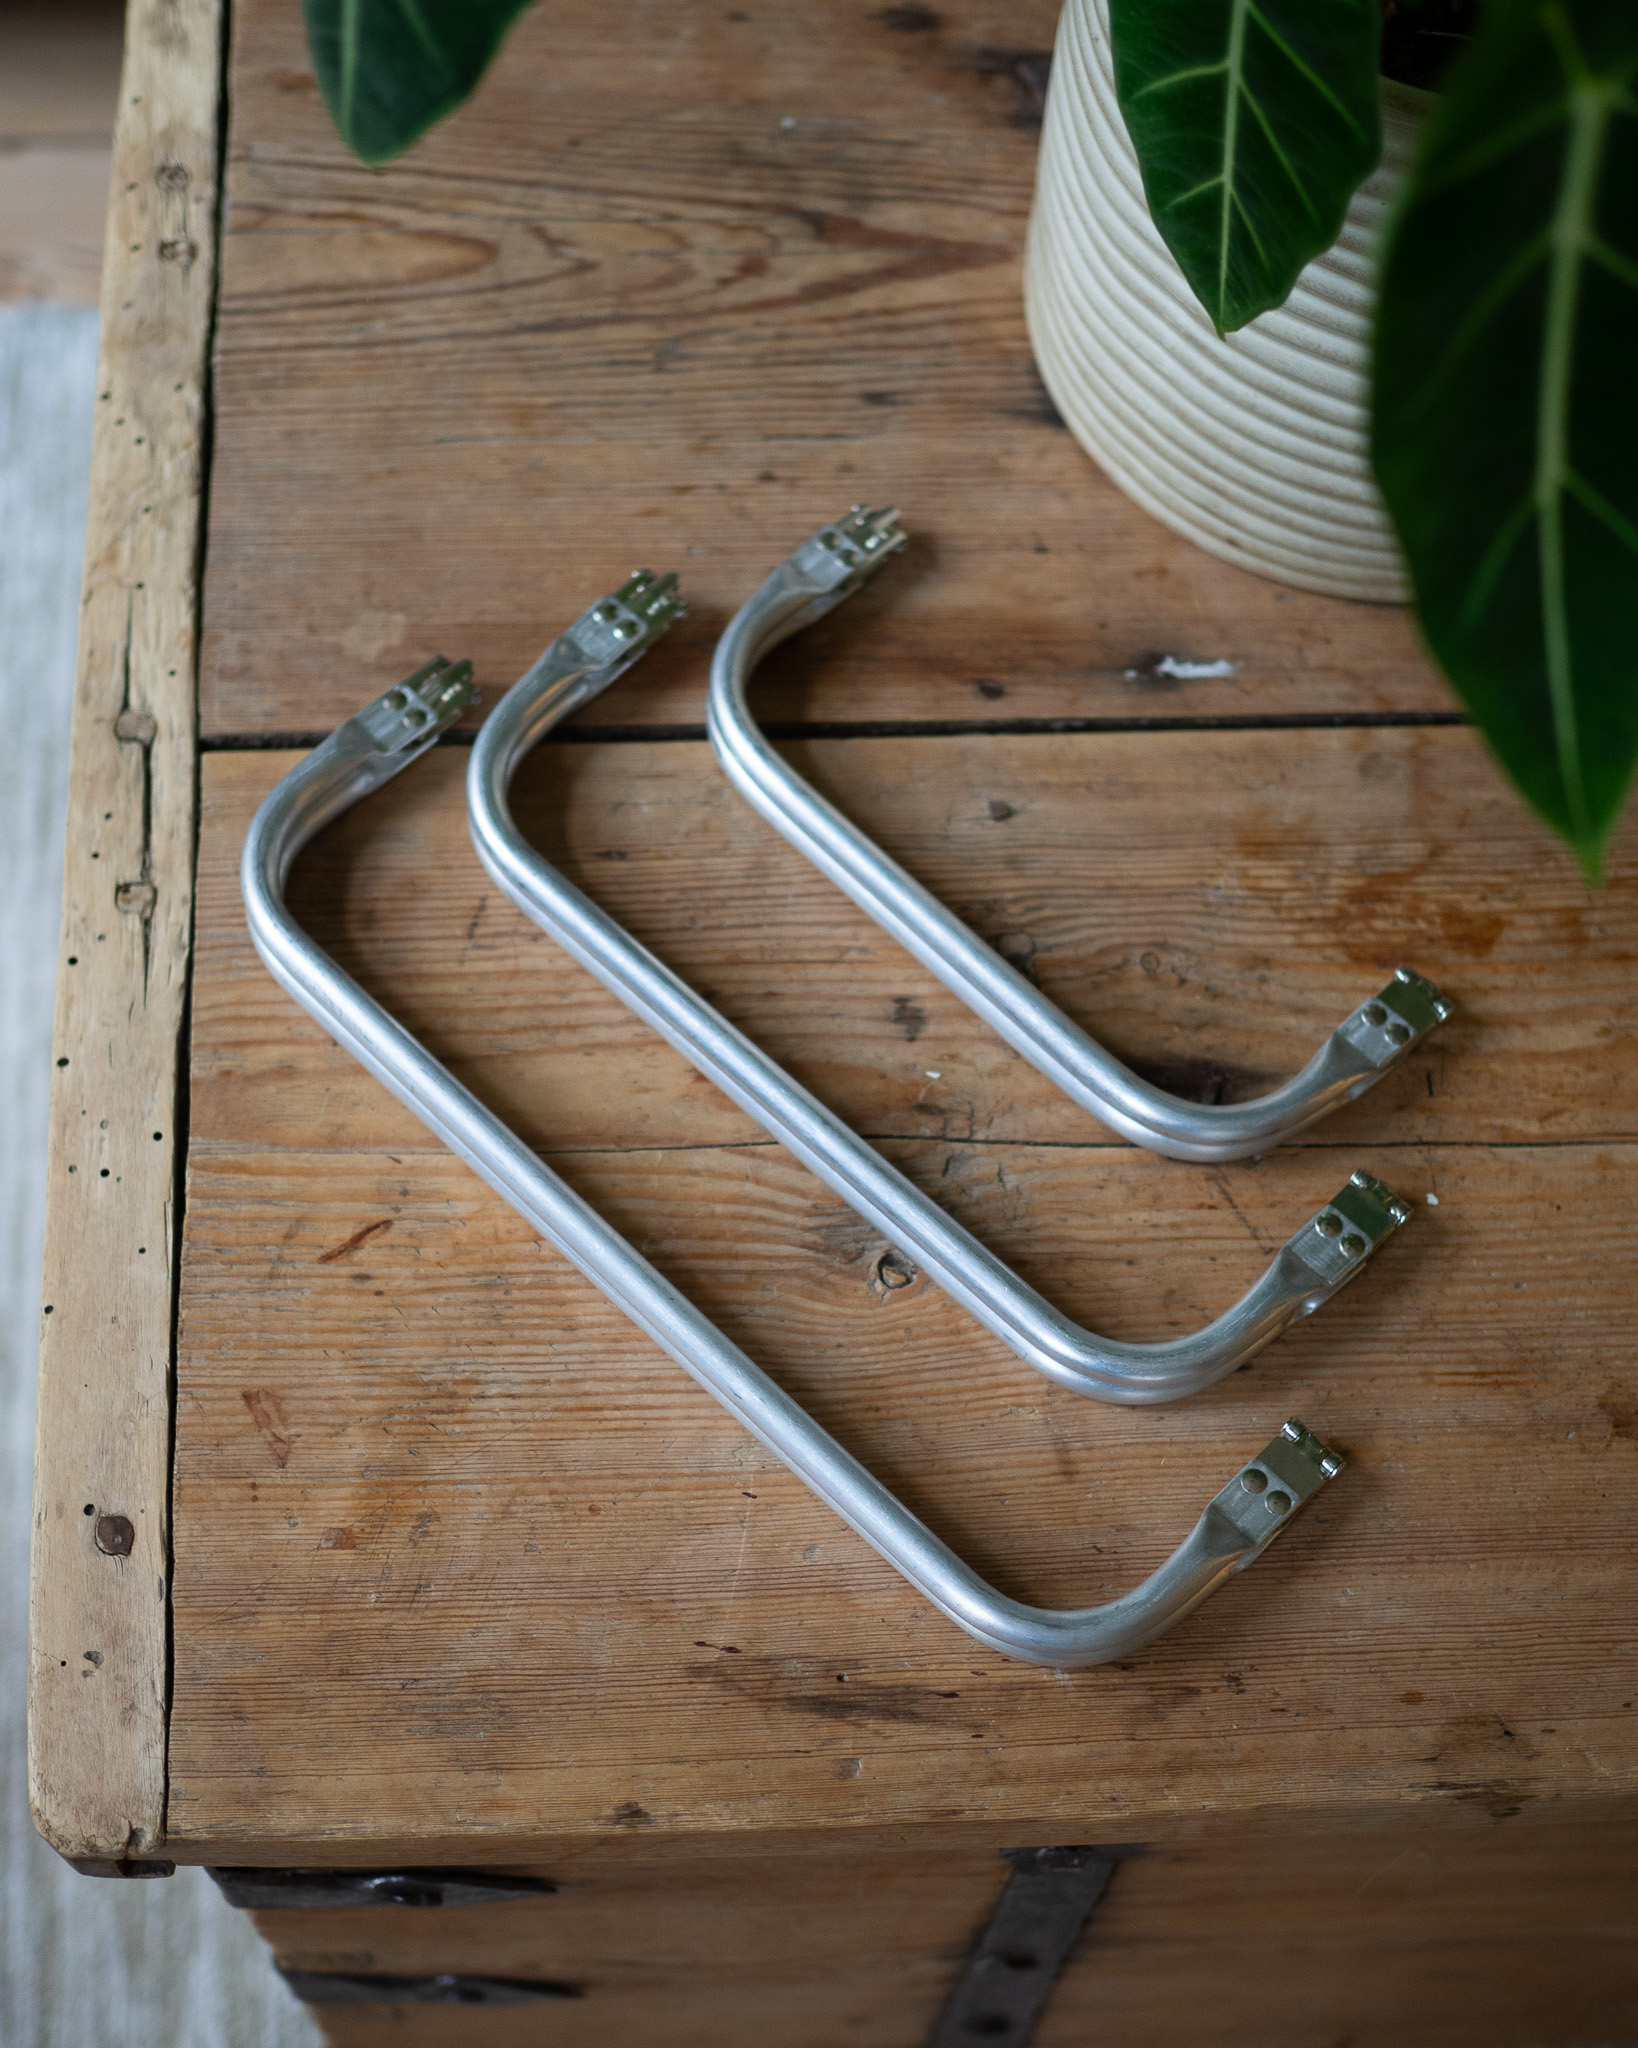
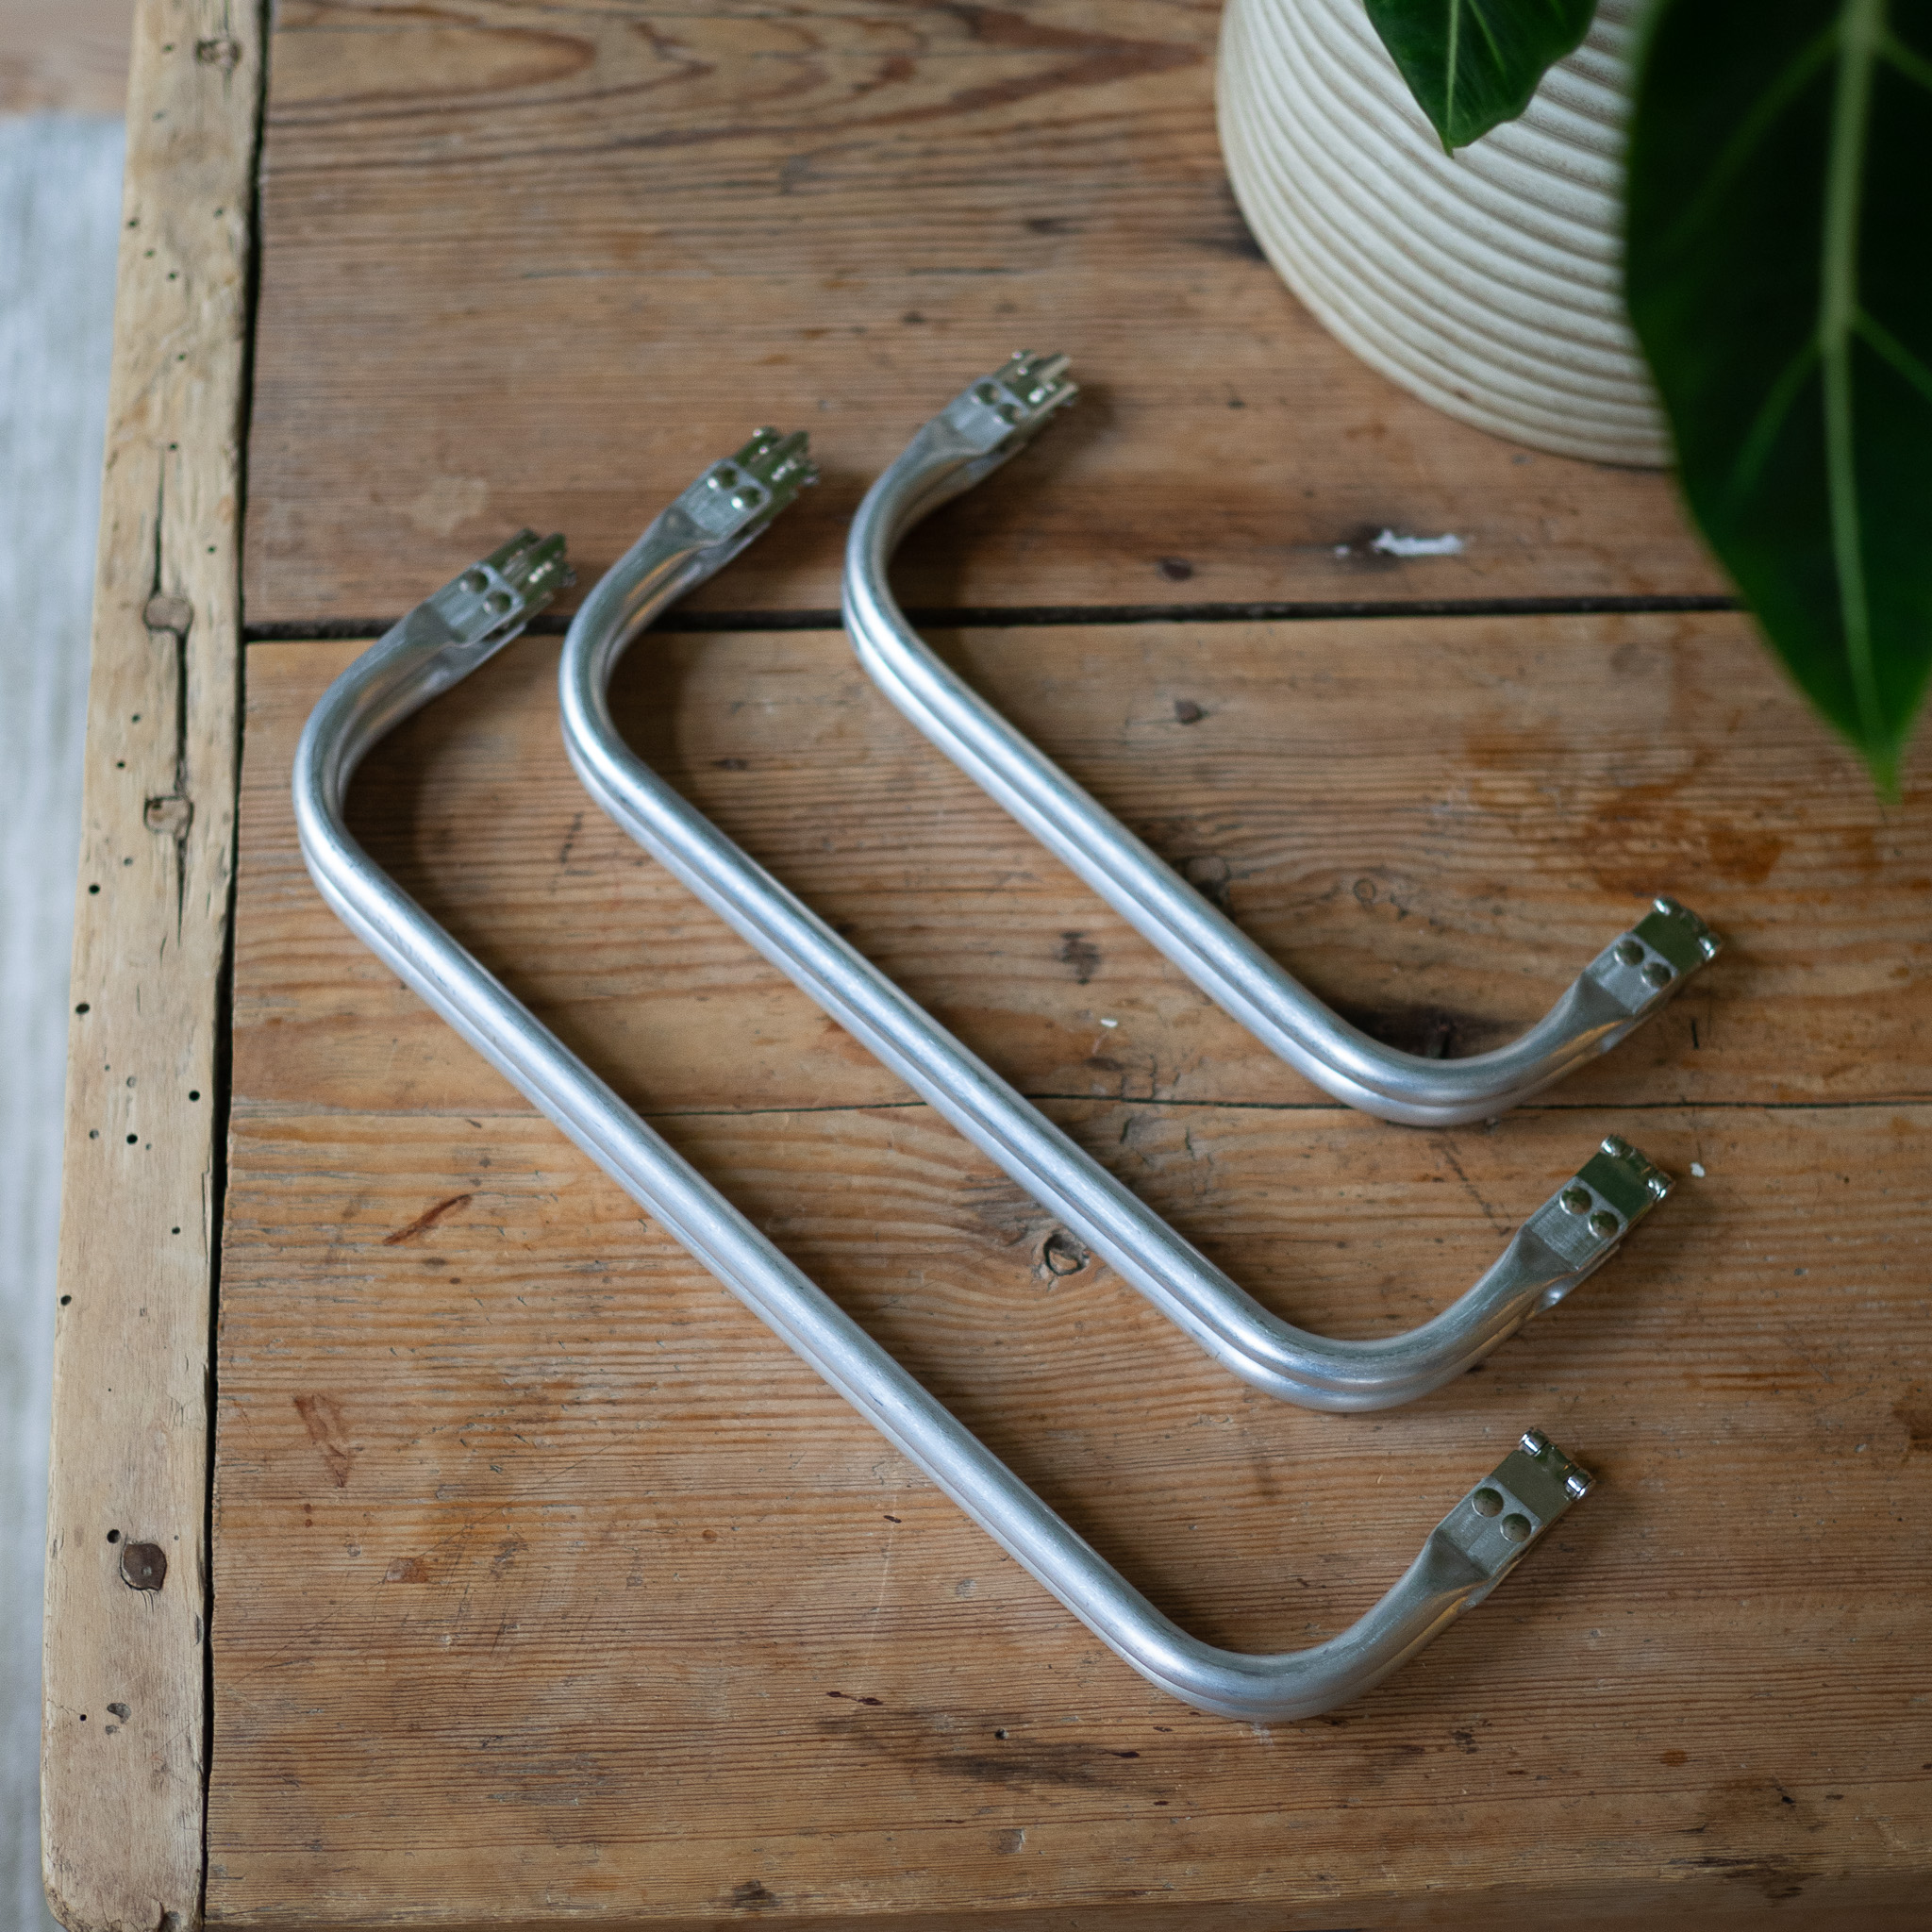
This clutch is easy to crochet and the result is beautiful, and you can make it completely unique according to your preferences. Perfect to have in your handbag with enough space for everything you need. All you need is a clutch handle (we've used 16cm), two skeins of our EKO Mini Tube yarn and a 10 mm crochet hook. We used the colors "Greige" and "Black" in the pictures. You can easily use this pattern for a larger metal clutch, but then you will need more yarn.
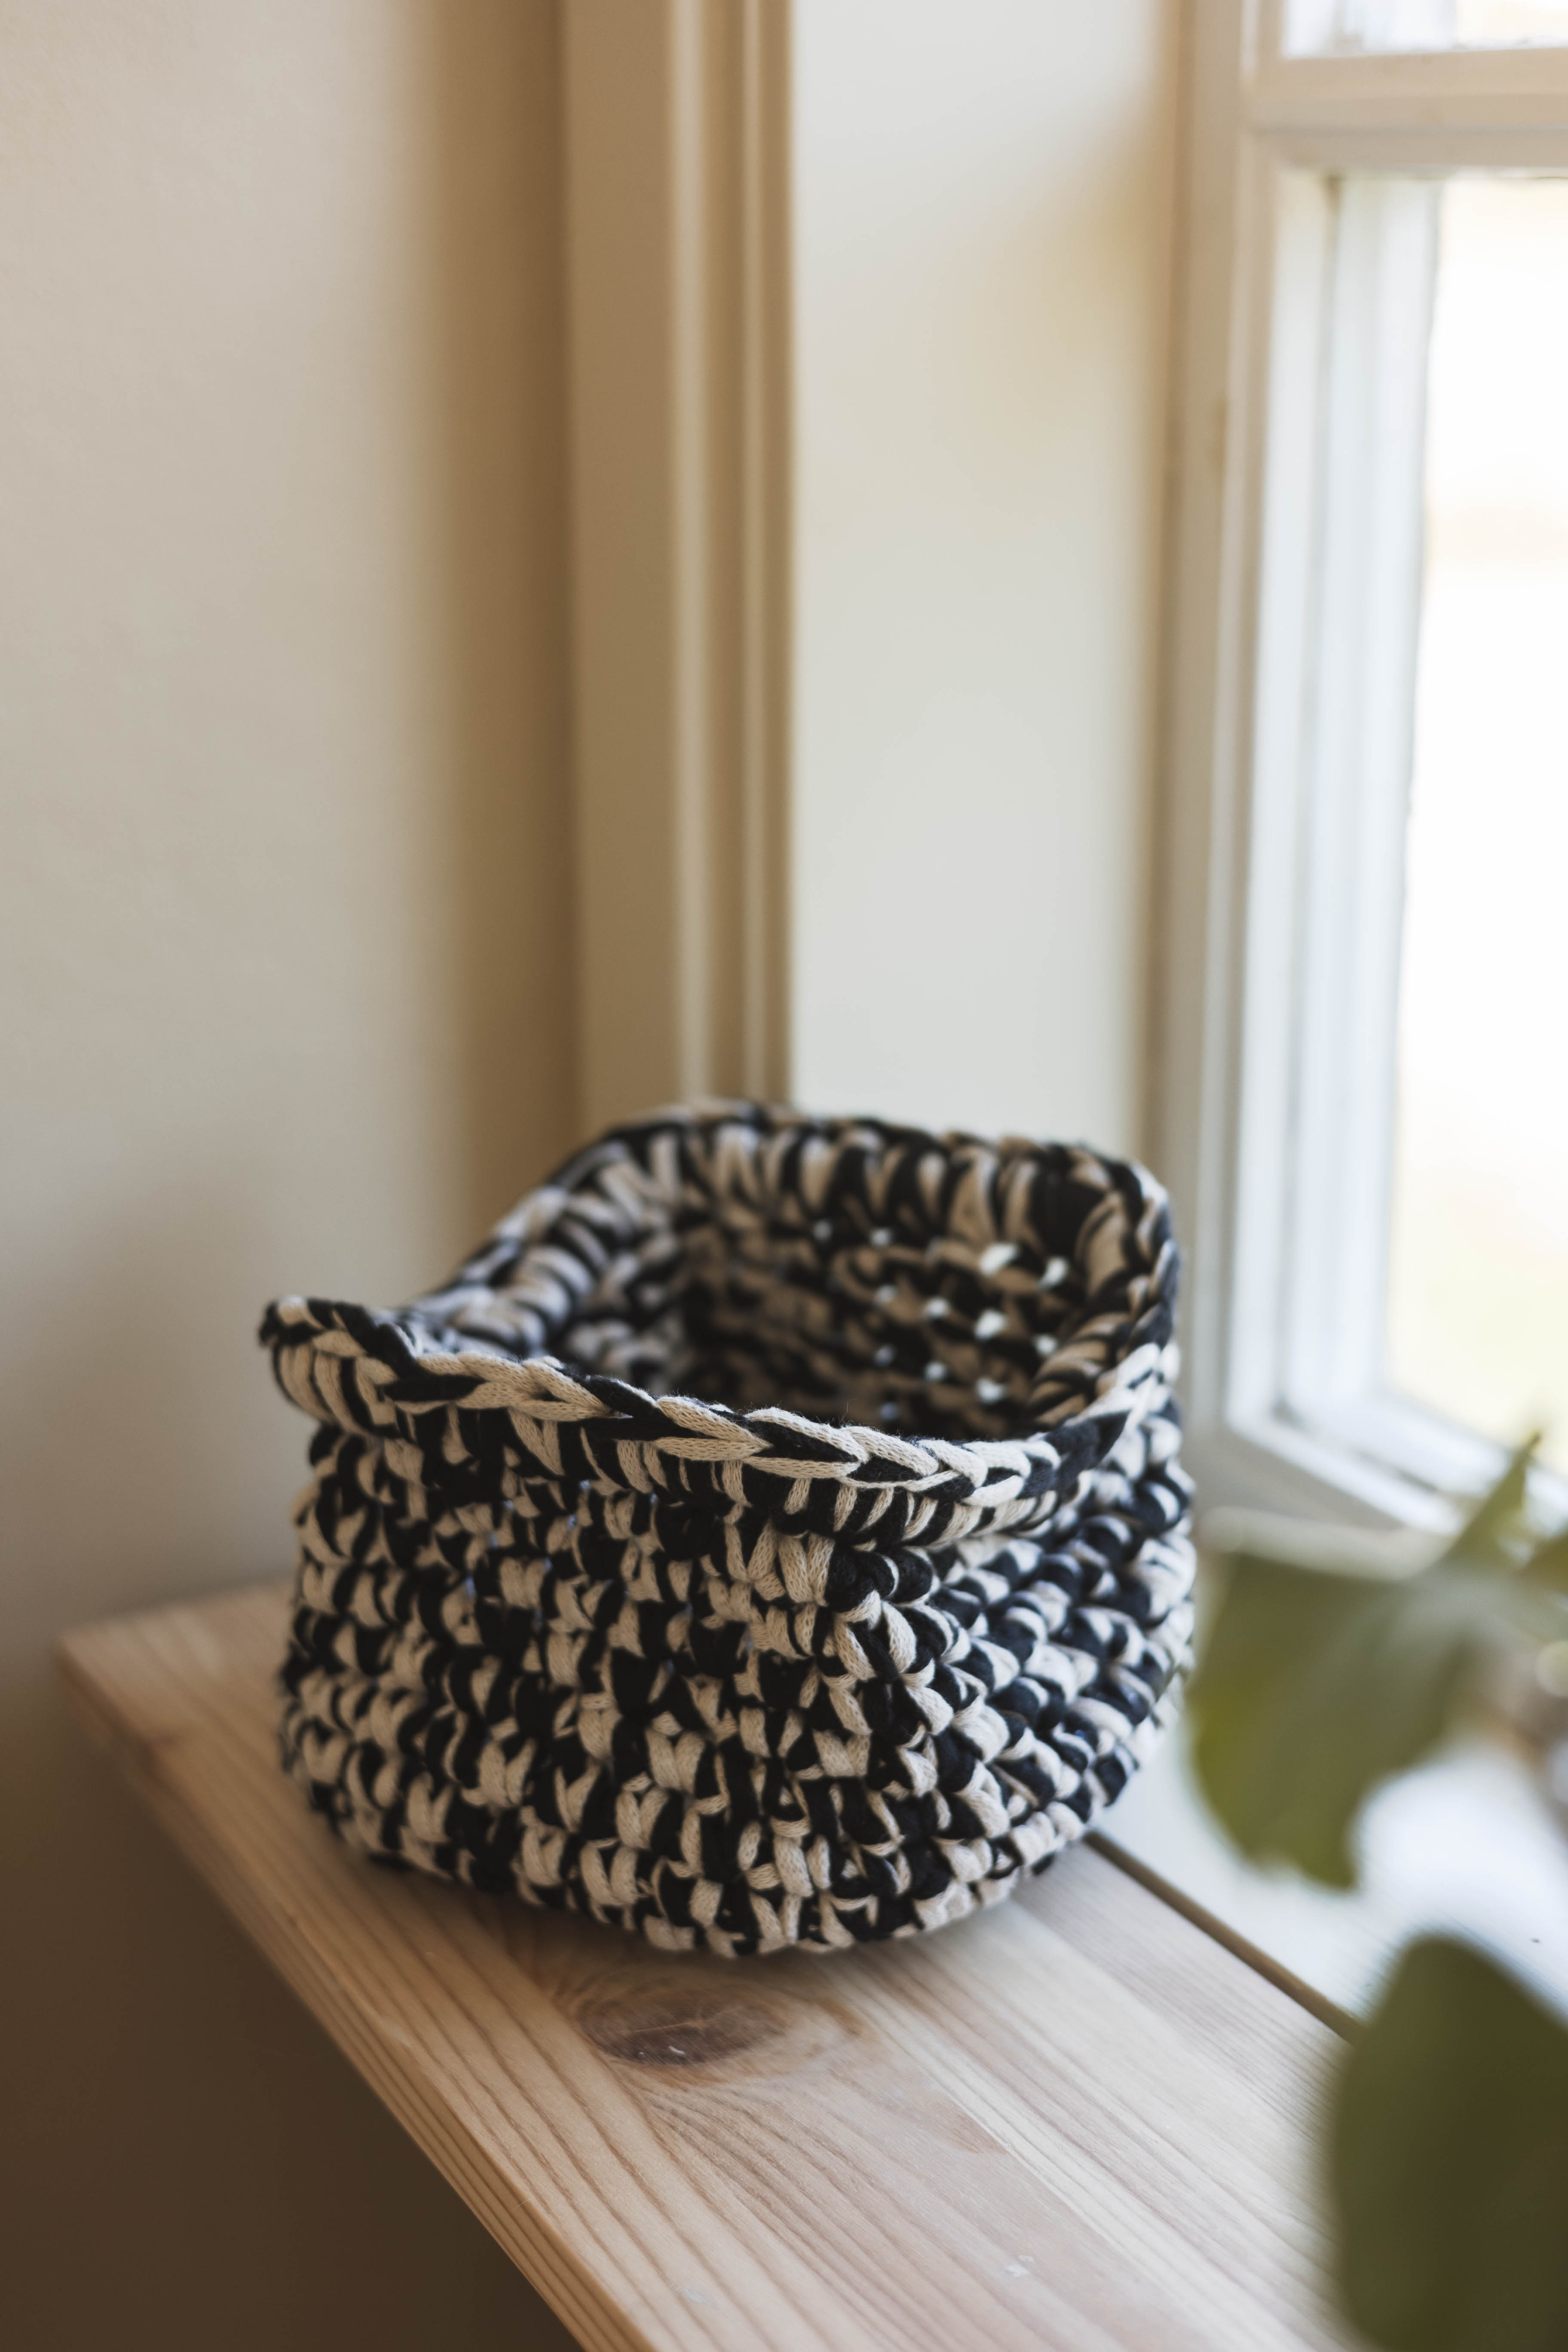
Finished size of the clutch approximately 18 cm long, 14 cm high, and 15 cm wide. You can also use a bigger clutch handle from MYO's webshop.
Yarn requirement: Approx 300-350 g. If you use two colors you need 150-175 g of each.
Note: In this instruction, we use videos from our technique school along with pictures. However, there are videos for some steps.
Here's how to do it
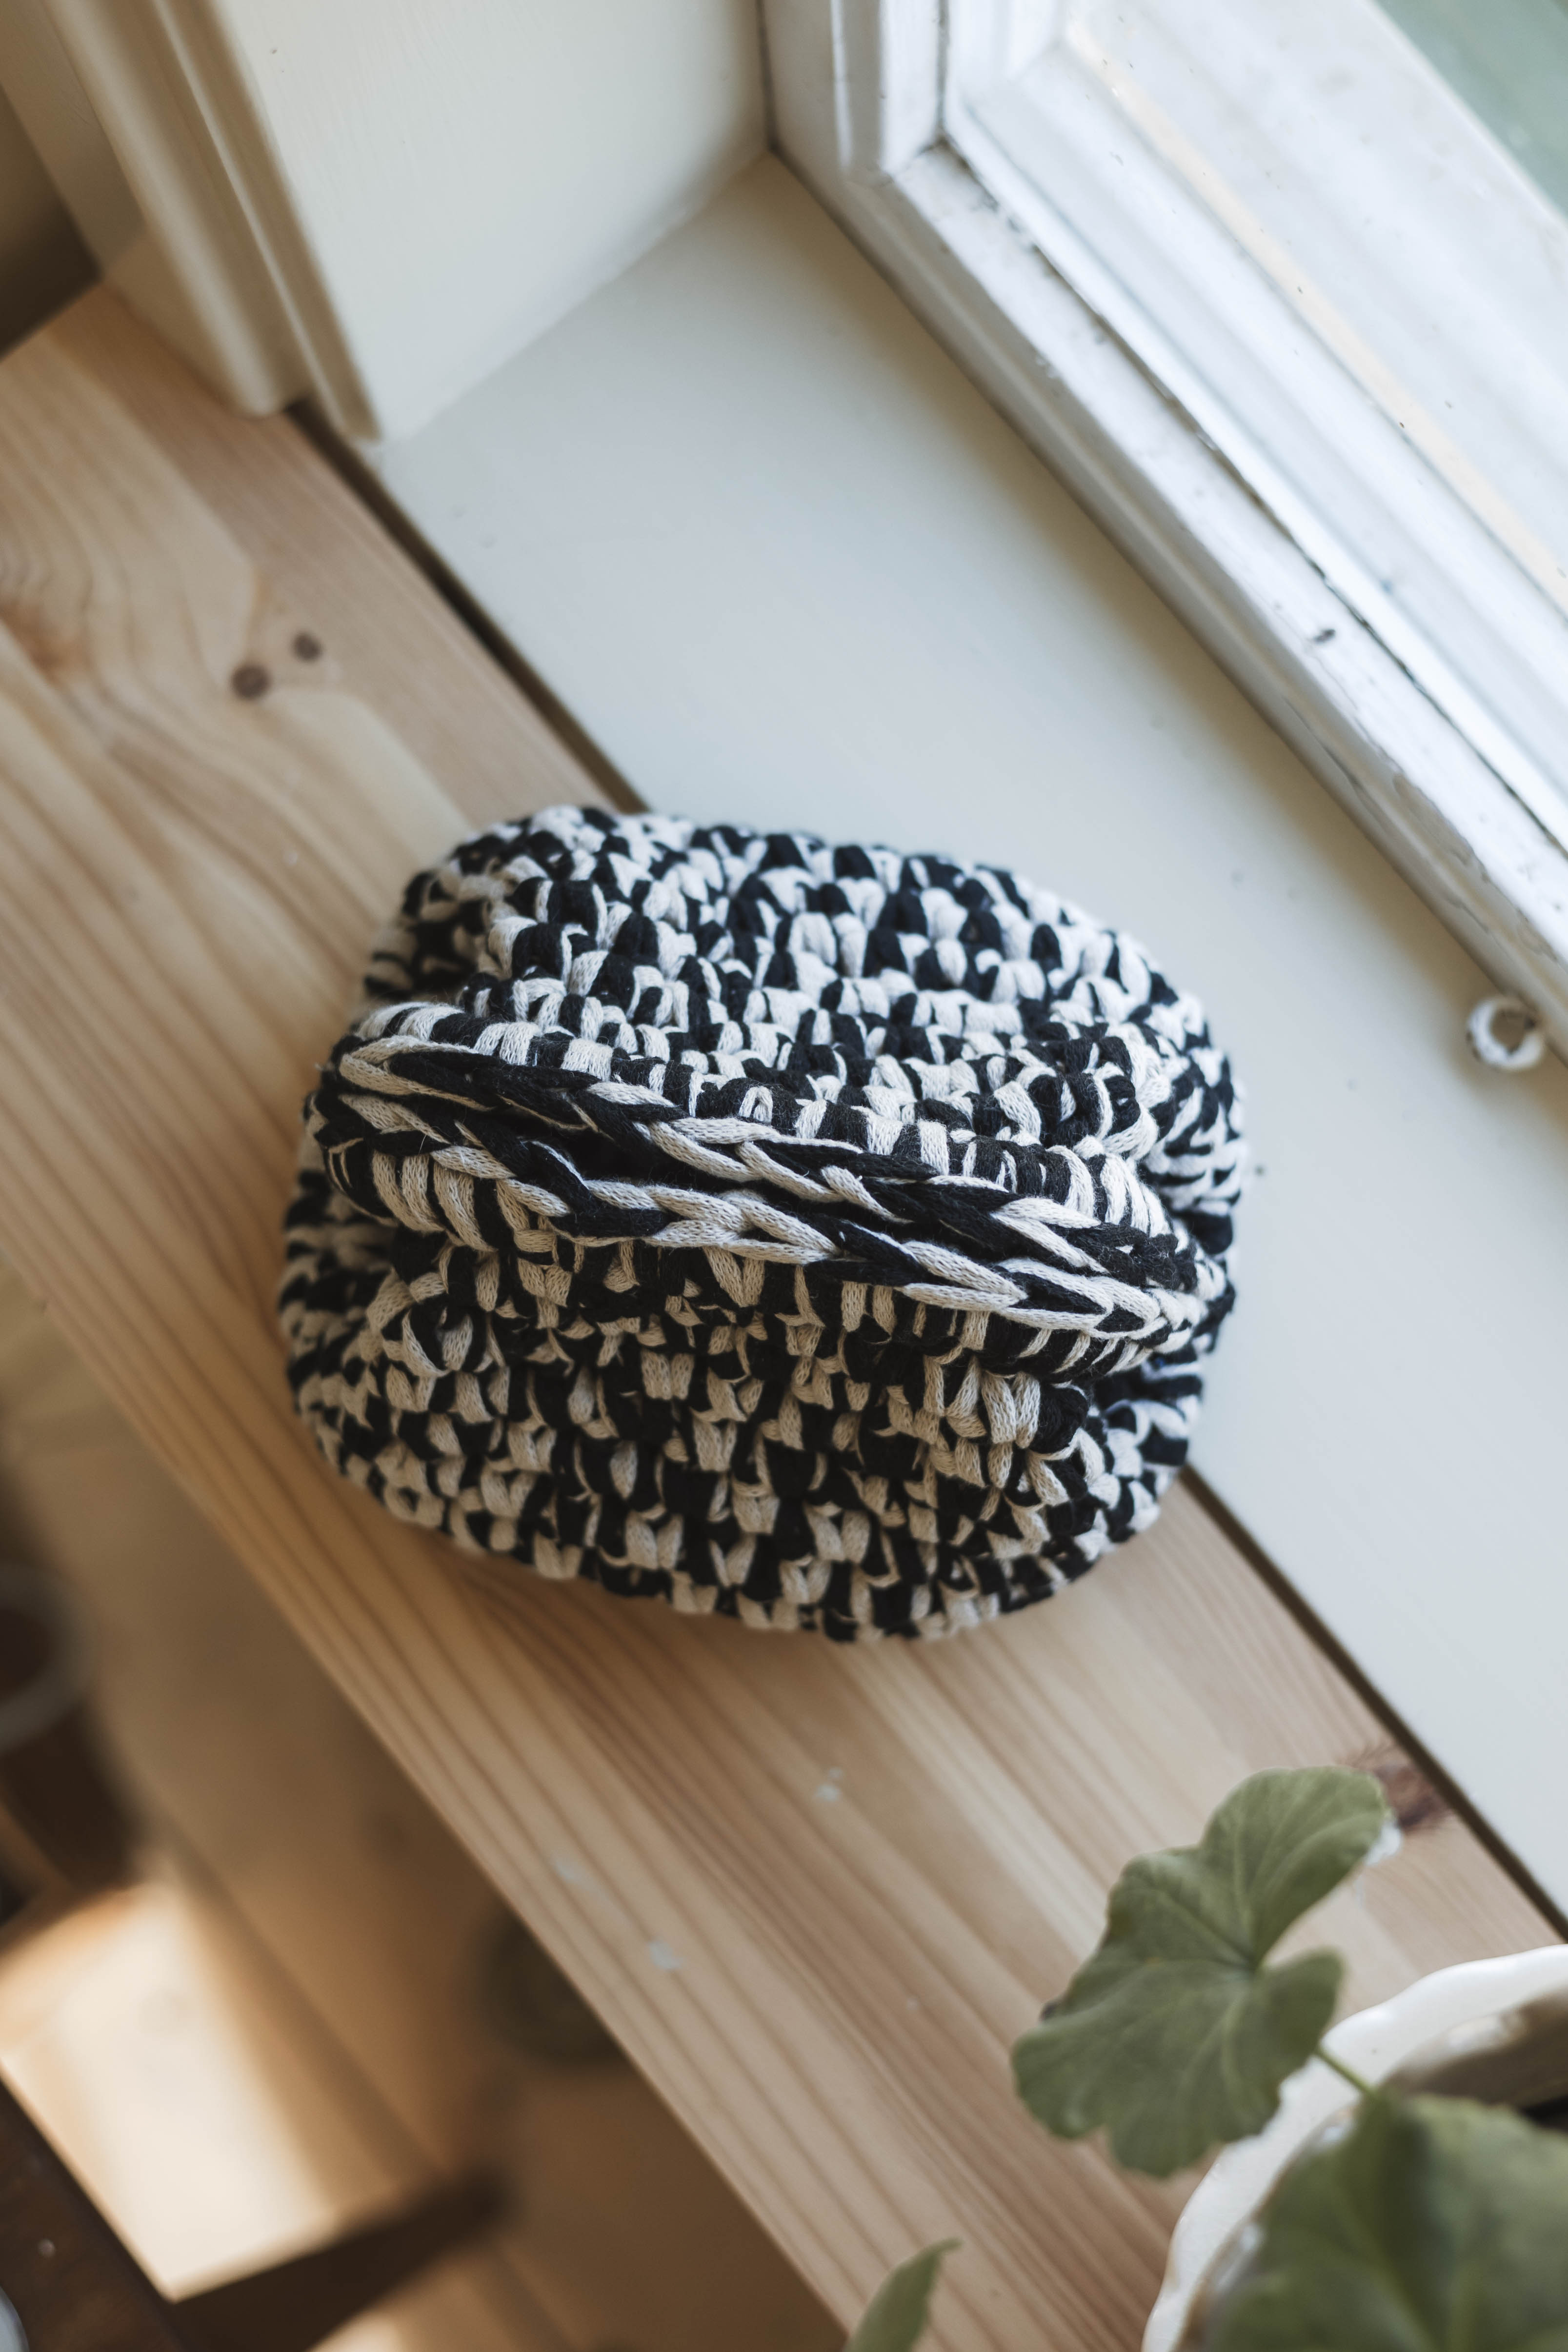
You start by crocheting a square base and then work the sides all the way up until we attach the metal clutch. Once the metal clutch is attached, you will have your very own crocheted toiletry bag! We hope you want to try our metal clutches and crochet your dream toiletry bag! Good luck! /Sara
.jpg)
This is what you need:
Here you can directly purchase the material for the product. Please note that the instruction is digital and appears here on the page (no written instruction).

EKO Mini tube yarn | 1000g
Narrow "Ribbon" yarn for crocheting, made of 80% recycled cotton
Buy product
.jpg)
Unleash your creativity
For only 85kr per month you get access to all our 300+ beginner-friendly instructions for crochet, knitting and macrame.
A perfect way to get started with your new hobby!

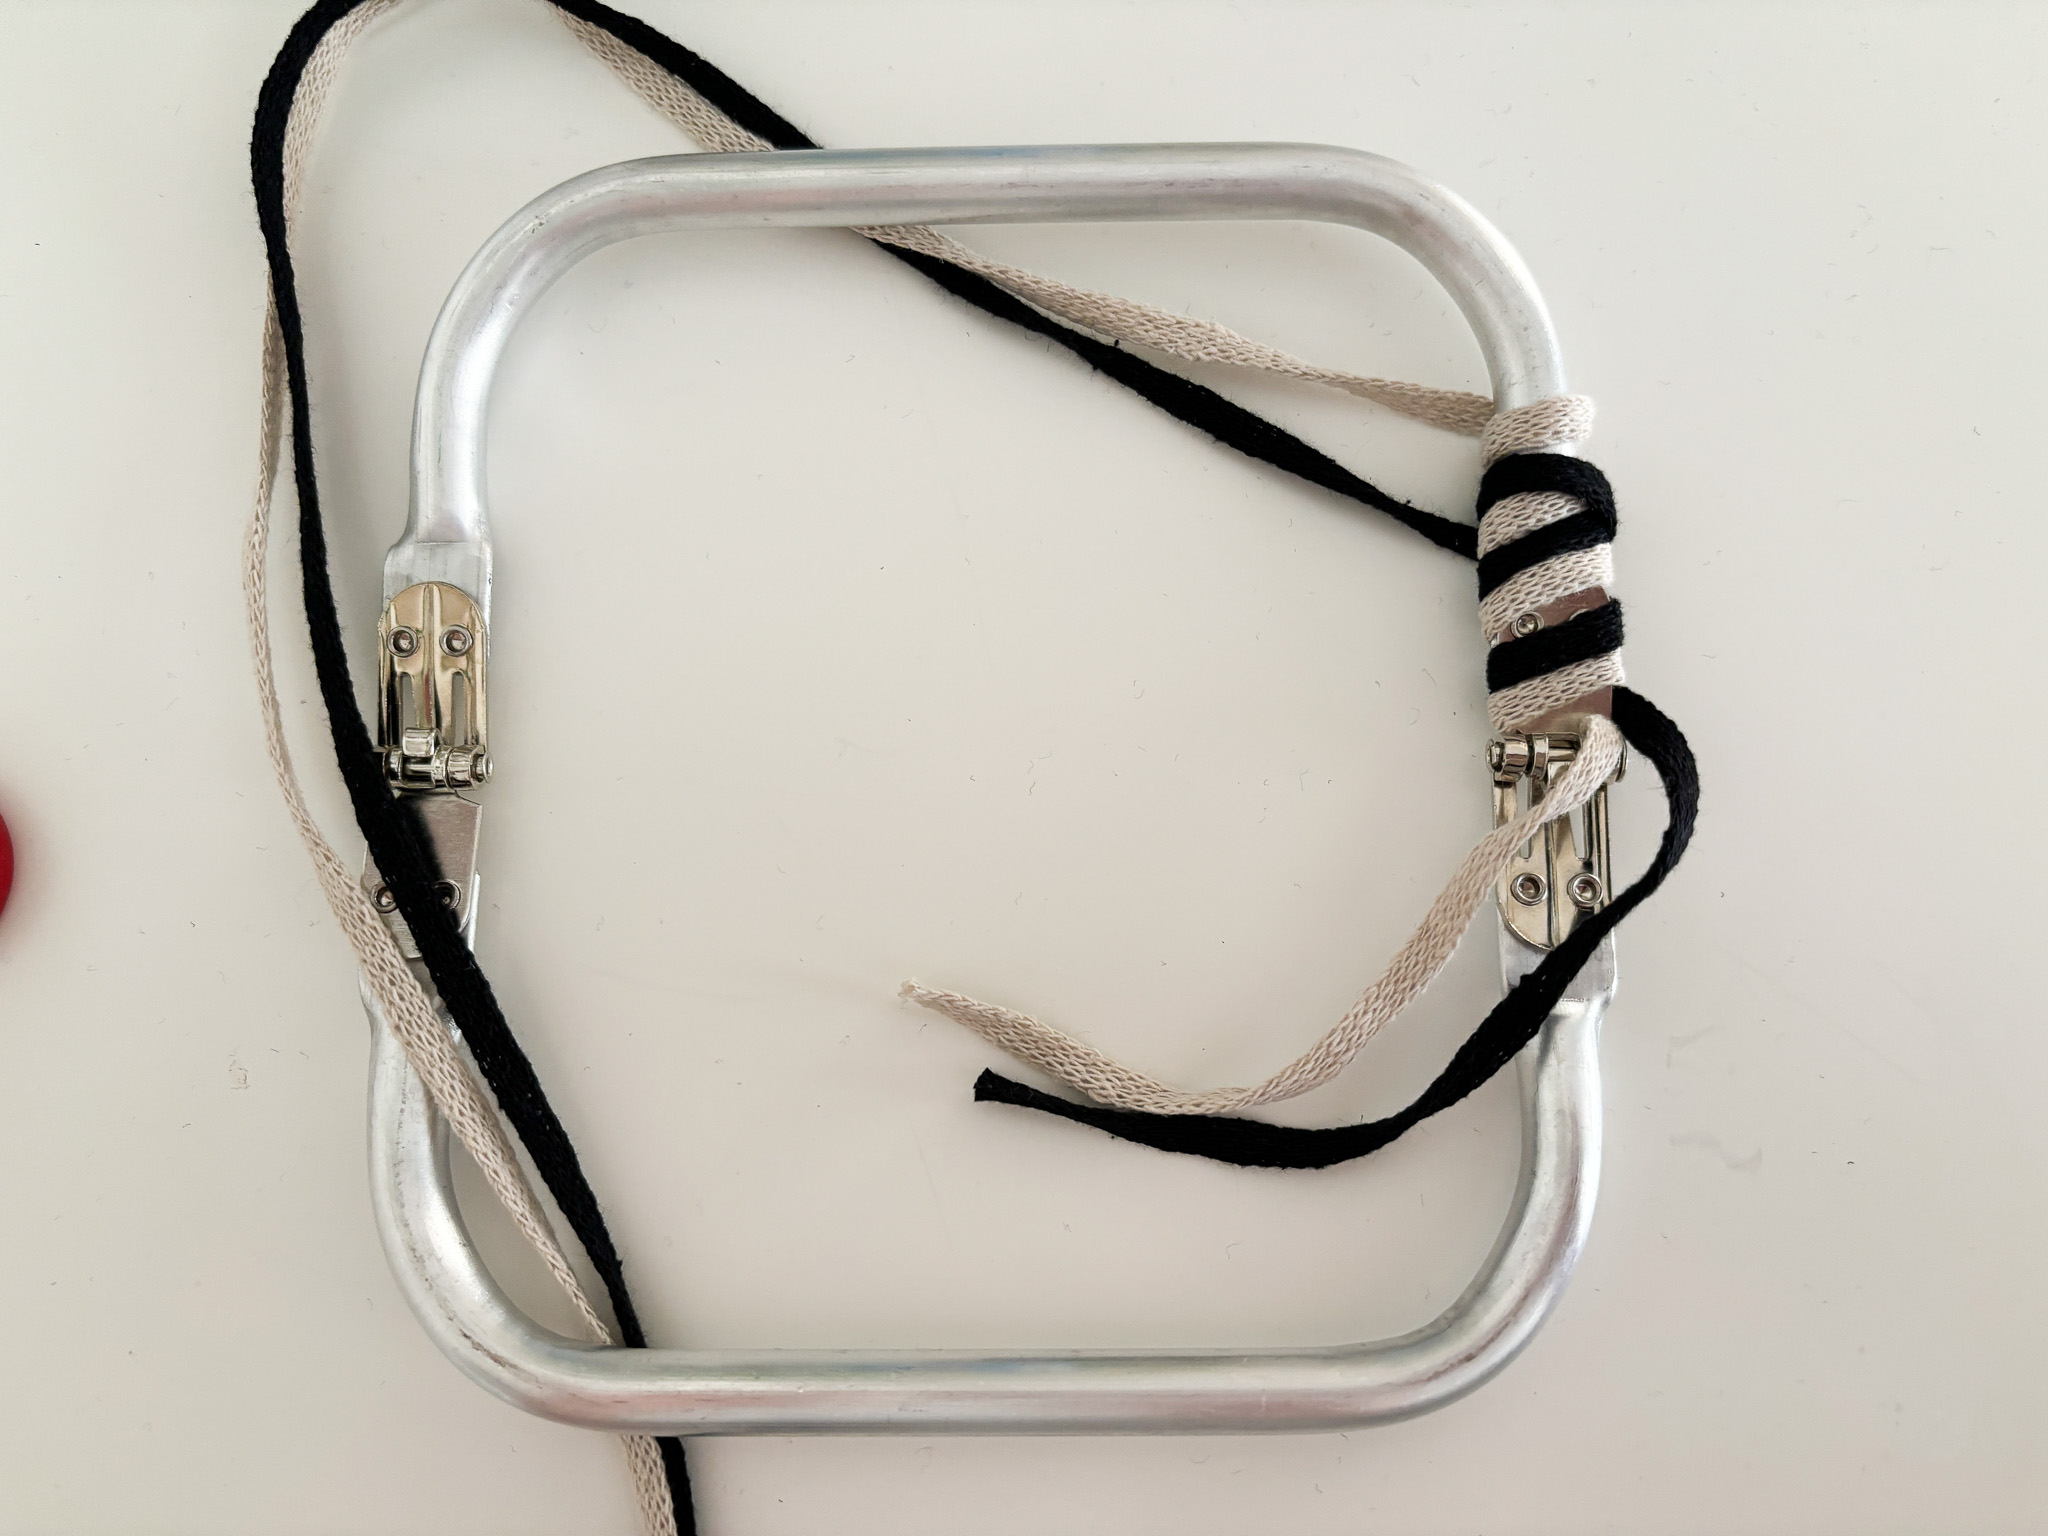
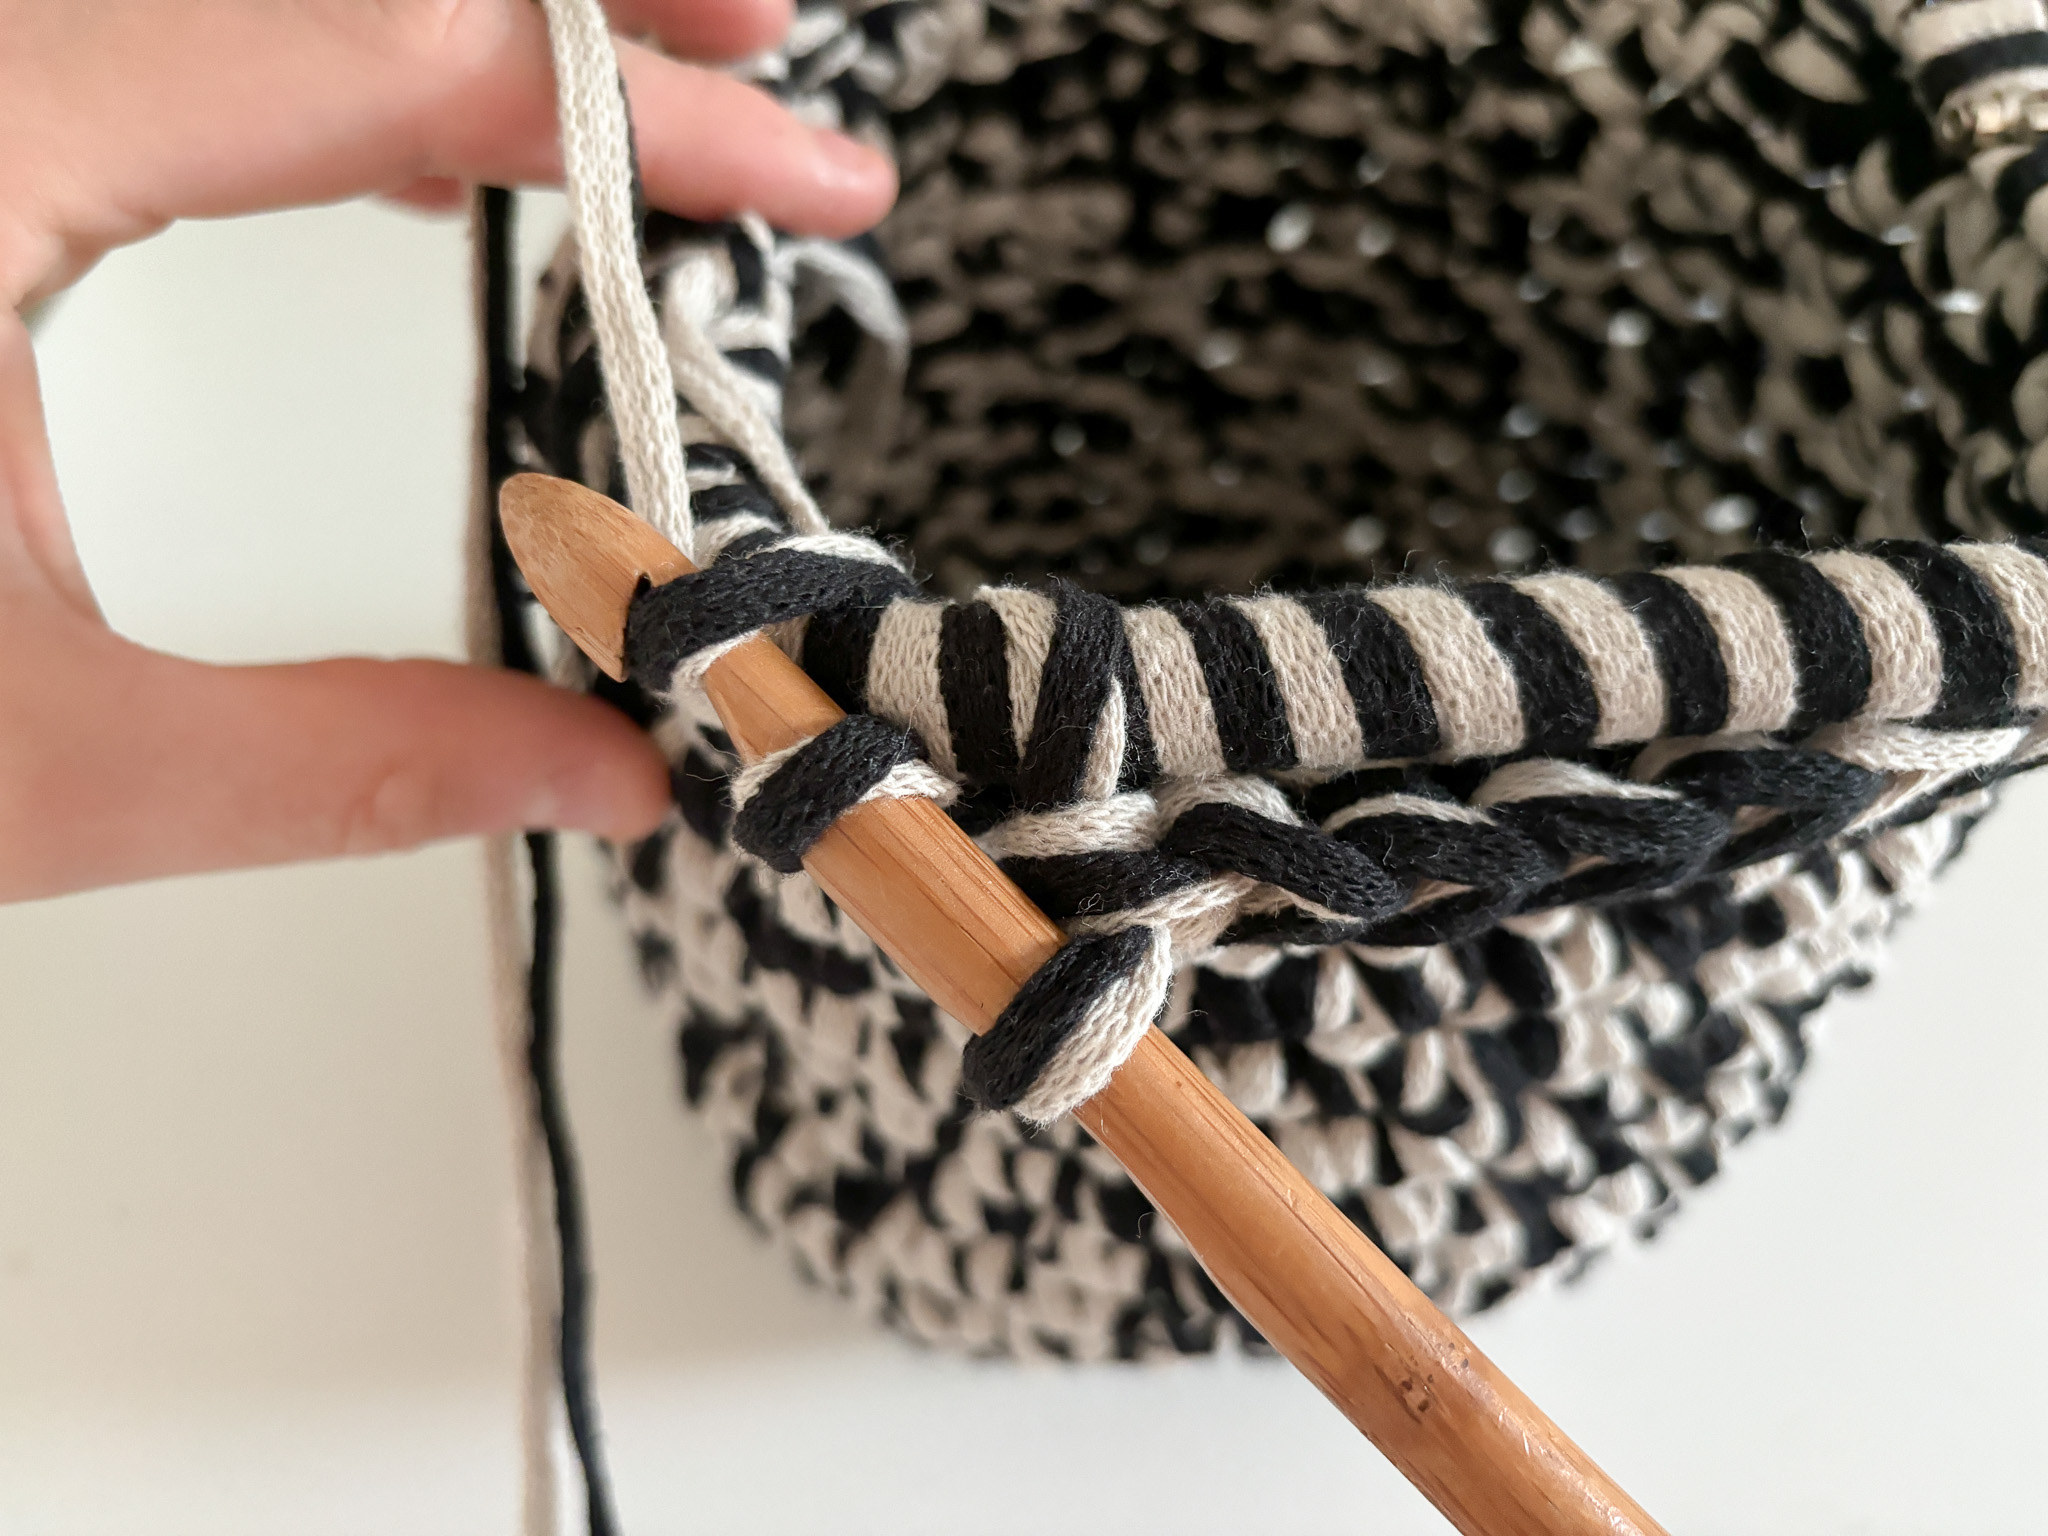
Klä metallclutchen:
Börja med att snurra garnet runt metall clutchen. Detta gör vi enkelt genom att bara snurra garnet runt och göra en dubbelknut när ändarna på garnet möts.
Bottom:
Start by making a slip knot and place it on your hook. If you are unsure how to do this, see the video below (slip knot).
Make 10 chain stitches. If you are unsure how to crochet chain stitches, see the video below. If you are using a larger metal clutch, make more chain stitches. The chain should be approximately as long as your clutch.
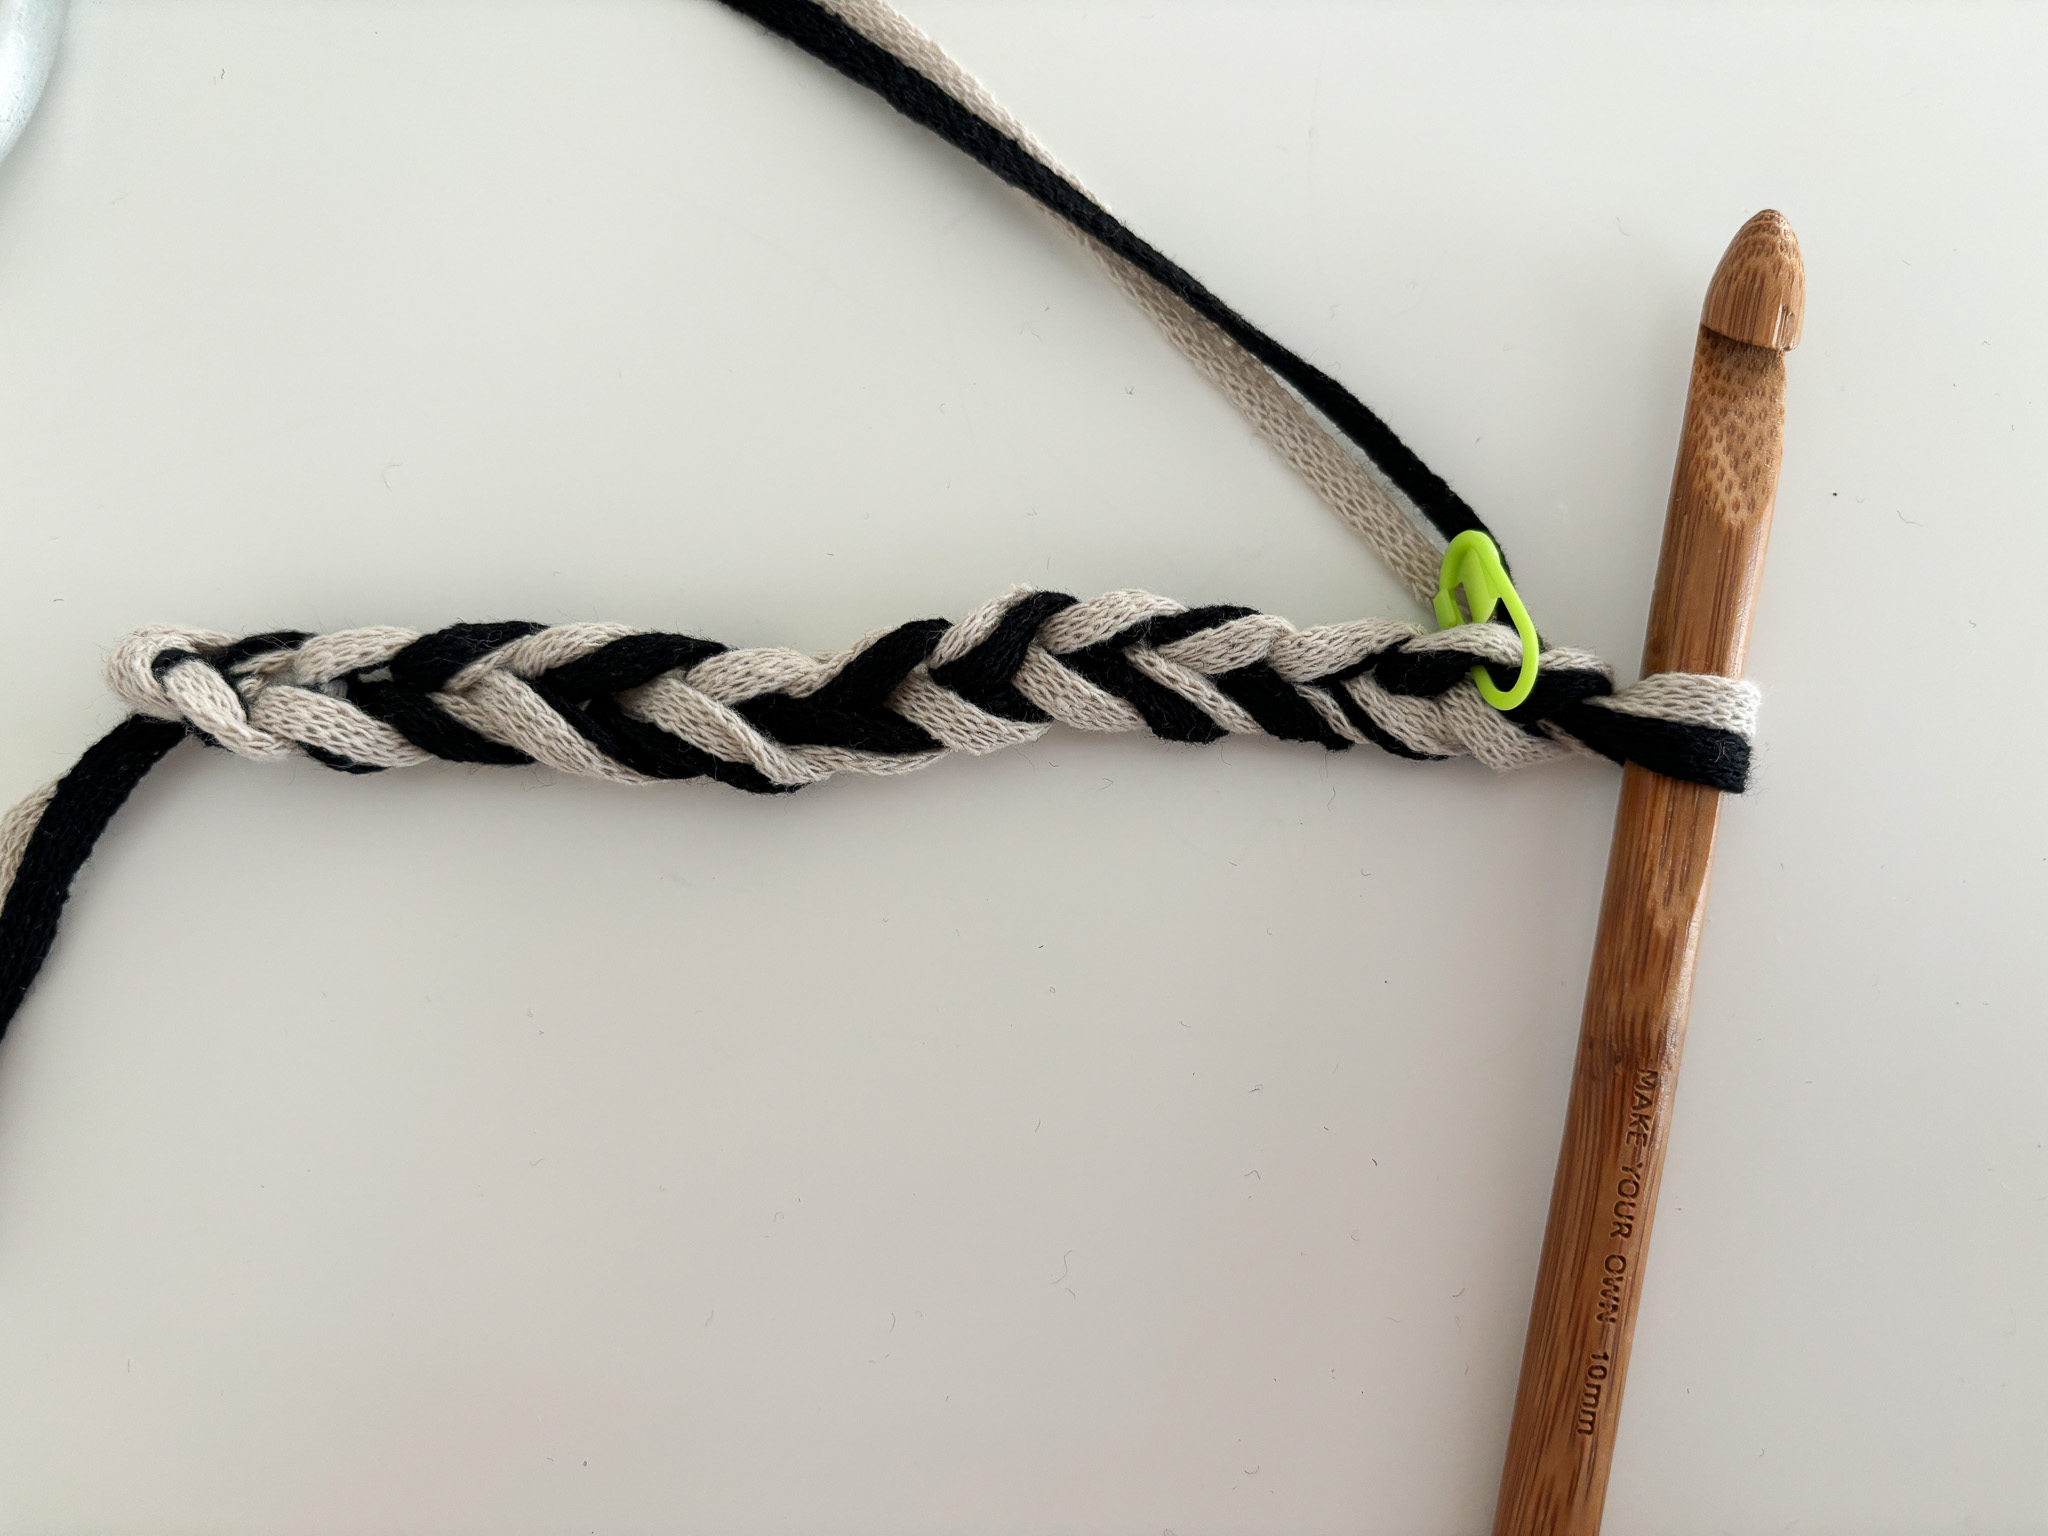

hen start crocheting single crochet stitches into the next 9 stitches, skipping the stitch closest to the hook. If you are unsure how to crochet single crochet stitches, see the video below.
When you reach the end of the row, make a chain stitch and then turn your work.Start the next row by crocheting single crochet stitches into the following stitches, beginning with the stitch closest to the hook. You should have 9 stitches (always 1 less than the number of chain stitches). Finish this row with a chain stitch as well.
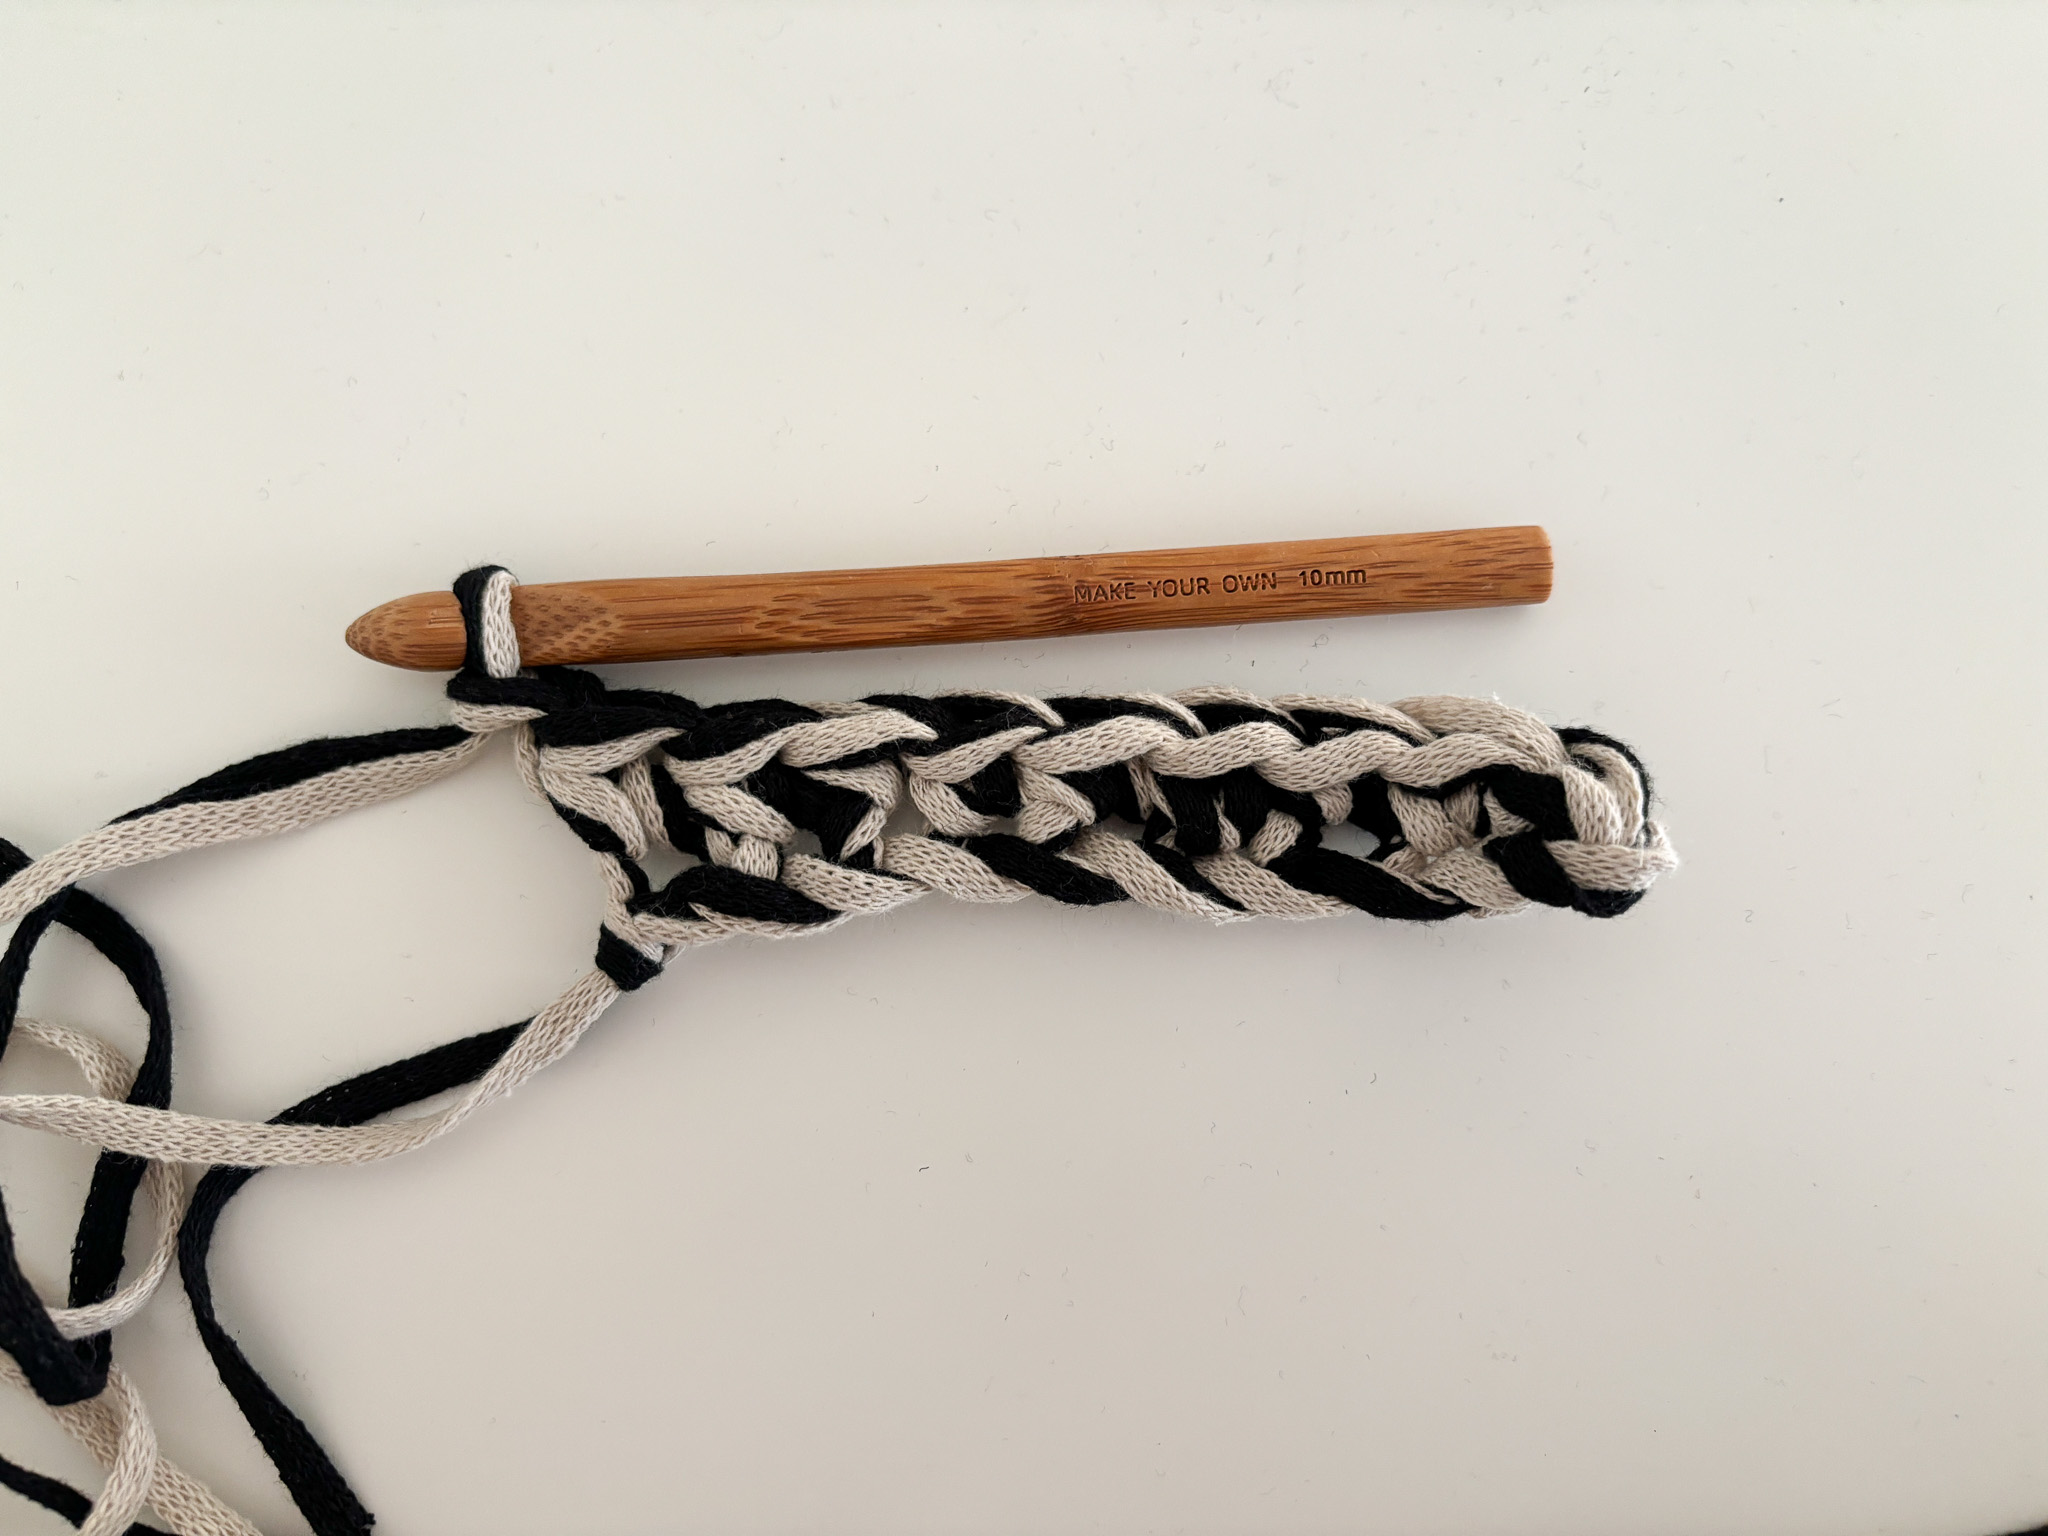
Continue in the same way until you have made 10 rows, forming a square that is as wide as the metal clutch when laid flat.
Sides:
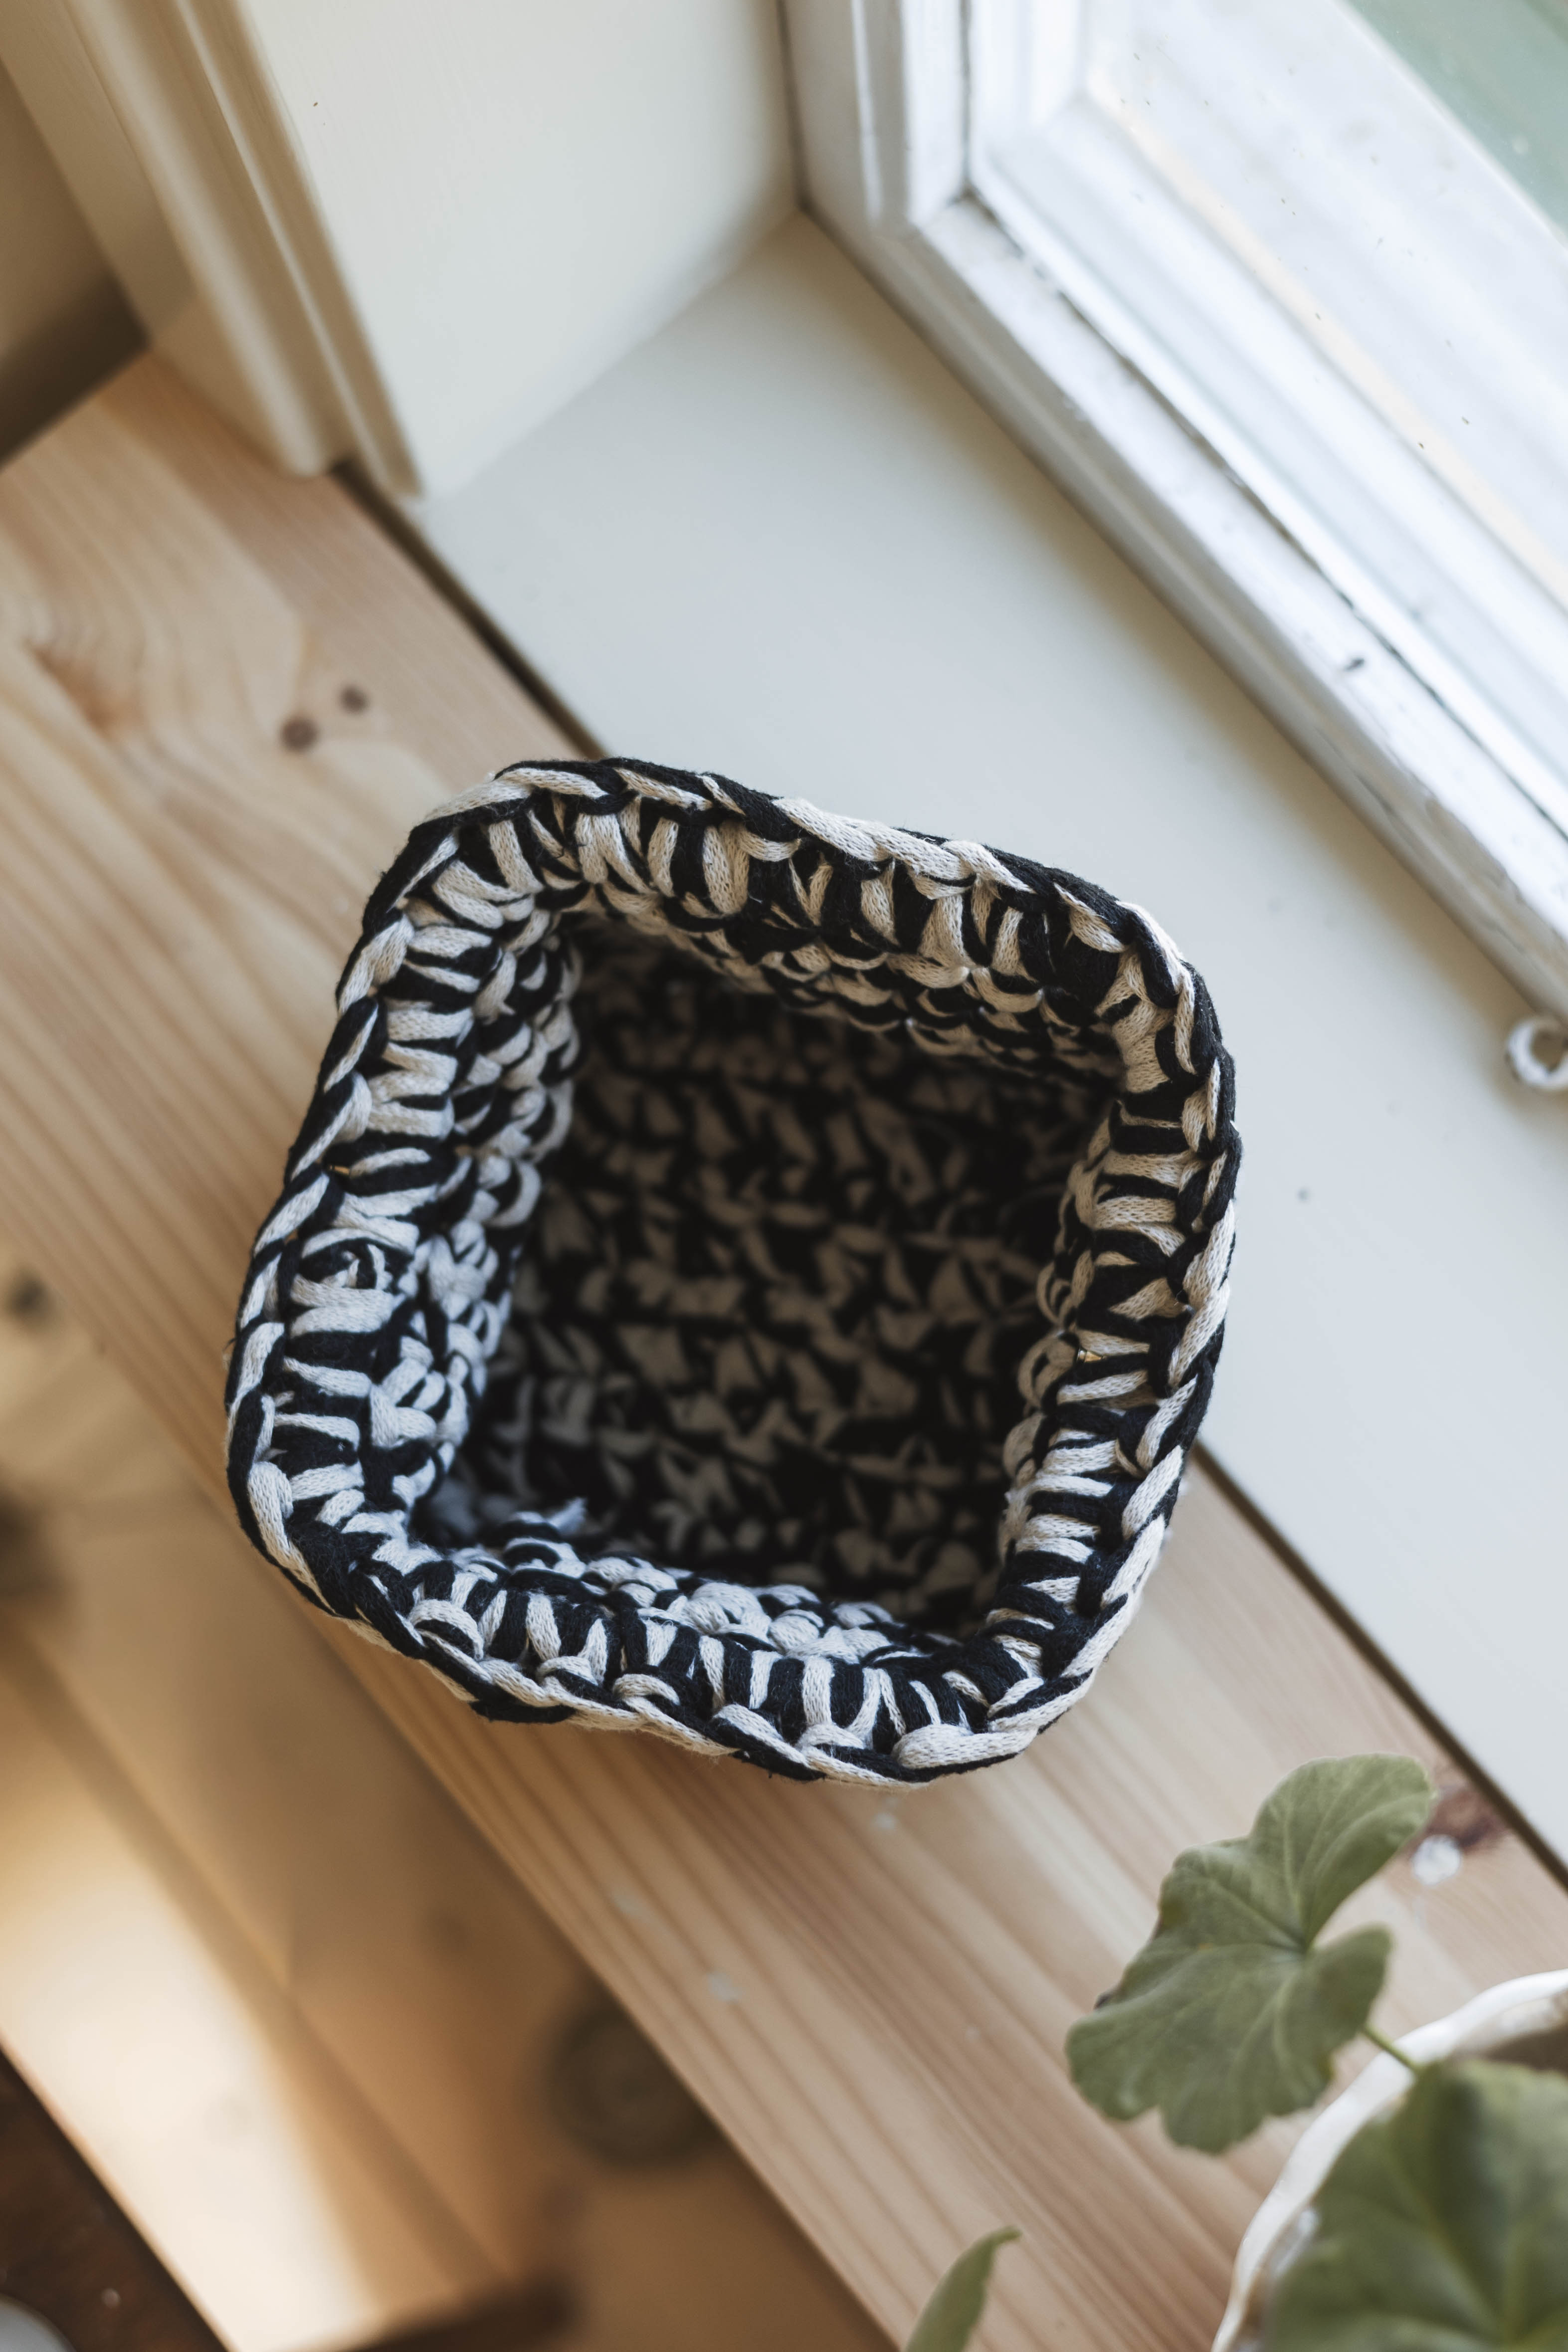
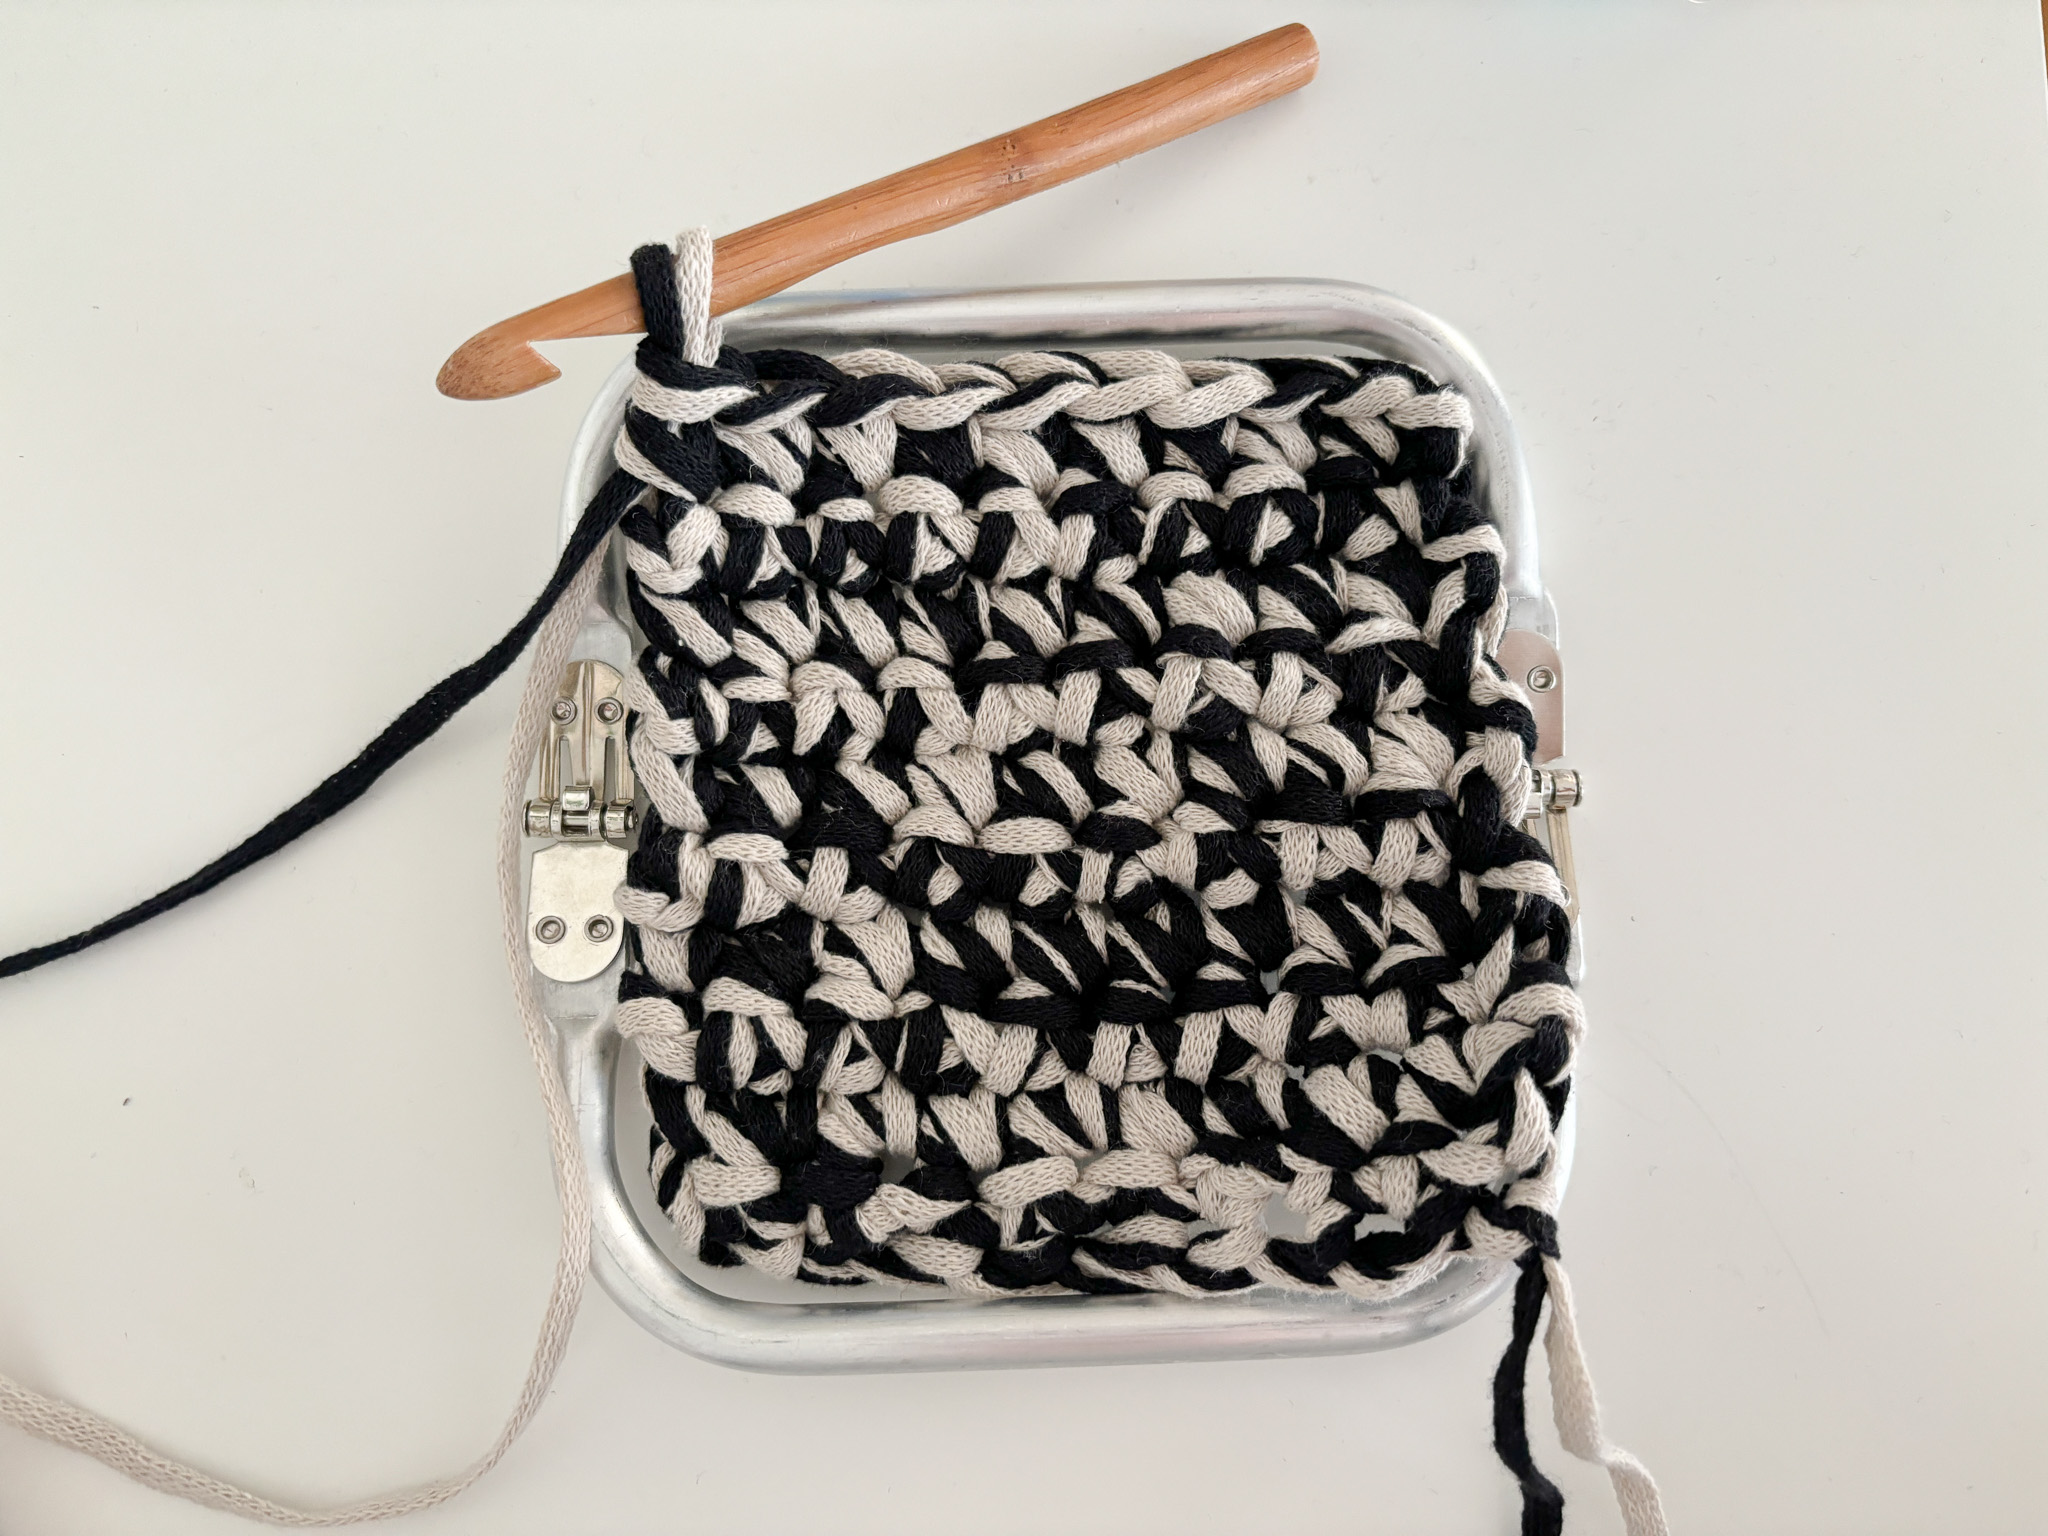
Now it’s time to start the sides of the pouch. Do this by continuing to crochet single crochets around the entire base. It can be a bit tricky to find where to place your stitches on the two sides where you made chain stitches. If you look at the image below, start where the marker is placed. Then crochet one single crochet in each row.
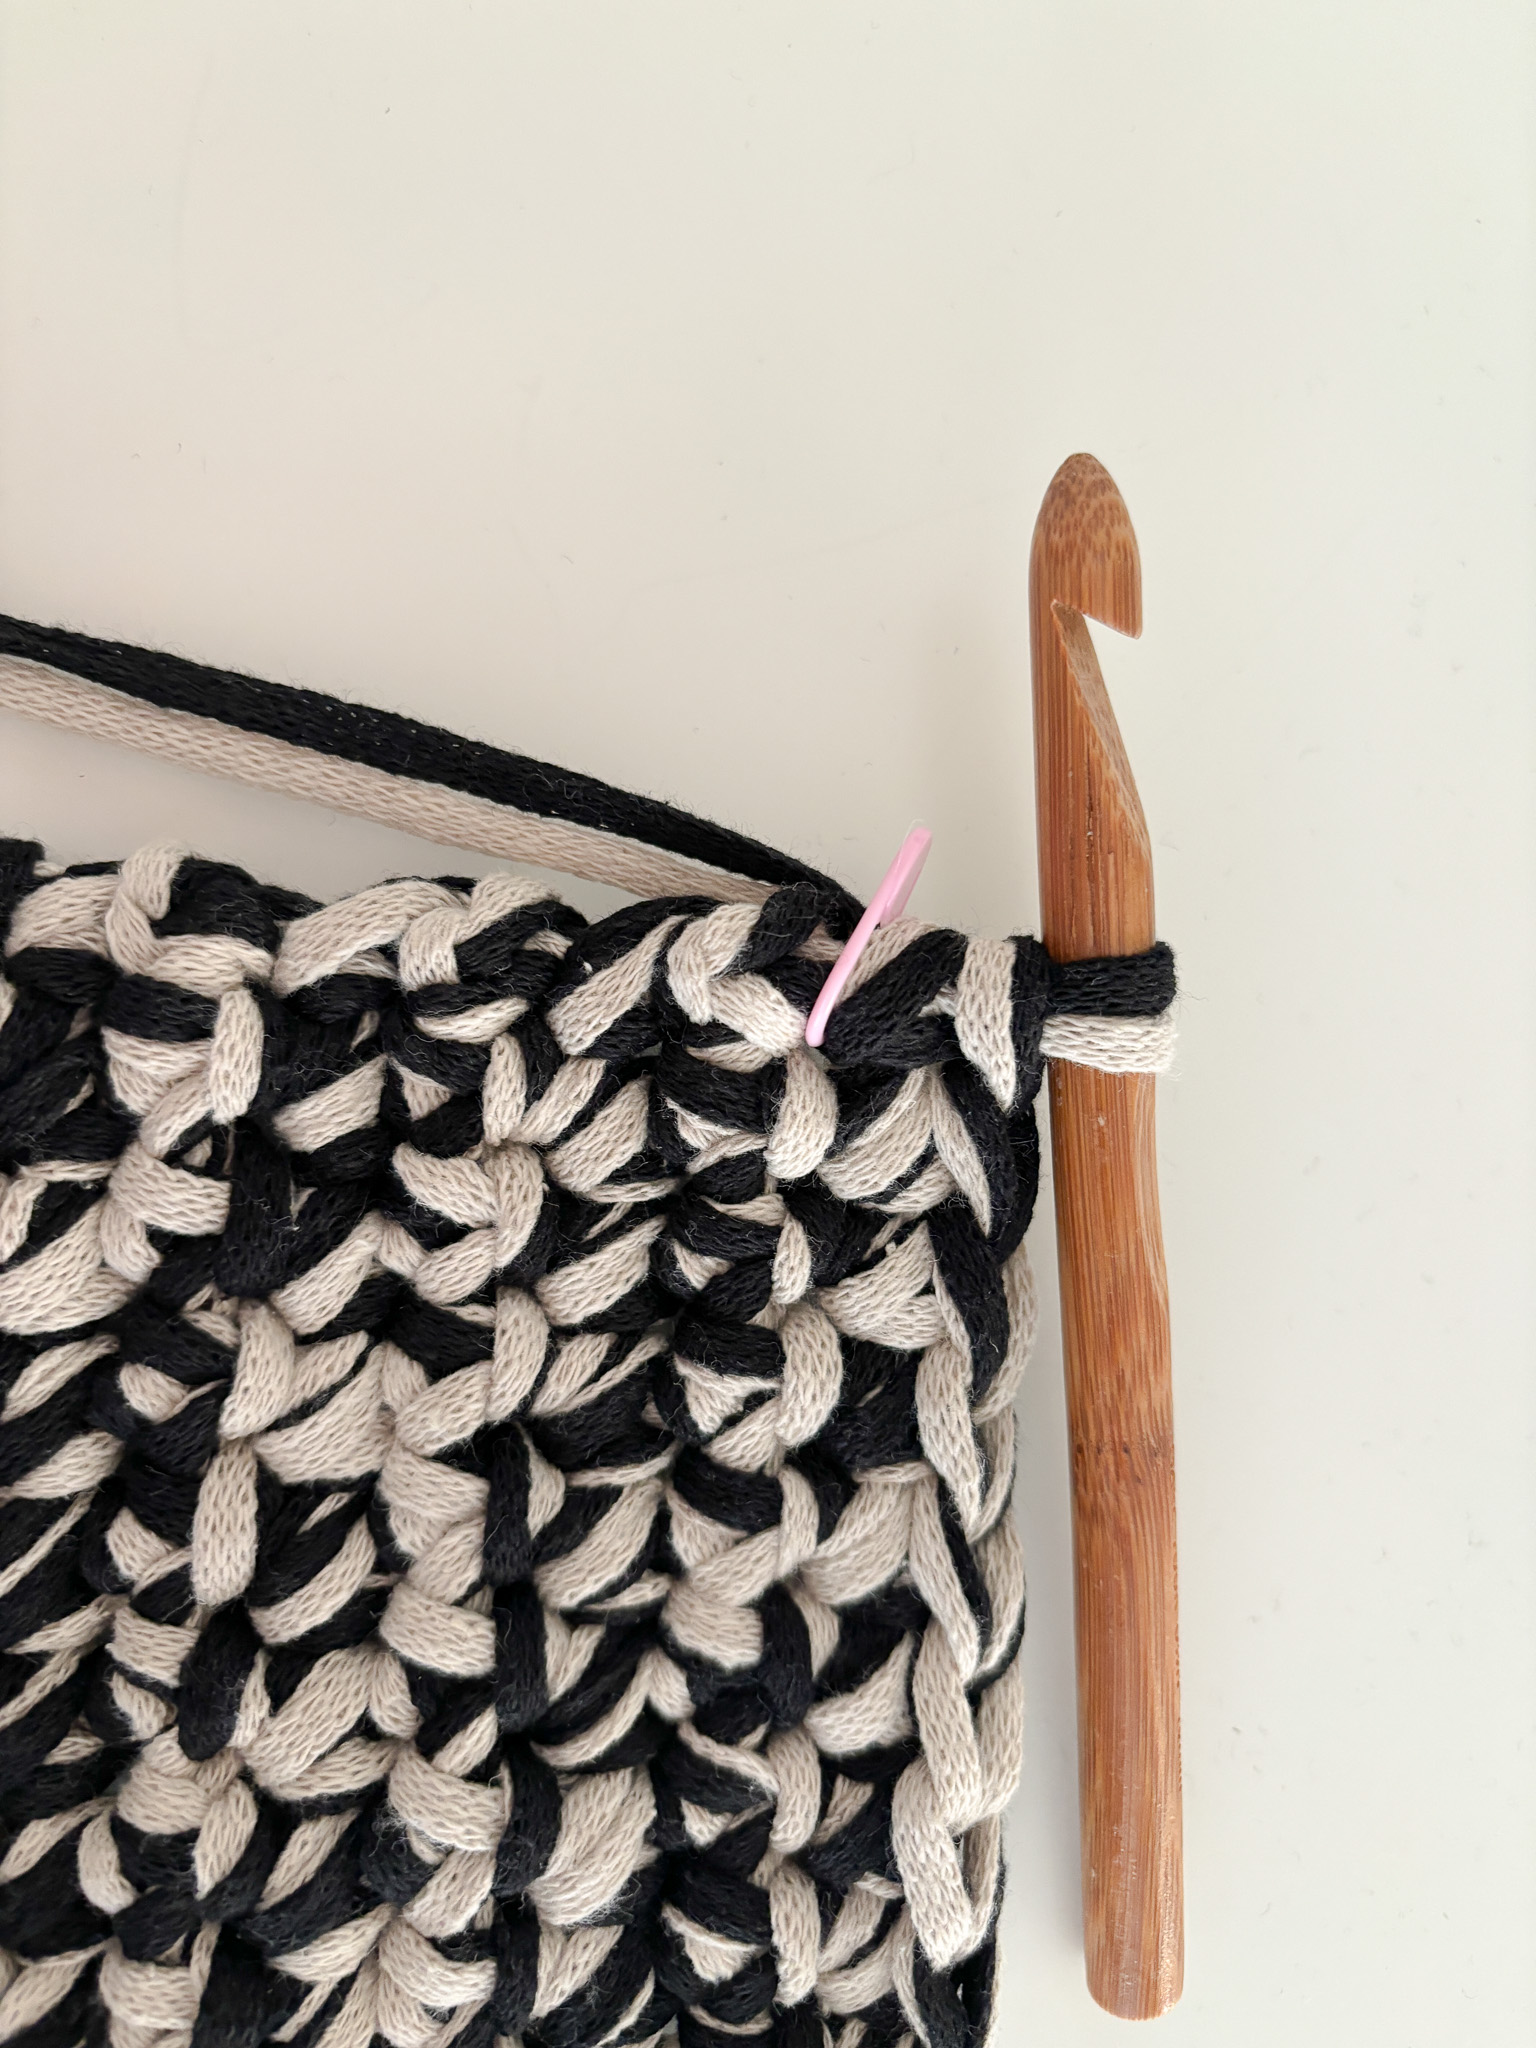
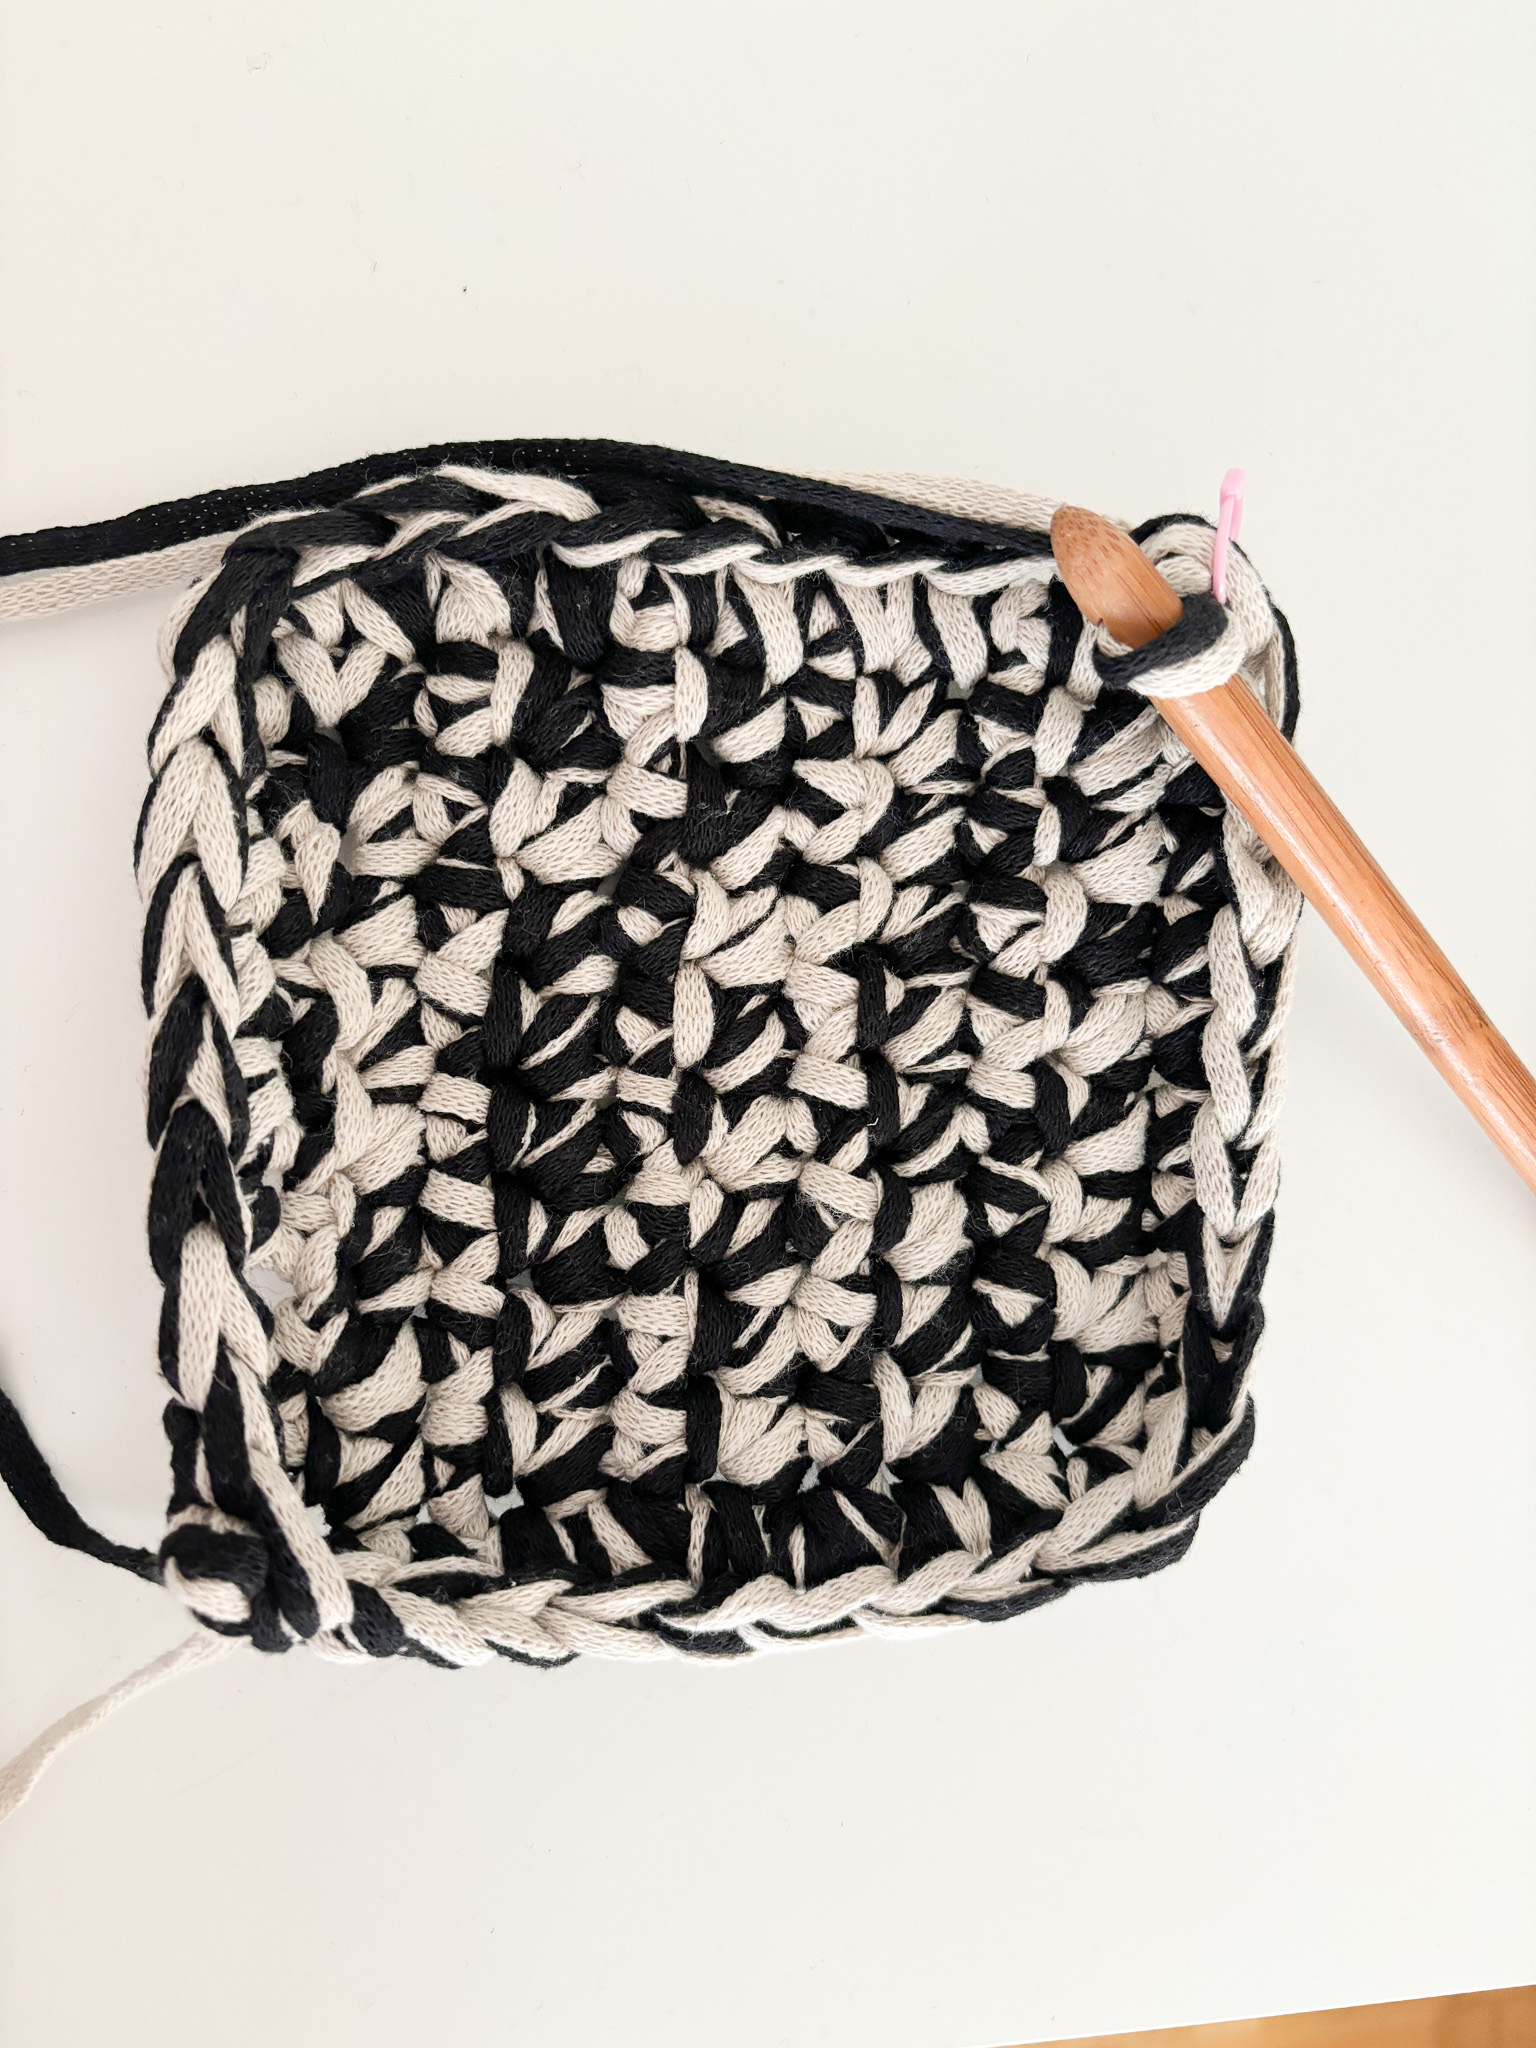
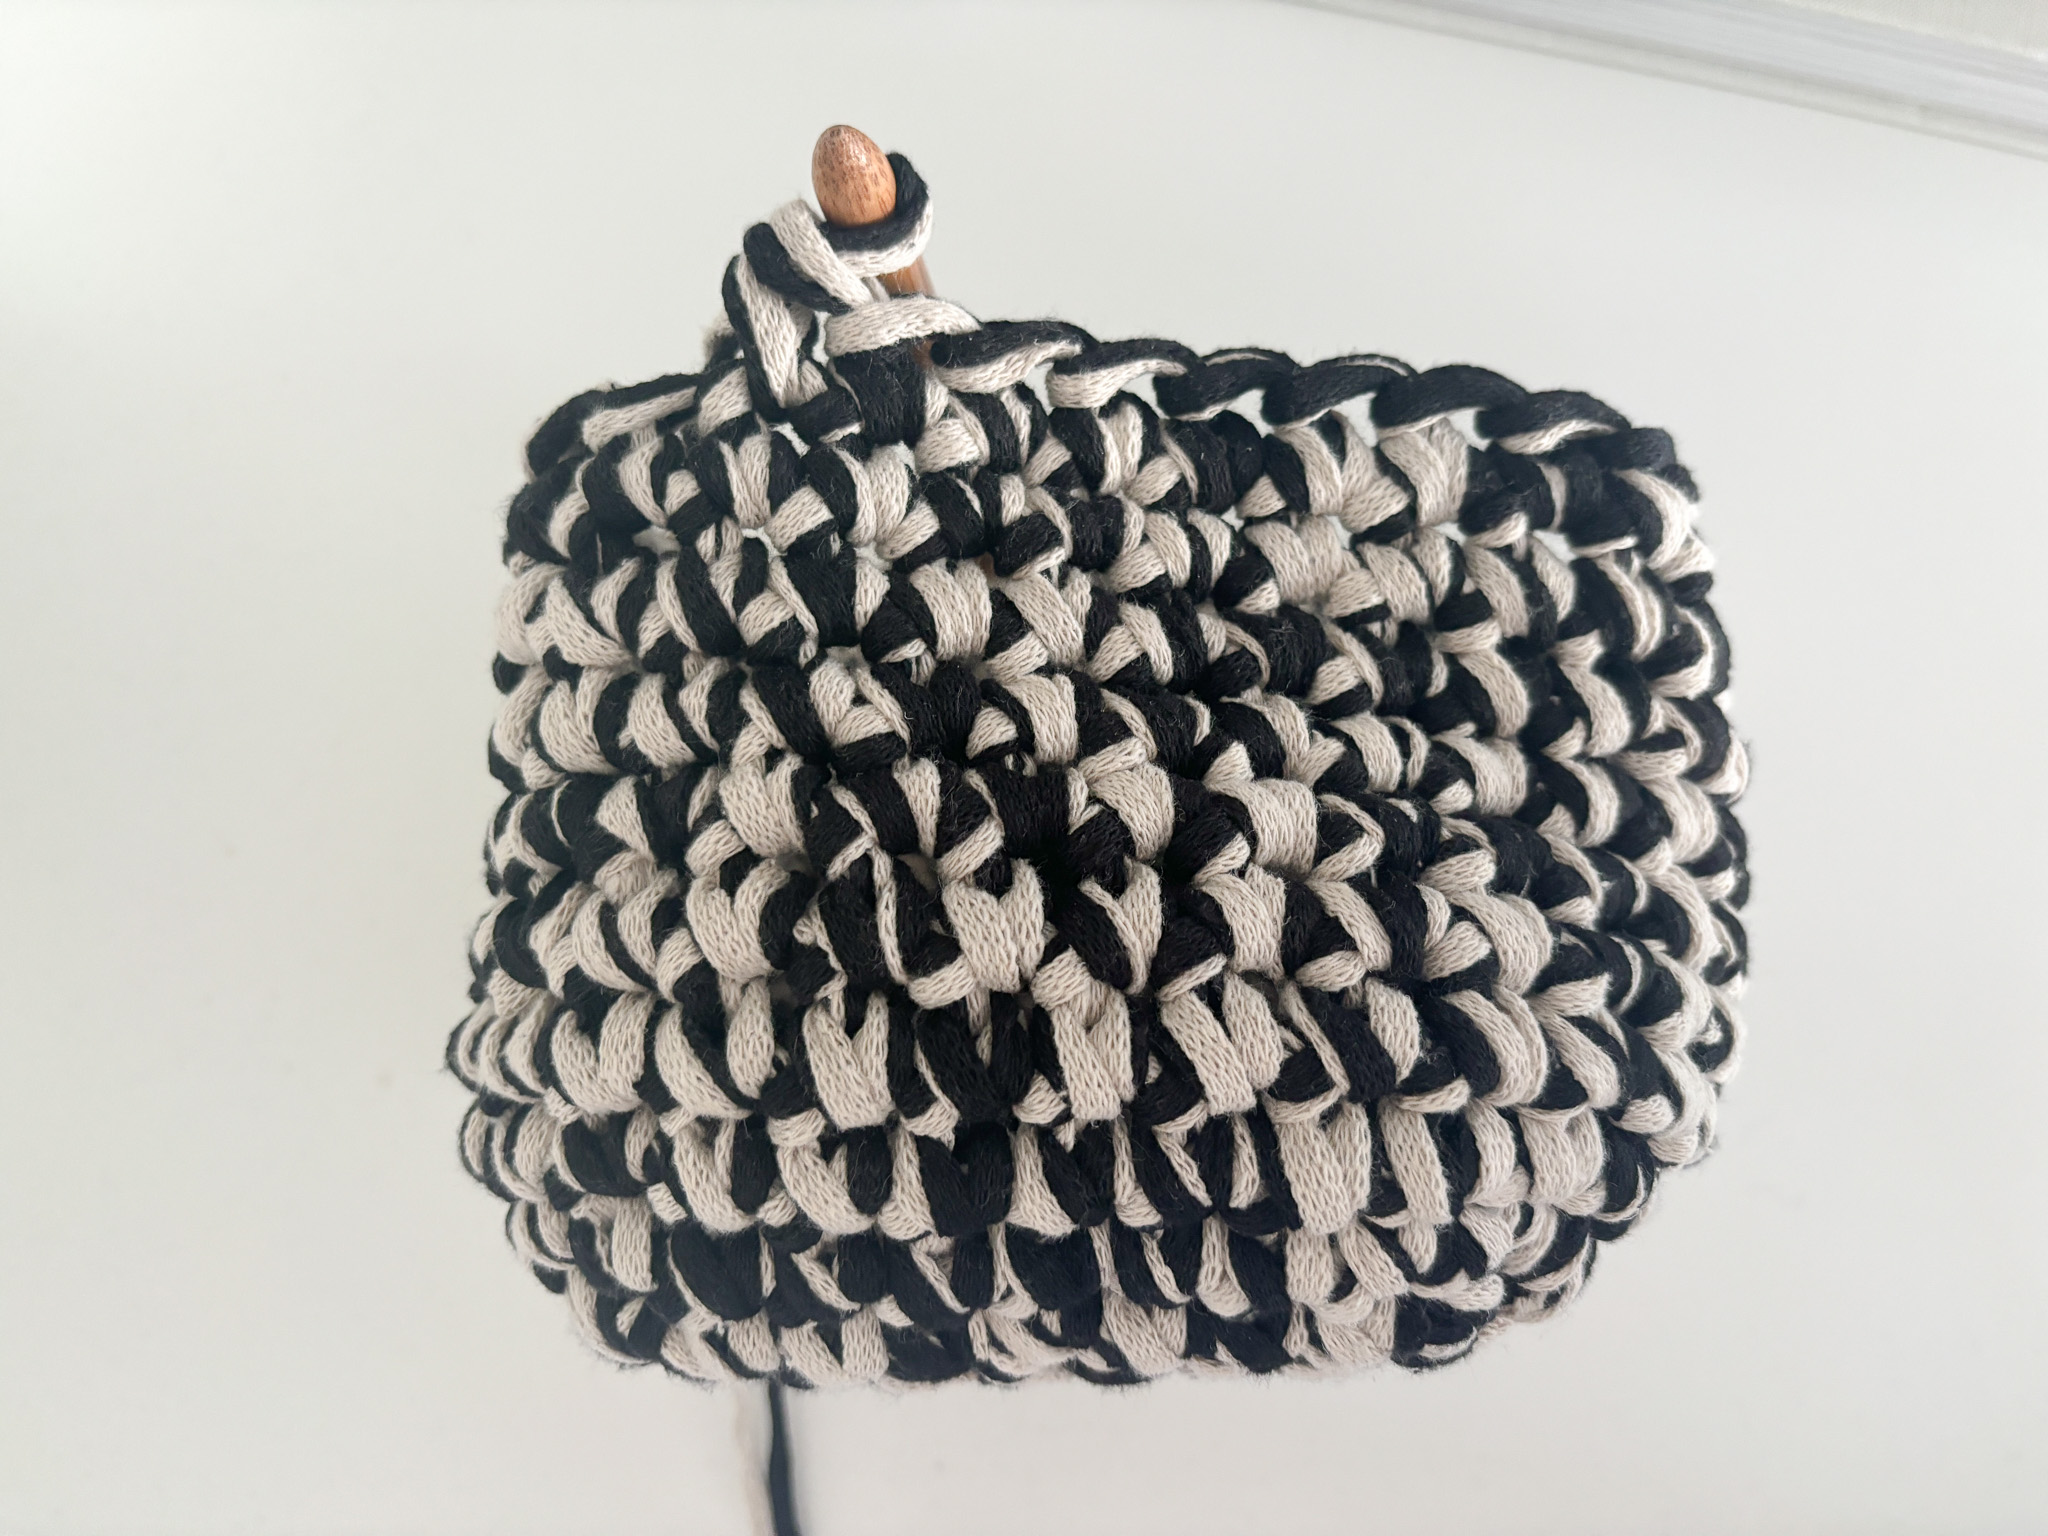
Now we crochet single crochets all the way up until we have completed 10 rounds around the entire base. Use a stitch marker or hair clip to mark where you start your first round. This makes it easier to count each round. The sides are finished!
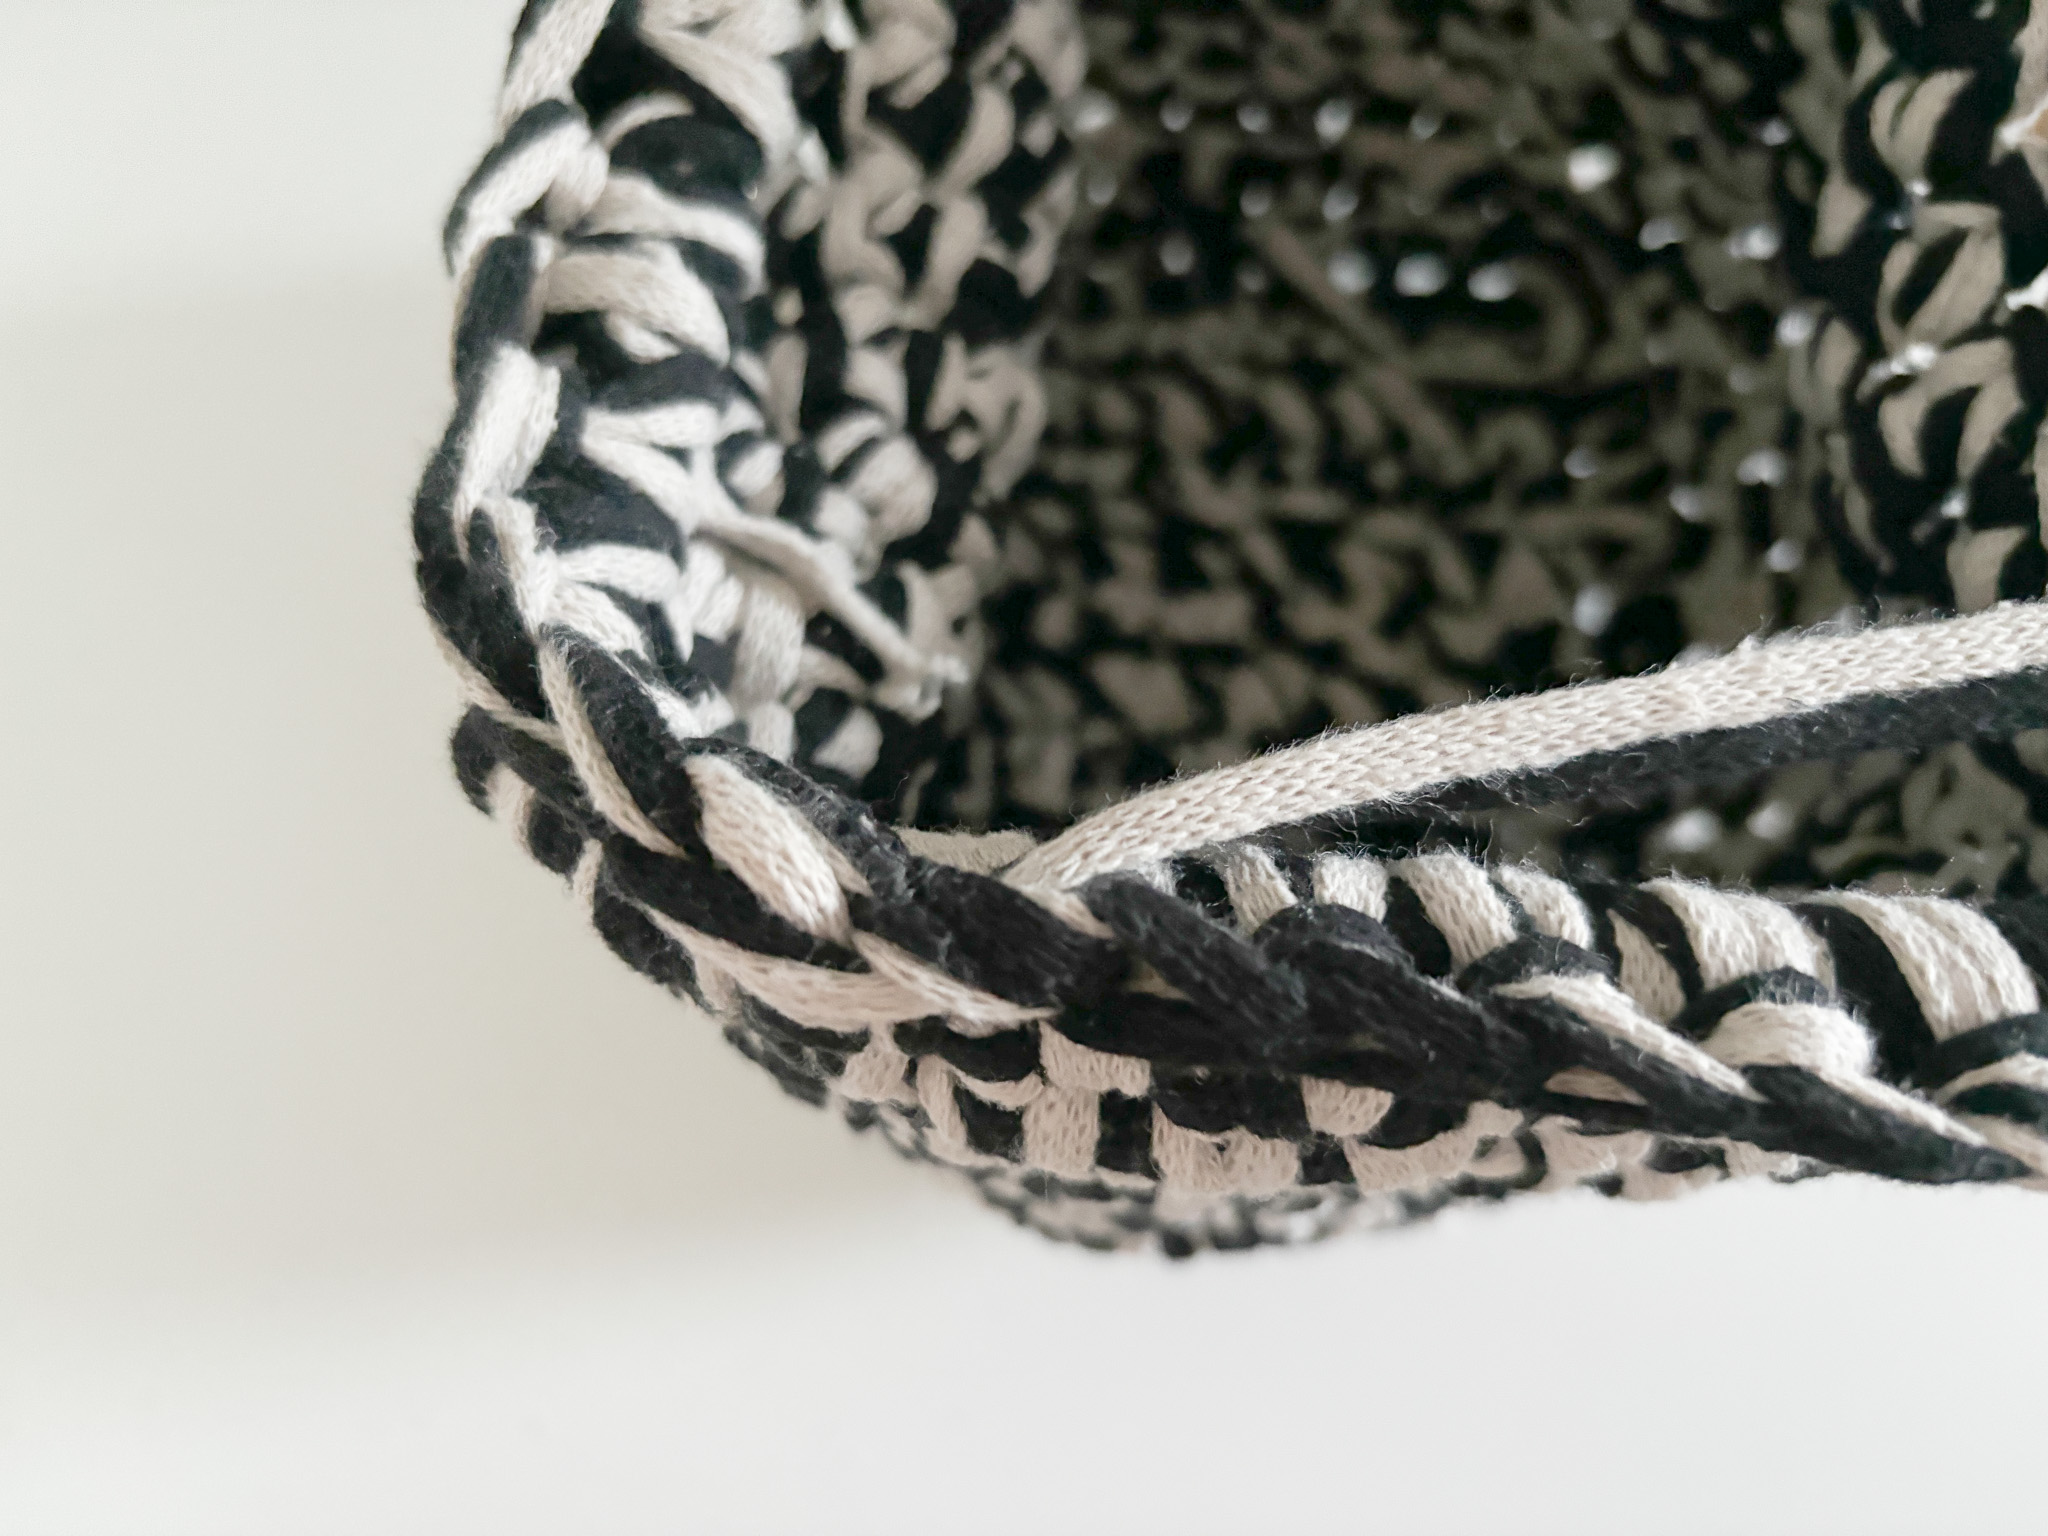
Attach metallclutch:
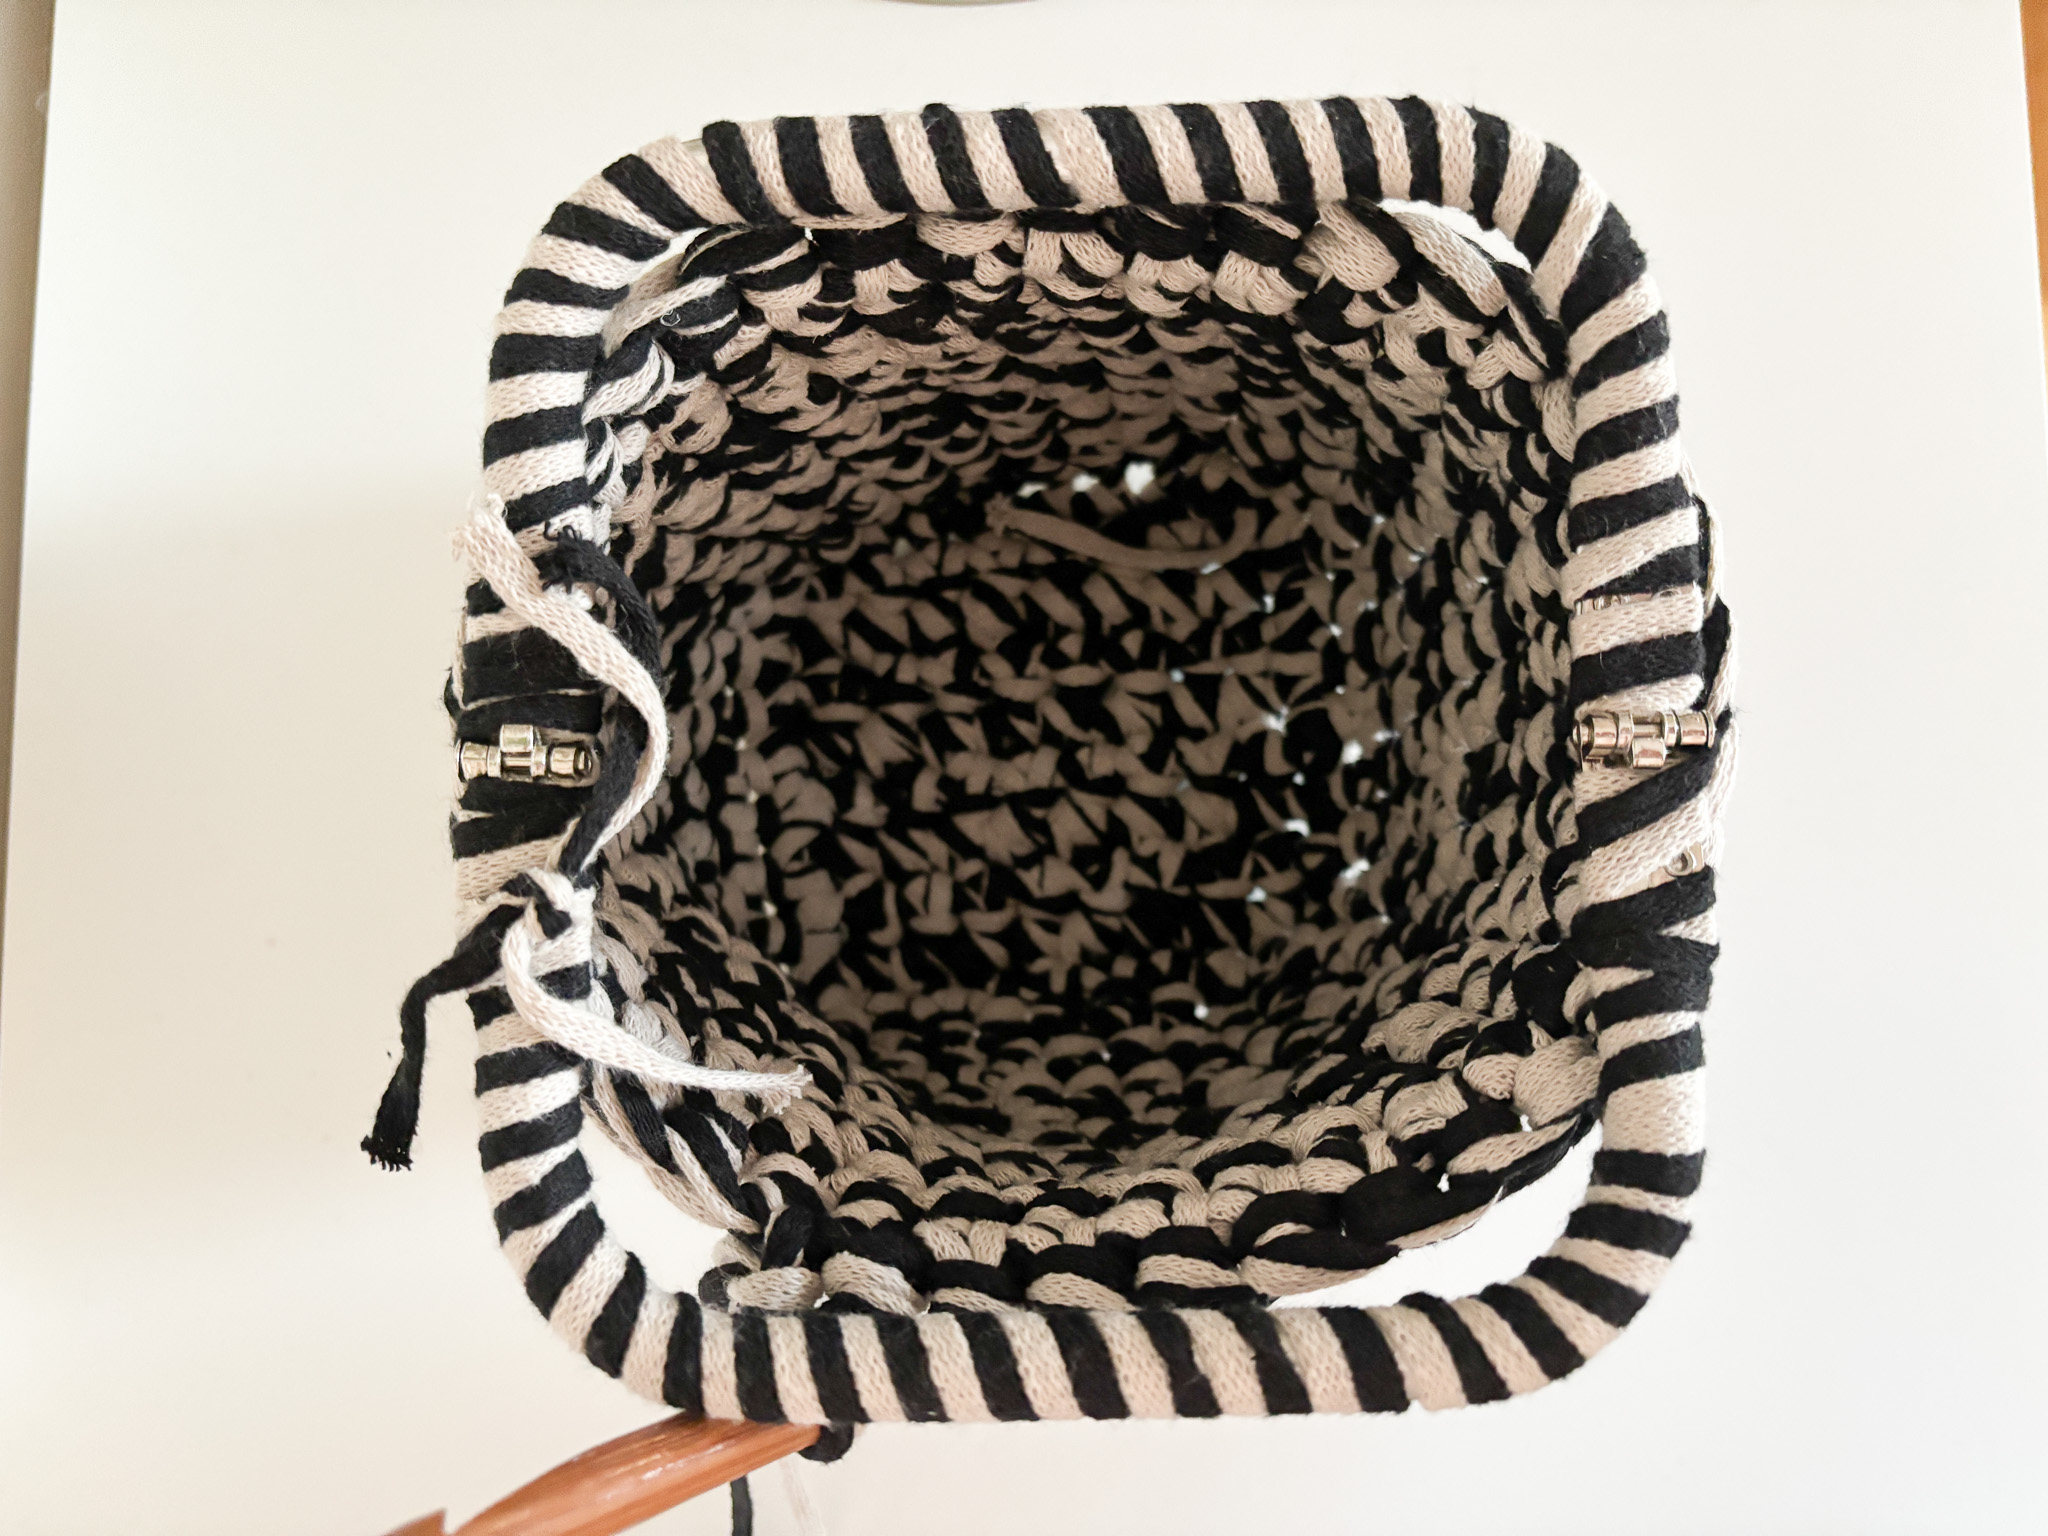
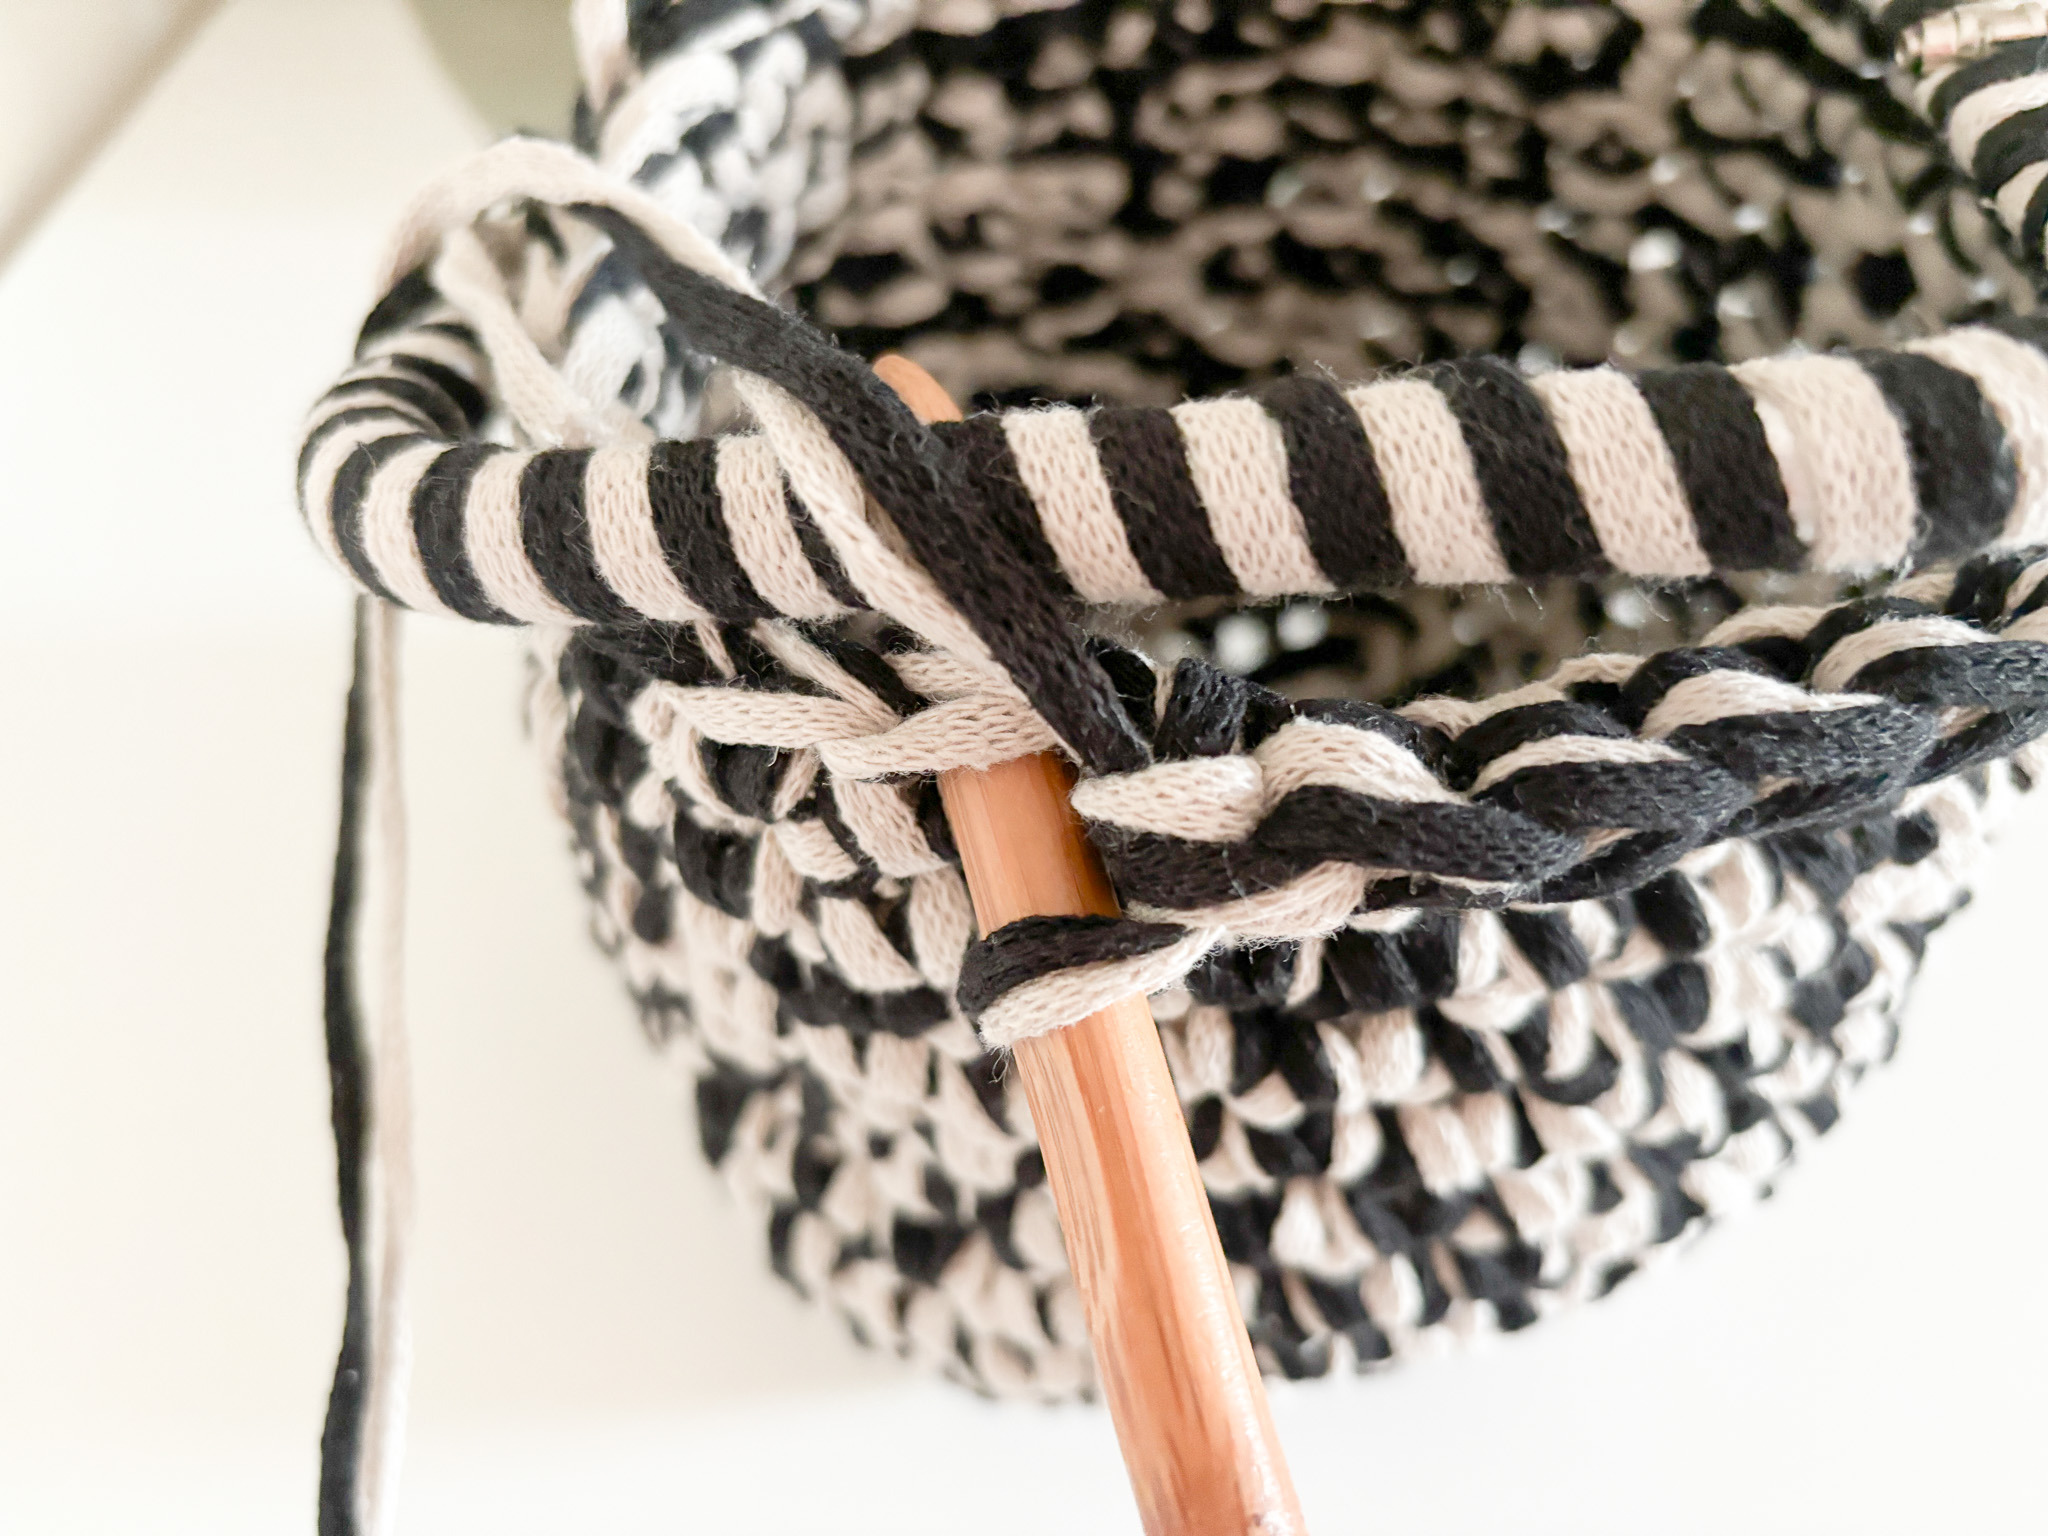
To attach the metal clutch: Once you have reached the desired height on your pouch, it’s time to attach the metal clutch. Do this by crocheting single crochets all around the metal clutch.
- Place the metal clutch evenly on the bag.
- Insert the crochet hook into the next stitch.
- Pull the yarn through the stitch over the metal clutch and make a single crochet.
- Repeat this all around the edge of the clutch until you reach the end.
The result is that the metal clutch sits firmly and neatly in place.
Finish:
After completing your last single crochet around the clutch, finish by making a slip stitch in the first stitch you started with. Then cut the yarn and pull it through the stitch. Secure it easily on the inside of the pouch by threading it through the stitches on the back. If you’re unsure how to fasten the yarn, see the video below.
Crochet Terms:
This part of the pattern uses crochet terms. If you get stuck along the way, see our simpler version of the pattern.
Abbreviations (US terms):
ch = chain
sc = single crochet
sl st = slip stitch
inc = 2 single crochets in the same stitch
sk = skip
(...) = number of stitches after the round
[ ... ] = everything inside the brackets is worked into the same stitch
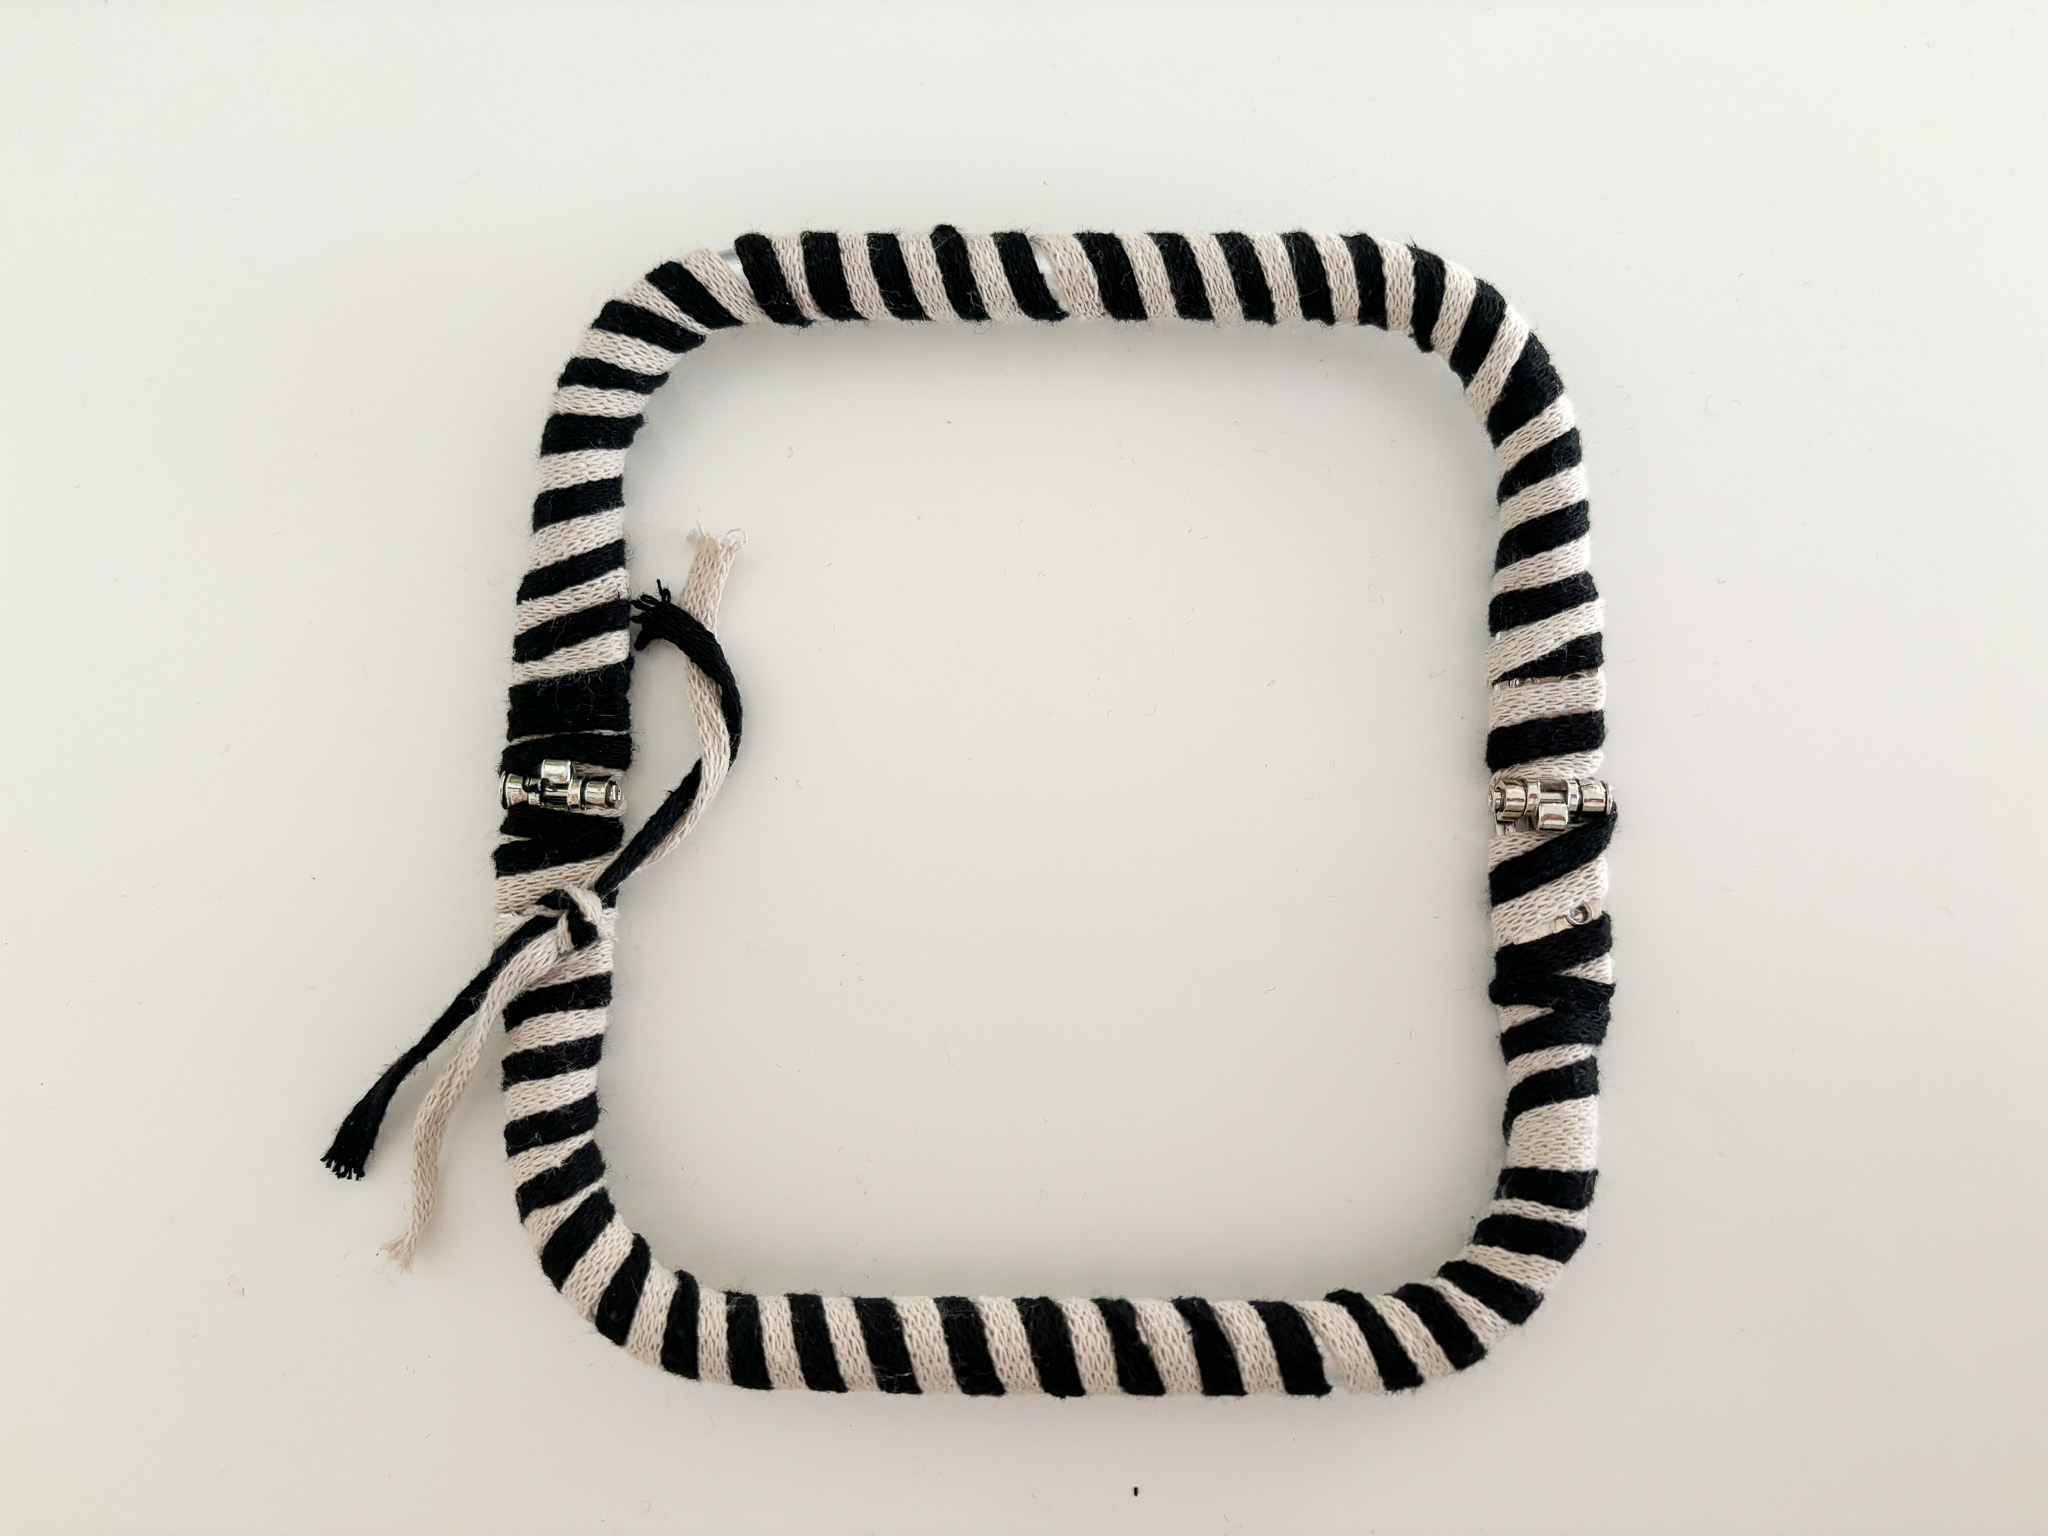
Step 1: Cover the Metal Clutch
Start by wrapping the yarn around the metal clutch. Wrap the yarn all the way around and make a double knot when the ends meet.
Step 2: Bottom (Square)
Ch 10.
Rows 1–10: Begin in the 2nd ch from the hook, sc in the next 9 sts, ch 1, turn (9).
Work 10 rows, or as many as desired.
You should have worked a total of 10 rows to form a square that is as wide as your metal clutch when opened.
Step 3: Work the Sides
Round 1: Work sc evenly around the entire bottom to start building the sides of the pouch.
- On the long sides, work 1 sc in each st.
- On the short sides, work 1 sc in each row where the foundation ch ended.
You should have approximately 36–40 sts around the entire bottom, depending on your tension.
It can be a bit tricky to see exactly where to place your sts along the sides, so try to distribute them evenly.
Step 4: Build the Height
Continue working sc in a spiral without increasing. Use a stitch marker in the first st of the round if needed.
Rounds 2–11: Work 1 sc in each st around the pouch (about 36–40 sts per round).
Adjust the number of rounds according to the desired height of your pouch.
Step 5: Attach the Metal Clutch
Once the height of the pouch is complete, place the metal clutch evenly around the opening of the pouch.
Step 6: Crochet Around the Clutch
Work sc around the metal clutch, going through both the pouch and over the metal frame:
- Insert your hook into the next st of the pouch, pull the yarn over the metal clutch, and work 1 sc.
- Continue this all the way around until the clutch is fully attached.
Finishing:
- Slip stitch into the first st of the round.
- Cut the yarn and pull it through.
- Weave in the end on the inside by threading it through a few sts on the back side.
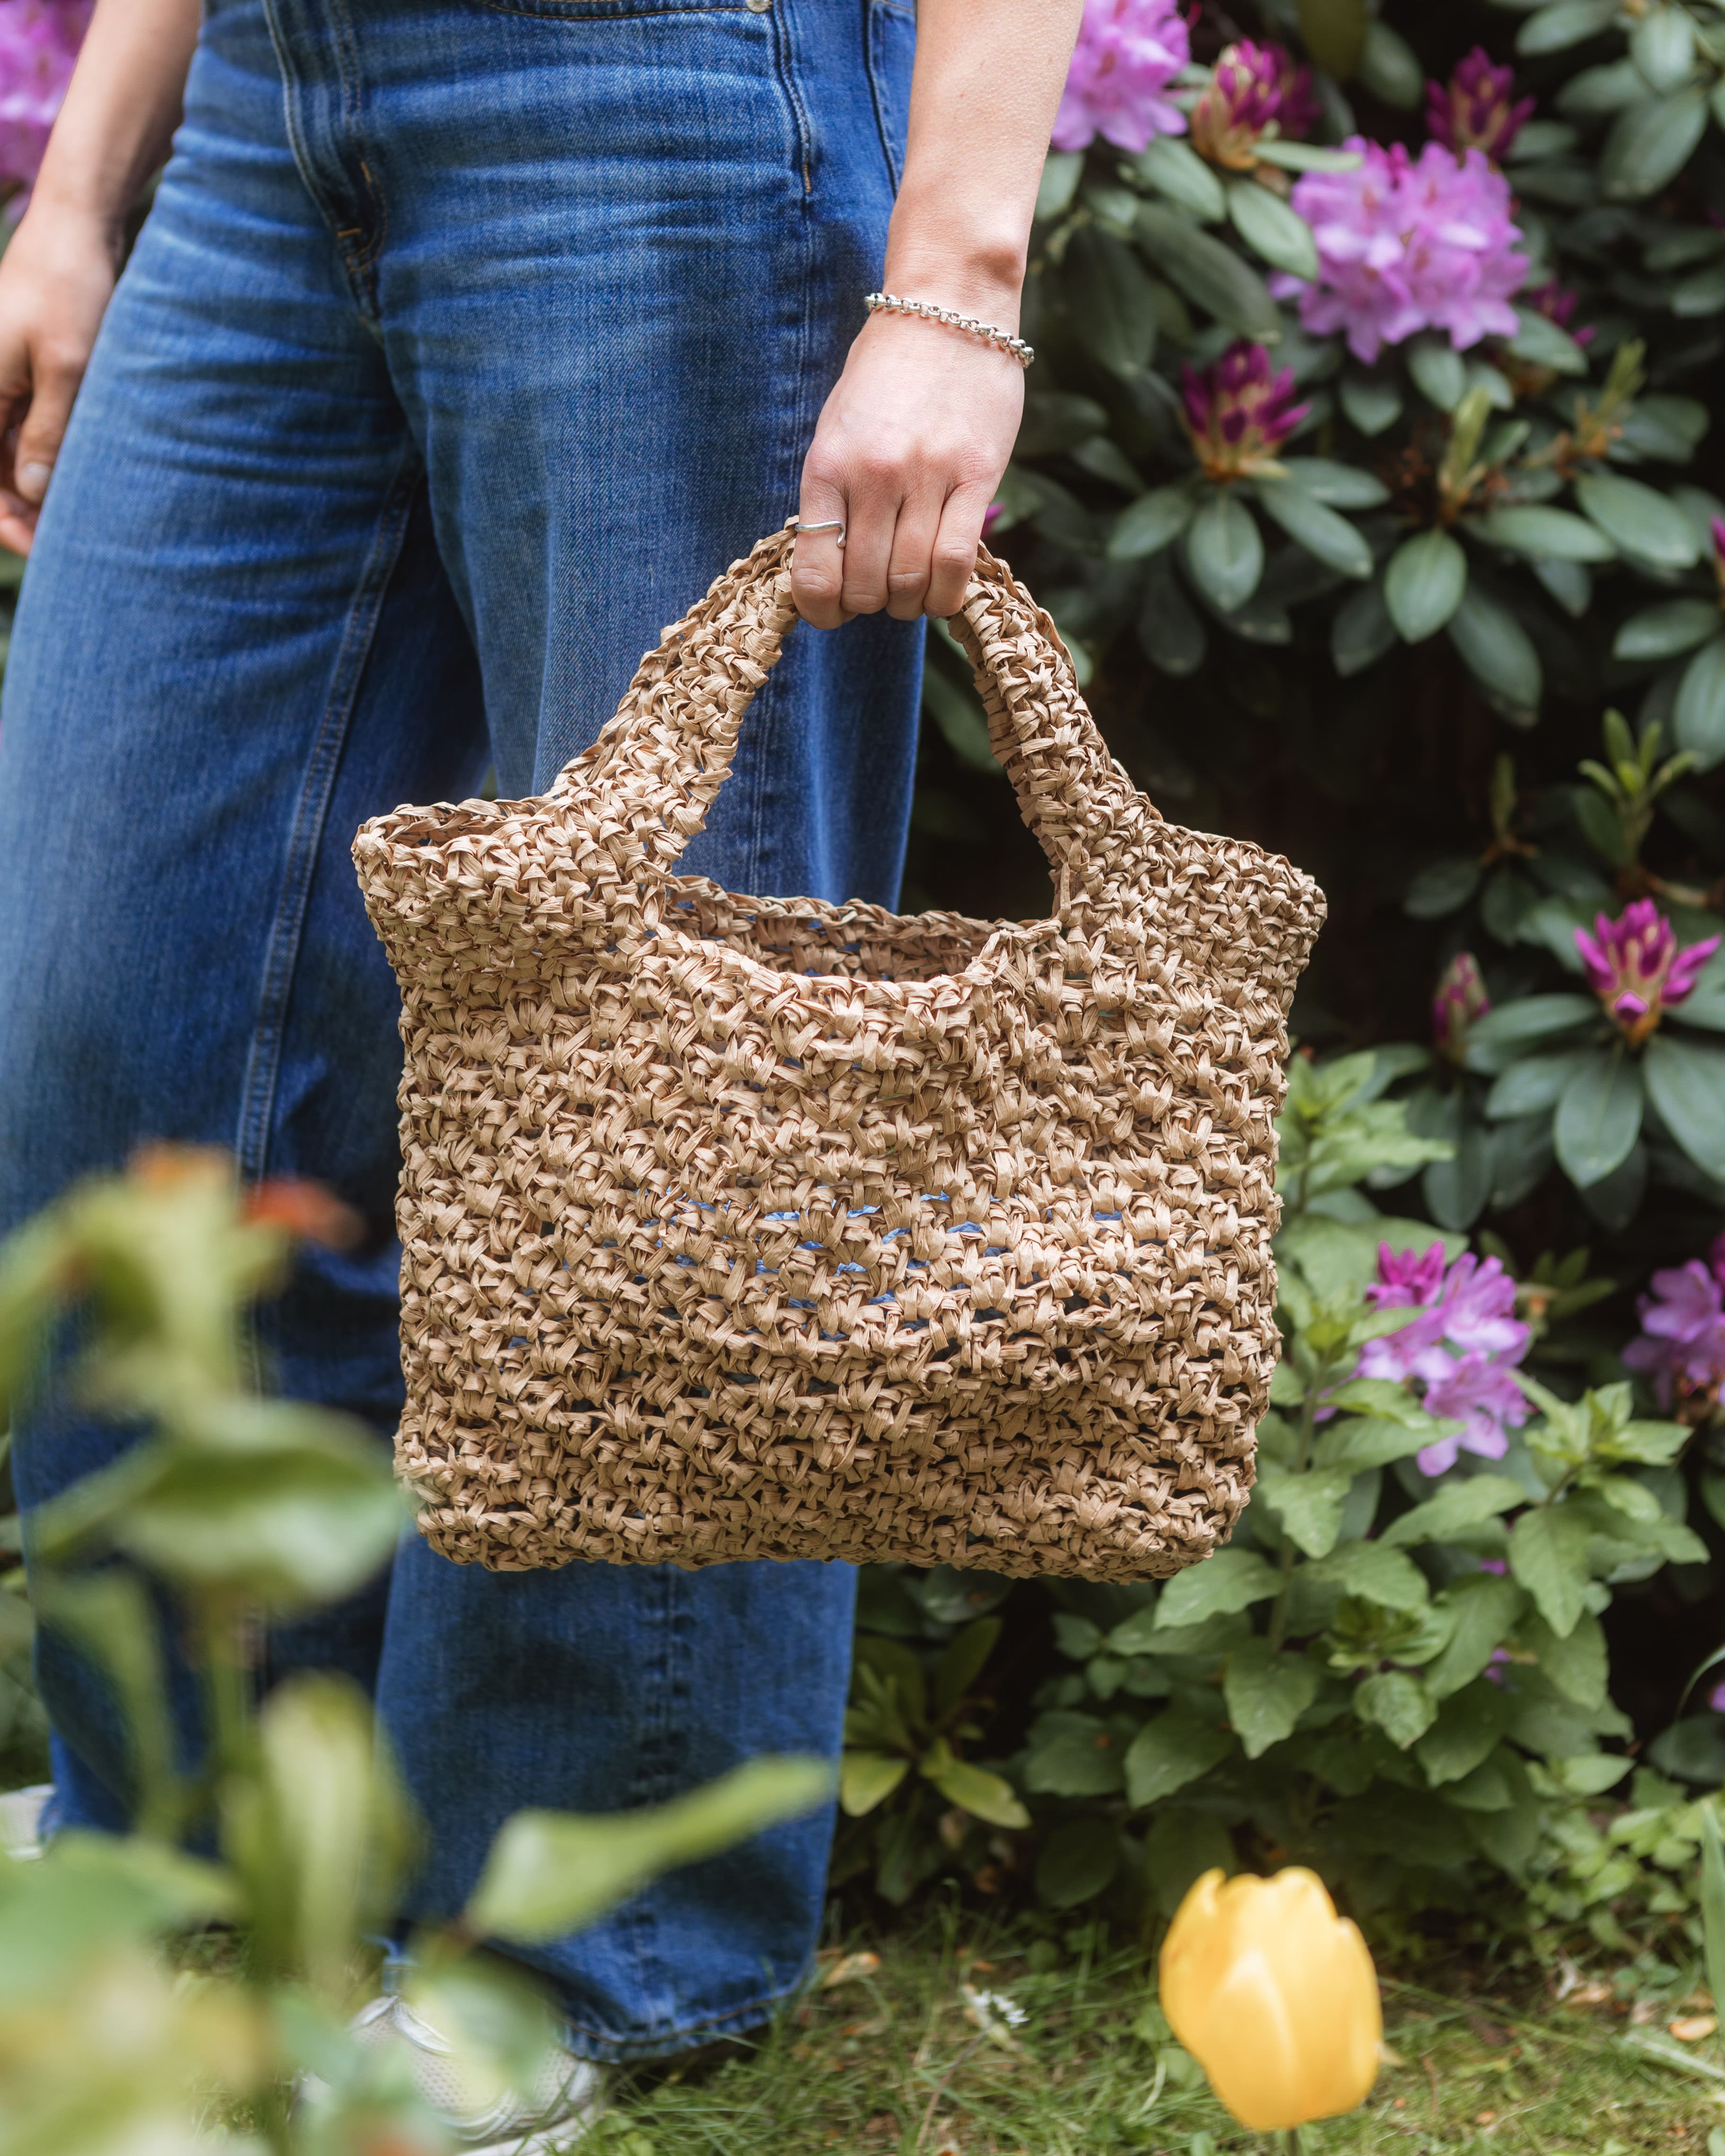
Done!
Your handmade crocheted pouch is now complete—ready to use or give as a gift. We hope you enjoyed making it and that you’ll try more of our metal clutches in future projects!
The rights to this pattern belong to MYO Make Your Own. The pattern or its pictures may not be copied, shared or resold either in parts or in its entirety, but you may sell items you have crocheted from this pattern. If you have questions about the pattern, contact MYO at hello@makeyourown.se.
Klä metallclutchen:
Börja med att snurra garnet runt metall clutchen. Detta gör vi enkelt genom att bara snurra garnet runt och göra en dubbelknut när ändarna på garnet möts.
Bottom:
Start by making a slip knot and place it on your hook. If you are unsure how to do this, see the video below (slip knot).
Make 10 chain stitches. If you are unsure how to crochet chain stitches, see the video below. If you are using a larger metal clutch, make more chain stitches. The chain should be approximately as long as your clutch.
hen start crocheting single crochet stitches into the next 9 stitches, skipping the stitch closest to the hook. If you are unsure how to crochet single crochet stitches, see the video below.
When you reach the end of the row, make a chain stitch and then turn your work.Start the next row by crocheting single crochet stitches into the following stitches, beginning with the stitch closest to the hook. You should have 9 stitches (always 1 less than the number of chain stitches). Finish this row with a chain stitch as well.
Continue in the same way until you have made 10 rows, forming a square that is as wide as the metal clutch when laid flat.
Sides:
Now it’s time to start the sides of the pouch. Do this by continuing to crochet single crochets around the entire base. It can be a bit tricky to find where to place your stitches on the two sides where you made chain stitches. If you look at the image below, start where the marker is placed. Then crochet one single crochet in each row.
Now we crochet single crochets all the way up until we have completed 10 rounds around the entire base. Use a stitch marker or hair clip to mark where you start your first round. This makes it easier to count each round. The sides are finished!
Attach metallclutch:
To attach the metal clutch: Once you have reached the desired height on your pouch, it’s time to attach the metal clutch. Do this by crocheting single crochets all around the metal clutch.
- Place the metal clutch evenly on the bag.
- Insert the crochet hook into the next stitch.
- Pull the yarn through the stitch over the metal clutch and make a single crochet.
- Repeat this all around the edge of the clutch until you reach the end.
The result is that the metal clutch sits firmly and neatly in place.
Finish:
After completing your last single crochet around the clutch, finish by making a slip stitch in the first stitch you started with. Then cut the yarn and pull it through the stitch. Secure it easily on the inside of the pouch by threading it through the stitches on the back. If you’re unsure how to fasten the yarn, see the video below.
Crochet Terms:
This part of the pattern uses crochet terms. If you get stuck along the way, see our simpler version of the pattern.
Abbreviations (US terms):
ch = chain
sc = single crochet
sl st = slip stitch
inc = 2 single crochets in the same stitch
sk = skip
(...) = number of stitches after the round
[ ... ] = everything inside the brackets is worked into the same stitch
Step 1: Cover the Metal Clutch
Start by wrapping the yarn around the metal clutch. Wrap the yarn all the way around and make a double knot when the ends meet.
Step 2: Bottom (Square)
Ch 10.
Rows 1–10: Begin in the 2nd ch from the hook, sc in the next 9 sts, ch 1, turn (9).
Work 10 rows, or as many as desired.
You should have worked a total of 10 rows to form a square that is as wide as your metal clutch when opened.
Step 3: Work the Sides
Round 1: Work sc evenly around the entire bottom to start building the sides of the pouch.
- On the long sides, work 1 sc in each st.
- On the short sides, work 1 sc in each row where the foundation ch ended.
You should have approximately 36–40 sts around the entire bottom, depending on your tension.
It can be a bit tricky to see exactly where to place your sts along the sides, so try to distribute them evenly.
Step 4: Build the Height
Continue working sc in a spiral without increasing. Use a stitch marker in the first st of the round if needed.
Rounds 2–11: Work 1 sc in each st around the pouch (about 36–40 sts per round).
Adjust the number of rounds according to the desired height of your pouch.
Step 5: Attach the Metal Clutch
Once the height of the pouch is complete, place the metal clutch evenly around the opening of the pouch.
Step 6: Crochet Around the Clutch
Work sc around the metal clutch, going through both the pouch and over the metal frame:
- Insert your hook into the next st of the pouch, pull the yarn over the metal clutch, and work 1 sc.
- Continue this all the way around until the clutch is fully attached.
Finishing:
- Slip stitch into the first st of the round.
- Cut the yarn and pull it through.
- Weave in the end on the inside by threading it through a few sts on the back side.
Done!
Your handmade crocheted pouch is now complete—ready to use or give as a gift. We hope you enjoyed making it and that you’ll try more of our metal clutches in future projects!
The rights to this pattern belong to MYO Make Your Own. The pattern or its pictures may not be copied, shared or resold either in parts or in its entirety, but you may sell items you have crocheted from this pattern. If you have questions about the pattern, contact MYO at hello@makeyourown.se.


Share your creations with us
Thank you!
Your comment was sent!