
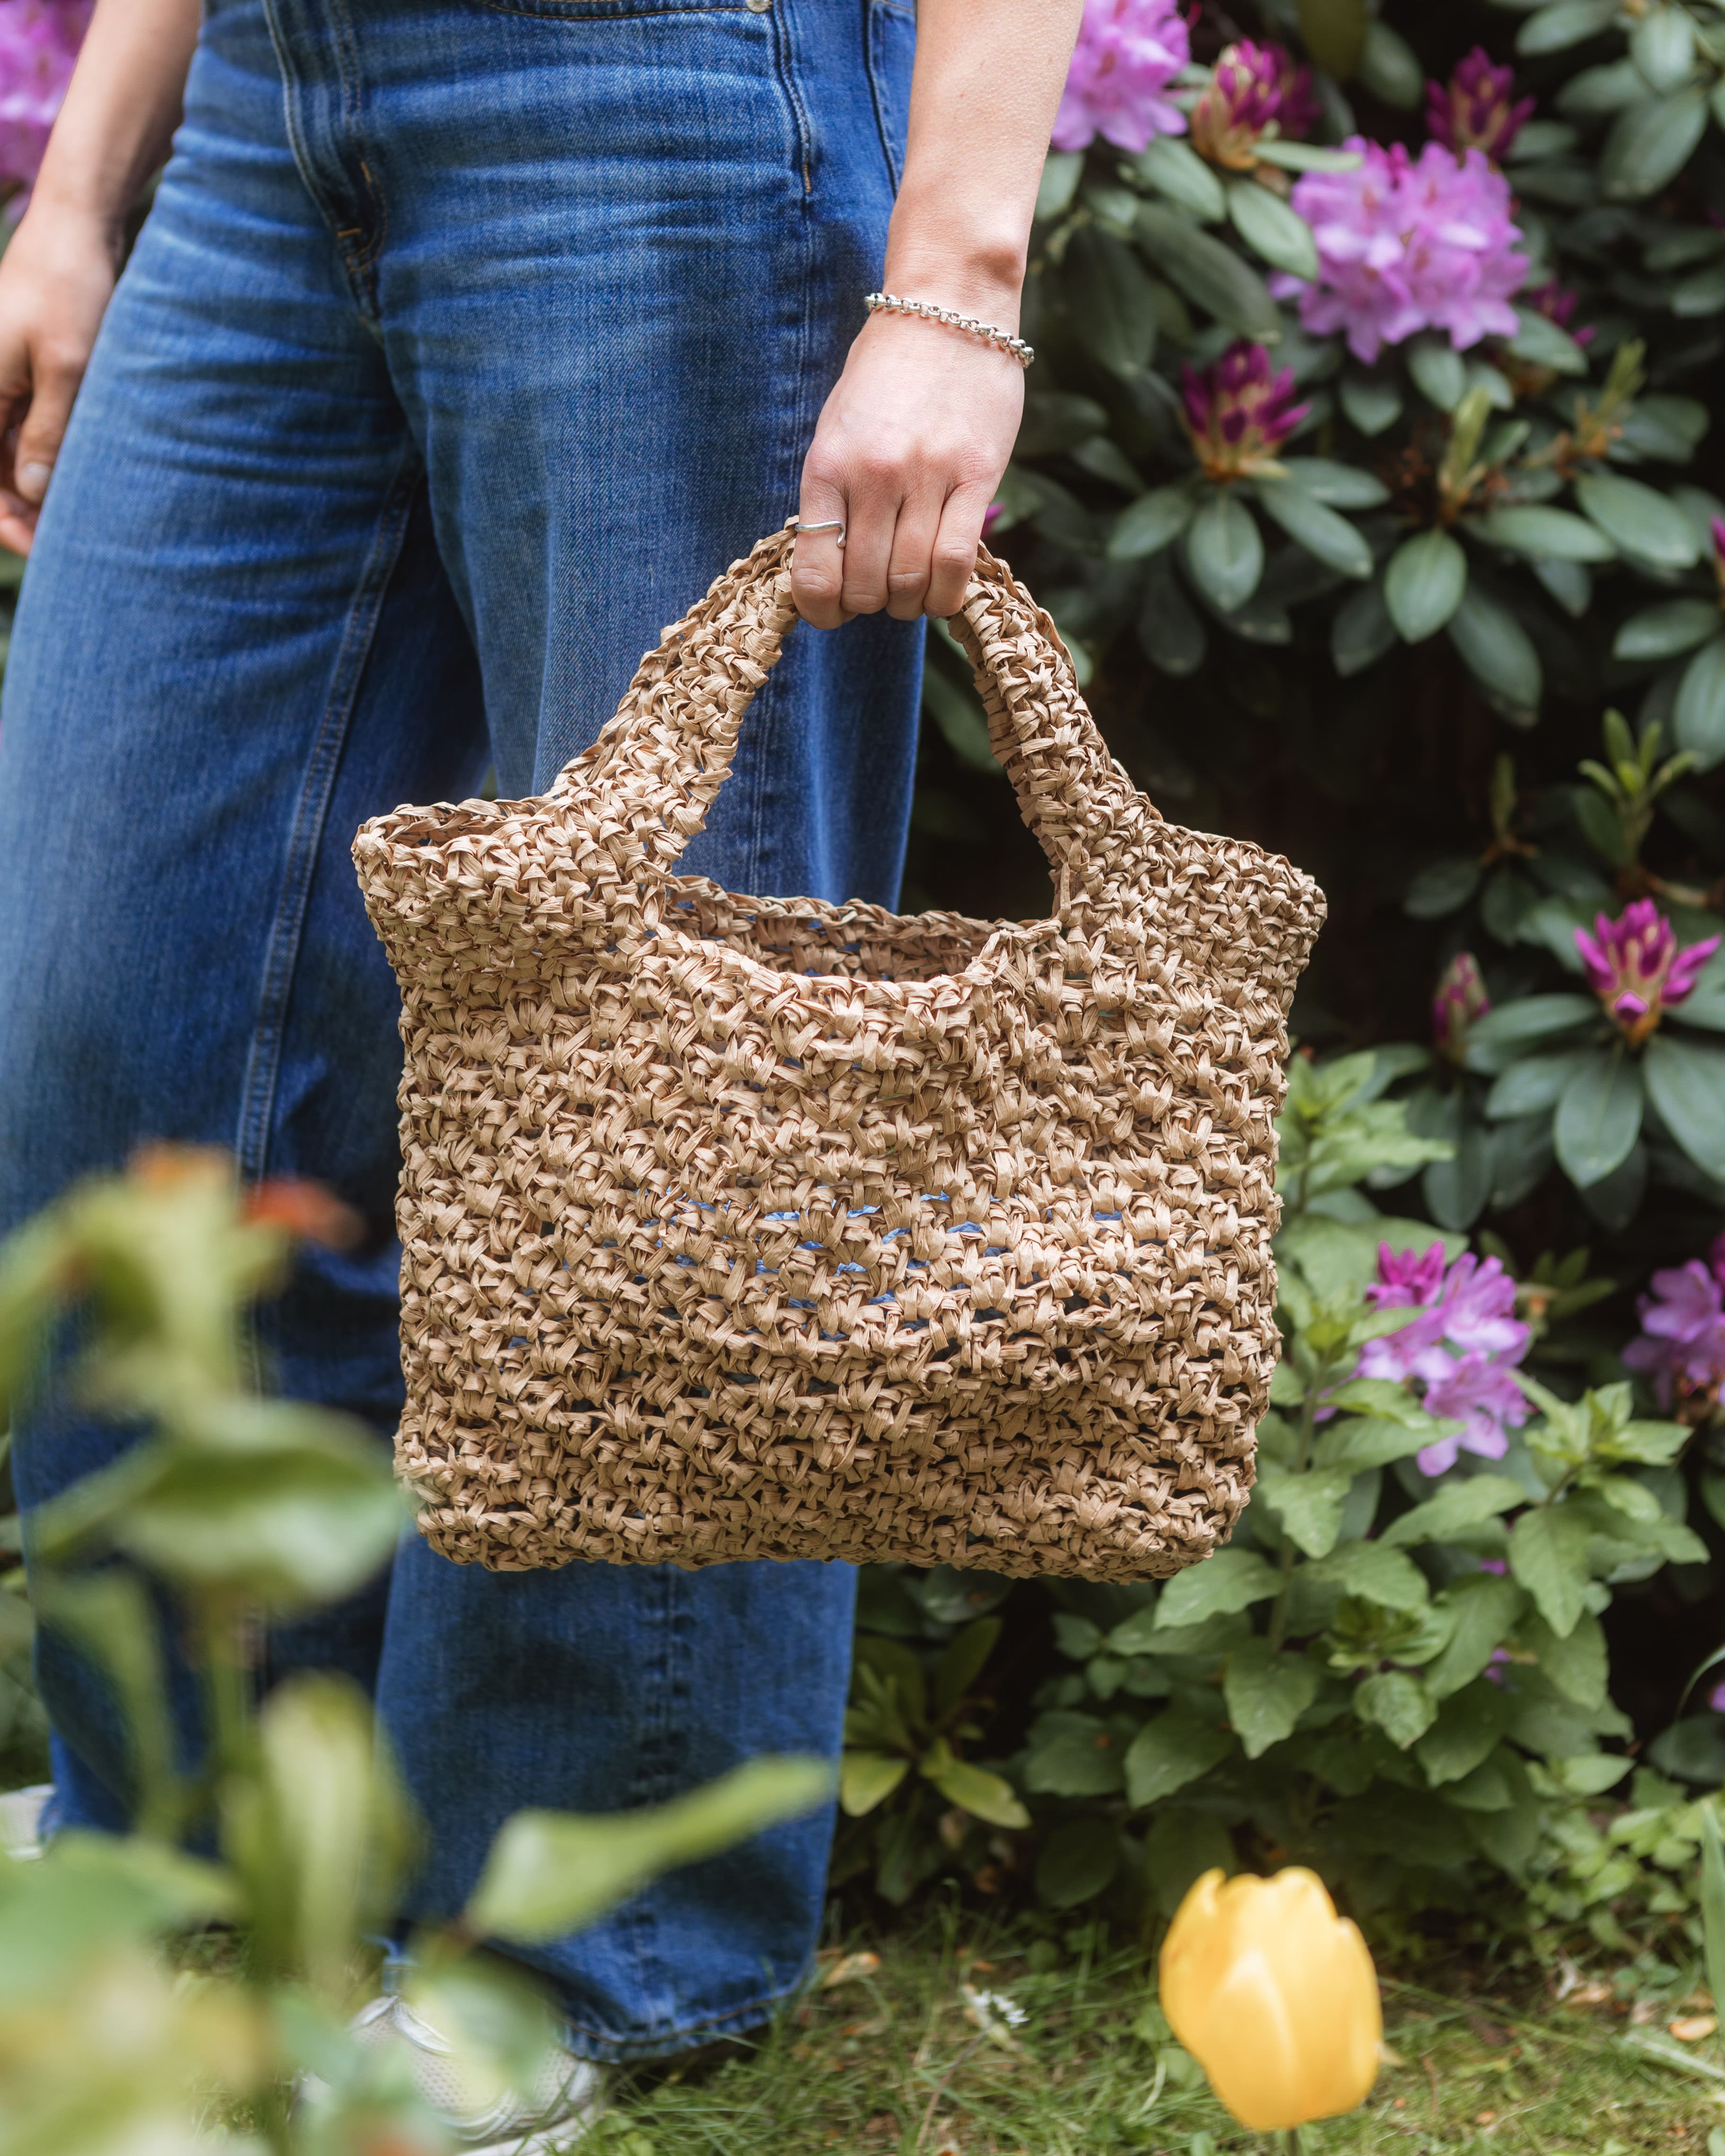
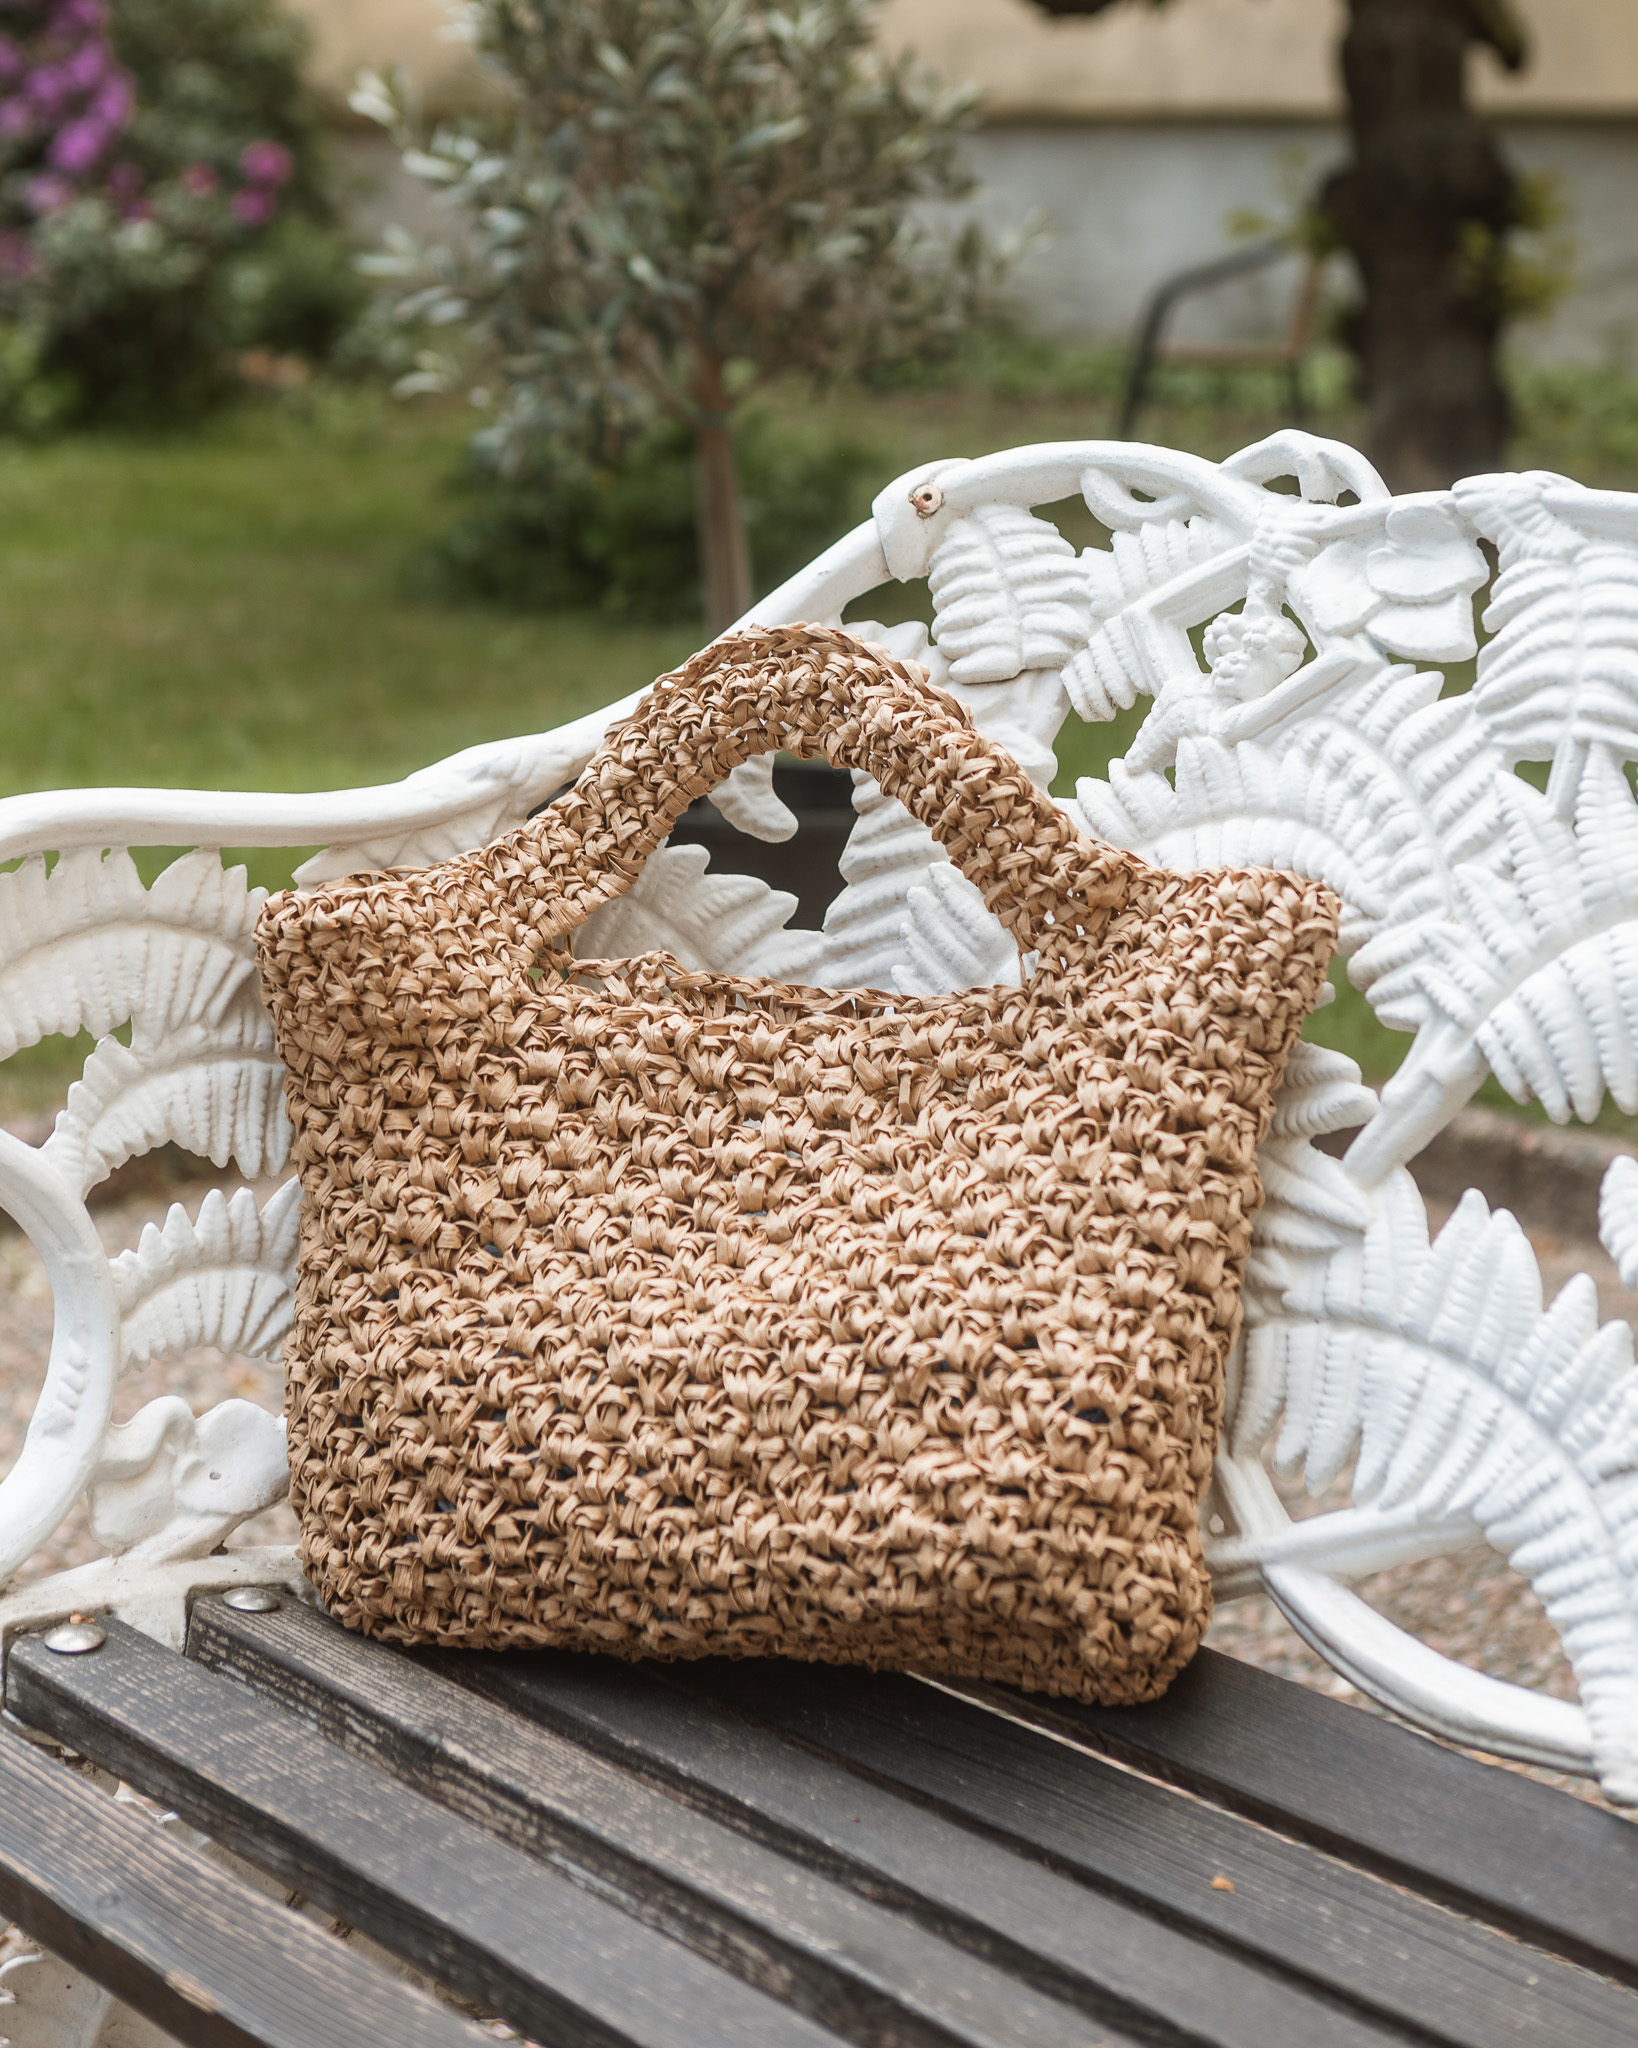
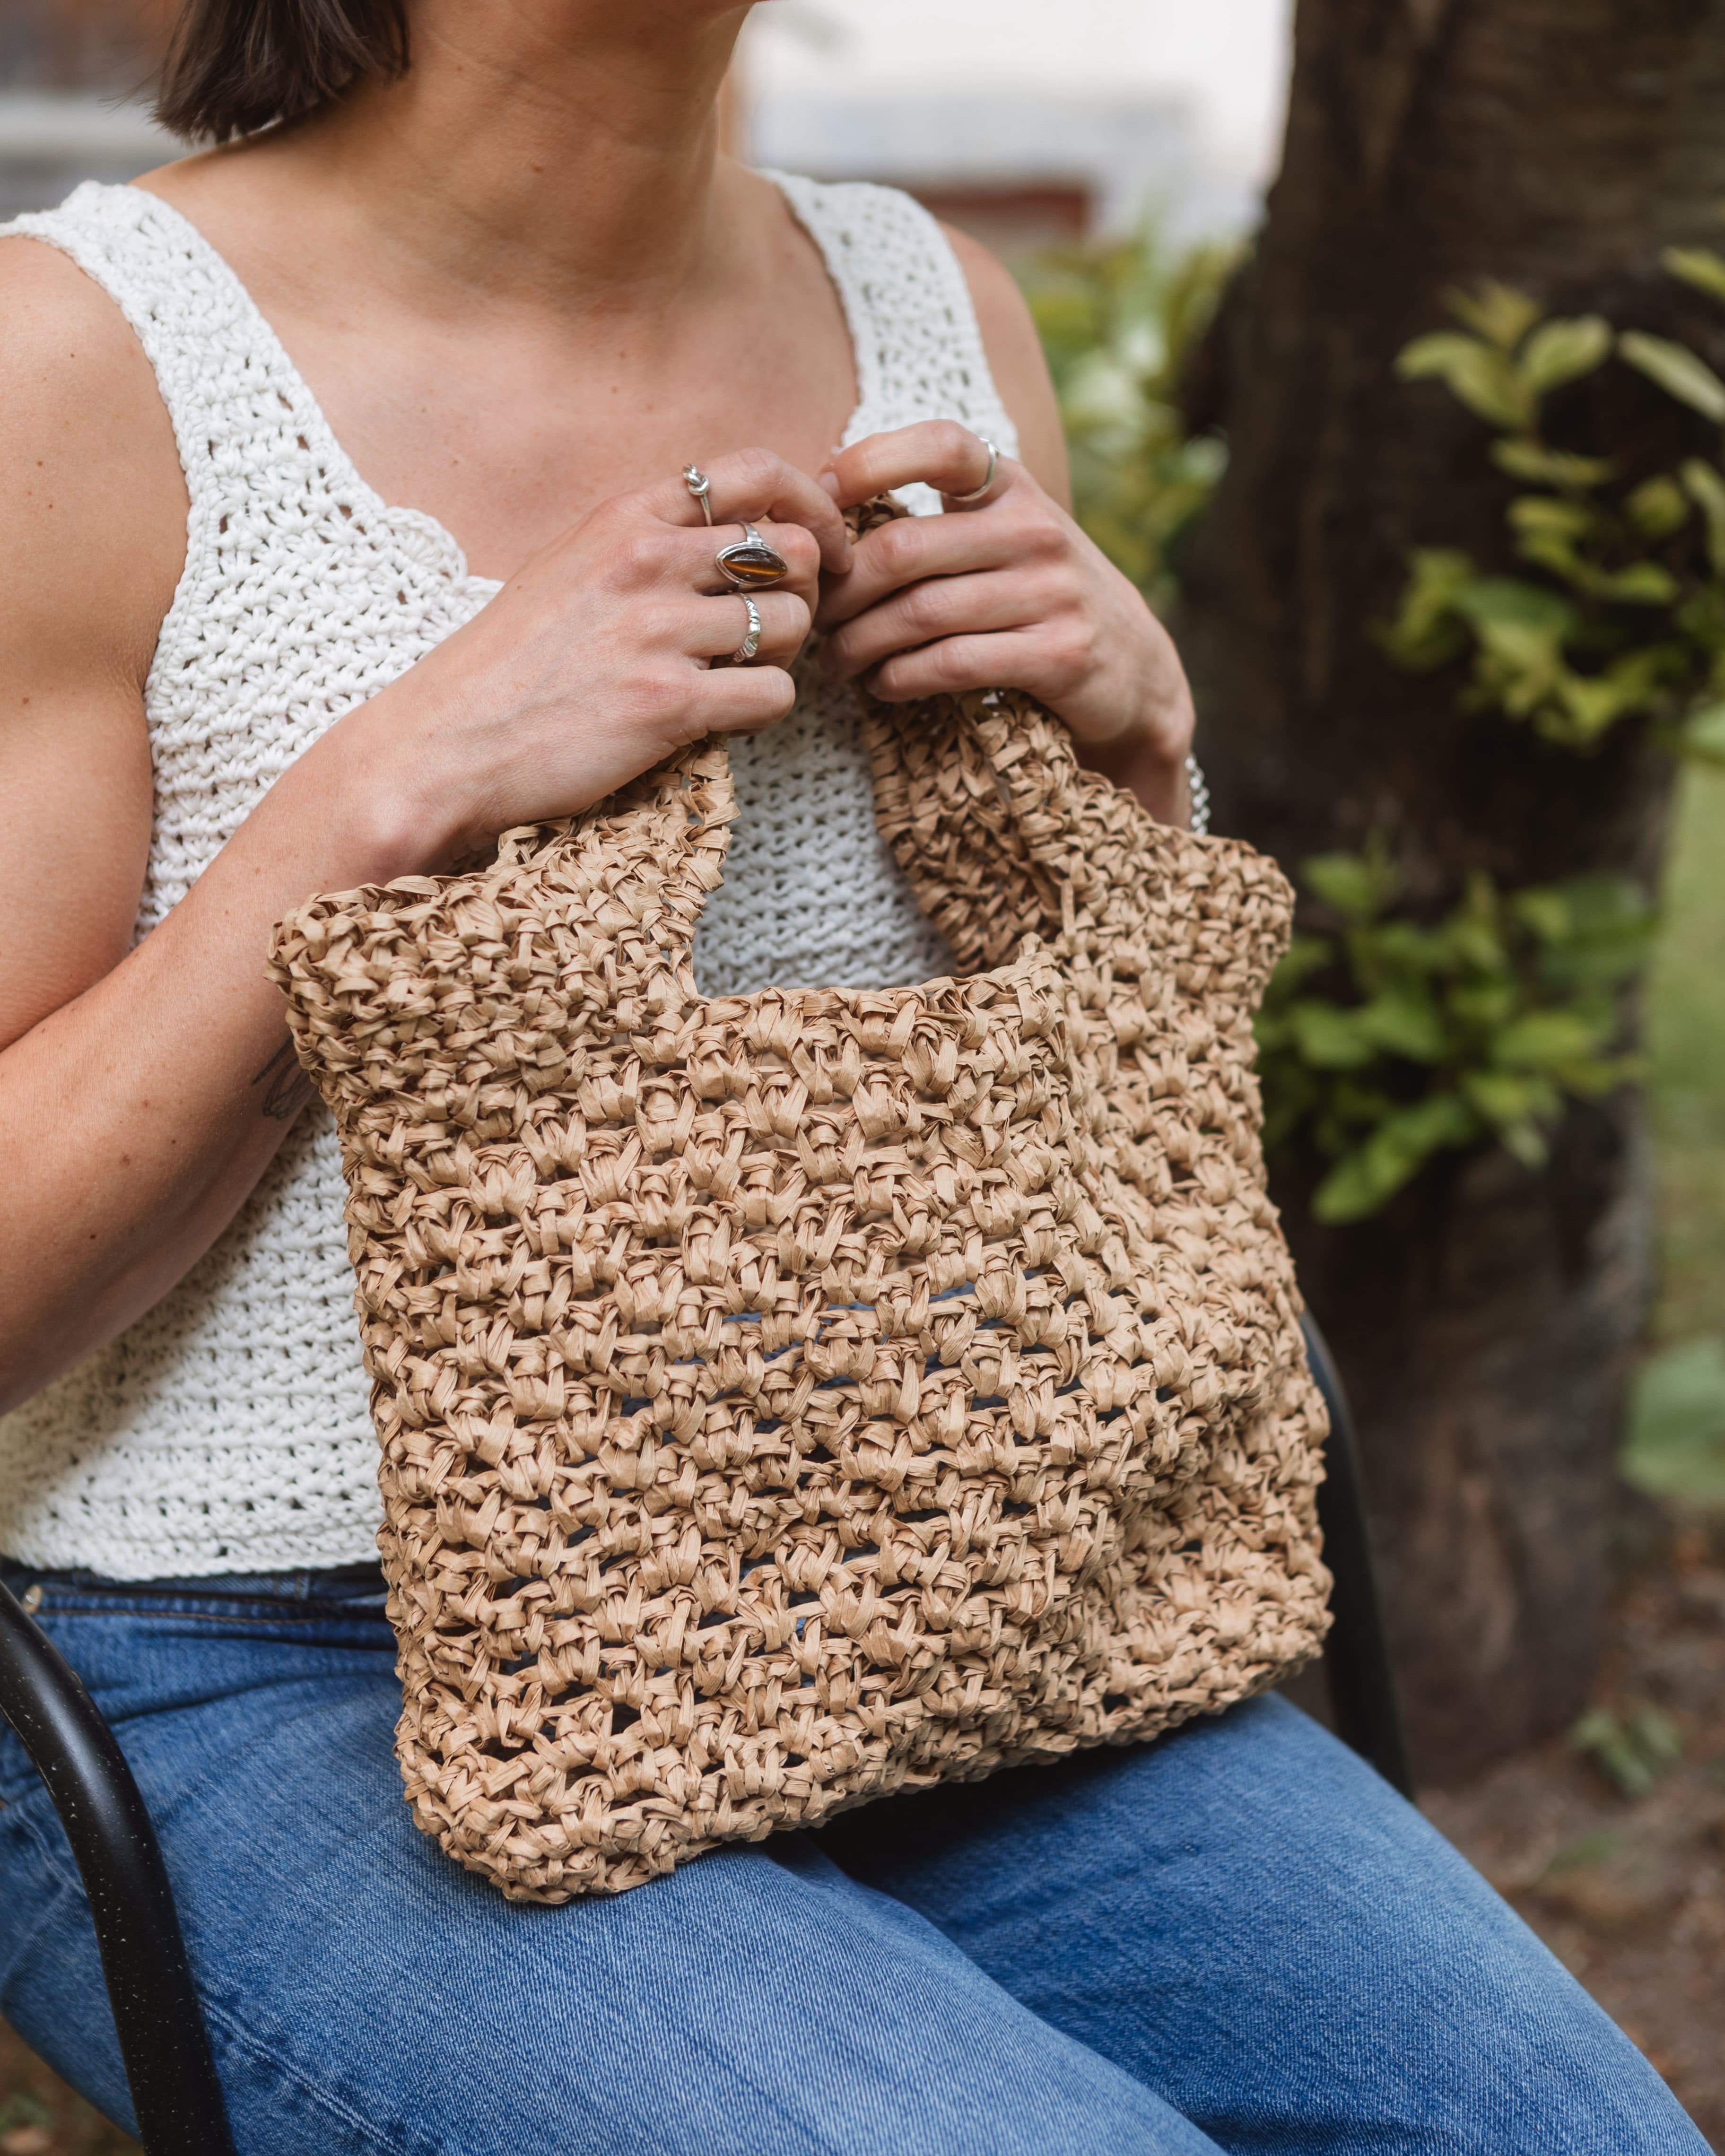
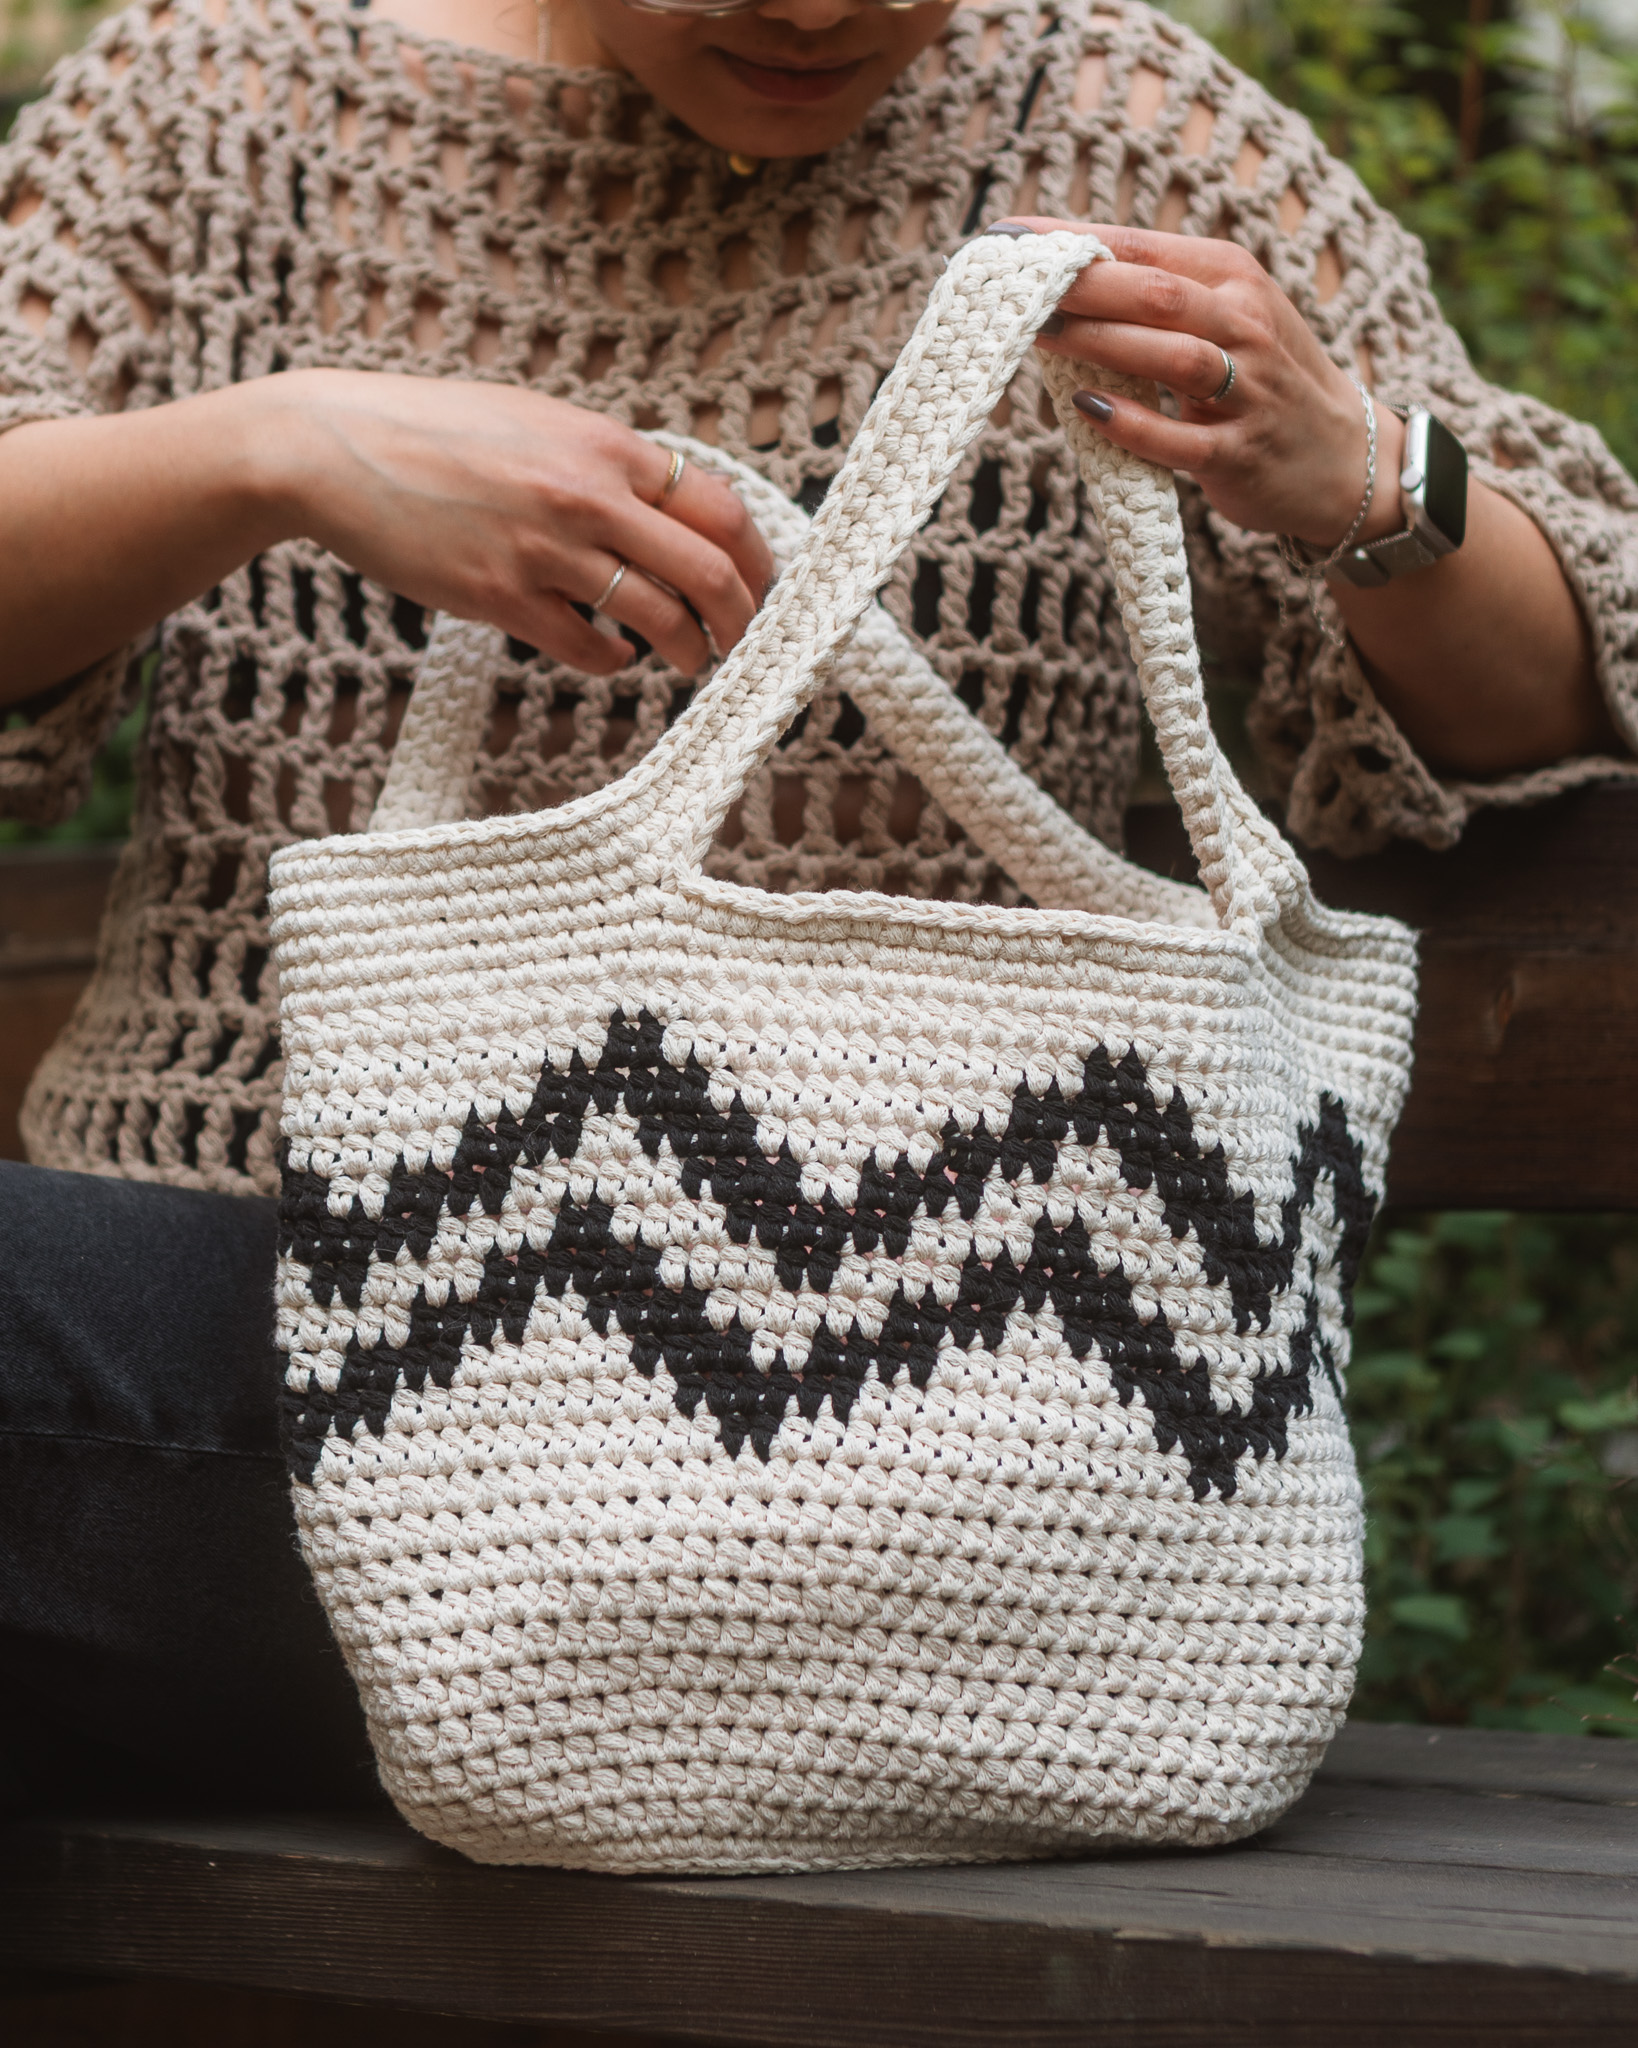
Crochet Bag "Poppy"
Crochet a Bag with Paper Yarn
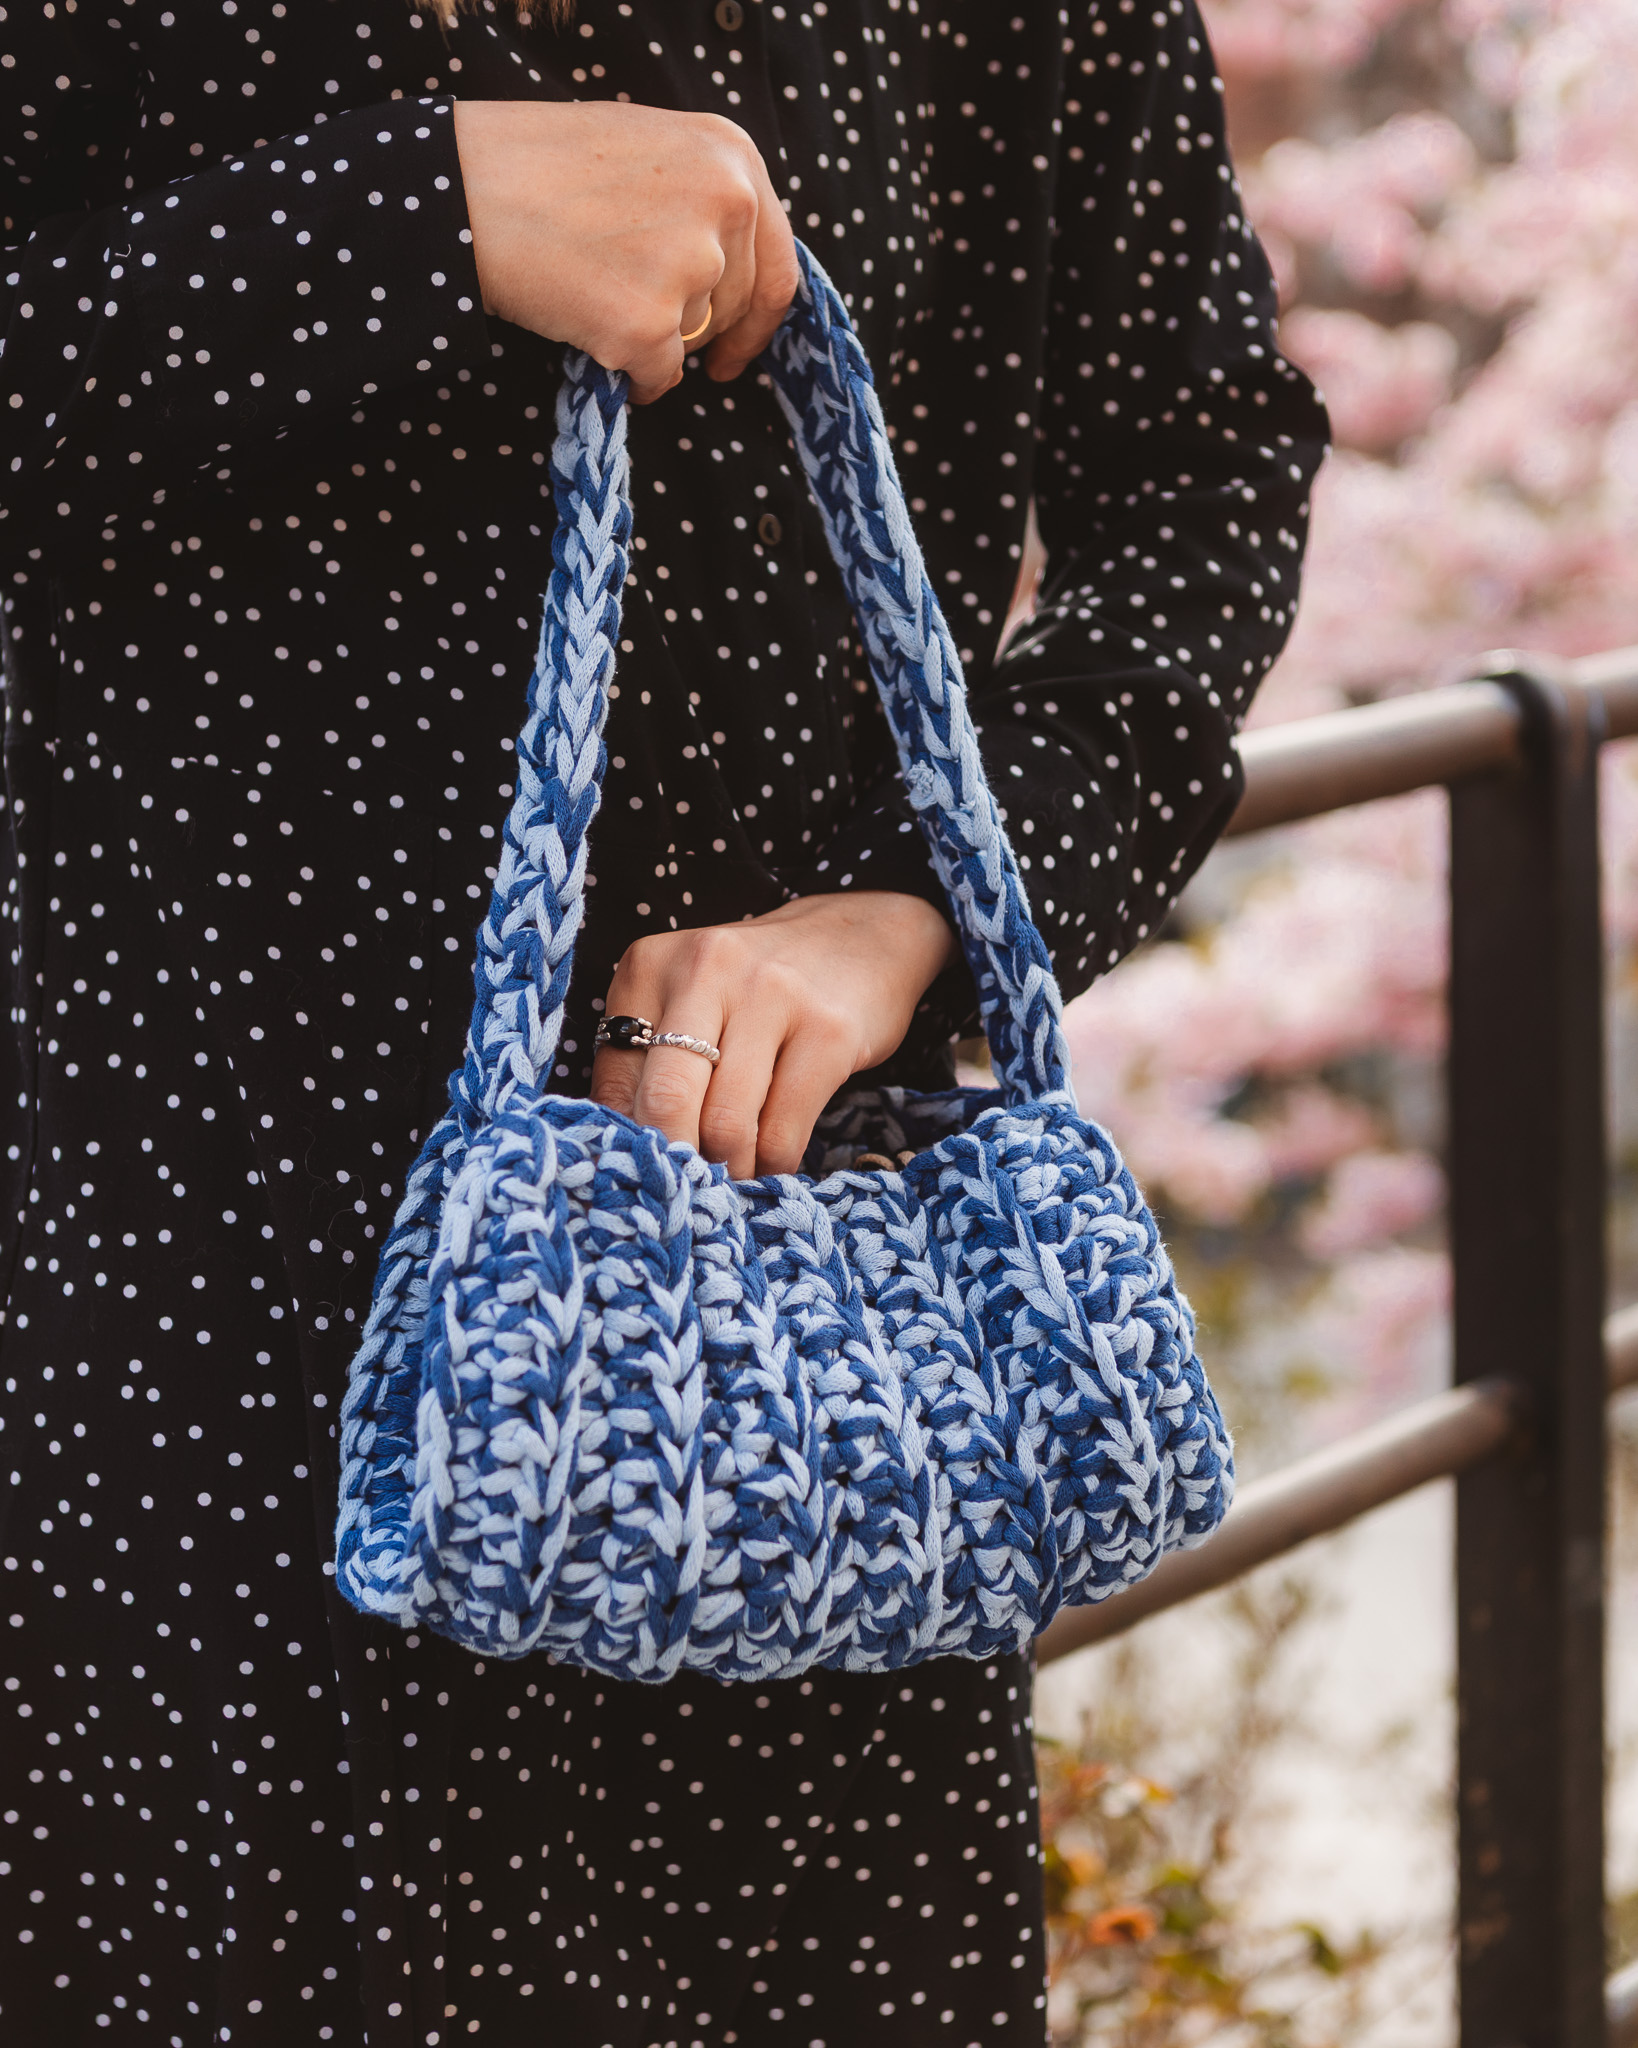
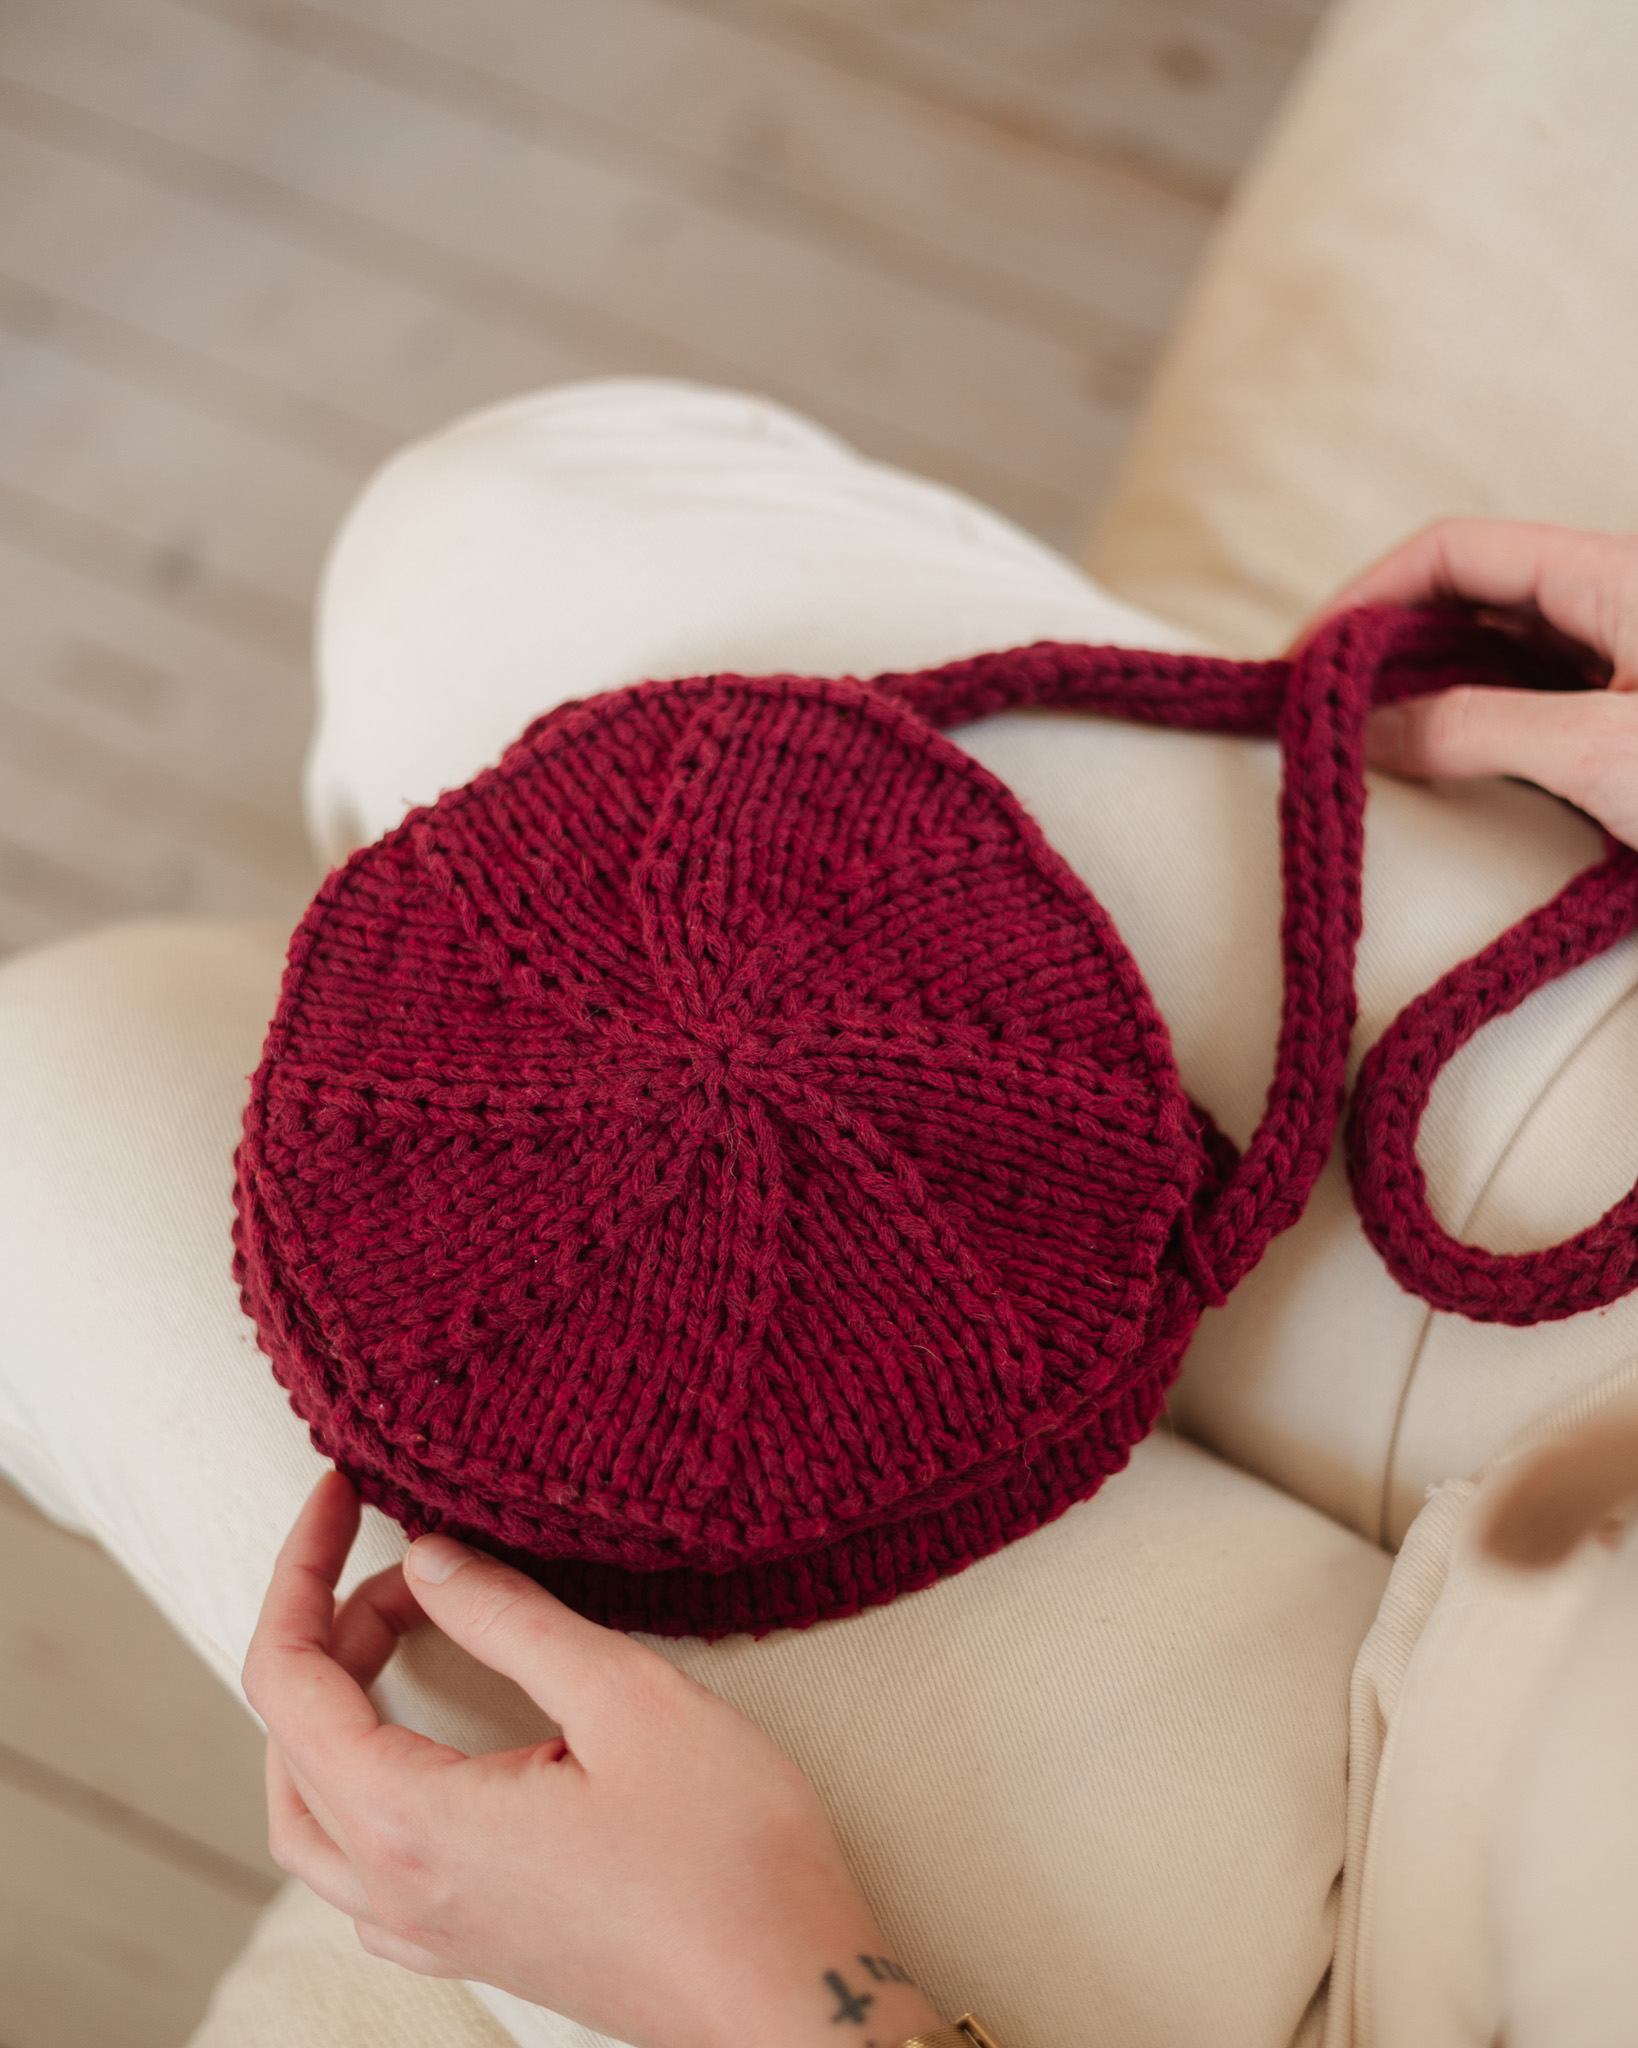
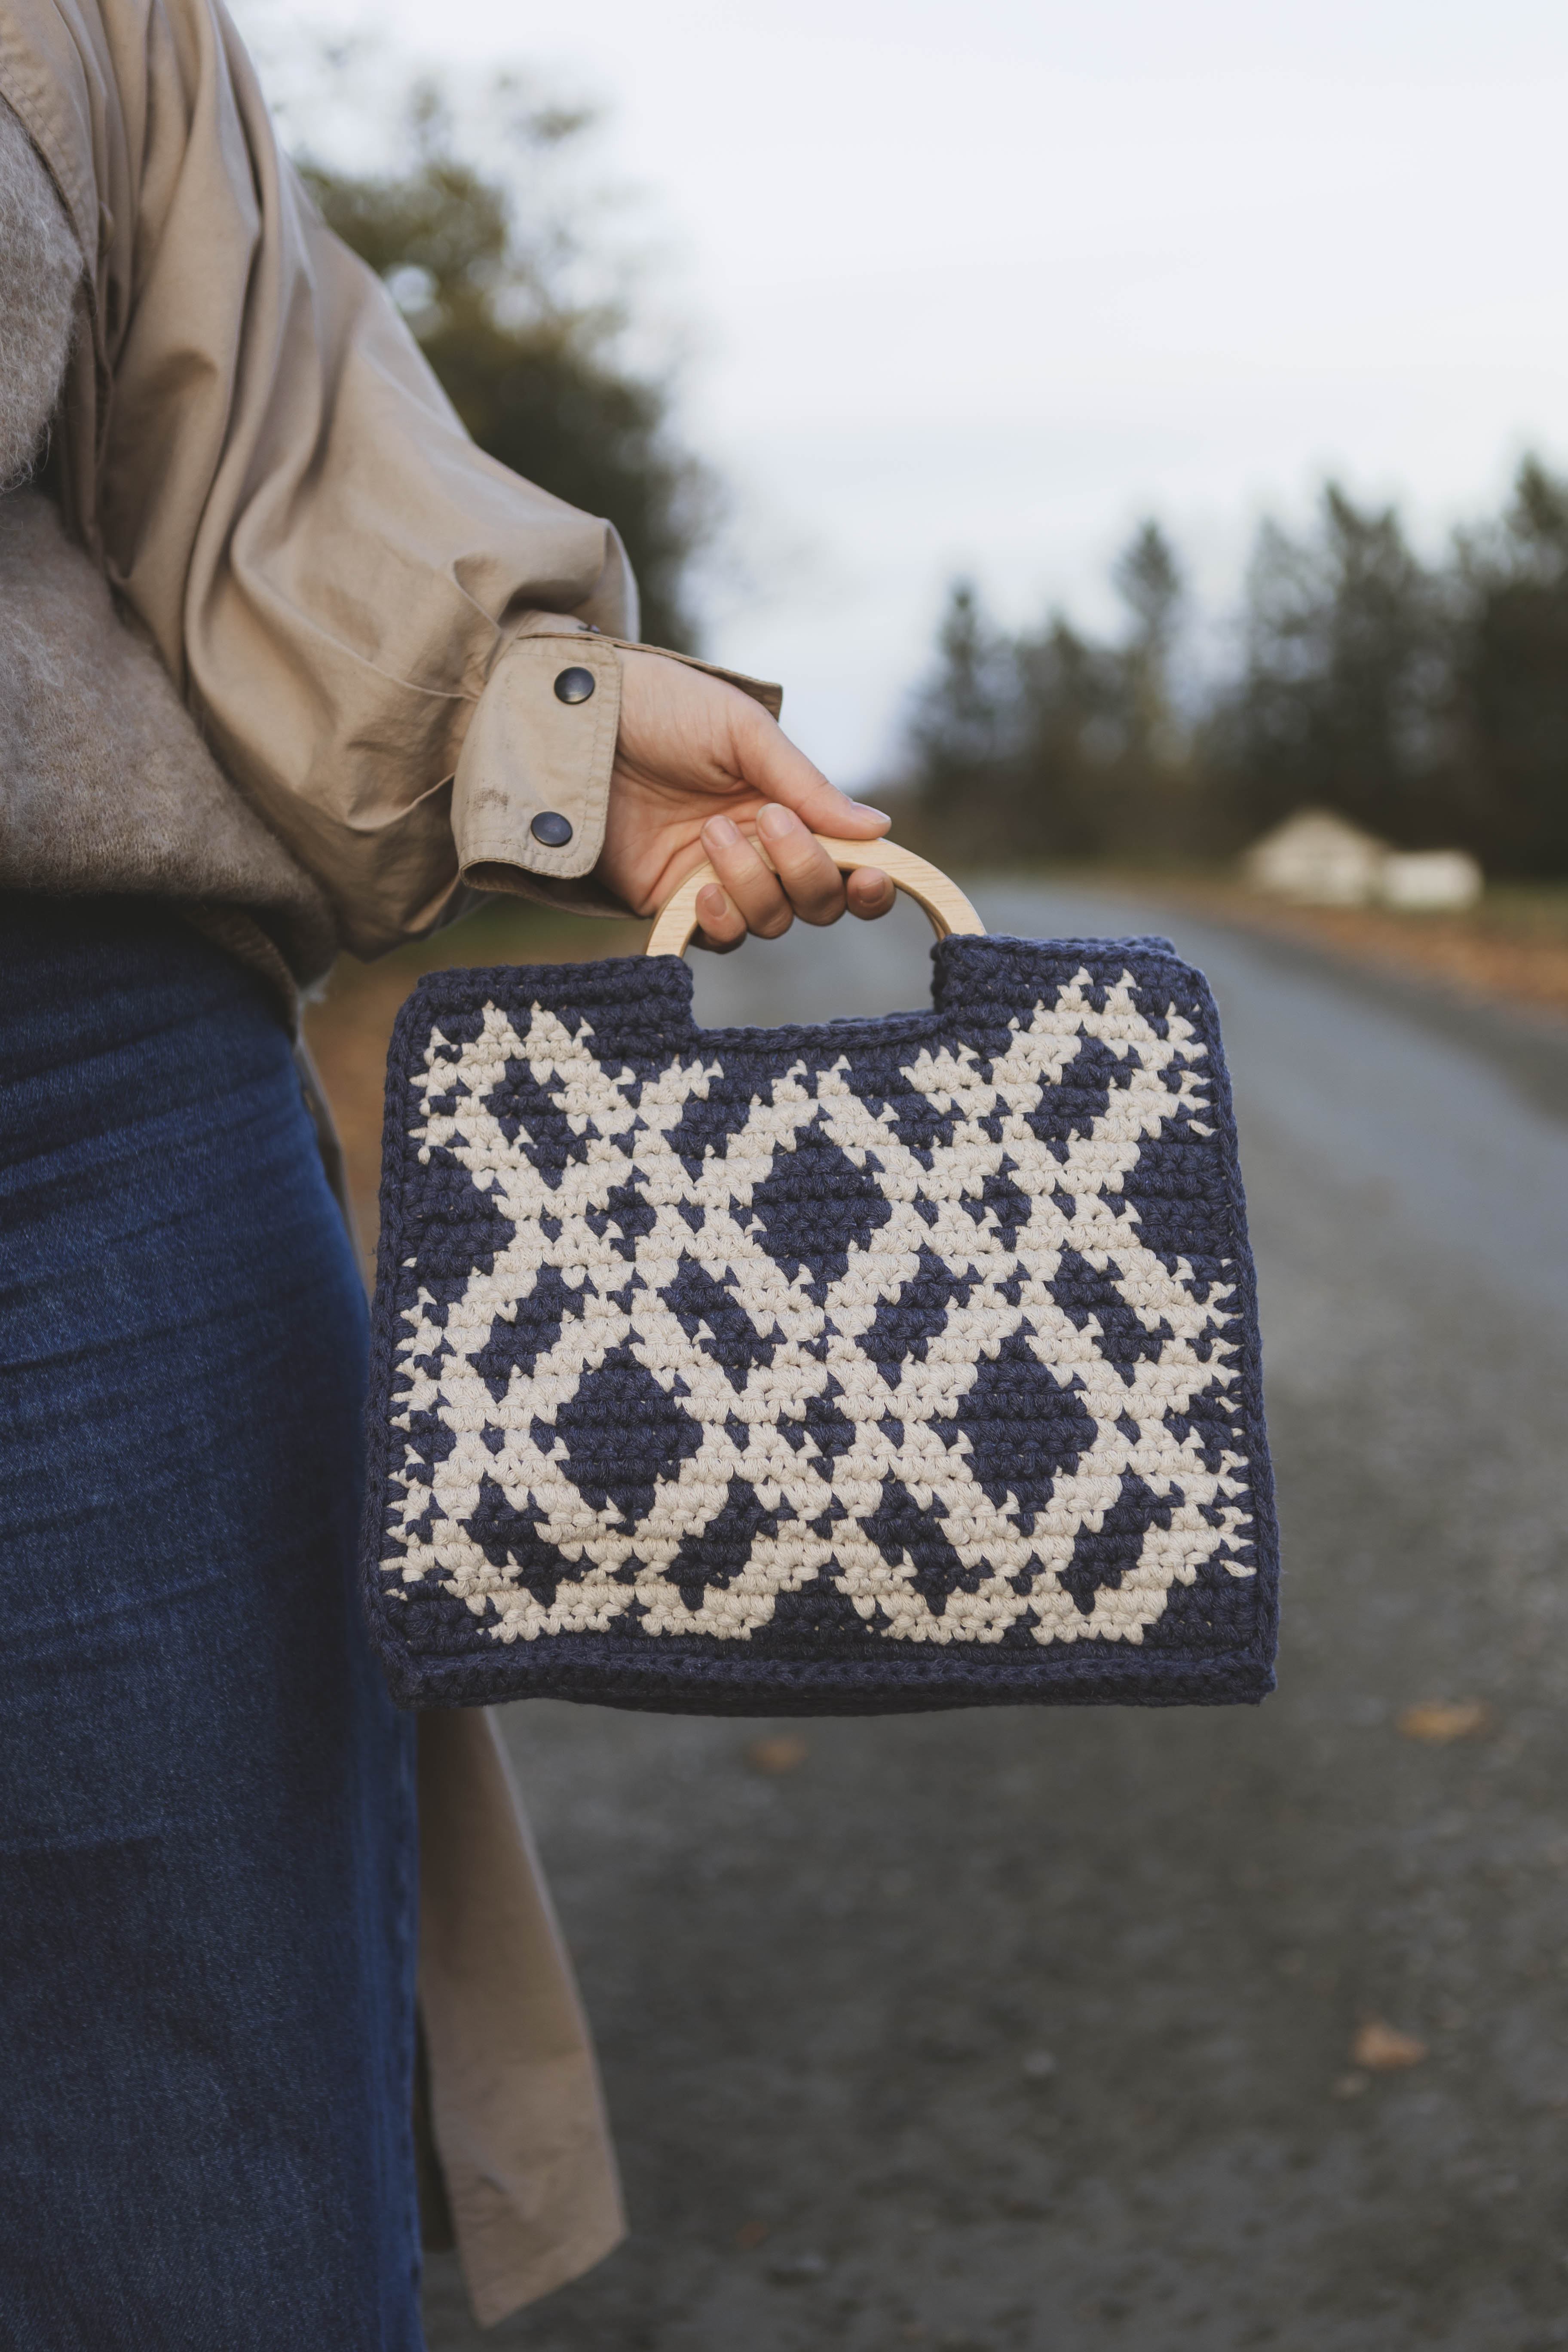
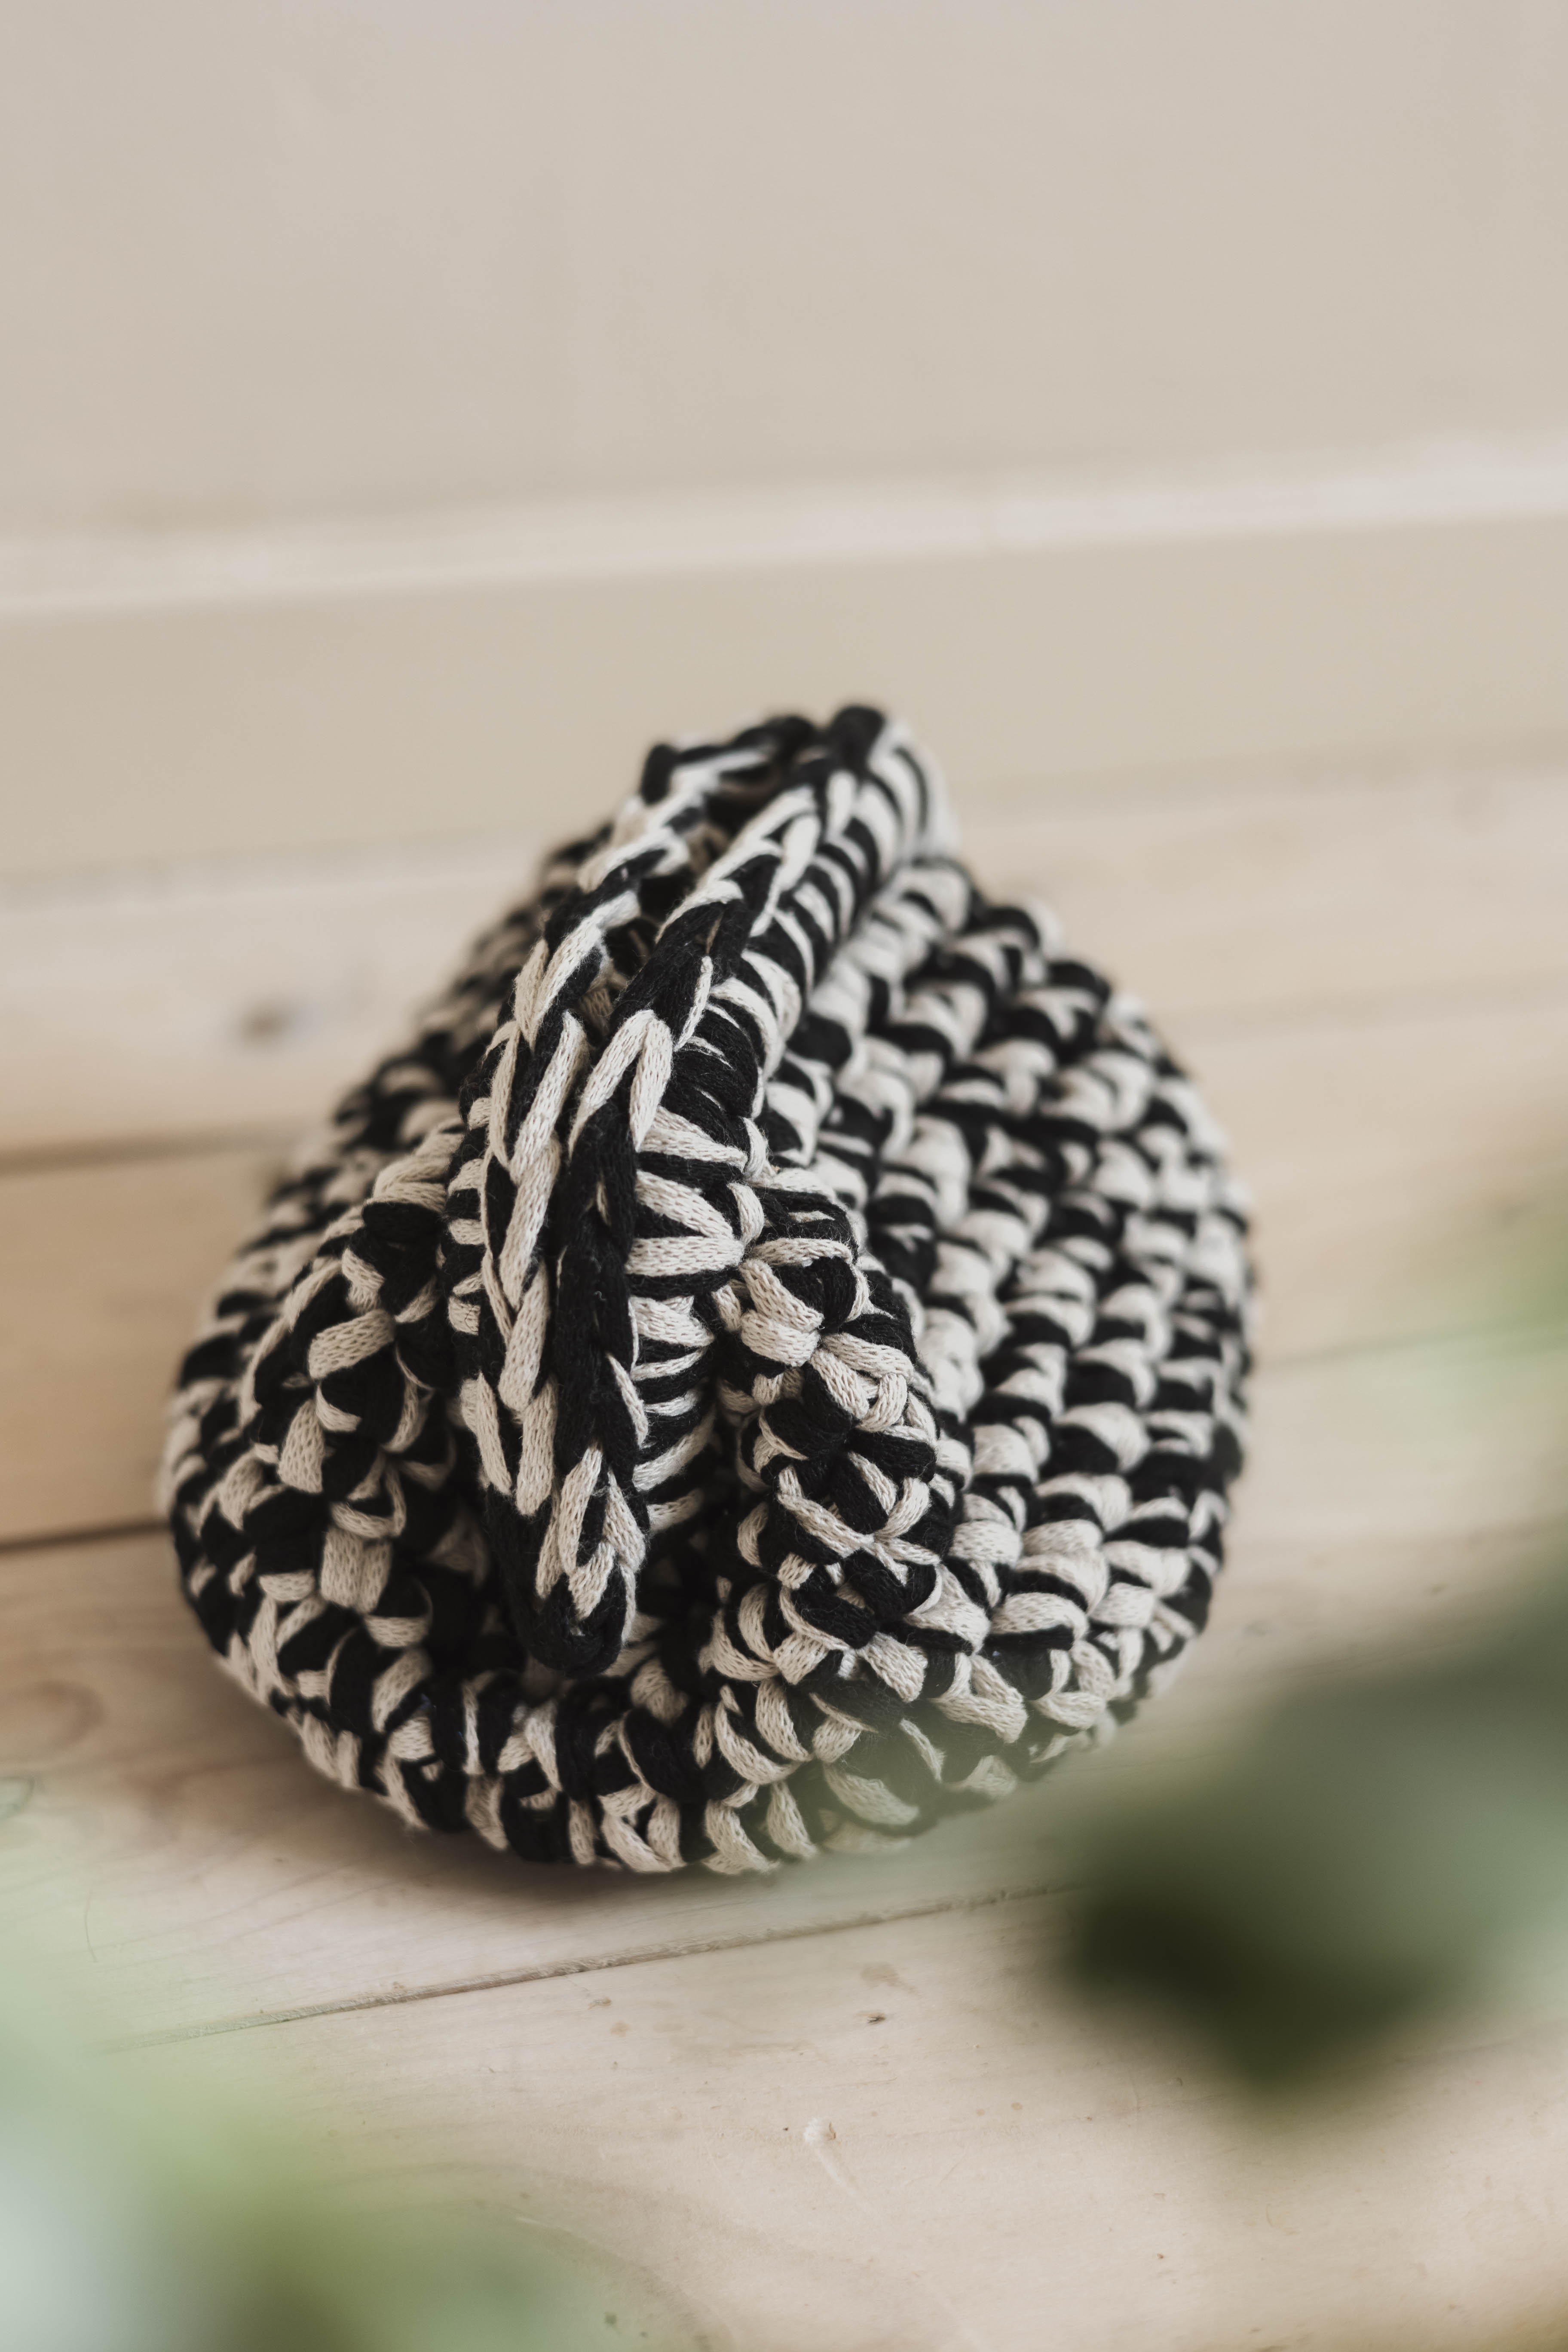
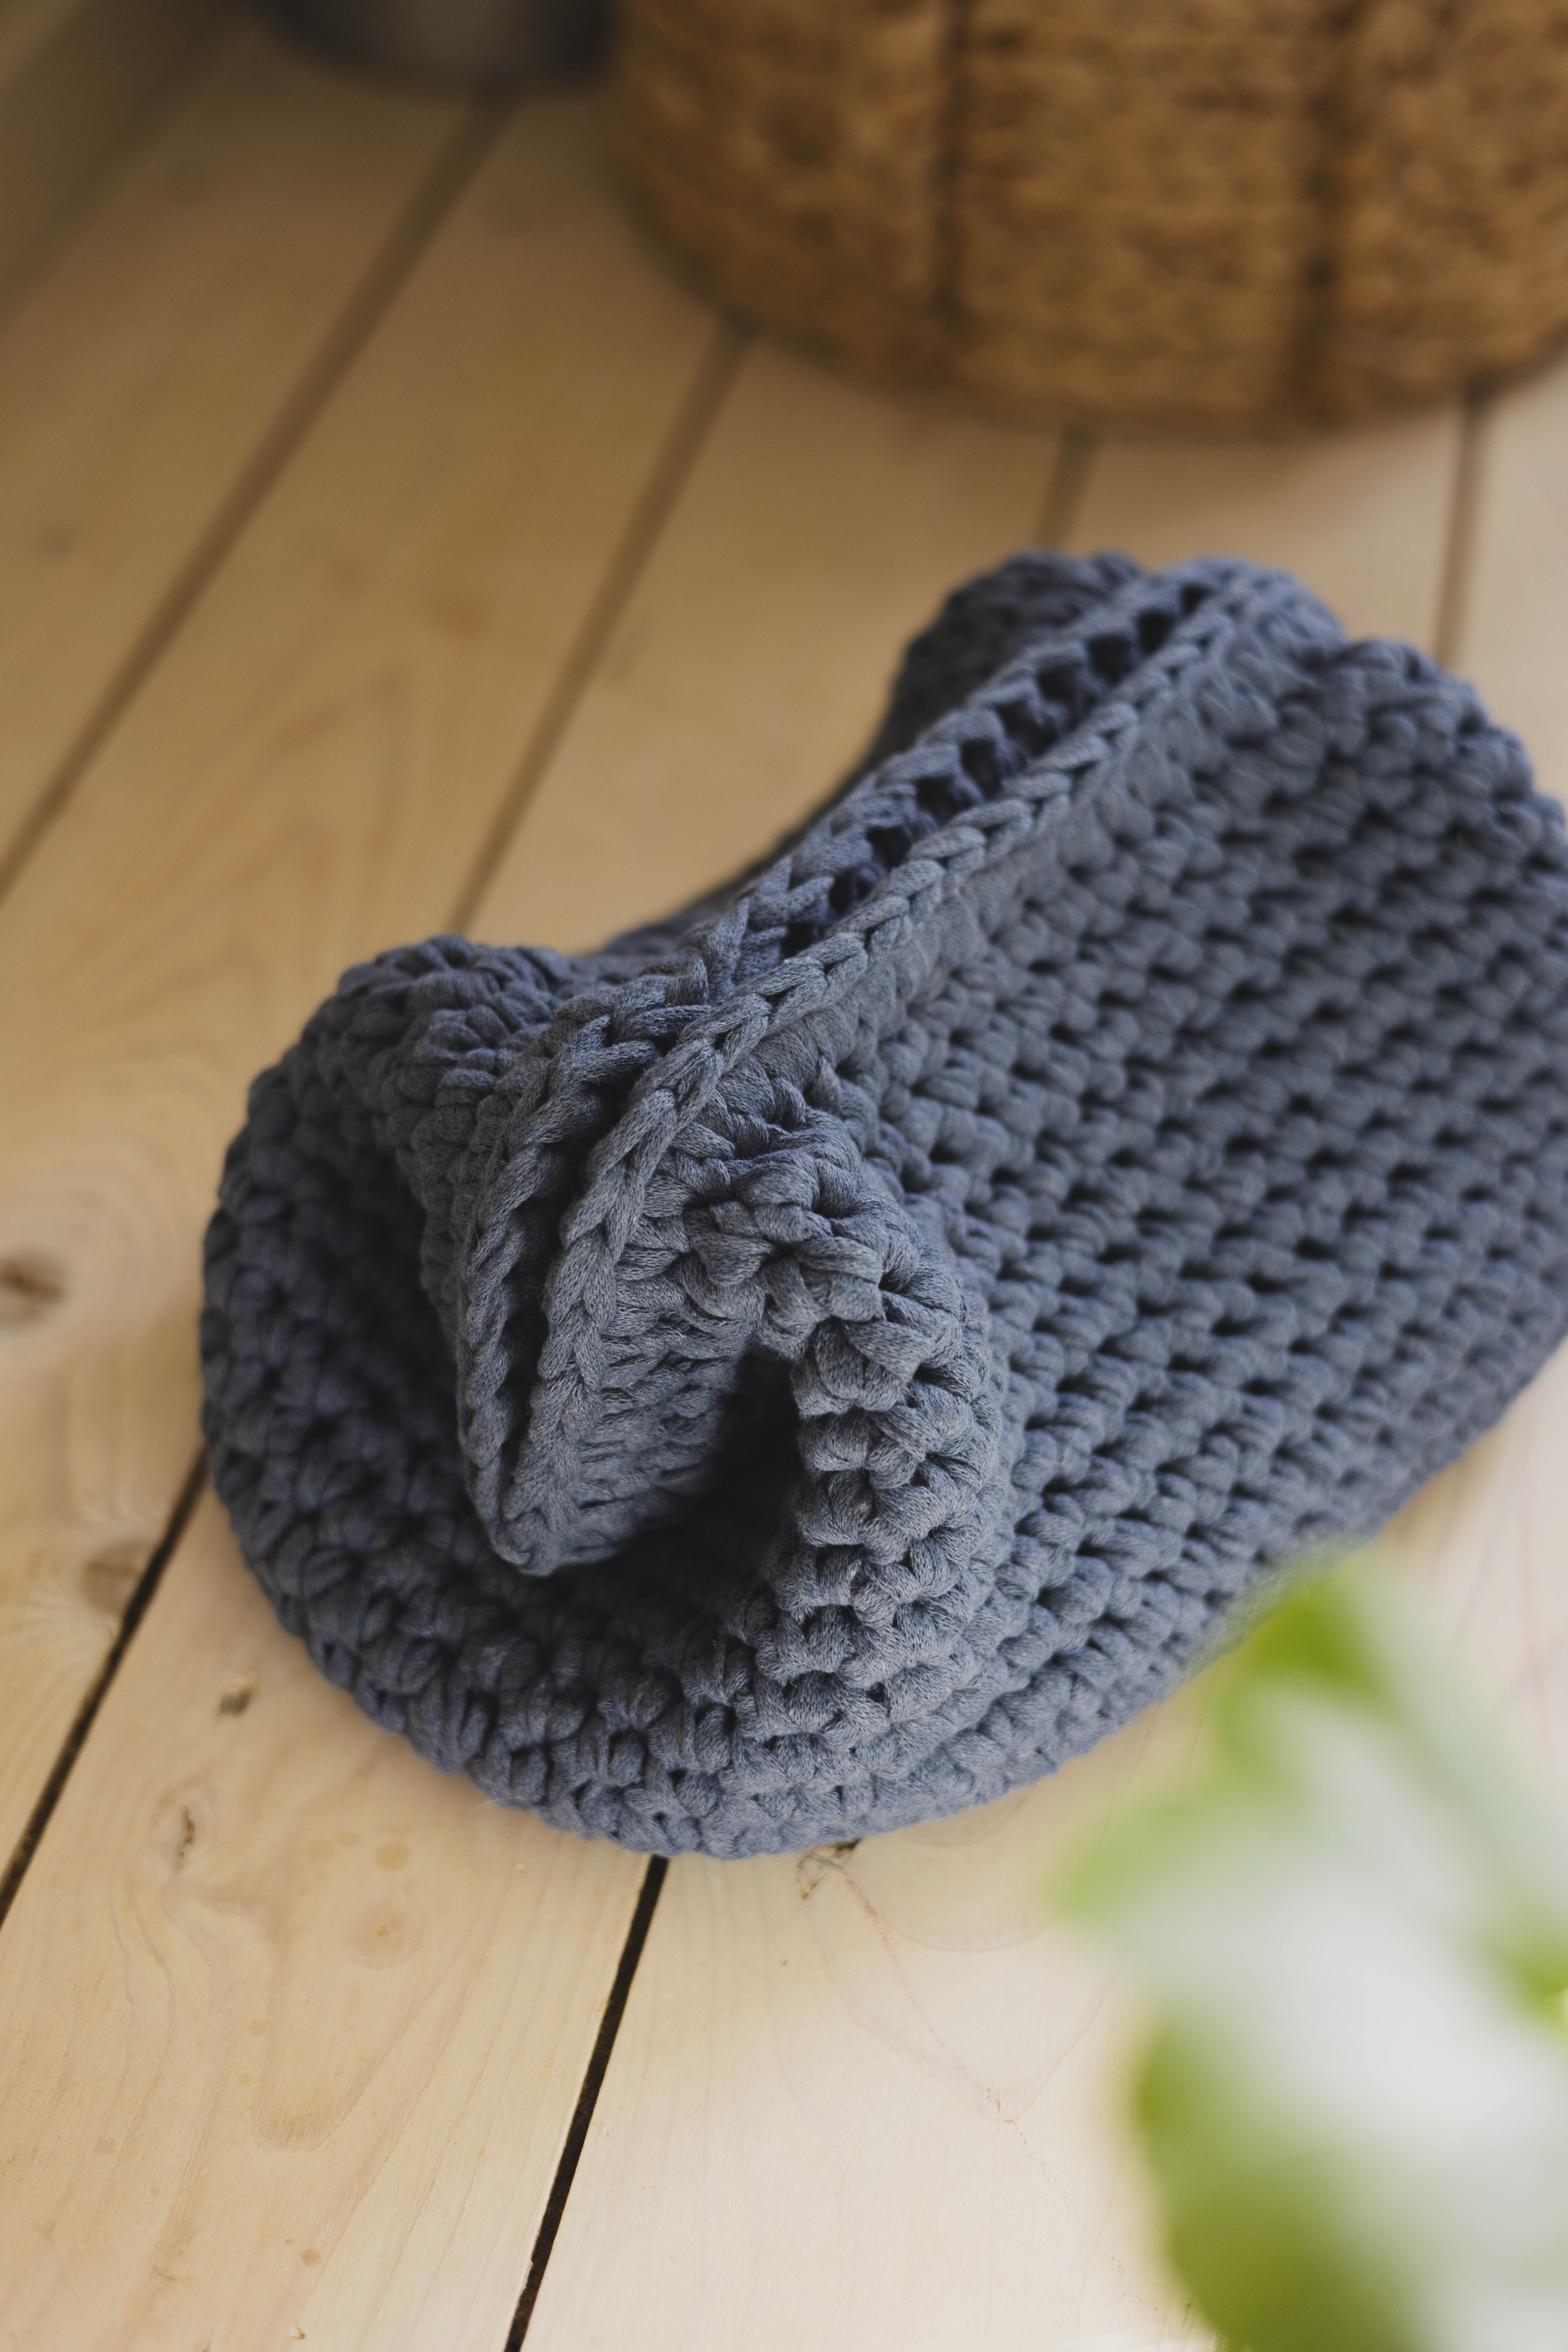
Crochet a beautiful bag with a natural look using paper yarn. This pattern guides you through crocheting a bag in the size shown in the picture, but you can easily adjust the size and make it smaller or larger if you prefer. You will need MYO Paper Yarn (we used the color “Light Brown”), a 7 mm crochet hook, and a pair of scissors.
Yarn required: approximately 240 g, depending on your crochet tension and whether you choose to make a larger or smaller bag.
Please note that this pattern includes videos from our technique school alongside written instructions and images.

Here's how to do it
Adjustable size: The width of the base is entirely up to you, and the height depends on how many rounds you choose to crochet before working the handle section. /Rebecca

This is what you need:
Here you can directly purchase the material for the product. Please note that the instruction is digital and appears here on the page (no written instruction).


.jpg)
Unleash your creativity
For only 85kr per month you get access to all our 300+ beginner-friendly instructions for crochet, knitting and macrame.
A perfect way to get started with your new hobby!

Create a Chain and Decide the Width of the Base
Row 1: Crochet a chain to determine the width of the bag's base. Start by making a slip knot. Then crochet a chain with an odd number of chain stitches. The chain should be as wide as you would like your bag to be.
For reference, the bag shown in the picture was made with 23 chain stitches. This results in 22 stitches in Row 2 and all subsequent rows.
If you are unsure how to crochet a foundation chain, please refer to the video below.
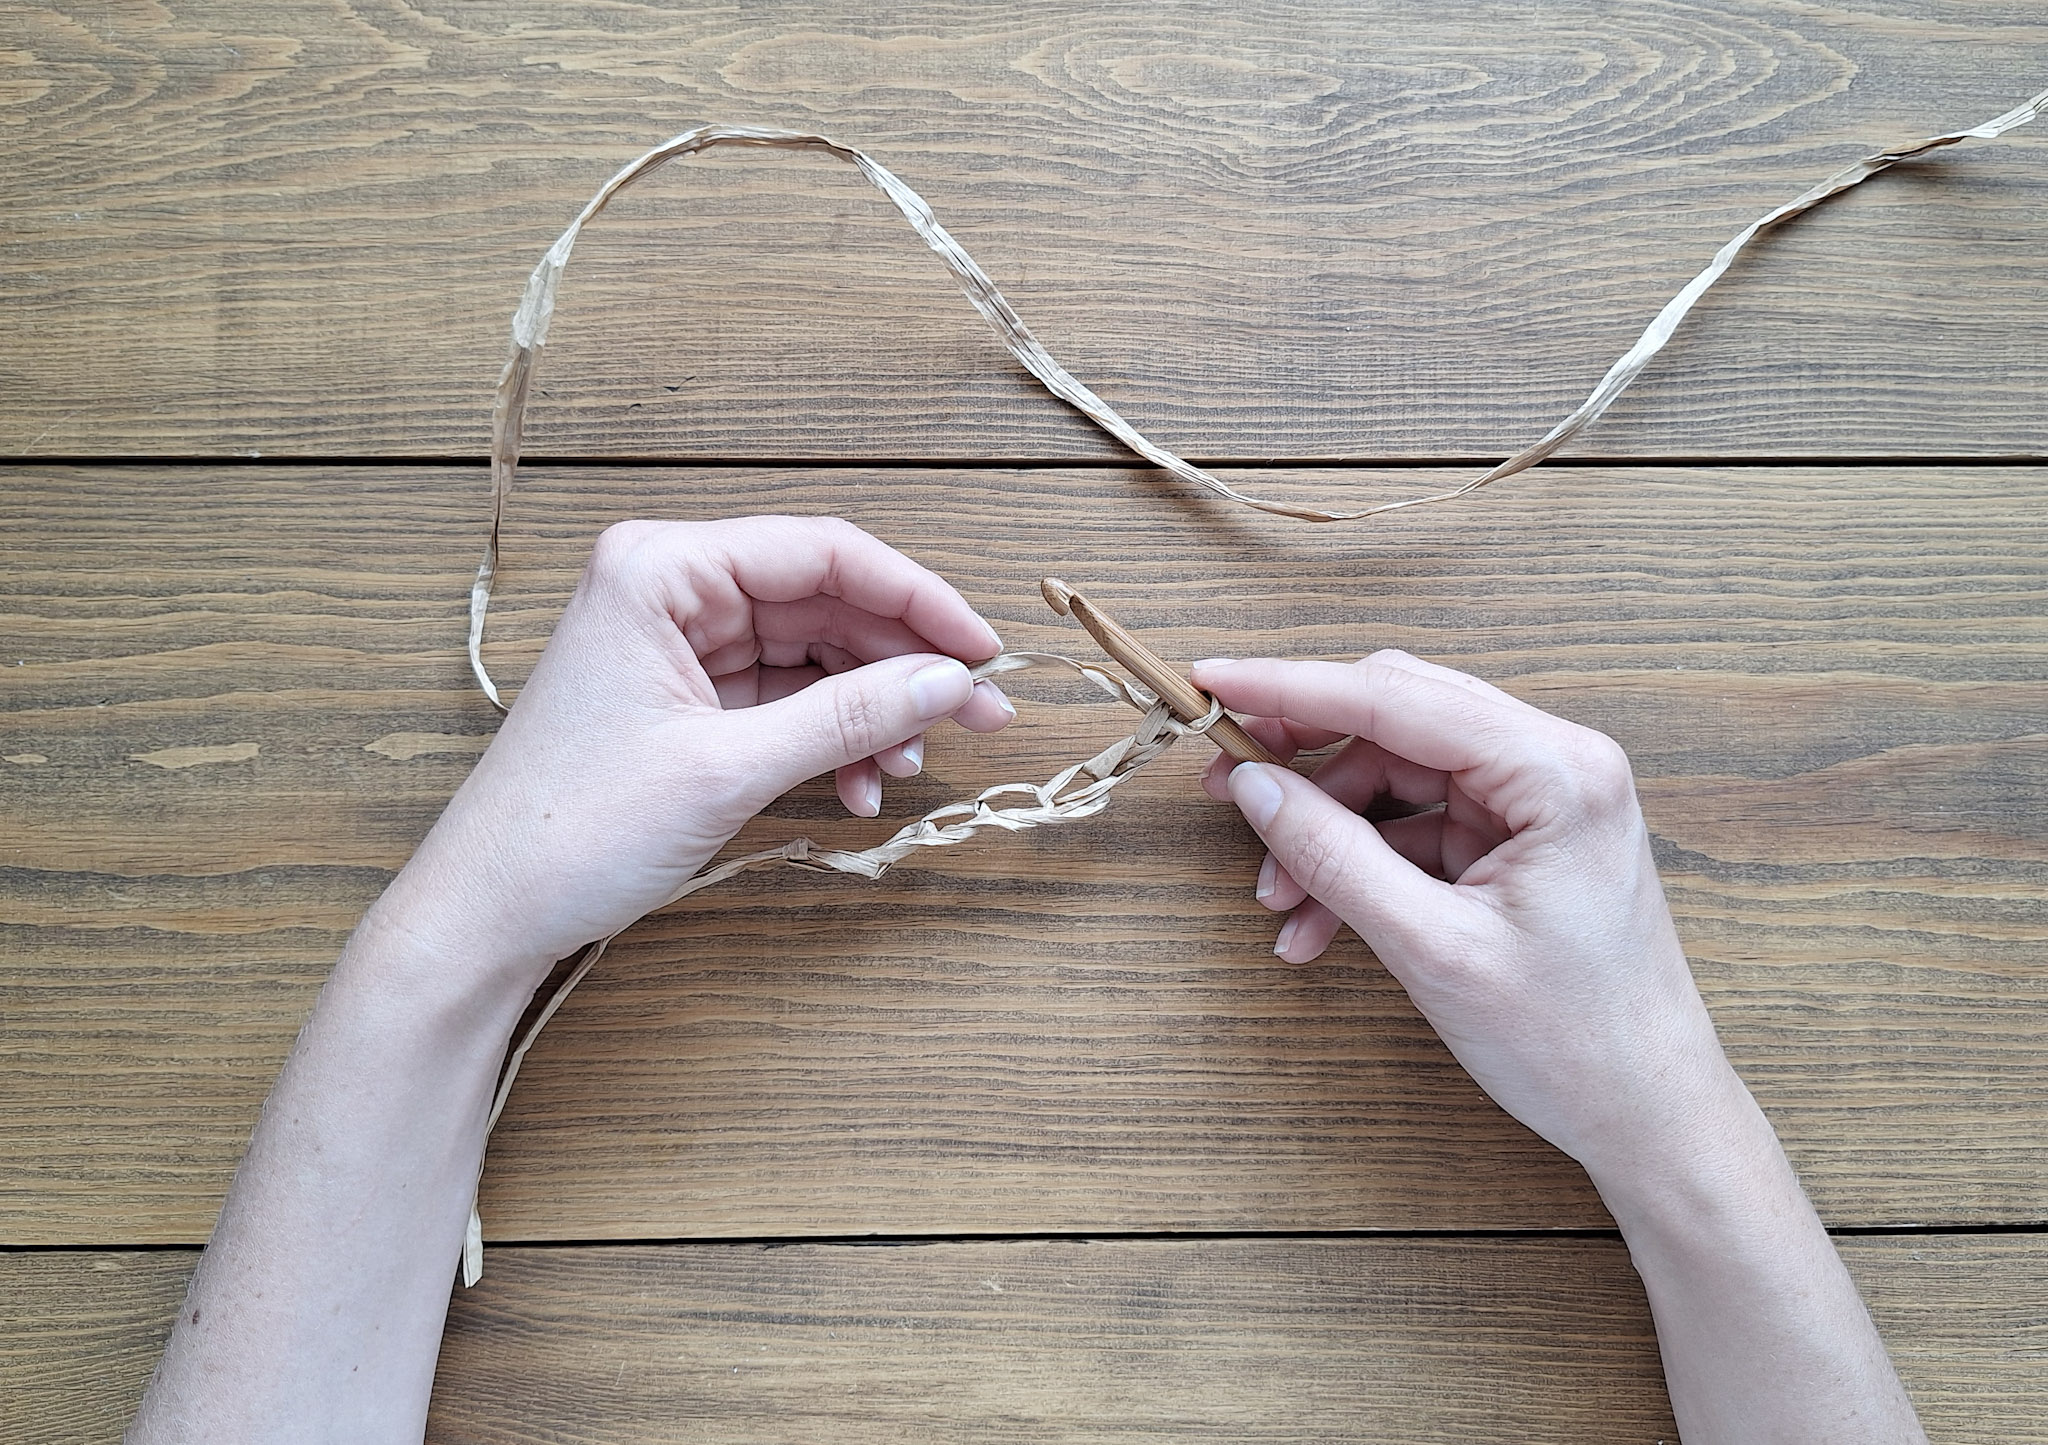
Row 2 (and onwards): Work your first single crochet into the second chain from the hook. Continue crocheting single crochet stitches across the row.
Repeat this row until the base reaches your desired width. For reference, the bag shown in the picture was made with a total of 4 rows.
If you are unsure how to crochet a single crochet stitch, please refer to the video below.


Crochet Around the Base
Work single crochet stitches around the entire base. Start in the corner where you finished the previous row.
Work 2 single crochet stitches into the same stitch to create an increase and form a rounded corner. Work single crochet along the sides and in the corners, work 2 single crochet in the same stitch. Finish the round with a slip stitch.
Cut the yarn and pull it through the loop to fasten off.
Count your stitches. It is important to maintain an even number of stitches in the round for the next step. For reference, the bag shown in the picture has 52 stitches around the round.
.jpg)
.jpg)
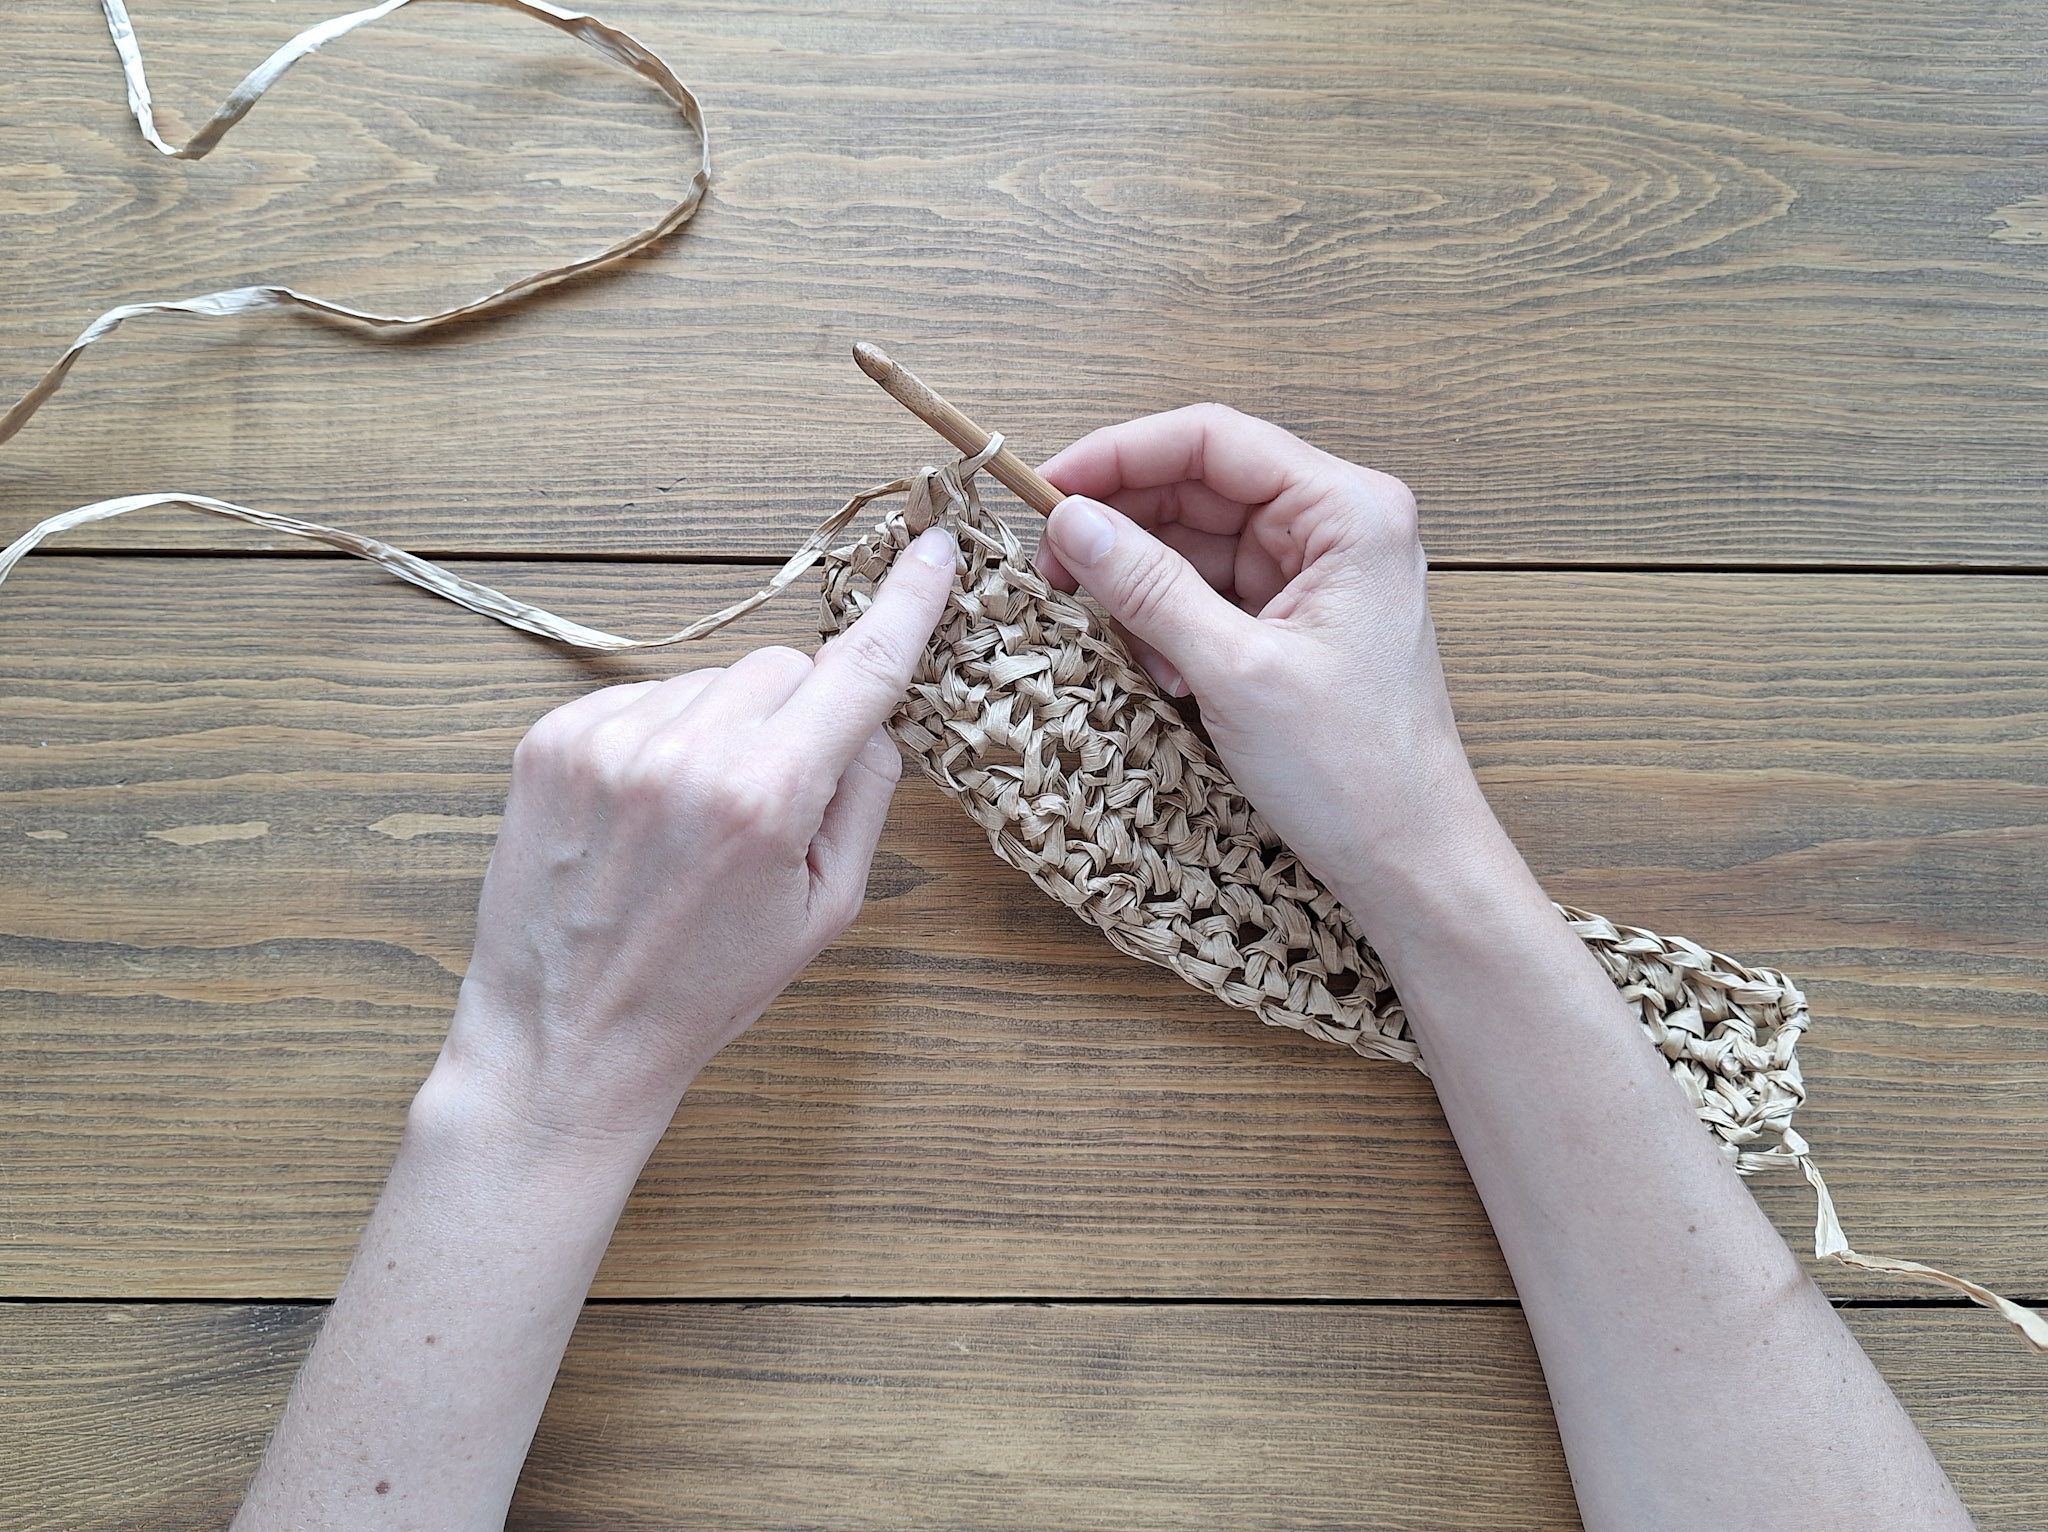
Crochet the Sides of the Bag
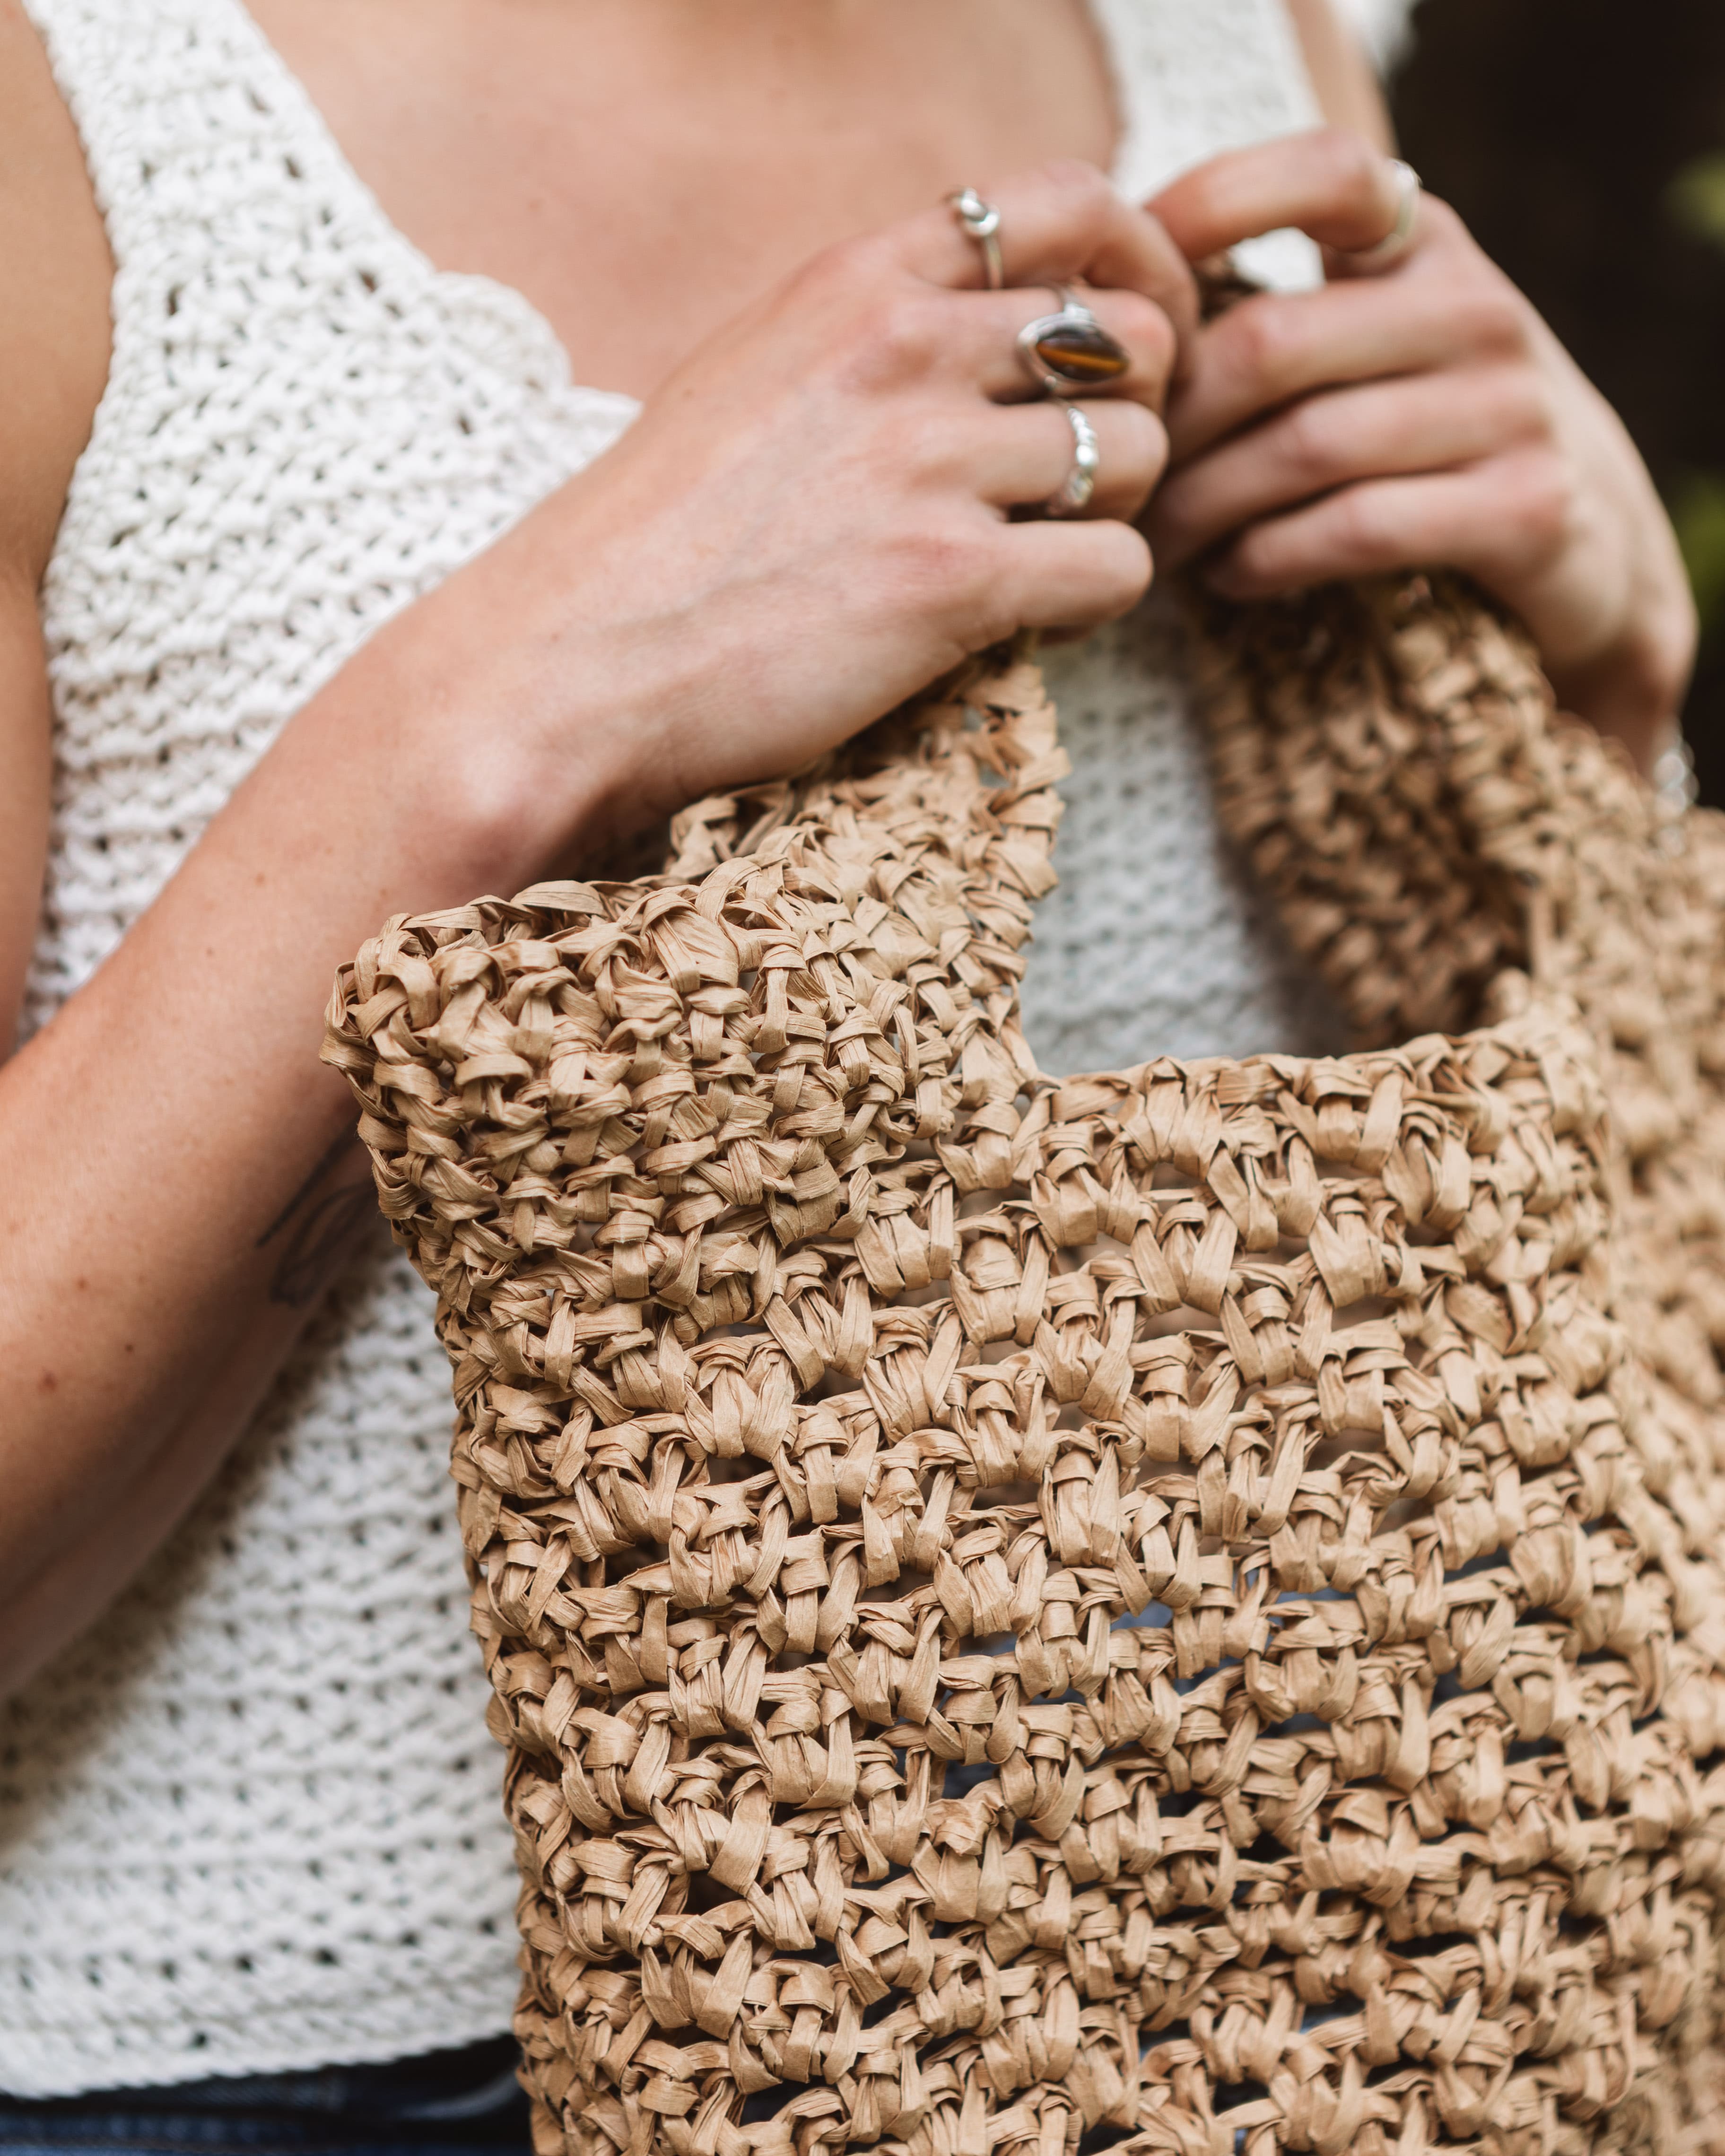
From this point onward, the bag is worked in a granny stripe pattern.
Round 1: Make a slip knot and attach your yarn to a stitch near one of the corners. Pull the slip knot through with your hook and secure it with 1 chain stitch. Crochet 1 additional chain stitch; these 2 chain stitches count as your first single crochet of the round.
Work 1 more single crochet into the same stitch, chain 1, and skip 1 stitch. This forms one pattern repeat.
*2 single crochet stitches, chain 1, skip 1 stitch*. Repeat from *...* all the way around the round.
From now on, finish each round with a slip stitch.
Round 2 and onwards: From this point forward, work each round into the spaces created by the chain stitches from the previous round, rather than into each individual stitch.
Repeat the following sequence all the way around:
*2 single crochet stitches, chain 1, skip 1 stitch*.
Continue crocheting rounds until the bag reaches your desired height before starting the handles.
For reference, the bag shown in the picture was made with 21 rounds.
Fasten off and cut the yarn.
.jpg)
.jpg)
.jpg)
Handles
Round 1: Start by placing 4 stitch markers where you would like the handles to be positioned.
Attach your yarn as before, a few stitches away from one of the markers. Work single crochet stitches until you reach the first marker.
Crochet a chain as long as you would like your handle to be and attach it at the second marker. Continue working single crochet stitches until you reach the third marker. Crochet a second handle with the same number of chain stitches as the first and attach it at the fourth marker.
Work single crochet stitches to the end of the round and finish with a slip stitch and 1 chain stitch.
Rounds 2 and 3: Work 2 additional rounds of single crochet stitches, including across the handles.
At the end of the final round, make 1 chain stitch, cut the yarn, and pull it through the loop to fasten off.
Weave in all yarn ends, and your bag is now complete. Great job!
.jpg)
.jpg)
.jpg)
.jpg)
.jpg)
.jpg)
.jpg)
Pattern Using Crochet Abbreviations
This section uses standard crochet abbreviations. If you would like more detailed guidance, please refer to the beginner-friendly version of the pattern.
Abbreviations
st = stitch
ch = chain
sc = single crochet
sl st = slip stitch
*...* = repeat as instructed
Base
Row 1: Start by making a slip knot. Then crochet a chain with an odd number of ch. The ch should be as wide as you would like your bag to be. For reference, the bag shown in the picture was made with 23 ch, resulting in 22 sts from Row 2 onwards.
Row 2 (and onwards): Work 1 sc into the 2nd ch from the hook. Continue working sc across the row. Repeat until the base reaches your desired width. For reference, the bag shown in the picture was made with a total of 4 rows.
Crochet Around the Base
Work sc around the entire base. Start in the corner where you finished the previous row. Work 2 sc into the same st (an increase to create a rounded corner).
Continue working sc to the next corner, and in each corner work 2 sc into the same st.
Finish the round with 1 sl st. Cut the yarn and fasten off.
Count your sts. It is important to maintain an even number of sts in the round for the next step. For reference, the bag shown in the picture has 52 sts around the round.
Crochet the Sides of the Bag
From this point onward, the bag is worked in a granny stripe pattern.
Round 1: Attach your yarn to a stitch at one of the corners. Secure with 1 ch, then make 1 additional ch; these 2 chains count as your first sc of the round.
Work 1 more sc into the same st, then chain 1 and skip 1 st.
*2 sc, 1 ch, skip 1 st*. Repeat from *...* all the way around the round. Finish each round with 1 sl st, then fasten off.
All following rounds are worked into the chain spaces created in the previous round, using the same pattern repeat as Round 1.
Continue crocheting until the bag reaches your desired height before starting the handles.
Handles
Round 1: Place 4 stitch markers where you want the handles to be positioned.
Attach your yarn as before and work sc stitches until you reach the first marker. Chain as many sts as you want for the first handle, then attach it at the second marker.
Continue working sc until you reach the third marker. Make the second handle with the same number of chain sts as the first, then attach it at the fourth marker.
Continue working sc sts to the end of the round and finish with 1 sl st and 1 chain st.
Rounds 2 and 3: Work 2 additional rounds of sc, working over the handles as well.
Weave in and trim all yarn ends.
Your bag is now complete. Great job!
The rights to this pattern belong to MYO Make Your Own. The pattern or its pictures may not be copied, shared or resold either in parts or in its entirety, but you may sell items you have crocheted from this pattern. If you have questions about the pattern, contact MYO at hello@makeyourown.se.
Create a Chain and Decide the Width of the Base
Row 1: Crochet a chain to determine the width of the bag's base. Start by making a slip knot. Then crochet a chain with an odd number of chain stitches. The chain should be as wide as you would like your bag to be.
For reference, the bag shown in the picture was made with 23 chain stitches. This results in 22 stitches in Row 2 and all subsequent rows.
If you are unsure how to crochet a foundation chain, please refer to the video below.
Row 2 (and onwards): Work your first single crochet into the second chain from the hook. Continue crocheting single crochet stitches across the row.
Repeat this row until the base reaches your desired width. For reference, the bag shown in the picture was made with a total of 4 rows.
If you are unsure how to crochet a single crochet stitch, please refer to the video below.
Crochet Around the Base
Work single crochet stitches around the entire base. Start in the corner where you finished the previous row.
Work 2 single crochet stitches into the same stitch to create an increase and form a rounded corner. Work single crochet along the sides and in the corners, work 2 single crochet in the same stitch. Finish the round with a slip stitch.
Cut the yarn and pull it through the loop to fasten off.
Count your stitches. It is important to maintain an even number of stitches in the round for the next step. For reference, the bag shown in the picture has 52 stitches around the round.
Crochet the Sides of the Bag
From this point onward, the bag is worked in a granny stripe pattern.
Round 1: Make a slip knot and attach your yarn to a stitch near one of the corners. Pull the slip knot through with your hook and secure it with 1 chain stitch. Crochet 1 additional chain stitch; these 2 chain stitches count as your first single crochet of the round.
Work 1 more single crochet into the same stitch, chain 1, and skip 1 stitch. This forms one pattern repeat.
*2 single crochet stitches, chain 1, skip 1 stitch*. Repeat from *...* all the way around the round.
From now on, finish each round with a slip stitch.
Round 2 and onwards: From this point forward, work each round into the spaces created by the chain stitches from the previous round, rather than into each individual stitch.
Repeat the following sequence all the way around:
*2 single crochet stitches, chain 1, skip 1 stitch*.
Continue crocheting rounds until the bag reaches your desired height before starting the handles.
For reference, the bag shown in the picture was made with 21 rounds.
Fasten off and cut the yarn.
Handles
Round 1: Start by placing 4 stitch markers where you would like the handles to be positioned.
Attach your yarn as before, a few stitches away from one of the markers. Work single crochet stitches until you reach the first marker.
Crochet a chain as long as you would like your handle to be and attach it at the second marker. Continue working single crochet stitches until you reach the third marker. Crochet a second handle with the same number of chain stitches as the first and attach it at the fourth marker.
Work single crochet stitches to the end of the round and finish with a slip stitch and 1 chain stitch.
Rounds 2 and 3: Work 2 additional rounds of single crochet stitches, including across the handles.
At the end of the final round, make 1 chain stitch, cut the yarn, and pull it through the loop to fasten off.
Weave in all yarn ends, and your bag is now complete. Great job!
Pattern Using Crochet Abbreviations
This section uses standard crochet abbreviations. If you would like more detailed guidance, please refer to the beginner-friendly version of the pattern.
Abbreviations
st = stitch
ch = chain
sc = single crochet
sl st = slip stitch
*...* = repeat as instructed
Base
Row 1: Start by making a slip knot. Then crochet a chain with an odd number of ch. The ch should be as wide as you would like your bag to be. For reference, the bag shown in the picture was made with 23 ch, resulting in 22 sts from Row 2 onwards.
Row 2 (and onwards): Work 1 sc into the 2nd ch from the hook. Continue working sc across the row. Repeat until the base reaches your desired width. For reference, the bag shown in the picture was made with a total of 4 rows.
Crochet Around the Base
Work sc around the entire base. Start in the corner where you finished the previous row. Work 2 sc into the same st (an increase to create a rounded corner).
Continue working sc to the next corner, and in each corner work 2 sc into the same st.
Finish the round with 1 sl st. Cut the yarn and fasten off.
Count your sts. It is important to maintain an even number of sts in the round for the next step. For reference, the bag shown in the picture has 52 sts around the round.
Crochet the Sides of the Bag
From this point onward, the bag is worked in a granny stripe pattern.
Round 1: Attach your yarn to a stitch at one of the corners. Secure with 1 ch, then make 1 additional ch; these 2 chains count as your first sc of the round.
Work 1 more sc into the same st, then chain 1 and skip 1 st.
*2 sc, 1 ch, skip 1 st*. Repeat from *...* all the way around the round. Finish each round with 1 sl st, then fasten off.
All following rounds are worked into the chain spaces created in the previous round, using the same pattern repeat as Round 1.
Continue crocheting until the bag reaches your desired height before starting the handles.
Handles
Round 1: Place 4 stitch markers where you want the handles to be positioned.
Attach your yarn as before and work sc stitches until you reach the first marker. Chain as many sts as you want for the first handle, then attach it at the second marker.
Continue working sc until you reach the third marker. Make the second handle with the same number of chain sts as the first, then attach it at the fourth marker.
Continue working sc sts to the end of the round and finish with 1 sl st and 1 chain st.
Rounds 2 and 3: Work 2 additional rounds of sc, working over the handles as well.
Weave in and trim all yarn ends.
Your bag is now complete. Great job!
The rights to this pattern belong to MYO Make Your Own. The pattern or its pictures may not be copied, shared or resold either in parts or in its entirety, but you may sell items you have crocheted from this pattern. If you have questions about the pattern, contact MYO at hello@makeyourown.se.
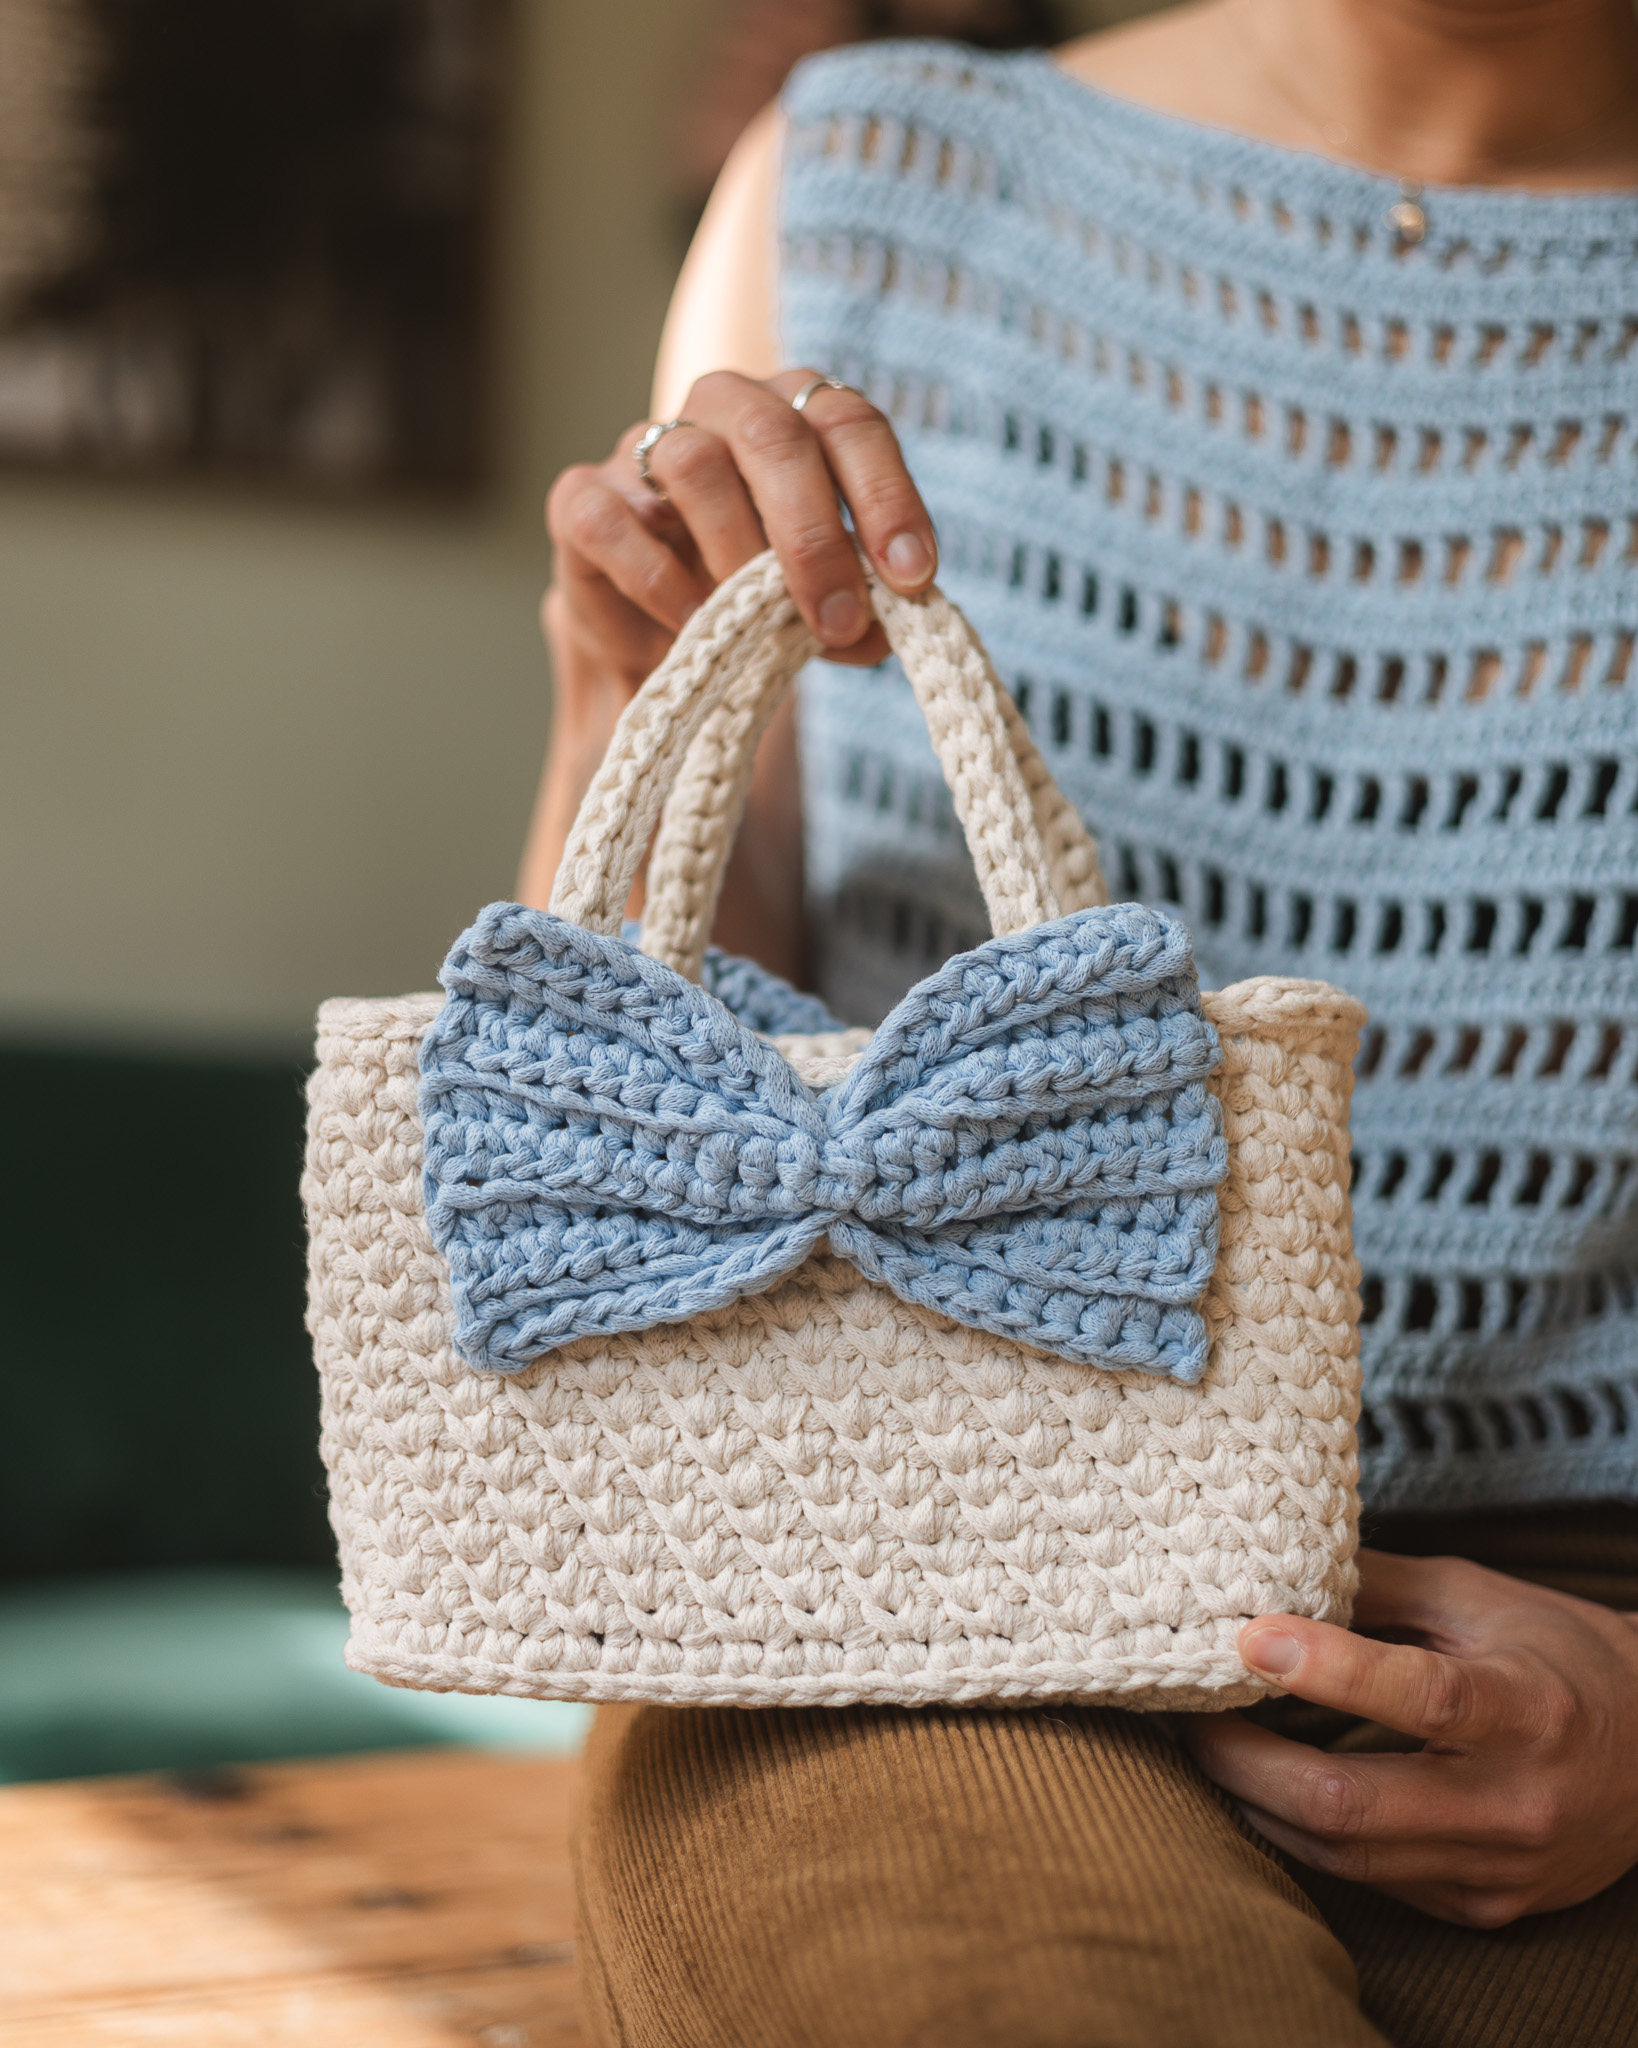


Share your creations with us
Thank you!
Your comment was sent!