
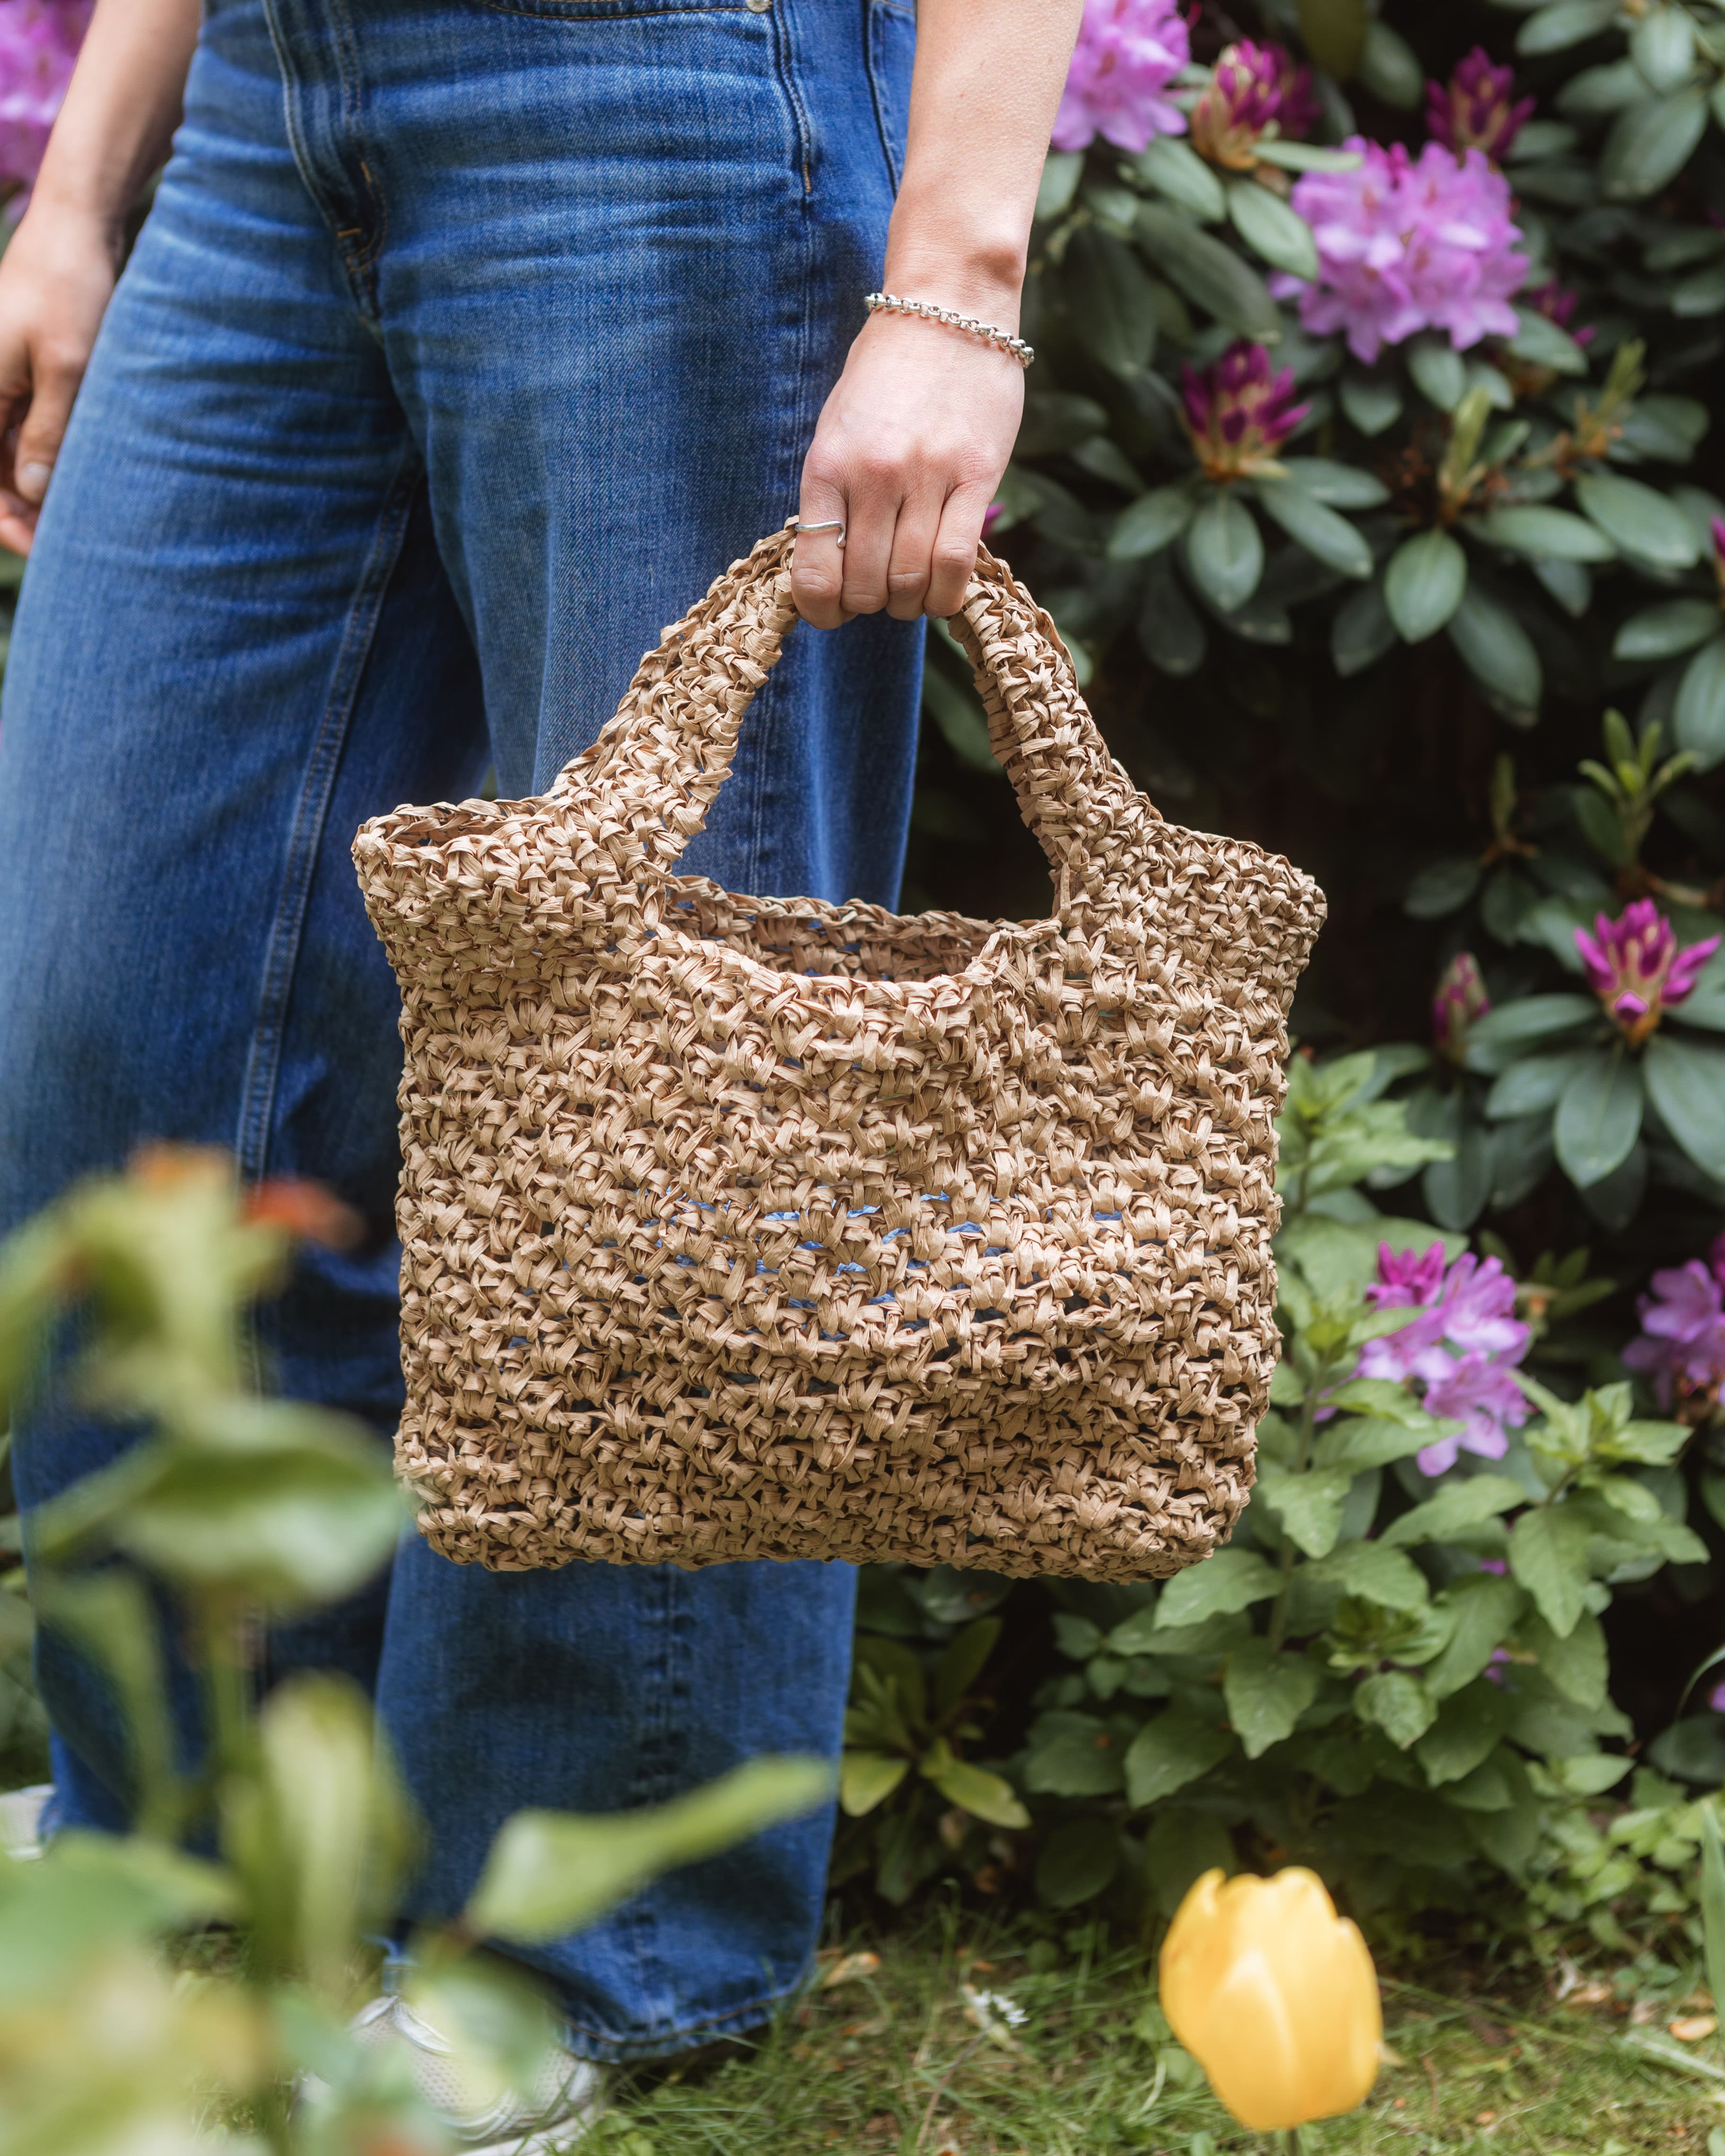
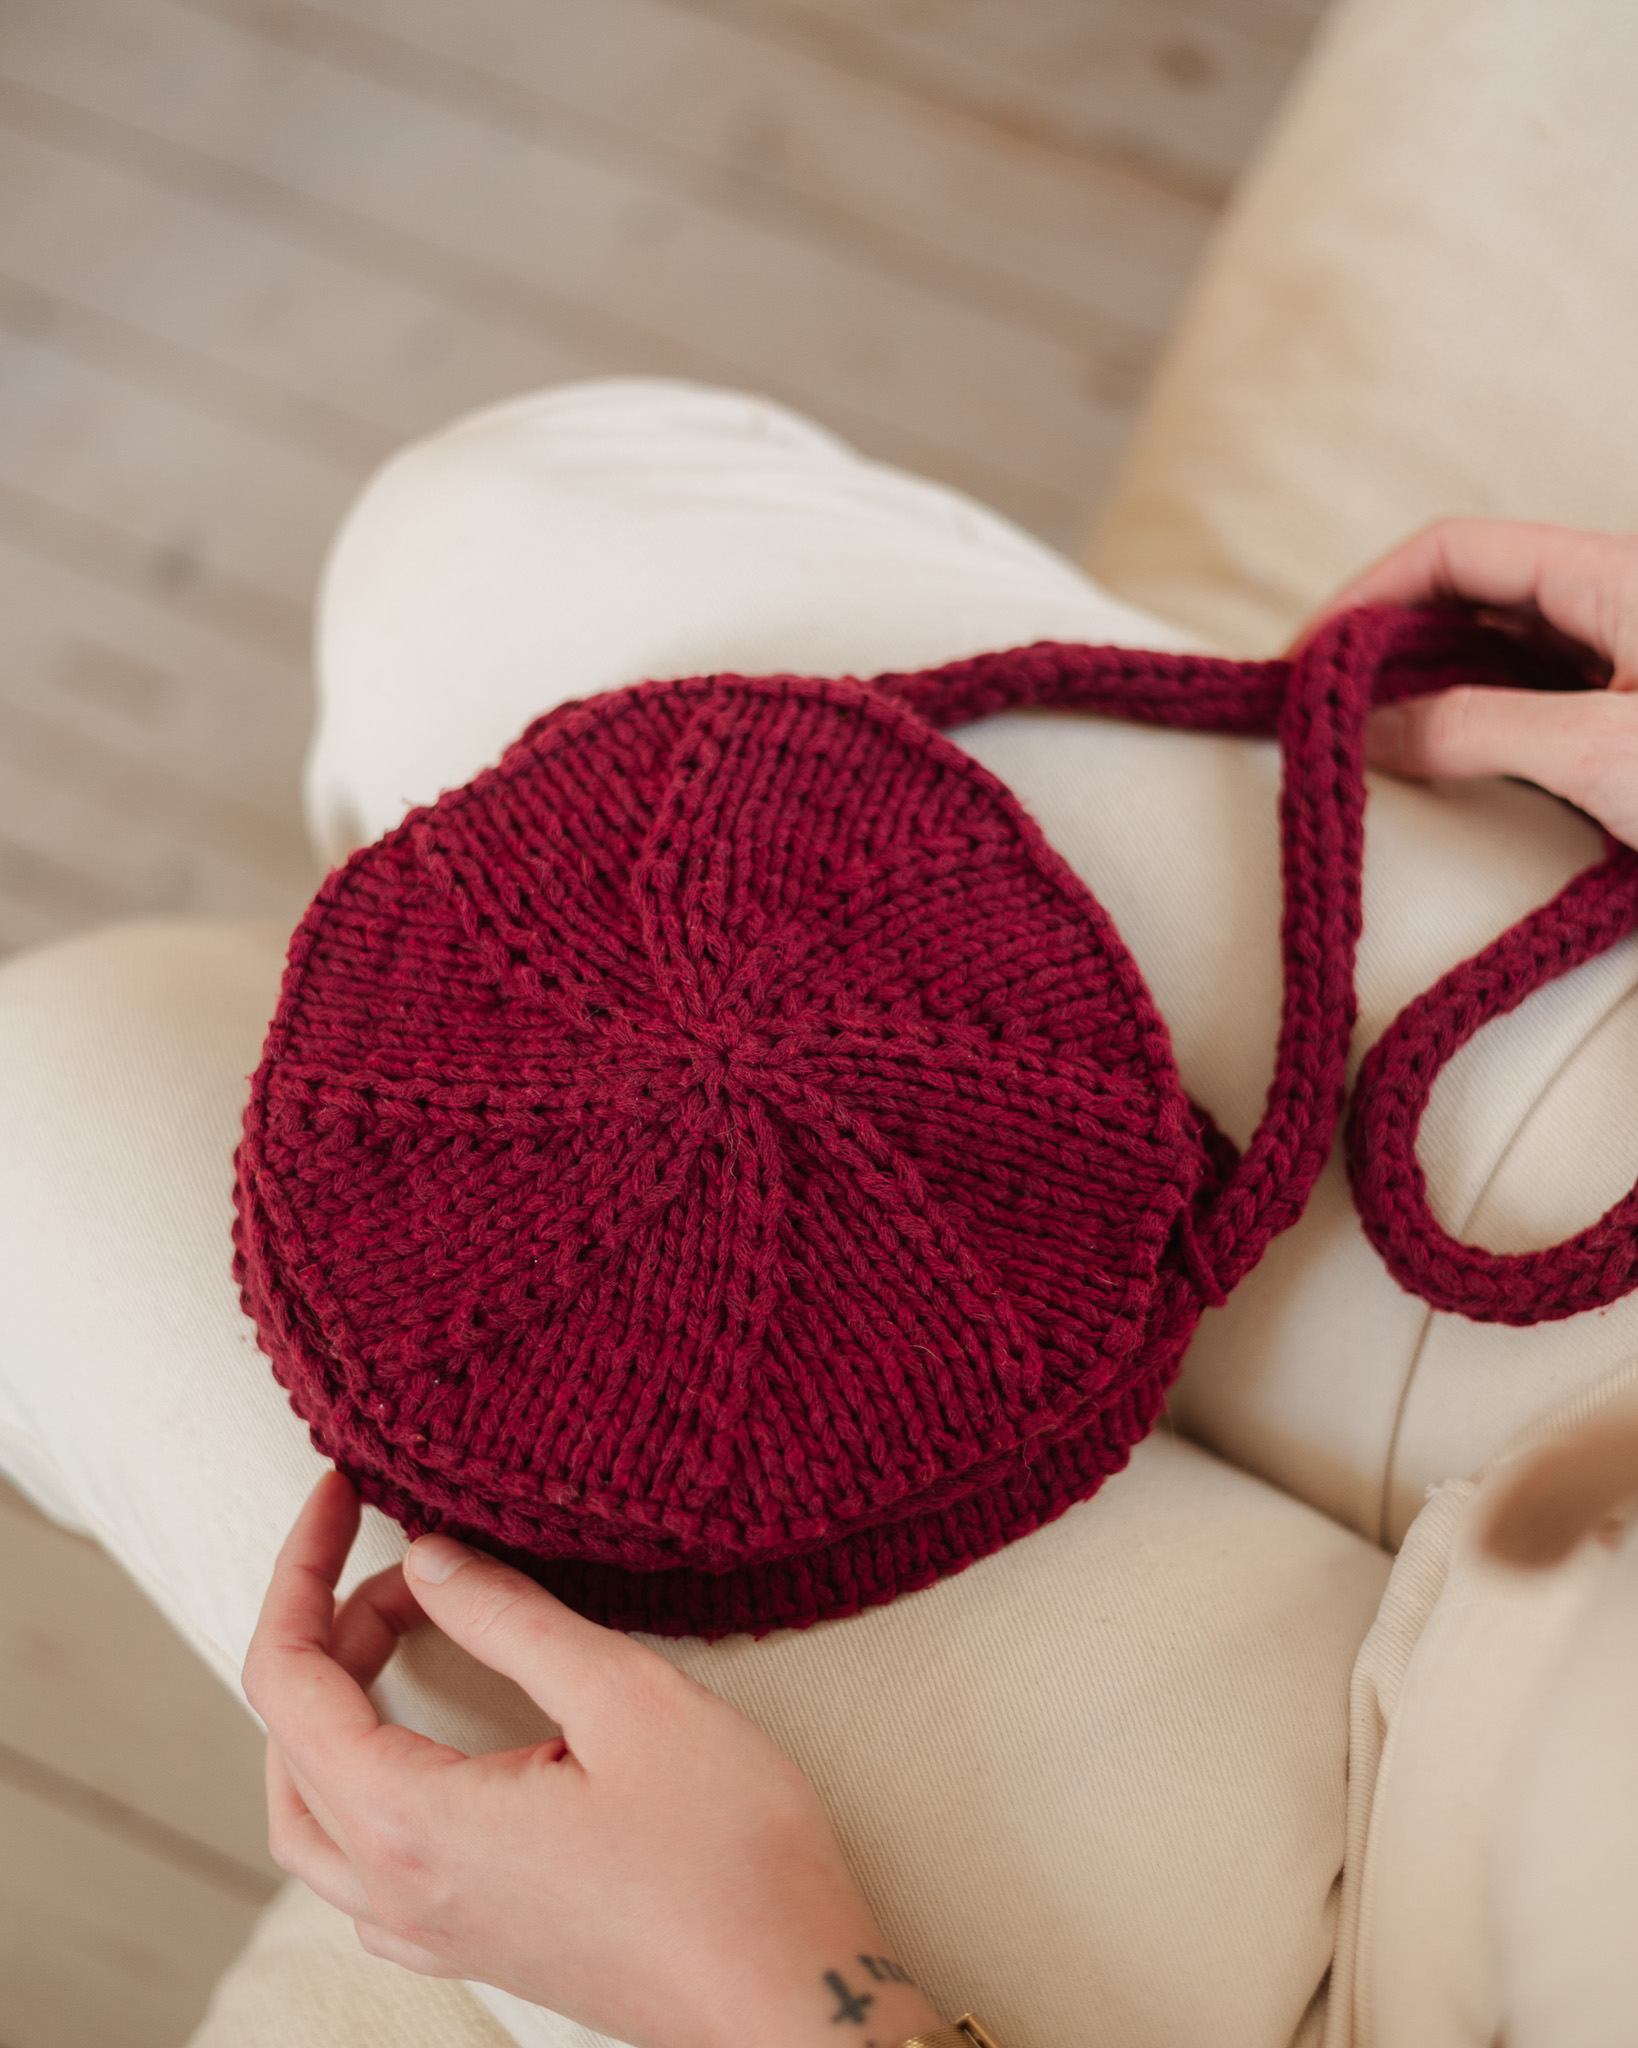
Crochet bag “Lina”
Crochet a bag of fine texture that stands out from the crowd.
The bag is beginner-friendly and easy to crochet. It consists of four pieces of rectangles crocheted together into a bag. In the video you will see all the steps, join us!
The only thing you need is a roll of yarn EKO Mini 1000g and crochet hook size 6 mm.
Yarn consumption: 620 g ECO Mini tube yarn (depending on how hard you crochet)

Here's how to do it
We start by crocheting four rectangles. In the pattern, two different structures are shown and we crochet two of each. It is of course also possible to crochet four equal rectangles if you prefer. In total, the rectangles should be approx. 13-14 cm x approx. 42-43 cm. After we crochet a rectangle, we will crochet around it. So keep that in mind when comparing the rectangles to each other. If it is your first crochet project, I recommend crocheting 4 equal rectangles either according to technique 1 (easiest) or technique 2. /Lizette

This is what you need:
Here you can directly purchase the material for the product. Please note that the instruction is digital and appears here on the page (no written instruction).

EKO Mini tube yarn | 1000g
Narrow "Ribbon" yarn for crocheting, made of 80% recycled cotton
Buy product
.jpg)
Unleash your creativity
For only 85kr per month you get access to all our 300+ beginner-friendly instructions for crochet, knitting and macrame.
A perfect way to get started with your new hobby!

Rectangle technique 1: Single stitches
The first rectangle is crocheted in single stitches only.
Row 1: The Chain
Start by making a loop around the crochet hook. One way you can do this is to wrap the yarn around your index and middle finger and then pull the yarn up so that the loop locks when you tighten. Leave about 15 cm tail.
Adjust the size of the loop around your crochet hook. Now we will start crocheting the chain, use the crochet hook and pick up the yarn with the end that comes from the yarn roll (you temporarily have 2 loops on the crochet hook) and pull through so that a loop is formed (first loop). Do this until you have 13 loops.
Row 2
Now start following the chain back and crochet row 2. Skip the first loop (which is holding your crochet hook) and start going down the loop that comes after. Catch the yarn and pull through (you now temporarily have 2 loops on the hook). Pick up the yarn with the needle again and pull through both loops. Repeat until you reach the other side (you always crochet one stitch less than the loops you made in row 1). When you get to the end of the row, crochet a single loop (chain stitch) and turn.
ATTENTION ! If you forget to add a loose loop before turning the work, the bottom side will be uneven, so be careful with this.
Row 3 and forward
Skip the first stitch. Now crochet double crochets in each stitch, just like row 2 and finish with a chain stitch and turn. On the last round, you do not need to finish with a chain stitch. Now crochet as many rows as you need to achieve approx. 41 cm.
The Last Lap
When you have finished crocheting the rectangle, it will be slightly smaller than the measurements stated above. This is because we will crochet around the rectangle before it is finished. We do this so that it will be easier to crochet the bag together later.
Start by crocheting two more stitches in the stitch you crocheted your last stitch on the last round. Continue crocheting single crochets along the long side until you are at the corner again. Work three single crochets in the corner, then work one single crochet in each stitch until you reach the next corner. Continue until you are back at the start.
Cut and fasten the yarn. Keep about 15 cm of the yarn. Go under a stitch on the back of the rectangle and tie a knot around the stitch. Hide the yarn end under the other stitches.
Rectangle technique 2: Every second single crochet, every second deep single crochet
The second rectangle is crocheted in a different technique, if you crochet two of each it may be more difficult to get them the same size. If you want to crochet the simplest version, crochet four rectangles of technique 1.
Row 1: The Chain
Start by making a simple loop around the crochet hook. One way you can do this is to wrap the yarn around your index and middle finger and then pull the yarn up so that the loop locks when you tighten. Leave about 15 cm tail.
Adjust the size of the loop around your crochet hook. Now we will start crocheting the chain, use the crochet hook and pick up the yarn with the end that comes from the yarn roll (you temporarily have 2 loops on the crochet hook) and pull through so that a loop is formed (first loop). Do this until you have 11 loops (important that it is an uneven number of stitches).
Row 2
Now start following the chain back and crochet row 2. Skip the first loop (which is holding your crochet hook) and start going down the loop that comes after. Catch the yarn and pull through (you now temporarily have 2 loops on the hook). Pick up the yarn with the needle again and pull through both loops. Repeat until you reach the other side (you always crochet one stitch less than the loops you made in row 1). When you get to the end of the row, crochet a single loop (chain stitch) and turn.
If you forget to add a loose loop before turning the work, the bottom side will be uneven, so be careful with this.
Row 3 and forward
Now that you have turned your work, we will crochet back. Just like in row 2, you skip the first loop and start in the second stitch. We´re going to make a deep stitch, which means we go down into the hole a notch lower than we usually do. This one is called "long" or "deep" because it looks long compared to the others. Go down into the hole below, pick up the yarn so you have two loops on the hook, pick up the yarn again and pull through. In the stitch after, you make a single stitch and go down under both of the two lines and pick up the yarn, you have two loops temporarily on the hook, pick up the yarn again and pull through. In the third stitch, make a deep stitch. Do every other until the end. You always start with a deep stitch and finish with a single stitch. Finish the row with a single loose loop before turning the work.
Feel free to watch the video if you are unsure about the deep stitches.
On the last round, you do not need to finish with a chain stitch. Now crochet as many rows as you need to achieve approx. 41 cm.
The Last Lap
When you have finished crocheting the rectangle, it is slightly smaller than the dimensions indicated above. That's because we're going to crochet around the rectangle before it's done. We do this to make it easier to fold the bag later.
Start by crocheting two more stitches in the stitch you crocheted your last stitch on the last lap. Continue to crochet solid stitches along the long side until you are at the corner again. Crochet three single stitches in the corner, then crochet one firm stitch in each stitch until you are at the next corner. Continue until you are back at takeoff.
Cut off and fasten the yarn. Keep about 15 cm of yarn. Go under a stitch on the back of the rectangle and tie a knot around the stitch. Hide the end of the yarn under the other stitches.
Assemble the bottom
Place the rectangles as in image 1 (fine sides up) and assemble as in image 2. Make a loop around the crochet hook by wrapping the yarn around your index finger and middle finger, then pull the yarn up so that the loop locks when you tighten. Leave about 15 cm tail. Go down with the crochet hook where the point is in the picture and then crochet double crochets through both stitches on both rectangles so they are crocheted together. Go under both stitches on both sides and pick up yarn and pull through, pick up yarn again and pull through. Continue up until one side ends, stop there and make a loop. Then cut the yarn and fasten to the inside (you can fasten all yarn ends to the end if you want).


Make a loop around the hook and go down where the dot shows. Then assemble the other part of the bottom and the other side with each other. Cut and attach the yarn as before. See picture 3.

Make a loop around the hook and go down where the dot shows. Now fit the last pages together according to picture 4 and picture 5. Finish as before.


Crochet the handles
Start in a valley (between two peaks) by making a loop around the hook just like we did before. Crochet a stitch in each stitch, but in future valleys you skip a stitch at the bottom and on the peaks you crochet two stitches in the top stitch.
When you have crocheted one round, we will start crocheting the handles. Crochet until you are on the first peak and this is where the first handle begins. Crochet chain stitches by taking the yarn over the crochet hook and pulling through. crochet as many as you want to make the handle as big as you want. For reference, 20 chain stitches are crocheted in the video. Go down into the next peak and now crochet single stitches until you reach peak number 3. There you again crochet chain stitches (the same number as you crocheted the first time) and go down with the crochet hook in the fourth peak. Now crochet single crochets back to where you started.
Now you crochet a stitch in each stitch as many rounds as you want so that the handle gets the width you want. When you are satisfied, you finish where you started. Finish by cutting the yarn and attaching it as we did before.
Your bag is ready and we hope you like it:)
You'll be more than happy to show us your new bag on Instagram by tagging @makeyourown .se and #createwithmyo
Abbreviation
st = stitch
sc = single crochet
ch = chain stitch
sl st = slip stitch
lsc = long single crochet (a single crochet worked into the row below)
(.....) = Indicates the total number of stitches in the round/row
*...* = Everything between the ... is repeated the specified number of times
We will start by crocheting four rectangles. The pattern demonstrates two different textures, and we will crochet two of each. However, you can also crochet four identical rectangles if you prefer. Each rectangle should measure approximately 13-14 cm x 42-43 cm.
Once the rectangles are crocheted, you will crochet around them, so keep that in mind when comparing their sizes. If this is your first crochet project, it is recommended to make all four rectangles the same, using Technique 1 (easiest) or Technique 2. Ensure you crochet the same number of single crochet stitches along the long sides of the rectangles, regardless of the technique used.
Rectangle Technique 1: Single Crochet
Row 1: 13 ch (13)
From now on, end each row with a turning chain (1 ch) and turn your work. Start every new row in the 2nd stitch from the hook. Turning chains are not included in the total stitch count.
Rows 2-44: 12 sc (12)
The rectangle should measure approximately 11-12 cm wide. Add or remove rows as necessary to make the rectangle approximately 41-42 cm long.
Now, crochet one round of single crochet around the rectangle.
Round 1:
- 2 sc in the same stitch as the last stitch in the final row,
- 43 sc along the long side,
- 3 sc in the corner,
- 10 sc along the short side,
- 3 sc in the corner,
- 43 sc along the long side,
- 3 sc in the corner,
- 10 sc along the short side.
Finish with 1 sl st and fasten off. (117 stitches)
Rectangle Technique 2: Alternating Single Crochet and Deep Single Crochet
Row 1: 11 ch (11)
As with Technique 1, end each row with 1 turning chain (1 ch) and turn your work. Start every new row in the 2nd stitch from the hook.
Row 2: 10 sc (10)
Row 3: 1 lsc, 1 sc x 5 (10)
Row 4: 1 sc, 1 lsc x 5 (10)
Repeat Rows 3-4 approximately 25 times. Adjust the number of rows as necessary to ensure the rectangle is 41-42 cm long.
Now, crochet one round of single crochet around the rectangle.
Round 1:
- 2 sc in the same stitch as the last stitch in the final row,
- 43 sc along the long side,
- 3 sc in the corner,
- 9 sc along the short side,
- 3 sc in the corner,
- 43 sc along the long side,
- 3 sc in the corner,
- 9 sc along the short side.
Finish with 1 sl st and fasten off. (115 stitches)
Assemble the Bottom
Lay the rectangles as shown in Image 1 (with right sides facing up) and assemble them as illustrated in Image 2.
Fasten the yarn with 1 sl st at the point shown in the image. Crochet single crochet stitches through both loops of both rectangles to join them together.
Cut the yarn and fasten off. Weave in the ends. Attach the second part of the bottom to the other side in the same manner. Fasten the yarn with 1 sl st, crochet single crochet stitches to join, and cut the yarn, fastening off as before. Refer to Image 3 for guidance.
Now attach the remaining sides to each other, following Image 4 and Image 5. Finish off in the same way as before.
Handles:
Attach the yarn with 1 sl st at a seam between the rectangles.
Round 1: Sc around the entire top edge of the bag. At each "peak" of a rectangle, make 2 sc in the same stitch. At each "valley" between two rectangles, skip 1 stitch.
Round 2: Sc up to the first "peak," ch 20, crochet 1 sc in the next "peak." Sc until the next "valley," skip 1 stitch, sc until the next "peak," ch 20, 1 sc in the next "peak." Sc until you reach the starting point.
Rounds 3-5: Sc into each stitch from the previous round. Skip 1 stitch at each "valley." Crochet as many rounds as needed until you are happy with the thickness of the handles.
Finish off and weave in the yarn.
I hope you enjoy your new bag! Feel free to share your creation by tagging it.
The rights to this pattern belong to MYO Make Your Own. The pattern or its pictures may not be copied, shared or resold either in parts or in its entirety, but you may sell items you have crocheted from this pattern. If you have questions about the pattern, contact MYO at hello@makeyourown.se.
Rectangle technique 1: Single stitches
The first rectangle is crocheted in single stitches only.
Row 1: The Chain
Start by making a loop around the crochet hook. One way you can do this is to wrap the yarn around your index and middle finger and then pull the yarn up so that the loop locks when you tighten. Leave about 15 cm tail.
Adjust the size of the loop around your crochet hook. Now we will start crocheting the chain, use the crochet hook and pick up the yarn with the end that comes from the yarn roll (you temporarily have 2 loops on the crochet hook) and pull through so that a loop is formed (first loop). Do this until you have 13 loops.
Row 2
Now start following the chain back and crochet row 2. Skip the first loop (which is holding your crochet hook) and start going down the loop that comes after. Catch the yarn and pull through (you now temporarily have 2 loops on the hook). Pick up the yarn with the needle again and pull through both loops. Repeat until you reach the other side (you always crochet one stitch less than the loops you made in row 1). When you get to the end of the row, crochet a single loop (chain stitch) and turn.
ATTENTION ! If you forget to add a loose loop before turning the work, the bottom side will be uneven, so be careful with this.
Row 3 and forward
Skip the first stitch. Now crochet double crochets in each stitch, just like row 2 and finish with a chain stitch and turn. On the last round, you do not need to finish with a chain stitch. Now crochet as many rows as you need to achieve approx. 41 cm.
The Last Lap
When you have finished crocheting the rectangle, it will be slightly smaller than the measurements stated above. This is because we will crochet around the rectangle before it is finished. We do this so that it will be easier to crochet the bag together later.
Start by crocheting two more stitches in the stitch you crocheted your last stitch on the last round. Continue crocheting single crochets along the long side until you are at the corner again. Work three single crochets in the corner, then work one single crochet in each stitch until you reach the next corner. Continue until you are back at the start.
Cut and fasten the yarn. Keep about 15 cm of the yarn. Go under a stitch on the back of the rectangle and tie a knot around the stitch. Hide the yarn end under the other stitches.
Rectangle technique 2: Every second single crochet, every second deep single crochet
The second rectangle is crocheted in a different technique, if you crochet two of each it may be more difficult to get them the same size. If you want to crochet the simplest version, crochet four rectangles of technique 1.
Row 1: The Chain
Start by making a simple loop around the crochet hook. One way you can do this is to wrap the yarn around your index and middle finger and then pull the yarn up so that the loop locks when you tighten. Leave about 15 cm tail.
Adjust the size of the loop around your crochet hook. Now we will start crocheting the chain, use the crochet hook and pick up the yarn with the end that comes from the yarn roll (you temporarily have 2 loops on the crochet hook) and pull through so that a loop is formed (first loop). Do this until you have 11 loops (important that it is an uneven number of stitches).
Row 2
Now start following the chain back and crochet row 2. Skip the first loop (which is holding your crochet hook) and start going down the loop that comes after. Catch the yarn and pull through (you now temporarily have 2 loops on the hook). Pick up the yarn with the needle again and pull through both loops. Repeat until you reach the other side (you always crochet one stitch less than the loops you made in row 1). When you get to the end of the row, crochet a single loop (chain stitch) and turn.
If you forget to add a loose loop before turning the work, the bottom side will be uneven, so be careful with this.
Row 3 and forward
Now that you have turned your work, we will crochet back. Just like in row 2, you skip the first loop and start in the second stitch. We´re going to make a deep stitch, which means we go down into the hole a notch lower than we usually do. This one is called "long" or "deep" because it looks long compared to the others. Go down into the hole below, pick up the yarn so you have two loops on the hook, pick up the yarn again and pull through. In the stitch after, you make a single stitch and go down under both of the two lines and pick up the yarn, you have two loops temporarily on the hook, pick up the yarn again and pull through. In the third stitch, make a deep stitch. Do every other until the end. You always start with a deep stitch and finish with a single stitch. Finish the row with a single loose loop before turning the work.
Feel free to watch the video if you are unsure about the deep stitches.
On the last round, you do not need to finish with a chain stitch. Now crochet as many rows as you need to achieve approx. 41 cm.
The Last Lap
When you have finished crocheting the rectangle, it is slightly smaller than the dimensions indicated above. That's because we're going to crochet around the rectangle before it's done. We do this to make it easier to fold the bag later.
Start by crocheting two more stitches in the stitch you crocheted your last stitch on the last lap. Continue to crochet solid stitches along the long side until you are at the corner again. Crochet three single stitches in the corner, then crochet one firm stitch in each stitch until you are at the next corner. Continue until you are back at takeoff.
Cut off and fasten the yarn. Keep about 15 cm of yarn. Go under a stitch on the back of the rectangle and tie a knot around the stitch. Hide the end of the yarn under the other stitches.
Assemble the bottom
Place the rectangles as in image 1 (fine sides up) and assemble as in image 2. Make a loop around the crochet hook by wrapping the yarn around your index finger and middle finger, then pull the yarn up so that the loop locks when you tighten. Leave about 15 cm tail. Go down with the crochet hook where the point is in the picture and then crochet double crochets through both stitches on both rectangles so they are crocheted together. Go under both stitches on both sides and pick up yarn and pull through, pick up yarn again and pull through. Continue up until one side ends, stop there and make a loop. Then cut the yarn and fasten to the inside (you can fasten all yarn ends to the end if you want).
Make a loop around the hook and go down where the dot shows. Then assemble the other part of the bottom and the other side with each other. Cut and attach the yarn as before. See picture 3.
Make a loop around the hook and go down where the dot shows. Now fit the last pages together according to picture 4 and picture 5. Finish as before.
Crochet the handles
Start in a valley (between two peaks) by making a loop around the hook just like we did before. Crochet a stitch in each stitch, but in future valleys you skip a stitch at the bottom and on the peaks you crochet two stitches in the top stitch.
When you have crocheted one round, we will start crocheting the handles. Crochet until you are on the first peak and this is where the first handle begins. Crochet chain stitches by taking the yarn over the crochet hook and pulling through. crochet as many as you want to make the handle as big as you want. For reference, 20 chain stitches are crocheted in the video. Go down into the next peak and now crochet single stitches until you reach peak number 3. There you again crochet chain stitches (the same number as you crocheted the first time) and go down with the crochet hook in the fourth peak. Now crochet single crochets back to where you started.
Now you crochet a stitch in each stitch as many rounds as you want so that the handle gets the width you want. When you are satisfied, you finish where you started. Finish by cutting the yarn and attaching it as we did before.
Your bag is ready and we hope you like it:)
You'll be more than happy to show us your new bag on Instagram by tagging @makeyourown .se and #createwithmyo
Abbreviation
st = stitch
sc = single crochet
ch = chain stitch
sl st = slip stitch
lsc = long single crochet (a single crochet worked into the row below)
(.....) = Indicates the total number of stitches in the round/row
*...* = Everything between the ... is repeated the specified number of times
We will start by crocheting four rectangles. The pattern demonstrates two different textures, and we will crochet two of each. However, you can also crochet four identical rectangles if you prefer. Each rectangle should measure approximately 13-14 cm x 42-43 cm.
Once the rectangles are crocheted, you will crochet around them, so keep that in mind when comparing their sizes. If this is your first crochet project, it is recommended to make all four rectangles the same, using Technique 1 (easiest) or Technique 2. Ensure you crochet the same number of single crochet stitches along the long sides of the rectangles, regardless of the technique used.
Rectangle Technique 1: Single Crochet
Row 1: 13 ch (13)
From now on, end each row with a turning chain (1 ch) and turn your work. Start every new row in the 2nd stitch from the hook. Turning chains are not included in the total stitch count.
Rows 2-44: 12 sc (12)
The rectangle should measure approximately 11-12 cm wide. Add or remove rows as necessary to make the rectangle approximately 41-42 cm long.
Now, crochet one round of single crochet around the rectangle.
Round 1:
- 2 sc in the same stitch as the last stitch in the final row,
- 43 sc along the long side,
- 3 sc in the corner,
- 10 sc along the short side,
- 3 sc in the corner,
- 43 sc along the long side,
- 3 sc in the corner,
- 10 sc along the short side.
Finish with 1 sl st and fasten off. (117 stitches)
Rectangle Technique 2: Alternating Single Crochet and Deep Single Crochet
Row 1: 11 ch (11)
As with Technique 1, end each row with 1 turning chain (1 ch) and turn your work. Start every new row in the 2nd stitch from the hook.
Row 2: 10 sc (10)
Row 3: 1 lsc, 1 sc x 5 (10)
Row 4: 1 sc, 1 lsc x 5 (10)
Repeat Rows 3-4 approximately 25 times. Adjust the number of rows as necessary to ensure the rectangle is 41-42 cm long.
Now, crochet one round of single crochet around the rectangle.
Round 1:
- 2 sc in the same stitch as the last stitch in the final row,
- 43 sc along the long side,
- 3 sc in the corner,
- 9 sc along the short side,
- 3 sc in the corner,
- 43 sc along the long side,
- 3 sc in the corner,
- 9 sc along the short side.
Finish with 1 sl st and fasten off. (115 stitches)
Assemble the Bottom
Lay the rectangles as shown in Image 1 (with right sides facing up) and assemble them as illustrated in Image 2.
Fasten the yarn with 1 sl st at the point shown in the image. Crochet single crochet stitches through both loops of both rectangles to join them together.
Cut the yarn and fasten off. Weave in the ends. Attach the second part of the bottom to the other side in the same manner. Fasten the yarn with 1 sl st, crochet single crochet stitches to join, and cut the yarn, fastening off as before. Refer to Image 3 for guidance.
Now attach the remaining sides to each other, following Image 4 and Image 5. Finish off in the same way as before.
Handles:
Attach the yarn with 1 sl st at a seam between the rectangles.
Round 1: Sc around the entire top edge of the bag. At each "peak" of a rectangle, make 2 sc in the same stitch. At each "valley" between two rectangles, skip 1 stitch.
Round 2: Sc up to the first "peak," ch 20, crochet 1 sc in the next "peak." Sc until the next "valley," skip 1 stitch, sc until the next "peak," ch 20, 1 sc in the next "peak." Sc until you reach the starting point.
Rounds 3-5: Sc into each stitch from the previous round. Skip 1 stitch at each "valley." Crochet as many rounds as needed until you are happy with the thickness of the handles.
Finish off and weave in the yarn.
I hope you enjoy your new bag! Feel free to share your creation by tagging it.
The rights to this pattern belong to MYO Make Your Own. The pattern or its pictures may not be copied, shared or resold either in parts or in its entirety, but you may sell items you have crocheted from this pattern. If you have questions about the pattern, contact MYO at hello@makeyourown.se.

Share your creations with us
Thank you!
Your comment was sent!