
Crochet bag “Klara”
Crochet a stylish bag
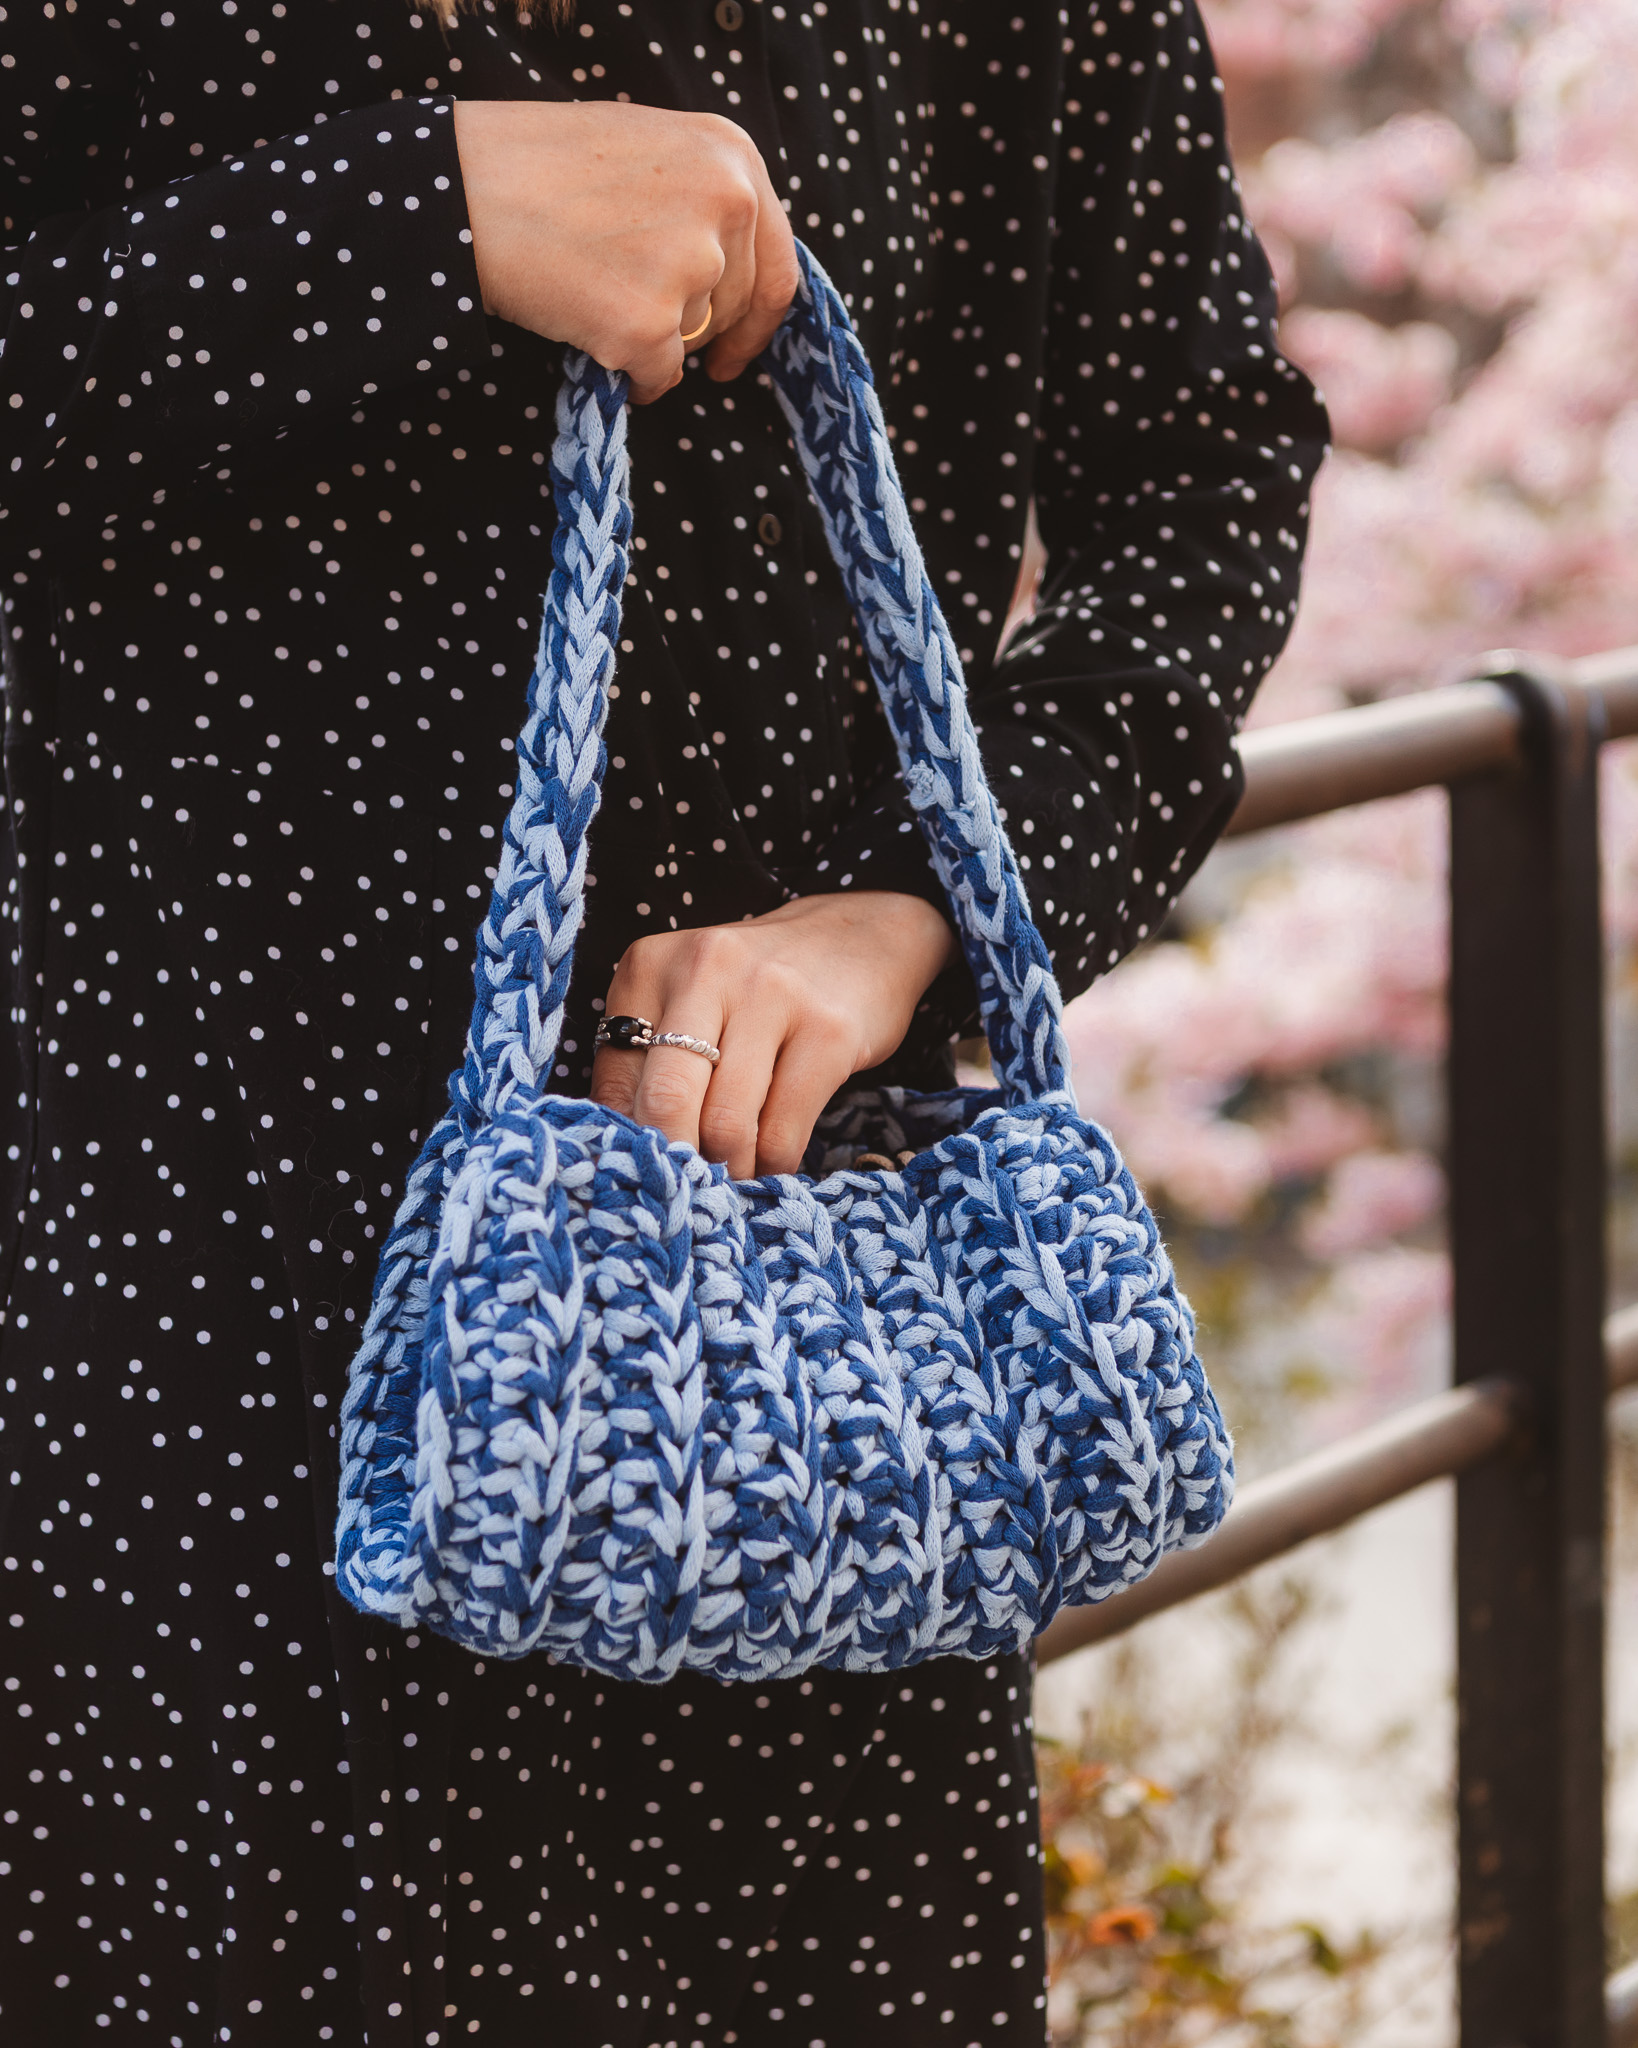
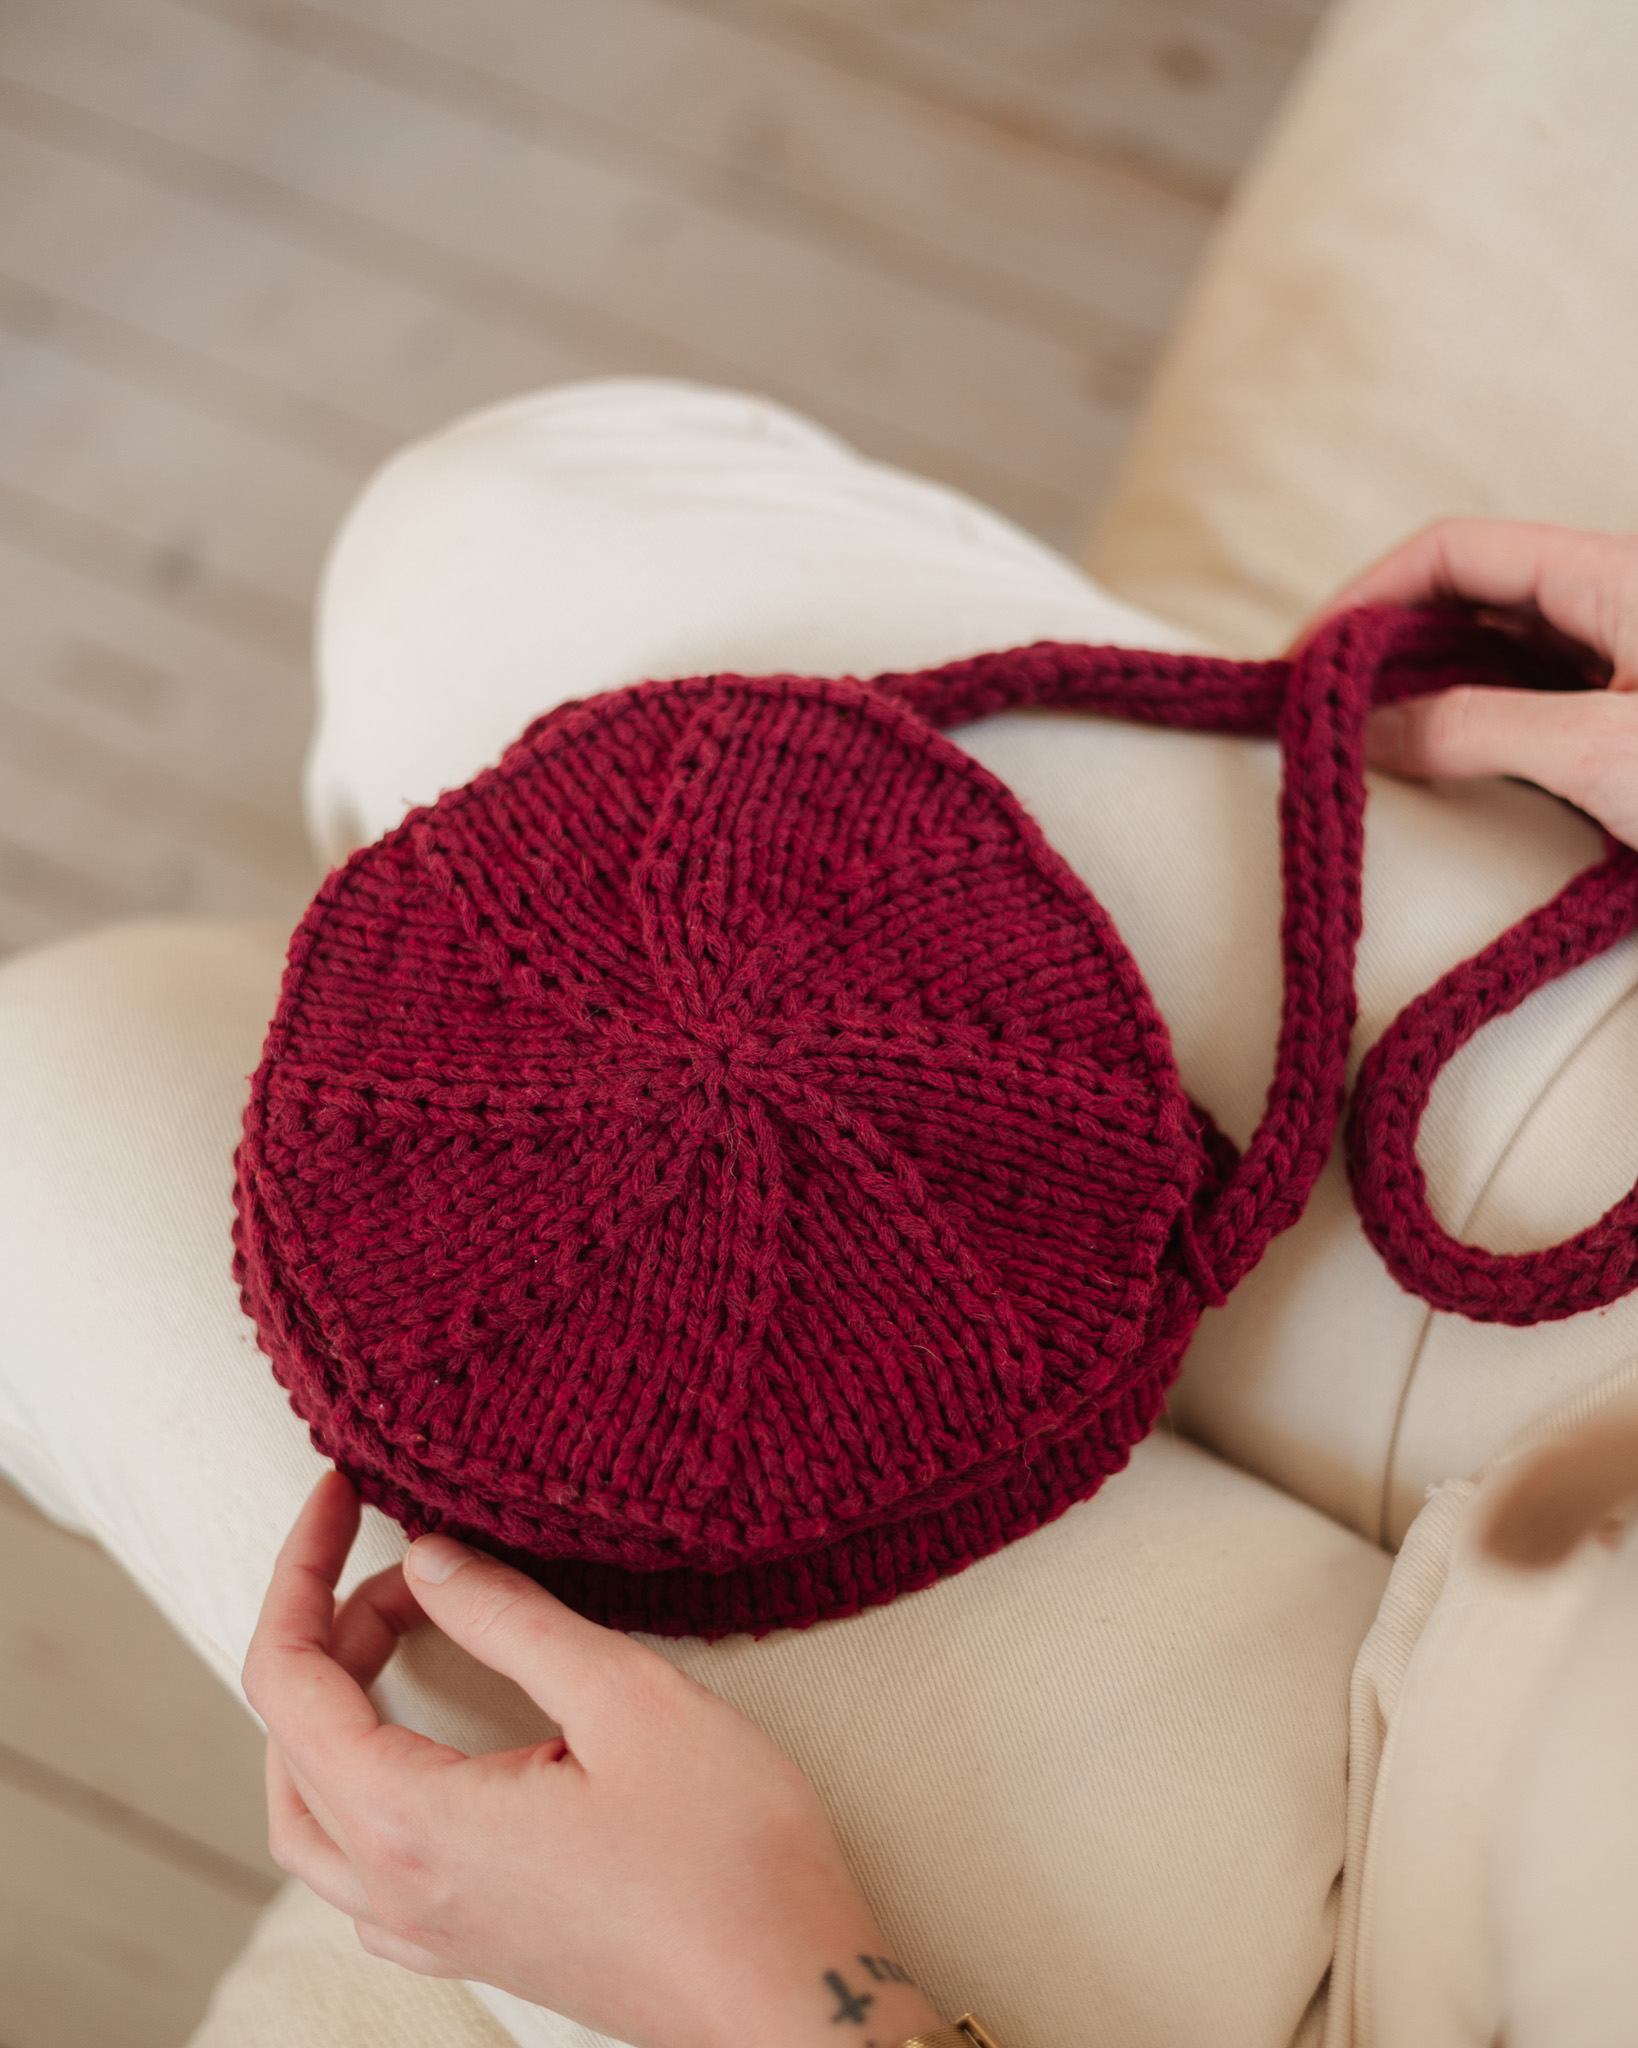
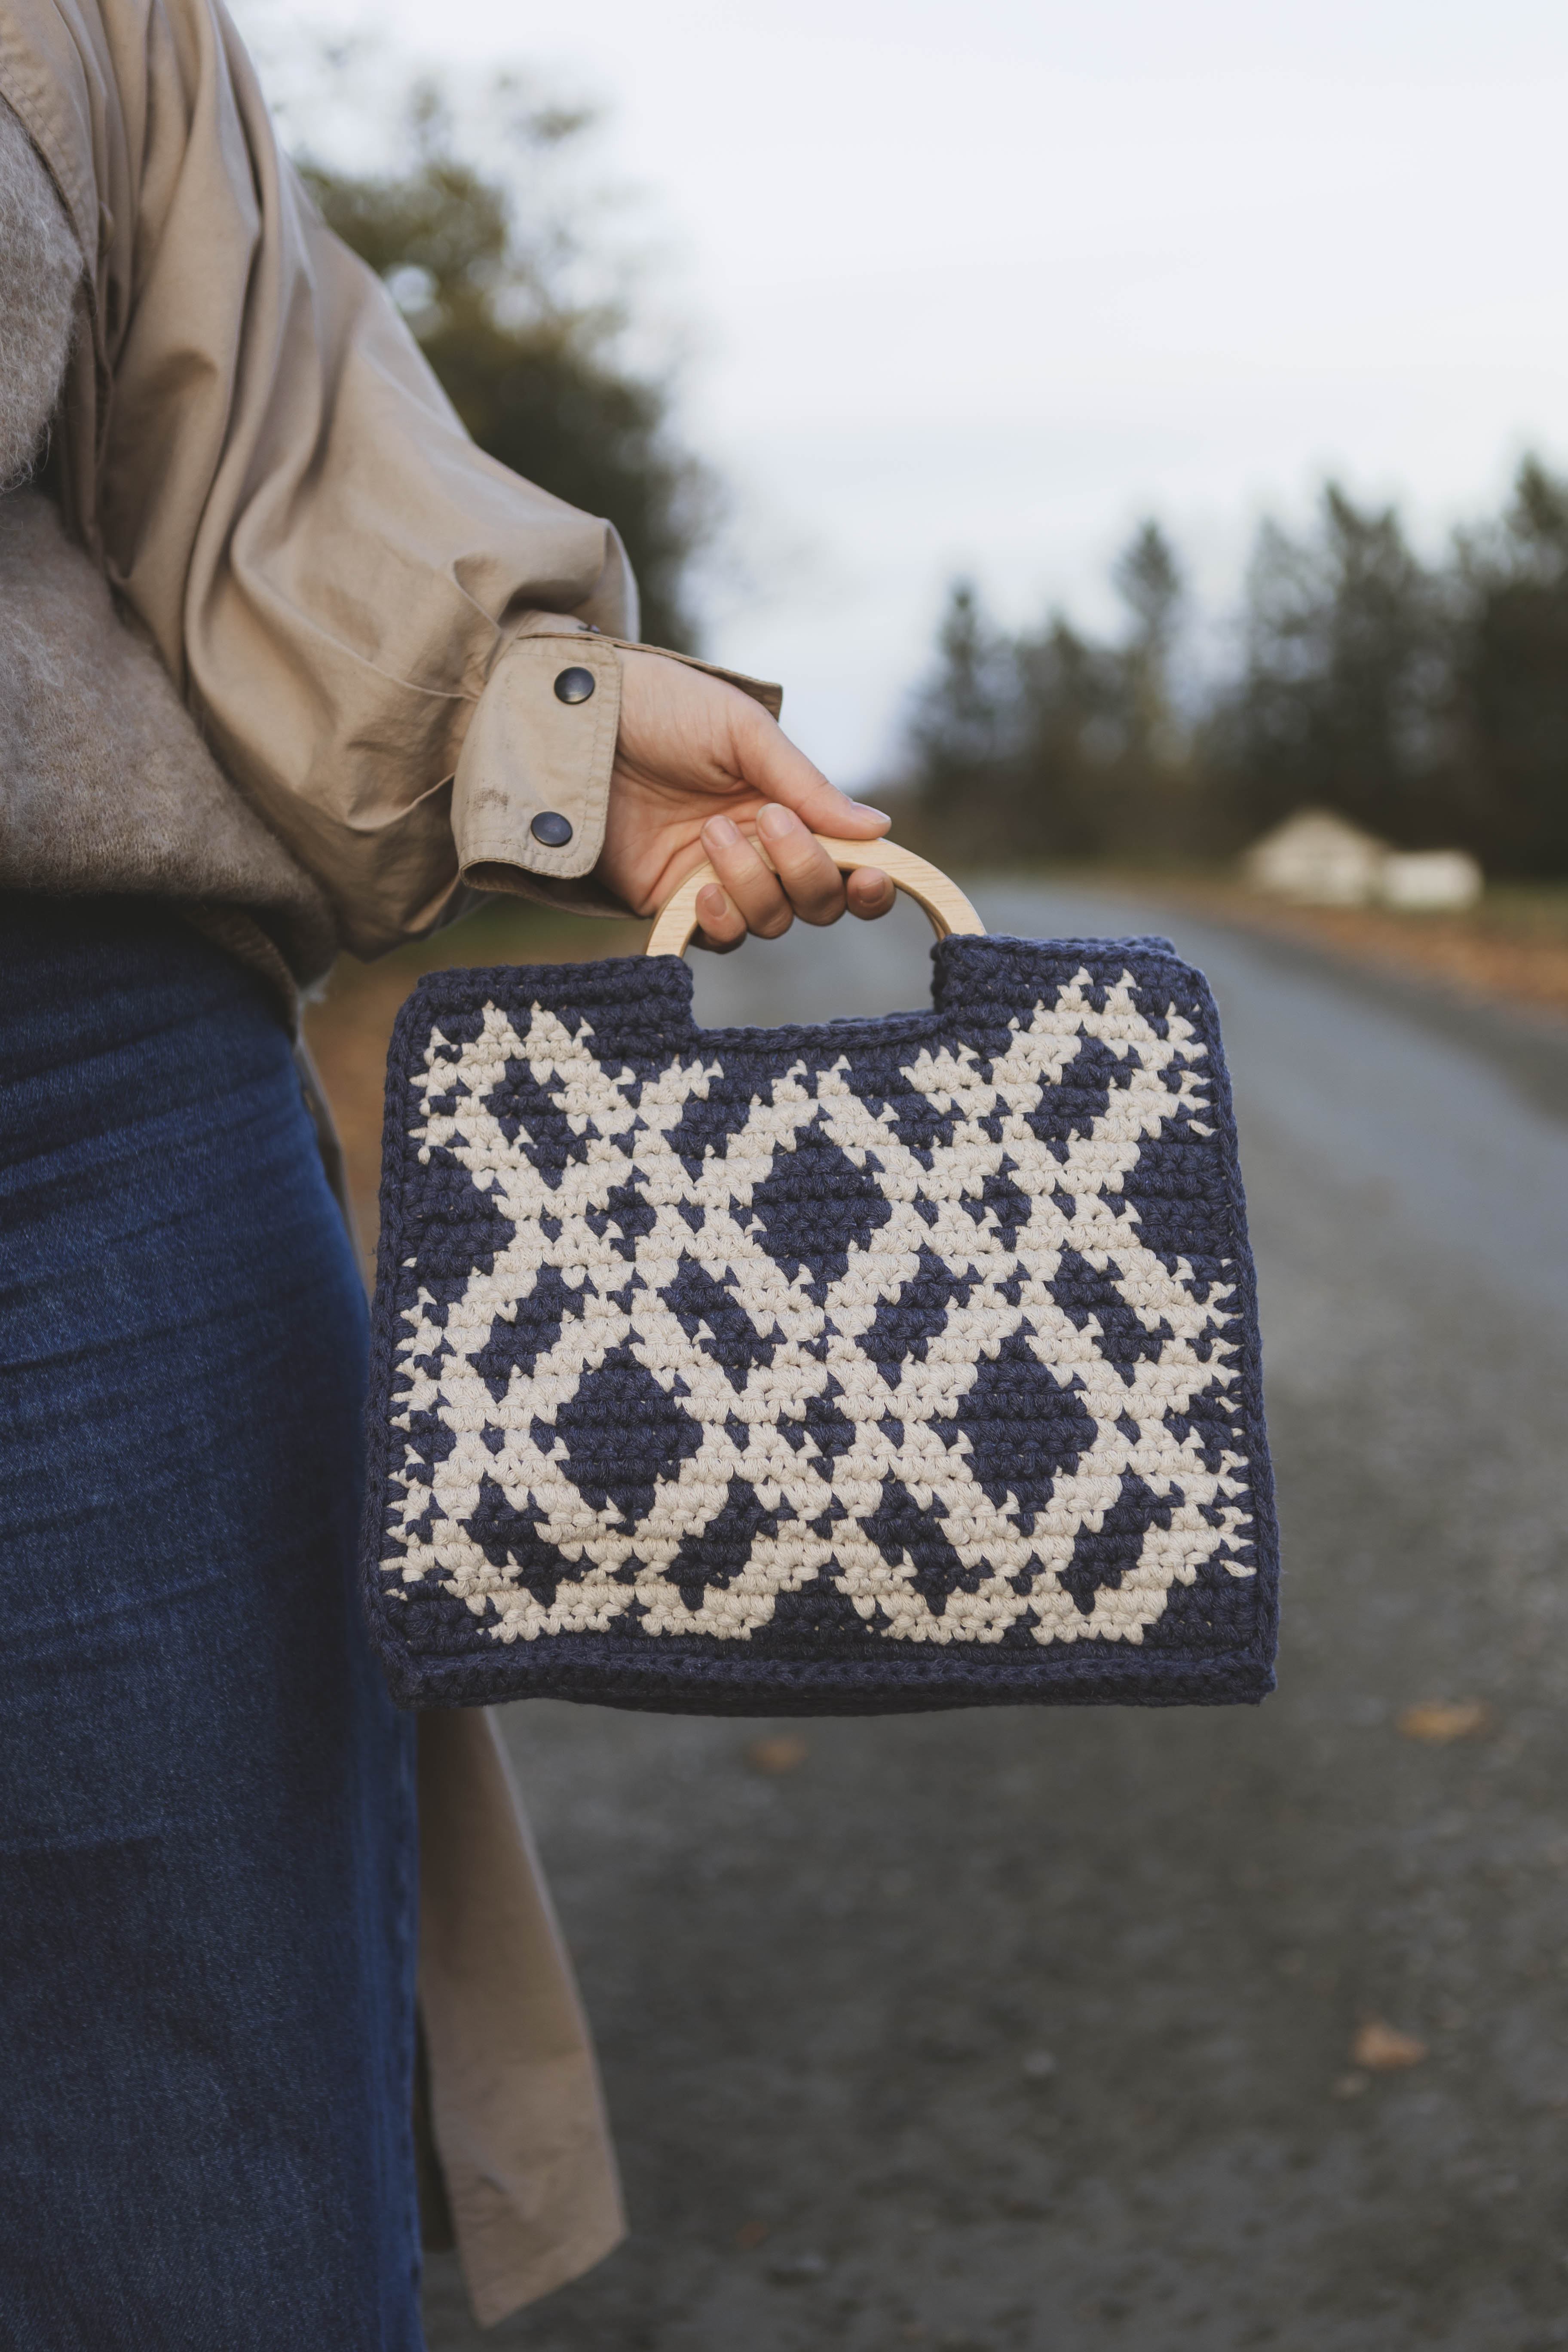
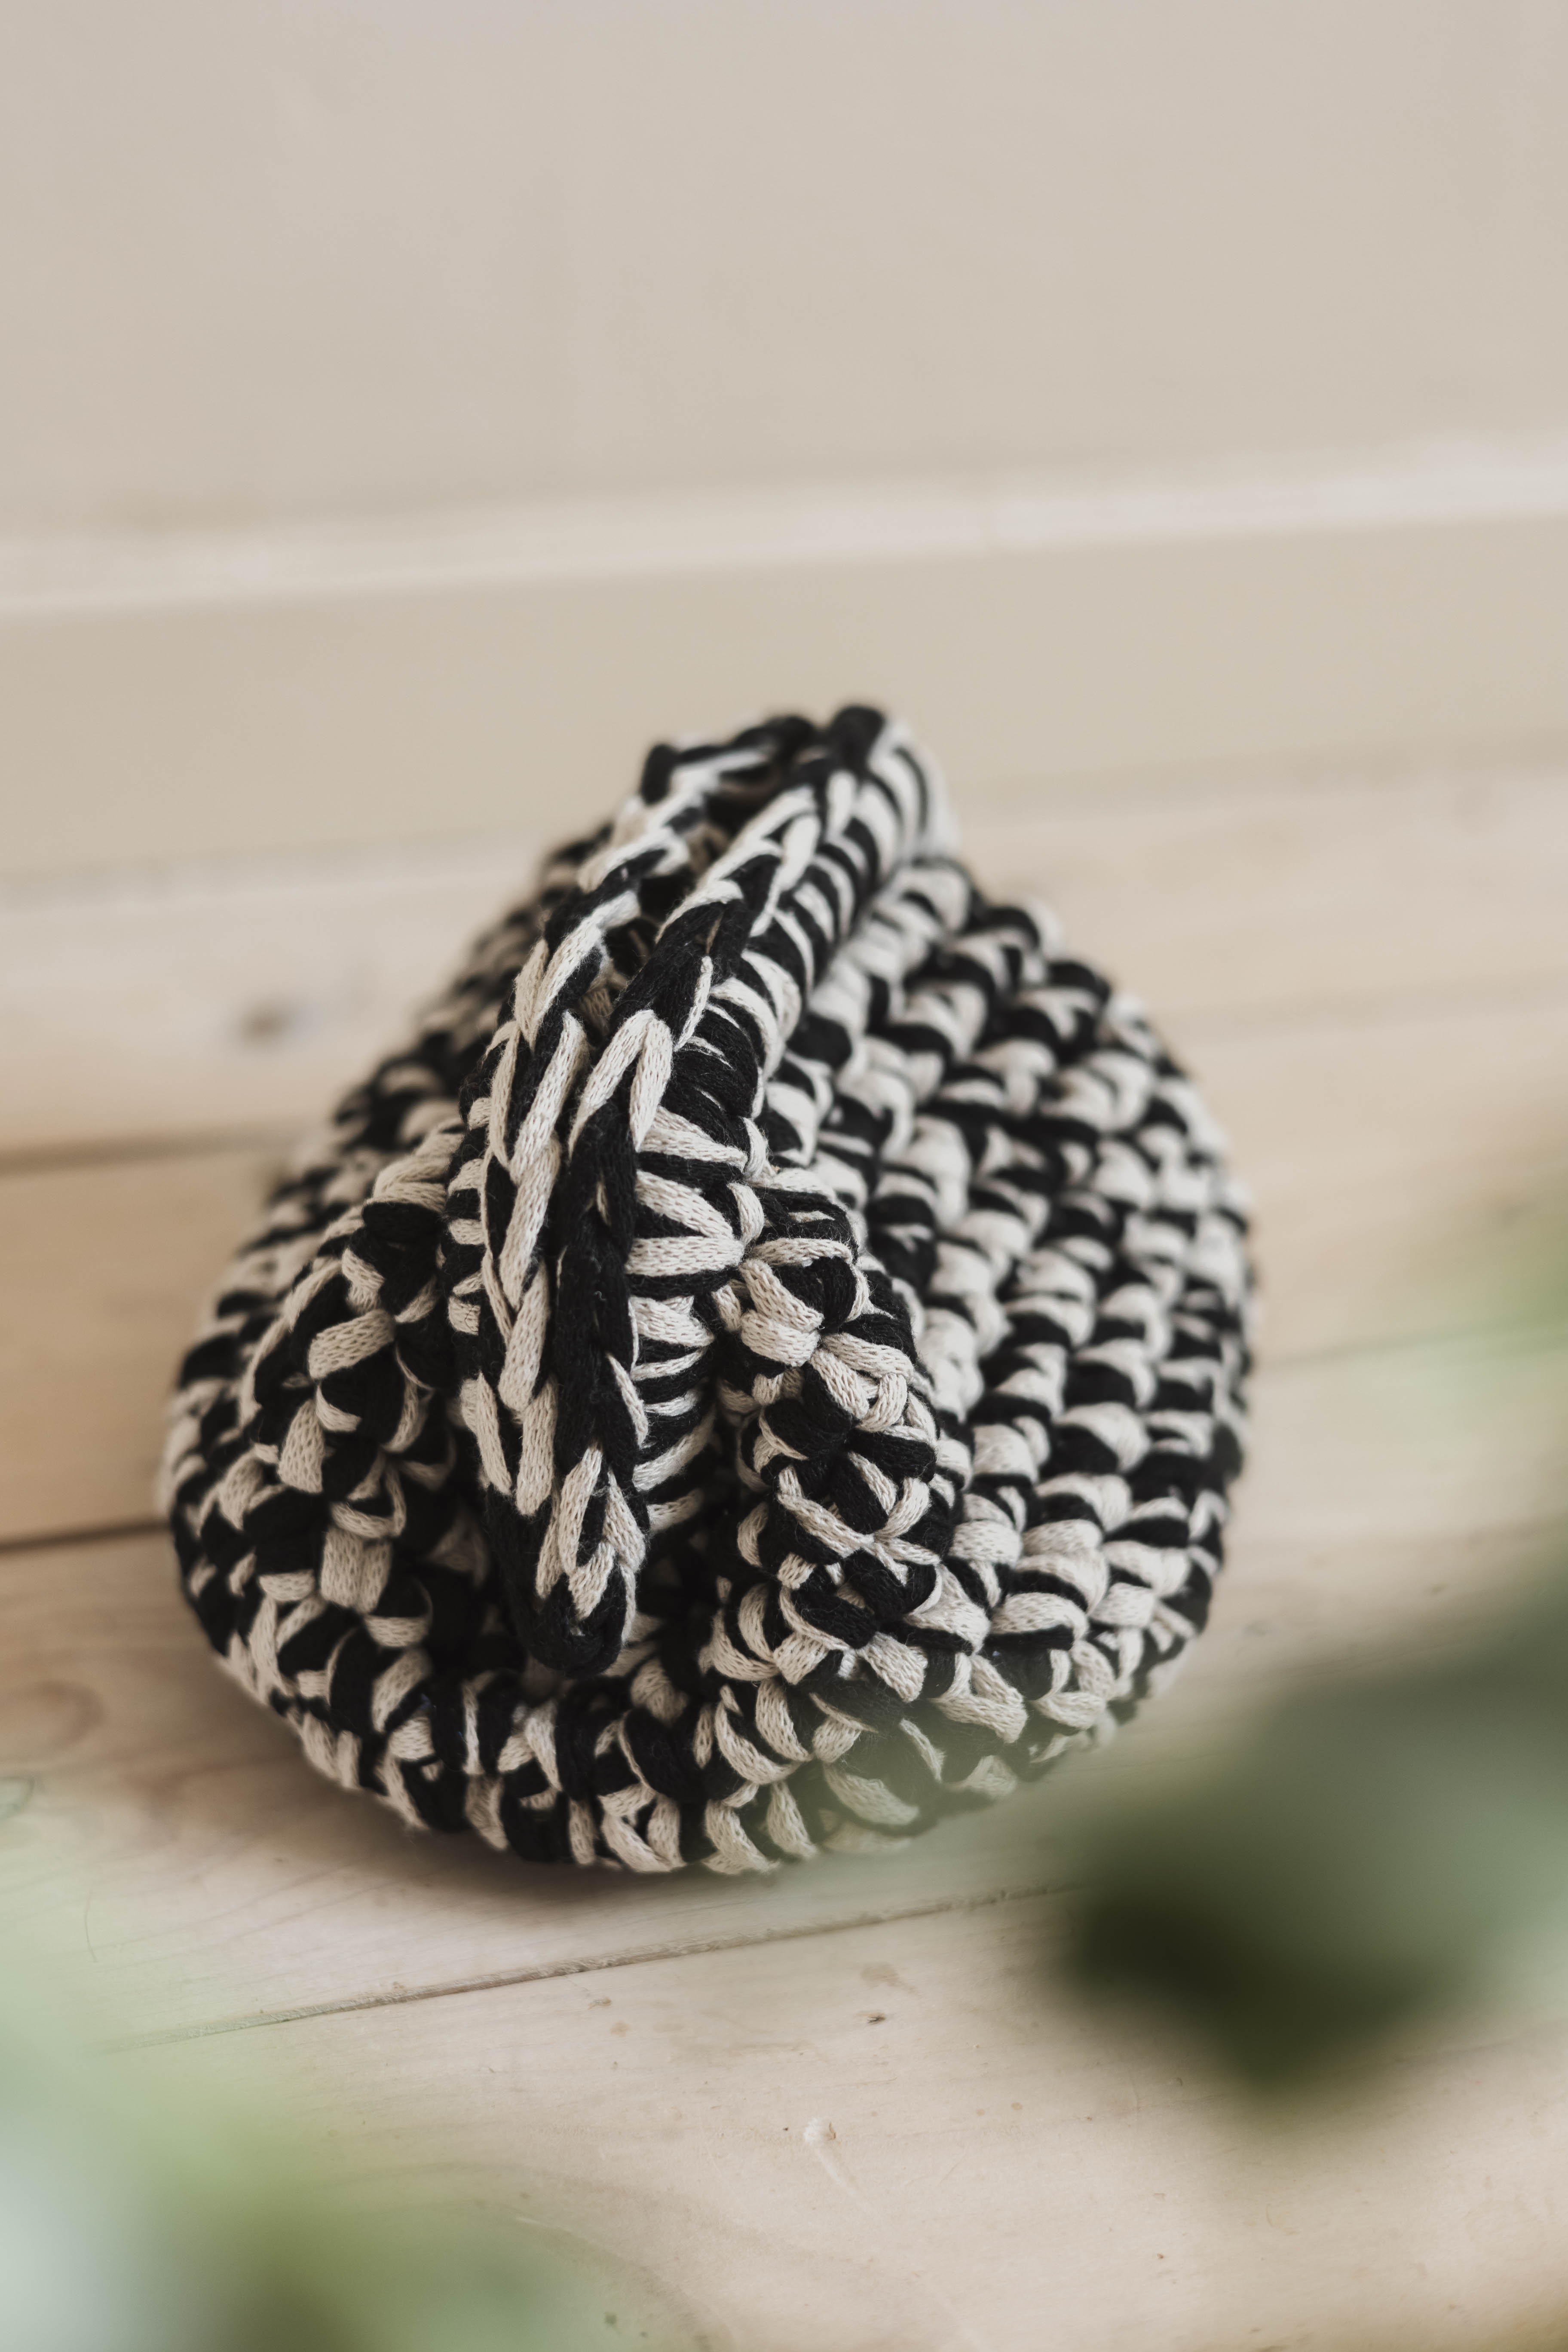
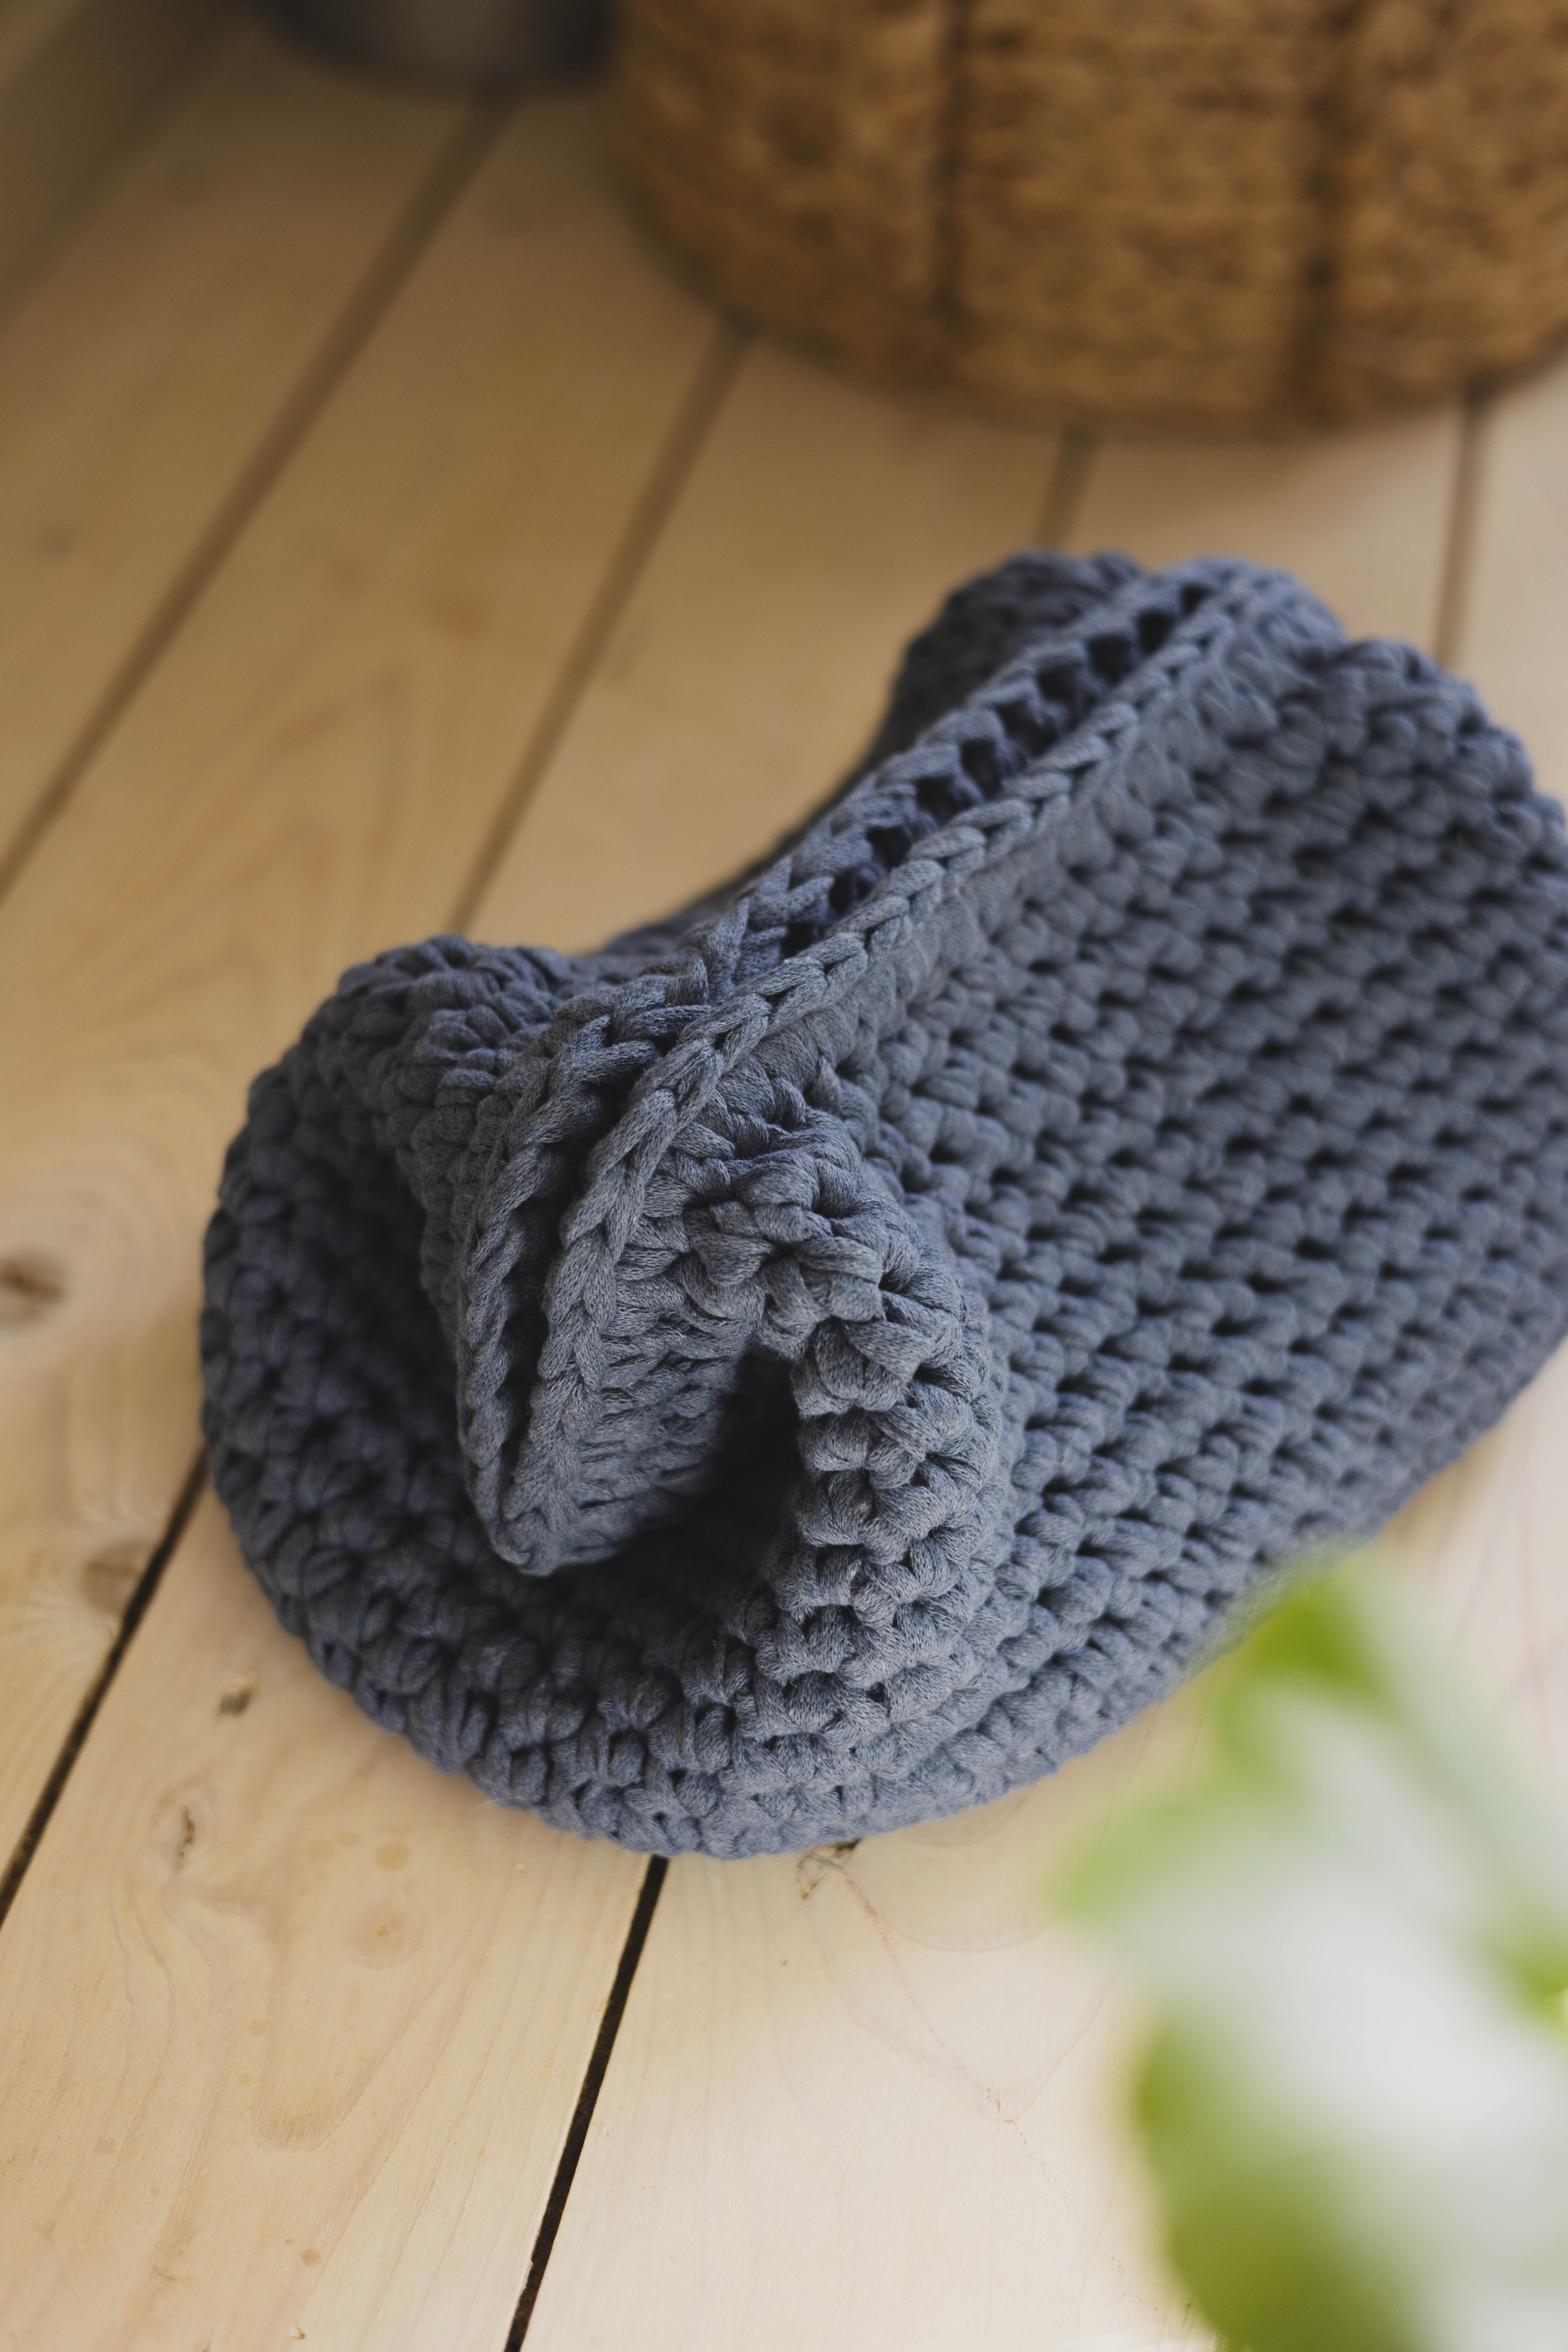
Crochet a simple and stylish bag that suits many occasions. The bag is easy to crochet and works up relatively quickly. It is the perfect size for a wallet, phone, and maybe a small toiletry bag. All you need is EKO Ribbon and a 10 mm crochet hook. We have used the color "greige" in the photos.
Yarn Consumption: approximately 400 g. Yarn consumption may vary depending on how tightly you crochet.
Please note that in this pattern, we use videos from our technique library along with explanatory images.


.jpg)
.jpg)
Here's how to do it
You start by crocheting the bottom and then work your way up to the sides towards the handles. The handles are crocheted last, and once they are finished, your bag is ready! I hope you’ll try making your own bag! Good luck! /Johanna
%20(4).jpg)
This is what you need:
Here you can directly purchase the material for the product. Please note that the instruction is digital and appears here on the page (no written instruction).


.jpg)
Unleash your creativity
For only 85kr per month you get access to all our 300+ beginner-friendly instructions for crochet, knitting and macrame.
A perfect way to get started with your new hobby!

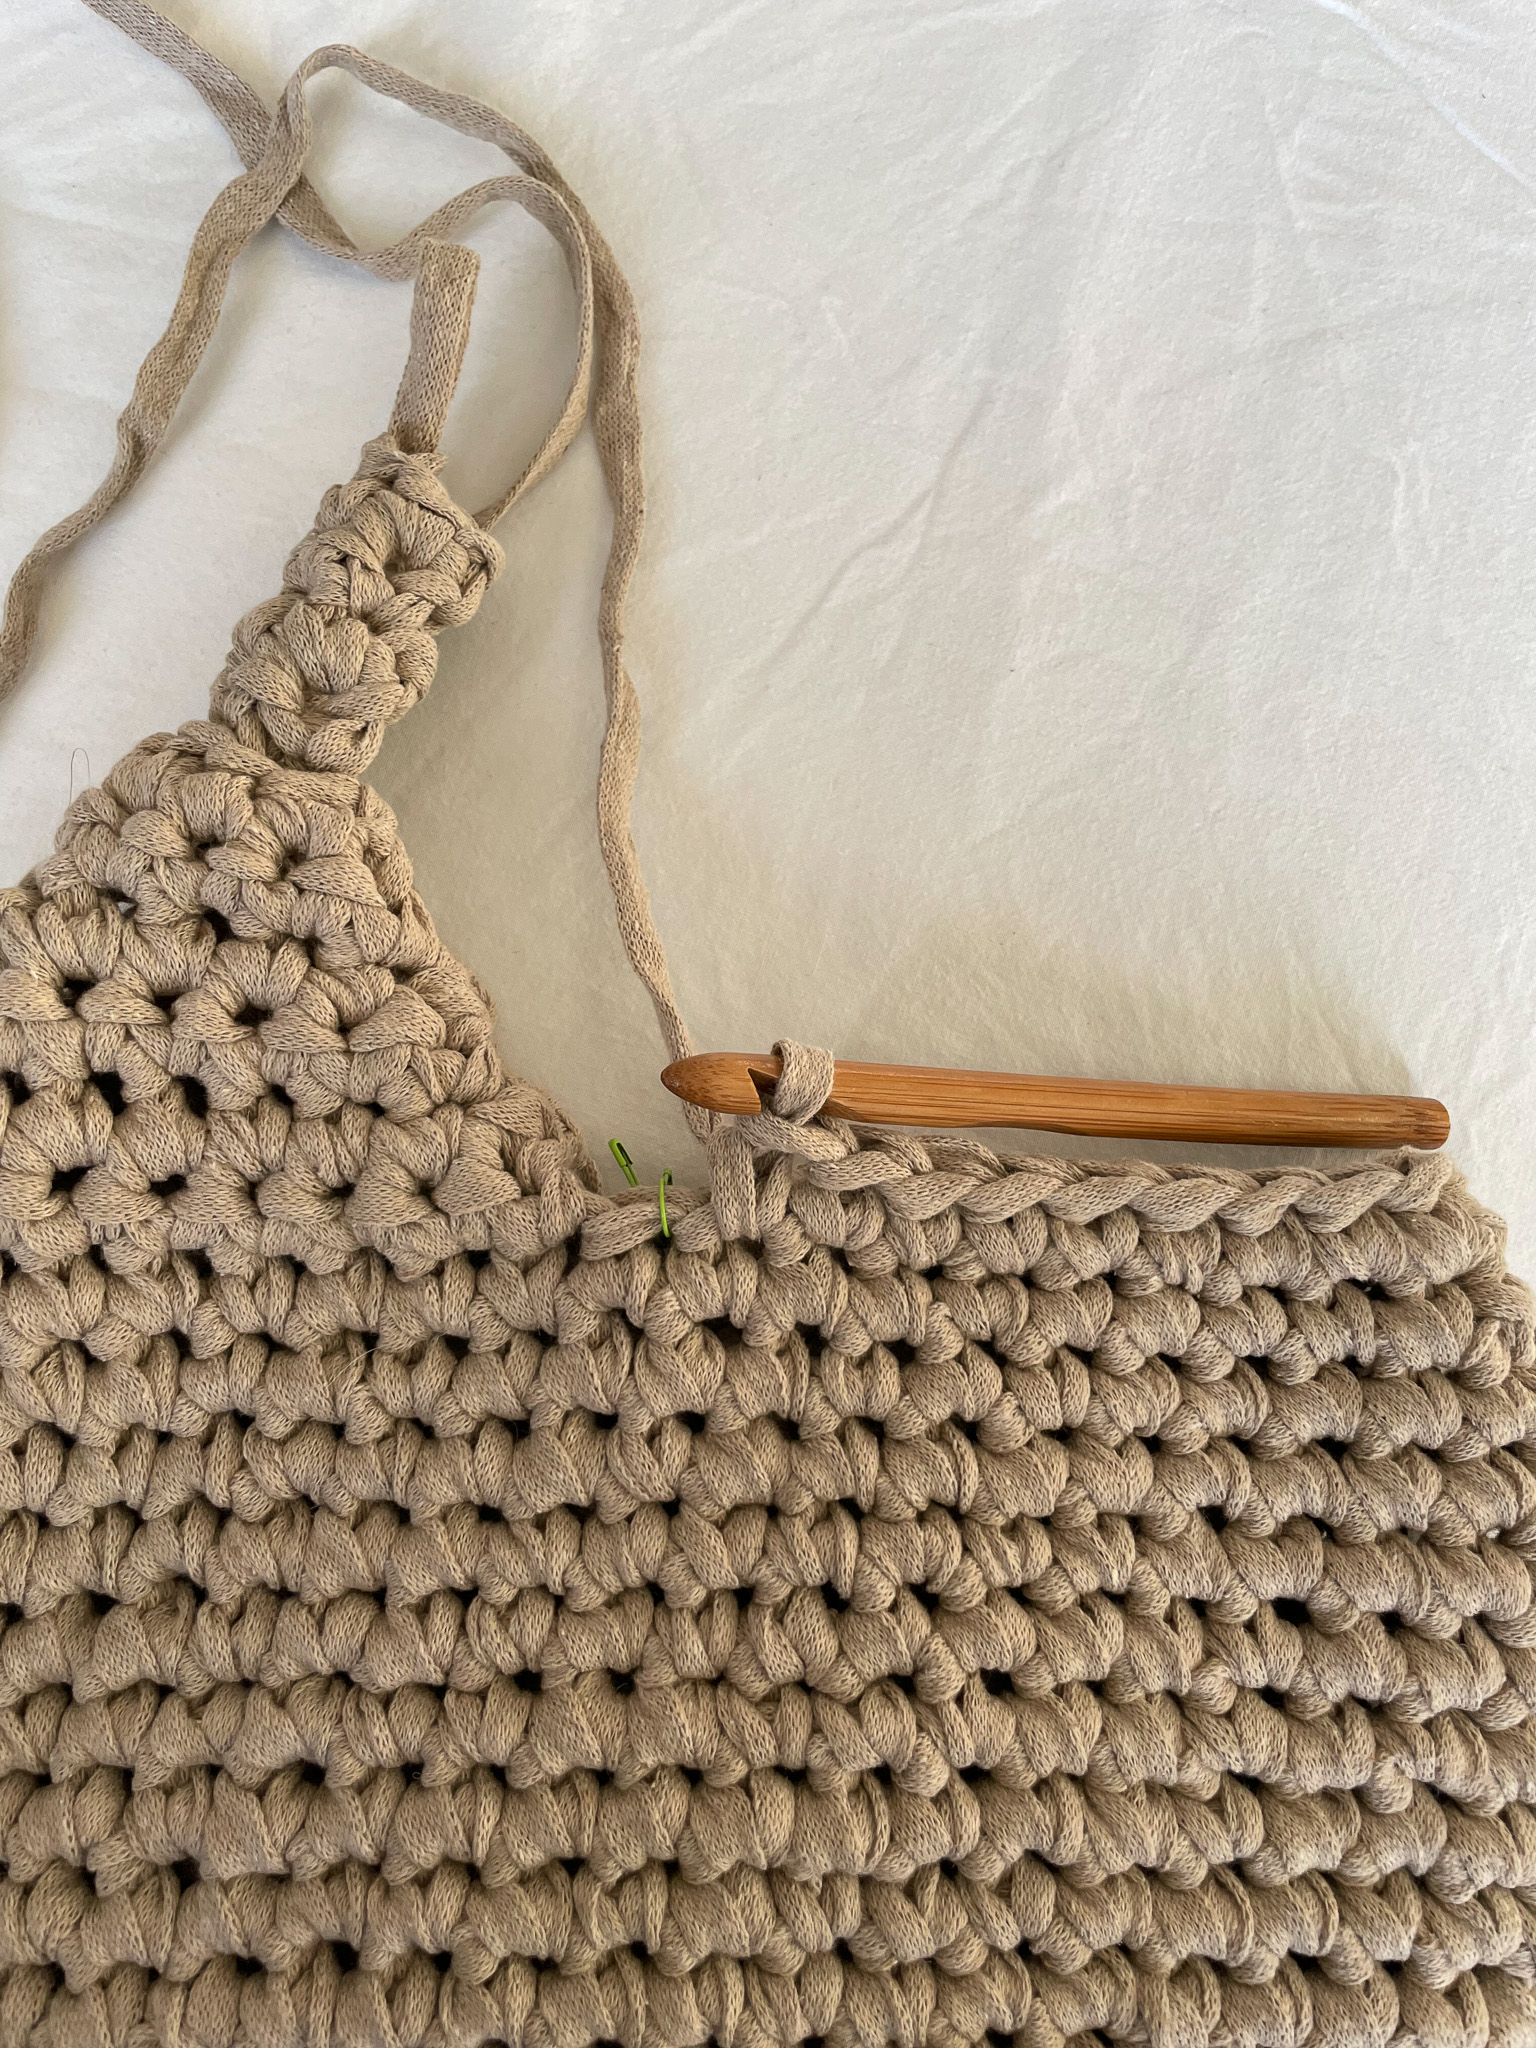
This bag is crocheted from the bottom up in a spiral. This means you crochet around and around in rounds without finishing the rounds with slip stitches. Therefore, it’s important to mark where each round starts so you can keep track when changing rounds. A tip is to use a stitch marker for the first stitch or place a piece of yarn in a different color at the first stitch.
Bottom
Start by chaining 9 chain stitches. The bottom will now be crocheted around this chain to create an oval base. If you're unsure how to crochet a chain or crochet around a chain, see the videos below.
Round 1: Skip the first chain stitch closest to the hook. Make an increase in the second stitch (i.e., 2 single crochet stitches in the same stitch). Then, crochet 6 single crochet stitches. In the last stitch of the chain, make another increase. Now you will crochet on the other side of the chain and repeat the first side: Start with an increase, crochet 6 single crochet stitches, and finish with an increase. You should now have 20 stitches in an oval shape, and Round 1 is complete. Place a yarn end to the left of the crochet hook to mark where the next round starts (or use a stitch marker on the first stitch of the next round).

Round 2: Start with an increase, then crochet 8 single crochet stitches. Make increases in the next two stitches (2 increases). Crochet 8 single crochet stitches and finish the round with an increase. You should now have 24 stitches in total. Don't forget to mark the end of Round 2/beginning of Round 3 so you can keep track of the start/end.

Round 3:All stitches in this round will be worked into the back loop only. If you're unsure which is the back loop (back loop only), see the video below. This will create a border that marks the outer edge of the bottom.
Start with increases in the first 2 stitches, then crochet 9 single crochet stitches. Make increases in the next 3 stitches. Crochet 9 single crochet stitches and finish with an increase in the last stitch of the round. You should now have 30 stitches in total, and the bottom is complete.

Now the bottom is complete, and we will continue working the bag upwards. In the first 6 rounds, you will make increases at the sides of the bag (at the corners of the bottom), which will create the flat, round shape. Between the increases, you will crochet single crochet stitches.
Lay the bag flat and try to place the increases at the "folds" of the bag. Refer to the pictures to see where the increases should be made.
This method will help form the sides of the bag while maintaining the round, flat shape of the base.
.jpg)

Here’s the pattern for these 6 rounds (Rounds 4-9), but it doesn’t need to be followed strictly. The most important thing is to make the increases at the "folds" and single crochet stitches between them for a total of 6 rounds. After these 6 rounds, you should have a total of 42 stitches.
Round 4: Increase, 14 single crochet stitches, increase, 14 single crochet stitches (Total: 32 stitches)
Round 5: 2 single crochet stitches, increase, 14 single crochet stitches, increase, 14 single crochet stitches (Total: 34 stitches)
Round 6: 2 single crochet stitches, increase, 15 single crochet stitches, increase, 15 single crochet stitches (Total: 36 stitches)
Round 7: 2 single crochet stitches, increase, 17 single crochet stitches, increase, 15 single crochet stitches (Total: 38 stitches)
Round 8: 3 single crochet stitches, increase, 18 single crochet stitches, increase, 15 single crochet stitches (Total: 40 stitches)
Round 9: 4 single crochet stitches, increase, 19 single crochet stitches, increase, 15 single crochet stitches (Total: 42 stitches)
Round 10: Crochet 1 single crochet stitch in each stitch around (no increases this round) (Total: 42 single crochet stitches)
Round 11: Now you will make increases in the folds again during this round (5 single crochet stitches, increase, 20 single crochet stitches, increase, 15 single crochet stitches) (Total: 44 stitches)
Rounds 12-15: Now you’ve reached the widest part of the bag. Crochet 4 rounds of 44 single crochet stitches (Total: 44 stitches).
This method will give your bag a nice shape as you work upwards!
Now you will make decreases to give the bag its round shape. Try to place the decreases in the middle of the folds, just like the increases earlier. You may need to adjust how many single crochet stitches you make between the decreases to keep the shape straight. Lay the bag flat from time to time to determine where the fold is and where the decrease fits best.
Below is a pattern, but just like with the increases, it doesn’t need to be followed strictly. The most important thing is to place the decreases in the right spots so the bag stays straight.
Round 16: 6 single crochet stitches, decrease, 20 single crochet stitches, decrease, 14 single crochet stitches (Total: 42 stitches).
If you're unsure how to crochet a decrease, check out the video below.
This round helps begin shaping the bag’s roundness by tapering it with decreases at the right points.
Round 17: Crochet 1 single crochet stitch in each stitch around, meaning no decreases this round (Total: 42 single crochet stitches).
Round 18: 6 single crochet stitches, decrease, 19 single crochet stitches, decrease. After your second decrease, crochet as many single crochet stitches as needed to reach the middle of the bag (where you want one of the handles to start). This should be about 10 single crochet stitches, but adjust so that you finish in the center. Leave the remaining stitches of the round "unworked." You should now have a total of 40 stitches in this round.
Important: Don’t cut the yarn. Place a marker or secure a piece of yarn in the last stitch you made. Count 20 stitches from the marker and place a second marker in that stitch. These markers should be placed at the center of each side of the bag, between where the handles will start (note that this should be in the flat part, not at the fold).
Now you're ready to begin working on the handles!

Handles:
Now, to create the handles, you will crochet single crochet stitches back and forth between the markers, with a decrease in the middle at the fold. When you turn, skip the first stitch. This way, you will decrease 2 stitches per round, and the handles will get smaller and smaller until only one stitch remains. Adjust the number of single crochet stitches before and after the decrease to center the decrease at the fold (just like you did with the increases and decreases in steps 2 and 3).
Start at the first marker where you finished Round 18.
Row 1: 8 single crochet stitches, decrease, 9 single crochet stitches (Total: 18 stitches). Chain 1, turn.
Row 2: Skip the first stitch, 7 single crochet stitches, decrease, 8 single crochet stitches (Total: 16 stitches). Chain 1, turn.
Row 3: Skip the first stitch, 7 single crochet stitches, decrease, 6 single crochet stitches (Total: 14 stitches). Chain 1, turn.
Row 4: Skip the first stitch, 5 single crochet stitches, decrease, 6 single crochet stitches (Total: 12 stitches). Chain 1, turn.
Row 5: Skip the first stitch, 4 single crochet stitches, decrease, 5 single crochet stitches (Total: 10 stitches). Chain 1, turn.
Row 6: Skip the first stitch, 3 single crochet stitches, decrease, 4 single crochet stitches (Total: 8 stitches). Chain 1, turn.
Row 7: Skip the first stitch, 3 single crochet stitches, decrease, 2 single crochet stitches (Total: 6 stitches). Chain 1, turn.
At this point, you’ll notice the handle beginning to take shape. You'll continue decreasing in the middle while centering the decreases at the fold, keeping the handle narrow and rounded. Let me know when you're ready for the next steps!
Row 8: Skip the first stitch, make 3 decreases (Total: 3 stitches). Chain 1, turn.
Row 9: Skip the first stitch, make 1 decrease (Total: 1 stitch). Cut the yarn and secure the end well on the inside of the bag.
Now, let’s work on the second handle.
To make the second handle:
Place the bag in front of you with the first handle to the right. You will now crochet the handle on the left side. Start by making a slipknot and picking up the loop with the crochet hook in the stitch with a stitch marker.
Continue working the second handle in the same way as the first. You will be crocheting the handle on the opposite side of the bag, so the process will mirror what you've done for the first handle. Let me know if you'd like me to guide you through the rest of the steps!

Now, repeat the rows just like you did for the first (right) handle. The first single crochet stitch will be made in the stitch to the left of the stitch marker.

When Row 1 is finished, you should have completed it just before the second stitch marker.
Don’t cut the yarn after Row 9.

Make 12 chain stitches (or as long as you want the strap to be). Once you've made the chain, pull the last loop of the chain off the hook. Insert the crochet hook through a stitch at the top of the second handle, right next to the last single crochet stitch of Row 9. Then, place the last chain stitch back onto the hook.
This will attach the chain to the second handle to form the strap.

Pull the yarn through and make a single crochet stitch in the last stitch of Row 9 at the top of the handle.

Turn and crochet 12 slip stitches back along the chain. Finish with a slip stitch in the edge of the handle.

Cut a piece of yarn about 2 meters long. Thread the yarn end through the handle of the bag so that it's on the inside of the bag. Start wrapping the yarn around the chain you just crocheted slip stitches along. Wrap it tightly and firmly, slightly overlapping each wrap to ensure the yarn is secure and the slip stitches aren’t visible.

When you reach the end, pull the strap to the inside of the bag and secure the yarn end with a tight knot.

Congratulations! You’re done with your bag! 🎉
Abbreviations
ch = chain
sl st = slip stitch
sc = single crochet
hdc = half double crochet
blo = back loop only
inc = increase (two single crochet stitches in the same stitch)
dec = decrease (two stitches become one)
sk = skip
(...) = indicates the number of stitches in the current round
*... *= Everything within ... is repeated the specified number of times
[...] = Everything within [...] is worked into the same stitch
Now let's crochet a stylish bag! If you need help along the way, check out our simple version of this pattern.
Step 1: Bottom
Make 9 ch. The bottom will now be crocheted around this chain.
Round 1: Start in the second chain from the hook, inc, 6 sc, inc x2, sc 6, inc (20 stitches).
Round 2: inc, sc 8, inc x2, sc 8, inc (24 stitches).
Round 3: All stitches on this round will be worked in the back loop (blo): inc, inc, sc 9, inc x3, sc 9, inc (30 stitches).
Step 2:
Now that the bottom is complete, continue crocheting the sides of the bag. The entire bag will be crocheted in a spiral.
Each round (Rounds 4-9 and 11) should have an increase at each "edge." If the increase according to the pattern does not line up with the edge, adjust where the increase is made. Between the increases, crochet sc (single crochet). To ensure the increase is in the right spot, lay the bag flat and try to make the increase at the "fold" of the bag.
Round 4: inc, 14 sc, inc, 14 sc (32 stitches)
Round 5: 2 sc, inc, 14 sc, inc, 14 sc (34 stitches)
Round 6: 2 sc, inc, 15 sc, inc, 15 sc (36 stitches)
Round 7: 2 sc, inc, 17 sc, inc, 15 sc (38 stitches)
Round 8: 3 sc, inc, 18 sc, inc, 15 sc (40 stitches)
Round 9: 4 sc, inc, 19 sc, inc, 15 sc (42 stitches)
Round 10: 42 sc (42 stitches)
Round 11: 5 sc, inc, 20 sc, inc, 15 sc (44 stitches)
Rounds 12-15: 44 sc for a total of 4 rounds (44 stitches)

Now, decreases will be made to give the bag a round shape. Try to place the decreases at the edges, just like the increases were placed earlier. You may need to adjust how many sc you make between the decreases.
Round 16: 6 sc, dec, 20 sc, dec, 14 sc (42 stitches)
Round 17: 42 sc (42 stitches)
Round 18: 6 sc, dec, 19 sc, dec, now make as many sc as needed to reach the center of the bag (where you want one of the handles to start). It should be about 10 sc, but adjust so you finish at the center. Leave the remaining stitches of the round unworked. (40 stitches). Do not cut the yarn.
Place a stitch marker in the last stitch you crocheted, and place another marker 20 stitches from the first marker. These markers should be placed in the middle of each side of the bag, between where the handles will begin.
Step 3: Handles
Now, you'll crochet back and forth, making a decrease in the middle of each row. Adjust the number of sc (single crochet stitches) before and after the decrease to center the decrease, just like you did with the increases and decreases in Step 2.
Row 1: 8 sc, dec, 9 sc (18 stitches), ch 1, turn.
Row 2: ch 1, 7 sc, dec, 8 sc (16 stitches), ch 1, turn.
Row 3: ch 1, 7 sc, dec, 6 sc (14 stitches), ch 1, turn.
Row 4: ch 1, 5 sc, dec, 6 sc (12 stitches), ch 1, turn.
Row 5: ch 1, 4 sc, dec, 5 sc (10 stitches), ch 1, turn.
Row 6: ch 1, 3 sc, dec, 4 sc (8 stitches), ch 1, turn.
Row 7: ch 1, 3 sc, dec, 2 sc (6 stitches), ch 1, turn.
Row 8: ch 1, 3 dec (3 stitches), ch 1, turn.
Row 9: ch 1, 1 dec (1 stitch). Cut the yarn and secure the end well inside the bag.
Now, make the second handle. Have the bag in front of you with the first handle on the right. Now, you'll crochet the handle on the left side. Start by making a slip knot and placing the loop onto the stitch with the stitch marker. Repeat the rows exactly as for the first (right) handle. The first sc should be made in the stitch to the left of the stitch marker. Once Row 1 is finished, you should end just before the second stitch marker.
Do not cut the yarn after Row 9.
Step 4:
Make 12 ch (or as long as you want the strap to be). Remove the chain from the hook.
Insert the hook into a stitch at the top of the second handle (not the last sc on Row 9), and then pull the last chain stitch of the chain onto the hook again.
Pull through.
Now, make 1 sc in the last stitch of Row 9 at the top of the handle.
Crochet 12 sl st along the strap. End with a sl st in the edge of the handle.
Cut a yarn tail about 2 meters long. Thread the yarn end through the handle of the bag so that it's on the inside of the bag.
Start wrapping the yarn around the chain you just crocheted slip stitches along.
Wrap tightly and firmly, slightly overlapping as you go to ensure the handle is sturdy.
Once you've reached the end, pull the strap inside the bag and secure the yarn end with a tight knot.
Now you're done! Great job! ☺
The rights to this pattern belong to MYO Make Your Own. The pattern or its pictures may not be copied, shared or resold either in parts or in its entirety, but you may sell items you have crocheted from this pattern. If you have questions about the pattern, contact MYO at hello@makeyourown.se.
This bag is crocheted from the bottom up in a spiral. This means you crochet around and around in rounds without finishing the rounds with slip stitches. Therefore, it’s important to mark where each round starts so you can keep track when changing rounds. A tip is to use a stitch marker for the first stitch or place a piece of yarn in a different color at the first stitch.
Bottom
Start by chaining 9 chain stitches. The bottom will now be crocheted around this chain to create an oval base. If you're unsure how to crochet a chain or crochet around a chain, see the videos below.
Round 1: Skip the first chain stitch closest to the hook. Make an increase in the second stitch (i.e., 2 single crochet stitches in the same stitch). Then, crochet 6 single crochet stitches. In the last stitch of the chain, make another increase. Now you will crochet on the other side of the chain and repeat the first side: Start with an increase, crochet 6 single crochet stitches, and finish with an increase. You should now have 20 stitches in an oval shape, and Round 1 is complete. Place a yarn end to the left of the crochet hook to mark where the next round starts (or use a stitch marker on the first stitch of the next round).
Round 2: Start with an increase, then crochet 8 single crochet stitches. Make increases in the next two stitches (2 increases). Crochet 8 single crochet stitches and finish the round with an increase. You should now have 24 stitches in total. Don't forget to mark the end of Round 2/beginning of Round 3 so you can keep track of the start/end.
Round 3:All stitches in this round will be worked into the back loop only. If you're unsure which is the back loop (back loop only), see the video below. This will create a border that marks the outer edge of the bottom.
Start with increases in the first 2 stitches, then crochet 9 single crochet stitches. Make increases in the next 3 stitches. Crochet 9 single crochet stitches and finish with an increase in the last stitch of the round. You should now have 30 stitches in total, and the bottom is complete.
Now the bottom is complete, and we will continue working the bag upwards. In the first 6 rounds, you will make increases at the sides of the bag (at the corners of the bottom), which will create the flat, round shape. Between the increases, you will crochet single crochet stitches.
Lay the bag flat and try to place the increases at the "folds" of the bag. Refer to the pictures to see where the increases should be made.
This method will help form the sides of the bag while maintaining the round, flat shape of the base.
Here’s the pattern for these 6 rounds (Rounds 4-9), but it doesn’t need to be followed strictly. The most important thing is to make the increases at the "folds" and single crochet stitches between them for a total of 6 rounds. After these 6 rounds, you should have a total of 42 stitches.
Round 4: Increase, 14 single crochet stitches, increase, 14 single crochet stitches (Total: 32 stitches)
Round 5: 2 single crochet stitches, increase, 14 single crochet stitches, increase, 14 single crochet stitches (Total: 34 stitches)
Round 6: 2 single crochet stitches, increase, 15 single crochet stitches, increase, 15 single crochet stitches (Total: 36 stitches)
Round 7: 2 single crochet stitches, increase, 17 single crochet stitches, increase, 15 single crochet stitches (Total: 38 stitches)
Round 8: 3 single crochet stitches, increase, 18 single crochet stitches, increase, 15 single crochet stitches (Total: 40 stitches)
Round 9: 4 single crochet stitches, increase, 19 single crochet stitches, increase, 15 single crochet stitches (Total: 42 stitches)
Round 10: Crochet 1 single crochet stitch in each stitch around (no increases this round) (Total: 42 single crochet stitches)
Round 11: Now you will make increases in the folds again during this round (5 single crochet stitches, increase, 20 single crochet stitches, increase, 15 single crochet stitches) (Total: 44 stitches)
Rounds 12-15: Now you’ve reached the widest part of the bag. Crochet 4 rounds of 44 single crochet stitches (Total: 44 stitches).
This method will give your bag a nice shape as you work upwards!
Now you will make decreases to give the bag its round shape. Try to place the decreases in the middle of the folds, just like the increases earlier. You may need to adjust how many single crochet stitches you make between the decreases to keep the shape straight. Lay the bag flat from time to time to determine where the fold is and where the decrease fits best.
Below is a pattern, but just like with the increases, it doesn’t need to be followed strictly. The most important thing is to place the decreases in the right spots so the bag stays straight.
Round 16: 6 single crochet stitches, decrease, 20 single crochet stitches, decrease, 14 single crochet stitches (Total: 42 stitches).
If you're unsure how to crochet a decrease, check out the video below.
This round helps begin shaping the bag’s roundness by tapering it with decreases at the right points.
Round 17: Crochet 1 single crochet stitch in each stitch around, meaning no decreases this round (Total: 42 single crochet stitches).
Round 18: 6 single crochet stitches, decrease, 19 single crochet stitches, decrease. After your second decrease, crochet as many single crochet stitches as needed to reach the middle of the bag (where you want one of the handles to start). This should be about 10 single crochet stitches, but adjust so that you finish in the center. Leave the remaining stitches of the round "unworked." You should now have a total of 40 stitches in this round.
Important: Don’t cut the yarn. Place a marker or secure a piece of yarn in the last stitch you made. Count 20 stitches from the marker and place a second marker in that stitch. These markers should be placed at the center of each side of the bag, between where the handles will start (note that this should be in the flat part, not at the fold).
Now you're ready to begin working on the handles!
Handles:
Now, to create the handles, you will crochet single crochet stitches back and forth between the markers, with a decrease in the middle at the fold. When you turn, skip the first stitch. This way, you will decrease 2 stitches per round, and the handles will get smaller and smaller until only one stitch remains. Adjust the number of single crochet stitches before and after the decrease to center the decrease at the fold (just like you did with the increases and decreases in steps 2 and 3).
Start at the first marker where you finished Round 18.
Row 1: 8 single crochet stitches, decrease, 9 single crochet stitches (Total: 18 stitches). Chain 1, turn.
Row 2: Skip the first stitch, 7 single crochet stitches, decrease, 8 single crochet stitches (Total: 16 stitches). Chain 1, turn.
Row 3: Skip the first stitch, 7 single crochet stitches, decrease, 6 single crochet stitches (Total: 14 stitches). Chain 1, turn.
Row 4: Skip the first stitch, 5 single crochet stitches, decrease, 6 single crochet stitches (Total: 12 stitches). Chain 1, turn.
Row 5: Skip the first stitch, 4 single crochet stitches, decrease, 5 single crochet stitches (Total: 10 stitches). Chain 1, turn.
Row 6: Skip the first stitch, 3 single crochet stitches, decrease, 4 single crochet stitches (Total: 8 stitches). Chain 1, turn.
Row 7: Skip the first stitch, 3 single crochet stitches, decrease, 2 single crochet stitches (Total: 6 stitches). Chain 1, turn.
At this point, you’ll notice the handle beginning to take shape. You'll continue decreasing in the middle while centering the decreases at the fold, keeping the handle narrow and rounded. Let me know when you're ready for the next steps!
Row 8: Skip the first stitch, make 3 decreases (Total: 3 stitches). Chain 1, turn.
Row 9: Skip the first stitch, make 1 decrease (Total: 1 stitch). Cut the yarn and secure the end well on the inside of the bag.
Now, let’s work on the second handle.
To make the second handle:
Place the bag in front of you with the first handle to the right. You will now crochet the handle on the left side. Start by making a slipknot and picking up the loop with the crochet hook in the stitch with a stitch marker.
Continue working the second handle in the same way as the first. You will be crocheting the handle on the opposite side of the bag, so the process will mirror what you've done for the first handle. Let me know if you'd like me to guide you through the rest of the steps!
Now, repeat the rows just like you did for the first (right) handle. The first single crochet stitch will be made in the stitch to the left of the stitch marker.
When Row 1 is finished, you should have completed it just before the second stitch marker.
Don’t cut the yarn after Row 9.
Make 12 chain stitches (or as long as you want the strap to be). Once you've made the chain, pull the last loop of the chain off the hook. Insert the crochet hook through a stitch at the top of the second handle, right next to the last single crochet stitch of Row 9. Then, place the last chain stitch back onto the hook.
This will attach the chain to the second handle to form the strap.
Pull the yarn through and make a single crochet stitch in the last stitch of Row 9 at the top of the handle.
Turn and crochet 12 slip stitches back along the chain. Finish with a slip stitch in the edge of the handle.
Cut a piece of yarn about 2 meters long. Thread the yarn end through the handle of the bag so that it's on the inside of the bag. Start wrapping the yarn around the chain you just crocheted slip stitches along. Wrap it tightly and firmly, slightly overlapping each wrap to ensure the yarn is secure and the slip stitches aren’t visible.
When you reach the end, pull the strap to the inside of the bag and secure the yarn end with a tight knot.
Congratulations! You’re done with your bag! 🎉
Abbreviations
ch = chain
sl st = slip stitch
sc = single crochet
hdc = half double crochet
blo = back loop only
inc = increase (two single crochet stitches in the same stitch)
dec = decrease (two stitches become one)
sk = skip
(...) = indicates the number of stitches in the current round
*... *= Everything within ... is repeated the specified number of times
[...] = Everything within [...] is worked into the same stitch
Now let's crochet a stylish bag! If you need help along the way, check out our simple version of this pattern.
Step 1: Bottom
Make 9 ch. The bottom will now be crocheted around this chain.
Round 1: Start in the second chain from the hook, inc, 6 sc, inc x2, sc 6, inc (20 stitches).
Round 2: inc, sc 8, inc x2, sc 8, inc (24 stitches).
Round 3: All stitches on this round will be worked in the back loop (blo): inc, inc, sc 9, inc x3, sc 9, inc (30 stitches).
Step 2:
Now that the bottom is complete, continue crocheting the sides of the bag. The entire bag will be crocheted in a spiral.
Each round (Rounds 4-9 and 11) should have an increase at each "edge." If the increase according to the pattern does not line up with the edge, adjust where the increase is made. Between the increases, crochet sc (single crochet). To ensure the increase is in the right spot, lay the bag flat and try to make the increase at the "fold" of the bag.
Round 4: inc, 14 sc, inc, 14 sc (32 stitches)
Round 5: 2 sc, inc, 14 sc, inc, 14 sc (34 stitches)
Round 6: 2 sc, inc, 15 sc, inc, 15 sc (36 stitches)
Round 7: 2 sc, inc, 17 sc, inc, 15 sc (38 stitches)
Round 8: 3 sc, inc, 18 sc, inc, 15 sc (40 stitches)
Round 9: 4 sc, inc, 19 sc, inc, 15 sc (42 stitches)
Round 10: 42 sc (42 stitches)
Round 11: 5 sc, inc, 20 sc, inc, 15 sc (44 stitches)
Rounds 12-15: 44 sc for a total of 4 rounds (44 stitches)
Now, decreases will be made to give the bag a round shape. Try to place the decreases at the edges, just like the increases were placed earlier. You may need to adjust how many sc you make between the decreases.
Round 16: 6 sc, dec, 20 sc, dec, 14 sc (42 stitches)
Round 17: 42 sc (42 stitches)
Round 18: 6 sc, dec, 19 sc, dec, now make as many sc as needed to reach the center of the bag (where you want one of the handles to start). It should be about 10 sc, but adjust so you finish at the center. Leave the remaining stitches of the round unworked. (40 stitches). Do not cut the yarn.
Place a stitch marker in the last stitch you crocheted, and place another marker 20 stitches from the first marker. These markers should be placed in the middle of each side of the bag, between where the handles will begin.
Step 3: Handles
Now, you'll crochet back and forth, making a decrease in the middle of each row. Adjust the number of sc (single crochet stitches) before and after the decrease to center the decrease, just like you did with the increases and decreases in Step 2.
Row 1: 8 sc, dec, 9 sc (18 stitches), ch 1, turn.
Row 2: ch 1, 7 sc, dec, 8 sc (16 stitches), ch 1, turn.
Row 3: ch 1, 7 sc, dec, 6 sc (14 stitches), ch 1, turn.
Row 4: ch 1, 5 sc, dec, 6 sc (12 stitches), ch 1, turn.
Row 5: ch 1, 4 sc, dec, 5 sc (10 stitches), ch 1, turn.
Row 6: ch 1, 3 sc, dec, 4 sc (8 stitches), ch 1, turn.
Row 7: ch 1, 3 sc, dec, 2 sc (6 stitches), ch 1, turn.
Row 8: ch 1, 3 dec (3 stitches), ch 1, turn.
Row 9: ch 1, 1 dec (1 stitch). Cut the yarn and secure the end well inside the bag.
Now, make the second handle. Have the bag in front of you with the first handle on the right. Now, you'll crochet the handle on the left side. Start by making a slip knot and placing the loop onto the stitch with the stitch marker. Repeat the rows exactly as for the first (right) handle. The first sc should be made in the stitch to the left of the stitch marker. Once Row 1 is finished, you should end just before the second stitch marker.
Do not cut the yarn after Row 9.
Step 4:
Make 12 ch (or as long as you want the strap to be). Remove the chain from the hook.
Insert the hook into a stitch at the top of the second handle (not the last sc on Row 9), and then pull the last chain stitch of the chain onto the hook again.
Pull through.
Now, make 1 sc in the last stitch of Row 9 at the top of the handle.
Crochet 12 sl st along the strap. End with a sl st in the edge of the handle.
Cut a yarn tail about 2 meters long. Thread the yarn end through the handle of the bag so that it's on the inside of the bag.
Start wrapping the yarn around the chain you just crocheted slip stitches along.
Wrap tightly and firmly, slightly overlapping as you go to ensure the handle is sturdy.
Once you've reached the end, pull the strap inside the bag and secure the yarn end with a tight knot.
Now you're done! Great job! ☺
The rights to this pattern belong to MYO Make Your Own. The pattern or its pictures may not be copied, shared or resold either in parts or in its entirety, but you may sell items you have crocheted from this pattern. If you have questions about the pattern, contact MYO at hello@makeyourown.se.

Share your creations with us
Thank you!
Your comment was sent!