
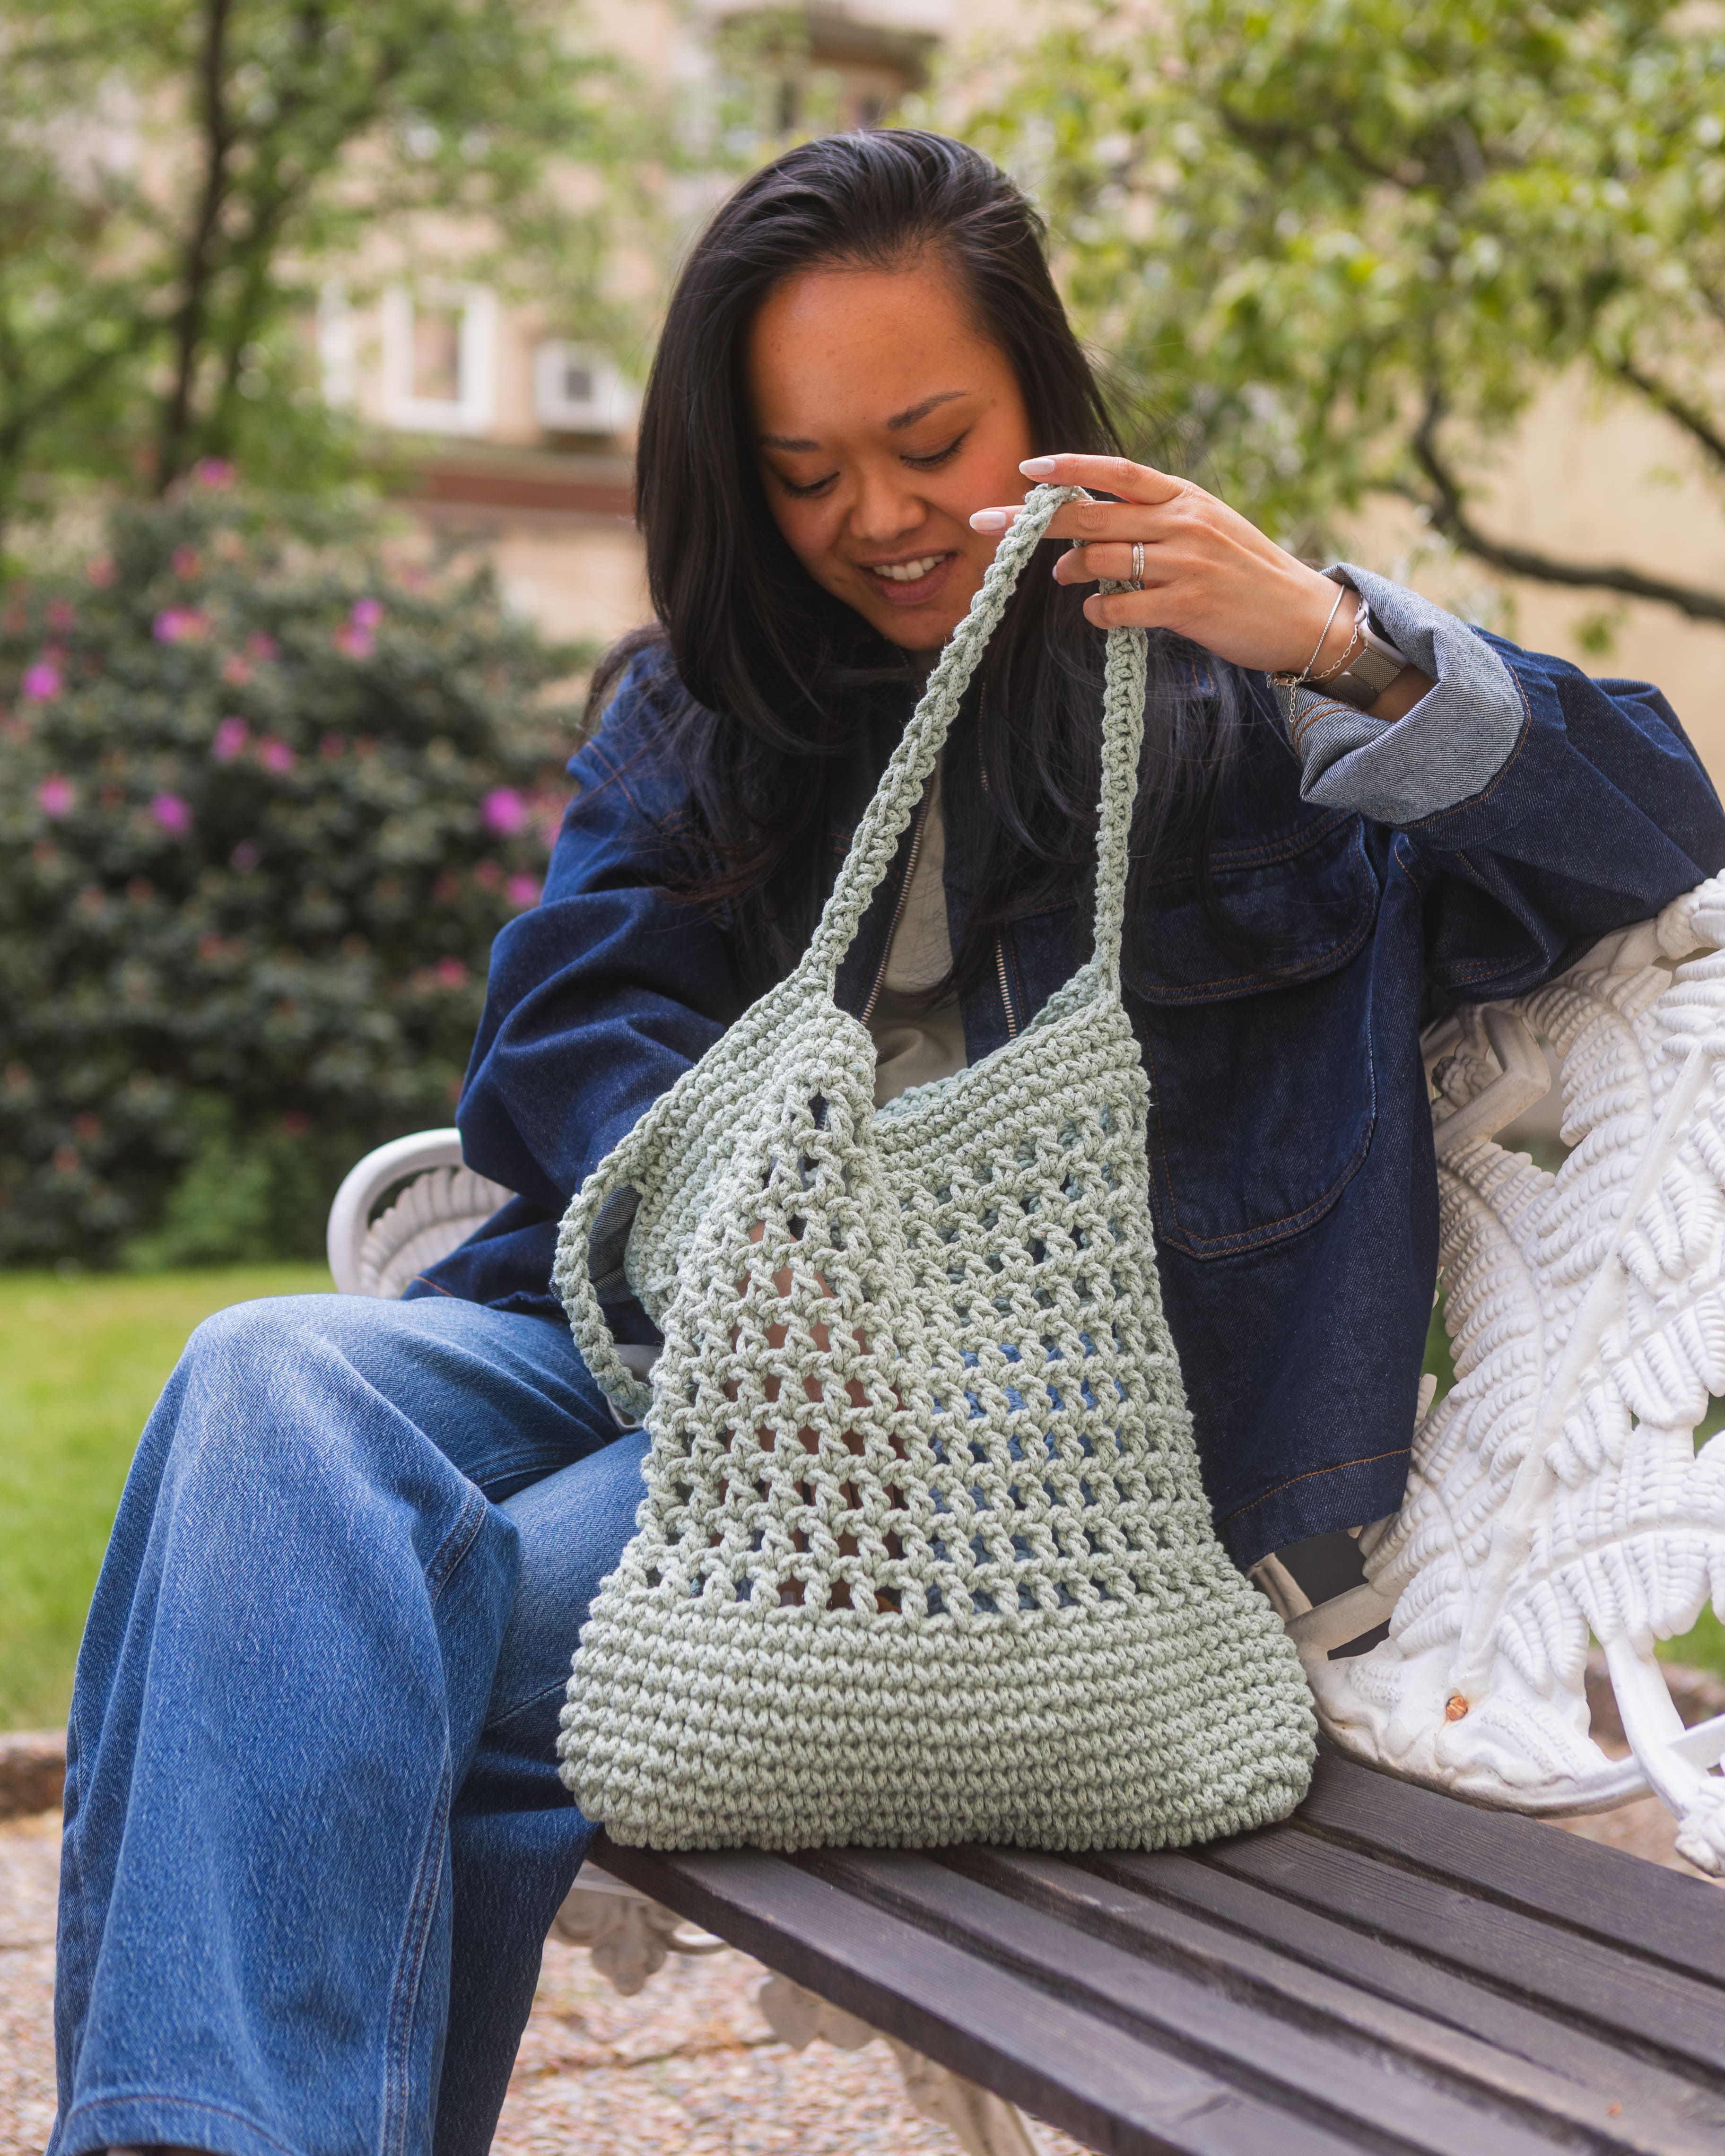
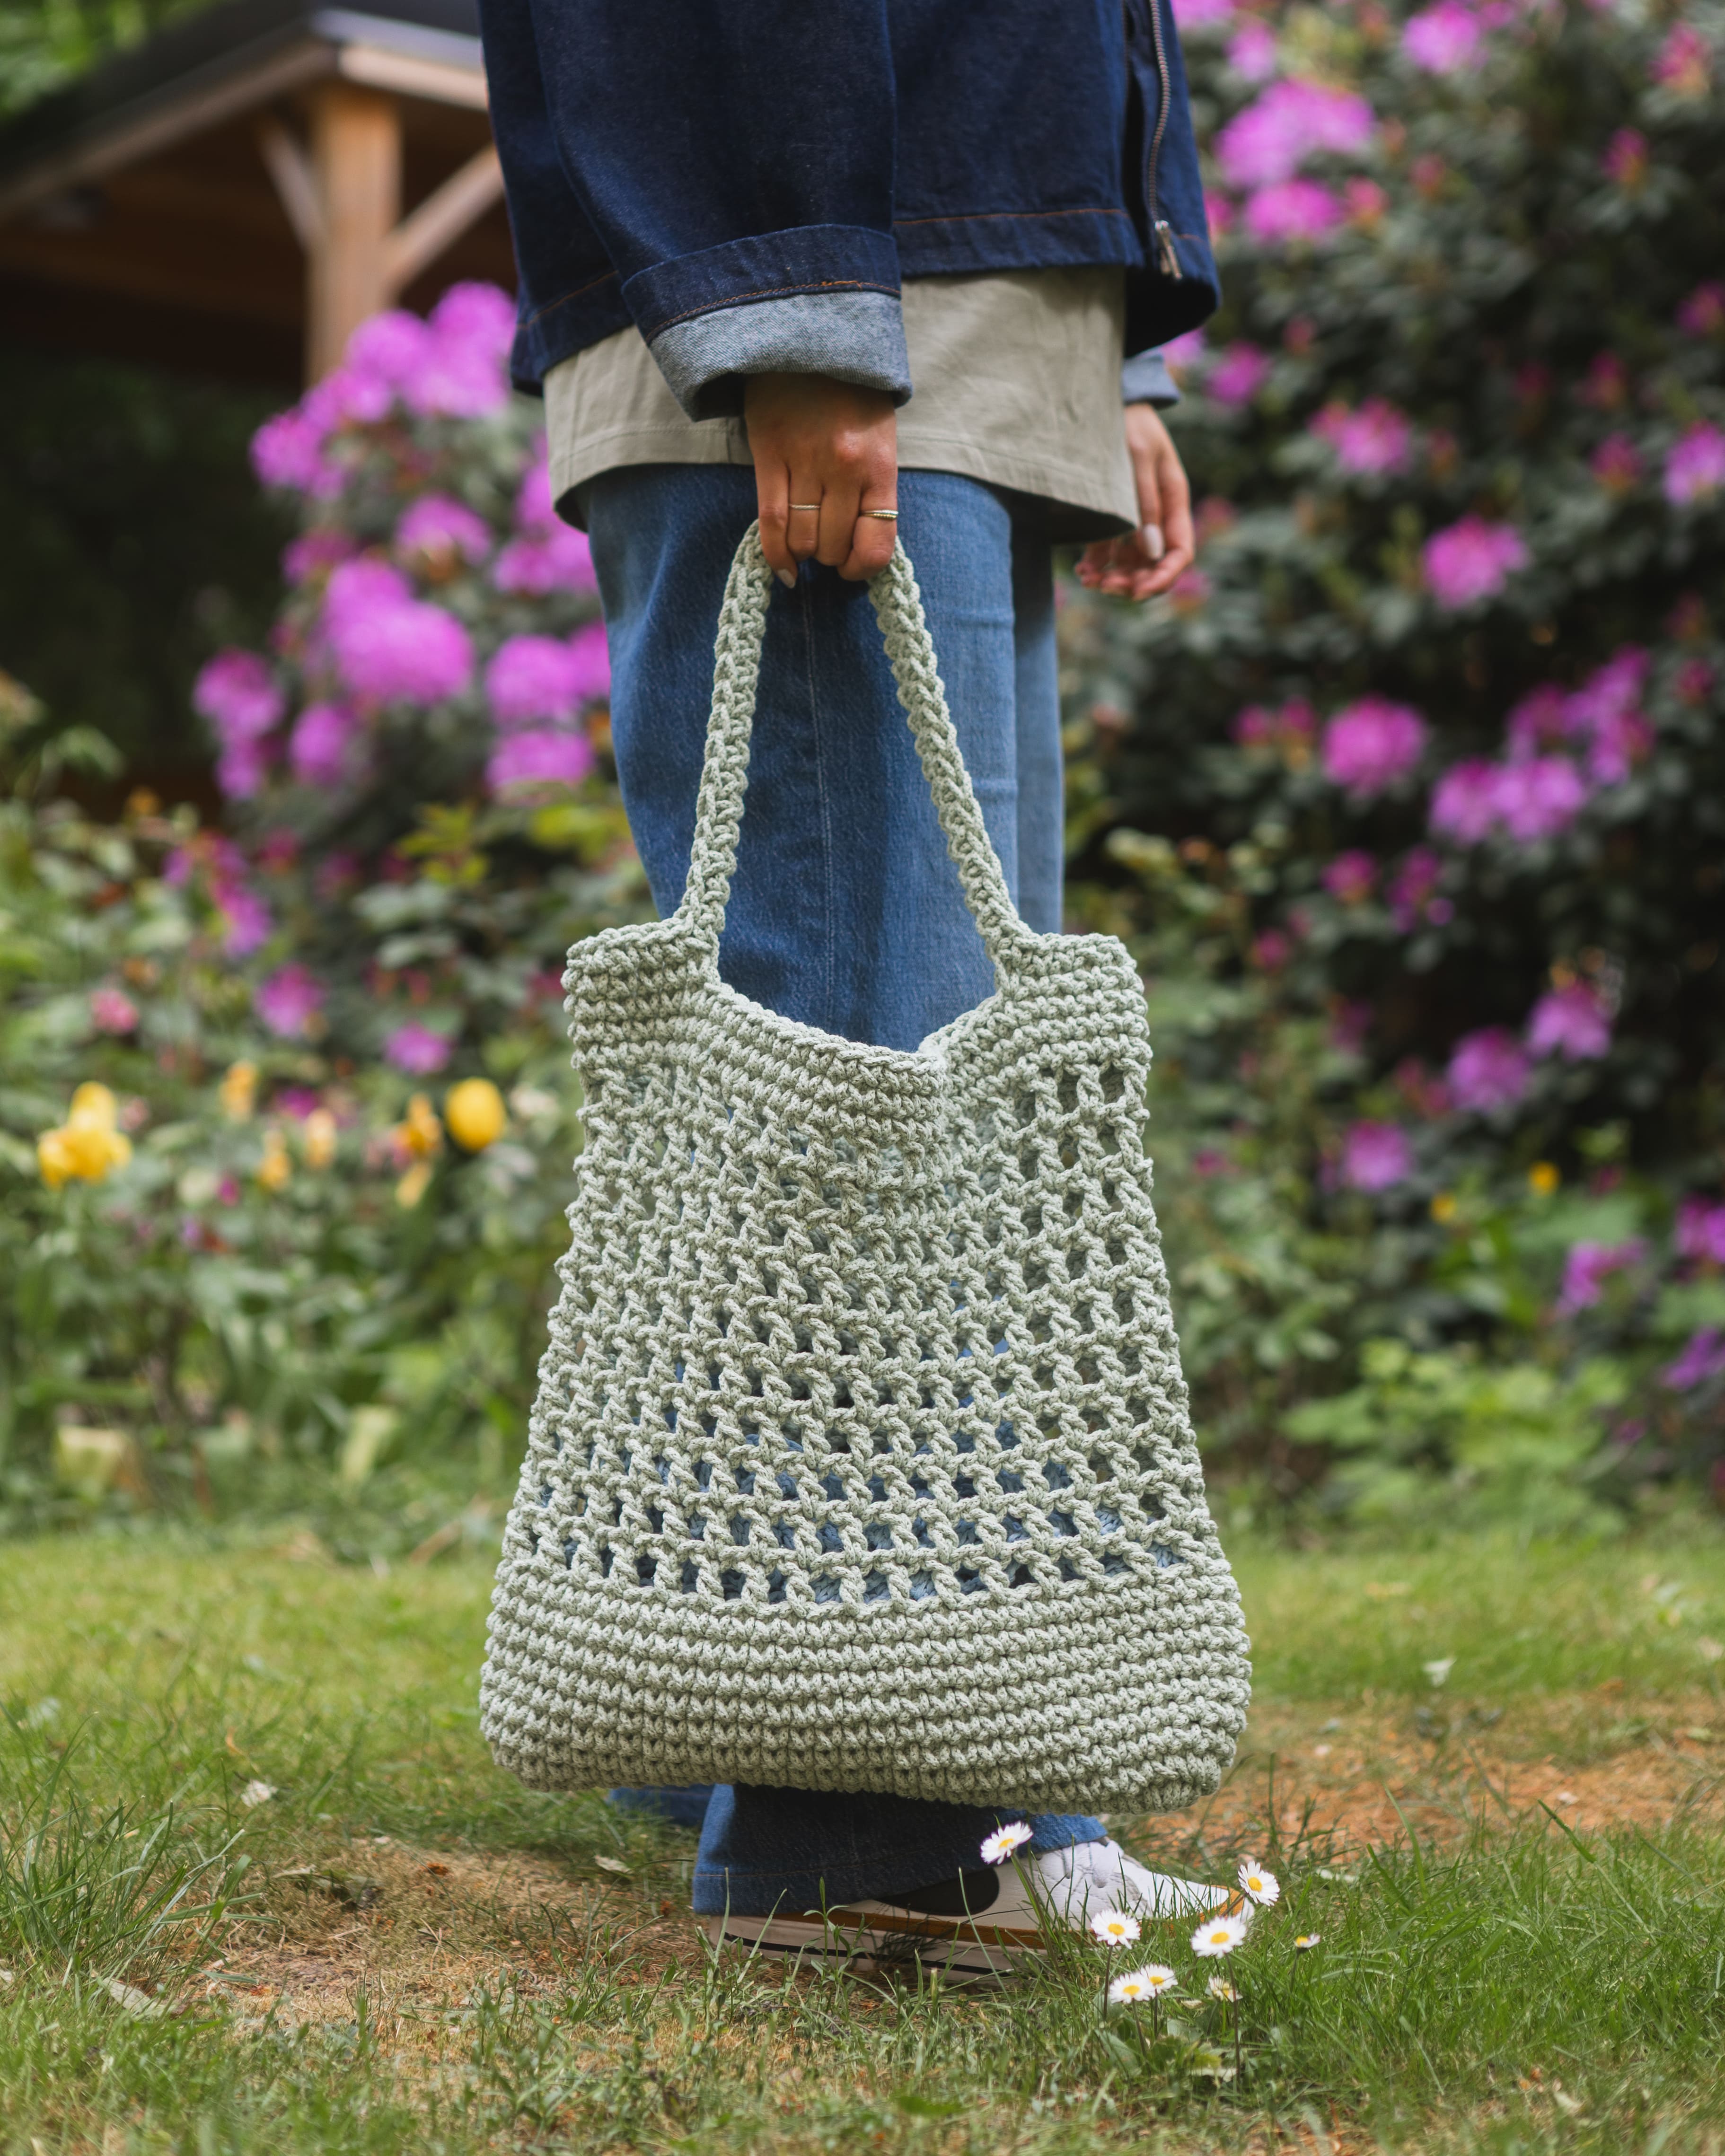
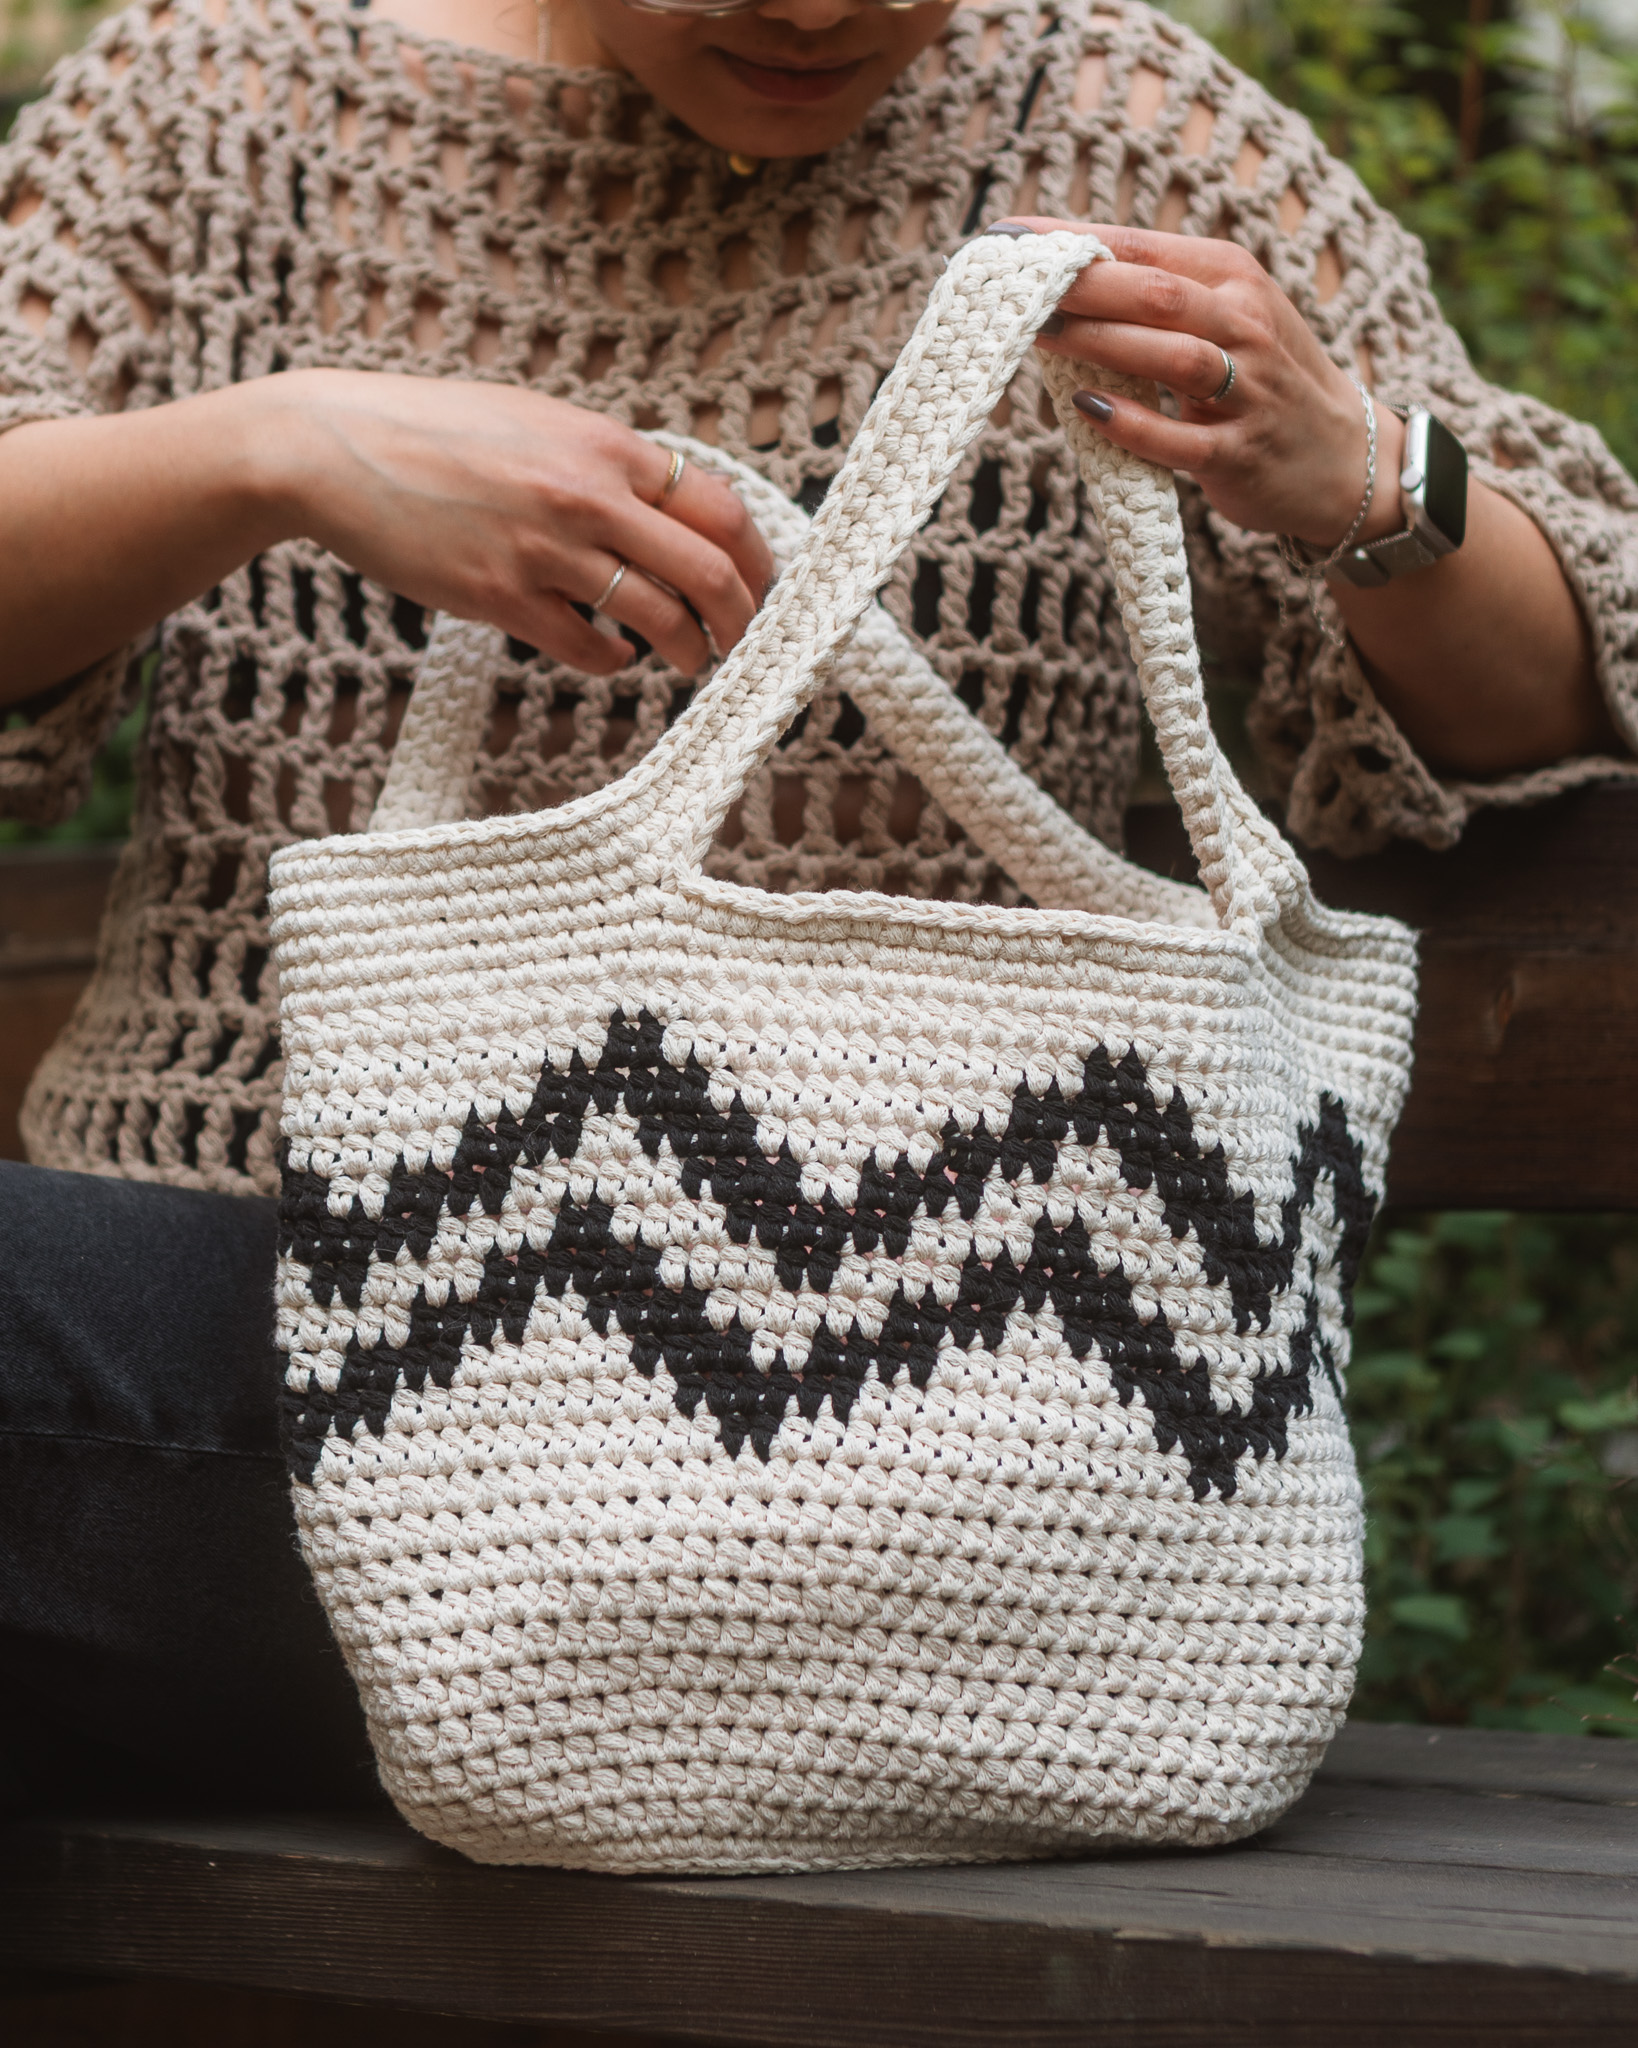
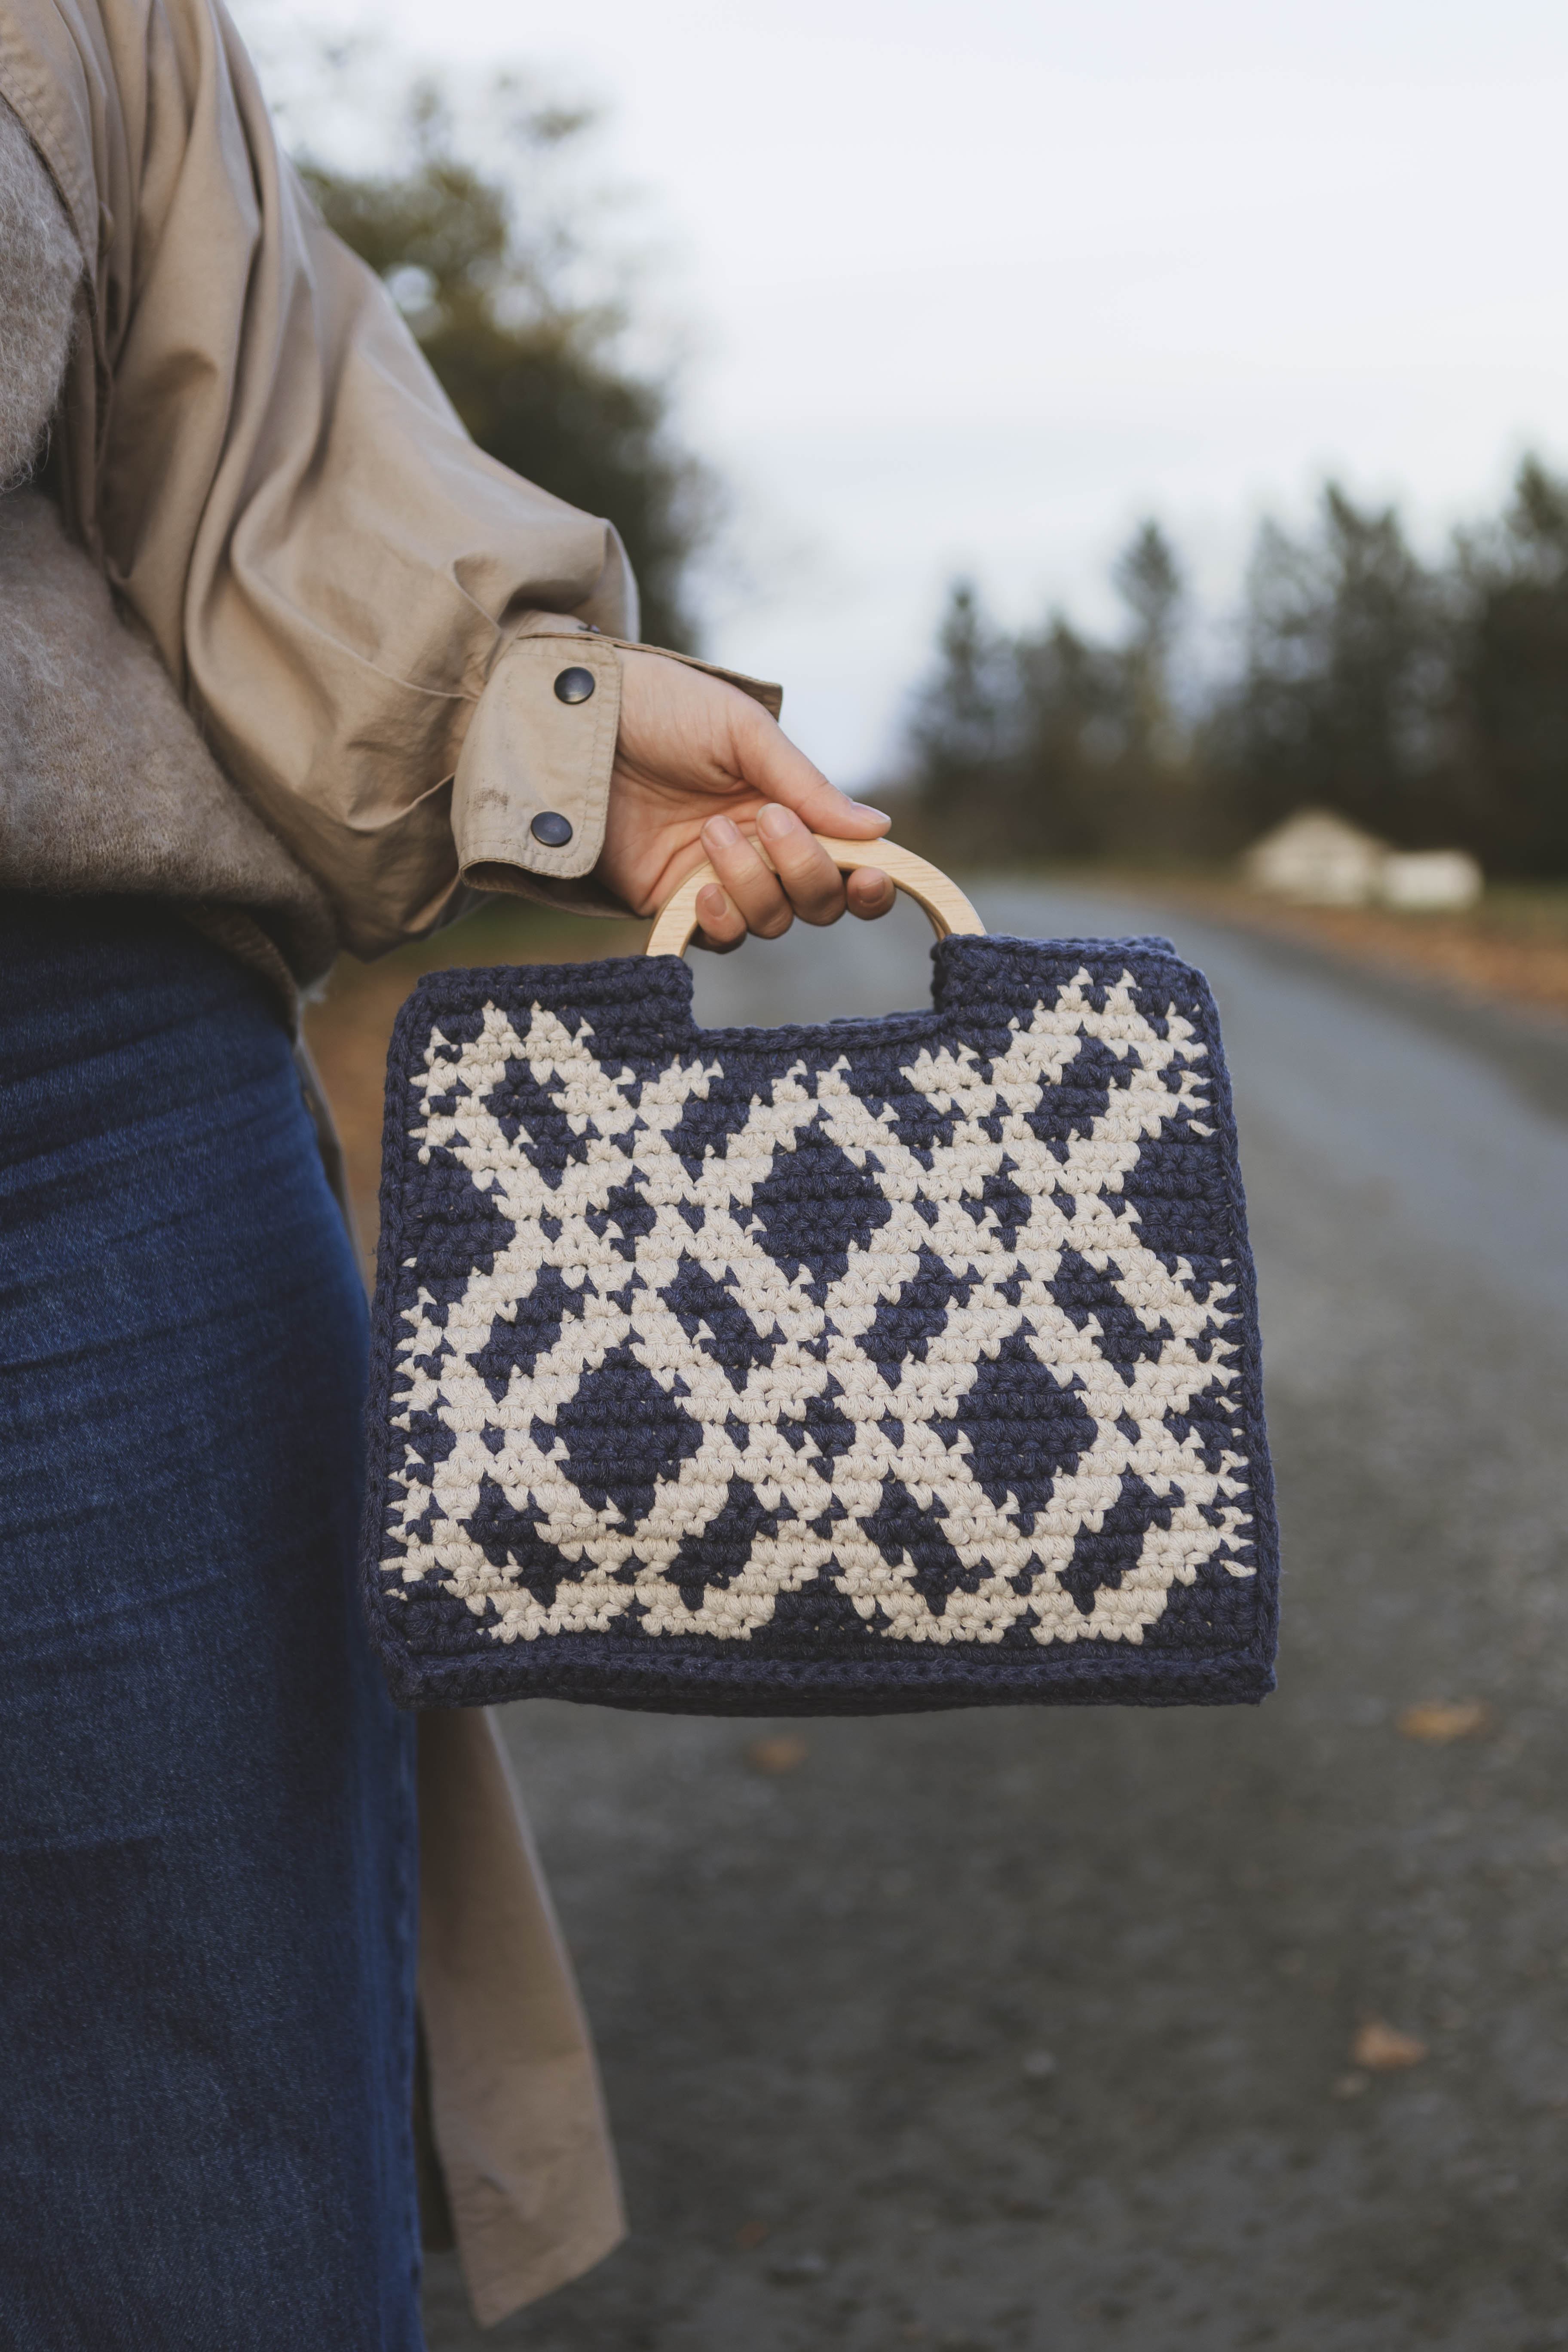
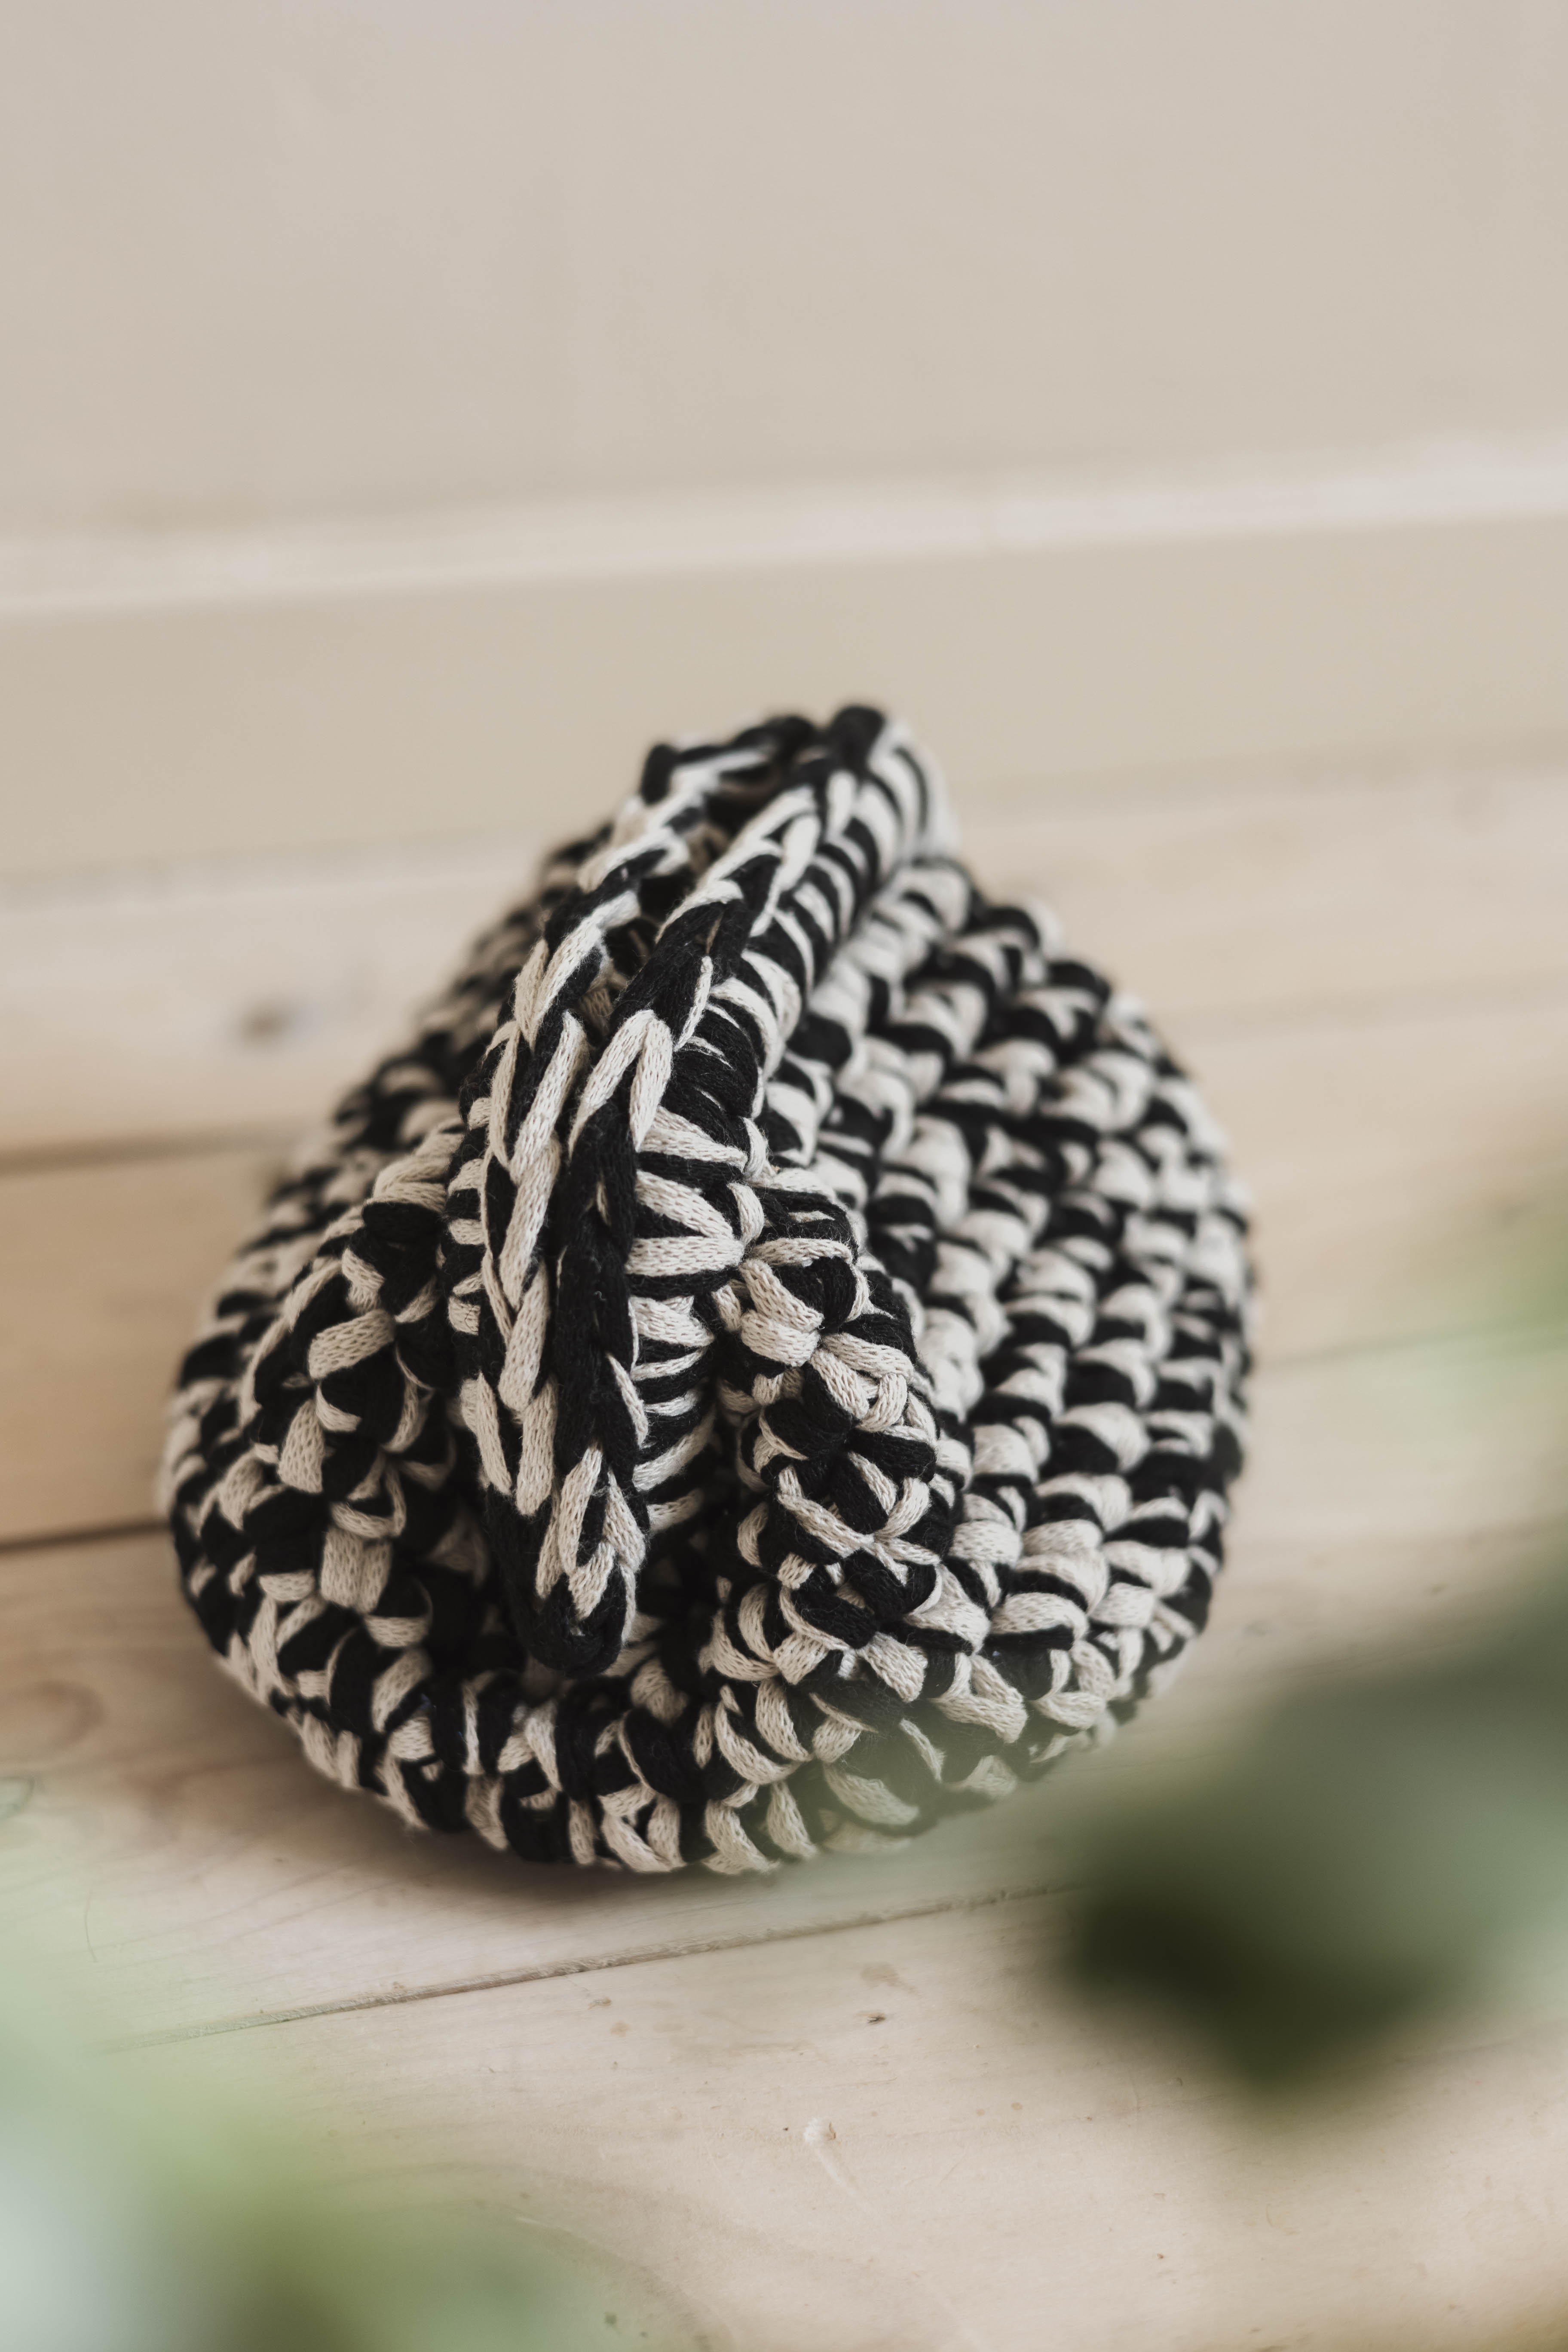
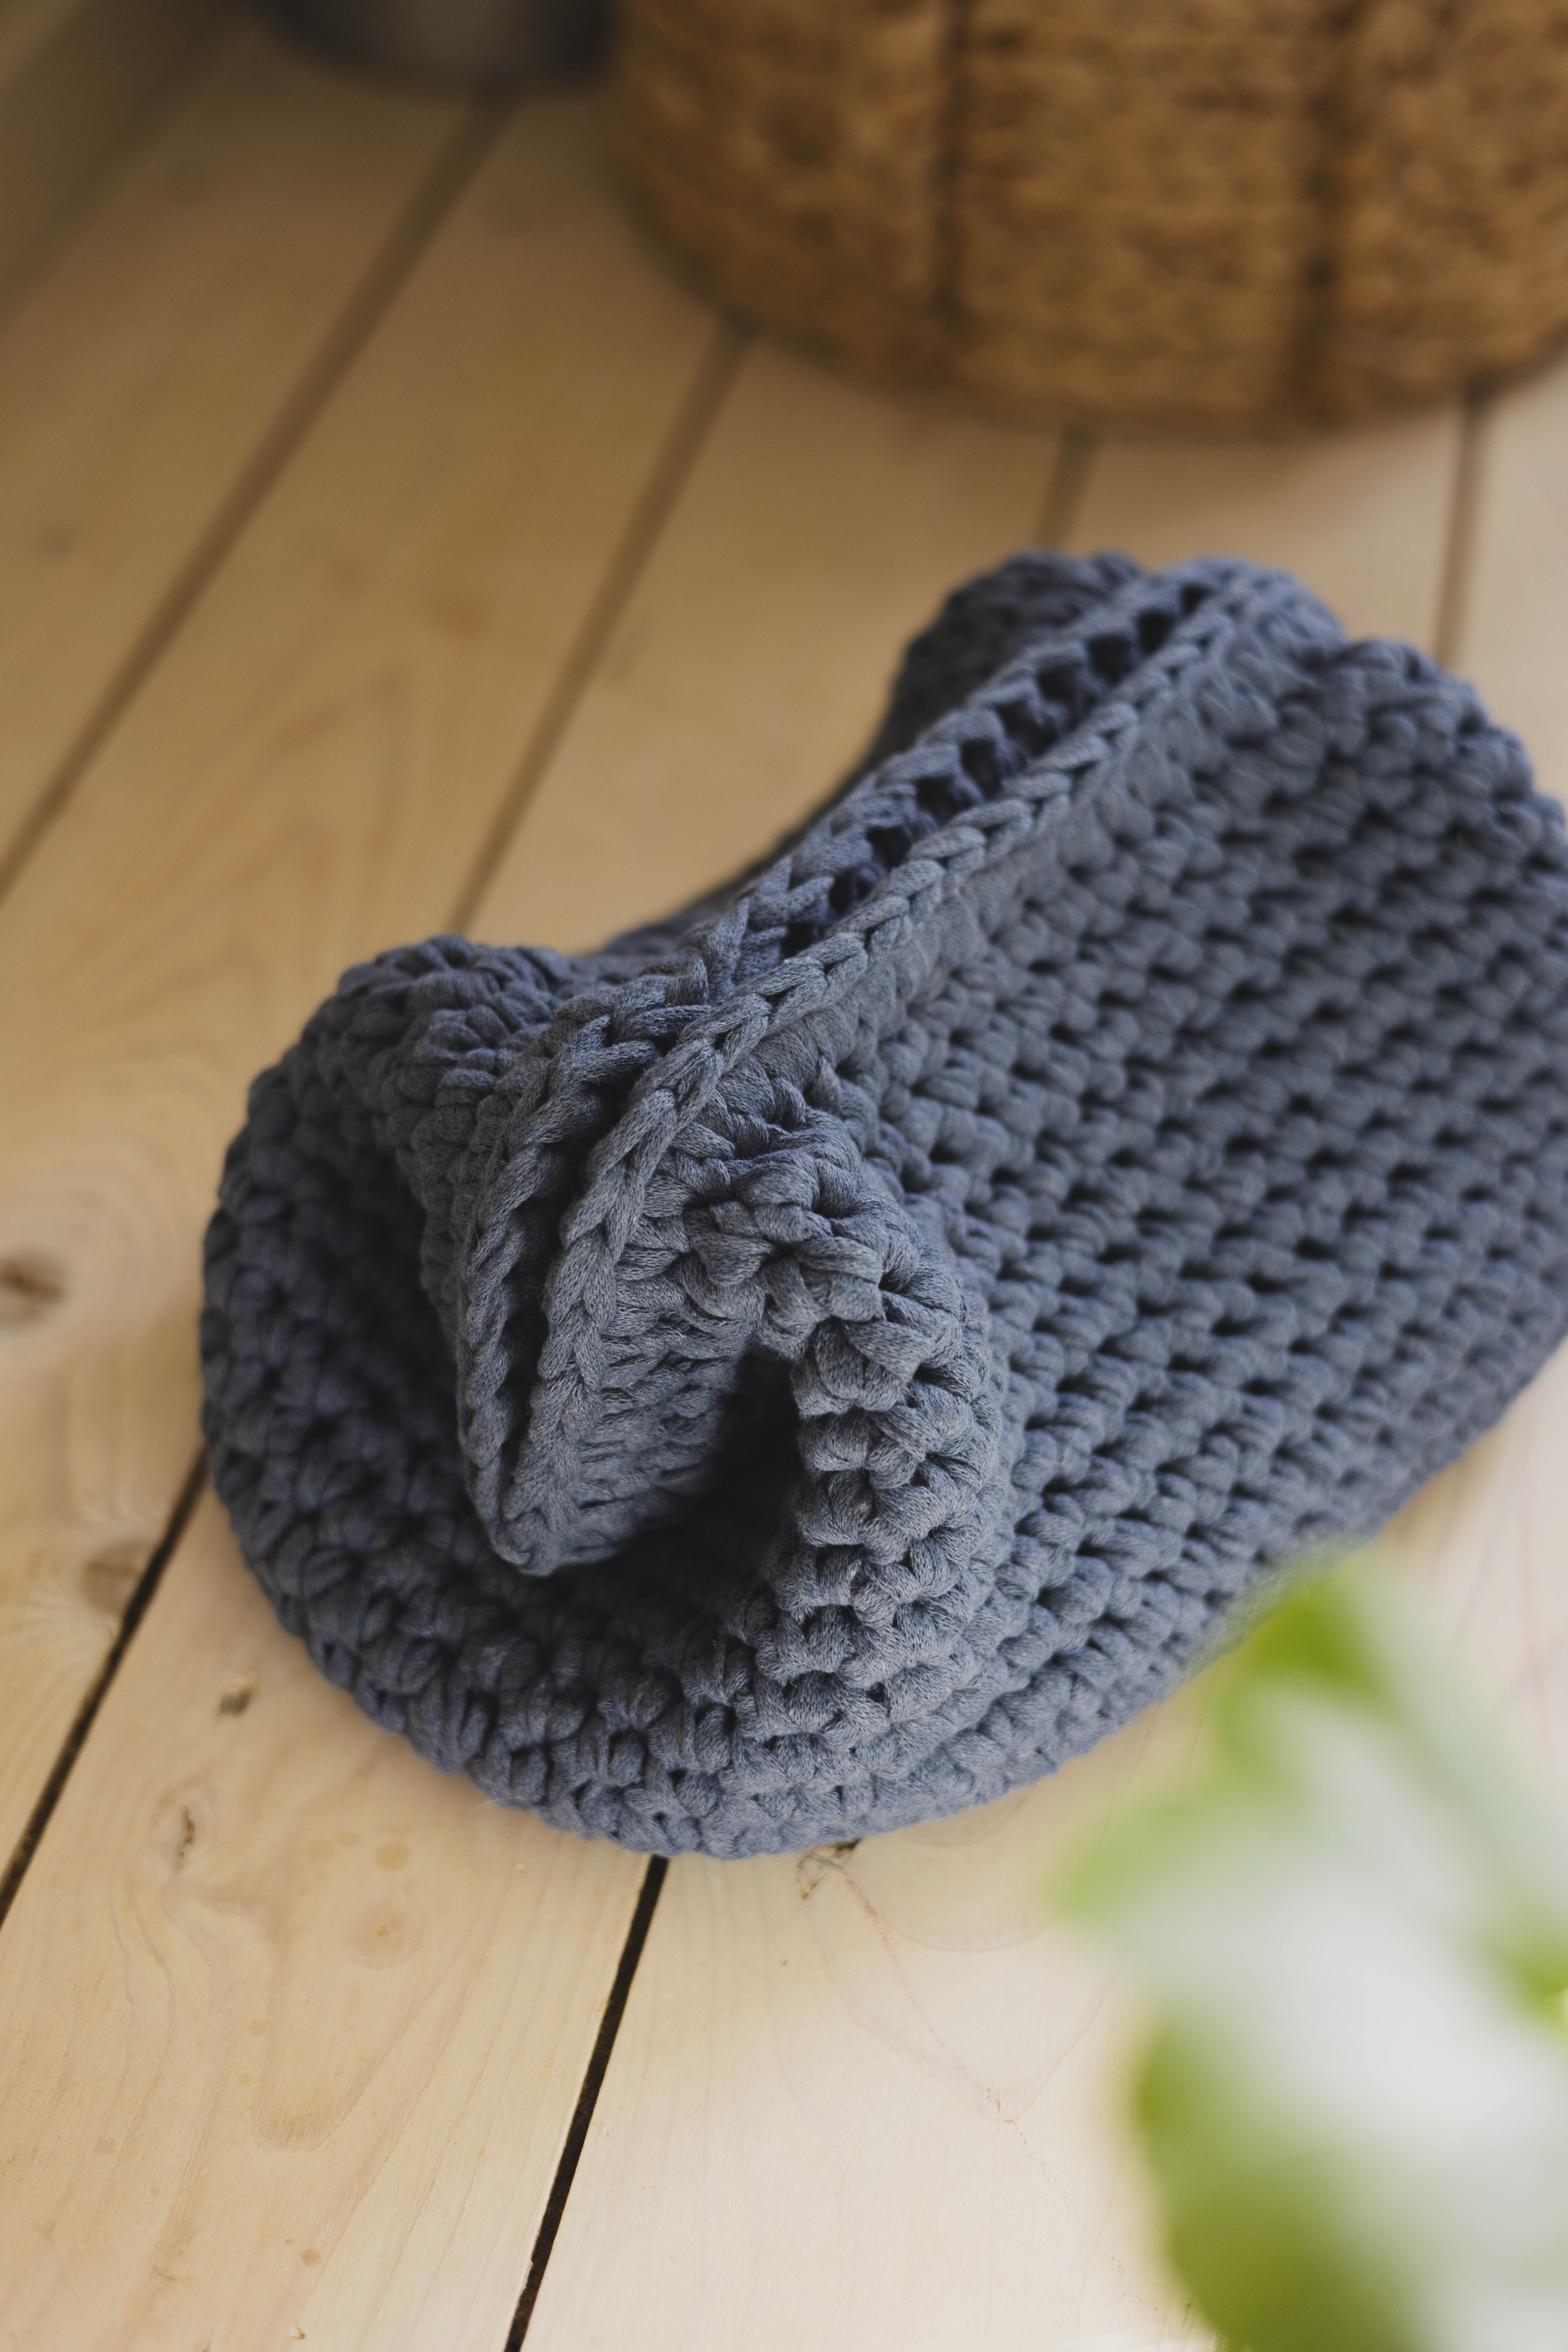
Crochet bag “Hedda”
Crochet a mesh bag with us!
This nice mesh bag is useful to a lot of things, check out our video and crochet your own. You will need EKO Braided Rope 3 mm and crochet hook 7 mm. The bag is beginner friendly and all the steps are shown on the video.
Inspirator of the pattern: Ingela Melander Julin @made_by_ingela
Yarn Consumption: 650 g (depending on how big you choose to make the bag and how tight you crochet)

Here's how to do it
The mesh bag is crocheted by starting with the bottom, then crocheting the sides and finally the handles are crocheted. If you want to change the size, crochet more or fewer loops at the beginning of the chain. This is perfect for the beach, but also for many other things. You can vary the size of the bag yourself, the bag in the video measures about 39 x 37 (ie counting the handles). Good luck to you!

This is what you need:
Here you can directly purchase the material for the product. Please note that the instruction is digital and appears here on the page (no written instruction).

EKO Braided rope 3mm | 700g
A 3mm wide braided yarn that can be used both for crocheting and macrame
Buy product
.jpg)
Unleash your creativity
For only 85kr per month you get access to all our 300+ beginner-friendly instructions for crochet, knitting and macrame.
A perfect way to get started with your new hobby!

Step 1 -The Chain
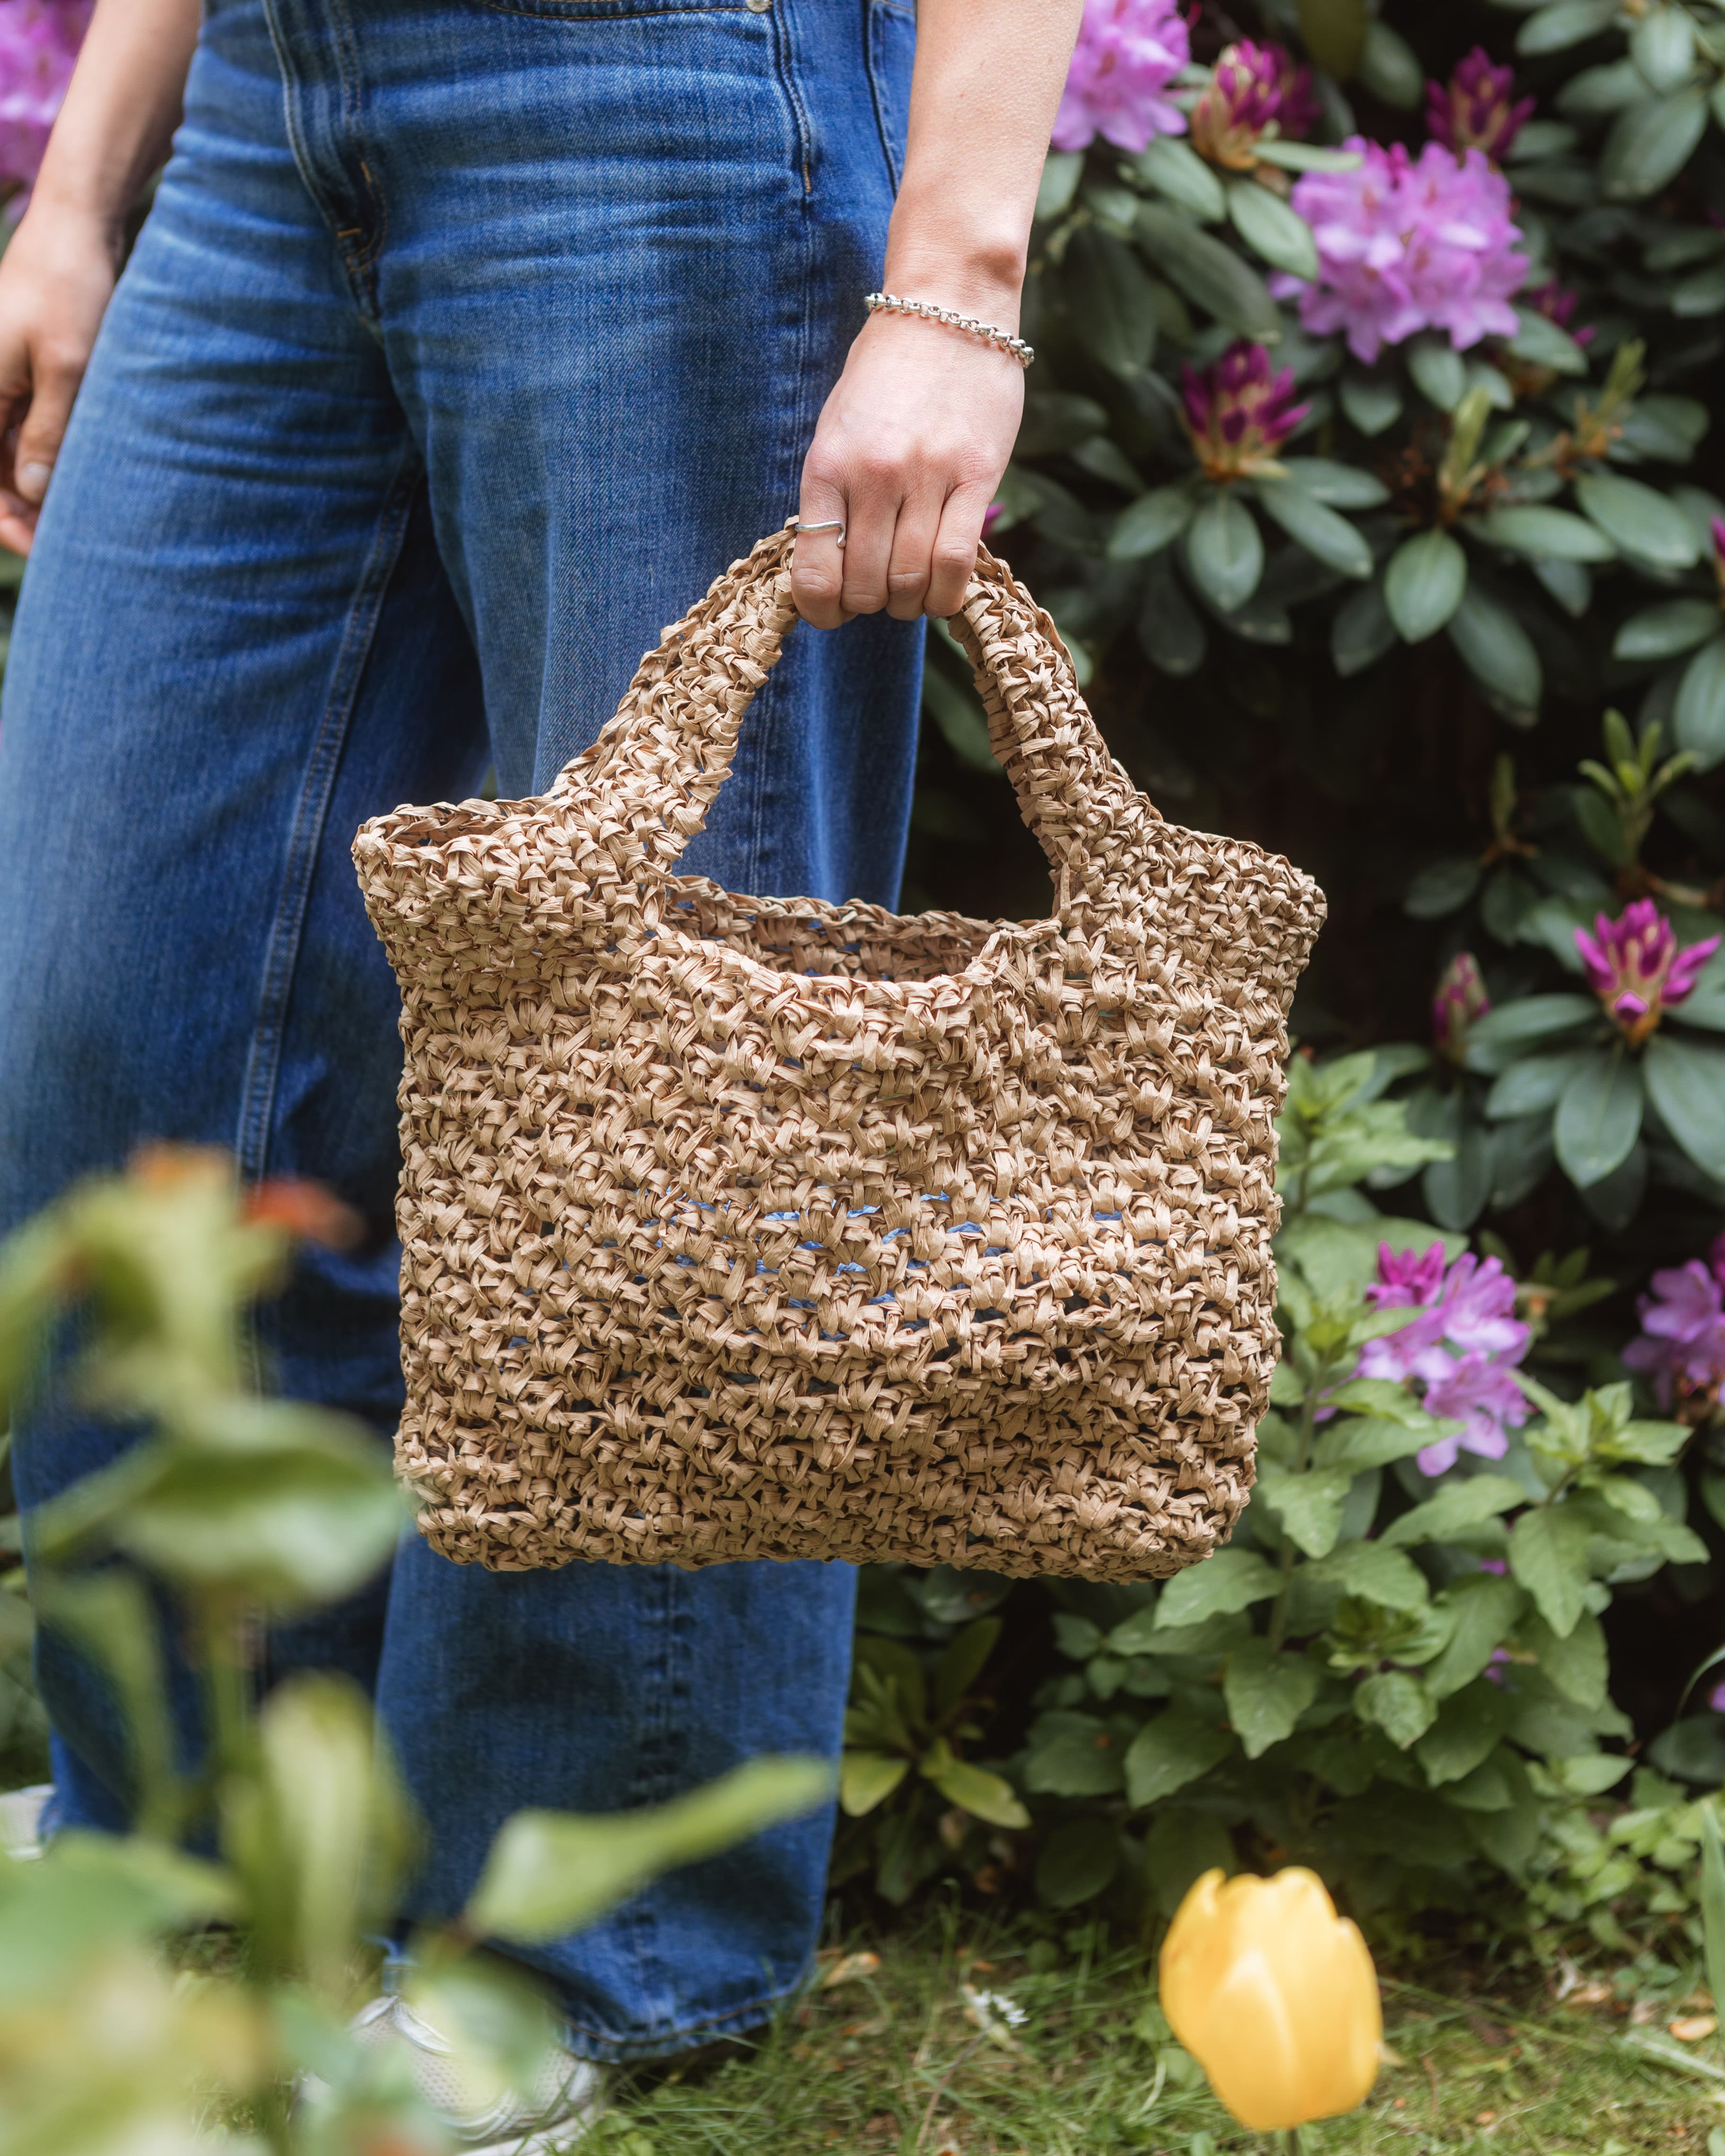
Start by choosing the color you want at the bottom of the bag.
Start by crocheting a chain. Start by making a slip knot around the crochet hook. One way you can do this is to wrap the yarn around your index and middle finger and then pull the yarn up so that the loop locks when you tighten. Then crochet chain stithces, pick up yarn and pull through. The number of stitches depends on how long you want the bottom of the bag. For reference, 27 stitches are crocheted in the video.
Round 2
We will crochet round 2 on the bag. We start by skipping the first stitch and going down into the second stitch. Go down, pick up yarn and pull through. You have two loops on your crochet hook, pick up the yarn again and pull through. You have crocheted a single crochet. Crochet in the same way until you are at the end of the chain.
When you are at the end of the chain, crochet three more single crochets in the same stitch as the last stitch you crocheted. Now you continue crocheting on the other side of the chain, one stitch in each stitch until you are at the last stitch. There you crochet three extra single crochet in the same stitch.
Round 3
Round 3 is an extra round on the bottom to get the bottom a little wider. If you want to skip this round it is ok, then go to next round.
Put a marker (small piece of yarn) in the last stitch of the round. Crochet stitches until you are at the corner, stop before the two corner stitches. In the first corner stitch you will crochet two single crochets in the same stitch, in the second corner stitch you will crochet three single crochets in the same stitch.
Crochet single crochets until you have two stitches left. In these stitches, you crochet two single crochets in each stitch.
Round 4--> forward
Count how many stitches you have on your lap, double check that you have an even number of stitches, if not, crochet one more stitch in the last stitch of your round.
We are going to crochet one stitch in each stitch and you continue like that until you have crocheted as many rounds as you wish. It's nice to have a few rounds of single crochets before we start with the mesh structure. But, of course, you can start with the mesh structure right away. For reference, 6 rows of single crochet are crocheted before starting the mesh structure.
Crochet the mesh structure
When you are satisfied with the number of rounds of single crochets, we start crocheting the mesh structure.
Start by chaining 3. Then skip a stitch and make a double crochet in the next stitch. A double crochet is crocheted by taking the yarn over the crochet and going down the stitch, picking up yarn and pulling through. You have three loops on the crochet hook. Pick up yarn and pull through two loops, pick up yarn and pull through the last two loops. You've crocheted a double crochet.
Chain one and skip a stitch. Make a double crochet in the next stitch. Continue in the same way until you are at start again. Finish with a slip stitch after the last double crochet. Go down the second chain from the start, pick up yarn and pull through all loops.
Continue with the mesh structure
This round is crocheted as many rounds as you wish to get the height of your bag.
Start with chaining three. Skip one stitch and crochet a double crochet in the next stitch. All double crochets should be above the double crochet from the round below (see video if in doubt). Chain one, skip one stitch and crochet a double crochet in the next stitch. Continue like this until you are at the start.
Finish with a slip stitch after the last double crochet. Go down the second chain from the start, pick up yarn and pull through everything right away.
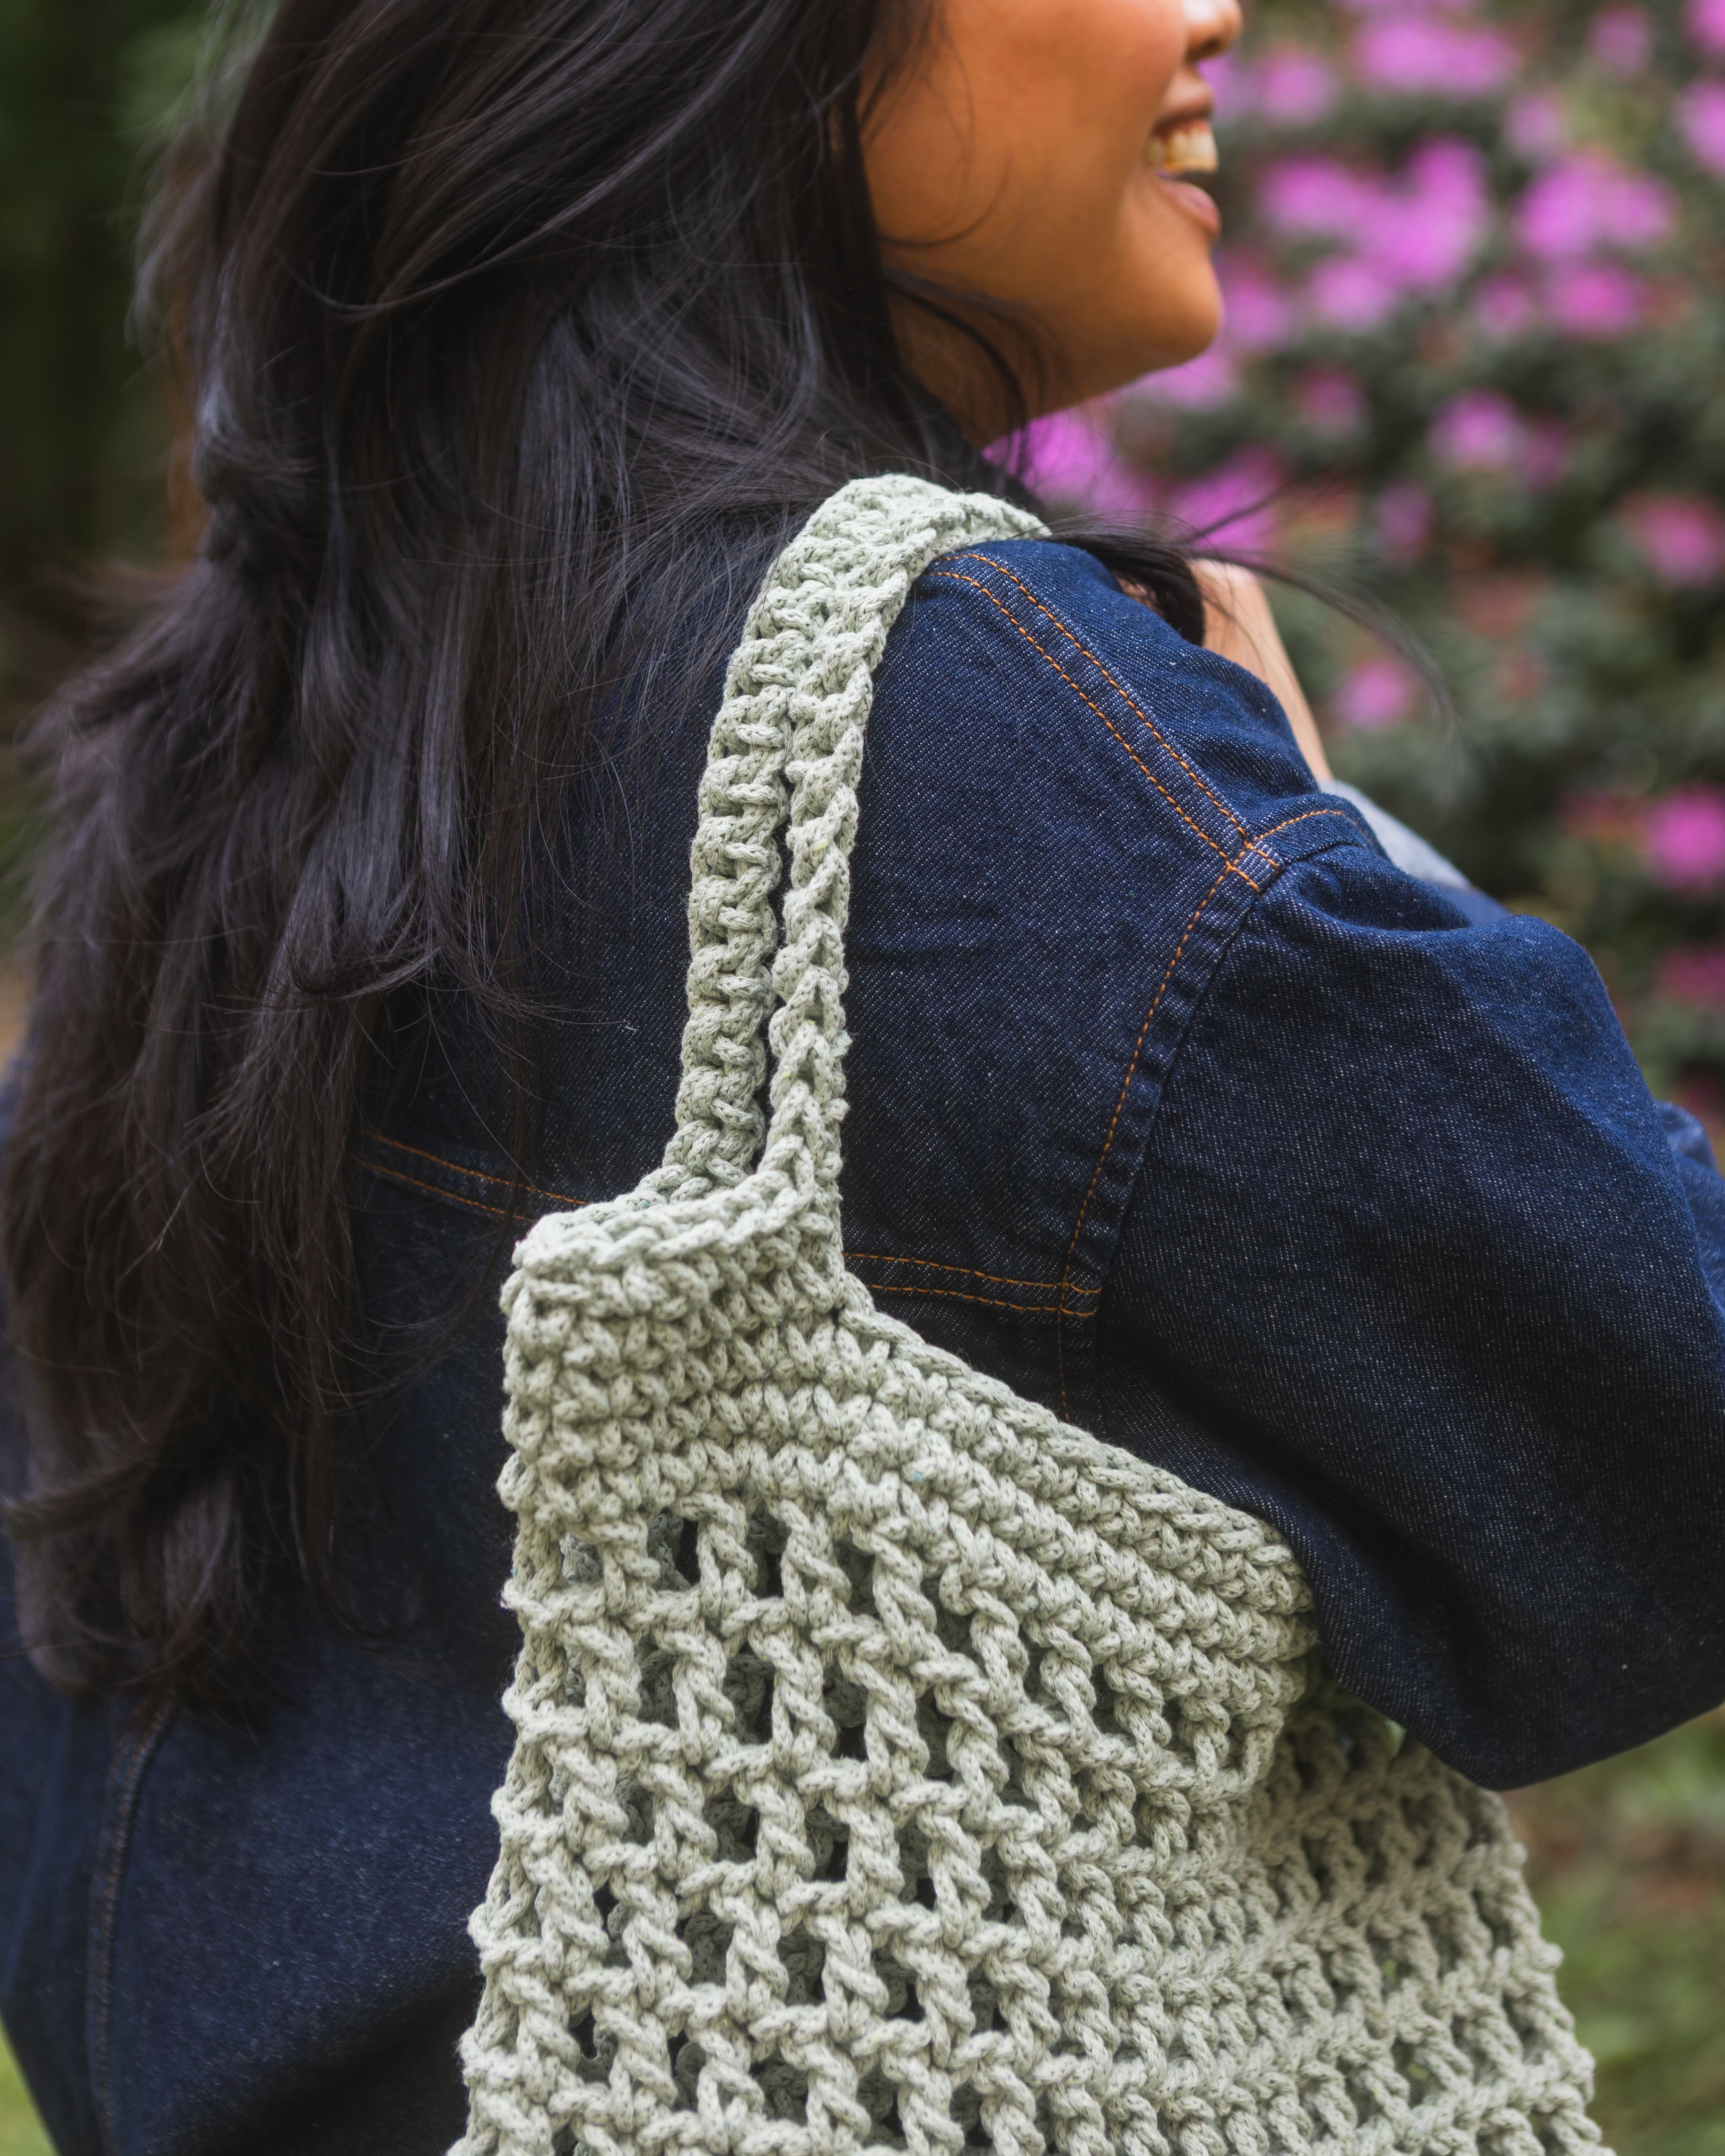
Handles
Before we are going to crochet the handles, we crochet three rounds with single crochet. When you have crocheted three rounds (or as many as you wish), we crochet the handles.
Cut four short pieces of yarn and mark on the bag where you want your handles to start and end. Continue to crochet single crochets until you reach your first mark, there you crochet your last stitch before starting to crochet chain stitches, for reference, in the video we crocheted 36 chains.
When you are satisfied with the number of chains, you go down into the stitch where your second marker is and continue crocheting with single crochet until you reach the next marker, where you crochet the second handle. Chain as many stitches as the first handle. Go down in the last marker and continue crocheting single crochets until you are back at the start.
Now you crochet a single crochet in each stitch. Crochet as many rounds as you wish to reach the desired thickness of the handles.
Now your bag is ready! Hope you like it and we would be happy if you would like to share your bag with us by tagging #createwithmyo
Description (Crochet Terminology)
This section contains crochet terminology only. If you would like more guidance along the way, please refer to the simpler version.
Abbreviations
- sc = single crochet
- inc = 2 sc in same stitch
- dc = double crochet
- sl st = slip stitch
- ch = chain
- (..) = total number of stitches in the round
- *…* = repeat instructions between asterisks
Pattern
Round 1: Ch 27.
Round 2: Start in the 2nd ch from hook. Work 25 sc, 4 sc in the last ch. Continue working on the opposite side of the foundation chain. Work 24 sc, 4 sc in the last ch. (57 sts.)
Round 3: An extra round on the base to make it slightly wider. If you wish to skip this round, proceed to the next step below.
Place a stitch marker (a small piece of yarn) in the last stitch of the round.
Work 26 sc, 2 sc in next st, 3 sc in next st. Work 27 sc, 2 sc in next st, 3 sc in next st. (63 sts.)
Rounds 4–9: Work 1 additional stitch in the last stitch so that you have an even number of stitches. Important!
Work 1 sc in each stitch around. (64 sts)
Repeat Round 4 until the base reaches your desired height.
The next step is to begin the mesh pattern. You may of course start the mesh pattern immediately if you prefer.
For reference: 6 rounds of sc are worked before beginning the next step.
Mesh Pattern
Round 10: Ch 3 (counts as dc). *Sk 1 st, 1 dc*. x31. Finish with a sl st in the 2nd ch from the beginning. You will have a total of 32 dc.
Round 11: Ch 3 (counts as dc). *Sk 1 st, 1 dc*. x31. Finish with a sl st in the 2nd ch from the beginning. Note: All dc stitches should align vertically with the dc stitches from the previous round. You should have the same number of dc in every round.
Repeat Round 11 as many times as desired to achieve your preferred bag height.
Handles
Finishing Rounds 1–3: Work 1 sc in each st around. (64 sts.)
Finishing Round 4: Use 4 stitch markers and place them on the bag where you would like your handles to begin and end.
Work sc until you reach the first marker. In the marked stitch, work your last sc before beginning the handle chain. Ch the desired number of stitches for the handle (for reference, 36 ch are used in the bag shown). When you are satisfied with the number of chains, insert your hook into the stitch at the second marker and continue working sc until you reach the third marker. At the third marker, create the second handle by chaining the same number of stitches as for the first handle. Insert your hook into the stitch at the fourth marker and continue working sc until you return to the beginning.
Finishing Round 5: Work 1 sc in each stitch around.
Repeat Finishing Round 5 as many times as desired to achieve your preferred handle thickness.
Done!
The rights to this pattern belong to MYO Make Your Own. The pattern or its pictures may not be copied, shared or resold either in parts or in its entirety, but you may sell items you have crocheted from this pattern. If you have questions about the pattern, contact MYO at hello@makeyourown.se.
Step 1 -The Chain
Start by choosing the color you want at the bottom of the bag.
Start by crocheting a chain. Start by making a slip knot around the crochet hook. One way you can do this is to wrap the yarn around your index and middle finger and then pull the yarn up so that the loop locks when you tighten. Then crochet chain stithces, pick up yarn and pull through. The number of stitches depends on how long you want the bottom of the bag. For reference, 27 stitches are crocheted in the video.
Round 2
We will crochet round 2 on the bag. We start by skipping the first stitch and going down into the second stitch. Go down, pick up yarn and pull through. You have two loops on your crochet hook, pick up the yarn again and pull through. You have crocheted a single crochet. Crochet in the same way until you are at the end of the chain.
When you are at the end of the chain, crochet three more single crochets in the same stitch as the last stitch you crocheted. Now you continue crocheting on the other side of the chain, one stitch in each stitch until you are at the last stitch. There you crochet three extra single crochet in the same stitch.
Round 3
Round 3 is an extra round on the bottom to get the bottom a little wider. If you want to skip this round it is ok, then go to next round.
Put a marker (small piece of yarn) in the last stitch of the round. Crochet stitches until you are at the corner, stop before the two corner stitches. In the first corner stitch you will crochet two single crochets in the same stitch, in the second corner stitch you will crochet three single crochets in the same stitch.
Crochet single crochets until you have two stitches left. In these stitches, you crochet two single crochets in each stitch.
Round 4--> forward
Count how many stitches you have on your lap, double check that you have an even number of stitches, if not, crochet one more stitch in the last stitch of your round.
We are going to crochet one stitch in each stitch and you continue like that until you have crocheted as many rounds as you wish. It's nice to have a few rounds of single crochets before we start with the mesh structure. But, of course, you can start with the mesh structure right away. For reference, 6 rows of single crochet are crocheted before starting the mesh structure.
Crochet the mesh structure
When you are satisfied with the number of rounds of single crochets, we start crocheting the mesh structure.
Start by chaining 3. Then skip a stitch and make a double crochet in the next stitch. A double crochet is crocheted by taking the yarn over the crochet and going down the stitch, picking up yarn and pulling through. You have three loops on the crochet hook. Pick up yarn and pull through two loops, pick up yarn and pull through the last two loops. You've crocheted a double crochet.
Chain one and skip a stitch. Make a double crochet in the next stitch. Continue in the same way until you are at start again. Finish with a slip stitch after the last double crochet. Go down the second chain from the start, pick up yarn and pull through all loops.
Continue with the mesh structure
This round is crocheted as many rounds as you wish to get the height of your bag.
Start with chaining three. Skip one stitch and crochet a double crochet in the next stitch. All double crochets should be above the double crochet from the round below (see video if in doubt). Chain one, skip one stitch and crochet a double crochet in the next stitch. Continue like this until you are at the start.
Finish with a slip stitch after the last double crochet. Go down the second chain from the start, pick up yarn and pull through everything right away.
Handles
Before we are going to crochet the handles, we crochet three rounds with single crochet. When you have crocheted three rounds (or as many as you wish), we crochet the handles.
Cut four short pieces of yarn and mark on the bag where you want your handles to start and end. Continue to crochet single crochets until you reach your first mark, there you crochet your last stitch before starting to crochet chain stitches, for reference, in the video we crocheted 36 chains.
When you are satisfied with the number of chains, you go down into the stitch where your second marker is and continue crocheting with single crochet until you reach the next marker, where you crochet the second handle. Chain as many stitches as the first handle. Go down in the last marker and continue crocheting single crochets until you are back at the start.
Now you crochet a single crochet in each stitch. Crochet as many rounds as you wish to reach the desired thickness of the handles.
Now your bag is ready! Hope you like it and we would be happy if you would like to share your bag with us by tagging #createwithmyo
Description (Crochet Terminology)
This section contains crochet terminology only. If you would like more guidance along the way, please refer to the simpler version.
Abbreviations
- sc = single crochet
- inc = 2 sc in same stitch
- dc = double crochet
- sl st = slip stitch
- ch = chain
- (..) = total number of stitches in the round
- *…* = repeat instructions between asterisks
Pattern
Round 1: Ch 27.
Round 2: Start in the 2nd ch from hook. Work 25 sc, 4 sc in the last ch. Continue working on the opposite side of the foundation chain. Work 24 sc, 4 sc in the last ch. (57 sts.)
Round 3: An extra round on the base to make it slightly wider. If you wish to skip this round, proceed to the next step below.
Place a stitch marker (a small piece of yarn) in the last stitch of the round.
Work 26 sc, 2 sc in next st, 3 sc in next st. Work 27 sc, 2 sc in next st, 3 sc in next st. (63 sts.)
Rounds 4–9: Work 1 additional stitch in the last stitch so that you have an even number of stitches. Important!
Work 1 sc in each stitch around. (64 sts)
Repeat Round 4 until the base reaches your desired height.
The next step is to begin the mesh pattern. You may of course start the mesh pattern immediately if you prefer.
For reference: 6 rounds of sc are worked before beginning the next step.
Mesh Pattern
Round 10: Ch 3 (counts as dc). *Sk 1 st, 1 dc*. x31. Finish with a sl st in the 2nd ch from the beginning. You will have a total of 32 dc.
Round 11: Ch 3 (counts as dc). *Sk 1 st, 1 dc*. x31. Finish with a sl st in the 2nd ch from the beginning. Note: All dc stitches should align vertically with the dc stitches from the previous round. You should have the same number of dc in every round.
Repeat Round 11 as many times as desired to achieve your preferred bag height.
Handles
Finishing Rounds 1–3: Work 1 sc in each st around. (64 sts.)
Finishing Round 4: Use 4 stitch markers and place them on the bag where you would like your handles to begin and end.
Work sc until you reach the first marker. In the marked stitch, work your last sc before beginning the handle chain. Ch the desired number of stitches for the handle (for reference, 36 ch are used in the bag shown). When you are satisfied with the number of chains, insert your hook into the stitch at the second marker and continue working sc until you reach the third marker. At the third marker, create the second handle by chaining the same number of stitches as for the first handle. Insert your hook into the stitch at the fourth marker and continue working sc until you return to the beginning.
Finishing Round 5: Work 1 sc in each stitch around.
Repeat Finishing Round 5 as many times as desired to achieve your preferred handle thickness.
Done!
The rights to this pattern belong to MYO Make Your Own. The pattern or its pictures may not be copied, shared or resold either in parts or in its entirety, but you may sell items you have crocheted from this pattern. If you have questions about the pattern, contact MYO at hello@makeyourown.se.

Share your creations with us
Thank you!
Your comment was sent!