Crocheted pumpkin “Annie”
Crochet a Halloween pumpkin that will be a nice decoration this fall 🎃
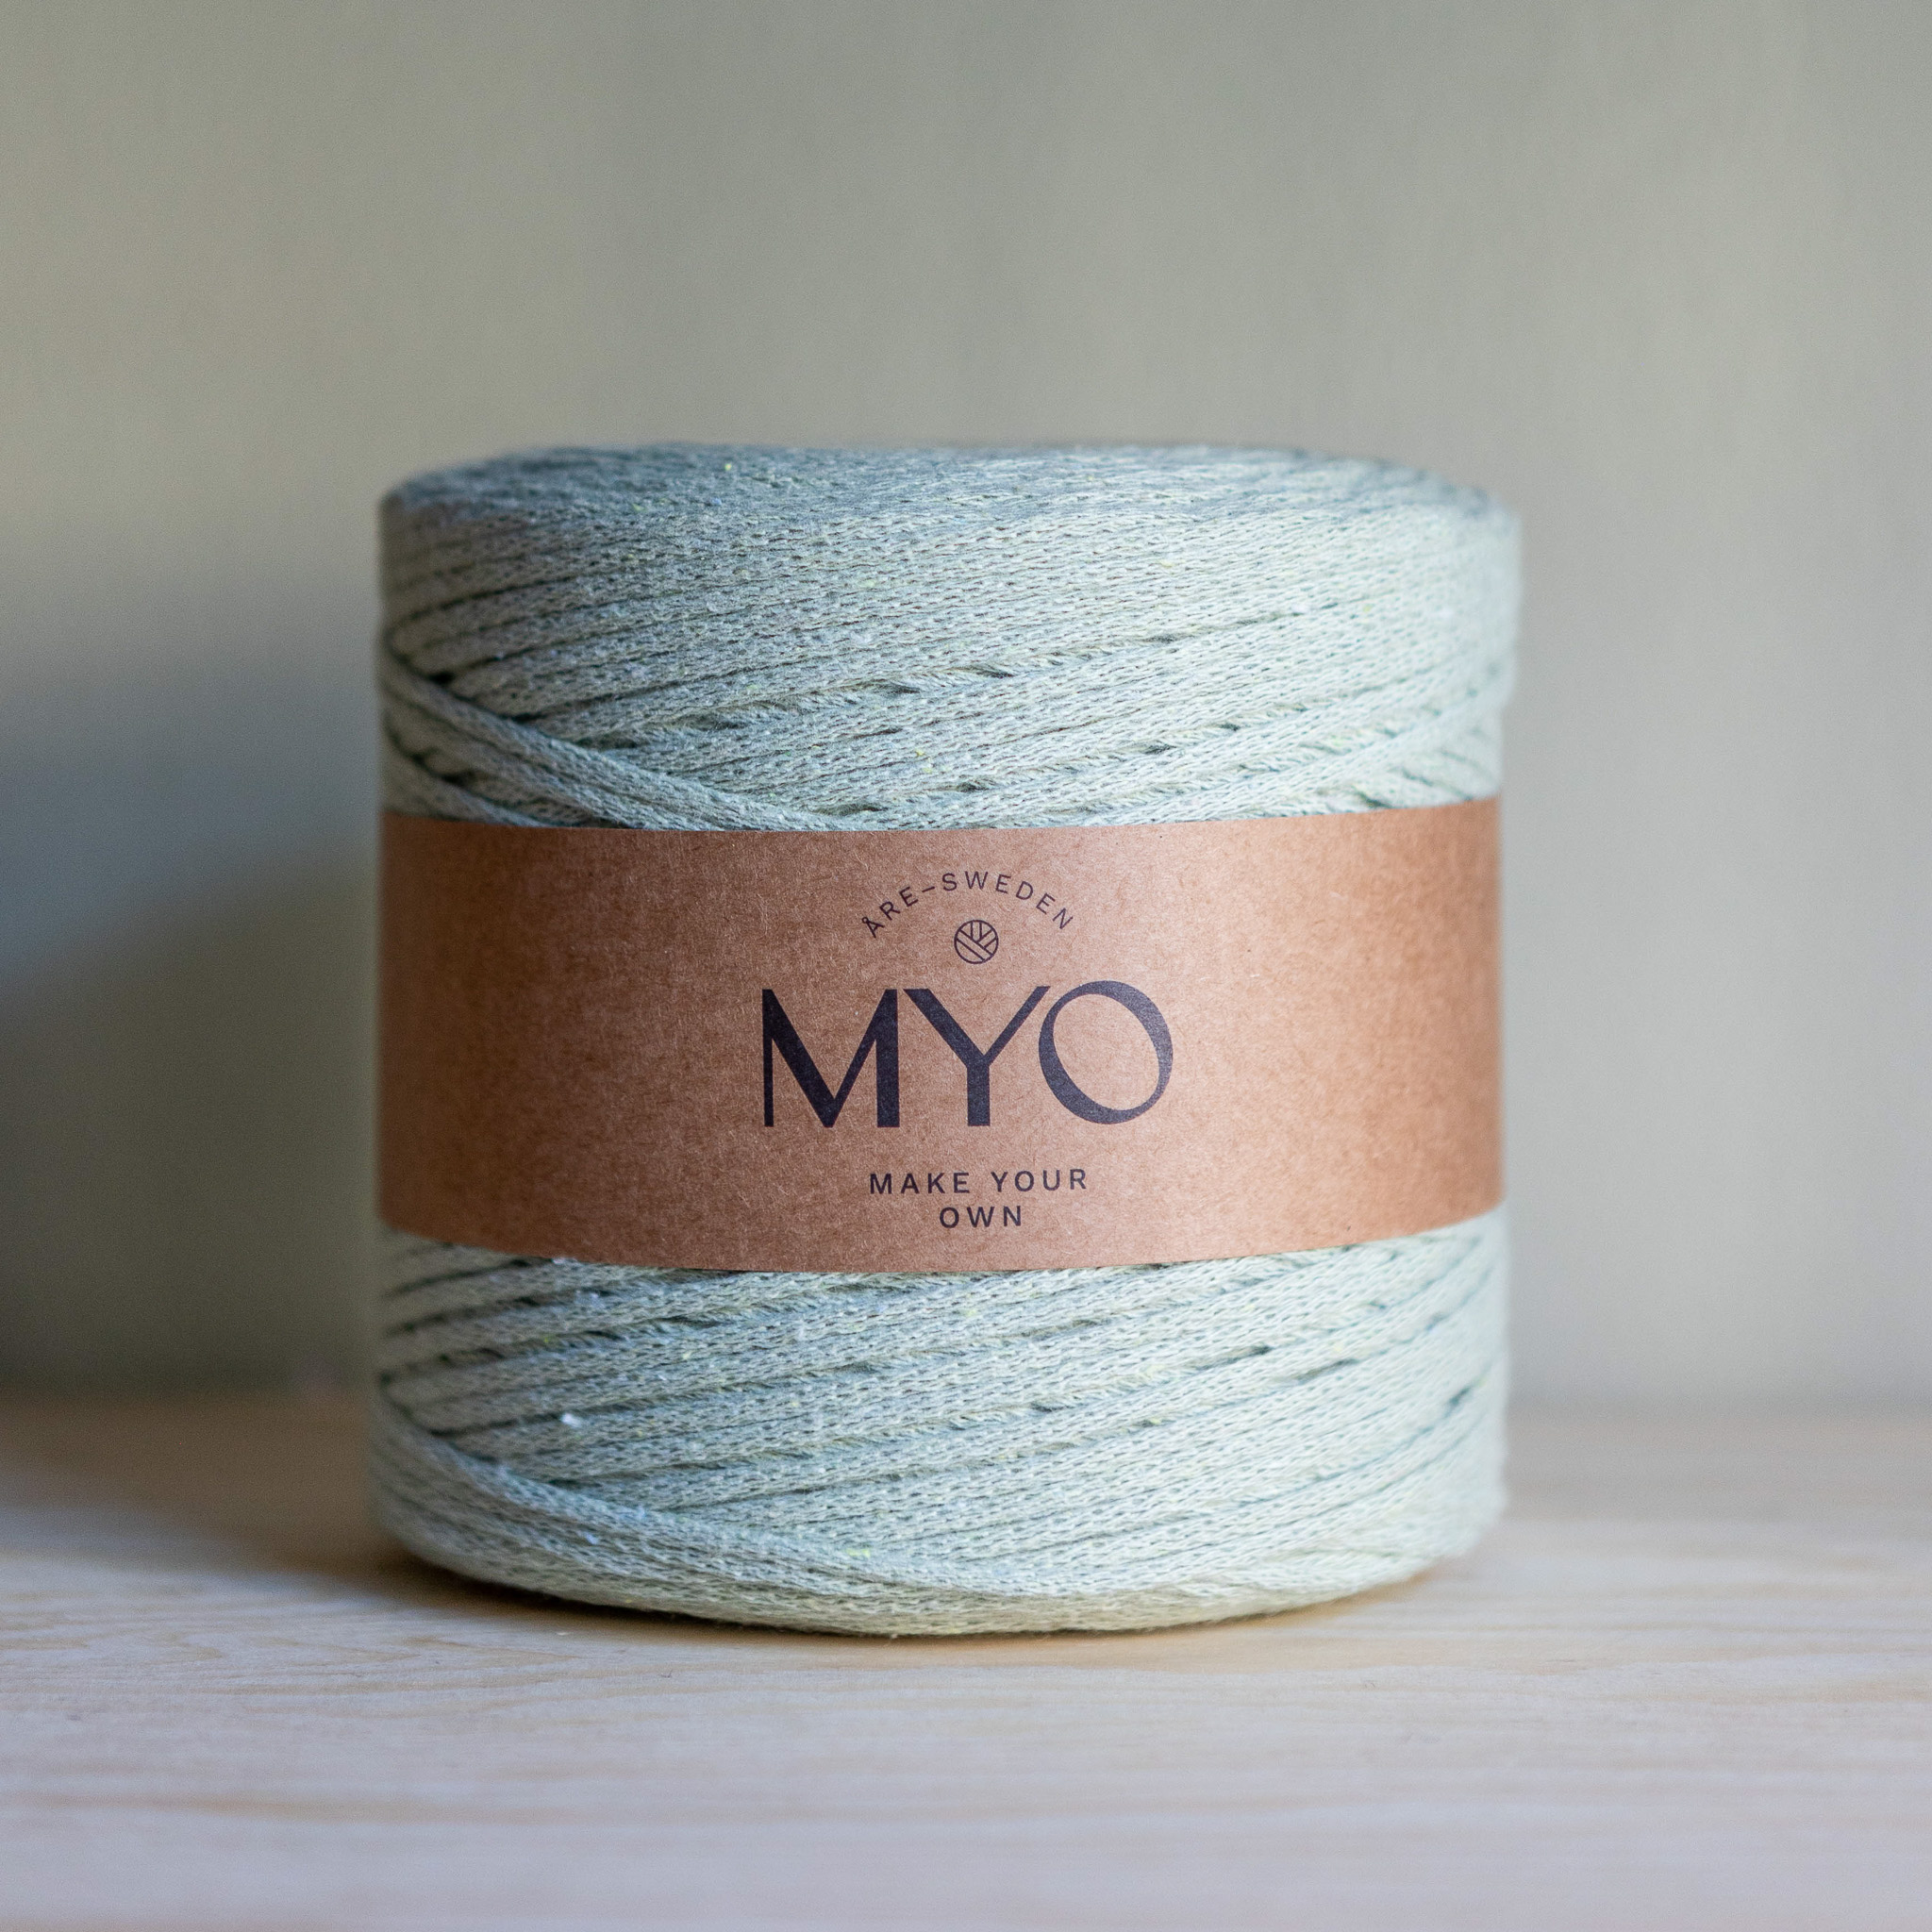
In this instruction we will crochet a pumpkin that fits nicely as an autumn decoration! You need EKO Nano Tube yarn and a crochet hook 6 mm. You also need something to fill the pumpkin with, we use wadding but you can use old ends of yarn for example (or simply; an old sock or other scraps of fabric).
Yarn consumption : 200g EKO Nano tube yarn (main color) + a small piece of green. Can also be crocheted with EKO Macramé Single twisted 4mm or EKO mini.

This is what you need:
Here you can directly purchase the material for the product. Please note that the instruction is digital and appears here on the page (no written instruction).


Here's how to do it

The top of the pumpkin
Get started - the innermost ring
Hold the yarn in your left hand. Twist the yarn around your fingers (left hand) three times. Use your crochet hook to go under the first two loops and hook the third with your crochet hook. Pick up the yarn again and pull under the two finger loops, hook the yarn onto the hook, and pull through. Now the loop on the crochet hook holds the double & inner ring together and we can start on the first round for the top.
Top - First lap
Now we will start crocheting the first round on the top of the pumpkin with single crochet stitches. Go down with the hook in the ring, hook the yarn and pull through, pick up the yarn again so you temporarily have two loops on the hook, pick up the yarn and pull through both loops. Do this five more times so that you have a total of six stitches in the innermost ring. Round 1 is now complete!
Round 2
Now the top of the pumpkin will grow in size and therefore we start adding extra stitches. On this round we will make two single crochets in each stitch from round 1. Insert the crochet hook through both sides of the first stitch you made for the first round and pull the yarn through. You now have two loops on the hook. Grab the yarn again and pull it through both loops. Now you only have one loop on the hook and have crocheted the first single crochet. On this round we will make two single crochet stitches in each stitch so you go down in the SAME stitch again and catch the yarn and pull through so that you temporarily have 2 loops on the hook. Then you pick up the yarn again and pull through. You have now made two double crochets in the same stitch. Continue in the same way round out, a total of 12 stitches on round 2.
For the next round, continue to add extra single crochets according to the following pattern:
Round 3: Make two single crochet in every other stitch (between these, just make one stitch as usual). In total, you should have 18 stitches on your lap.
Round 4: Make two single crochet in every 3 stitches. In total, you should have 24 stitches on your lap.
Round 5: Make two single crochet in every 4 stitches. In total, you should have 30 stitches on your lap.
Round 6: Make two single crochet in every 5 stitches. In total, you should have 36 stitches on your lap.
Round 7: Make two single crochet in every 6 stitches. In total, you should have 42 stitches on your lap.
If you want to crochet a bigger pumpkin, you continue according to the above logic a few more rounds, but you must remember to add more rounds on the side.
Side
Now we will crochet on the side and crochet the pumpkin so that it gets a little height. In the pattern, 7 laps are crocheted but you can crochet more if you want a taller pumpkin. If you added turns on the bottom, you need to add more laps here on the page as well.
Rows 8-14: The side is crocheted with a single crochet in each stitch, no increases. This means that you should crochet 42 stitches on each round if you have crocheted according to the pattern in the video.
The Bottom
Round 15:
Now we will crochet the bottom of the pumpkin and will crochet decreases so that the opening is closed. Crochet five single crochets. After that, a decrease (invisible) is crocheted. A decrease is worked by passing under only the front loop of the next stitch and then passing under the front loop of the next stitch. You have three loops on the hook, pick up yarn and pull through one stitch and then pick up yarn and pull through all three stitches. Two stitches have now become one stitch. Continue crocheting five single crochets and then a decrease round out. You now have a total of 36 stitches on the round.
For the next round, continue to decrease the number of single crochets according to the following pattern:
Round 16: Crochet four single crochets and then a reduction. In total, you have 30 stitches in the yard.
Round 17: Crochet three single crochets and then a decrease. In total you have 24 stitches on the row.
Round 18: Crochet two single crochets and then a decrease. You have a total of 18 stitches on the round.
Fill the pumpkin with wadding/yarn ends or similar.
Round 19: Crochet a single crochet and then a reduction. In total, you have 12 stitches on the lap.
Round 20: Crochet six decreases. You have a total of 6 stitches on the round.
Finishing
Finish by wrapping the yarn about four times around the pumpkin and then cut the twine when you have done it.
Use the crochet hook and go through the magic ring down to the bottom and pull the entire yarn end through. Then let the yarn end go on the outside of the pumpkin so that lines form on the outside, repeat 4-5 times so you have 5-6 lines on the outside. Pull the lines a little so that they are tight. When you´re done, go with the crochet hook from the bottom and pick up the yarn at the top, but not in the magic ring, but in a nearby stitch. Let the yarn end hang out from the bottom for now.
The twig on the pumpkin
Round 1: Start with a loop around the crochet hook. One way you can do this is to wrap the yarn around your index and middle finger and then pull the yarn up so that the loop locks when you tighten. Leave about 15 cm tail. Adjust the size of the loop around your crochet hook. Now we will start crocheting the chain, use the crochet hook and pick up the yarn with the end that comes from the yarn roll (you temporarily have 2 loops on the crochet hook) and pull through so that a loop is formed (first loop). Do this until you have a total of 7 stitches on your chain.
Now start following the chain back and crochet row 2. Skip the first loop (which is holding your crochet hook) and start going down the loop that comes after. Catch the yarn and pull through (you now temporarily have 2 loops on the hook). Pick up the yarn with the needle again and pull through both loops. Repeat this 5 more times so you have 6 stitches on row 2.
Mount the branch on top of the pumpkin. Pull one of the yarn ends through the hole in the top of the pumpkin down to the hole in the bottom of the pumpkin. You pull the other yarn end through a nearby stitch at the top and more at the bottom.
Tie all yarn ends together at the bottom so they are secure. Go through a loop on the side of the pumpkin and down to the bottom and pick up all the yarn ends and pull through. Cut the yarn ends so they are not visible on the side.
Now your pumpkin is ready!
Crochet a Cute and Decorative Pumpkin
Need help along the way? Check out the simplified version and video tutorial.
Abbreviations
st = stitch
sc = single crochet
ch = chain
sl st = slip stitch
inc = increase (2 sc in the same stitch)
dec = decrease (two single crochets together in front loops only)
MR = magic ring
(...) = Number of stitches at the end of the round
*...* = Repeat everything between *...*
🧵 Note: All decreases in this pattern are worked in front loops only.
Pumpkin Pattern
Round 1: 6 sc in a MR, pull the hole closed but not too tightly
Round 2: inc x6 (12)
Round 3: *1 sc, inc* x6 (18)
Round 4: *2 sc, inc* x6 (24)
Round 5: *3 sc, inc* x6 (30)
Round 6: *4 sc, inc* x6 (36)
Round 7: *5 sc, inc* x6 (42)
Rounds 8–14: 42 sc (one sc in each stitch) (42 stitches, 7 rounds)
Round 15: *5 sc, dec* x6 (36)
Round 16: *4 sc, dec* x6 (30)
Round 17: *3 sc, dec* x6 (24)
🧸 Stuff the pumpkin.
Round 18: *2 sc, dec* x6 (18)
Round 19: *1 sc, dec* x6 (12)
Round 20: dec x6 (6)
Shaping the Pumpkin
Cut the yarn, leaving a long tail. Wrap the yarn around the outside of the pumpkin about 4 times.
Use your crochet hook to insert it through the magic ring at the top and out through the bottom center of the pumpkin. Pull the yarn tail through.
Let the yarn wrap around the outside of the pumpkin, creating deep ridges. Repeat this process 4–5 more times so you have a total of 5–6 lines around the pumpkin. Pull each wrap snug to define the shape.
When done, insert the hook from the bottom again and pull the yarn through a nearby stitch at the top (not through the MR). Let the tail hang out the bottom for now.
Pumpkin Stem
Row 1: Ch 7
Row 2: Starting in the second ch from the hook, 6 sc
Sew the stem to the top of the pumpkin.
Pull one yarn tail from the stem through the center hole in the top of the pumpkin and out through the bottom. Pull the other yarn tail through a nearby top stitch (not through the center) and down through the bottom as well. Tie all yarn tails together securely at the bottom.
For a clean finish, insert your hook through a side stitch, then out through the bottom. Grab all the yarn tails and pull them inside the pumpkin.
Trim the ends so they don’t show.
Your Pumpkin is Done! 🎃
Display it for autumn, Halloween, Thanksgiving – or just as a cute handmade home decor piece!
The rights to this pattern belong to MYO Make Your Own. The pattern or its pictures may not be copied, shared or resold either in parts or in its entirety, but you may sell items you have crocheted from this pattern. If you have questions about the pattern, contact MYO at hello@makeyourown.se.


%252520(3).webp)


%20(1).jpg)