Crochet table runner “Viola”
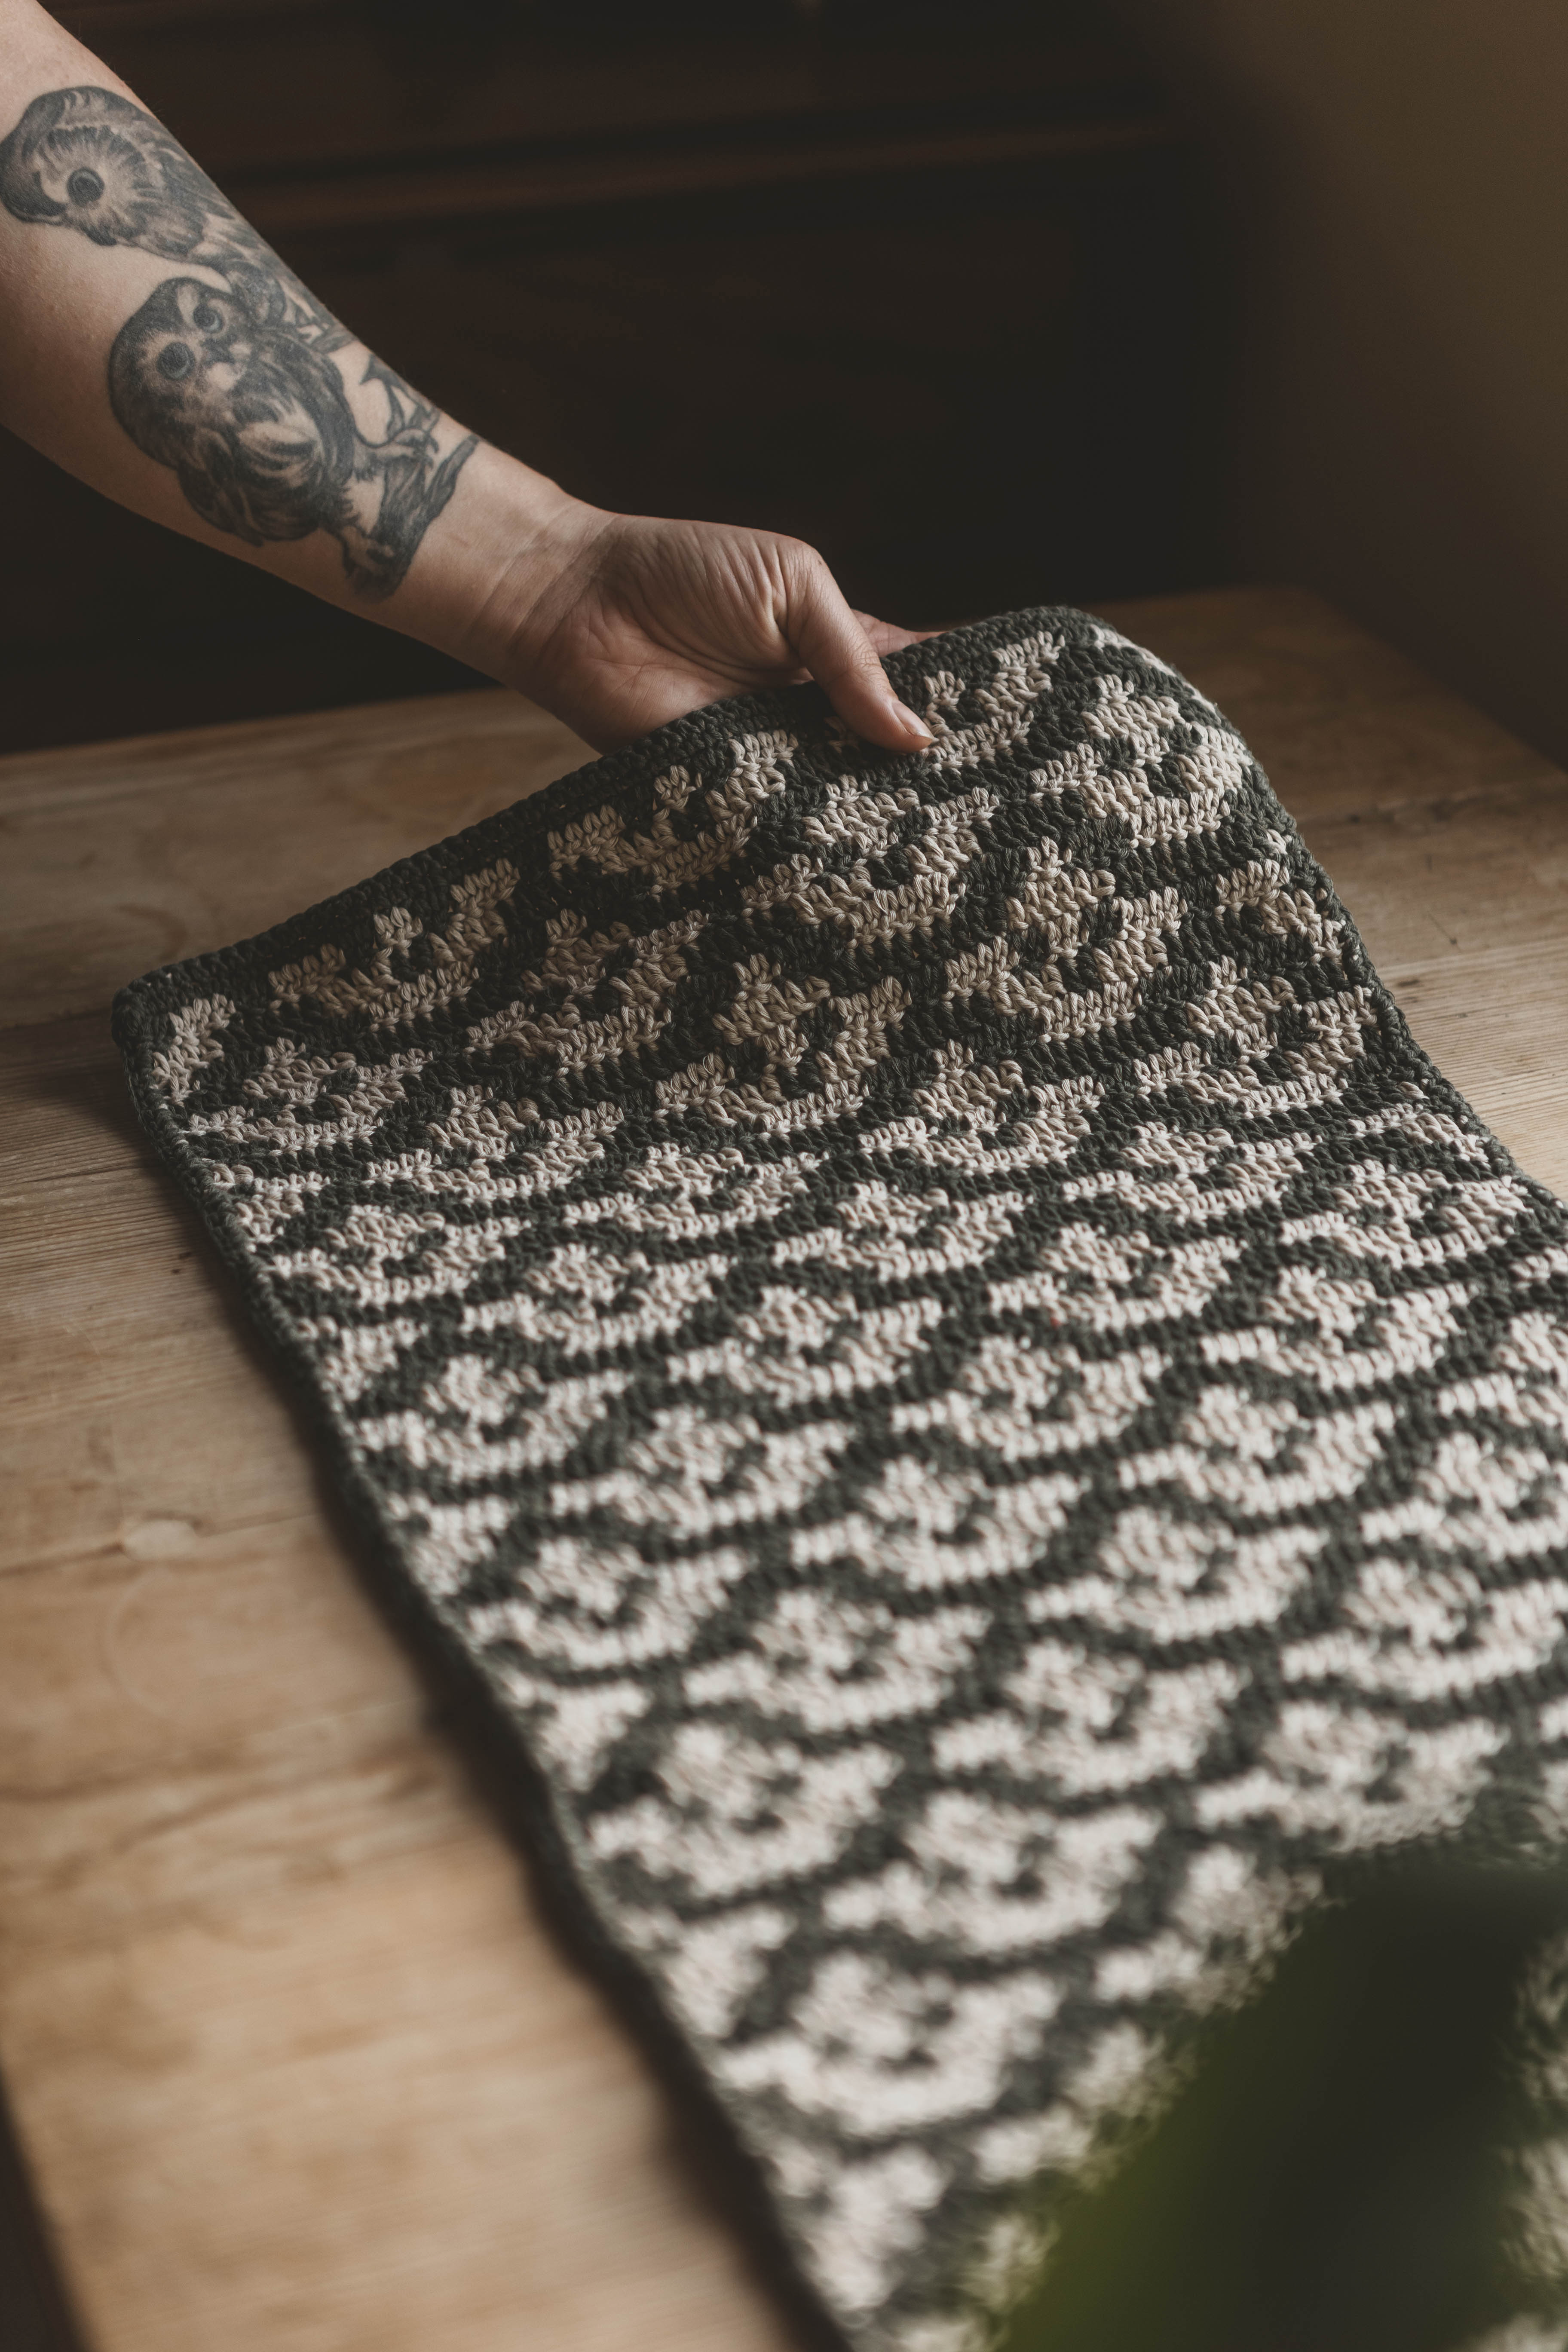
Decorate your home with nice table runner.
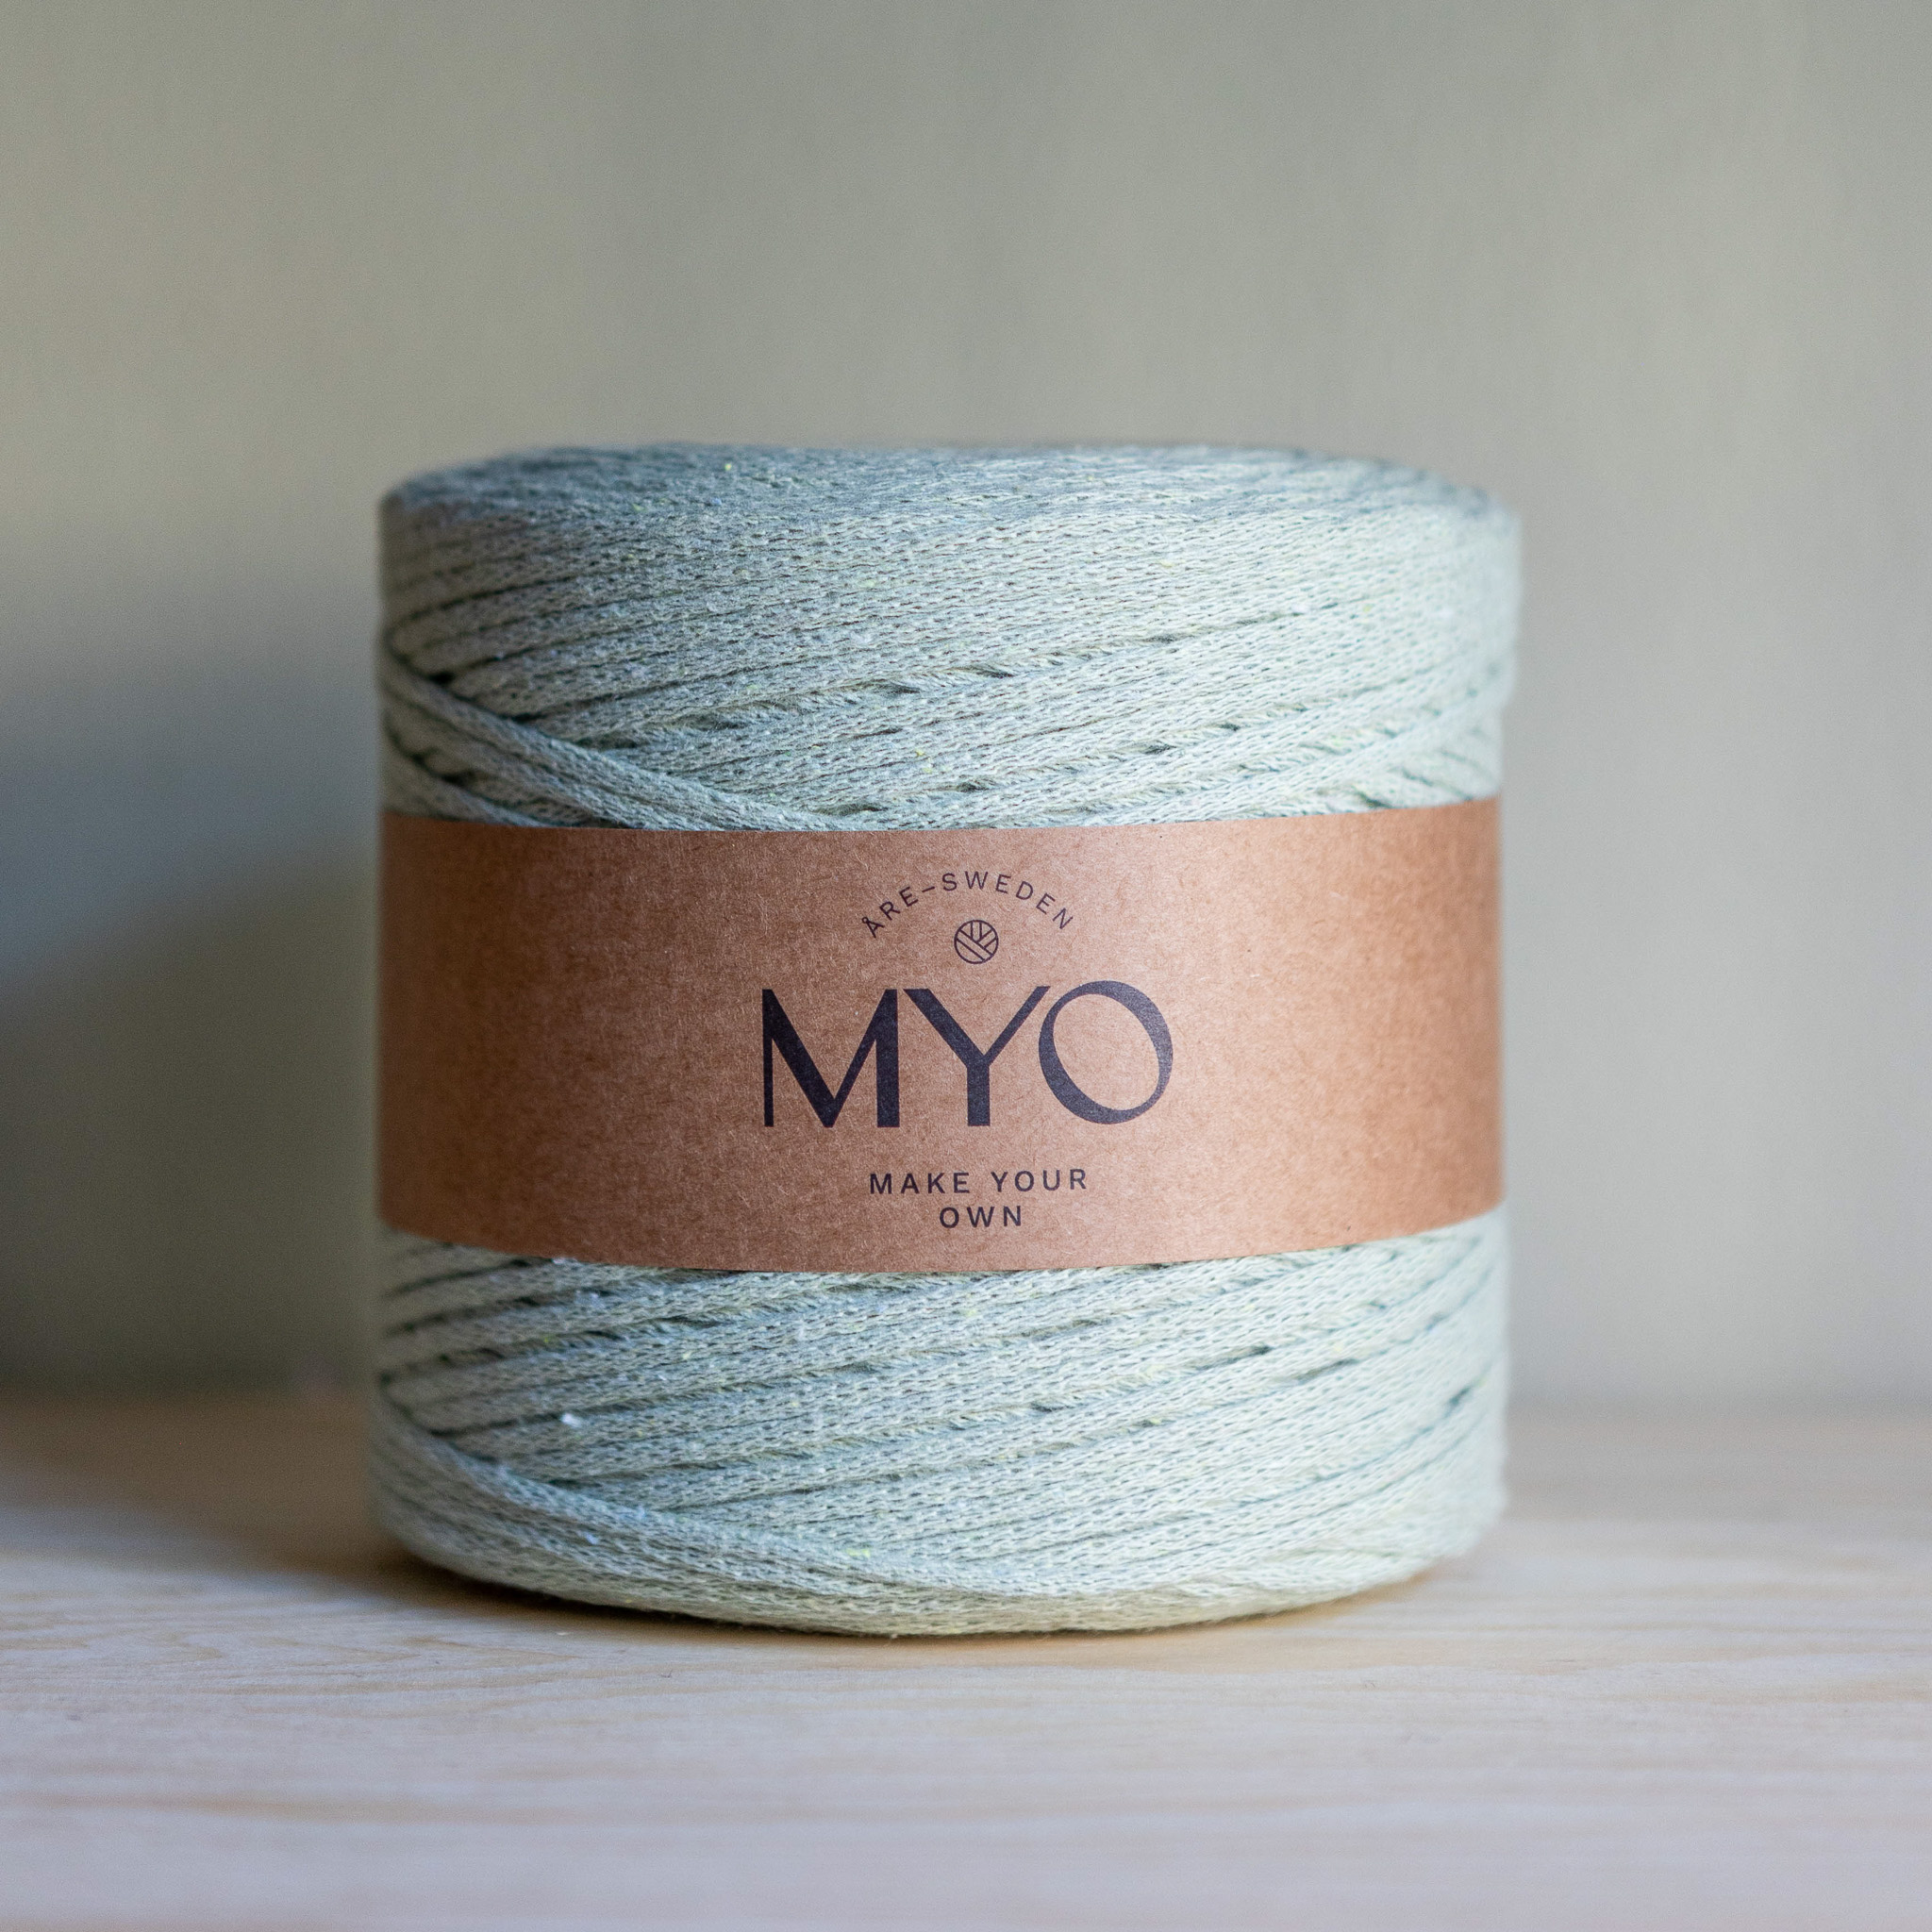
Crocheted runners make a soft and nice impression in the room, now you can crochet your own. The only thing you need is EKO Nano and crochet hook 6 mm. The pattern is simple and is great for beginners. A tip is to crochet placemats with this pattern or maybe a rug? You determine the width and length yourself. The color in the video is “Light peach”.
Yarn Access: approx. 450 g for a runner measuring approx. 32 x 80 cm.
%252520(3).webp)
This is what you need:
Here you can directly purchase the material for the product. Please note that the instruction is digital and appears here on the page (no written instruction).

Here's how to do it
The runner can easily be made into a placemat or mat instead. You choose the width yourself by adding/removing loops on the chain. The more loops the wider the runner will be. Then you crochet as long as you want your runner/tablet/mat. The pattern is simple but will be incredibly beautiful in your home. Good luck to you! /Lizette

Step 1 Chain
Start by crocheting a chain. Start by making a loop around the crochet hook. One way you can do this is to wrap the yarn around your index and middle finger and then pull the yarn up so that the loop locks when you tighten. Then crochet chains, pick up yarn and pull through. The number of chains depends a little on how long you want the width of your runner/tablet/mat. For reference, 30 loops are crocheted in the video.
Row 2
Now we will crochet row 2 on the runner. We start by skipping the first stitch and going down into the second stitch. Go down, pick up yarn and pull through. You have two loops on the crochet hook, pick up the yarn again and pull through. You have crocheted a single crochet. Crochet in the same way until you are at the end of the chain. You should have one stitch fewer than the number of loops that you crocheted.
When you are at the end of the chain, crochet a loop and turn your work.
Row 3 and forward
Now let's start with the technique that will give the runner its structure. We will crochet every second single crochet and every other double crochet
Skip the first stitch (the loop you just crocheted) and start in the second stitch. Crochet a single crochet (single crochet: go down, pick up yarn and pull through. You have two loops on the crochet hook, pick up the yarn again and pull through). In the stitch after that you crochet a double crochet. (double crochet: Take the yarn over the crochet and go down into the stitch, pick up yarn and pull through. You now have three loops on the crochet hook. Pick up again and pull through two of them. Pick up yarn again and then through the last two).
Continue crocheting every second single crochet stitch and every other double crochet until you are at the end of the row.
When you get to the end, remember which stitch you ended the row with, whether it was a single crochet or a double crochet. Now crochet a chain and turn.
The next row is crocheted in the same way, every second single crochet, every other double crochet. The mask you are going to start with depends on which one you finished with. If you finished the last row with a single crochet, start the next row with a double crochet.
Continue until you are satisfied with the length!
You get to share your runner and tag us so we can see all the nice table runners out there:)
Crochet Terms
Abbreviations
st = stitch
Ch = chain
sc = single crochet
dc = double crochet
(...) = indicates the number of stitches in the current row
*...* = everything within *...* is repeated the number of times indicated
Now we are going to crochet a beautiful table runner! If you need help along the way, check out our simplified version of this pattern. In this case, there are no images for guidance, so please refer to the full-length video tutorial.
Row 1: Ch 30, or as many as you want to get the width of your runner as desired. (30)
Row 2: Start in the 2nd ch from the hook; 29 sc. Ch 1 and turn. (29)
Row 3: Start in the 2nd st from the hook; *sc, dc* x 14, end with 1 sc. Chain 1 and turn. (29 stitches)
When you reach the end, remember which stitch you ended the row with — whether it was a single crochet or a double crochet.
Make a ch and turn your work.
The next row is worked the same way: alternating sc and dc. Which stitch you begin with depends on what you ended the previous row with.
If you ended the last row with a sc, begin the next row with a dc.
Continue repeating this pattern until you’re happy with the length!
We would love if you share your finished runner and tag us so we can see all the beautiful runners out there :)
The rights to this pattern belong to MYO Make Your Own. The pattern or its pictures may not be copied, shared or resold either in parts or in its entirety, but you may sell items you have crocheted from this pattern. If you have questions about the pattern, contact MYO at hello@makeyourown.se.




%20(1).jpg)