Macramé carpet “Naomi”
Tie a beautiful rug using the technique of macrame
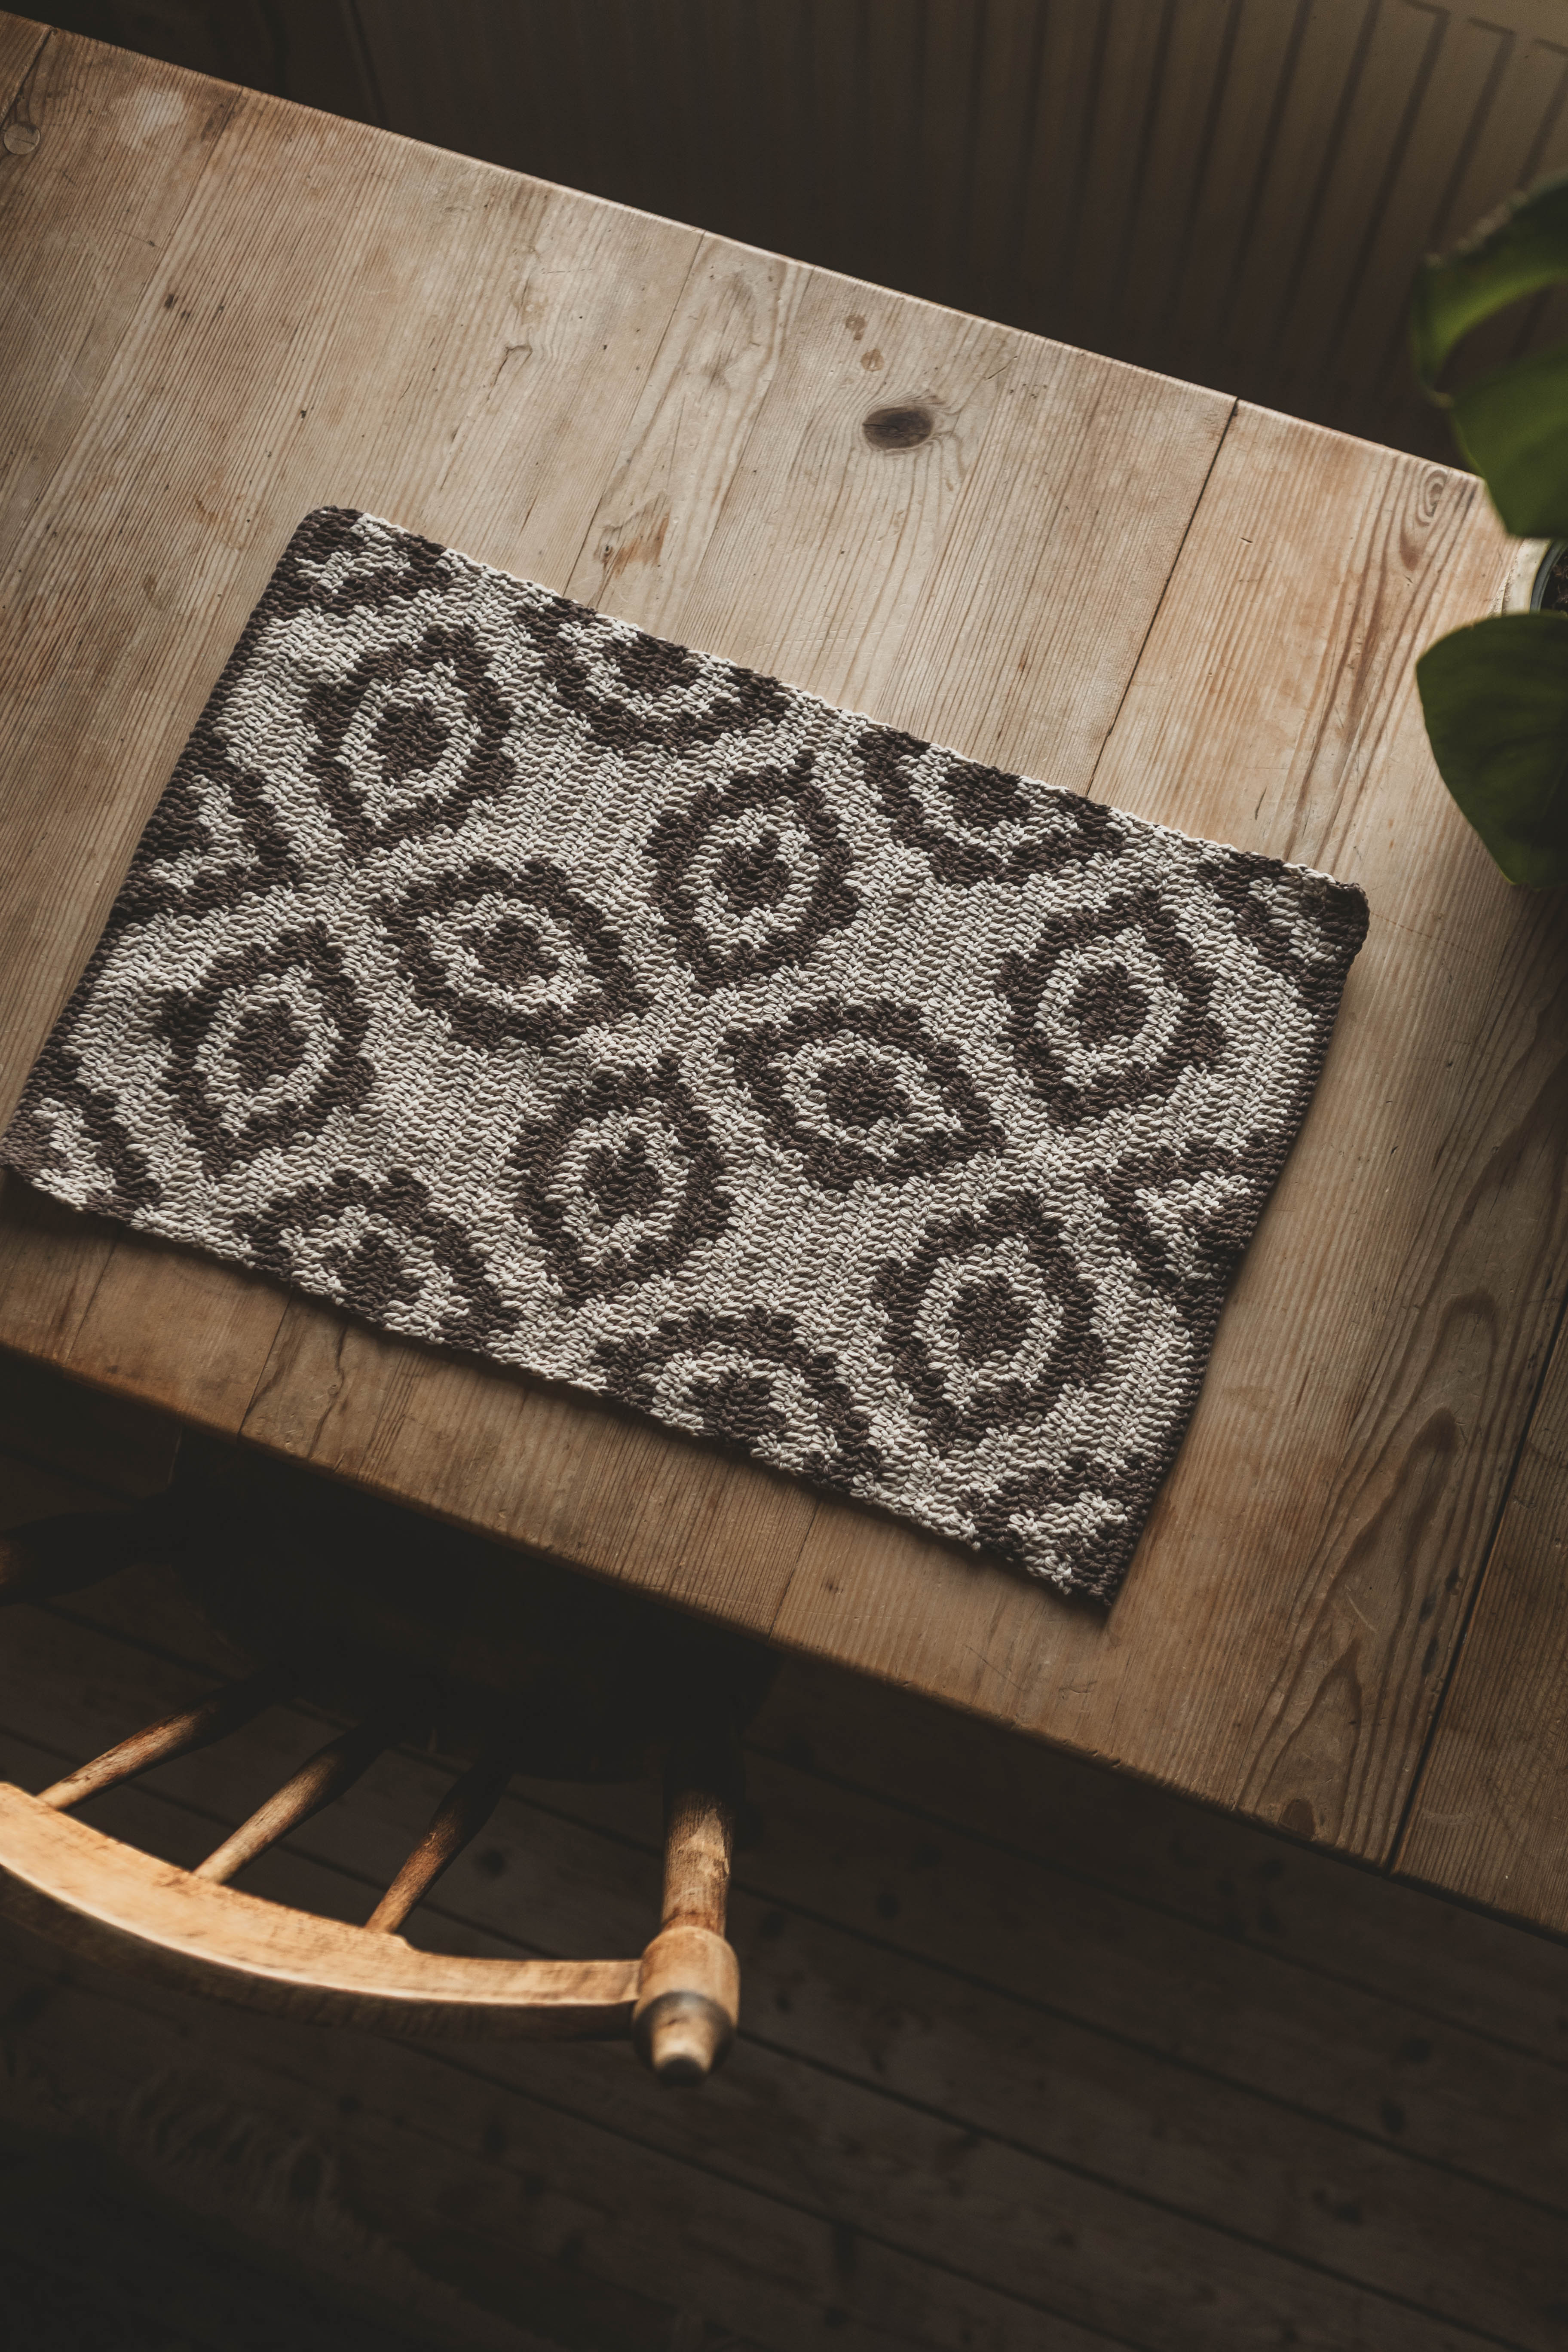
This instruction will suit everyone even you who are new to macramé and we go through each step in the video. In this instruction we make the size to about 40 cm x 80 cm (as in the picture) in EKO Braided Rope 5 mm, but you can also cut double lengths of the yarn to get the mat twice as large. In order to tie the carpet, you need to hang it on the wall and therefore need a wooden stick about 70 cm wide. A flower stick that you buy at the store works great.
Yarn consumption: 1000 g if you want the same size as in the video

This is what you need:
Here you can directly purchase the material for the product. Please note that the instruction is digital and appears here on the page (no written instruction).

EKO Braided rope 5mm | 1000g
Ideal for macramé work such as amples, bags, cord guards etc., but also for crocheting.
Buy productHere's how to do it

Preparation
Cut your rope to below lengths:
24 times x 6 meters
2 times x 1.5 meters
Hang up your wooden stick, for example by cutting to a length and tying at each end of the stick. Then you can hang it on the wall.
Lark's head knot
Fold all 6m lengths in half and use the larks head knot to attach your lengths to the wooden peg. In total, you get 24 knots on your stick.Then take one of your 1.5m strings. Pin each end to each side of all your knots.
Let it hang about 10cm horizontally from the stick. (everything above the string will then become the fringes on your carpet.
Row 1. Double half hitch knot
Now you make a row from left to right with double half hitch knots with each rope around the horizontal rope you have set up (total of 48 completed knots) Try to keep your row as horizontal/straight as possible.
Row 2. Right-Facing Square Knot
Right-Facing Square Knot is the name in English and unfortunately we have not found a better translation into Swedish of this knot than above. On the next row we will take them first 4 first ropes to the left and make a square knot. Then do the same with the next 4 ropes. Do the same all the way to the other end.
Row 3 - Square Knot
In this row, you leave them 2 ropes on the far left. Then take 2 pieces of rope from each knot above and make a square knot.Do this until you have 2 ropes left on the other side.
Row 4 - Square knot
In this row, you take the 4 ropes on the far left and make 3 square knots in a row vertically. "poles" Then leave 4 ropes, take the next 4, do the same until you finish the row. When you´re done, take the 4 ropes you left between your "poles" and make a simple square knot. You want that knot to end up in the center of your poles so it looks like a flower. Do this to the end of this row.
Row 5
Do this line exactly the same as you did row 3.
Row 6
Make this row the same as row 4. Except that you make 2 poles of square knots in a row on each end of the mat. In between every other single knot.
To make the rest of the carpet
To tie the rest of the rug, mix the techniques you´ve learned above, and follow this &pattern so the knots are in the right order until you have the length of rug you want.
Row 6 (already done first lap)
Row 3
Row 4
Row 3
Row 6
Row 3
Row 4
Row 3
When you're nearing the end
When you have about 20cm of rope left at the bottom, you must start to round off your mat. Then do exactly as you did when you started your carpet:
1st row 2
1st row 3
Last row/larch head knot
Take your second 1.5m string. Attach each end on either side of all your knots with tape to the wall or whatever you like.Now make another row of lark's-head knots, keeping the row as straight as possible. Now pull the stick from the upper part of the mat. Lay your mat flat and cut the fringes to the length you want. Now you are done with your carpet! :)
The rights to this pattern belong to MYO Make Your Own. The pattern or its pictures may not be copied, shared or resold either in parts or in its entirety, but you may sell items you have crocheted from this pattern. If you have questions about the pattern, contact MYO at hello@makeyourown.se.


%252520(3).webp)


%20(1).jpg)