
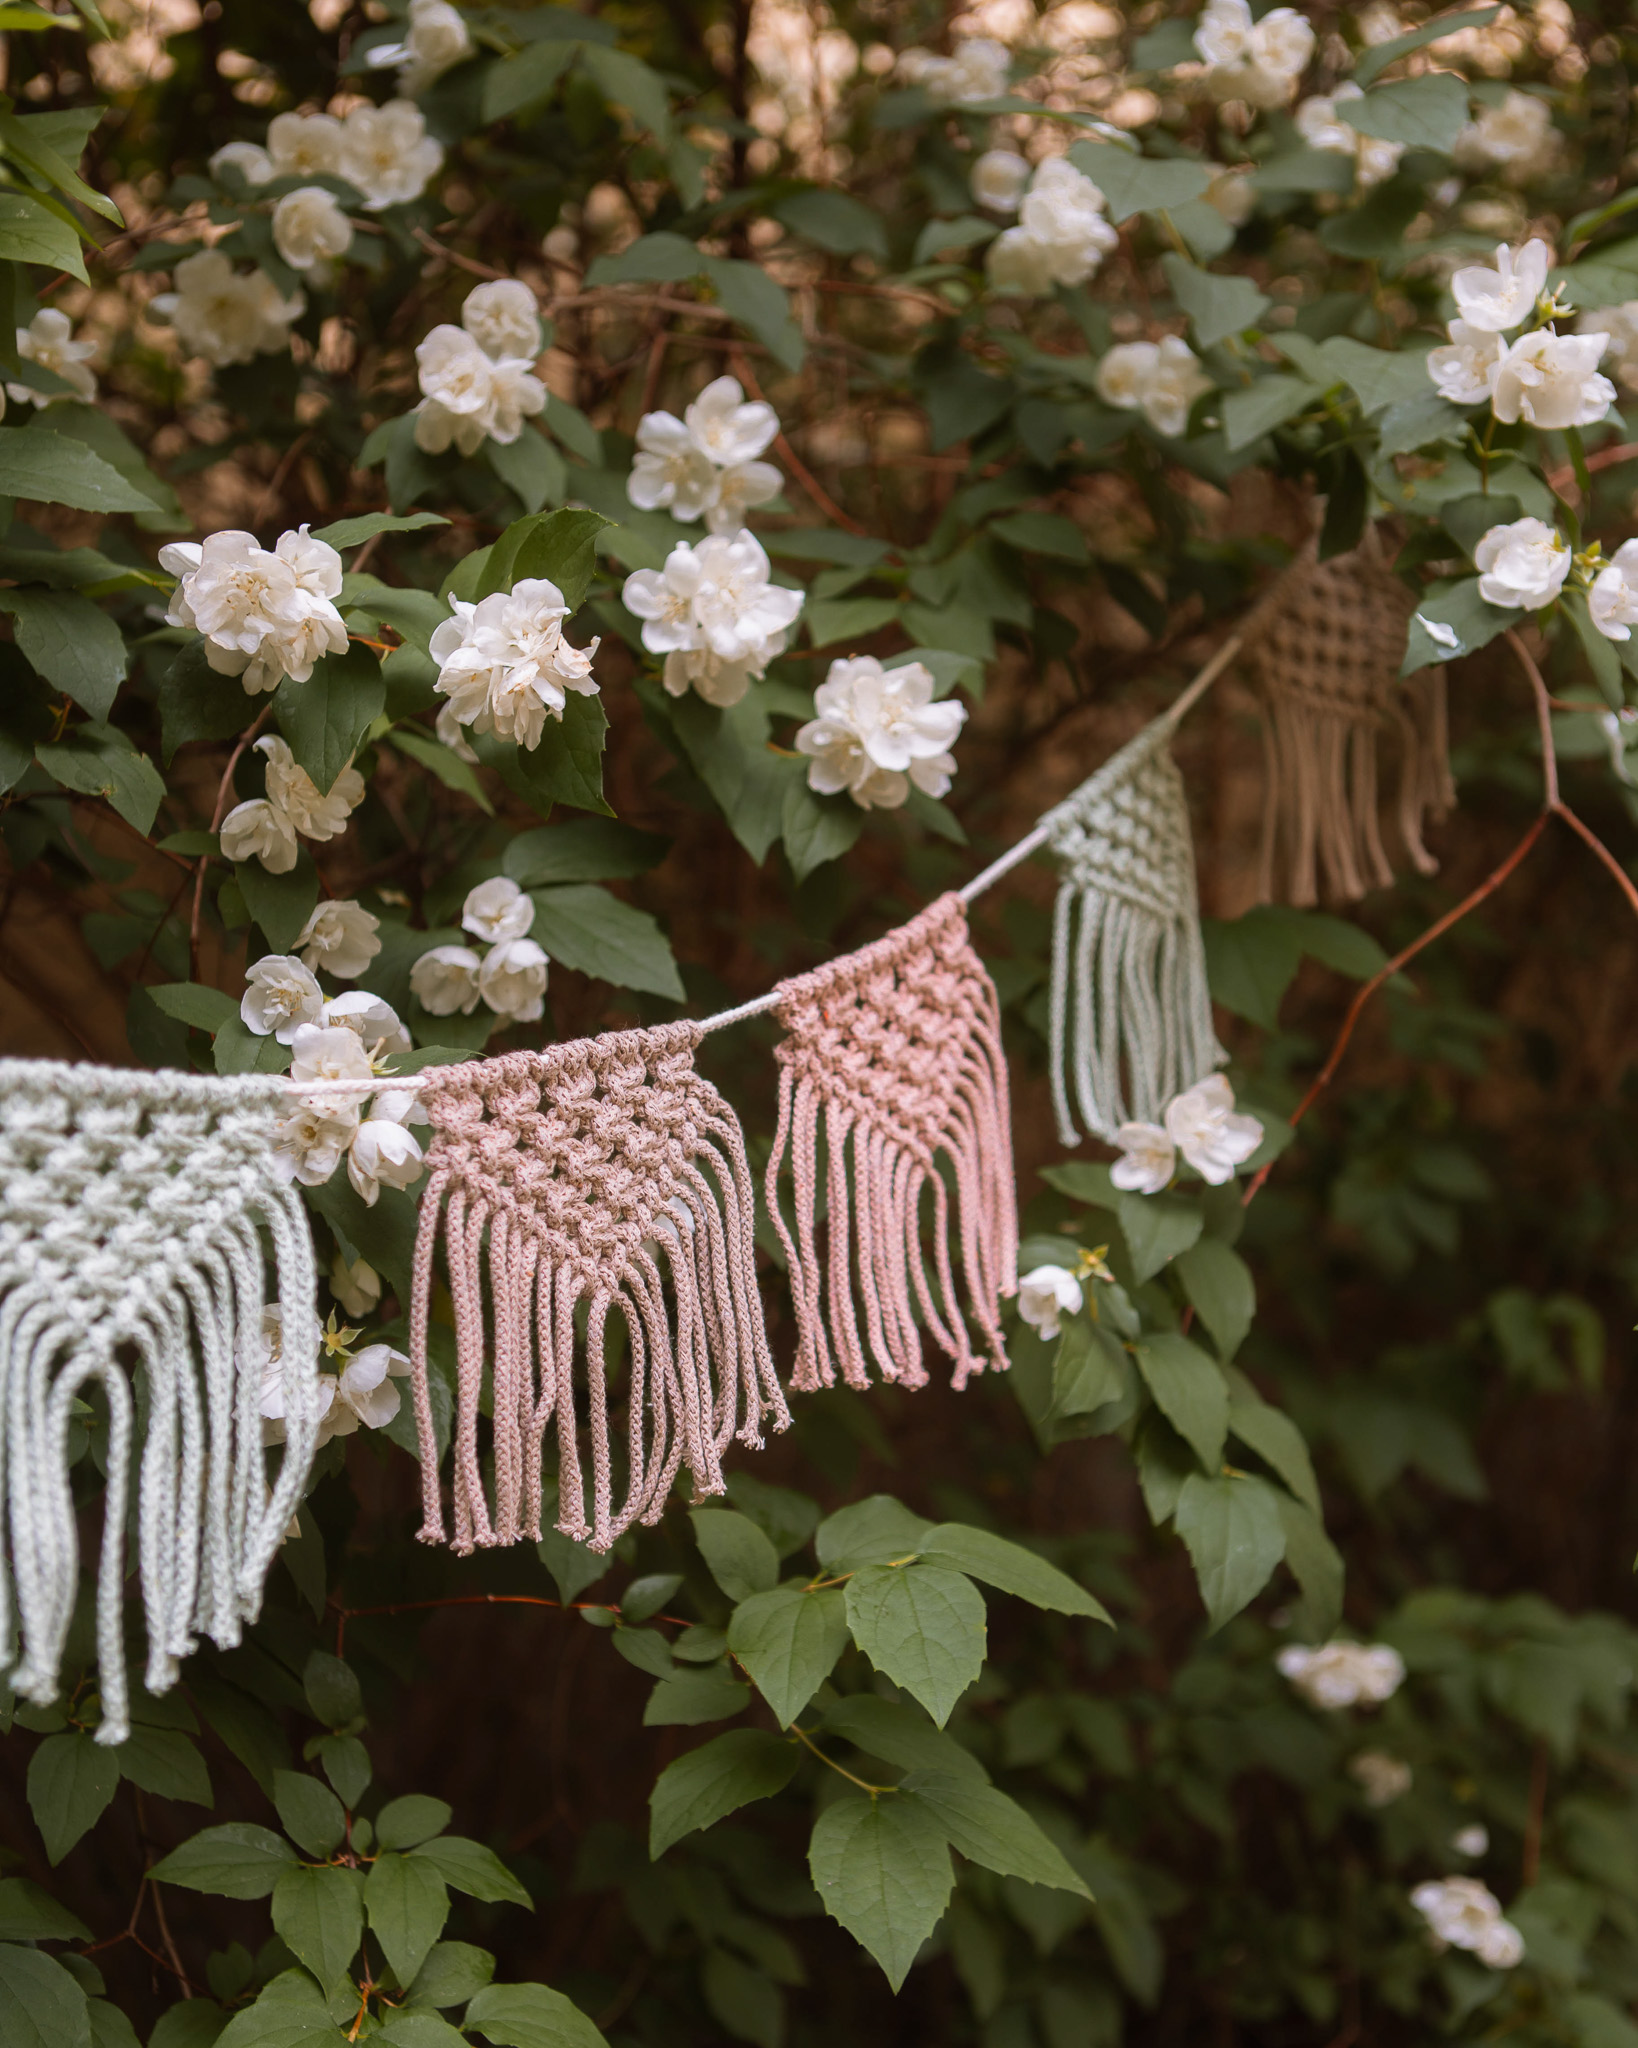
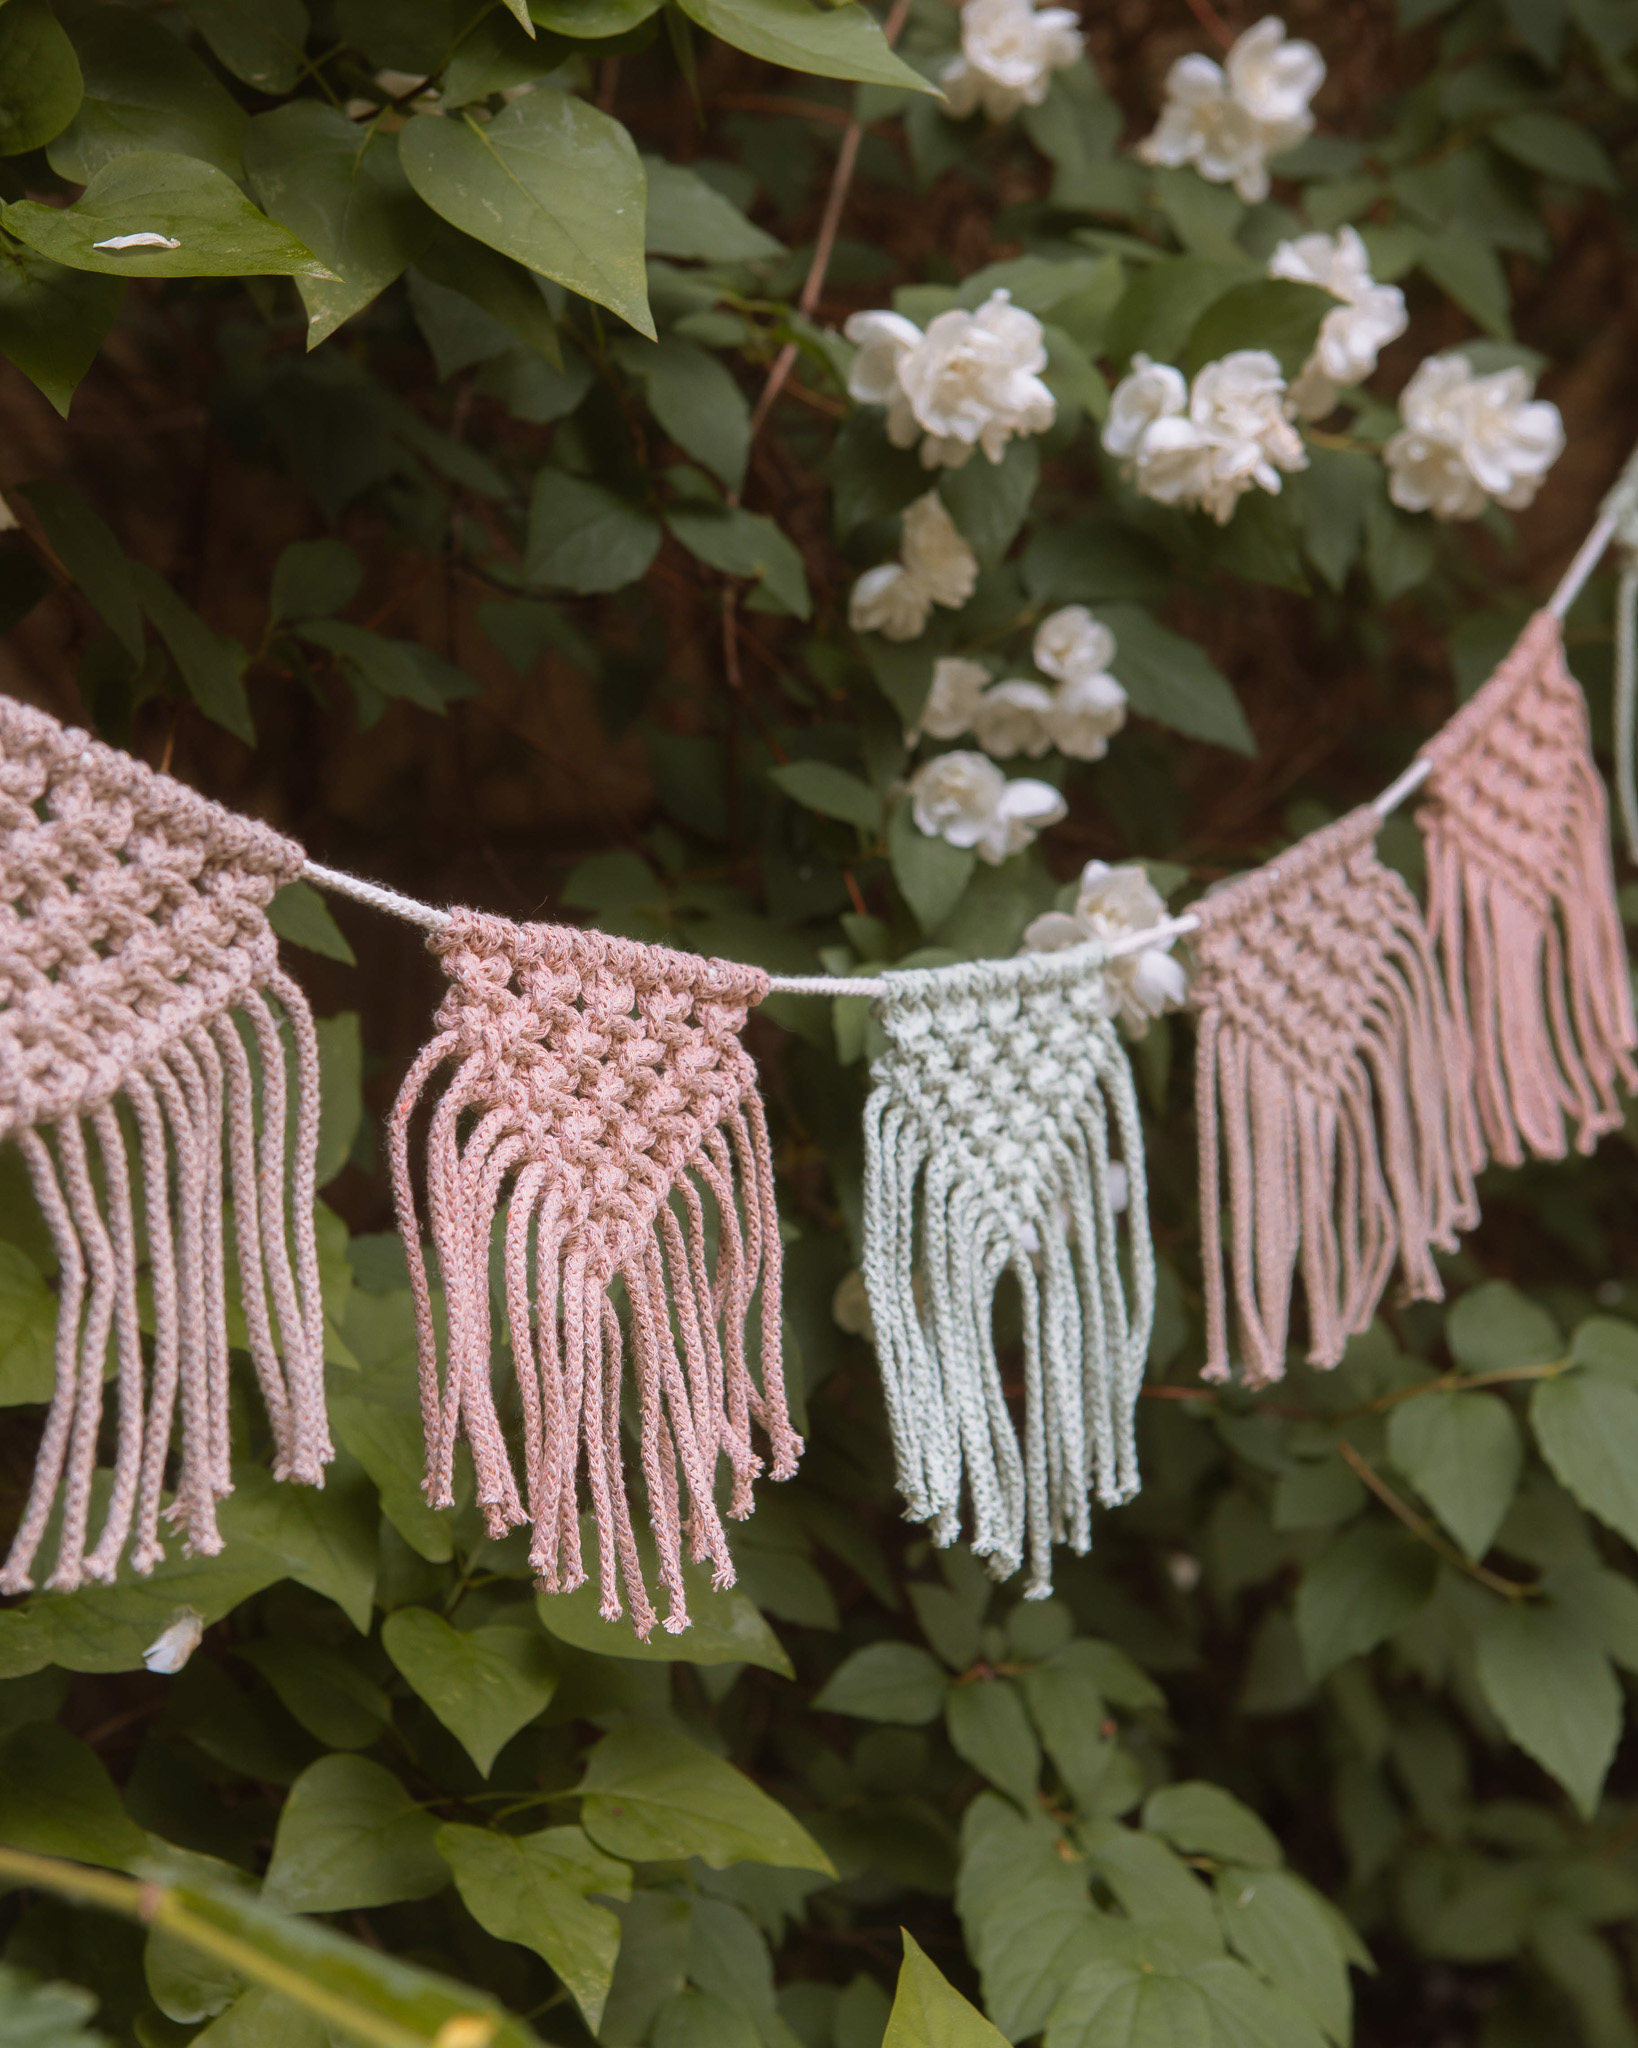
Macramé Garland “Leila”
Tie a beautiful garland!
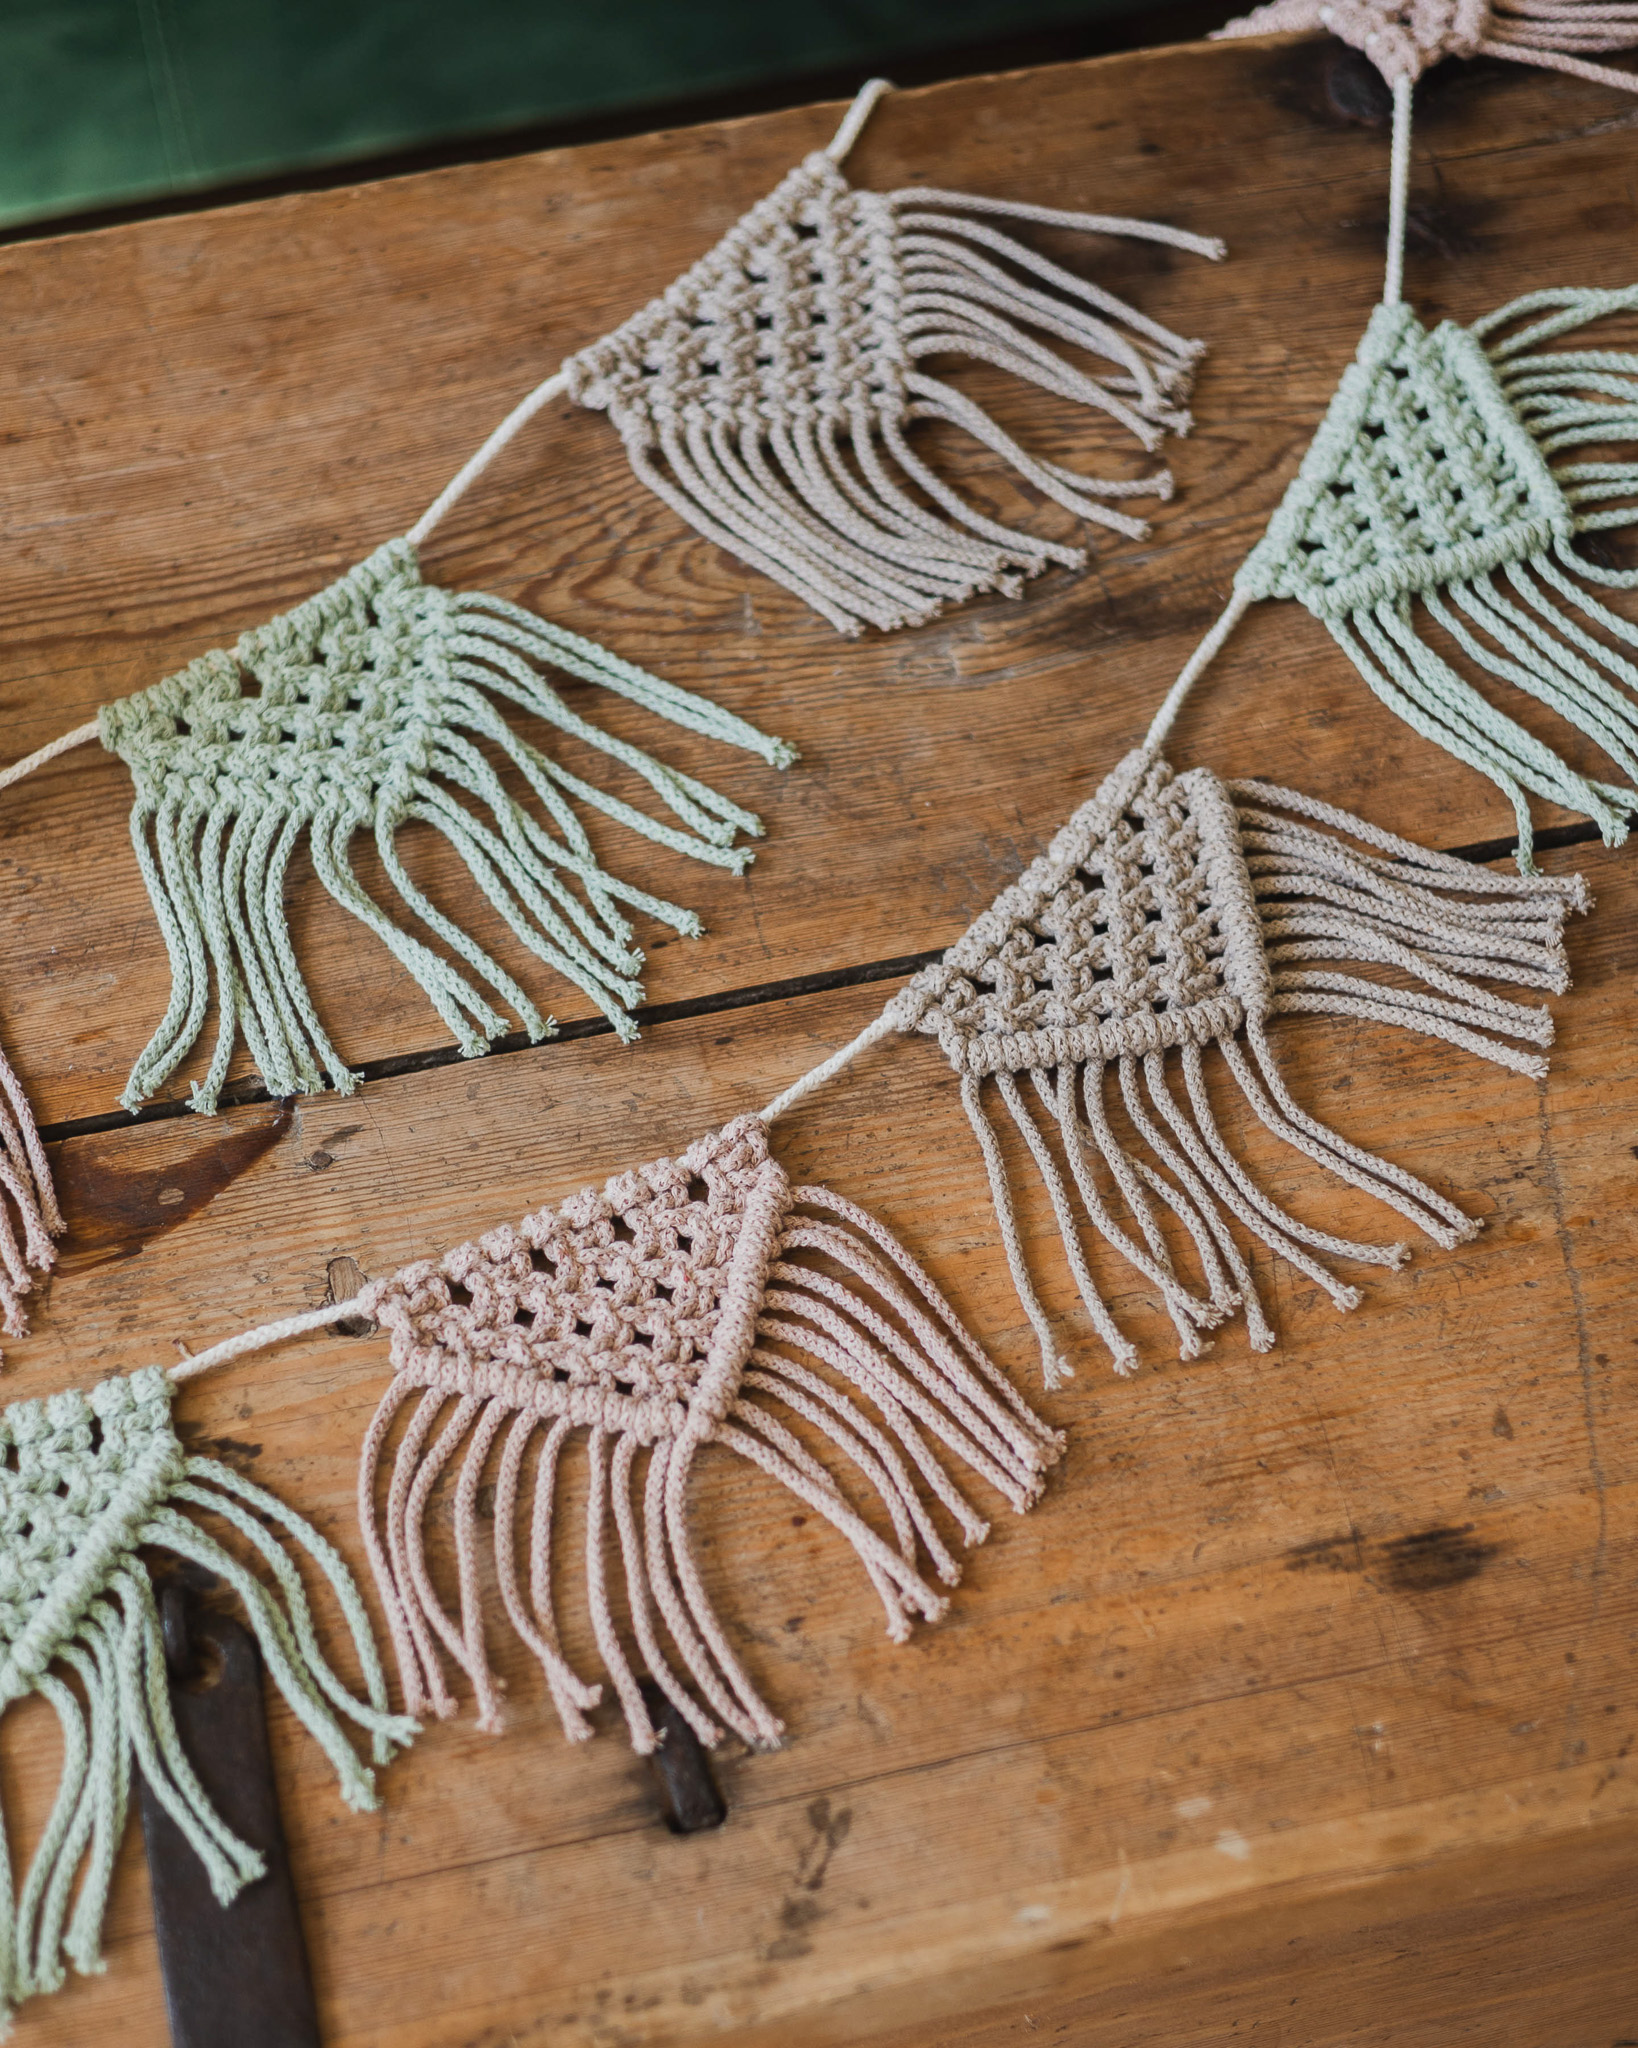
This garland is beginner-friendly and a fun project where you create home decor for yourself or someone else! It’s customizable since you get to choose the yarn colors and how many flags it will have (how long it will be). Imagine how lovely it would be to tie your own garland for a child’s room or a party. In addition to EKO Braided Rope 3 mm, you’ll also need tape and scissors.
Yarn Consumption: EKO Braided Rope 3mm "Nature white" 2.2 meters, "Beige" 28.5 meters, "Chalk green" 28.5 meters, "Light peach" 28.5 meters. This makes 9 flags with a total length of 2.2 meters.
Here's how to do it
Each flag is tied in the same way. Once you’ve finished tying the first flag, you’ll repeat the same steps for each one. When tying square knots and double half hitches, try to tighten them evenly each time. This will give a more consistent final result. /Naemi
.jpg)
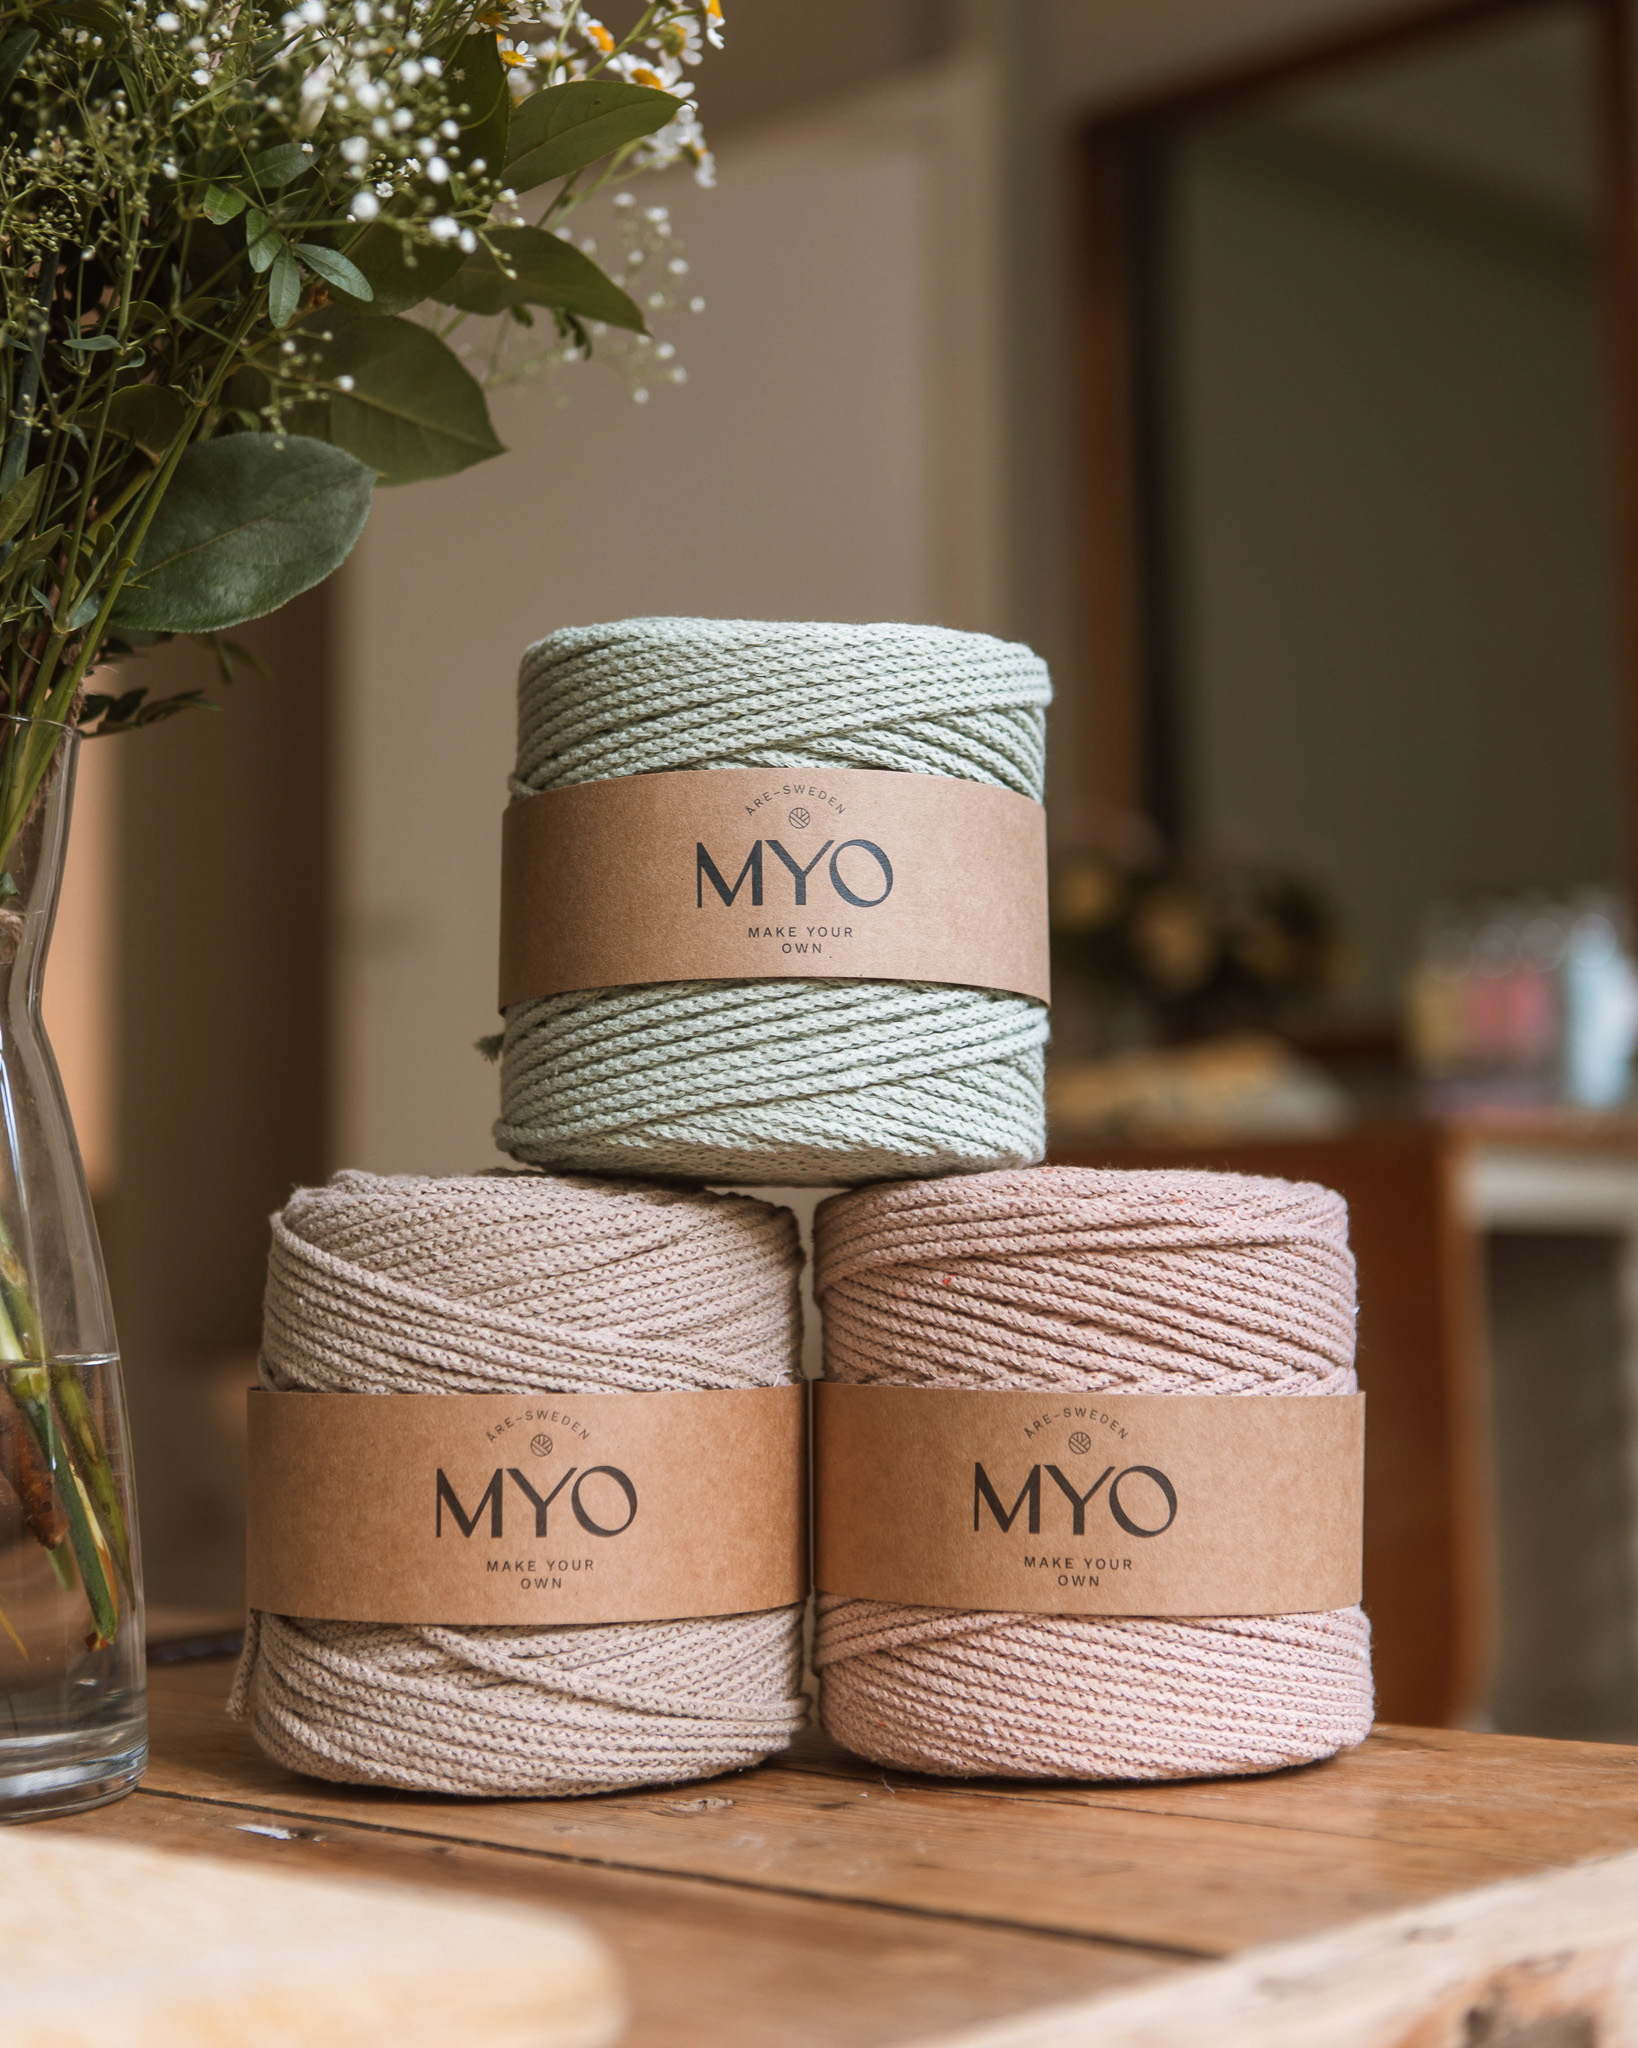
This is what you need:
Here you can directly purchase the material for the product. Please note that the instruction is digital and appears here on the page (no written instruction).

EKO Braided rope 3mm | 700g
A 3mm wide braided yarn that can be used both for crocheting and macrame
Buy product.jpg)
Unleash your creativity
For only 85kr per month you get access to all our 300+ beginner-friendly instructions for crochet, knitting and macrame.
A perfect way to get started with your new hobby!

Cut the following cords:
Nature white: 1 piece, 220 cm
Chalk green: 30 pieces, 95 cm
Beige: 30 pieces, 95 cm
Light peach: 30 pieces, 95 cm
Tape the white cord to a stable surface, such as a tabletop, to make it easier to tie the flags (video 00:46).
Each flag requires 10 colored cords, each 95 cm long. Start with beige (or choose a different color order if you prefer). Take one of the cords and fold it in half. Attach it to the white cord using a lark’s head knot (video 01:18). Continue with the remaining nine cords using the same knot. Place them next to each other (video 03:54).
Now you’ll create a row of five square knots side by side. Start with the four cords furthest to the left and tie a square knot just below the lark’s head knots (video 04:33). Continue making all the square knots at the same height by taking the next four cords to the right, until you’ve made all five (video 07:58).
Next step:
Now you’ll create a row of four square knots below the first row. This time, skip the first two cords (counting from the left). Take the next four cords and make your first square knot (video 08:02). Continue to the right until you’ve made four square knots in a row, side by side. Leave out the last two cords on the far right.
On the next row, make three square knots. This time, skip the first four cords and the last four cords (video 10:36).
Now it’s time to make two square knots. Skip the first six cords and the last six cords (video 12:27).
Finally, create one square knot in the center of the last row (video 13:44).
Now it’s time to make double half hitch knots. Take the cord furthest to the left and hold it diagonally down to the right, in front of the other cords. This cord is called the “working cord.” The half hitches will be made around this cord (video 14:21).
Take the cord that is now furthest to the left. Bring it up and over the working cord. Then bend it to the left and pull it through the loop that’s formed. Tighten so the knot sits snugly on the far left of your working cord (video 14:36).
Make another identical knot with the same cord. You should tie two half hitches per cord — that creates a double half hitch (video 14:49).
Now take the next cord in order. Tie two half hitches around the working cord (video 15:01).
Continue until you’ve made double half hitches with all the cords to the left of the center of the flag. There should be 9 double half hitches on this side.
Now take the cord furthest to the right. Hold it diagonally down to the left, so that it lies on top of the other cords. This is your new working cord (video 17:11).
Take the cord that is now furthest to the right, fold it upward over the working cord. Then guide it diagonally down to the right through the loop that’s created. Tighten the knot (video 17:20).
Make another half hitch the same way (video 17:32).
Take the next cords one at a time and make double half hitches around the working cord. Try to tighten each one evenly for a more consistent result. You’ll make a total of 10 double half hitches on this side.
Now your first flag is finished. Repeat STEPS 2–17 to make the remaining 8 flags for your garland. Change the cord colors as desired to create the color order you prefer.
When the final flag is complete, remove the tape pieces (video 19:52).
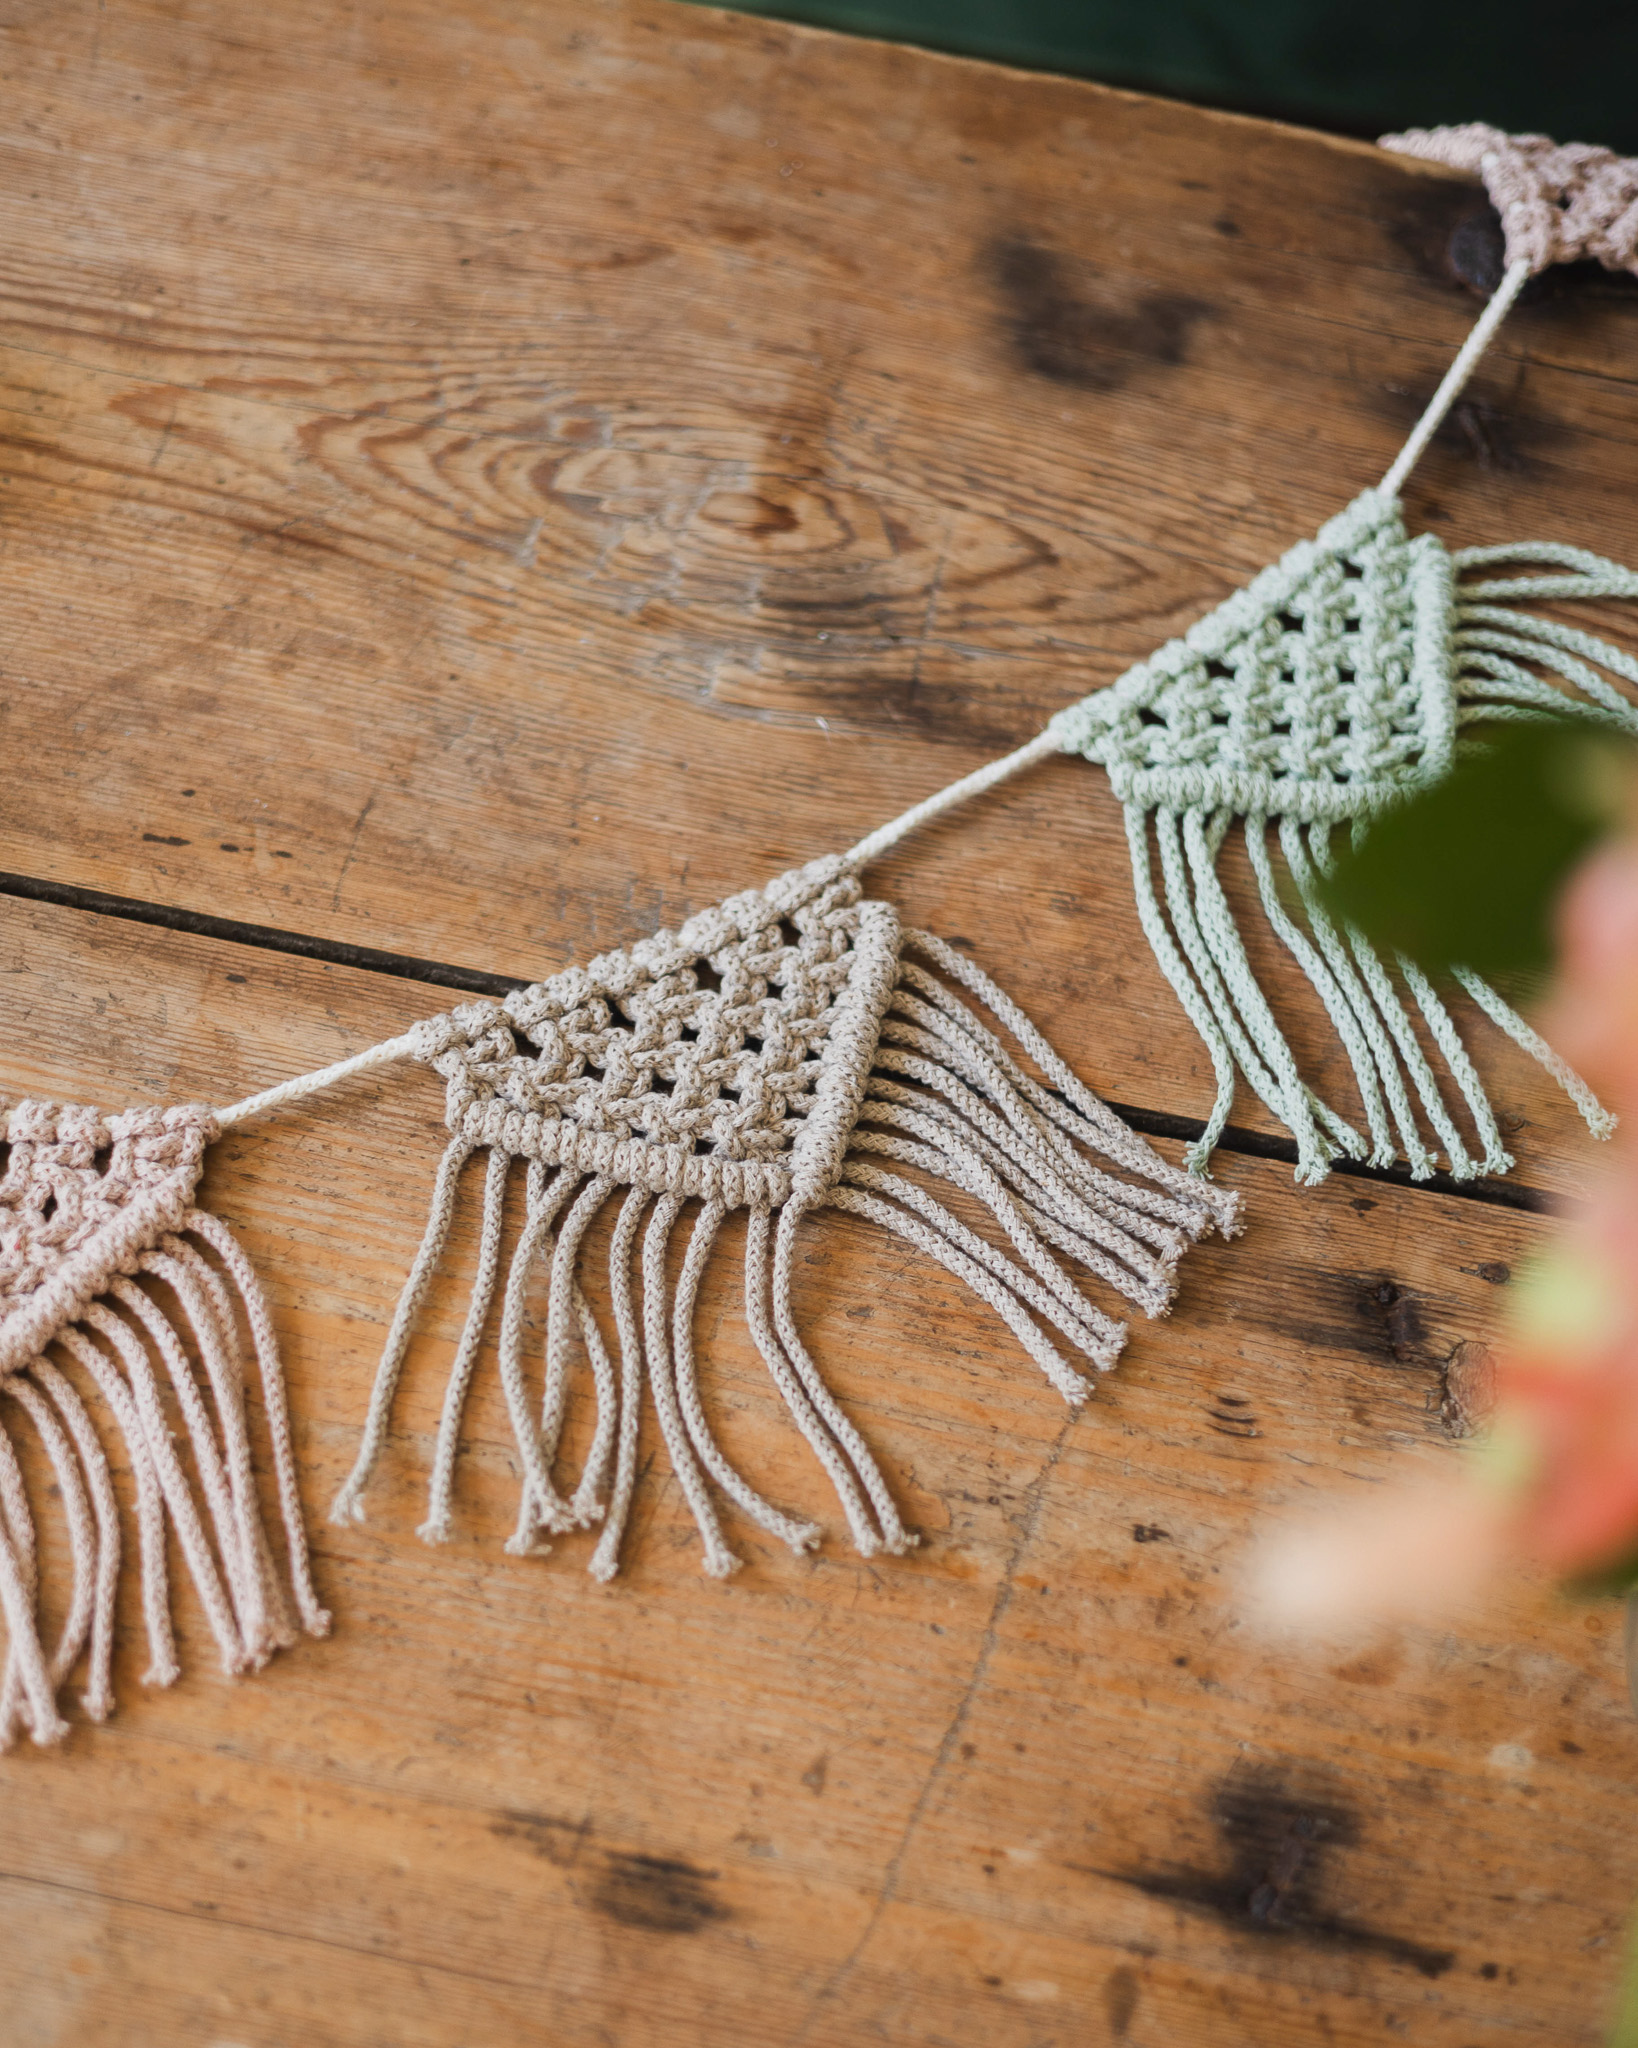
Use sharp scissors to trim the cords to your desired length and shape. It’s better to cut a little at a time than too much at once (video 20:04).
Your garland is now finished!
The rights to this pattern belong to MYO Make Your Own. The pattern or its pictures may not be copied, shared or resold either in parts or in its entirety, but you may sell items you have crocheted from this pattern. If you have questions about the pattern, contact MYO at hello@makeyourown.se.
Cut the following cords:
Nature white: 1 piece, 220 cm
Chalk green: 30 pieces, 95 cm
Beige: 30 pieces, 95 cm
Light peach: 30 pieces, 95 cm
Tape the white cord to a stable surface, such as a tabletop, to make it easier to tie the flags (video 00:46).
Each flag requires 10 colored cords, each 95 cm long. Start with beige (or choose a different color order if you prefer). Take one of the cords and fold it in half. Attach it to the white cord using a lark’s head knot (video 01:18). Continue with the remaining nine cords using the same knot. Place them next to each other (video 03:54).
Now you’ll create a row of five square knots side by side. Start with the four cords furthest to the left and tie a square knot just below the lark’s head knots (video 04:33). Continue making all the square knots at the same height by taking the next four cords to the right, until you’ve made all five (video 07:58).
Next step:
Now you’ll create a row of four square knots below the first row. This time, skip the first two cords (counting from the left). Take the next four cords and make your first square knot (video 08:02). Continue to the right until you’ve made four square knots in a row, side by side. Leave out the last two cords on the far right.
On the next row, make three square knots. This time, skip the first four cords and the last four cords (video 10:36).
Now it’s time to make two square knots. Skip the first six cords and the last six cords (video 12:27).
Finally, create one square knot in the center of the last row (video 13:44).
Now it’s time to make double half hitch knots. Take the cord furthest to the left and hold it diagonally down to the right, in front of the other cords. This cord is called the “working cord.” The half hitches will be made around this cord (video 14:21).
Take the cord that is now furthest to the left. Bring it up and over the working cord. Then bend it to the left and pull it through the loop that’s formed. Tighten so the knot sits snugly on the far left of your working cord (video 14:36).
Make another identical knot with the same cord. You should tie two half hitches per cord — that creates a double half hitch (video 14:49).
Now take the next cord in order. Tie two half hitches around the working cord (video 15:01).
Continue until you’ve made double half hitches with all the cords to the left of the center of the flag. There should be 9 double half hitches on this side.
Now take the cord furthest to the right. Hold it diagonally down to the left, so that it lies on top of the other cords. This is your new working cord (video 17:11).
Take the cord that is now furthest to the right, fold it upward over the working cord. Then guide it diagonally down to the right through the loop that’s created. Tighten the knot (video 17:20).
Make another half hitch the same way (video 17:32).
Take the next cords one at a time and make double half hitches around the working cord. Try to tighten each one evenly for a more consistent result. You’ll make a total of 10 double half hitches on this side.
Now your first flag is finished. Repeat STEPS 2–17 to make the remaining 8 flags for your garland. Change the cord colors as desired to create the color order you prefer.
When the final flag is complete, remove the tape pieces (video 19:52).
Use sharp scissors to trim the cords to your desired length and shape. It’s better to cut a little at a time than too much at once (video 20:04).
Your garland is now finished!
The rights to this pattern belong to MYO Make Your Own. The pattern or its pictures may not be copied, shared or resold either in parts or in its entirety, but you may sell items you have crocheted from this pattern. If you have questions about the pattern, contact MYO at hello@makeyourown.se.


.jpg)


Share your creations with us
Thank you!
Your comment was sent!