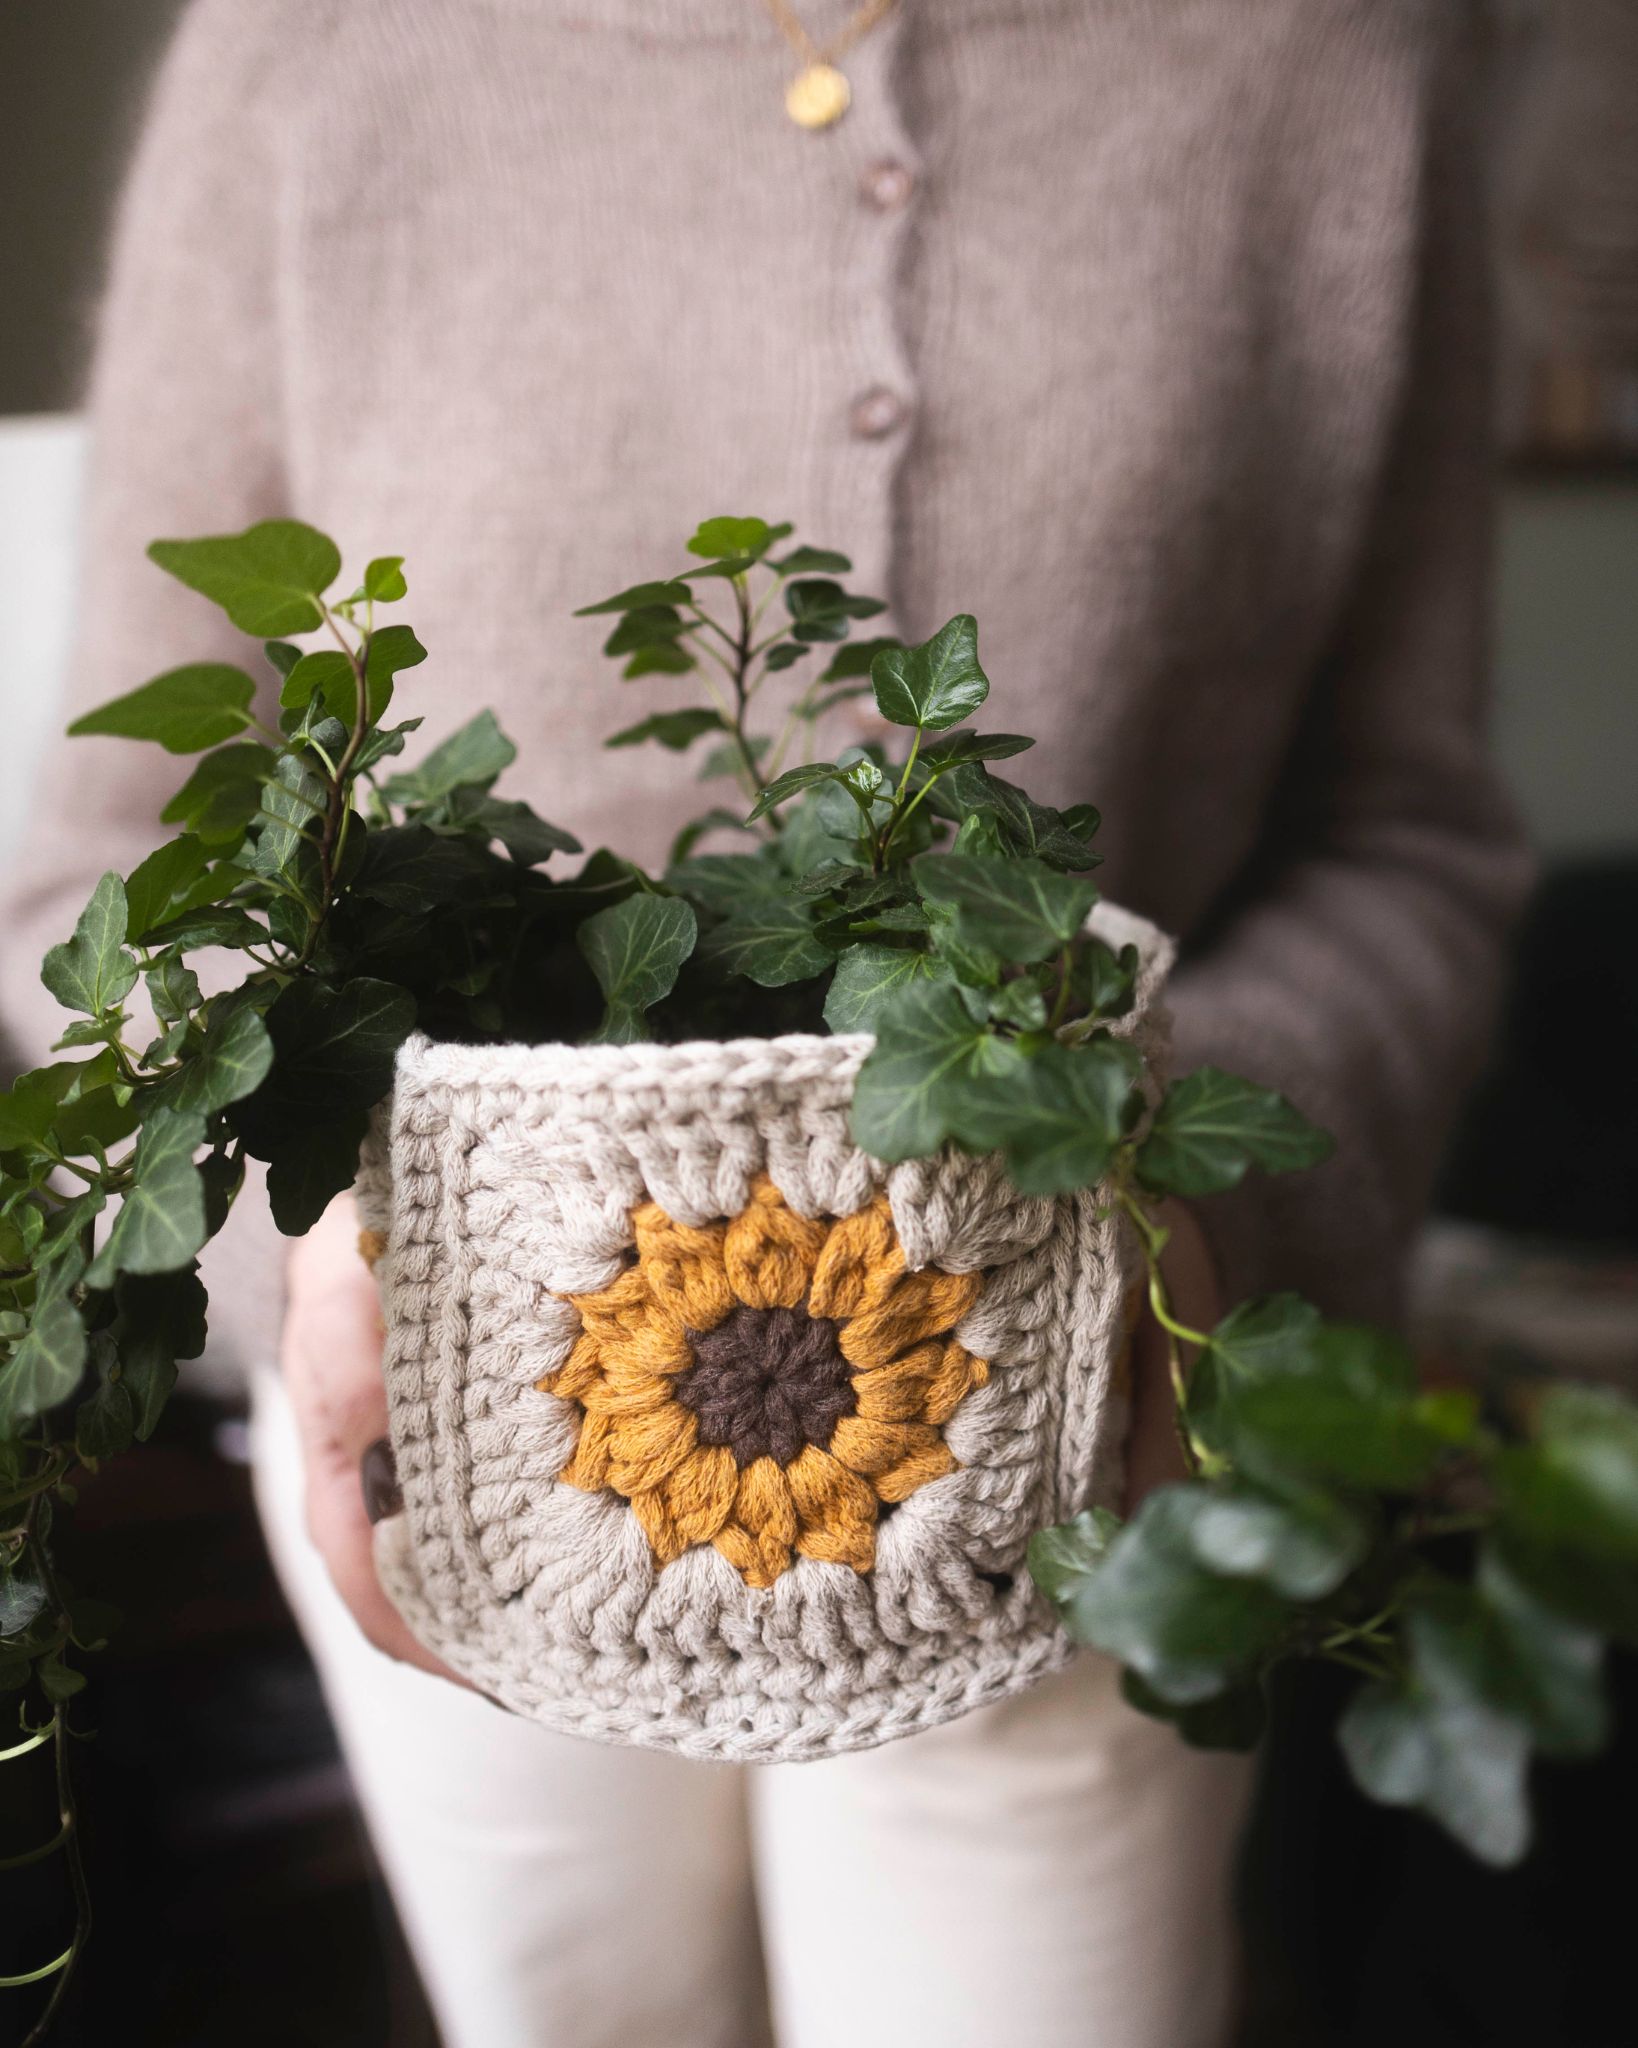
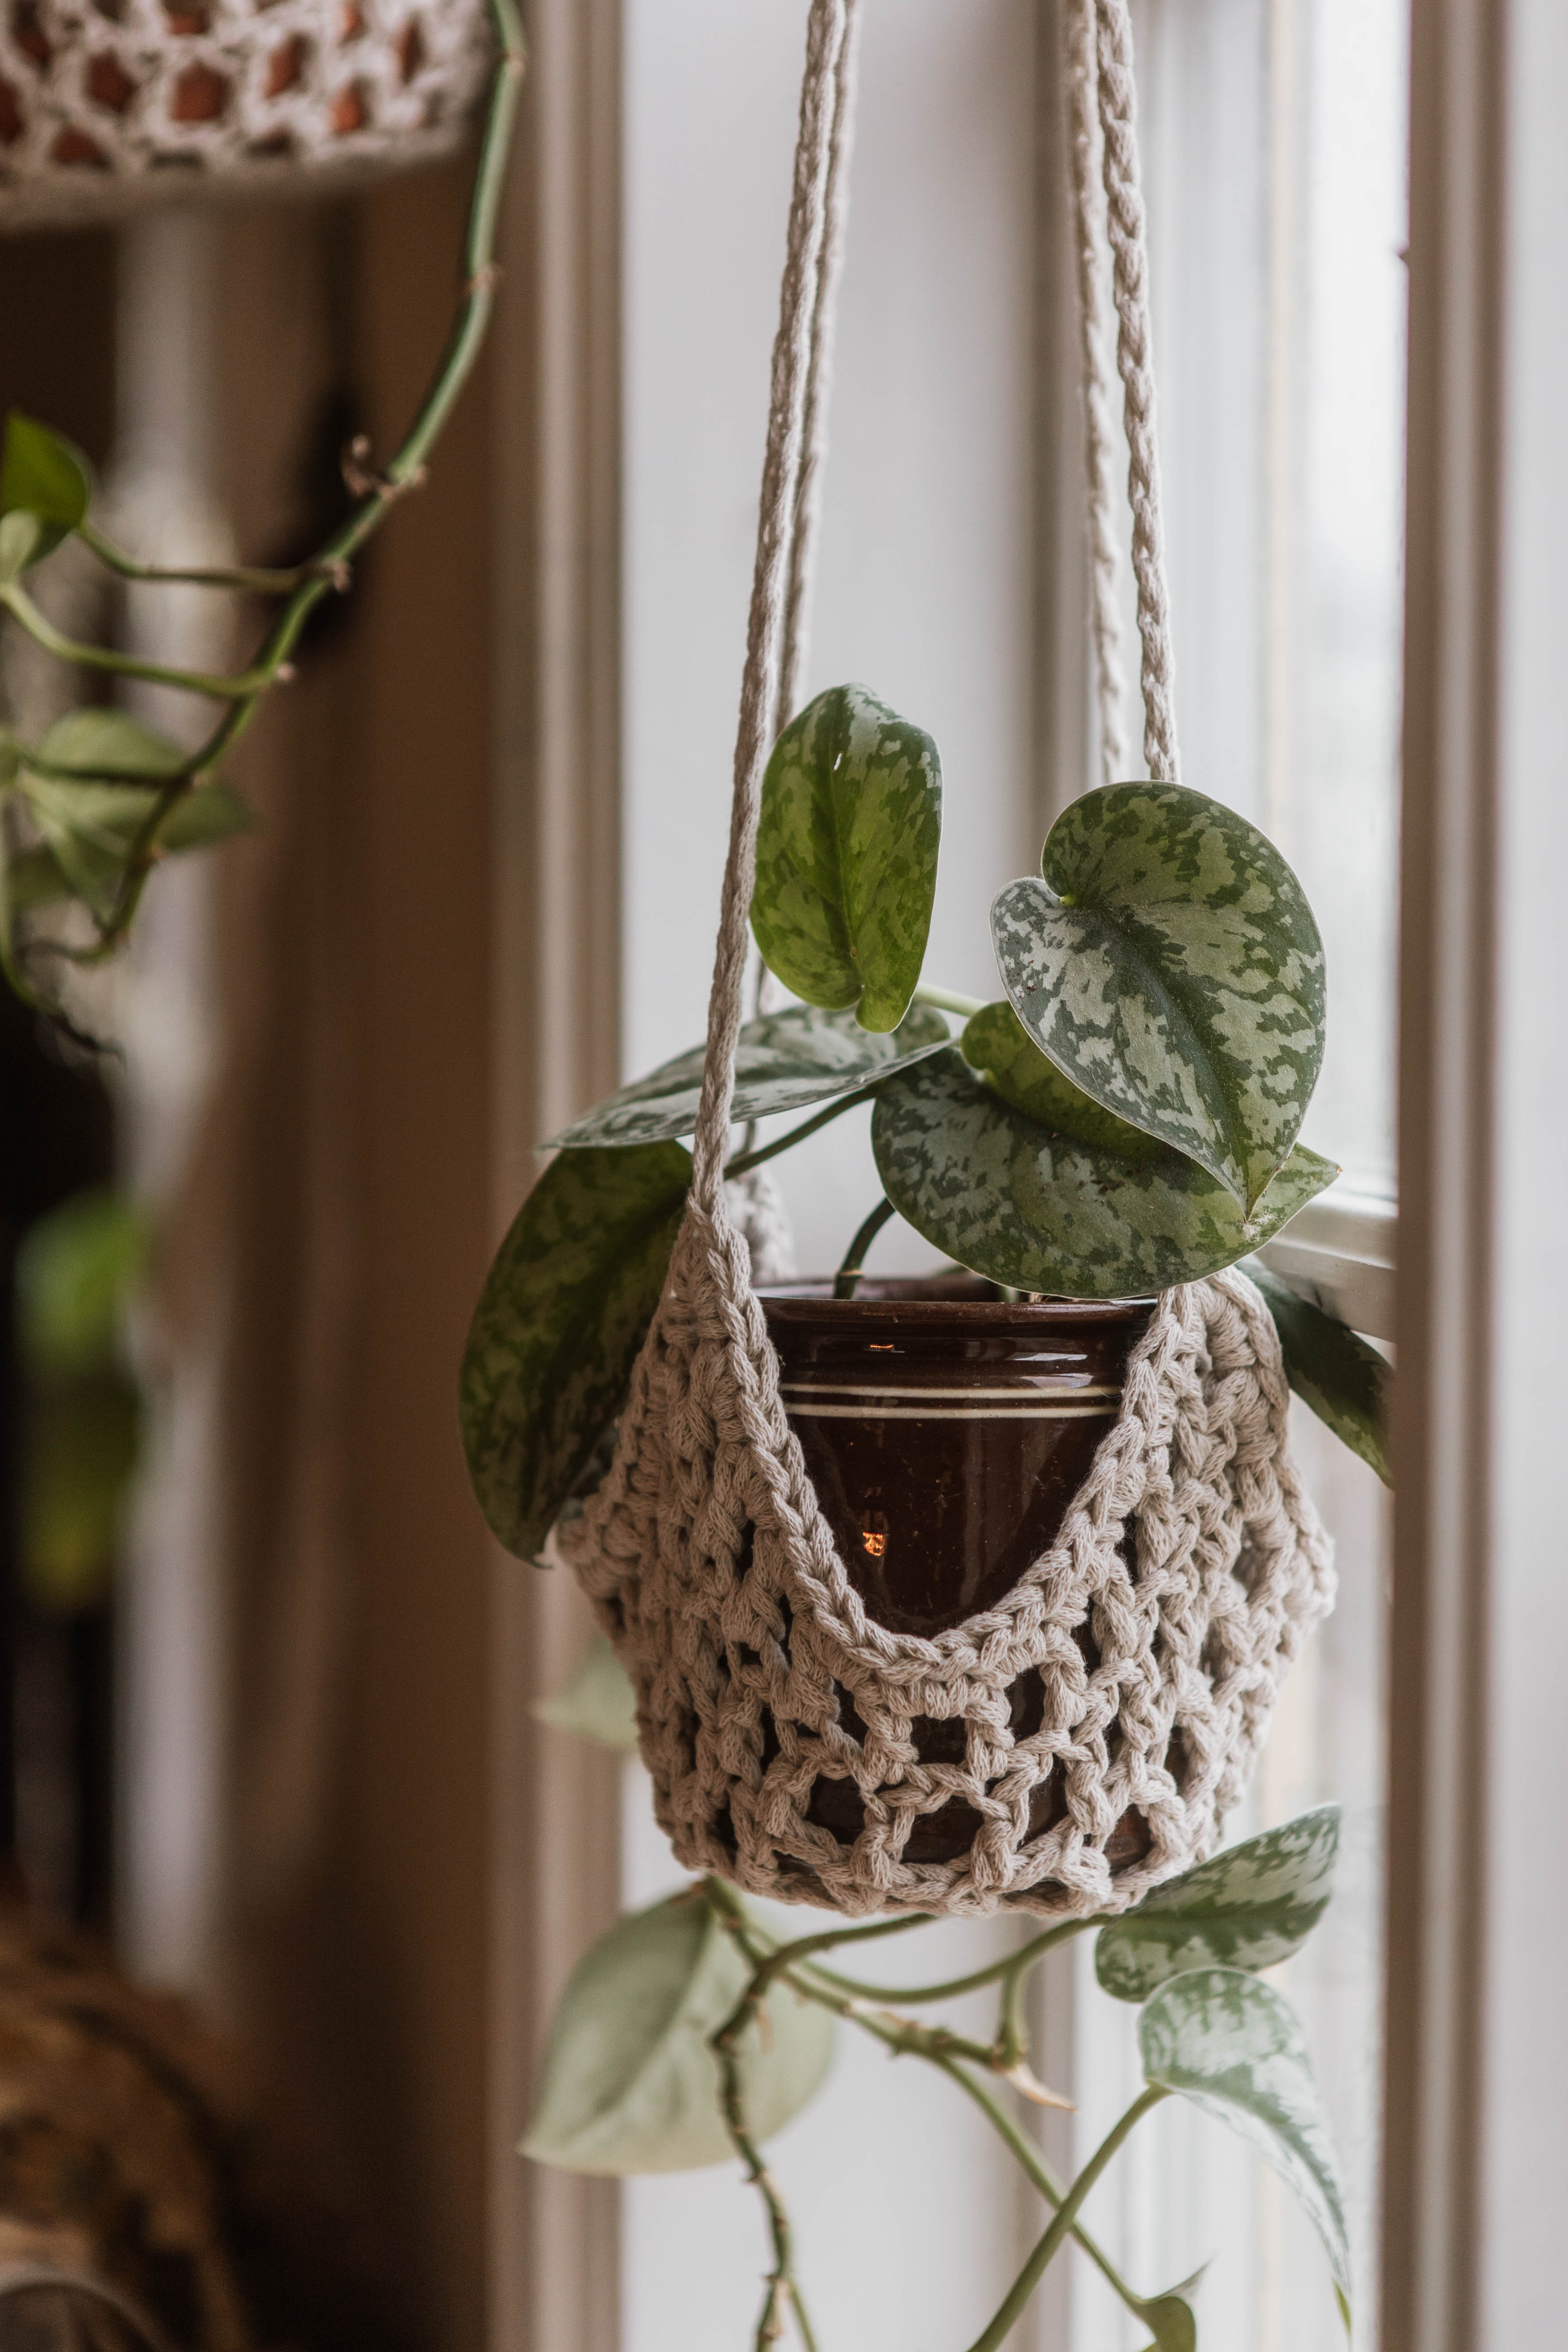
Crochet basket “Olivia”
Get to know MYO's best seller, a crocheted basket!
The basket is a fun project to complete which, thanks to the thick yarn, is great for beginners but also for those who simply want to learn how to crochet a basket. With this instruction, you can decide for yourself how big a basket you want to make.
Yarn consumption: 330g roll is enough for approx. 25cm in bottom diameter. If you want to make a larger basket, we recommend instead crocheting with EKO Medium 1000g or EKO Braided rope 1000g so that the yarn is enough.

This is what you need:
Here you can directly purchase the material for the product. Please note that the instruction is digital and appears here on the page (no written instruction).


EKO Medium Tube yarn | 1000g
A medium-thick tube yarn for crocheting, made of 80% recycled cotton
Buy productHere's how to do it

In this instructable, we will make the basket by starting from the center of the bottom, and then going up the sides.
First step: “The Ring”
Hold the yarn in your left hand. Twist the yarn around your fingers (left hand) three times. Use your crochet hook to go under the first two loops and hook the third with your crochet hook. Carefully pull the yarn through the two finger loops.

Now the loop on the crochet hook holds the double "inner ring" together. Carefully release it from your fingers and pull the yarn you have around your left finger through the loop holding your crochet hook.
Insert your crochet hook from the front through the large double ring that you are holding. Grab the yarn and pull through it. Now you have temporarily got two loops on the crochet hook. Put these two loops together by hook the yarn again around the crochet hook and pull this time through both loops. You just get a loop around the crochet hook and now you have made your first wood stitch.

Repeat this crochet stitch until you have gone around the entire circle and filled the first double starting loop with stitches. TIP! If this seems tricky, watch the Youtube video we've linked to here next to it.

The Bottom
Now it's time for the second round: Pass the crochet hook through both sides of the loops you made for the first round and pull the yarn through. Again you get two loops on the hook. Grab the yarn again and pull it through both loops. Now you only have one loop on the crochet hook.

Now we want the bottom to grow in size, so we start adding extra stitches on this round. Go through the SAME "hole" you used before and make another crochet in the same place. Repeat with the next stitch. Thus doublingyou the amount of stitches from round 1 to round 2. Continue this around the entire ring until you get back to where you started.

For the next round, continue to add extra stitches according to the following pattern:
Round 3: Make two stitches in every other stitch (between these you only make one stitch as usual)
Round 4: Make two stitches in every 3rd stitch
Round 5: No additions this round - just crochet around a full round
Round 6: Make two stitches in every 4th stitch
Round 7: Make two stitches in every 5th stitch
If you have a 330g roll of yarn (included in our 'crochet basket' kit), now proceed to the next step. If you crochet with a 1000g roll, you can make the basket bigger:
Round 8: Make two stitches in every 6th stitch
Round 9: Make two stitches in every 7th stitch
Round 10: No additions this round - just crochet around a full round

It is up to you how big you want to make the bottom. Once you are satisfied with the size, proceed to the next step - the Page.
The side
Look at the back of your work. You see loops that are close to each other as in the picture. Go through both with your crochet hook. Hook the yarn again and pull through both loops. Here you use exactly the same technique as before, but grab loops from the "inside" edge of the bottom to make the basket turn upwards. Crochet around the entire bottom.

The rest is simple. When you have "turned" the side up, continue crocheting as before, but only go through the loops you have closest to your hook (don't take anything from the inside). Continue until you are happy with the height of the basket.
To finish, cut the yarn leaving a 5-10 cm tail. Tie the remaining tail in a knot around the last loop to prevent it from unraveling. Tighten and hide the tail by attaching it through some nearby loops - or just let it hang on the inside of your basket.

Abbreviations
MR = magic ring
st = stitch
sc = single crochet
sl st = slip stitch
inc = Increase, two stitches in the same stitch
(....) = Indicates number of stitches at the end of the round
*...* = Repeat everything between asterisks as many times as indicated
Now we're going to crochet a simple basket! If you need help along the way, refer to our simplified version of this pattern.
Note: This version includes no images, so we recommend watching the full video tutorial for guidance.
Pattern
We start with the bottom of the basket.
Round 1: 8 sc into a MR (8)
Round 2: inc x8 (16)
Round 3: *1 sc, inc* x6 (24)
Round 4: *2 sc, inc* x6 (32)
Round 5: 1 sc in each stitch (32)
Round 6: *3 sc, inc* x6 (40)
Round 7: *4 sc, inc* x6 (48)
If you're using a 330g yarn roll (included in our “crochet basket” kit), you can continue to the next step. If you're working with a 1000g yarn roll, you may want to make the basket larger:
Round 8: *5 sc, inc* x6 (56)
Round 9: *6 sc, inc* x6 (64)
Round 10: 1 sc in each stitch (64)
You can stop increasing whenever you're happy with the base size. Once satisfied, continue to the next step.
Round 11: Look at the back side of your work—you’ll see two loops close together. Insert your hook through both loops (this is the inner back loop along the edge of the base). Pick up your yarn and pull through both loops. This technique helps your basket turn upward at the edge. Crochet 1 sc in each stitch around the base (64)
Round 12 and onward: 1 sc in each stitch for as many rounds as you want (64) to get your desired basket height. When you’re happy with the height, cut and fasten off your yarn.
You're done! 😊
In this instructable, we will make the basket by starting from the center of the bottom, and then going up the sides.
First step: “The Ring”
Hold the yarn in your left hand. Twist the yarn around your fingers (left hand) three times. Use your crochet hook to go under the first two loops and hook the third with your crochet hook. Carefully pull the yarn through the two finger loops.

Now the loop on the crochet hook holds the double "inner ring" together. Carefully release it from your fingers and pull the yarn you have around your left finger through the loop holding your crochet hook.
Insert your crochet hook from the front through the large double ring that you are holding. Grab the yarn and pull through it. Now you have temporarily got two loops on the crochet hook. Put these two loops together by hook the yarn again around the crochet hook and pull this time through both loops. You just get a loop around the crochet hook and now you have made your first wood stitch.

Repeat this crochet stitch until you have gone around the entire circle and filled the first double starting loop with stitches. TIP! If this seems tricky, watch the Youtube video we've linked to here next to it.

The Bottom
Now it's time for the second round: Pass the crochet hook through both sides of the loops you made for the first round and pull the yarn through. Again you get two loops on the hook. Grab the yarn again and pull it through both loops. Now you only have one loop on the crochet hook.

Now we want the bottom to grow in size, so we start adding extra stitches on this round. Go through the SAME "hole" you used before and make another crochet in the same place. Repeat with the next stitch. Thus doublingyou the amount of stitches from round 1 to round 2. Continue this around the entire ring until you get back to where you started.

For the next round, continue to add extra stitches according to the following pattern:
Round 3: Make two stitches in every other stitch (between these you only make one stitch as usual)
Round 4: Make two stitches in every 3rd stitch
Round 5: No additions this round - just crochet around a full round
Round 6: Make two stitches in every 4th stitch
Round 7: Make two stitches in every 5th stitch
If you have a 330g roll of yarn (included in our 'crochet basket' kit), now proceed to the next step. If you crochet with a 1000g roll, you can make the basket bigger:
Round 8: Make two stitches in every 6th stitch
Round 9: Make two stitches in every 7th stitch
Round 10: No additions this round - just crochet around a full round

It is up to you how big you want to make the bottom. Once you are satisfied with the size, proceed to the next step - the Page.
The side
Look at the back of your work. You see loops that are close to each other as in the picture. Go through both with your crochet hook. Hook the yarn again and pull through both loops. Here you use exactly the same technique as before, but grab loops from the "inside" edge of the bottom to make the basket turn upwards. Crochet around the entire bottom.

The rest is simple. When you have "turned" the side up, continue crocheting as before, but only go through the loops you have closest to your hook (don't take anything from the inside). Continue until you are happy with the height of the basket.
To finish, cut the yarn leaving a 5-10 cm tail. Tie the remaining tail in a knot around the last loop to prevent it from unraveling. Tighten and hide the tail by attaching it through some nearby loops - or just let it hang on the inside of your basket.

Abbreviations
MR = magic ring
st = stitch
sc = single crochet
sl st = slip stitch
inc = Increase, two stitches in the same stitch
(....) = Indicates number of stitches at the end of the round
*...* = Repeat everything between asterisks as many times as indicated
Now we're going to crochet a simple basket! If you need help along the way, refer to our simplified version of this pattern.
Note: This version includes no images, so we recommend watching the full video tutorial for guidance.
Pattern
We start with the bottom of the basket.
Round 1: 8 sc into a MR (8)
Round 2: inc x8 (16)
Round 3: *1 sc, inc* x6 (24)
Round 4: *2 sc, inc* x6 (32)
Round 5: 1 sc in each stitch (32)
Round 6: *3 sc, inc* x6 (40)
Round 7: *4 sc, inc* x6 (48)
If you're using a 330g yarn roll (included in our “crochet basket” kit), you can continue to the next step. If you're working with a 1000g yarn roll, you may want to make the basket larger:
Round 8: *5 sc, inc* x6 (56)
Round 9: *6 sc, inc* x6 (64)
Round 10: 1 sc in each stitch (64)
You can stop increasing whenever you're happy with the base size. Once satisfied, continue to the next step.
Round 11: Look at the back side of your work—you’ll see two loops close together. Insert your hook through both loops (this is the inner back loop along the edge of the base). Pick up your yarn and pull through both loops. This technique helps your basket turn upward at the edge. Crochet 1 sc in each stitch around the base (64)
Round 12 and onward: 1 sc in each stitch for as many rounds as you want (64) to get your desired basket height. When you’re happy with the height, cut and fasten off your yarn.
You're done! 😊
The rights to this pattern belong to MYO Make Your Own. The pattern or its pictures may not be copied, shared or resold either in parts or in its entirety, but you may sell items you have crocheted from this pattern. If you have questions about the pattern, contact MYO at hello@makeyourown.se.


%252520(3).webp)


%20(1).jpg)