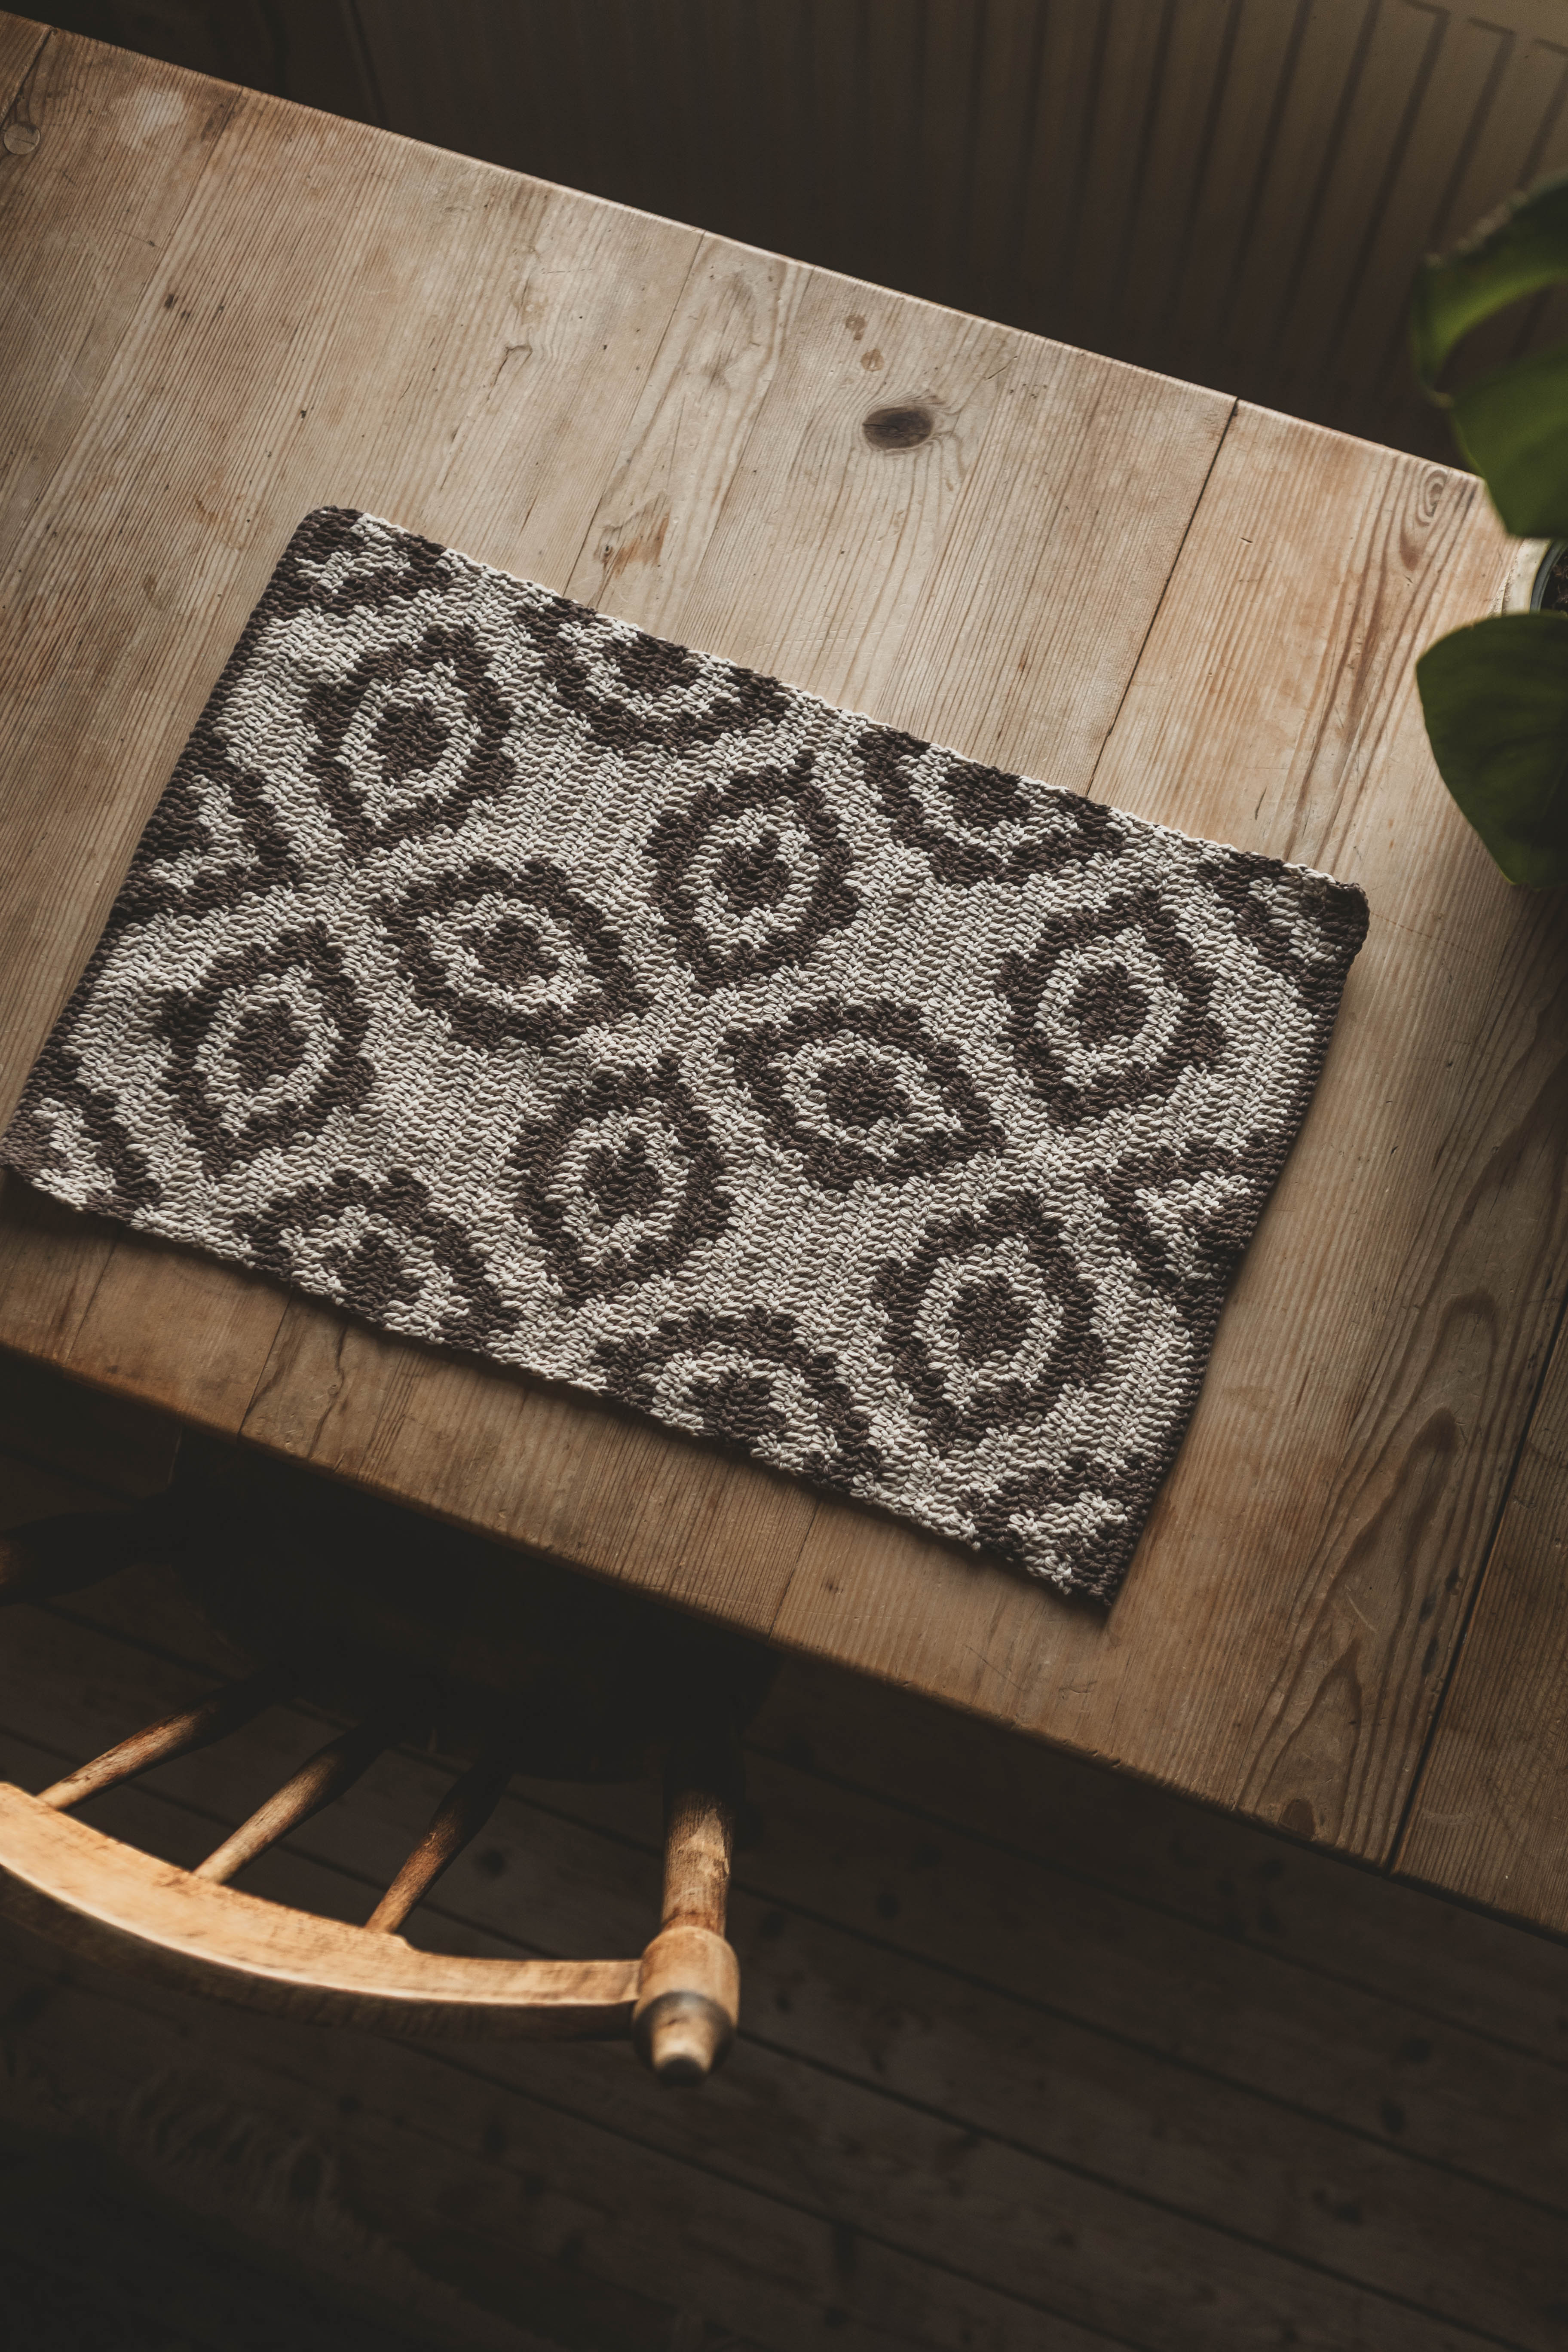
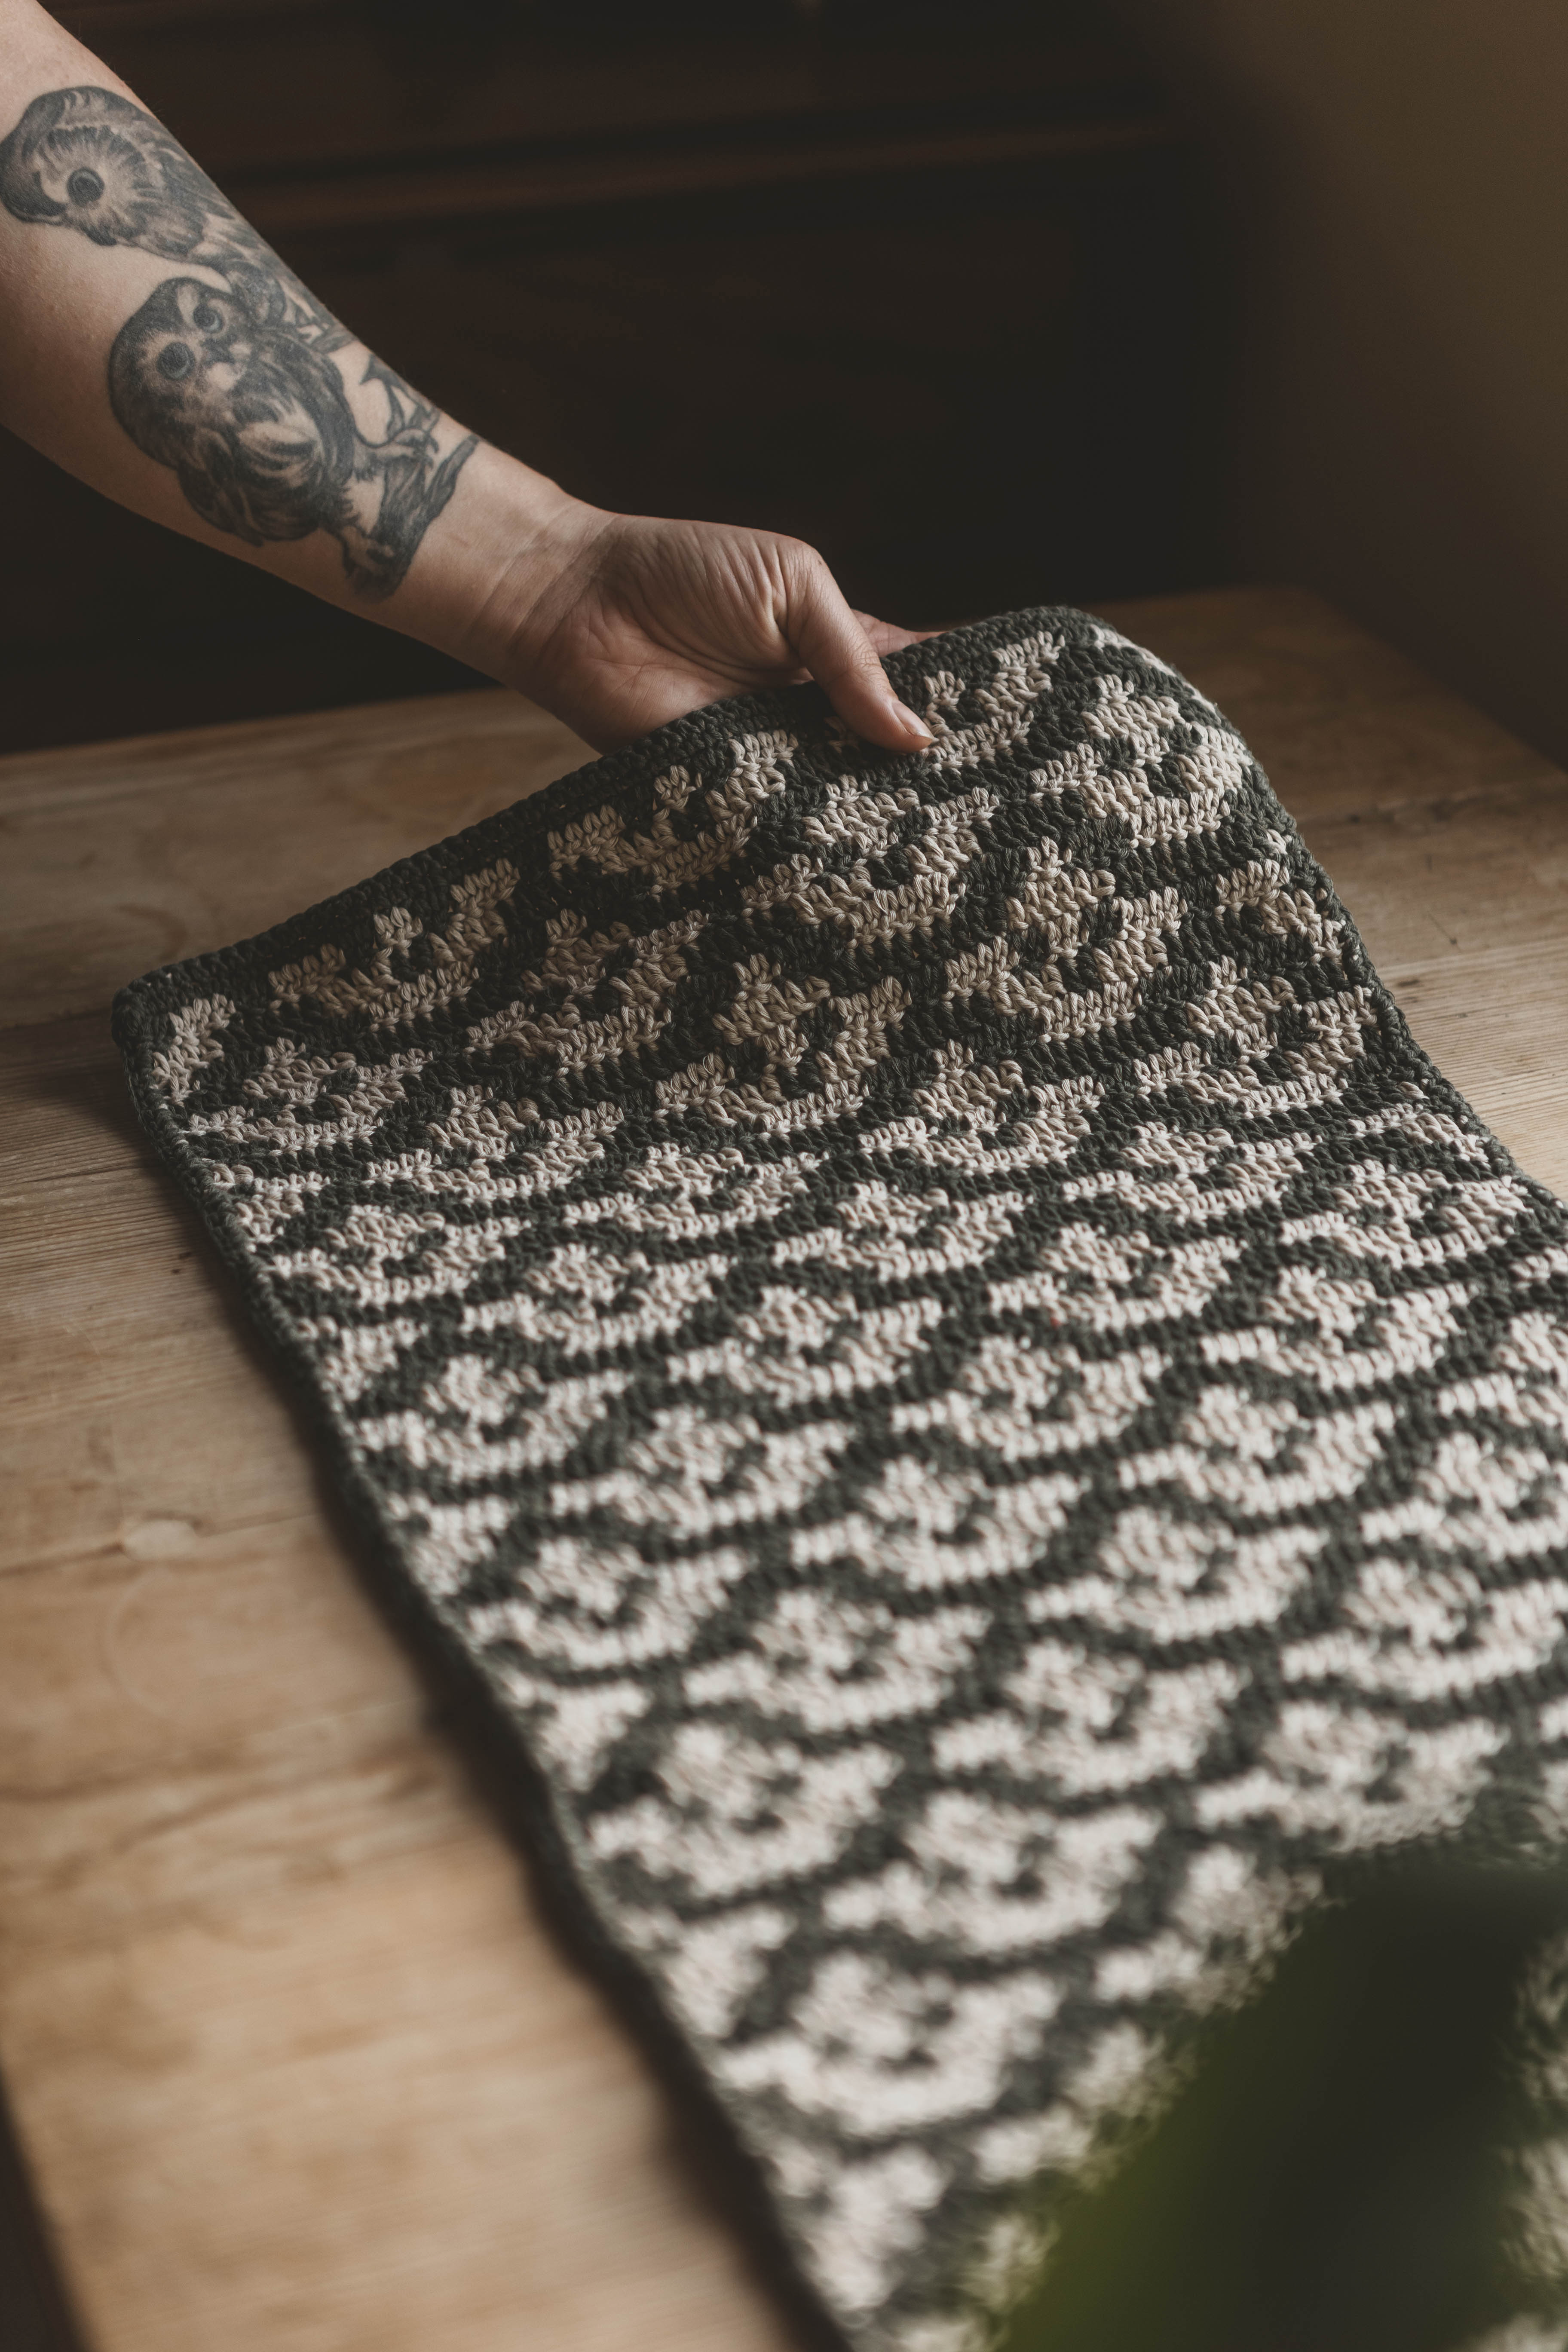
Crochet pillow case “Ebba”
Dress up your old pillow without burdening the environment - crochet your own pillow case from recycled cotton yarn!
Myo's pillow cases are fun to make, durable and look stylish in your home. This crochet project is beginner-friendly and is the perfect step forward when learning how to crochet and simple enough to make you want to learn more. You will need EKO Mini Tube yarn and a 7 mm crochet hook. You will also need an inner pillow of 45 x 45 cm
Yarn consumption: Approx. 650 g

This is what you need:
Here you can directly purchase the material for the product. Please note that the instruction is digital and appears here on the page (no written instruction).

EKO Mini tube yarn | 1000g
Narrow "Ribbon" yarn for crocheting, made of 80% recycled cotton
Buy product
Here's how to do it

Get started
We will start by crocheting the first side of the cushion cover. Start by making a simple loop around the crochet hook. One way you can do this is to wrap the yarn around your index and middle finger and then pull the yarn up so that the loop locks when you tighten. Leave about 15cm tail.

The Chain
Adjust the size of the loop around your crochet hook. Now we will crochet the chain, use the crochet hook and pick up the yarn with the yarn that comes from the yarn roll (you can have 2 loops on the crochet hook) and pull through so that a loop is formed (first loop). Do this until you have a total of 40 loops on your chain.

Row 2
Now start following the chain back and crochet row 2. Skip the first loop (which is holding your crochet hook) and start going down the loop that comes after. Pick up the yarn and pull through (you now temporarily have 2 loops on the hook). Pick up the yarn with the hook again and pull through both loops. Repeat this 38 more times so you have 39 stitches in row 2. When you have done this 39 times, make a single loose loop (as you did in point 2). Now you turn the work over and continue on point 4. NOTE! If you forget to add a loose loop before turning the work, the side of the pillowcase will be uneven.
Row 3
Now that you have turned your work, we will crochet back. Just like in row 2, you skip the first loop and start in the second stitch. When you look at the work from above, you will see that the loops form two lines. In row 2, you went down with the crochet hook under both of these, but in row 3 you should go through with the crochet hook in only the back row. So go down with the hook in the back row, pick up the yarn (you temporarily have two loops on the hook) and pull through. Do this a total of 39 times and finish with a single loose loop before turning the work.

Continuation
You continue to crochet row 2 again and then row 3 and repeat this until you have crocheted a total of 42 rounds. You should therefore crochet every other row according to point 2 and every other row according to point 3. This will create stripes on one side but not on the other side. Remember to always add a free loop at the end of each row before turning the work. Count each row so that you always have 39 stitches plus a single loop.
Keep in mind:
- Always crochet an extra free loop at the end of each row.
- To always count, you have 39 stitches plus one free loop on each row.
- That all the stripes that are formed must be on the same side, the other side must not have any stripes at all.
When you are ready, cut the yarn but save about 15 cm. Make a simple knot to fasten the yarn and pull the thread through some loops on the inside (the side that has no strings).
Side 2
When you have finished with the first side, you crochet side number 2 in the same way as the first side, but you do not cut the yarn at the end, but go directly to step 8 to crochet the sides together.
How to put the sides together
Place the sides together with the stripes on the outsides. Now crochet the cushion cover by going down with the crochet hook in one corner, catching the yarn (you temporarily have 2 loops on the crochet hook), catching the yarn again, and pulling through. Go down a total of three times in the same stitch in the corner. Now crochet approx. 40 stitches on the side of the cushion cover by picking up the yarn (you temporarily have 2 loops on the hook), picking up the yarn again, and pulling through.

When you get to the corner, do the same as you did in the first corner. Crochet approx. 40 times along the other side in the same way you did on the first side. When you have crocheted two of the sides together, put the inner pillow in the case, and use an inner pillow that is 50*50 cm. Crochet the third and fourth sides together just as you crocheted the other two sides together but don´t forget to crochet three times in the corners. Finish by tying a knot to secure the yarn and then hide the yarn end.

Congratulations - now you're done with your pillowcase!

Abbreviations
st = stitch
sc = single crochet
ch = chain
blo = back loop only
🧵 Let’s crochet a cozy pillow cover!
If you need help, you can check out the simplified version or follow the full video tutorial (no pictures in this version).
Pattern
Row 1: Ch 40 (40)
Row 2: Starting in 2nd ch from hook, work 39 sc across (39). Ch 1, turn.
Row 3: Starting in 2nd st, 39 sc in blo (39). Ch 1, turn.
Repeat Row 2 and Row 3 alternately for a total of 42 rows, or until the piece forms a square. This completes side 1 of the pillow cover.
Make a second side the same way as the first.
Assembly
Join the two squares together by single crocheting around the edges.
In each corner, crochet 3 sc in the same stitch. Crochet together 3 sides, insert the pillow, then crochet the final side closed. Cut yarn and fasten off all ends.
You’re done!
Get started
We will start by crocheting the first side of the cushion cover. Start by making a simple loop around the crochet hook. One way you can do this is to wrap the yarn around your index and middle finger and then pull the yarn up so that the loop locks when you tighten. Leave about 15cm tail.

The Chain
Adjust the size of the loop around your crochet hook. Now we will crochet the chain, use the crochet hook and pick up the yarn with the yarn that comes from the yarn roll (you can have 2 loops on the crochet hook) and pull through so that a loop is formed (first loop). Do this until you have a total of 40 loops on your chain.

Row 2
Now start following the chain back and crochet row 2. Skip the first loop (which is holding your crochet hook) and start going down the loop that comes after. Pick up the yarn and pull through (you now temporarily have 2 loops on the hook). Pick up the yarn with the hook again and pull through both loops. Repeat this 38 more times so you have 39 stitches in row 2. When you have done this 39 times, make a single loose loop (as you did in point 2). Now you turn the work over and continue on point 4. NOTE! If you forget to add a loose loop before turning the work, the side of the pillowcase will be uneven.
Row 3
Now that you have turned your work, we will crochet back. Just like in row 2, you skip the first loop and start in the second stitch. When you look at the work from above, you will see that the loops form two lines. In row 2, you went down with the crochet hook under both of these, but in row 3 you should go through with the crochet hook in only the back row. So go down with the hook in the back row, pick up the yarn (you temporarily have two loops on the hook) and pull through. Do this a total of 39 times and finish with a single loose loop before turning the work.

Continuation
You continue to crochet row 2 again and then row 3 and repeat this until you have crocheted a total of 42 rounds. You should therefore crochet every other row according to point 2 and every other row according to point 3. This will create stripes on one side but not on the other side. Remember to always add a free loop at the end of each row before turning the work. Count each row so that you always have 39 stitches plus a single loop.
Keep in mind:
- Always crochet an extra free loop at the end of each row.
- To always count, you have 39 stitches plus one free loop on each row.
- That all the stripes that are formed must be on the same side, the other side must not have any stripes at all.
When you are ready, cut the yarn but save about 15 cm. Make a simple knot to fasten the yarn and pull the thread through some loops on the inside (the side that has no strings).
Side 2
When you have finished with the first side, you crochet side number 2 in the same way as the first side, but you do not cut the yarn at the end, but go directly to step 8 to crochet the sides together.
How to put the sides together
Place the sides together with the stripes on the outsides. Now crochet the cushion cover by going down with the crochet hook in one corner, catching the yarn (you temporarily have 2 loops on the crochet hook), catching the yarn again, and pulling through. Go down a total of three times in the same stitch in the corner. Now crochet approx. 40 stitches on the side of the cushion cover by picking up the yarn (you temporarily have 2 loops on the hook), picking up the yarn again, and pulling through.

When you get to the corner, do the same as you did in the first corner. Crochet approx. 40 times along the other side in the same way you did on the first side. When you have crocheted two of the sides together, put the inner pillow in the case, and use an inner pillow that is 50*50 cm. Crochet the third and fourth sides together just as you crocheted the other two sides together but don´t forget to crochet three times in the corners. Finish by tying a knot to secure the yarn and then hide the yarn end.

Congratulations - now you're done with your pillowcase!

Abbreviations
st = stitch
sc = single crochet
ch = chain
blo = back loop only
🧵 Let’s crochet a cozy pillow cover!
If you need help, you can check out the simplified version or follow the full video tutorial (no pictures in this version).
Pattern
Row 1: Ch 40 (40)
Row 2: Starting in 2nd ch from hook, work 39 sc across (39). Ch 1, turn.
Row 3: Starting in 2nd st, 39 sc in blo (39). Ch 1, turn.
Repeat Row 2 and Row 3 alternately for a total of 42 rows, or until the piece forms a square. This completes side 1 of the pillow cover.
Make a second side the same way as the first.
Assembly
Join the two squares together by single crocheting around the edges.
In each corner, crochet 3 sc in the same stitch. Crochet together 3 sides, insert the pillow, then crochet the final side closed. Cut yarn and fasten off all ends.
You’re done!
The rights to this pattern belong to MYO Make Your Own. The pattern or its pictures may not be copied, shared or resold either in parts or in its entirety, but you may sell items you have crocheted from this pattern. If you have questions about the pattern, contact MYO at hello@makeyourown.se.


%252520(3).webp)


%20(1).jpg)