
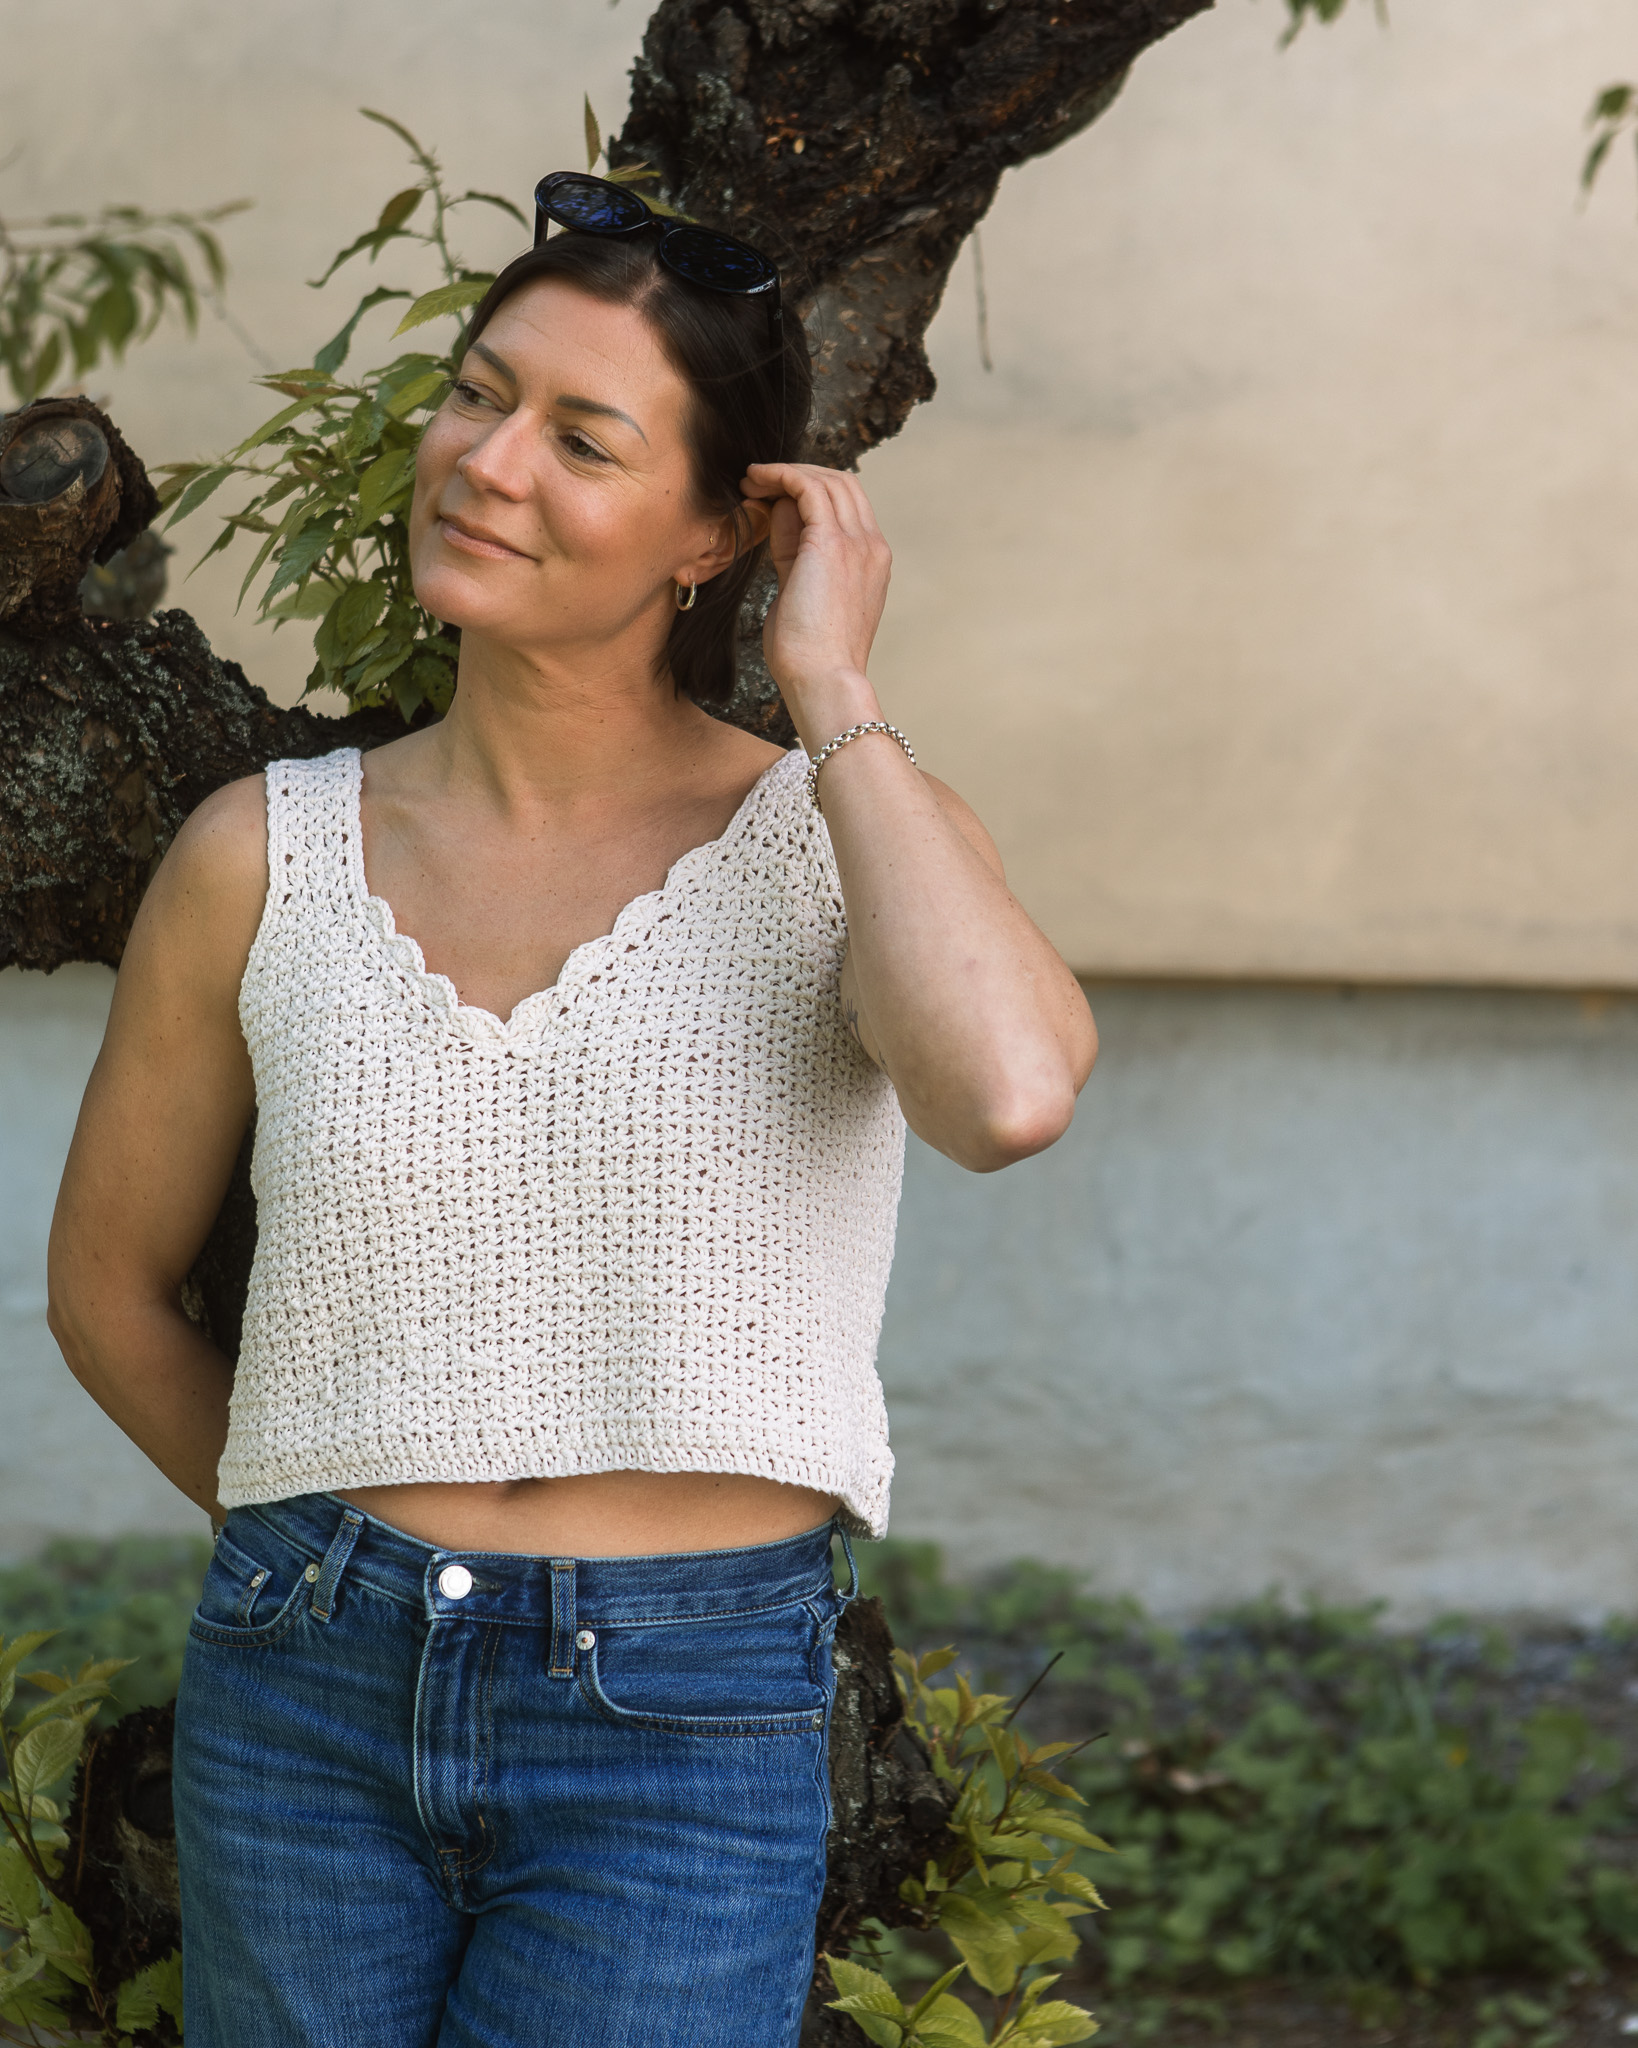
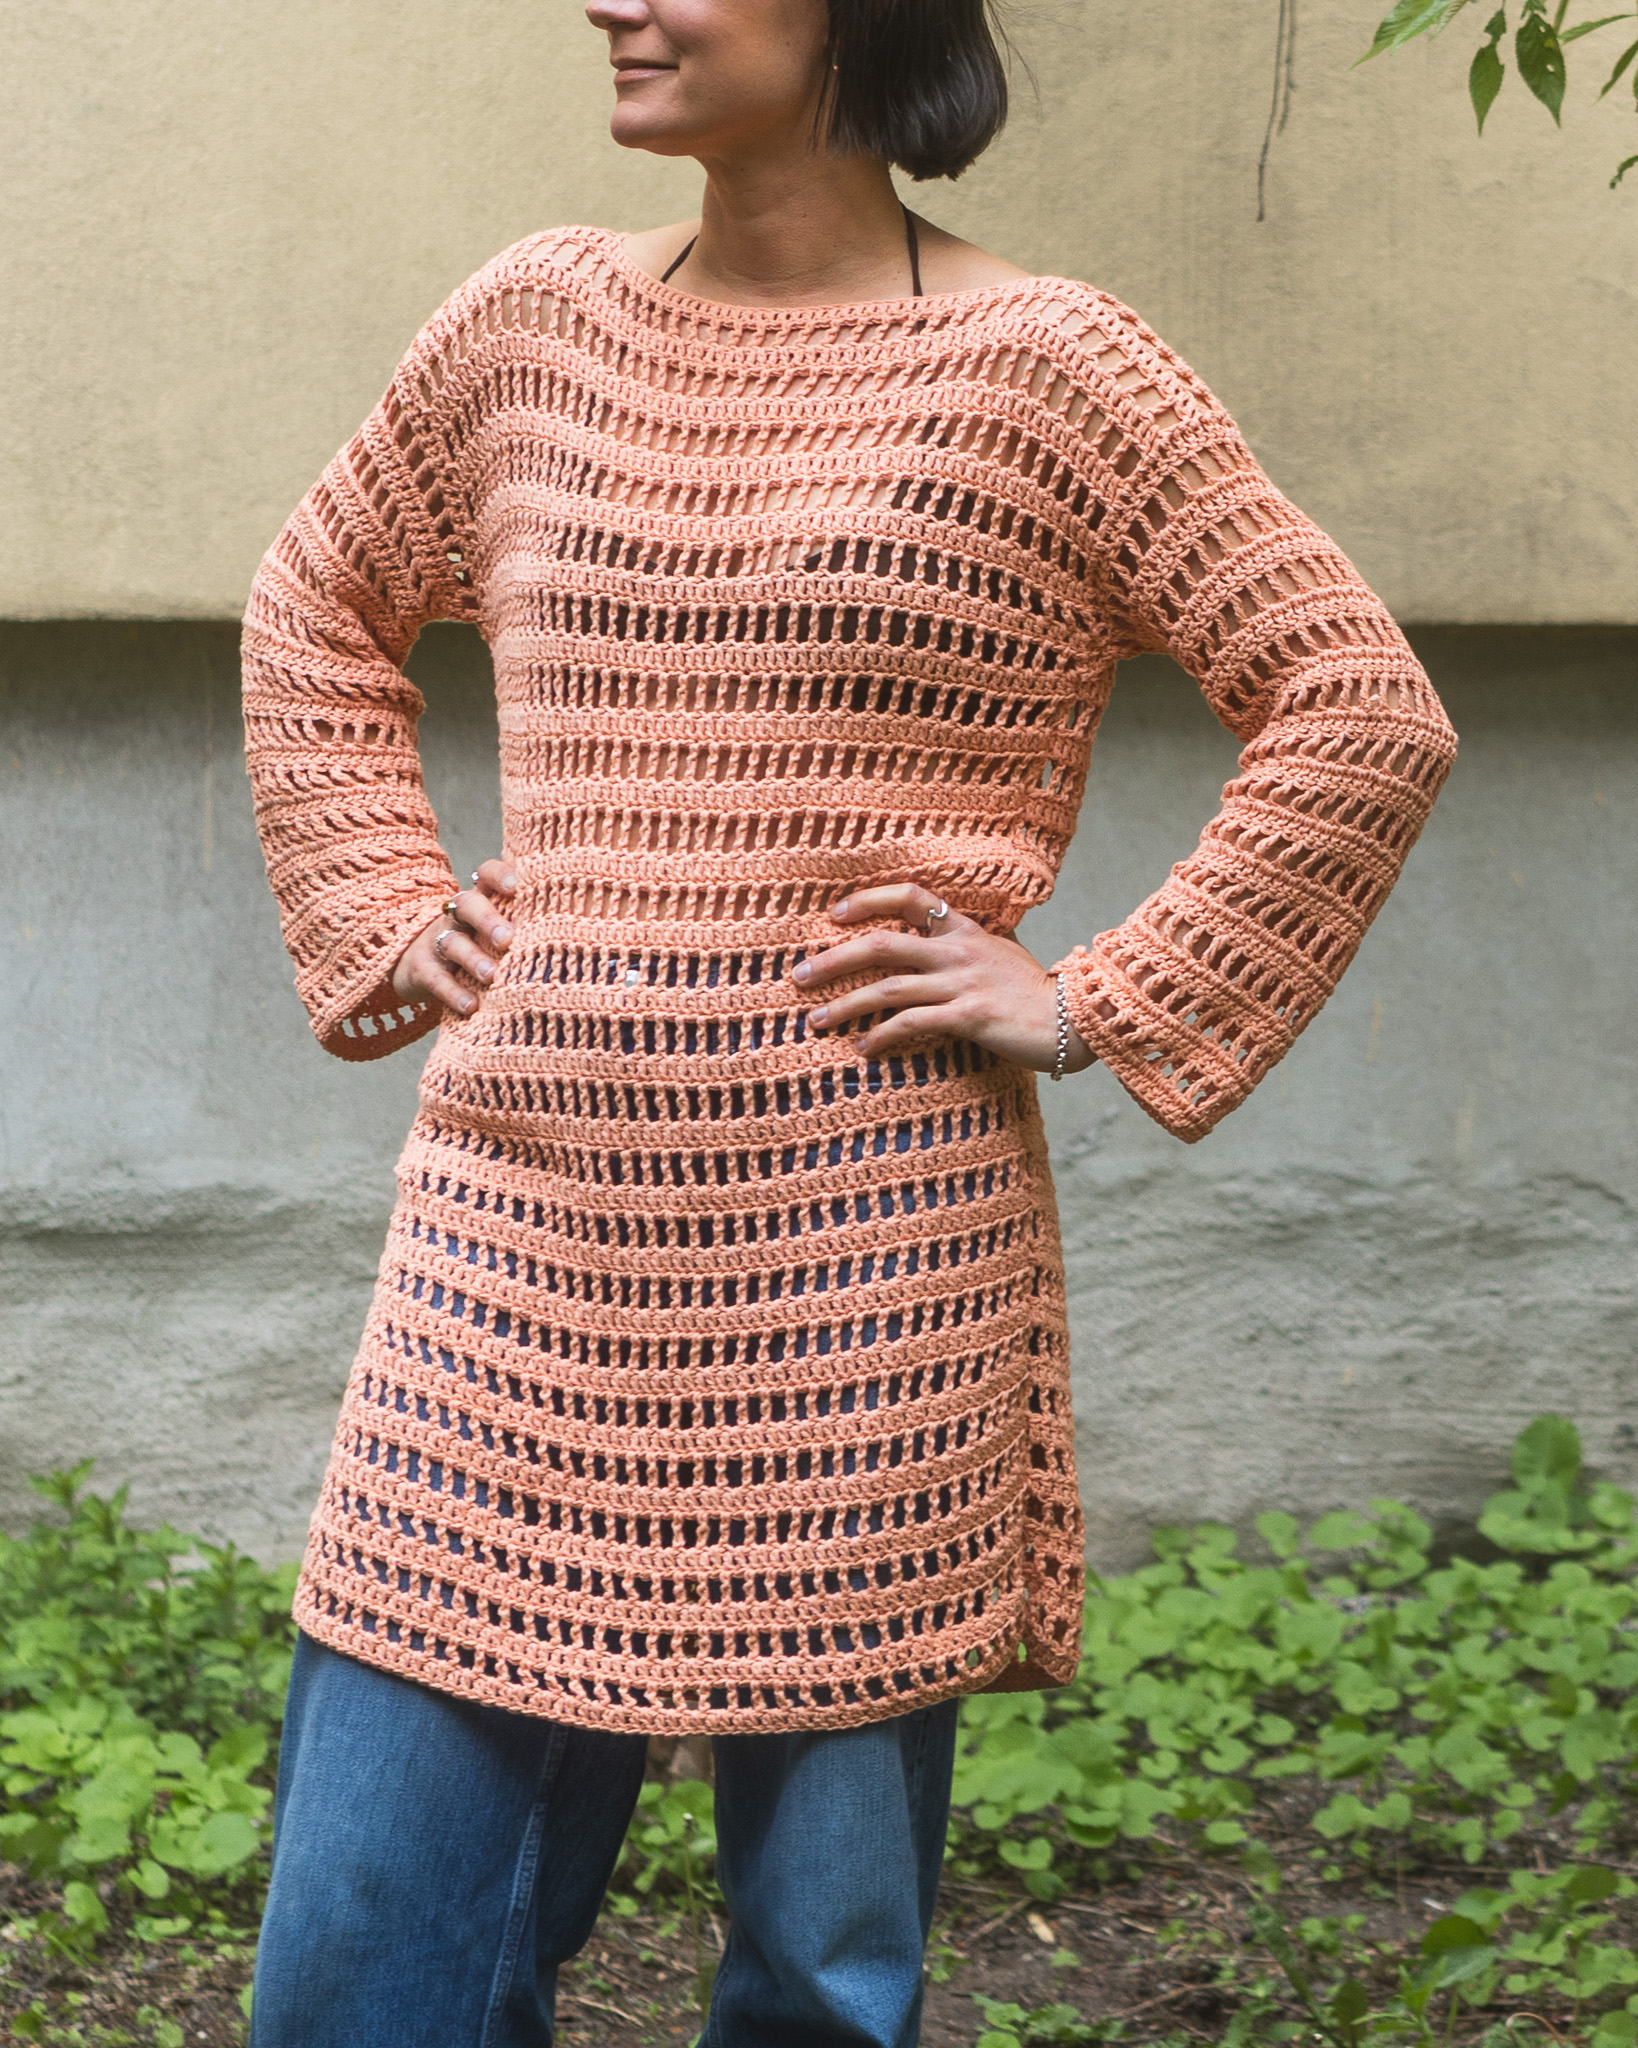
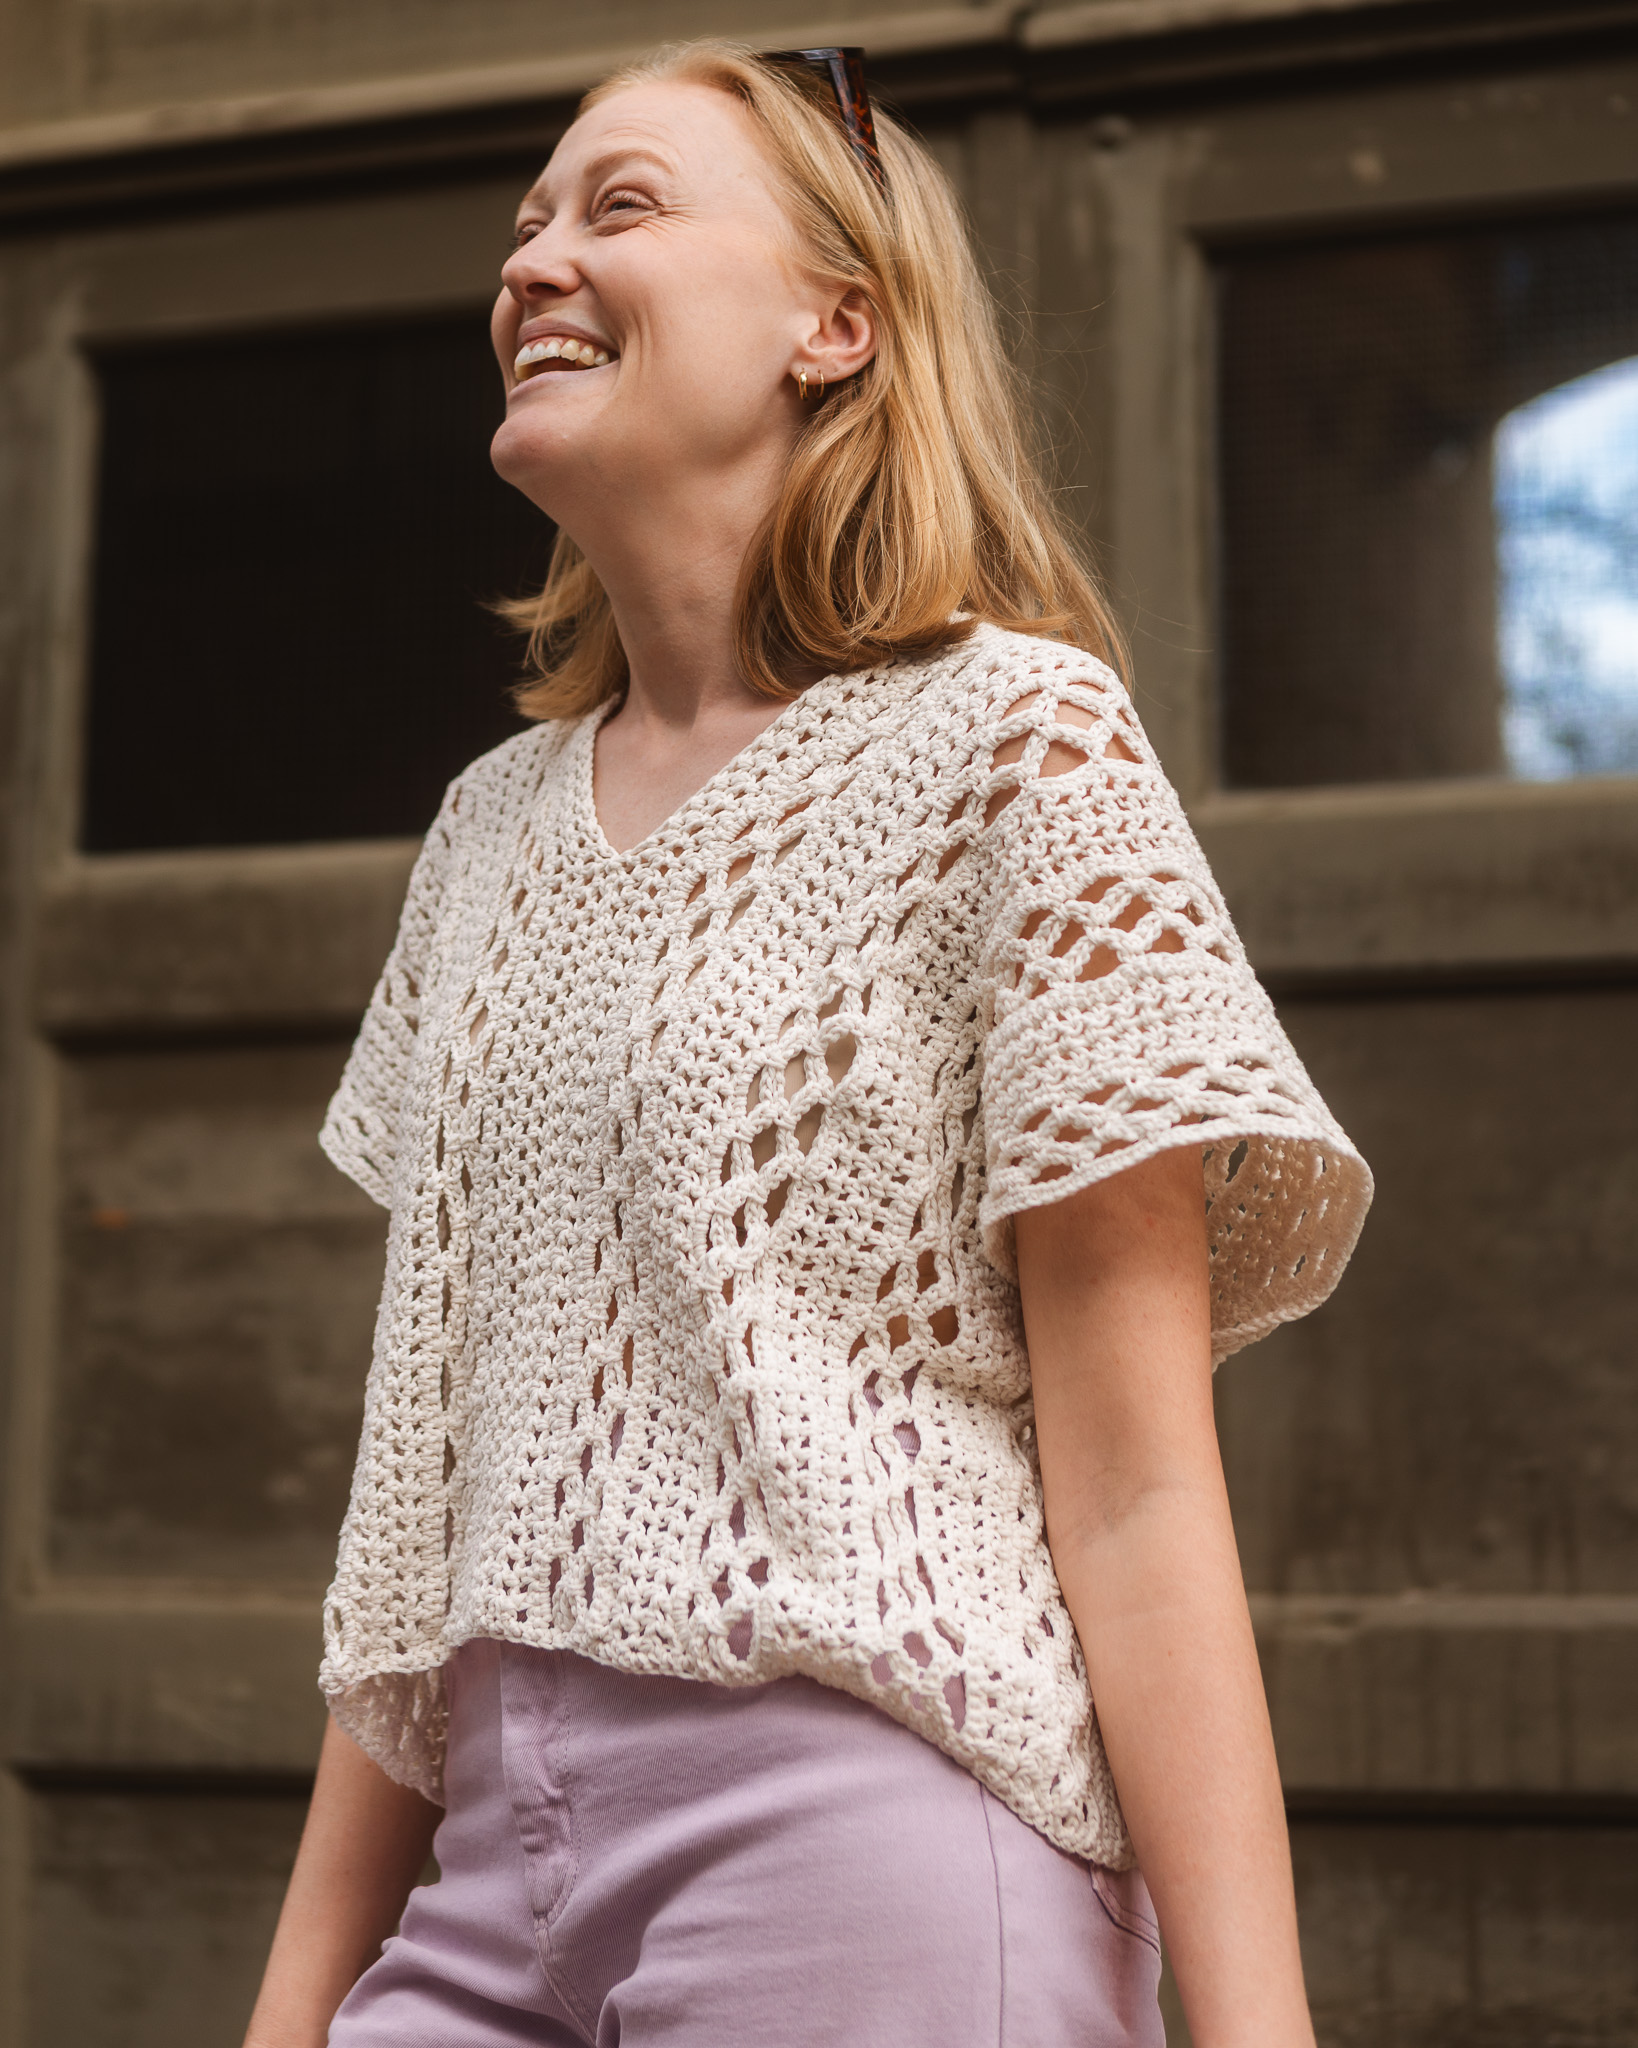
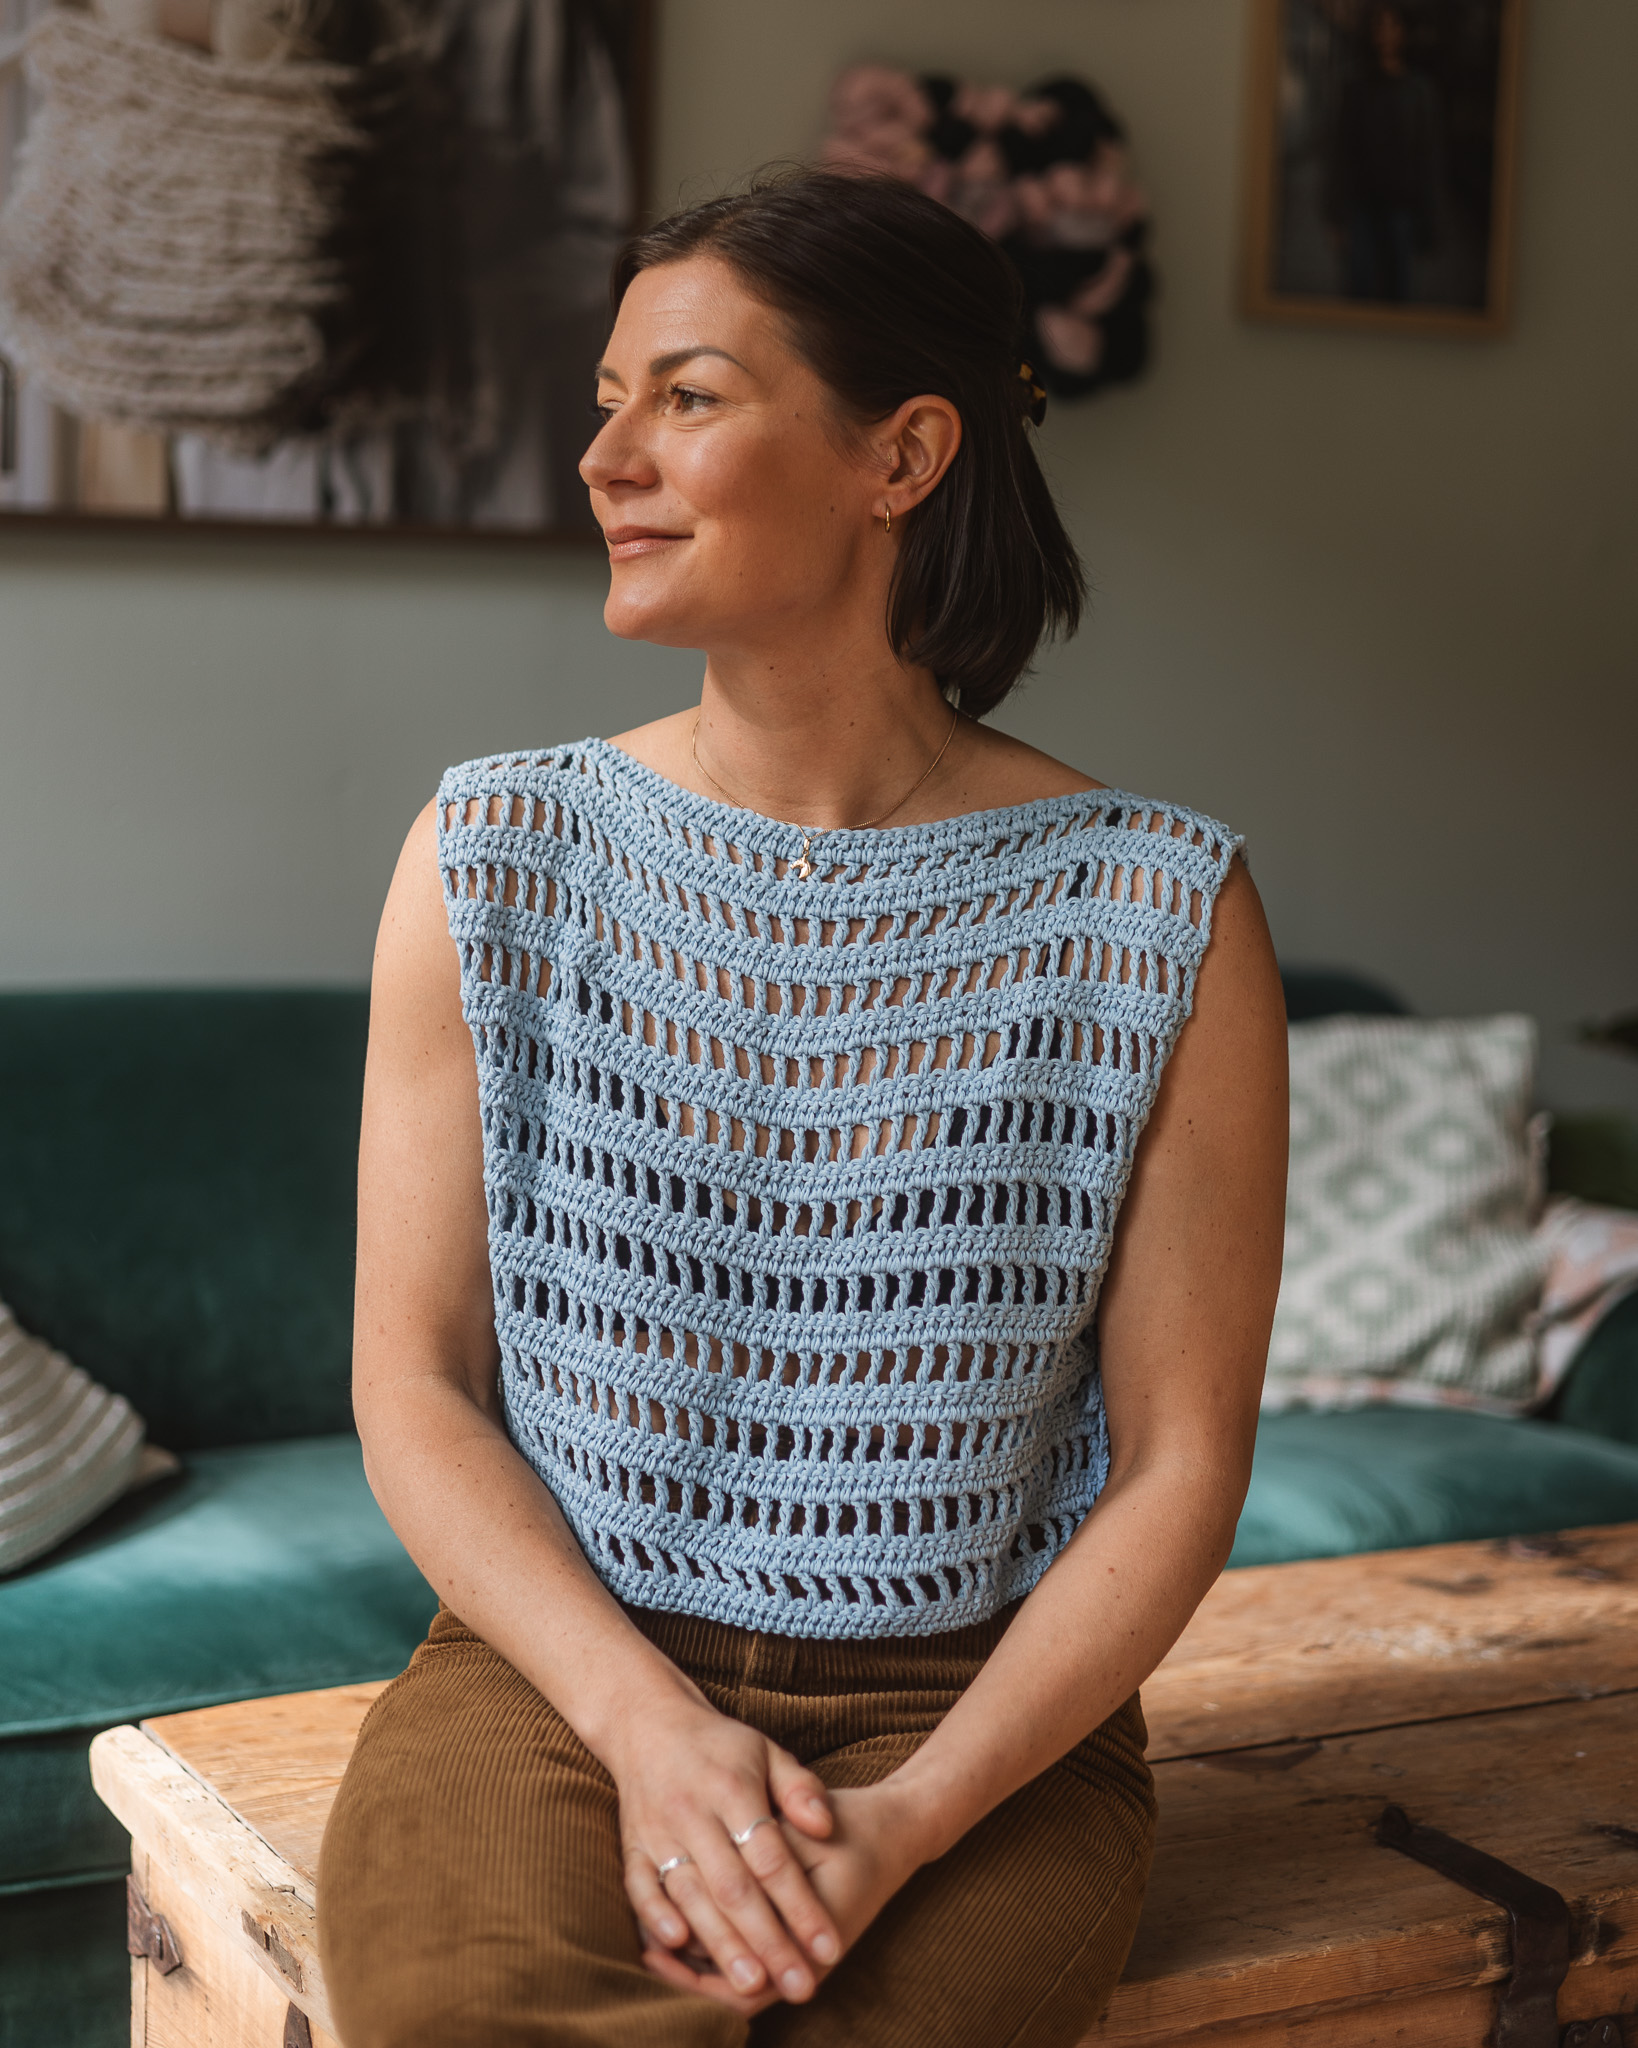
Crochet sweater “Livia”
Crochet a Cozy Sweater That’s Easy to Adjust in Size
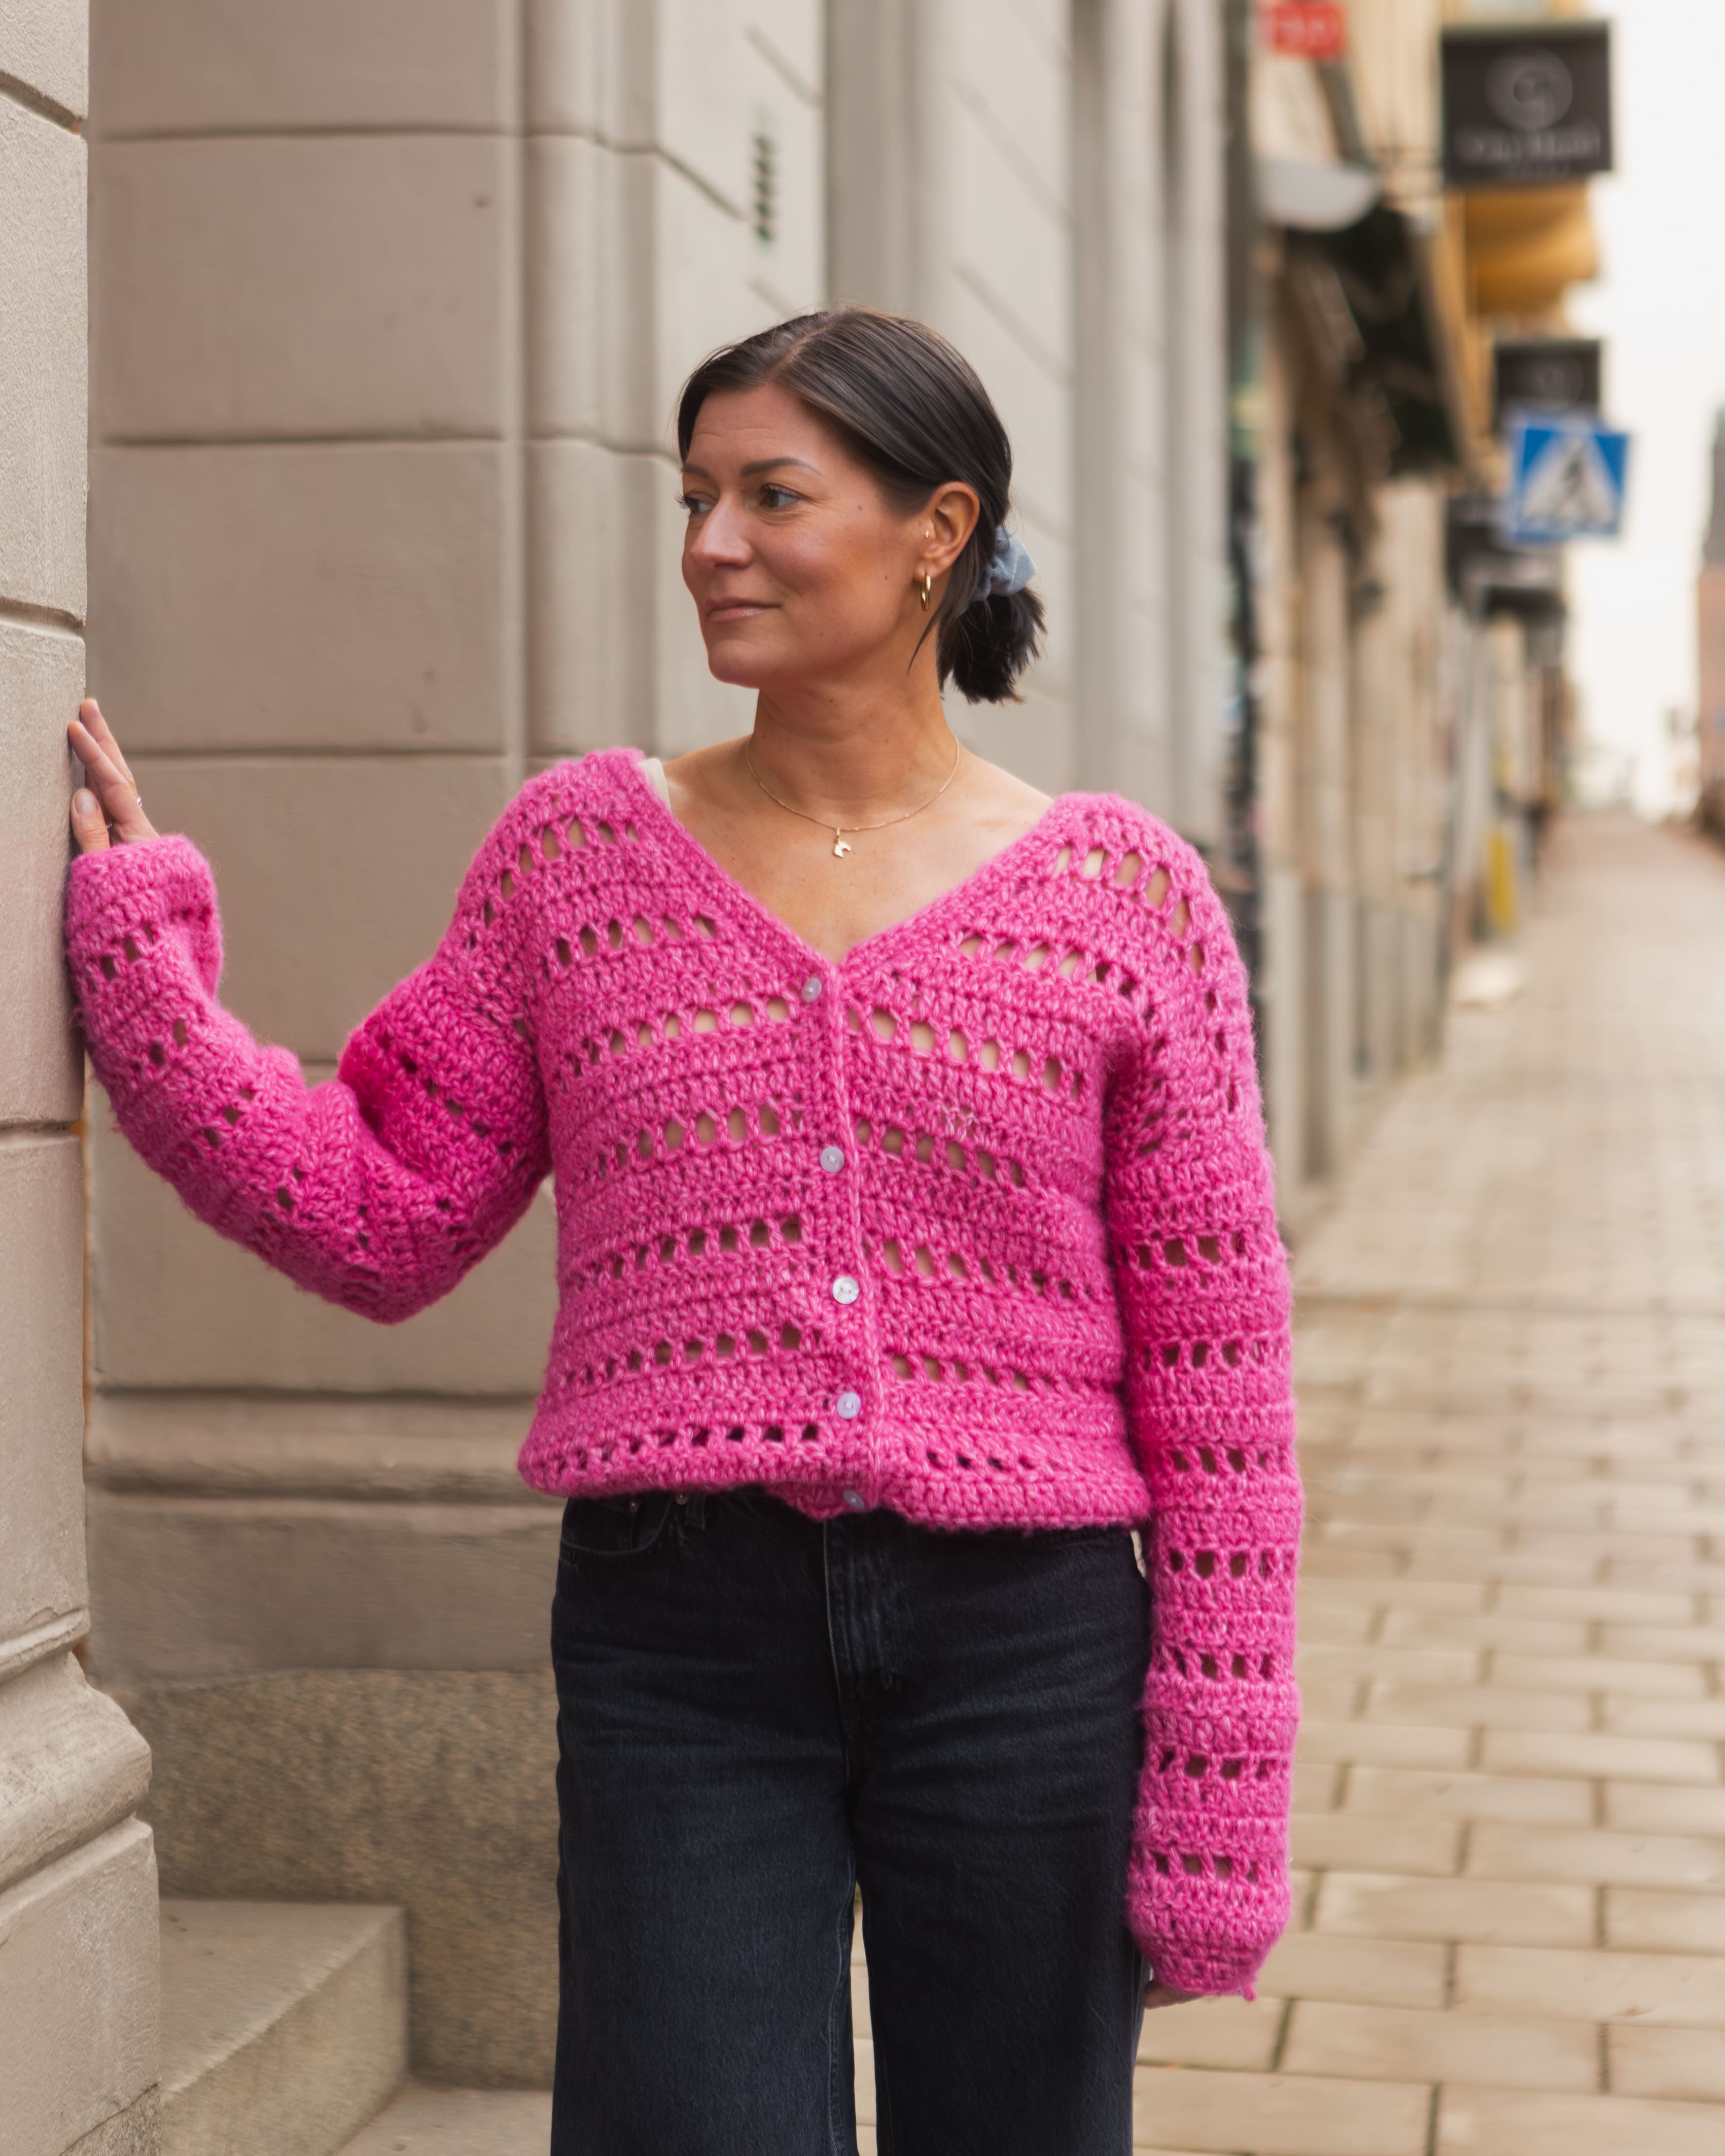
Have you seen our Linnea Cardigan? This is a variation of Linnea, but as a sweater. You can choose how long and how wide you want your sweater to be and also ifyou want long or short sleeves. This is a made-to-measure pattern, meaning you measure on yourself as you go. You can use a 6 mm or 7 mm crochet hook—both work well. We used the color Bright Blue in the sweater shown in the photo. The sweater is almost the same as "Linnea" Cardigan so you can follow that full lenth video as a guide.
Yarn Consumption: For a sweater approximately the same size as the (blue) one in the photo (size M), you'll need about 8–9 skeins of MYO Basic Wool. If you want to make a larger size, estimate 1 extra skein per size up. This is an approximate amount and will depend on the length, width, and sleeve size you choose to crochet.
Note: This pattern uses videos from our technique library for additional guidance.
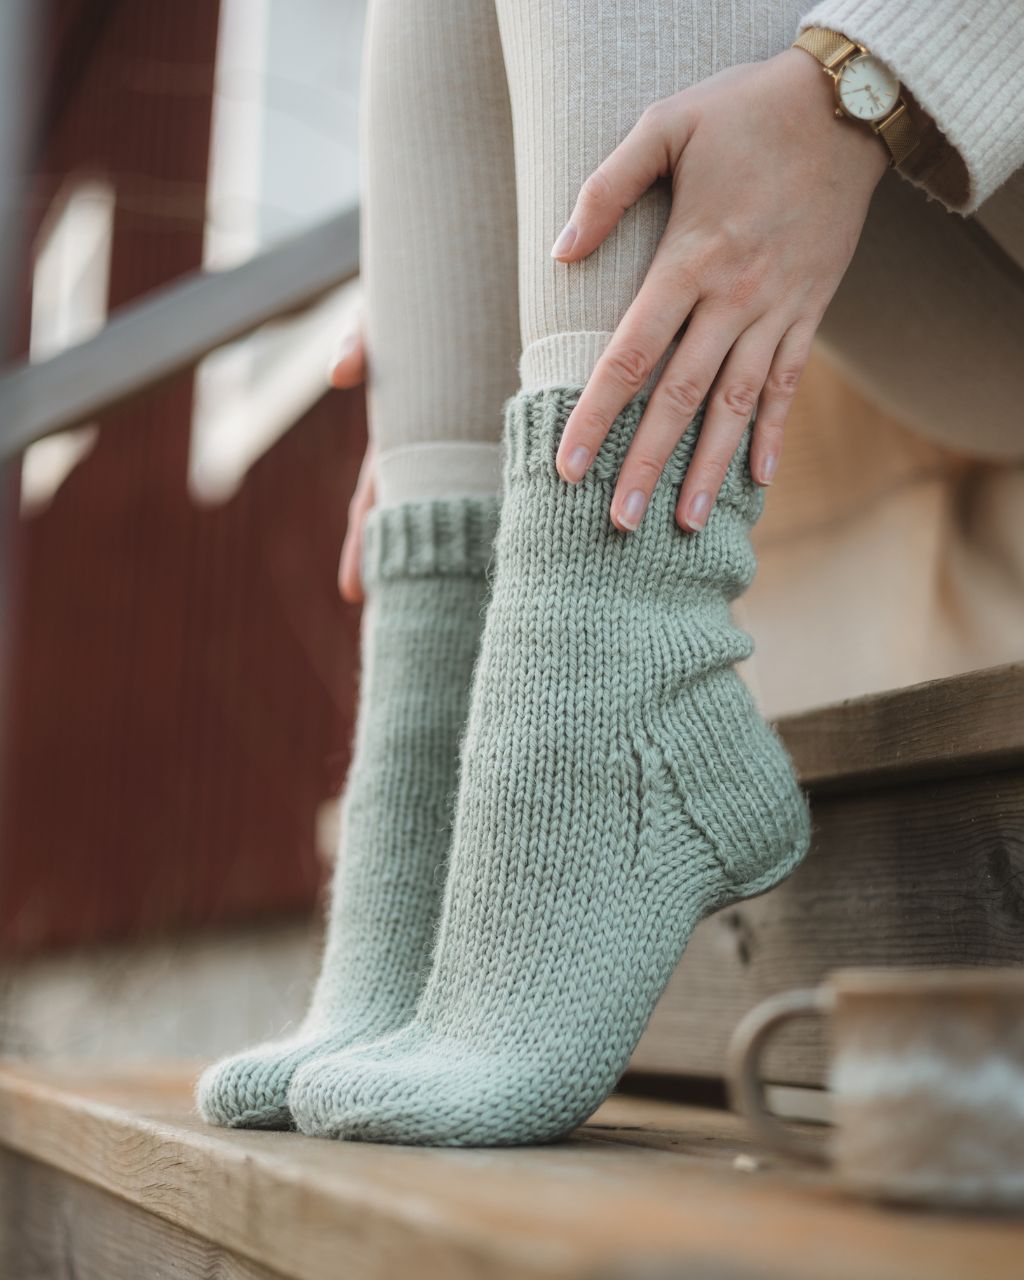
.jpg)
.jpg)
.jpg)


Here's how to do it
If you want to watch a video on how to crochet granny stripes, you can check out the Linnea Cardigan. We’ll be crocheting in almost the same way as Linnea, but instead of one back piece and two front pieces, we’ll now crochet two “back pieces.” So if you need video guidance, you can follow Linnea’s video for the back piece and simply crochet two of them to create both the front and back of the sweater. You can also follow the video for assembly and how to crochet the sleeves. / Lizette

This is what you need:
Here you can directly purchase the material for the product. Please note that the instruction is digital and appears here on the page (no written instruction).


.jpg)
Unleash your creativity
For only 85kr per month you get access to all our 300+ beginner-friendly instructions for crochet, knitting and macrame.
A perfect way to get started with your new hobby!

INFO
This is a made-to-measure description, which means you measure and try the garment on yourself as you crochet, and you adjust the fit yourself. You crochet the back piece first and then the front piece. After that, you assemble the pieces before crocheting the sleeves. Finally, you crochet an edging around the sweater’s neckline. Livia has only one back piece and one front piece, worked in exactly the same way.
The chain on row 1 of the back piece consists of a number of chains. To know how many chains you need, measure the distance between your shoulder joints on the front of your body. Then add about 4 inches (10 cm) on each side so that the cardigan or sweater can sit over your shoulders. If you want a larger garment, crochet more chains.
TIP: How to get the right size for your garment
1. Make a Gauge Swatch and Measure Your Gauge
Crochet a gauge swatch using the stitch pattern specified in the pattern and measure how many stitches fit within 10 cm (4 inches). Once you know your gauge, you can calculate how many stitches you need to achieve the desired width of your garment.
How to do it: Chain enough stitches to make a swatch approximately 12–15 cm (5–6 inches) wide, then crochet at least three rows. Measure a section that is 10 cm (4 inches) wide and count the number of stitches within that section.
Once you know the number of stitches per 10 cm (4 inches), divide that number by 10 to find the number of stitches per centimeter. Then multiply this number by the desired width of your garment in centimeters. The result tells you how many stitches you need to start with to achieve the desired width.
Note: Be sure to adjust the stitch count according to the pattern instructions. Some patterns, for example, require an even number of stitches or a stitch count that is a multiple of a specific number.
2. Keep Your Crochet Tension in Mind
The size and drape of a garment—especially one made with double crochet stitches or other taller stitches—are greatly affected by your crochet tension and hook size. If you tend to crochet tightly, consider using a larger hook. This will help you achieve the correct measurements and create a fabric with a softer, more fluid drape.
STITCH COUNT CALCULATION
The total number of stitches should be divisible by 3. Once you have chosen a stitch count that fits you and is divisible by 3, add 1 extra chain. For example, you could start with 42, 45, 48, 51, 54, 57, or 60 chains, and then add 1 extra chain. Keep in mind that everyone crochets with different tension, so you need to measure yourself regularly. A tip is to continuously measure after you have crocheted a few rows. This way you can ensure the size still seems correct. If you crochet tightly, you may need to go up a hook size.

You can also see the full lenth video "Linnea". The only difference is that Linnea has 2 front pieces and Livia has 2 back pieces.
BACK & FRONT - two identical pieces
Row 1: Begin by making a slip knot and then crochet a chain with the number of chains you need for your chosen size.
If you are unsure how to do this, see the video below.
Row 2: Now you will start working back along the chain using single crochet. Begin in the second chain from the hook, skipping the first chain closest to your hook. When you reach the end of the row, chain 3 and turn your work.
Row 3: Now you will work double crochet. Make the first double crochet in the fourth stitch from the hook (skipping the first three chains closest to the loop on your hook). *Skip 2 stitches and work 3 double crochets in the next stitch*. Repeat the sequence *…* until there are 3 stitches left in the row. Skip 2 stitches and work 2 double crochets in the last stitch. Chain 3 and turn your work.
Row 4: Work 3 double crochets in the first space and continue in the same way across the rest of the row. When you have worked 3 double crochets in the last space, there will be a small space between the last 2 double crochets from the previous row. Work 1 double crochet in that space. Chain 3 and turn your work.
Row 5: Work 1 double crochet in the small space between the 3 chains and the first double crochet from the previous row. Work 3 double crochets in each space until you reach the last space (the space between the last 3 double crochets and the 3 chains from the previous row), and work 2 double crochets in the last space. Chain 3 and turn your work.
If you start the row with 2 double crochets (that is, 3 chains and 1 double crochet), you should finish the row with 2 double crochets in the last stitch. Repeat rows 4 and 5 until the back piece reaches your desired length.
Note: On the final row, end with 1 chain instead of 3. Finish the piece by working 1 row of single crochet in each stitch. Cut the yarn and weave in the ends. Check that you are satisfied with the width of the back piece
Row 6: Finish the piece by working 1 row of single crochet in each stitch. Cut the yarn and weave in the ends. If you are unsure how to weave in the ends, see the video below (Fasten Off). Check that you are happy with the width of the back piece.
Crochet a second piece of the same size using the same number of starting chains as the piece you just completed. Test by holding the pieces together on yourself to make sure you are satisfied.
ASSEMBLY
If you want visible seams with the seams facing outward: place the front piece(s) on top of the back piece with wrong sides together. If you prefer hidden seams with the seams facing inward: place the front piece(s) on top of the back piece with right sides together.
Start joining the front and back pieces at the top: crochet slip stitches into the back loop of the front piece and into the front loop of the back piece. Begin with one shoulder seam and work from the outer edge to join one front piece to the back piece. Continue by crocheting single crochet stitches along the back neckline until you reach the second front piece. Join it in the same way. Once you are satisfied, secure the yarn as you did previously. Repeat on the other side, and check that the openings are the same size and that you are happy with the fit before continuing.
Now you will crochet the sides together, joining the back piece and the front piece(s). Note: don’t forget to leave openings for the sleeves.
Start at the bottom of the cardigan/sweater and join the back piece to the front piece(s) in the same way you did previously. Do the same on both sides. Make sure the sleeve openings are the same size on each side. Check that you are happy with the sleeve holes, then secure the yarn ends.
SLEEVES
Round 1: Begin with 1 slip stitch in a stitch (between two dc groups) at the armhole. Chain 3, then work 2 dc in the same stitch. Work 3 dc in each large stitch until you reach the starting point. There are several stitches along the sleeve—make sure to go into the largest stitches; if you work into every stitch, the sleeve will be too big. Back at the start, join with 1 slip stitch in the 3rd chain you made at the beginning.
Round 2: Move to the next stitch between the dc groups. Slip stitch until you reach the next stitch. Chain 3 and work 2 dc in the same stitch. Then work 3 dc in all stitches. Finish the round the same way as the previous round.
Repeat round 2 until the sleeve reaches your desired length. Work 1 final round of sc in each stitch. Fasten off and weave in the ends. Repeat the same for the other sleeve.
FINAL ROUND OF THE SWEATER
It looks nice to finish the sweater by working a final round along the bottom edge and around the neckline. Work single crochet along the bottom edge of the sweater, then fasten off the yarn.
Also work one round of single crochet around the neckline. In the two stitches at the corners of the neckline, work 2 single crochet in the same stitch for each corner. This gives a more balanced, harmonious look. See the image below for how it looks when two stitches are worked in the corner stitches on each side.
.jpg)
You are done!

Pattern in crochet terms
We are going to crochet a lovely sweater in our MYO Basic yarn! This is the version with crochet terms. You can always switch back to the easier version if you need help along the way. You can also see the full lenth video "Linnea". The only difference is that Linnea has 2 front pieces and Livia has 2 back pieces.
Abbreviations
MR = magic ring
ch = chain
sl st = slip stitch
sc = single crochet
dc = double crochet
dc increase = two double crochets in the same stitch
dc group = double crochet group, i.e., 3 double crochets in the same stitch
fp = front post
bp = back post
(...) = total stitches for the row/round
*...* = repeat everything between asterisks the number of times indicated
[...] = everything inside the brackets is worked into the same stitch
INFO
This is a made-to-measure description, which means you measure and try the garment on yourself as you crochet, and you adjust the fit yourself. You crochet the back piece first and then the front piece. After that, you assemble the pieces before crocheting the sleeves. Finally, you crochet an edging around the sweater’s neckline. Livia has only one back piece and one front piece, worked in exactly the same way.
The chain on row 1 of the back piece consists of a number of chains. To know how many chains you need, measure the distance between your shoulder joints on the front of your body. Then add about 4 inches (10 cm) on each side so that the cardigan or sweater can sit over your shoulders. If you want a larger garment, crochet more chains.
TIP: How to get the right size for your garment
1. Make a Gauge Swatch and Measure Your Gauge
Crochet a gauge swatch using the stitch pattern specified in the pattern and measure how many stitches fit within 10 cm (4 inches). Once you know your gauge, you can calculate how many stitches you need to achieve the desired width of your garment.
How to do it: Chain enough stitches to make a swatch approximately 12–15 cm (5–6 inches) wide, then crochet at least three rows. Measure a section that is 10 cm (4 inches) wide and count the number of stitches within that section.
Once you know the number of stitches per 10 cm (4 inches), divide that number by 10 to find the number of stitches per centimeter. Then multiply this number by the desired width of your garment in centimeters. The result tells you how many stitches you need to start with to achieve the desired width.
Note: Be sure to adjust the stitch count according to the pattern instructions. Some patterns, for example, require an even number of stitches or a stitch count that is a multiple of a specific number.
2. Keep Your Crochet Tension in Mind
The size and drape of a garment—especially one made with double crochet stitches or other taller stitches—are greatly affected by your crochet tension and hook size. If you tend to crochet tightly, consider using a larger hook. This will help you achieve the correct measurements and create a fabric with a softer, more fluid drape.
Chain for Row 1 of the Back Piece:
The chain consists of a number of chains based on the width between your shoulder joints on the front of your body. Add about 4 inches (10 cm) on each side so the cardigan or sweater sits nicely over your shoulders. For a larger garment, chain more stitches.
Calculating Total Stitches:
- The total stitch count should be divisible by 3.
- Once you choose a stitch count that fits and is divisible by 3, add 1 extra chain.
- For example, you could start with 42, 45, 48, 51, 54, 57, or 60 chains, then add 1 extra chain.
Sequence for This Project:
- Crochet the back piece of the cardigan.
- Crochet the front pieces.
- Join the front pieces to the back piece.
- Crochet the sleeves.
- Finish with an edging around the cardigan.
Back and Front Piece
Row 1: Ch 61, turn. (61)
Row 2: Work in 2nd ch from hook: sc 60, turn. (60)
Row 3: Ch 3 (counts as first dc), dc in 4th ch from hook, skip 2 sts, 3 dc in next st; repeat ... until 3 sts remain, skip 2 sts, 2 dc in last st, turn. (60)
Row 4: Ch 3 (counts as first dc), 3 dc in the gap between each dc group from previous row; repeat ... to the small gap between the last 2 dc from previous row, 1 dc in this gap, turn. (60)
Row 5: Ch 3 (counts as first dc), dc in the gap between the last dc and dc group from previous row, 3 dc in each dc group from previous row; repeat ... until 1 st remains, 2 dc in last gap. (60)
Repeat rows 4–5 until the back reaches desired length. End with ch 1, then work 1 row of sc in each stitch. Cut yarn and weave in ends. Check width.
Make one piece the same way so that you have two identical pieces.
Assembly
Visible seams: place front pieces on back, wrong sides together.
Hidden seams: place right sides together.
Join at top with slip stitches: into back post of front piece and front post of back piece. Start at one shoulder and join a front piece to back. Continue across neck edge to second front piece. Repeat on the other side.
Now join sides, leaving openings for sleeves. Start at the bottom and work upwards, same as before. Make sure sleeve openings are equal on both sides. Weave in ends.
Sleeves
Round 1: Attach yarn with sl st in a gap between dc groups of the armhole. Ch 3 (counts as first dc), 2 dc in the same gap, 3 dc in next large gap. Continue 3 dc in each large gap around. Finish round with sl st in 3rd ch of beginning chain.
Round 2: sl st to next gap, ch 3, 2 dc in same gap, 3 dc in each gap across. Finish round with sl st in 3rd ch of beginning chain.
Repeat Round 2 until desired sleeve length.
Final round: sc in each stitch, cut yarn, weave in ends. Repeat for second sleeve.
Finishing Round
Work 1 round of sc in each stitch around the bottom edge and front opening of the cardigan. Cut yarn and weave in all ends.
Congratulations! Your sweater is complete.
%20(1).jpg)
You are done :)
The rights to this pattern belong to MYO Make Your Own. The pattern or its pictures may not be copied, shared or resold either in parts or in its entirety, but you may sell items you have crocheted from this pattern. If you have questions about the pattern, contact MYO at hello@makeyourown.se.
INFO
This is a made-to-measure description, which means you measure and try the garment on yourself as you crochet, and you adjust the fit yourself. You crochet the back piece first and then the front piece. After that, you assemble the pieces before crocheting the sleeves. Finally, you crochet an edging around the sweater’s neckline. Livia has only one back piece and one front piece, worked in exactly the same way.
The chain on row 1 of the back piece consists of a number of chains. To know how many chains you need, measure the distance between your shoulder joints on the front of your body. Then add about 4 inches (10 cm) on each side so that the cardigan or sweater can sit over your shoulders. If you want a larger garment, crochet more chains.
TIP: How to get the right size for your garment
1. Make a Gauge Swatch and Measure Your Gauge
Crochet a gauge swatch using the stitch pattern specified in the pattern and measure how many stitches fit within 10 cm (4 inches). Once you know your gauge, you can calculate how many stitches you need to achieve the desired width of your garment.
How to do it: Chain enough stitches to make a swatch approximately 12–15 cm (5–6 inches) wide, then crochet at least three rows. Measure a section that is 10 cm (4 inches) wide and count the number of stitches within that section.
Once you know the number of stitches per 10 cm (4 inches), divide that number by 10 to find the number of stitches per centimeter. Then multiply this number by the desired width of your garment in centimeters. The result tells you how many stitches you need to start with to achieve the desired width.
Note: Be sure to adjust the stitch count according to the pattern instructions. Some patterns, for example, require an even number of stitches or a stitch count that is a multiple of a specific number.
2. Keep Your Crochet Tension in Mind
The size and drape of a garment—especially one made with double crochet stitches or other taller stitches—are greatly affected by your crochet tension and hook size. If you tend to crochet tightly, consider using a larger hook. This will help you achieve the correct measurements and create a fabric with a softer, more fluid drape.
STITCH COUNT CALCULATION
The total number of stitches should be divisible by 3. Once you have chosen a stitch count that fits you and is divisible by 3, add 1 extra chain. For example, you could start with 42, 45, 48, 51, 54, 57, or 60 chains, and then add 1 extra chain. Keep in mind that everyone crochets with different tension, so you need to measure yourself regularly. A tip is to continuously measure after you have crocheted a few rows. This way you can ensure the size still seems correct. If you crochet tightly, you may need to go up a hook size.
You can also see the full lenth video "Linnea". The only difference is that Linnea has 2 front pieces and Livia has 2 back pieces.
BACK & FRONT - two identical pieces
Row 1: Begin by making a slip knot and then crochet a chain with the number of chains you need for your chosen size.
If you are unsure how to do this, see the video below.
Row 2: Now you will start working back along the chain using single crochet. Begin in the second chain from the hook, skipping the first chain closest to your hook. When you reach the end of the row, chain 3 and turn your work.
Row 3: Now you will work double crochet. Make the first double crochet in the fourth stitch from the hook (skipping the first three chains closest to the loop on your hook). *Skip 2 stitches and work 3 double crochets in the next stitch*. Repeat the sequence *…* until there are 3 stitches left in the row. Skip 2 stitches and work 2 double crochets in the last stitch. Chain 3 and turn your work.
Row 4: Work 3 double crochets in the first space and continue in the same way across the rest of the row. When you have worked 3 double crochets in the last space, there will be a small space between the last 2 double crochets from the previous row. Work 1 double crochet in that space. Chain 3 and turn your work.
Row 5: Work 1 double crochet in the small space between the 3 chains and the first double crochet from the previous row. Work 3 double crochets in each space until you reach the last space (the space between the last 3 double crochets and the 3 chains from the previous row), and work 2 double crochets in the last space. Chain 3 and turn your work.
If you start the row with 2 double crochets (that is, 3 chains and 1 double crochet), you should finish the row with 2 double crochets in the last stitch. Repeat rows 4 and 5 until the back piece reaches your desired length.
Note: On the final row, end with 1 chain instead of 3. Finish the piece by working 1 row of single crochet in each stitch. Cut the yarn and weave in the ends. Check that you are satisfied with the width of the back piece
Row 6: Finish the piece by working 1 row of single crochet in each stitch. Cut the yarn and weave in the ends. If you are unsure how to weave in the ends, see the video below (Fasten Off). Check that you are happy with the width of the back piece.
Crochet a second piece of the same size using the same number of starting chains as the piece you just completed. Test by holding the pieces together on yourself to make sure you are satisfied.
ASSEMBLY
If you want visible seams with the seams facing outward: place the front piece(s) on top of the back piece with wrong sides together. If you prefer hidden seams with the seams facing inward: place the front piece(s) on top of the back piece with right sides together.
Start joining the front and back pieces at the top: crochet slip stitches into the back loop of the front piece and into the front loop of the back piece. Begin with one shoulder seam and work from the outer edge to join one front piece to the back piece. Continue by crocheting single crochet stitches along the back neckline until you reach the second front piece. Join it in the same way. Once you are satisfied, secure the yarn as you did previously. Repeat on the other side, and check that the openings are the same size and that you are happy with the fit before continuing.
Now you will crochet the sides together, joining the back piece and the front piece(s). Note: don’t forget to leave openings for the sleeves.
Start at the bottom of the cardigan/sweater and join the back piece to the front piece(s) in the same way you did previously. Do the same on both sides. Make sure the sleeve openings are the same size on each side. Check that you are happy with the sleeve holes, then secure the yarn ends.
SLEEVES
Round 1: Begin with 1 slip stitch in a stitch (between two dc groups) at the armhole. Chain 3, then work 2 dc in the same stitch. Work 3 dc in each large stitch until you reach the starting point. There are several stitches along the sleeve—make sure to go into the largest stitches; if you work into every stitch, the sleeve will be too big. Back at the start, join with 1 slip stitch in the 3rd chain you made at the beginning.
Round 2: Move to the next stitch between the dc groups. Slip stitch until you reach the next stitch. Chain 3 and work 2 dc in the same stitch. Then work 3 dc in all stitches. Finish the round the same way as the previous round.
Repeat round 2 until the sleeve reaches your desired length. Work 1 final round of sc in each stitch. Fasten off and weave in the ends. Repeat the same for the other sleeve.
FINAL ROUND OF THE SWEATER
It looks nice to finish the sweater by working a final round along the bottom edge and around the neckline. Work single crochet along the bottom edge of the sweater, then fasten off the yarn.
Also work one round of single crochet around the neckline. In the two stitches at the corners of the neckline, work 2 single crochet in the same stitch for each corner. This gives a more balanced, harmonious look. See the image below for how it looks when two stitches are worked in the corner stitches on each side.
You are done!
Pattern in crochet terms
We are going to crochet a lovely sweater in our MYO Basic yarn! This is the version with crochet terms. You can always switch back to the easier version if you need help along the way. You can also see the full lenth video "Linnea". The only difference is that Linnea has 2 front pieces and Livia has 2 back pieces.
Abbreviations
MR = magic ring
ch = chain
sl st = slip stitch
sc = single crochet
dc = double crochet
dc increase = two double crochets in the same stitch
dc group = double crochet group, i.e., 3 double crochets in the same stitch
fp = front post
bp = back post
(...) = total stitches for the row/round
*...* = repeat everything between asterisks the number of times indicated
[...] = everything inside the brackets is worked into the same stitch
INFO
This is a made-to-measure description, which means you measure and try the garment on yourself as you crochet, and you adjust the fit yourself. You crochet the back piece first and then the front piece. After that, you assemble the pieces before crocheting the sleeves. Finally, you crochet an edging around the sweater’s neckline. Livia has only one back piece and one front piece, worked in exactly the same way.
The chain on row 1 of the back piece consists of a number of chains. To know how many chains you need, measure the distance between your shoulder joints on the front of your body. Then add about 4 inches (10 cm) on each side so that the cardigan or sweater can sit over your shoulders. If you want a larger garment, crochet more chains.
TIP: How to get the right size for your garment
1. Make a Gauge Swatch and Measure Your Gauge
Crochet a gauge swatch using the stitch pattern specified in the pattern and measure how many stitches fit within 10 cm (4 inches). Once you know your gauge, you can calculate how many stitches you need to achieve the desired width of your garment.
How to do it: Chain enough stitches to make a swatch approximately 12–15 cm (5–6 inches) wide, then crochet at least three rows. Measure a section that is 10 cm (4 inches) wide and count the number of stitches within that section.
Once you know the number of stitches per 10 cm (4 inches), divide that number by 10 to find the number of stitches per centimeter. Then multiply this number by the desired width of your garment in centimeters. The result tells you how many stitches you need to start with to achieve the desired width.
Note: Be sure to adjust the stitch count according to the pattern instructions. Some patterns, for example, require an even number of stitches or a stitch count that is a multiple of a specific number.
2. Keep Your Crochet Tension in Mind
The size and drape of a garment—especially one made with double crochet stitches or other taller stitches—are greatly affected by your crochet tension and hook size. If you tend to crochet tightly, consider using a larger hook. This will help you achieve the correct measurements and create a fabric with a softer, more fluid drape.
Chain for Row 1 of the Back Piece:
The chain consists of a number of chains based on the width between your shoulder joints on the front of your body. Add about 4 inches (10 cm) on each side so the cardigan or sweater sits nicely over your shoulders. For a larger garment, chain more stitches.
Calculating Total Stitches:
- The total stitch count should be divisible by 3.
- Once you choose a stitch count that fits and is divisible by 3, add 1 extra chain.
- For example, you could start with 42, 45, 48, 51, 54, 57, or 60 chains, then add 1 extra chain.
Sequence for This Project:
- Crochet the back piece of the cardigan.
- Crochet the front pieces.
- Join the front pieces to the back piece.
- Crochet the sleeves.
- Finish with an edging around the cardigan.
Back and Front Piece
Row 1: Ch 61, turn. (61)
Row 2: Work in 2nd ch from hook: sc 60, turn. (60)
Row 3: Ch 3 (counts as first dc), dc in 4th ch from hook, skip 2 sts, 3 dc in next st; repeat ... until 3 sts remain, skip 2 sts, 2 dc in last st, turn. (60)
Row 4: Ch 3 (counts as first dc), 3 dc in the gap between each dc group from previous row; repeat ... to the small gap between the last 2 dc from previous row, 1 dc in this gap, turn. (60)
Row 5: Ch 3 (counts as first dc), dc in the gap between the last dc and dc group from previous row, 3 dc in each dc group from previous row; repeat ... until 1 st remains, 2 dc in last gap. (60)
Repeat rows 4–5 until the back reaches desired length. End with ch 1, then work 1 row of sc in each stitch. Cut yarn and weave in ends. Check width.
Make one piece the same way so that you have two identical pieces.
Assembly
Visible seams: place front pieces on back, wrong sides together.
Hidden seams: place right sides together.
Join at top with slip stitches: into back post of front piece and front post of back piece. Start at one shoulder and join a front piece to back. Continue across neck edge to second front piece. Repeat on the other side.
Now join sides, leaving openings for sleeves. Start at the bottom and work upwards, same as before. Make sure sleeve openings are equal on both sides. Weave in ends.
Sleeves
Round 1: Attach yarn with sl st in a gap between dc groups of the armhole. Ch 3 (counts as first dc), 2 dc in the same gap, 3 dc in next large gap. Continue 3 dc in each large gap around. Finish round with sl st in 3rd ch of beginning chain.
Round 2: sl st to next gap, ch 3, 2 dc in same gap, 3 dc in each gap across. Finish round with sl st in 3rd ch of beginning chain.
Repeat Round 2 until desired sleeve length.
Final round: sc in each stitch, cut yarn, weave in ends. Repeat for second sleeve.
Finishing Round
Work 1 round of sc in each stitch around the bottom edge and front opening of the cardigan. Cut yarn and weave in all ends.
Congratulations! Your sweater is complete.
You are done :)
The rights to this pattern belong to MYO Make Your Own. The pattern or its pictures may not be copied, shared or resold either in parts or in its entirety, but you may sell items you have crocheted from this pattern. If you have questions about the pattern, contact MYO at hello@makeyourown.se.
%20(5).jpg)
Share your creations with us
Thank you!
Your comment was sent!