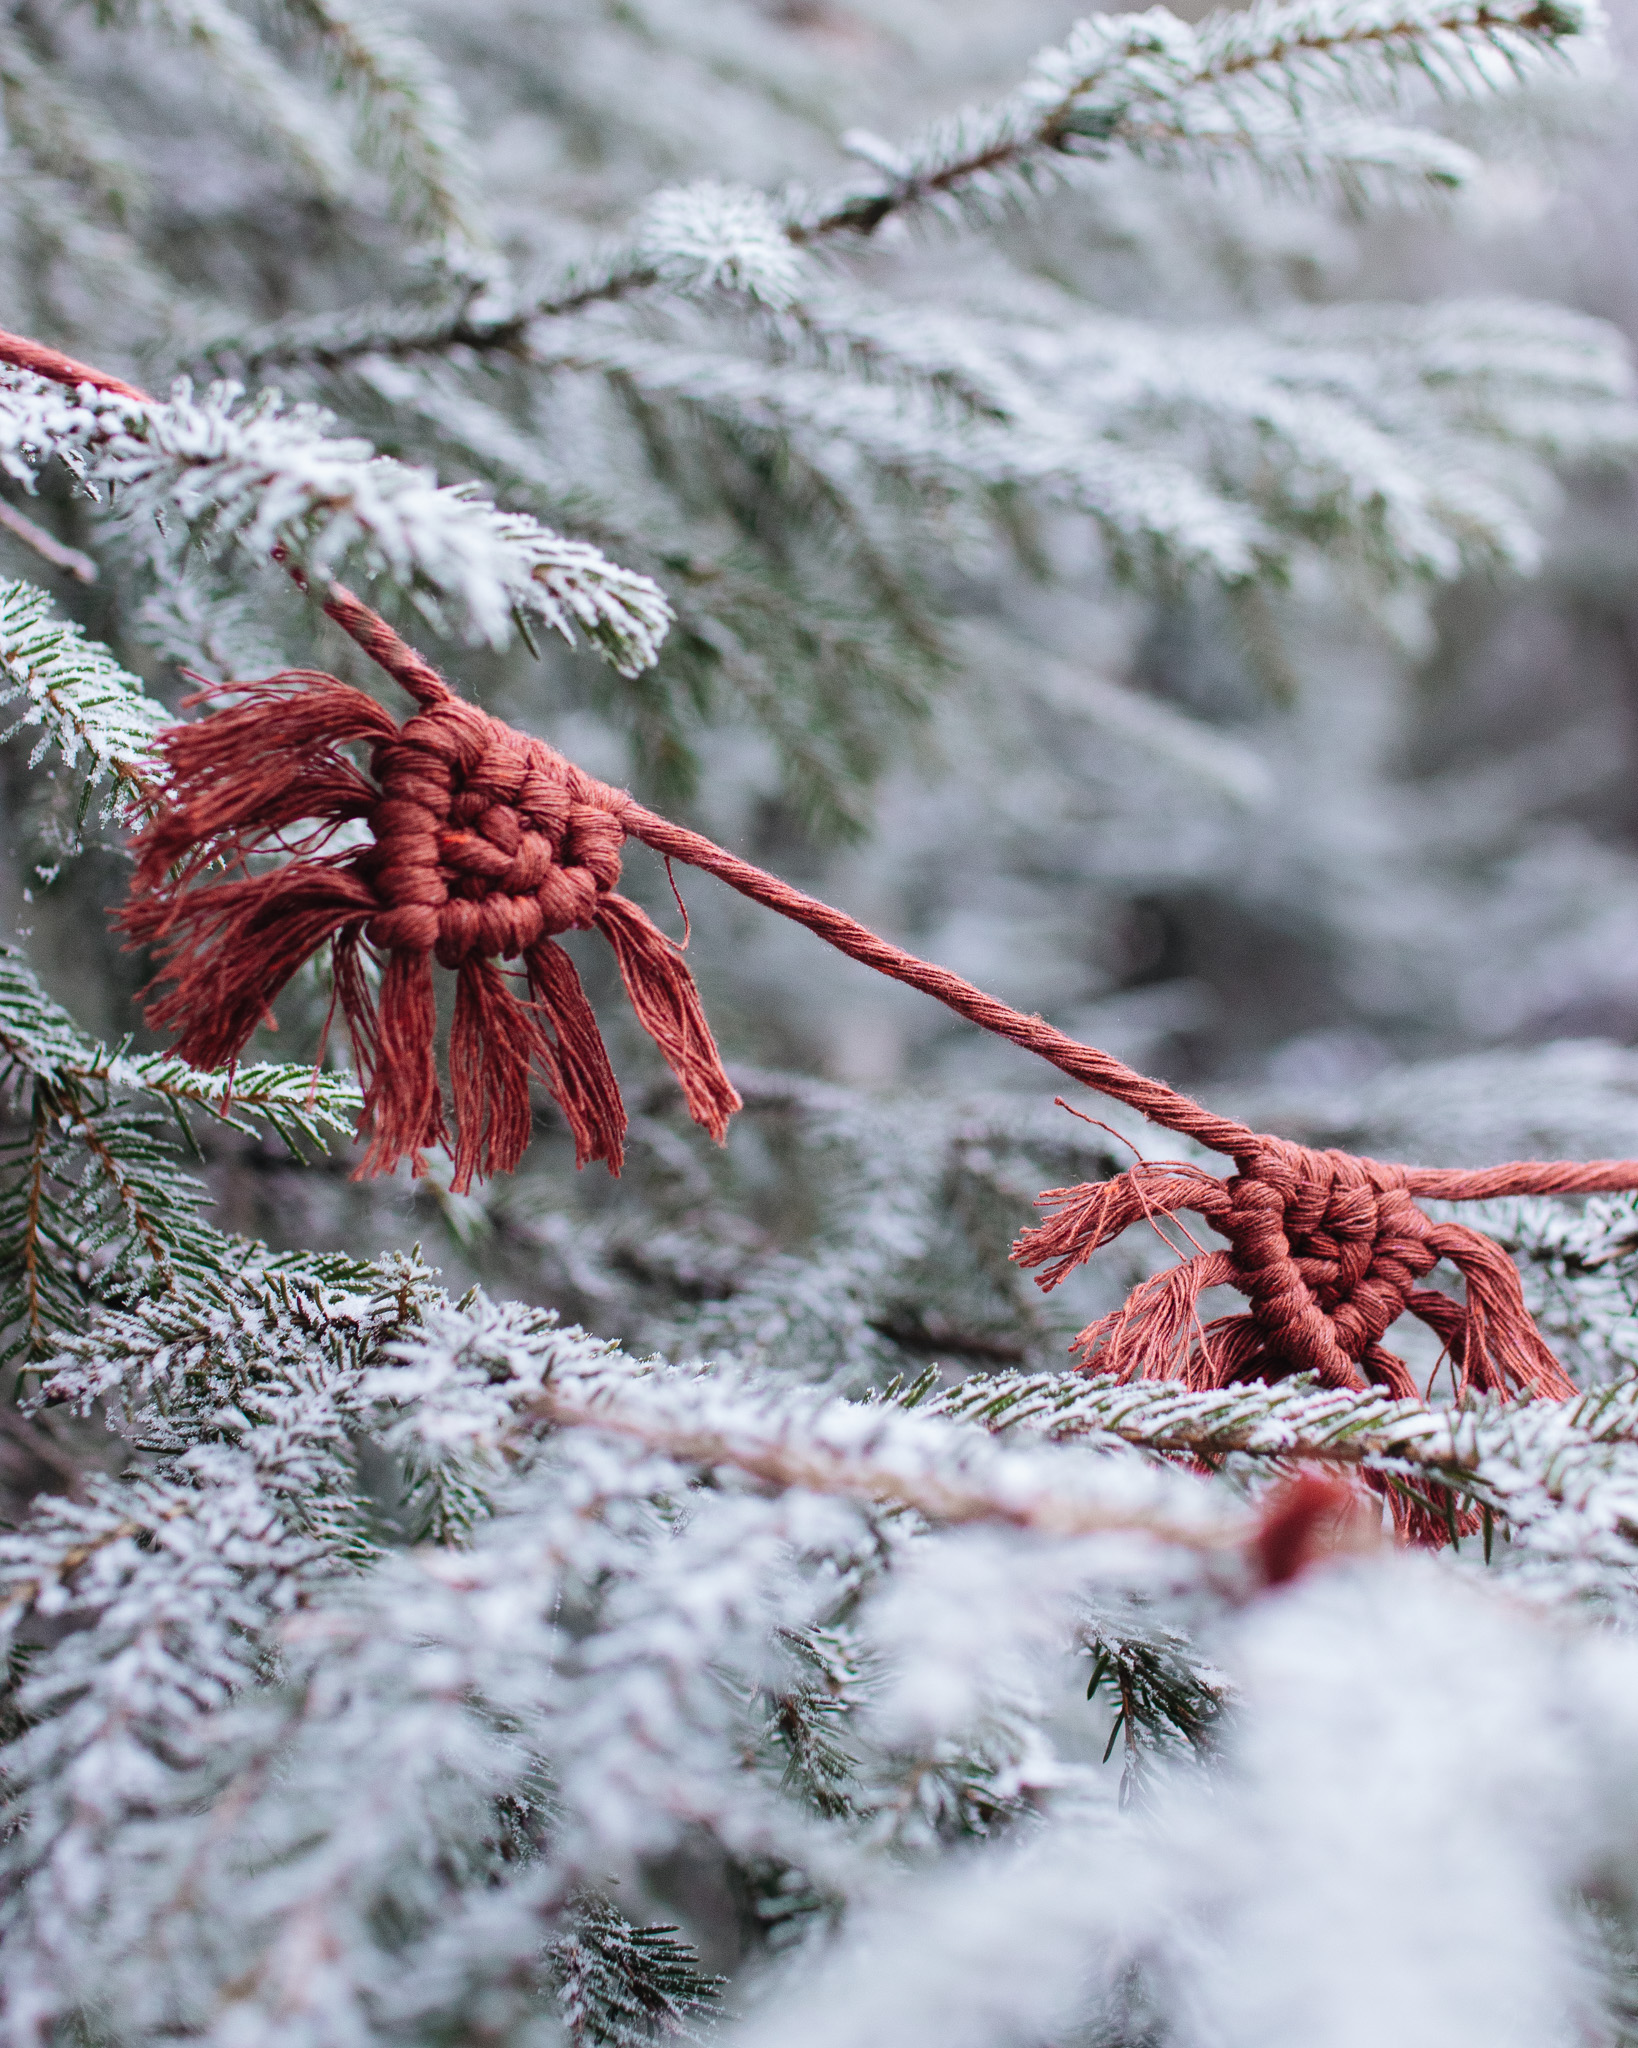
Crochet star “Estelle”
Decorate the Christmas tree with small, cute stars.
These little stars are super easy to make and perfect for using up leftover yarn at home. They’re adorable to hang on the Christmas tree or to use as a garland. You can make them with both MYO Basic Wool and EKO Nano.
Yarn consumption: Approximately 9 g per star with EKO Nano and about 4 g per star with Basic Wool. The amount of yarn needed depends on how tightly you crochet.
Note that we in this instruction uses videos from out technique library. If you are looking for a full instruction video for a crocheted b, we suggest the star in the "Luna" pattern.

This is what you need:
Here you can directly purchase the material for the product. Please note that the instruction is digital and appears here on the page (no written instruction).


Here's how to do it
Dig out your leftover yarn at home and crochet small stars with it. These turn out so lovely for Christmas—you can decorate the tree with them or string them together into a garland. A tip is to block your star to help it keep its shape better. If you'd like a video tutorial for the star, check out the pattern "Luna" and follow part of the star shown there. /Lizette

Round 1: Start by crocheting 7 single crochets into a magic ring. If you're unsure how to make a magic ring or single crochets, check out the video below (Magic Ring Single Crochet).

Round 2: After crocheting 7 single crochets in your magic ring, crochet two single crochets into each stitch, giving you a total of 14 stitches. Then, crochet one extra single crochet in the last stitch, so you have a total of 15 stitches in the round. Double-check that you have exactly 15 stitches, as this is important for the next step.

Round 3: Now we’ll start creating the points of the star. Crochet one single crochet in the next stitch. Then make 3 chain stitches. Skip the first chain stitch and crochet into the next two. First, make one single crochet in the second chain, then a half double crochet in the next. Skip one stitch on the circle and slip stitch into the next stitch.
Repeat this process 4 more times:
- Crochet one single crochet.
- Make 3 chain stitches.
- Start in the 2nd chain and crochet one single crochet, then one half double crochet.
- Skip one stitch on the circle and slip stitch into the next.
If you’re unsure how to crochet chain stitches (Chain Stitches), half double crochets (Half Double Crochet), or slip stitches (Slip Stitch), check out the videos below.


Finish by pulling the yarn end to the back and fastening it securely. If you’re unsure how to fasten off, check out the video below (Fasten Off). Then gently pull on the points to shape the star nicely.
You're done! 😊

BLOCKING
There are many ways to block, but here we’ll explain a simple method. You’ll need pins and a surface to secure them against. While there’s special blocking equipment you can purchase, you often have something at home that works just as well. We suggest using a yoga mat, but a firm sofa cushion can also work.
- Soak the star in water. Let it sit for a while to ensure the fibers are fully saturated.
- Squeeze out as much water as possible. You can roll the star in a towel and press firmly to remove excess moisture. Avoid twisting the star.
- Stretch and shape the star into the desired form.
- Pin it down in the desired shape. Place pins in the points to make them sharp and defined.
- Allow it to dry completely before removing the pins.
- Done!
Abbreviations:
m = stitch
sc = single crochet
ch = chain
sl st = slip stitch
hdc = half double crochet
inc = increase (2 stitches in the same stitch)
Now let's crochet a star. If you need help along the way, refer to our easy version of this pattern. There are no pictures in this version, so we refer to the full video tutorial.
Star
Round 1: Crochet 7 sc in a MR (7)
Round 2: Inc x6, crochet 3 sc in the last stitch (15)
The total number of stitches must be divisible by five.
Round 3: 1 sc, 3 ch. Start in the 2nd chain from the hook and crochet 1 sc, 1 hdc. Skip 1 stitch on the ring and crochet 1 sl st. Repeat 4 more times so you have 5 points.
Cut and fasten off the yarn for the first piece.
Crochet a second piece.
When you have two pieces, join them together. Place them with the right side facing out (wrong sides together). Crochet a sl st into each stitch. In places where there are two loops, only work into the one closest to you. At the top of each point, crochet 1 sl st, 1 ch, and 1 sl st all into the same stitch.
When you're finished, fasten off the yarn.
Your star is complete.
Round 1: Start by crocheting 7 single crochets into a magic ring. If you're unsure how to make a magic ring or single crochets, check out the video below (Magic Ring Single Crochet).

Round 2: After crocheting 7 single crochets in your magic ring, crochet two single crochets into each stitch, giving you a total of 14 stitches. Then, crochet one extra single crochet in the last stitch, so you have a total of 15 stitches in the round. Double-check that you have exactly 15 stitches, as this is important for the next step.

Round 3: Now we’ll start creating the points of the star. Crochet one single crochet in the next stitch. Then make 3 chain stitches. Skip the first chain stitch and crochet into the next two. First, make one single crochet in the second chain, then a half double crochet in the next. Skip one stitch on the circle and slip stitch into the next stitch.
Repeat this process 4 more times:
- Crochet one single crochet.
- Make 3 chain stitches.
- Start in the 2nd chain and crochet one single crochet, then one half double crochet.
- Skip one stitch on the circle and slip stitch into the next.
If you’re unsure how to crochet chain stitches (Chain Stitches), half double crochets (Half Double Crochet), or slip stitches (Slip Stitch), check out the videos below.


Finish by pulling the yarn end to the back and fastening it securely. If you’re unsure how to fasten off, check out the video below (Fasten Off). Then gently pull on the points to shape the star nicely.
You're done! 😊

BLOCKING
There are many ways to block, but here we’ll explain a simple method. You’ll need pins and a surface to secure them against. While there’s special blocking equipment you can purchase, you often have something at home that works just as well. We suggest using a yoga mat, but a firm sofa cushion can also work.
- Soak the star in water. Let it sit for a while to ensure the fibers are fully saturated.
- Squeeze out as much water as possible. You can roll the star in a towel and press firmly to remove excess moisture. Avoid twisting the star.
- Stretch and shape the star into the desired form.
- Pin it down in the desired shape. Place pins in the points to make them sharp and defined.
- Allow it to dry completely before removing the pins.
- Done!
Abbreviations:
m = stitch
sc = single crochet
ch = chain
sl st = slip stitch
hdc = half double crochet
inc = increase (2 stitches in the same stitch)
Now let's crochet a star. If you need help along the way, refer to our easy version of this pattern. There are no pictures in this version, so we refer to the full video tutorial.
Star
Round 1: Crochet 7 sc in a MR (7)
Round 2: Inc x6, crochet 3 sc in the last stitch (15)
The total number of stitches must be divisible by five.
Round 3: 1 sc, 3 ch. Start in the 2nd chain from the hook and crochet 1 sc, 1 hdc. Skip 1 stitch on the ring and crochet 1 sl st. Repeat 4 more times so you have 5 points.
Cut and fasten off the yarn for the first piece.
Crochet a second piece.
When you have two pieces, join them together. Place them with the right side facing out (wrong sides together). Crochet a sl st into each stitch. In places where there are two loops, only work into the one closest to you. At the top of each point, crochet 1 sl st, 1 ch, and 1 sl st all into the same stitch.
When you're finished, fasten off the yarn.
Your star is complete.
The rights to this pattern belong to MYO Make Your Own. The pattern or its pictures may not be copied, shared or resold either in parts or in its entirety, but you may sell items you have crocheted from this pattern. If you have questions about the pattern, contact MYO at hello@makeyourown.se.


%20(1).jpg)


