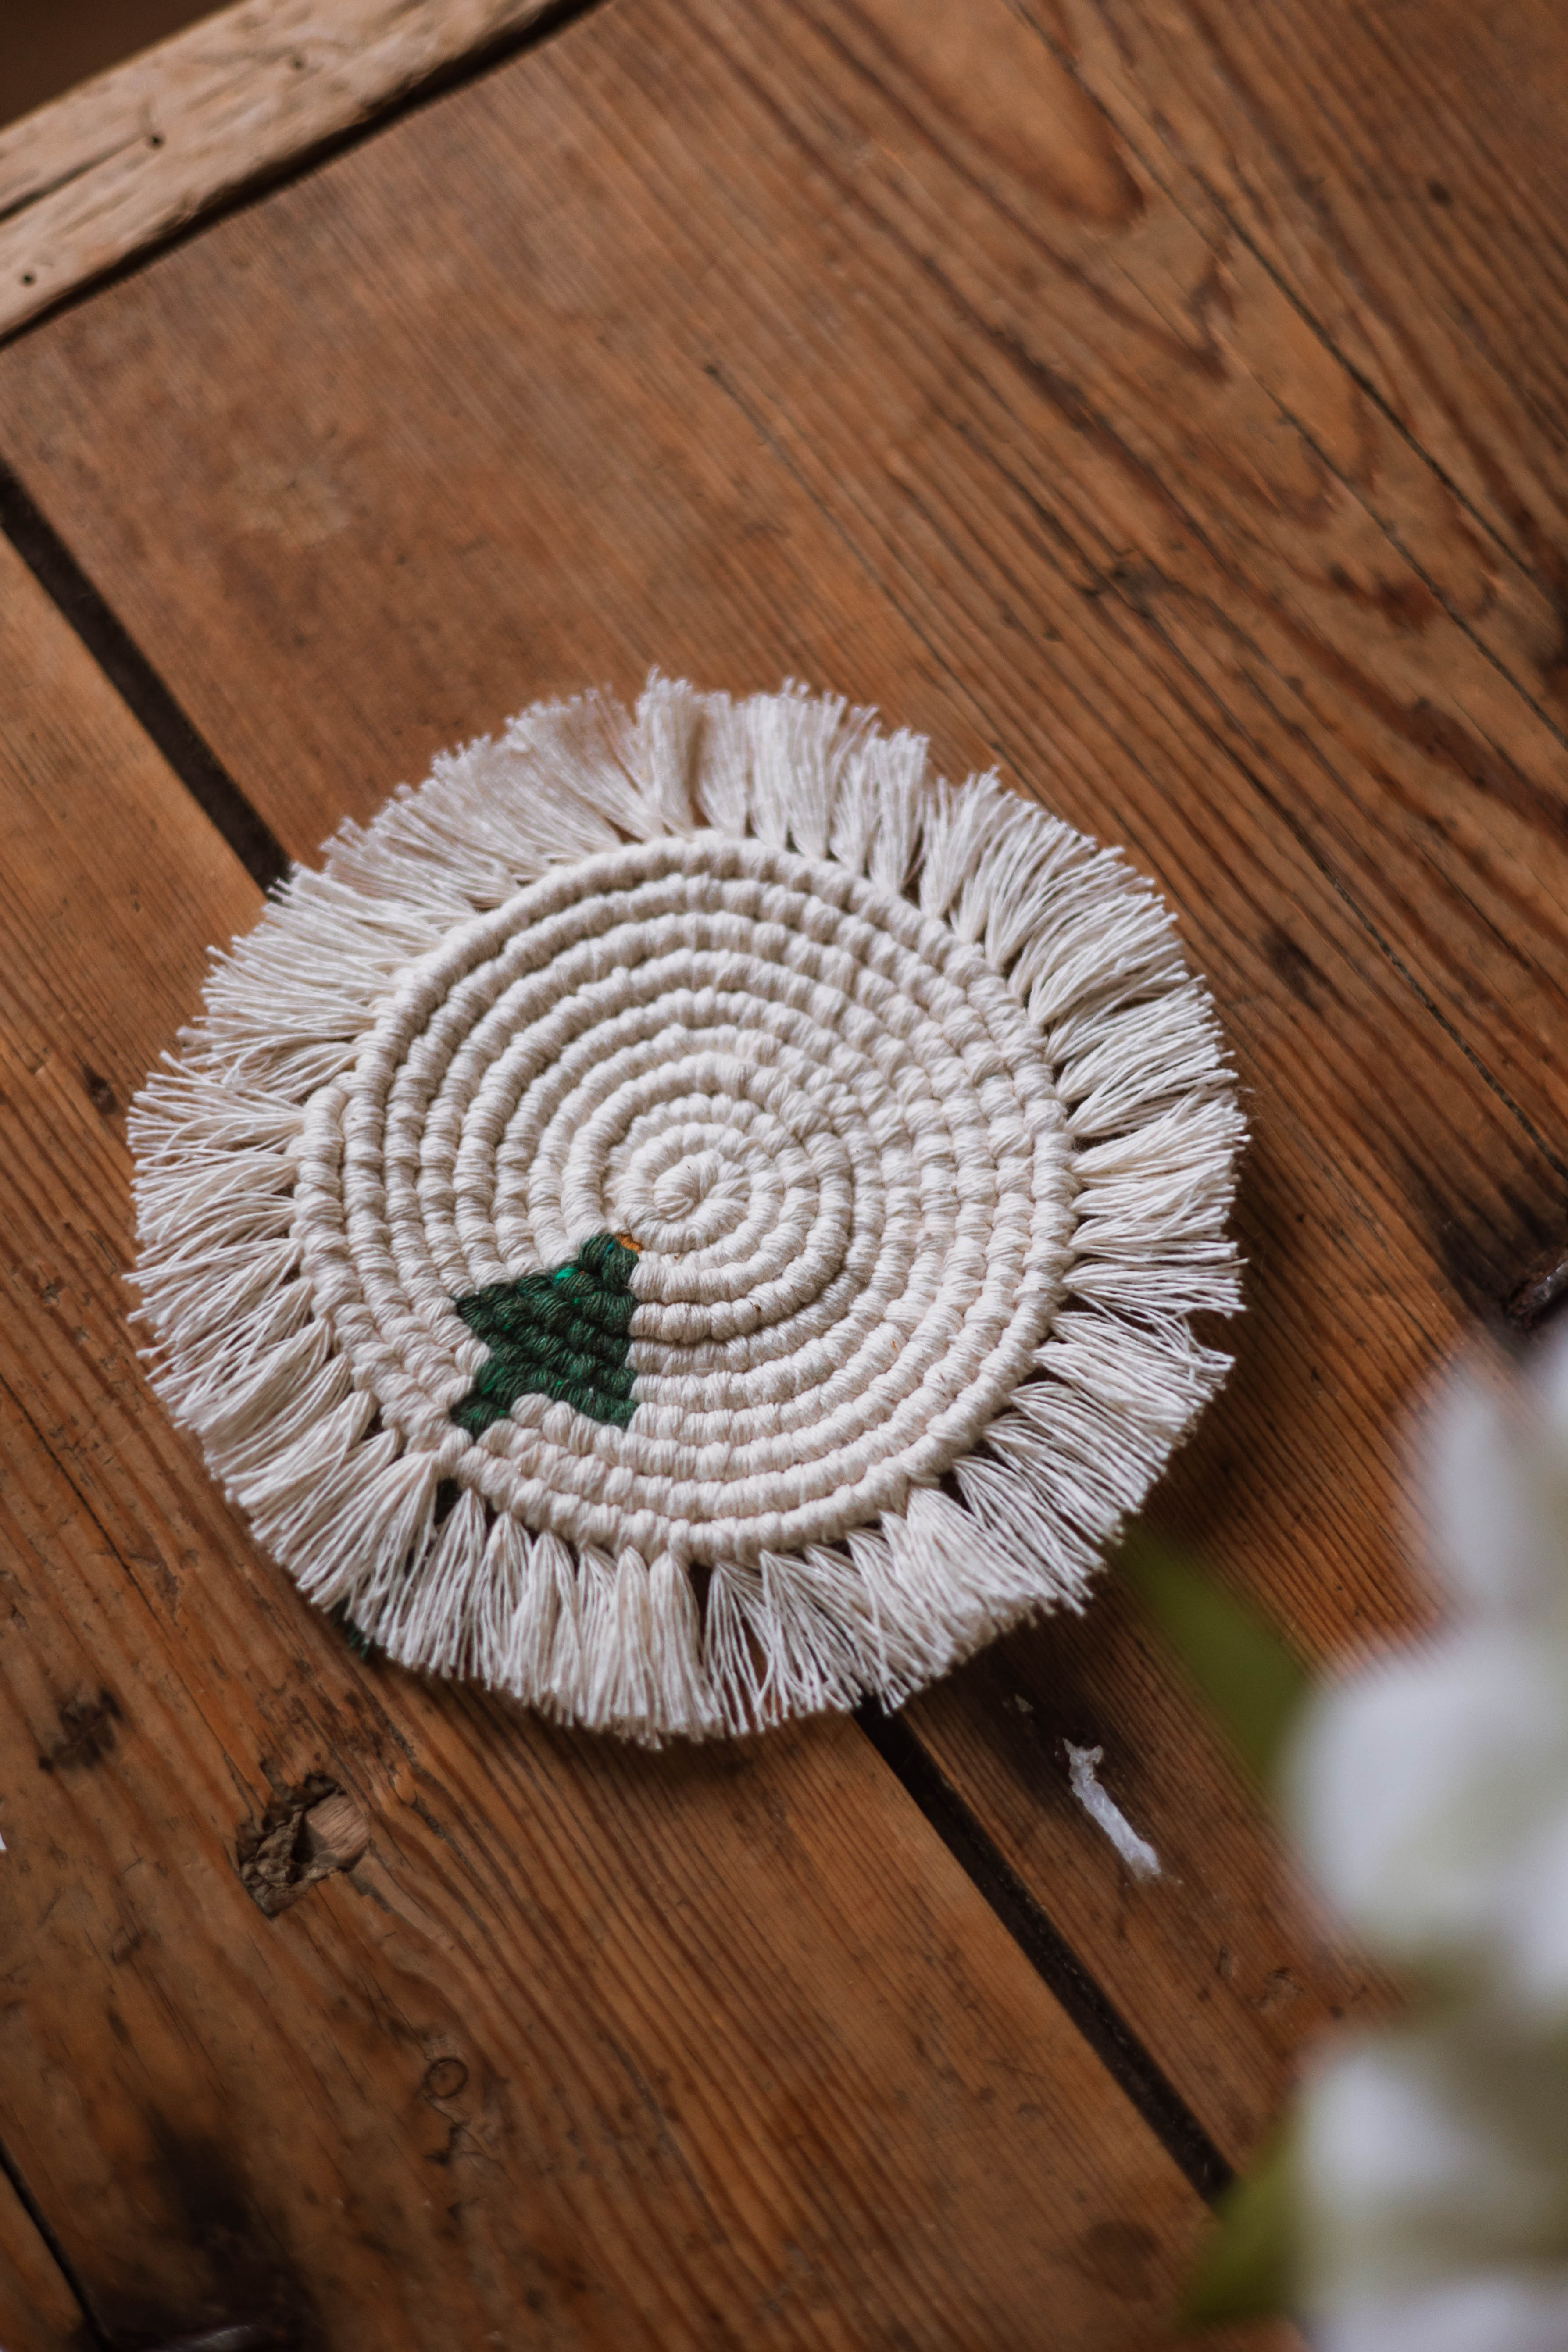
Macrame coasters “Noelle”
Tie a beautiful coaster
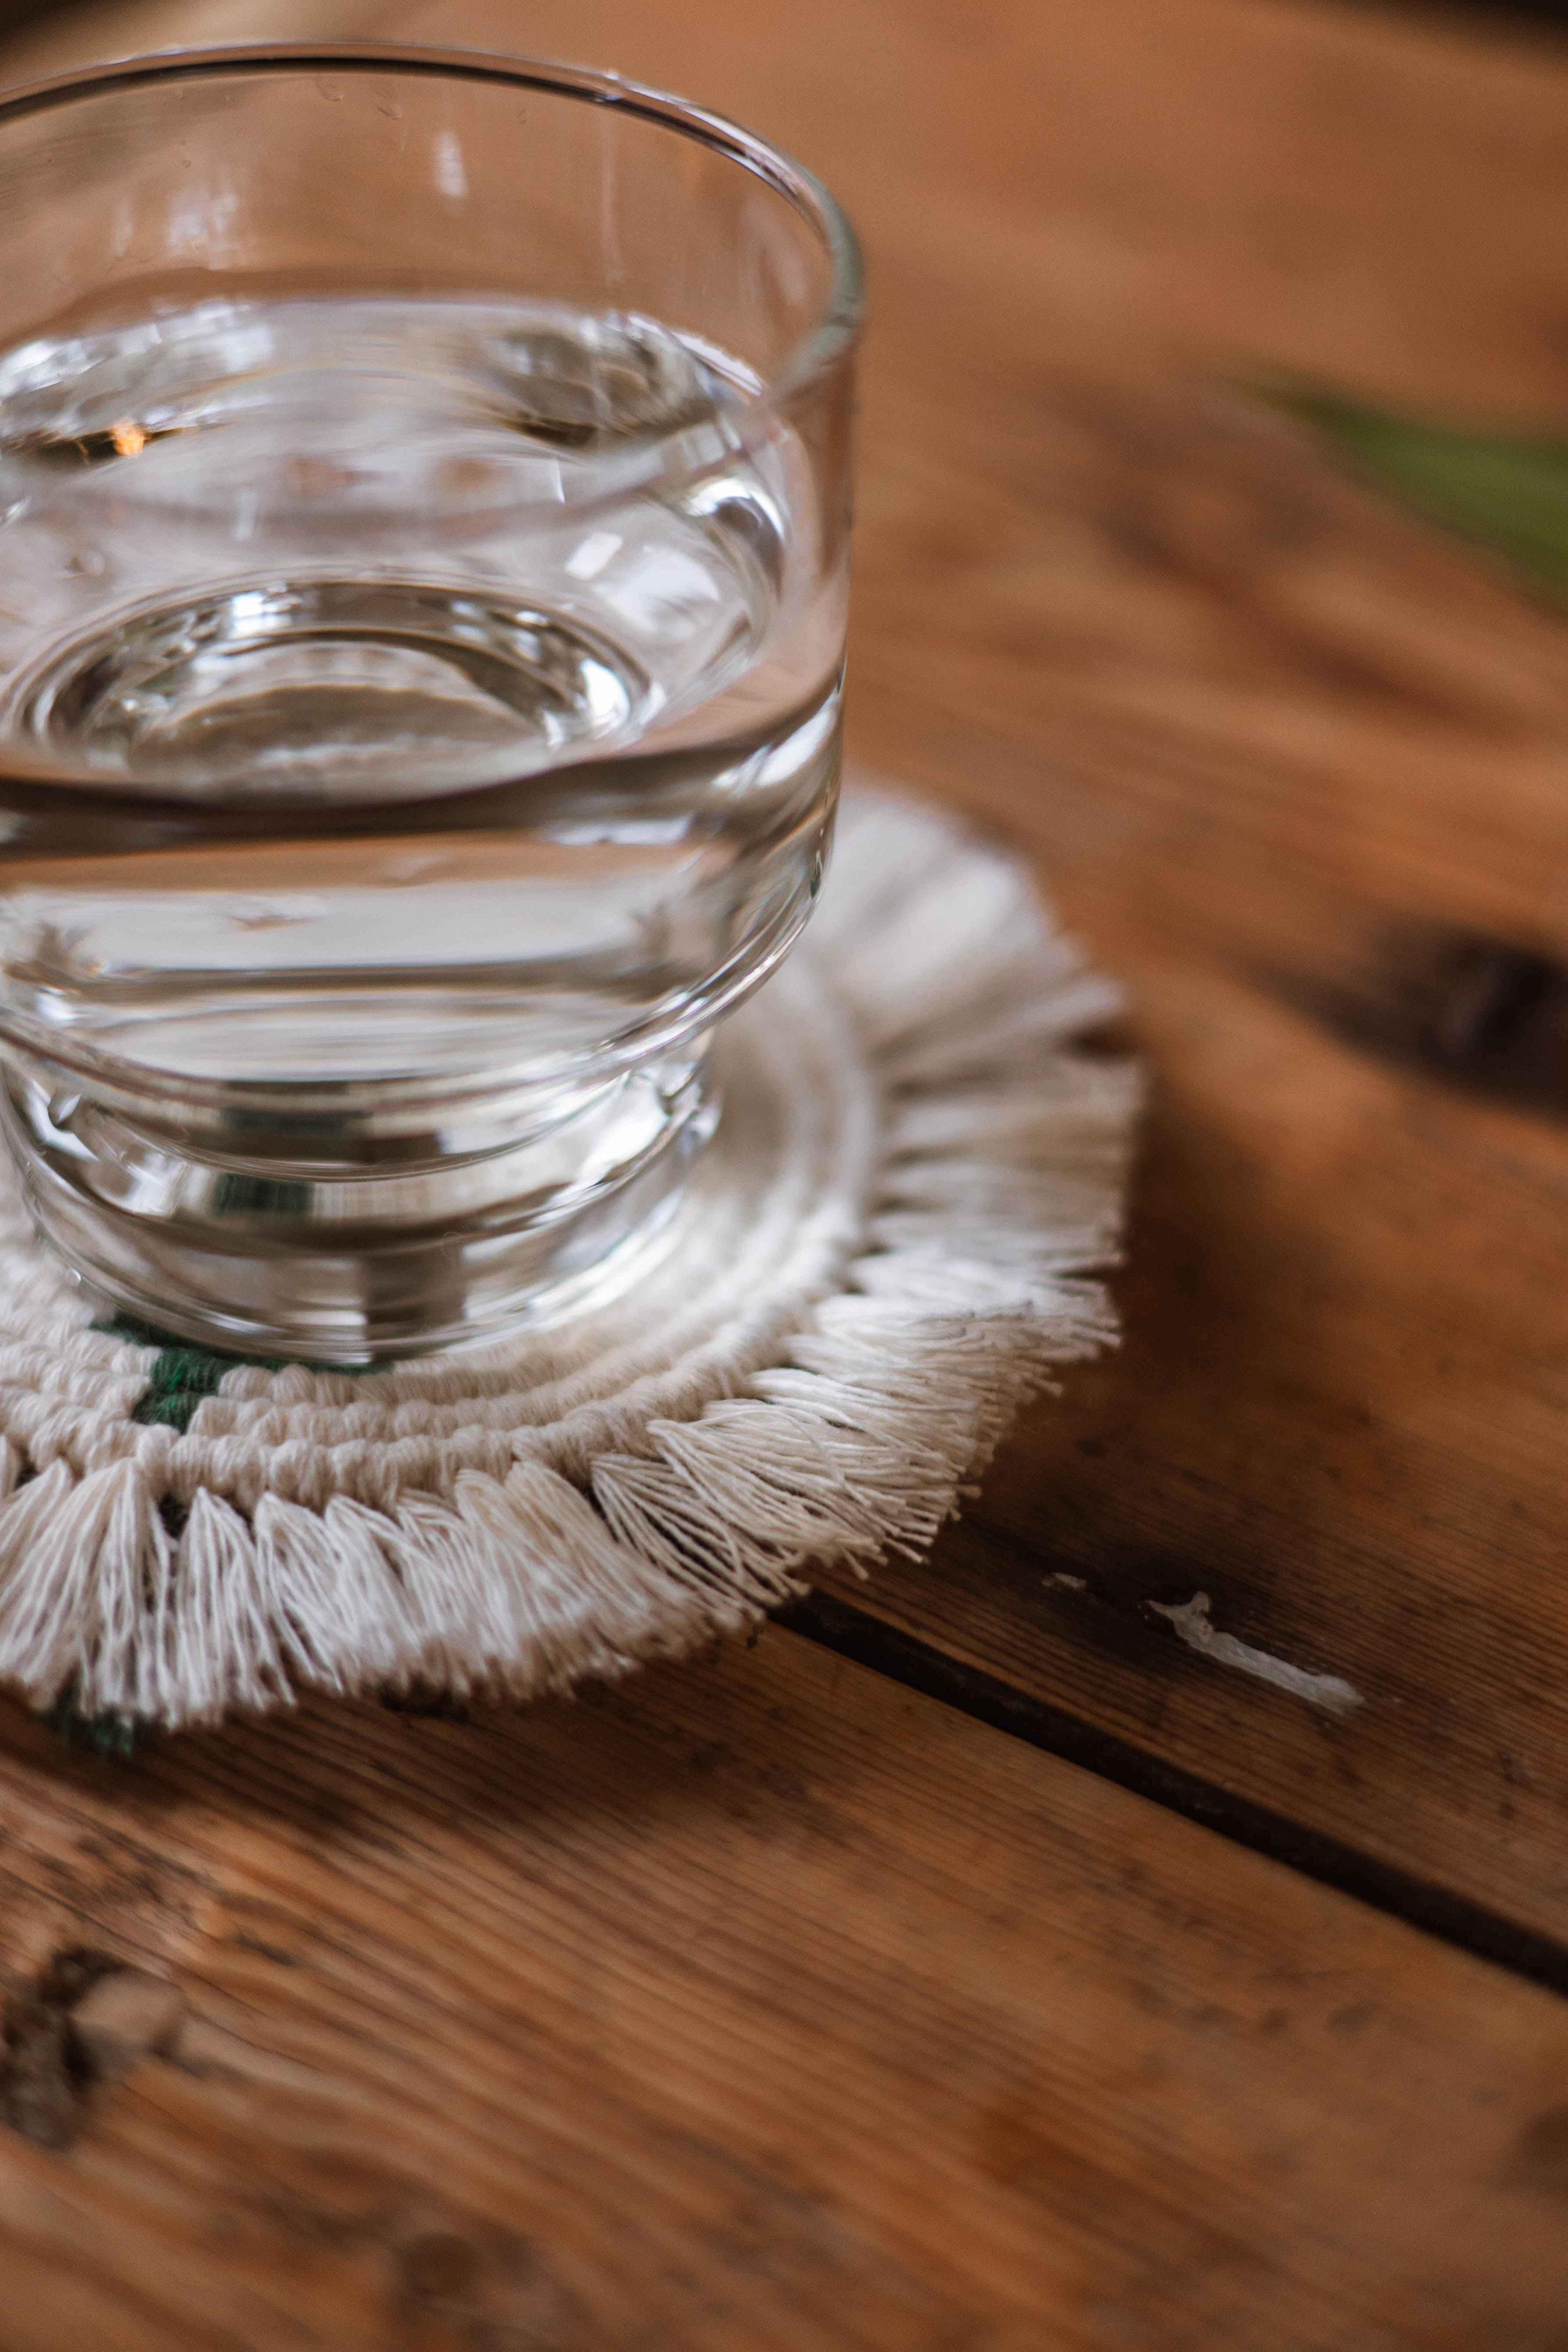
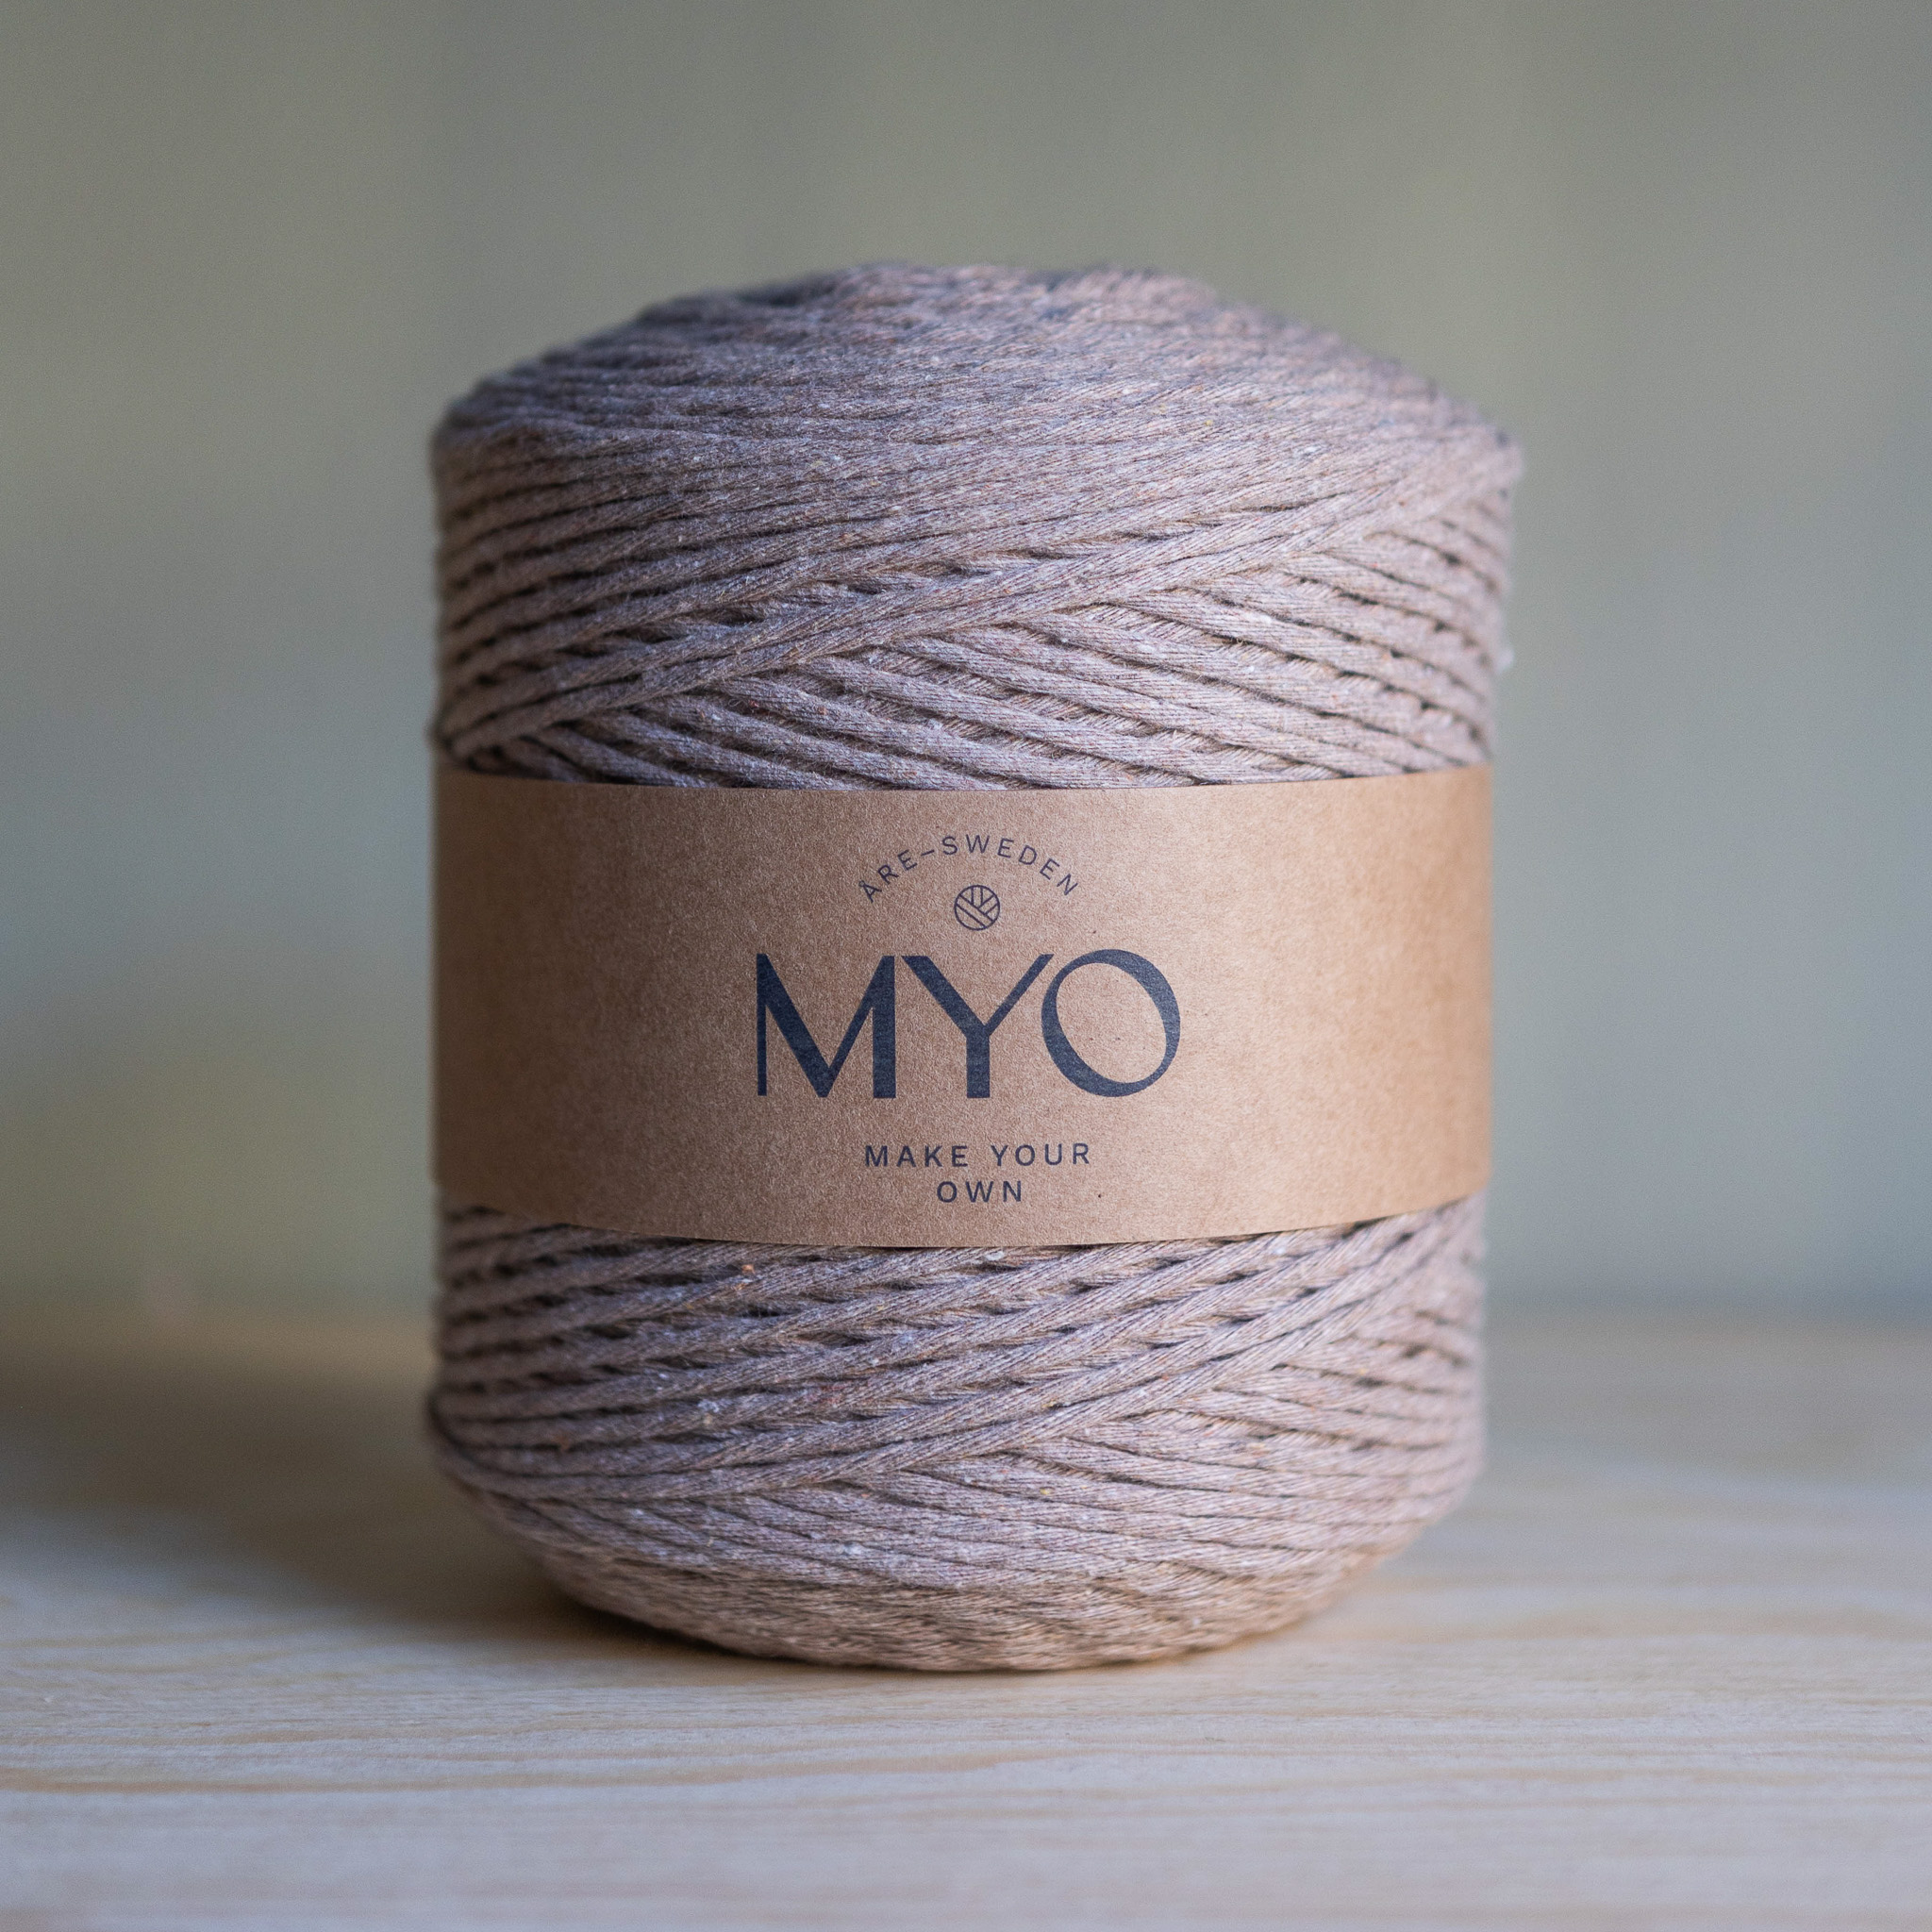
Create a festive touch on the table with a handmade macramé coasters. You can choose whether you want a Christmas tree on or not. 🎄 Perfect for putting glasses, mugs or small ornaments on during the Christmas holidays. With simple knots, you can create a charming little tree that spreads the Christmas spirit on your table — and it's a fun craft for beginners and more experienced macramé enthusiasts alike. To help, there is a full-length video. You will need Single Twisted 2.5mm (we use Nature White, Rusty Yellow and Dark Green), tape measure, scissors, macrame board or cork board, needles, crochet needle/tissue needle and a comb.
Yarn Consumption: approx 6m Nature White, 0.2m Rusty Yellow, 2m Dark Green
This is what you need:
Here you can directly purchase the material for the product. Please note that the instruction is digital and appears here on the page (no written instruction).
Here's how to do it
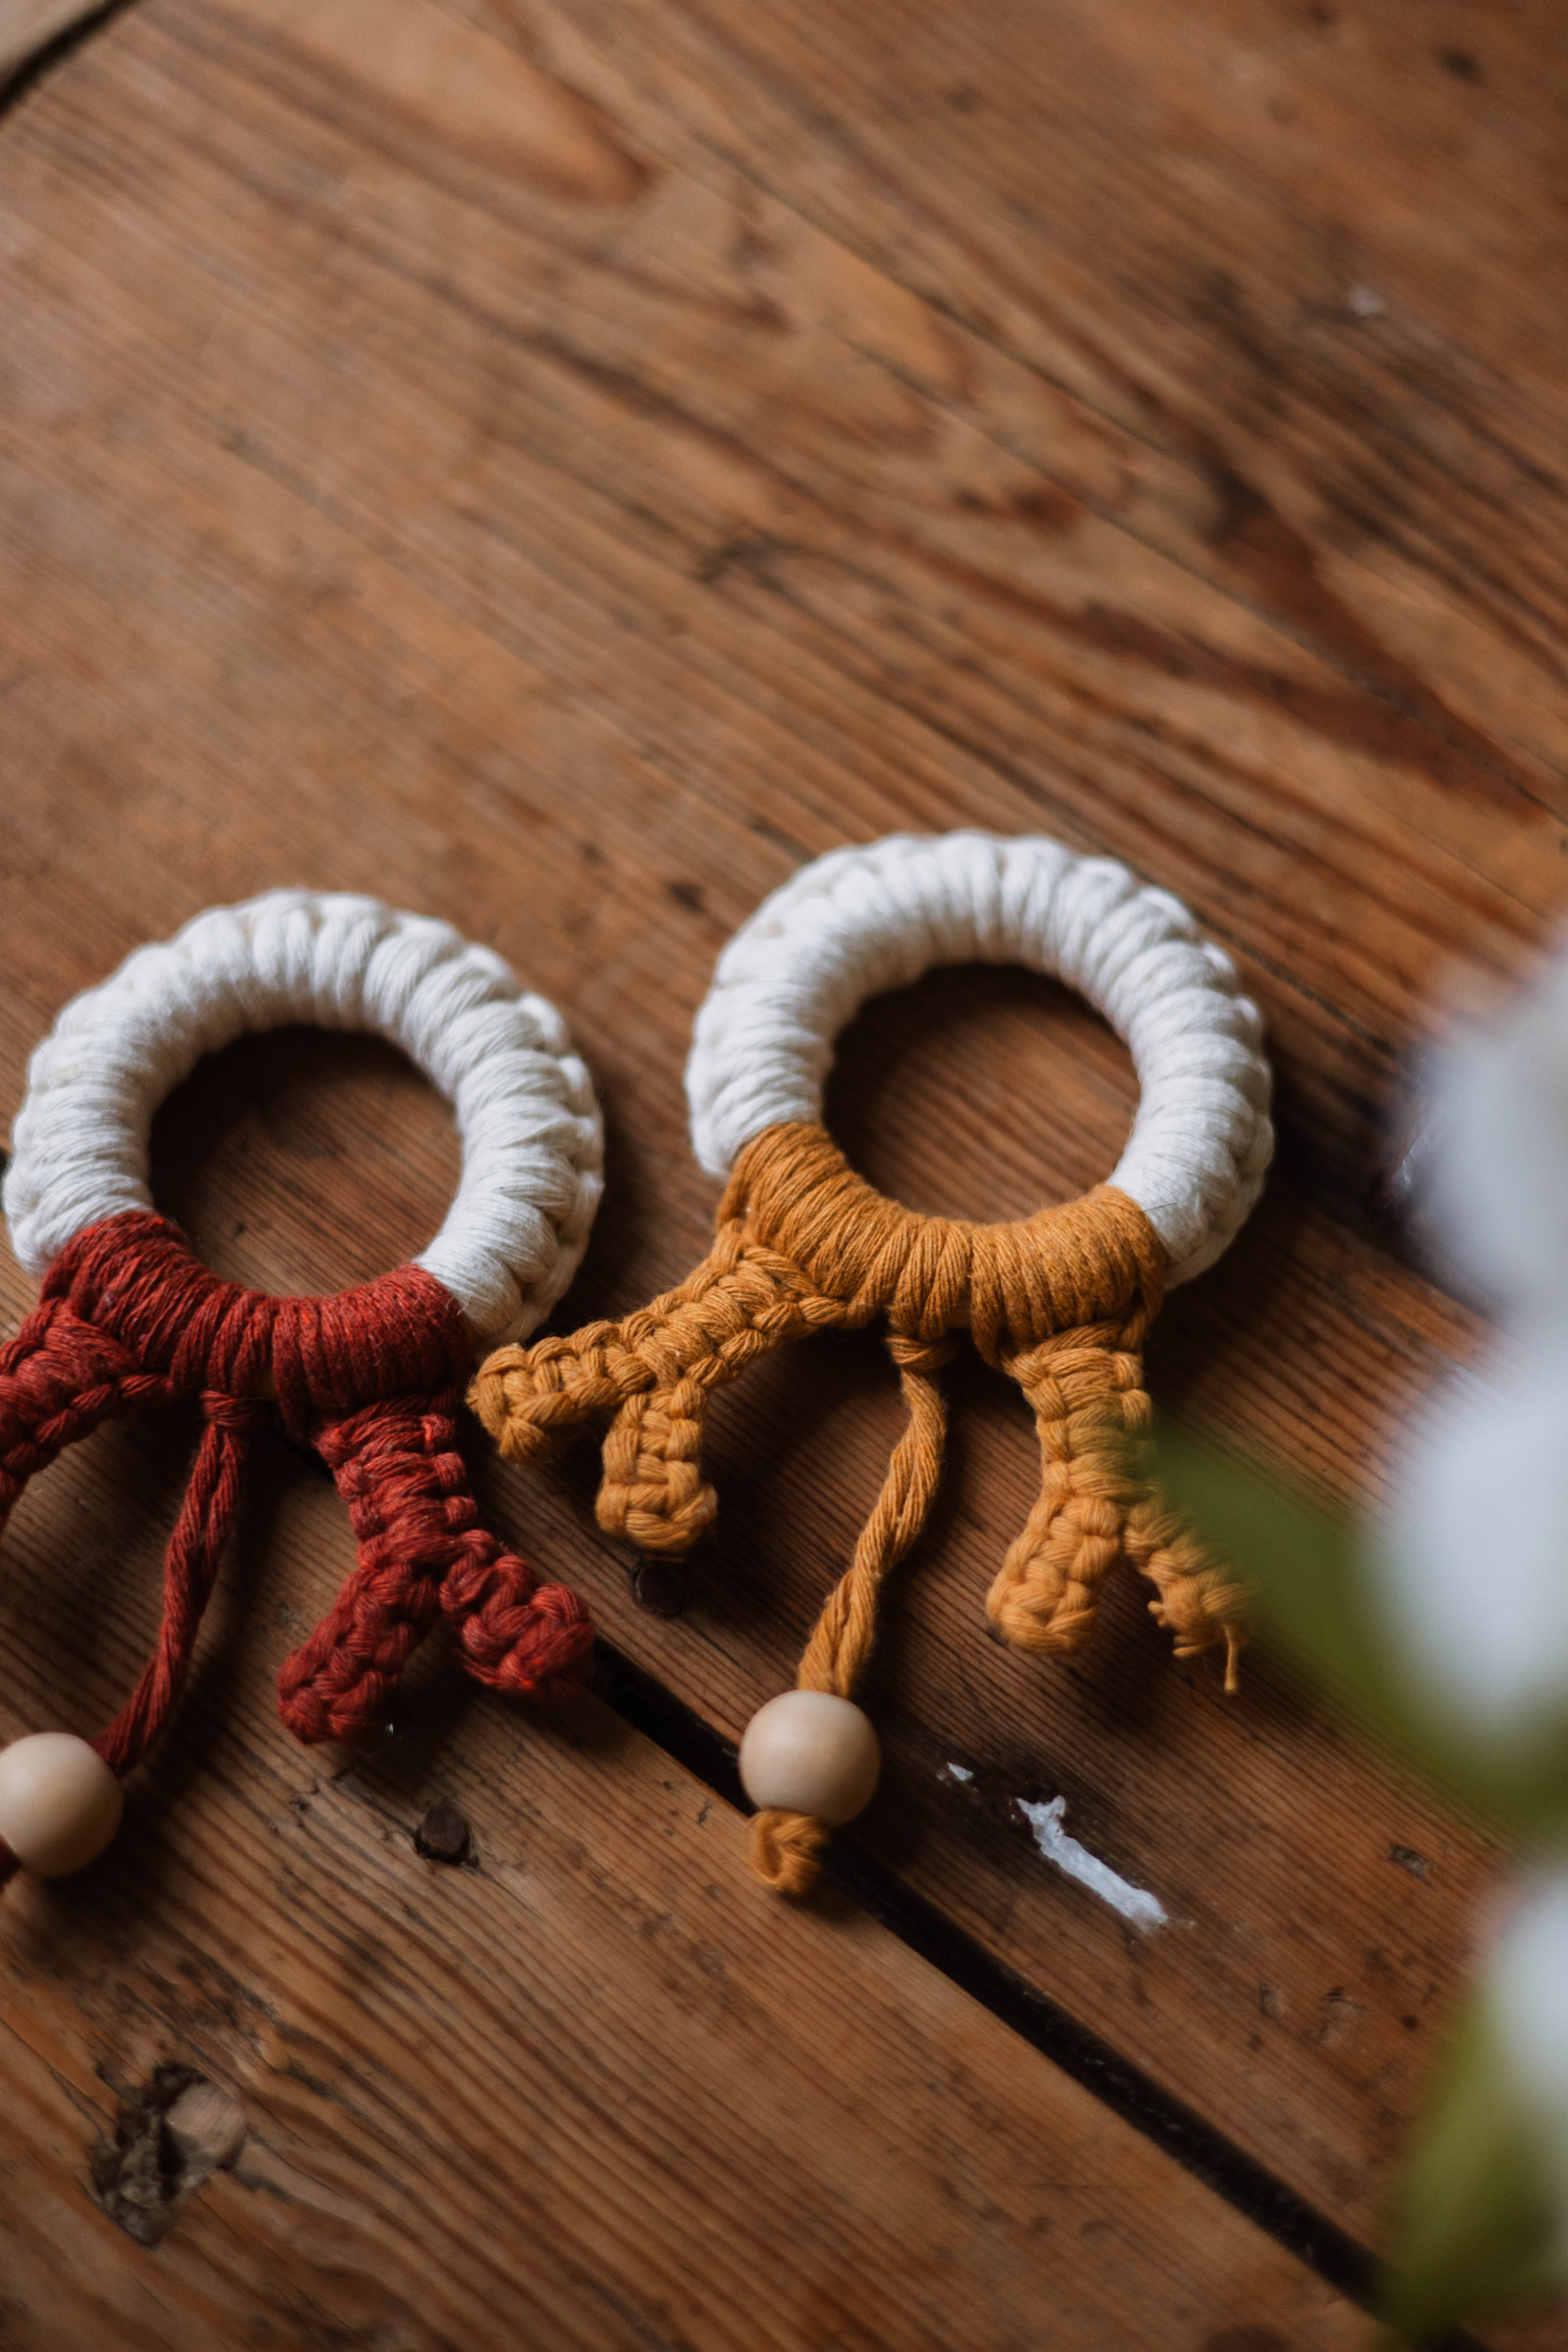
These nice coasters are suitable all year round. If you don't want a tree, you can skip that color and crochet it solid color. /Isabella
.jpg)

Material
Natural white 2.5mm single twist string
Equipment
Measuring tape
Scissors
Macrame board or cork board + pins or masking tape
Crochet hook/tapestry needle
Knots
Reversed Lark’s Head Knot
Square Knot
Double Half Hitch Knot
Gathering Knot
Cut
1 x 1.5 meters (Guide String)
4 x 1.7 meters
2 x 1.2 meters
2 x 1 meter
2 x 0.8 meters
1 x 0.8 meter (Gathering Knot)
1 x 0.4 meters
1 x 0.9 meters
Tutorial
1. Fold and pin the 1.5-meter string to the board; this will serve as the guide string.
2. Add 2 x 1.7 meters strings to the guide strings.
3. Tie a Square Knot with the middle four strings.
4. Tie the first two strings of the Square knots on the guide string on the left with the Double Half Hitch Knot, and repeat on the right side with the last two strings of the Square knot.
5. Take the two guide strings and tie a Double Half Hitch Knot, placing the right string over the left.
6. Add the strings from the Double Half Hitch Knots on the left and place them on the guide string to create a diagonal line of Double Half Hitch Knots.
7. Repeat on the right side.
8. Take the next 2 x 1.7 meters strings and tie one each on the guides with the Reversed Lark’s Head Knot plus a half hitch with the string closer to the middle. Slide the string next to the Double Half Hitch Knots. This way, you increase the size of the Christmas tree.
9. Tie a Square Knot with the middle four strings.
10. Tie two Alternating Square Knots below.
11. Next, take the first two strings and tie them on the left guide string, with the Double Half Hitch Knot to create a curve shape.
12. Repeat on the right side.
13. Take the middle two strings and tie a Double Half Hitch Knot, placing the right string over the left.
14. Tie two diagonal lines of Double Half Hitch Knots, like in steps 6 and 7.
15. Next, add a new string on each side of the diagonal lines (1.2-meter string), as in step 8.
16. Tie two diagonal lines of Square knots.
17. Next, take the first two strings and tie them on the left guide string, with the Double Half Hitch Knot to create a curve shape.
18. Repeat on the right side.
19. Take the middle two strings and tie a Double Half Hitch Knot, placing the right string over the left.
20. Tie two diagonal lines of Double Half Hitch Knots, like in steps 6 and 7.
21. Next, add a new string on each side of the diagonal lines (1-meter string), as in step 8.
22. Tie two diagonal lines of Square knots.
23. Next, take the first two strings and tie them on the left guide string, with the Double Half Hitch Knot to create a curve shape.
24. Repeat on the right side.
25. Take the middle two strings and tie a Double Half Hitch Knot, placing the right string over the left.
26. Tie two diagonal lines of Double Half Hitch Knots, like in steps 6 and 7.
27. Next, add a new string on each side of the diagonal lines (0.8-meter string), as in step 8.
28. Tie two diagonal lines of Square knots.
29. Add Square knots in between the diagonal lines. Start from the middle and work your way down. Complete with a row of 5 Square Knots.
30. To close the tree, split the strings into two equal sets. Start from the left and tie a Double Half Hitch Knot on the guide string.
31. Next, gather this working string with the guide string and tie the following Double Half Hitch Knot over these two strings.
32. Continue by adding the working string to the guides and tying a Double Half Hitch Knot over these strings until you reach the middle, and use all the strings from the set.
33. Repeat on the opposite side with the other set. You can use pins to help you keep the Christmas tree in place.
34. Turn your macrame and use the 0.8-meter string to tie a Gathering knot.
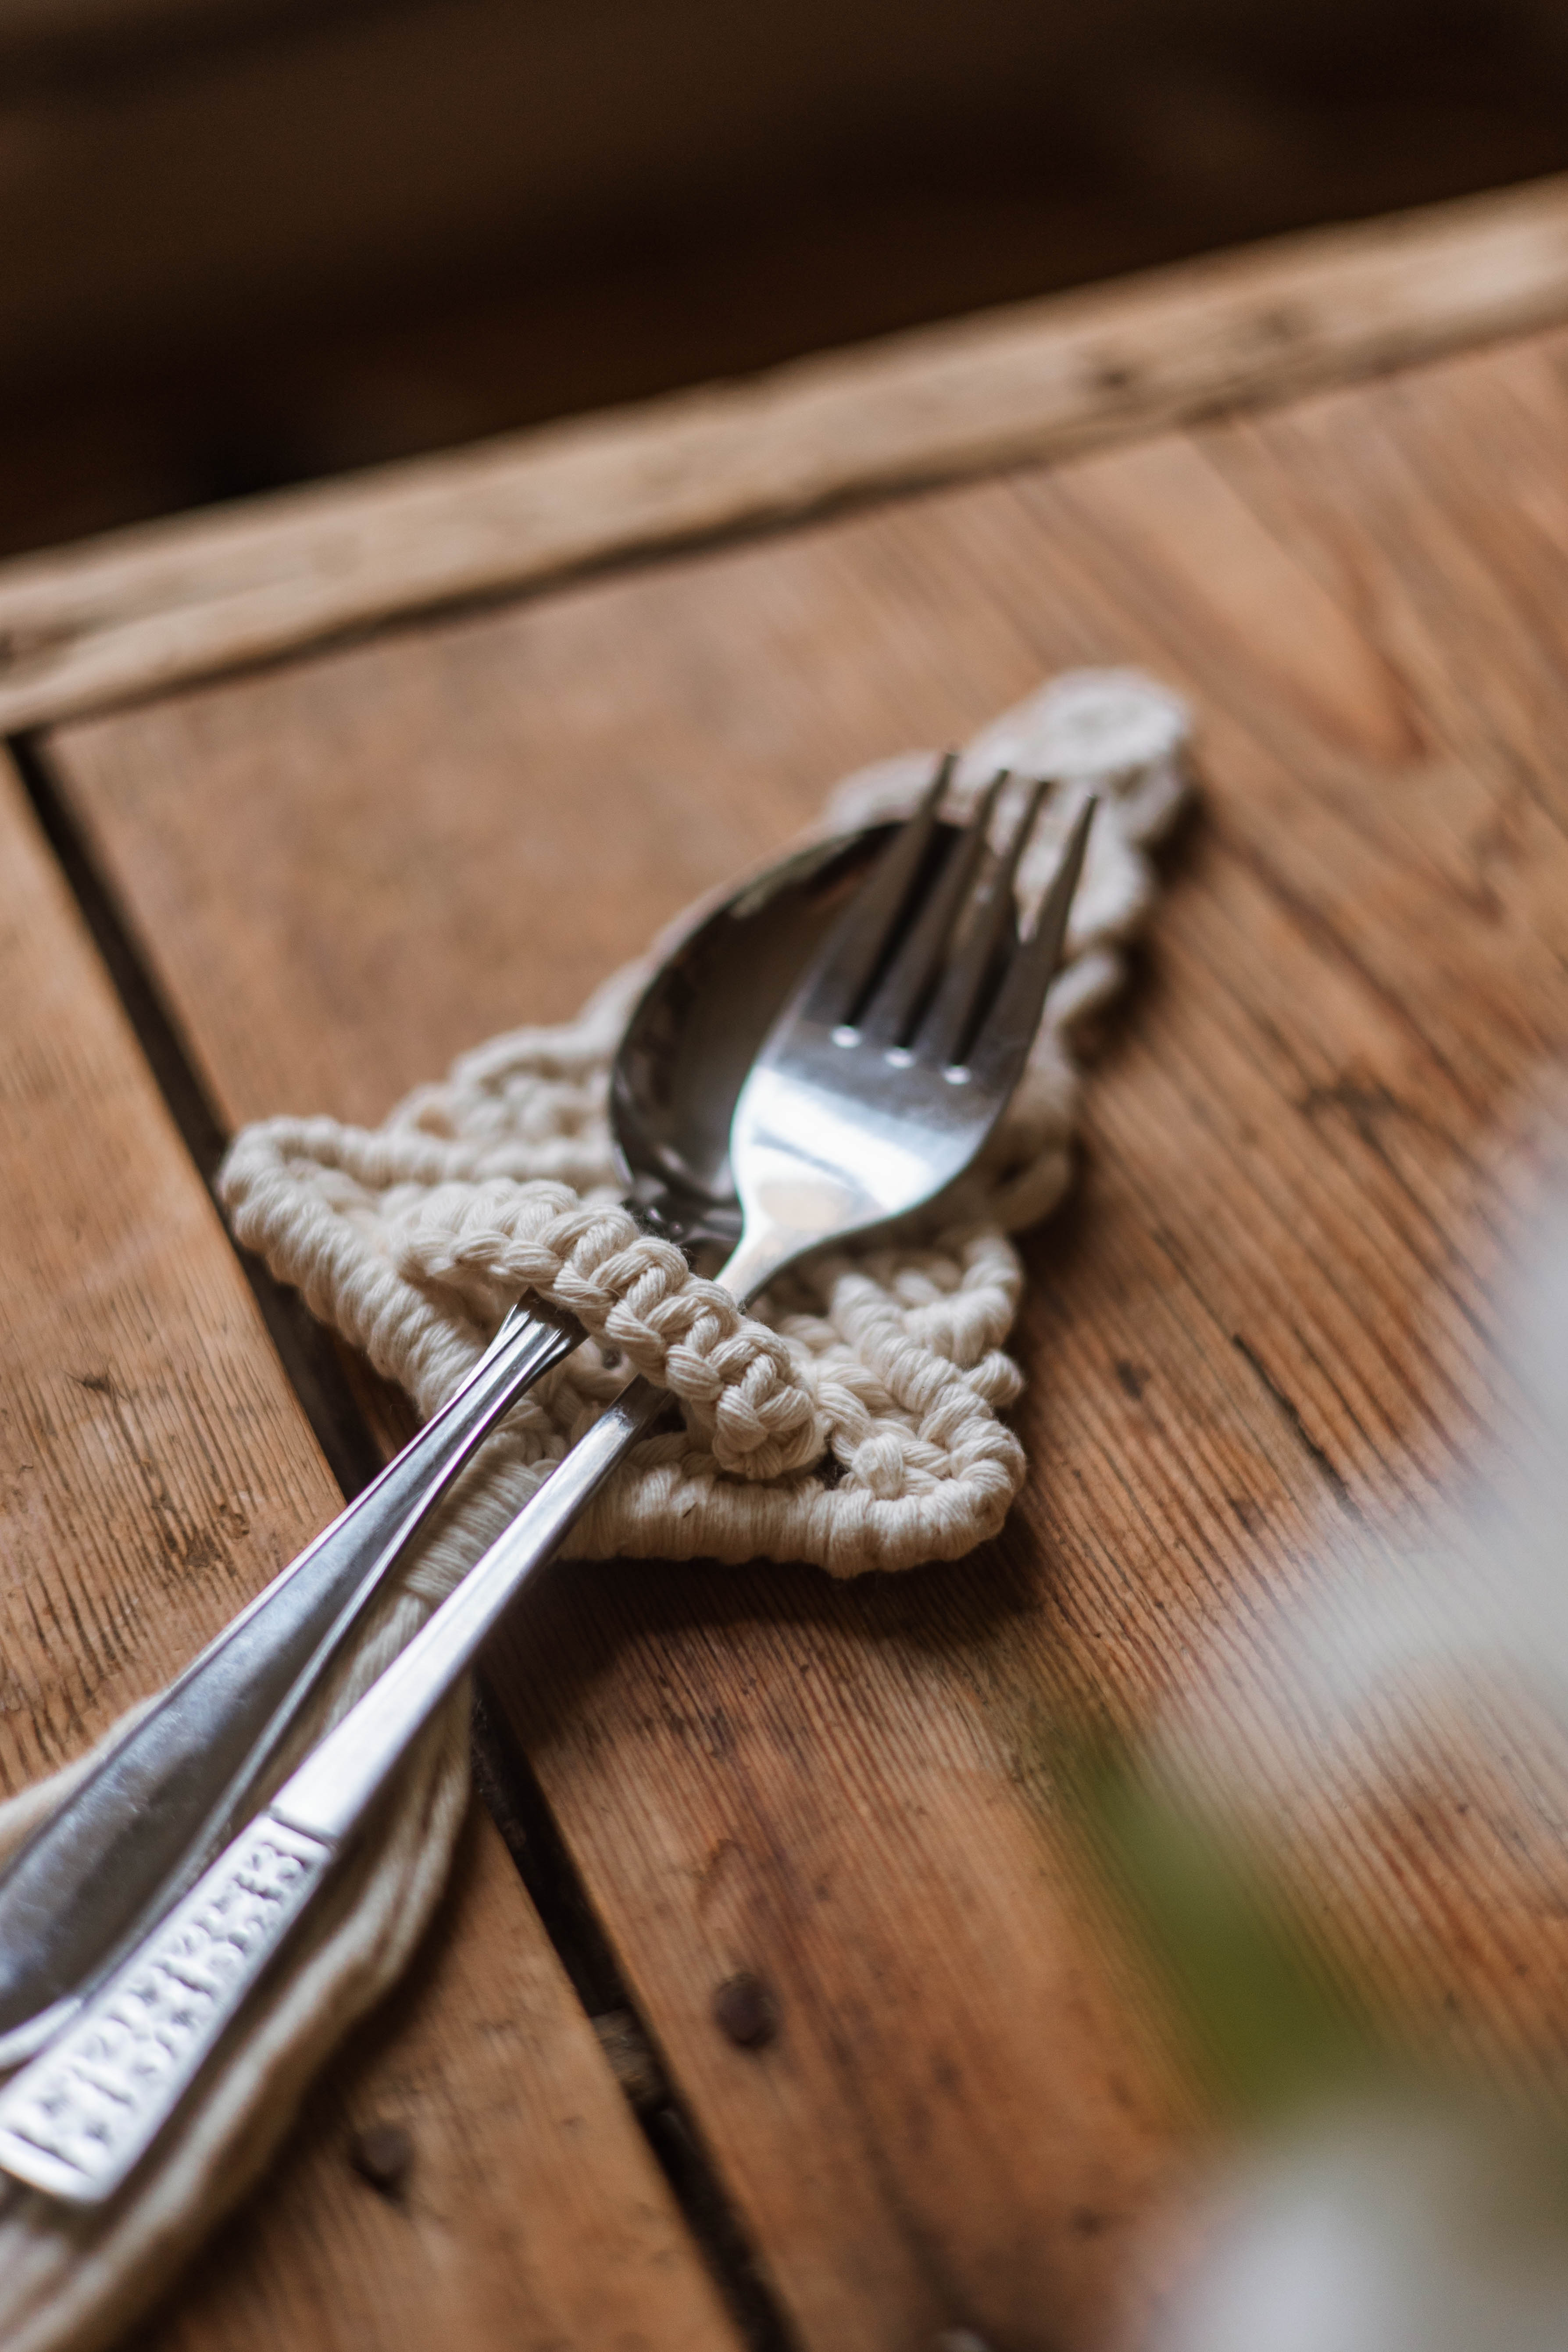
35. You can trim the fringe, but first, double-check the final size of the Christmas tree with your cutlery
36. To make the band, turn the macrame and with the help of a crochet hook or tapestry needle, weave the 0.4-meter string at the back of the second Square knot on the bottom row. Pass the string’s ends through the front from the gap next to the Square knot, on the left.
37. Use the 0.9-meter string to tie 8 consecutive Square Knots over the 0.4-meter string. Double-check that you are happy with the length of the band; you might need more or fewer knots, depending on the size of your cutlery set.
38. Tuck the working strings at the back of the consecutive Square knots and trim any excess string.
39. Pass the filler strings at the back of the Christmas tree and tuck the strings at the back of one or two Square Knots and trim any excess. If you want, you can add a drop of glue for extra security.
40. Time to make more Macrame Christmas Tree Cutlery Holders for your dining set!
You are done :)
Material
Natural white 2.5mm single twist string
Equipment
Measuring tape
Scissors
Macrame board or cork board + pins or masking tape
Crochet hook/tapestry needle
Knots
Reversed Lark’s Head Knot
Square Knot
Double Half Hitch Knot
Gathering Knot
Cut
1 x 1.5 meters (Guide String)
4 x 1.7 meters
2 x 1.2 meters
2 x 1 meter
2 x 0.8 meters
1 x 0.8 meter (Gathering Knot)
1 x 0.4 meters
1 x 0.9 meters
Tutorial
1. Fold and pin the 1.5-meter string to the board; this will serve as the guide string.
2. Add 2 x 1.7 meters strings to the guide strings.
3. Tie a Square Knot with the middle four strings.
4. Tie the first two strings of the Square knots on the guide string on the left with the Double Half Hitch Knot, and repeat on the right side with the last two strings of the Square knot.
5. Take the two guide strings and tie a Double Half Hitch Knot, placing the right string over the left.
6. Add the strings from the Double Half Hitch Knots on the left and place them on the guide string to create a diagonal line of Double Half Hitch Knots.
7. Repeat on the right side.
8. Take the next 2 x 1.7 meters strings and tie one each on the guides with the Reversed Lark’s Head Knot plus a half hitch with the string closer to the middle. Slide the string next to the Double Half Hitch Knots. This way, you increase the size of the Christmas tree.
9. Tie a Square Knot with the middle four strings.
10. Tie two Alternating Square Knots below.
11. Next, take the first two strings and tie them on the left guide string, with the Double Half Hitch Knot to create a curve shape.
12. Repeat on the right side.
13. Take the middle two strings and tie a Double Half Hitch Knot, placing the right string over the left.
14. Tie two diagonal lines of Double Half Hitch Knots, like in steps 6 and 7.
15. Next, add a new string on each side of the diagonal lines (1.2-meter string), as in step 8.
16. Tie two diagonal lines of Square knots.
17. Next, take the first two strings and tie them on the left guide string, with the Double Half Hitch Knot to create a curve shape.
18. Repeat on the right side.
19. Take the middle two strings and tie a Double Half Hitch Knot, placing the right string over the left.
20. Tie two diagonal lines of Double Half Hitch Knots, like in steps 6 and 7.
21. Next, add a new string on each side of the diagonal lines (1-meter string), as in step 8.
22. Tie two diagonal lines of Square knots.
23. Next, take the first two strings and tie them on the left guide string, with the Double Half Hitch Knot to create a curve shape.
24. Repeat on the right side.
25. Take the middle two strings and tie a Double Half Hitch Knot, placing the right string over the left.
26. Tie two diagonal lines of Double Half Hitch Knots, like in steps 6 and 7.
27. Next, add a new string on each side of the diagonal lines (0.8-meter string), as in step 8.
28. Tie two diagonal lines of Square knots.
29. Add Square knots in between the diagonal lines. Start from the middle and work your way down. Complete with a row of 5 Square Knots.
30. To close the tree, split the strings into two equal sets. Start from the left and tie a Double Half Hitch Knot on the guide string.
31. Next, gather this working string with the guide string and tie the following Double Half Hitch Knot over these two strings.
32. Continue by adding the working string to the guides and tying a Double Half Hitch Knot over these strings until you reach the middle, and use all the strings from the set.
33. Repeat on the opposite side with the other set. You can use pins to help you keep the Christmas tree in place.
34. Turn your macrame and use the 0.8-meter string to tie a Gathering knot.
35. You can trim the fringe, but first, double-check the final size of the Christmas tree with your cutlery
36. To make the band, turn the macrame and with the help of a crochet hook or tapestry needle, weave the 0.4-meter string at the back of the second Square knot on the bottom row. Pass the string’s ends through the front from the gap next to the Square knot, on the left.
37. Use the 0.9-meter string to tie 8 consecutive Square Knots over the 0.4-meter string. Double-check that you are happy with the length of the band; you might need more or fewer knots, depending on the size of your cutlery set.
38. Tuck the working strings at the back of the consecutive Square knots and trim any excess string.
39. Pass the filler strings at the back of the Christmas tree and tuck the strings at the back of one or two Square Knots and trim any excess. If you want, you can add a drop of glue for extra security.
40. Time to make more Macrame Christmas Tree Cutlery Holders for your dining set!
You are done :)
The rights to this pattern belong to MYO Make Your Own. The pattern or its pictures may not be copied, shared or resold either in parts or in its entirety, but you may sell items you have crocheted from this pattern. If you have questions about the pattern, contact MYO at hello@makeyourown.se.
%20(1).jpg)