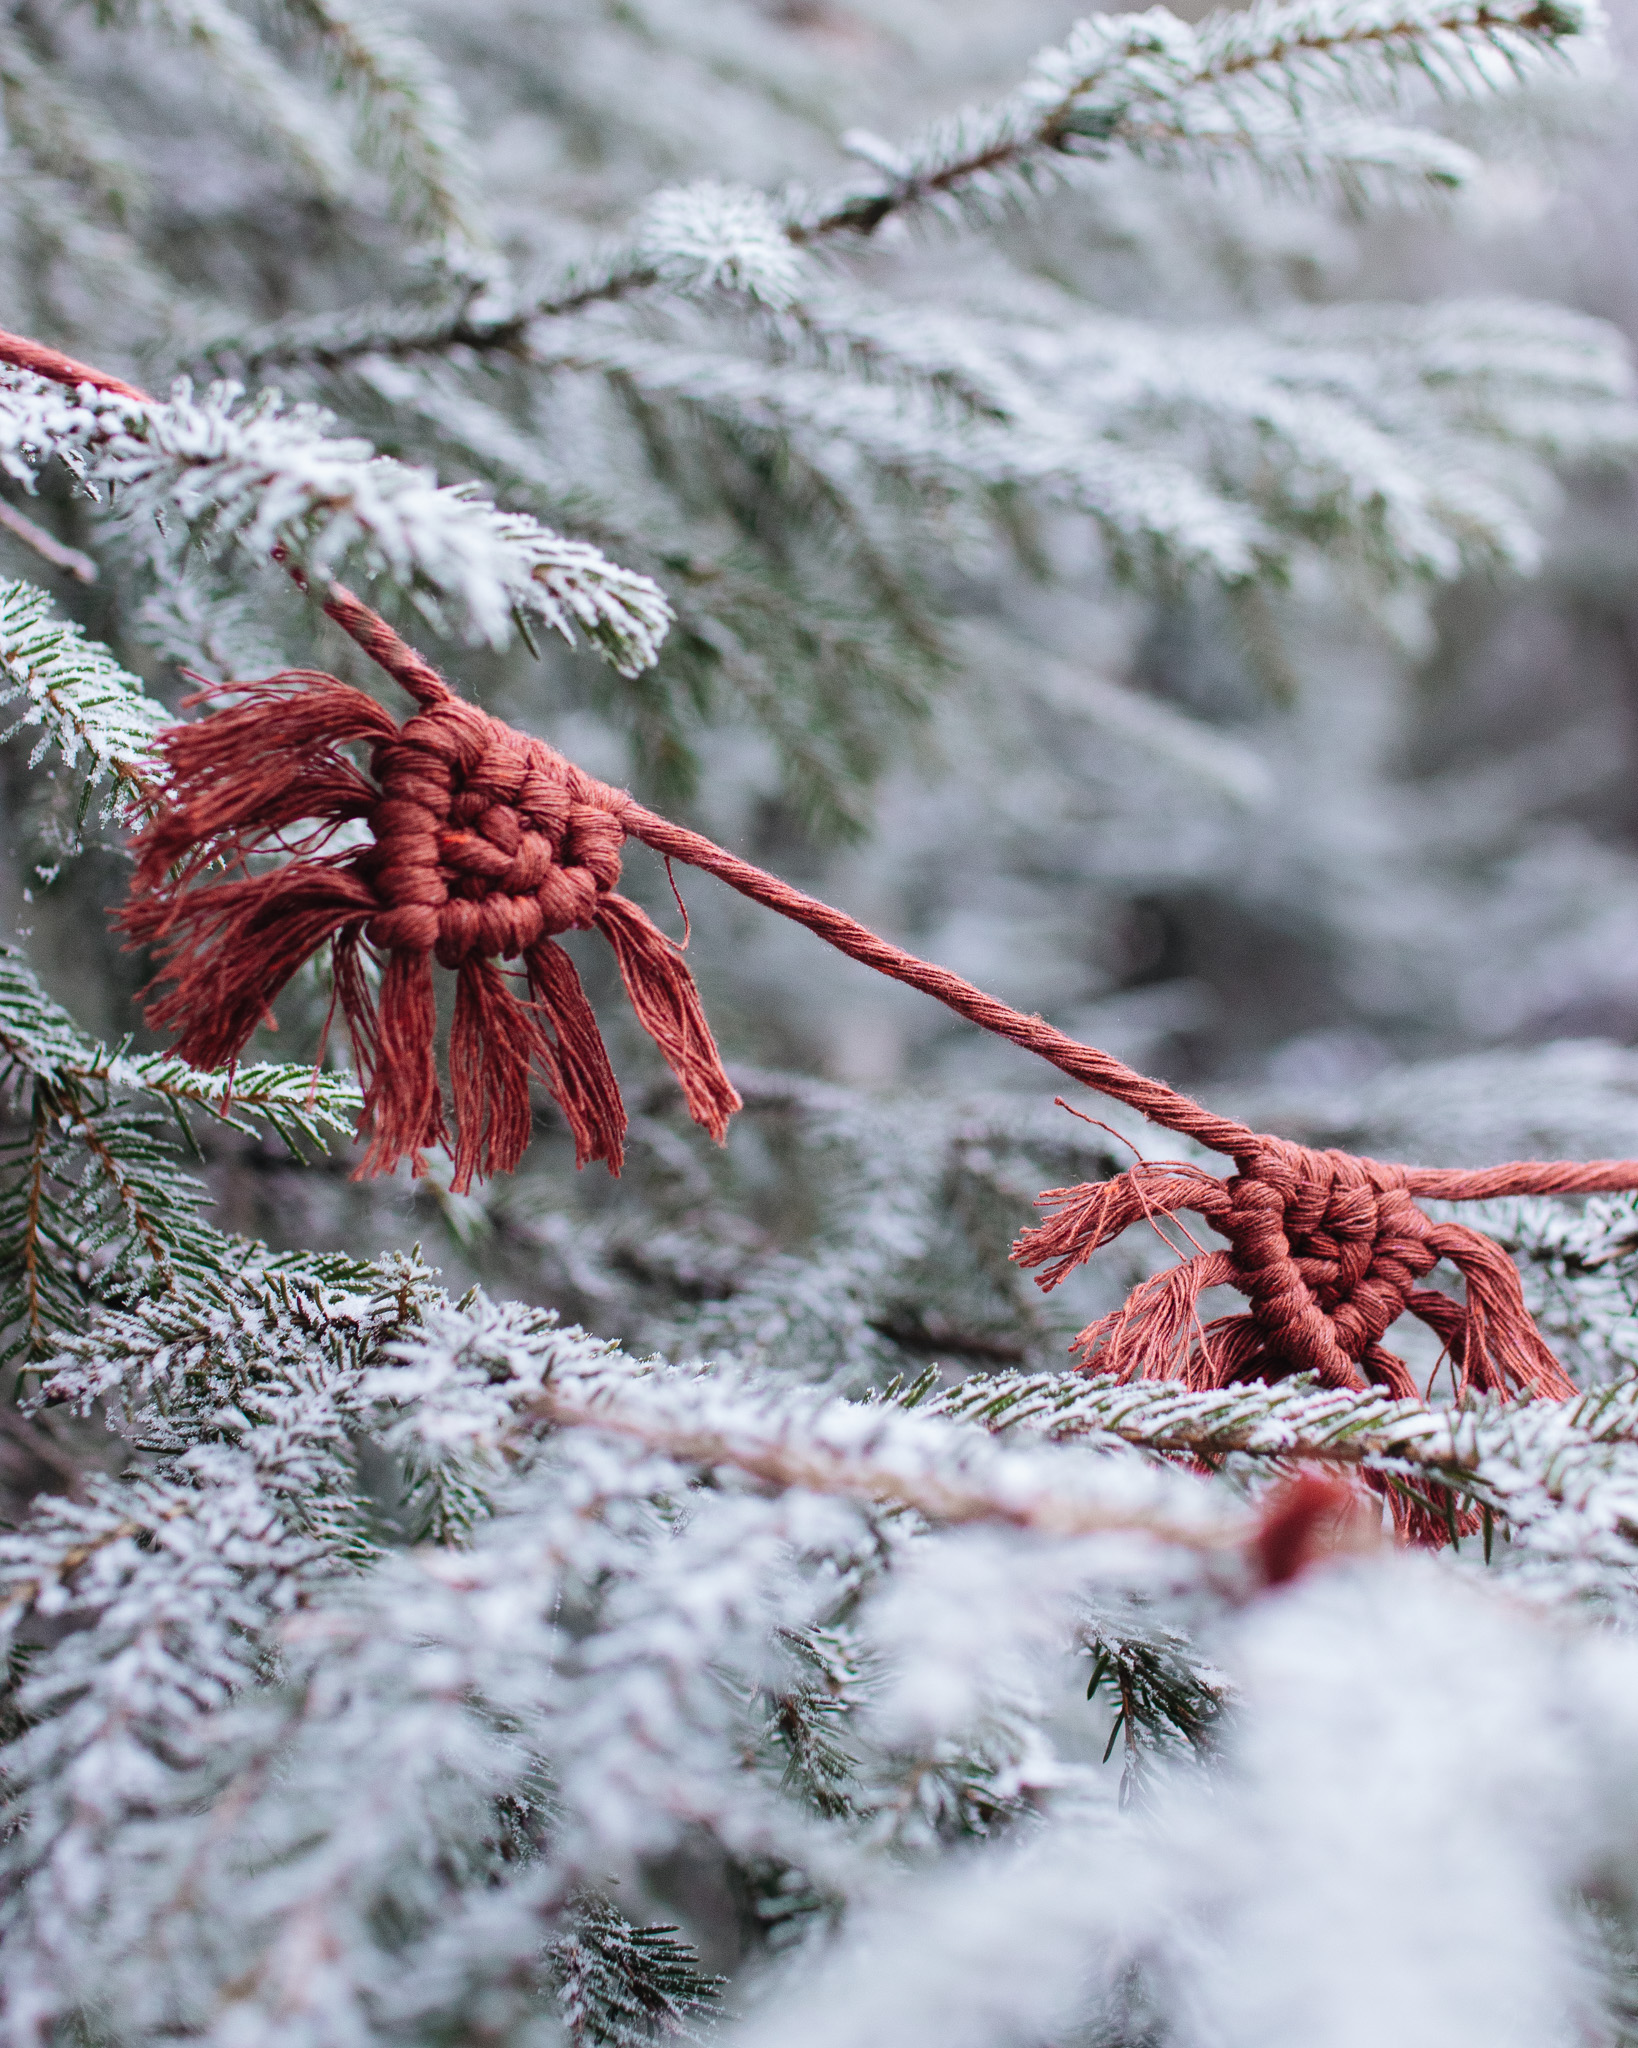
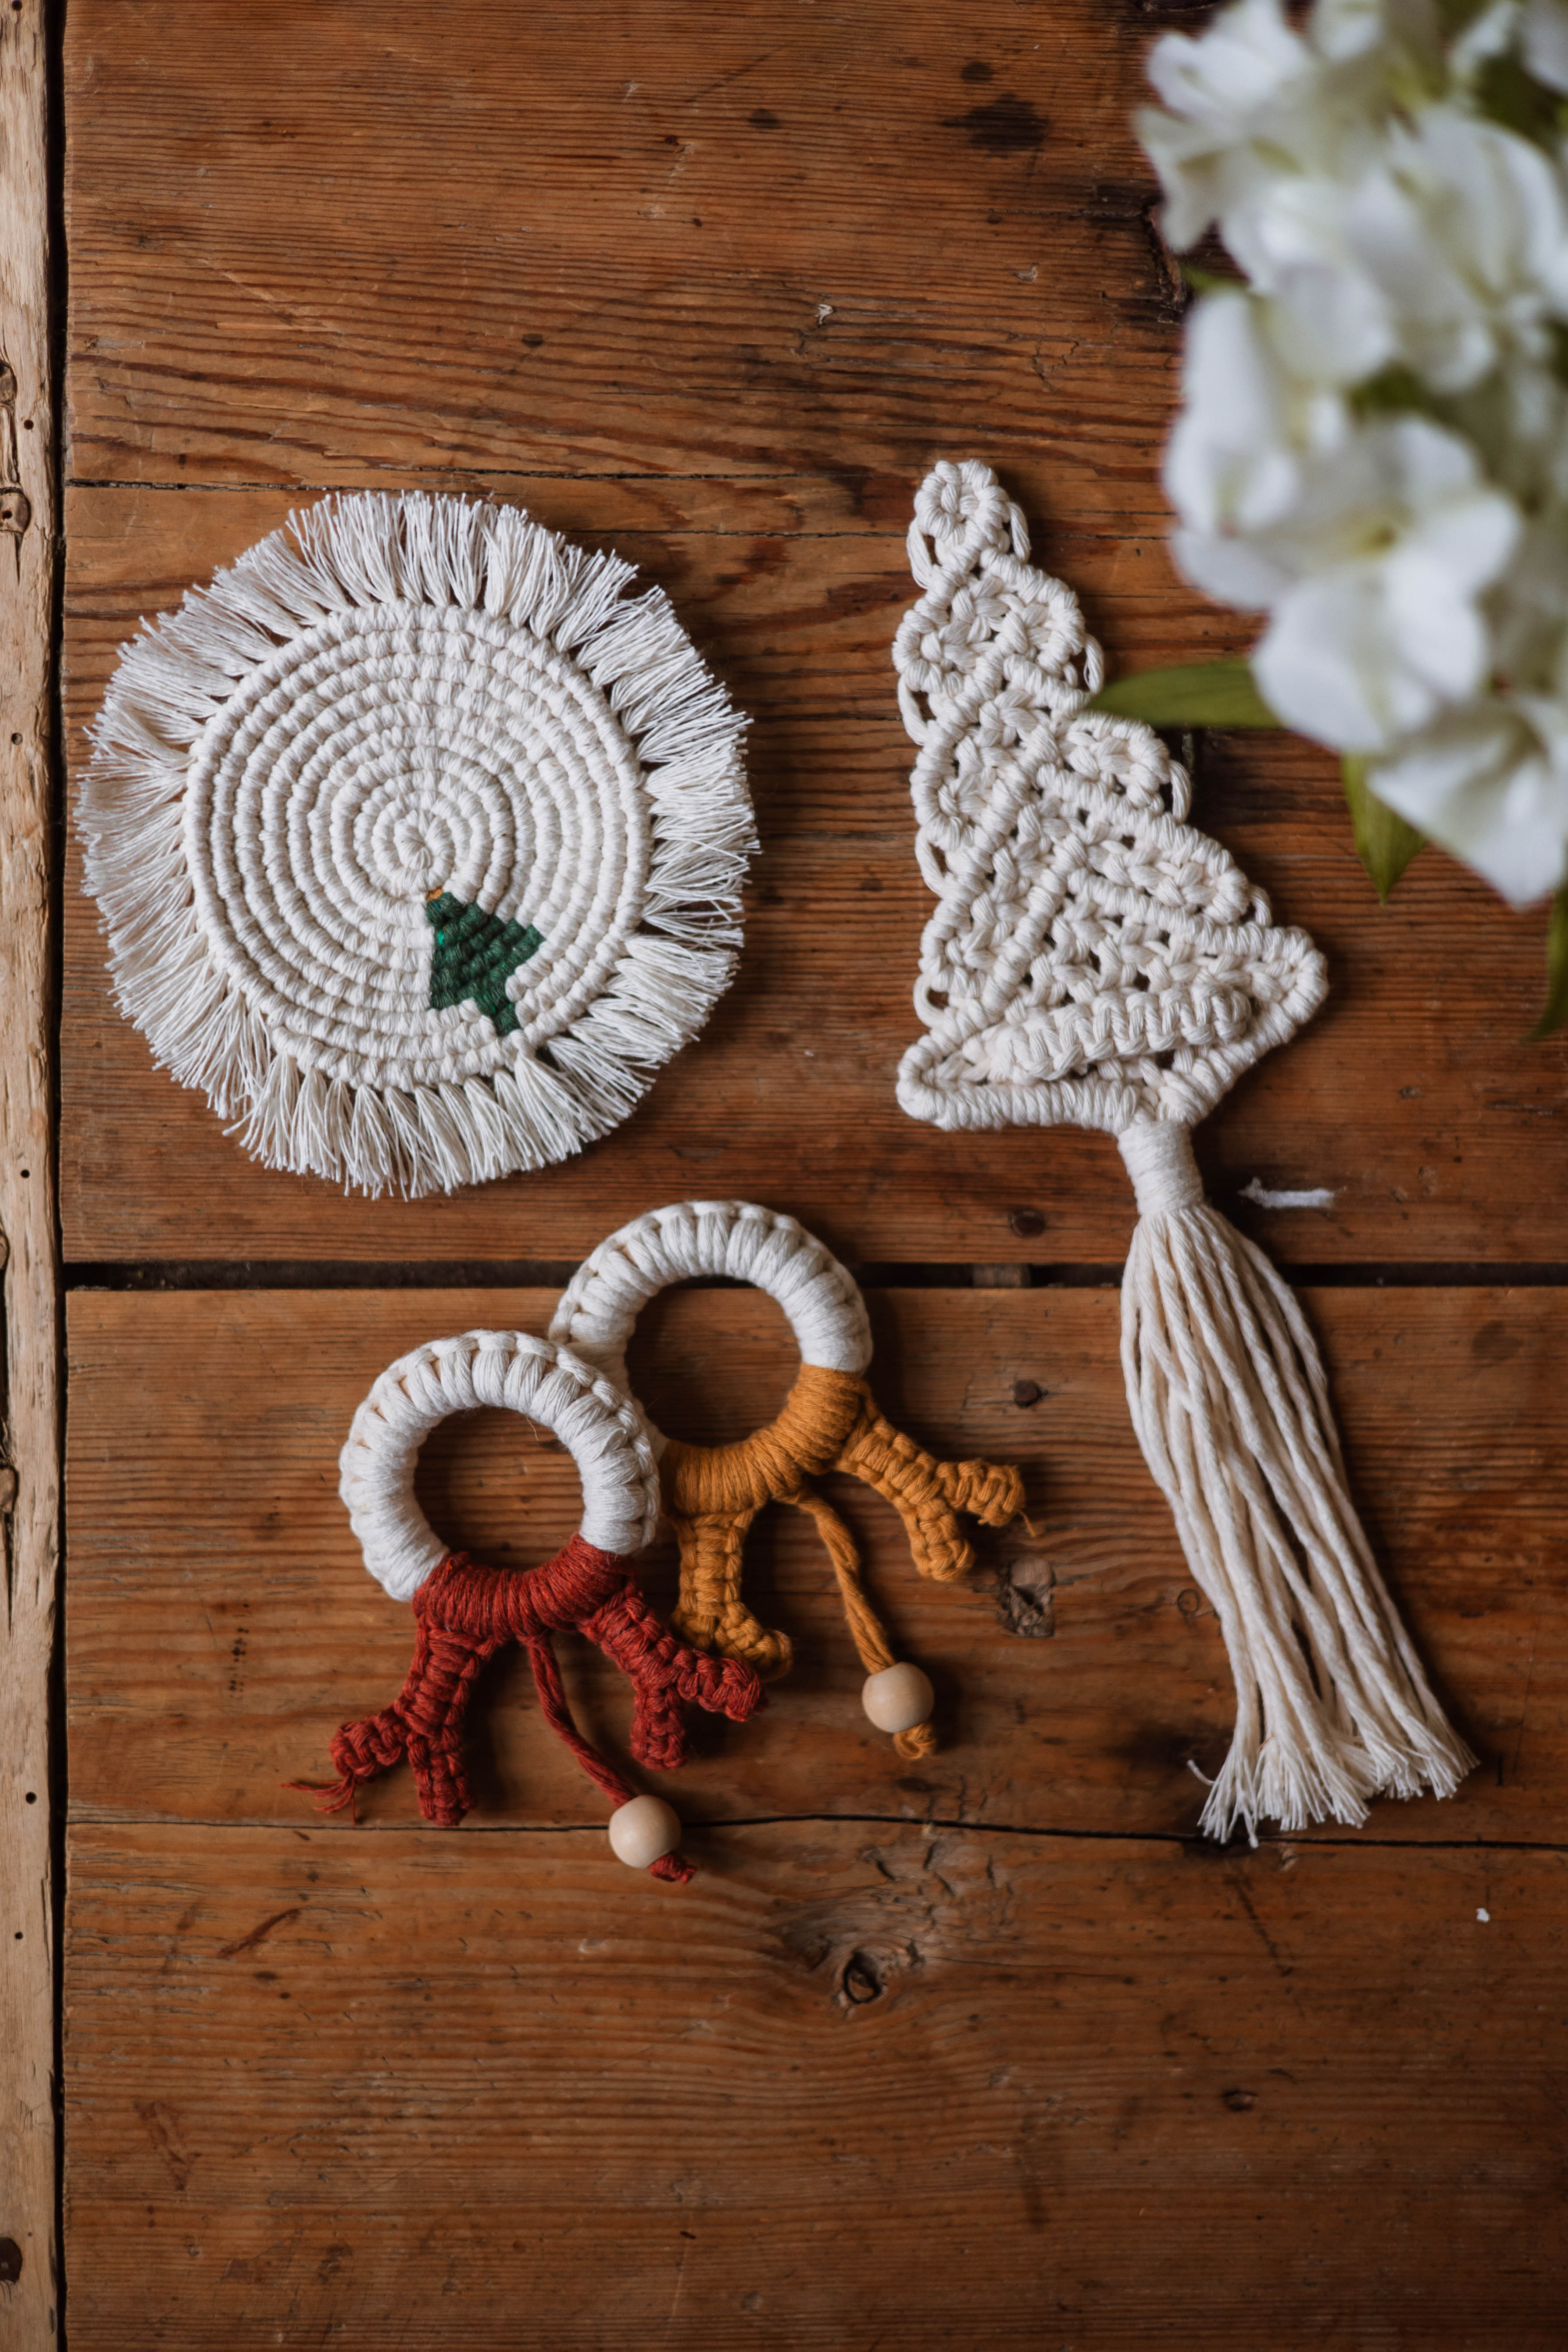
Macrame Ornament Reindeer “Holly”
Macrame decoration with wooden ring and reindeer horns 🦌
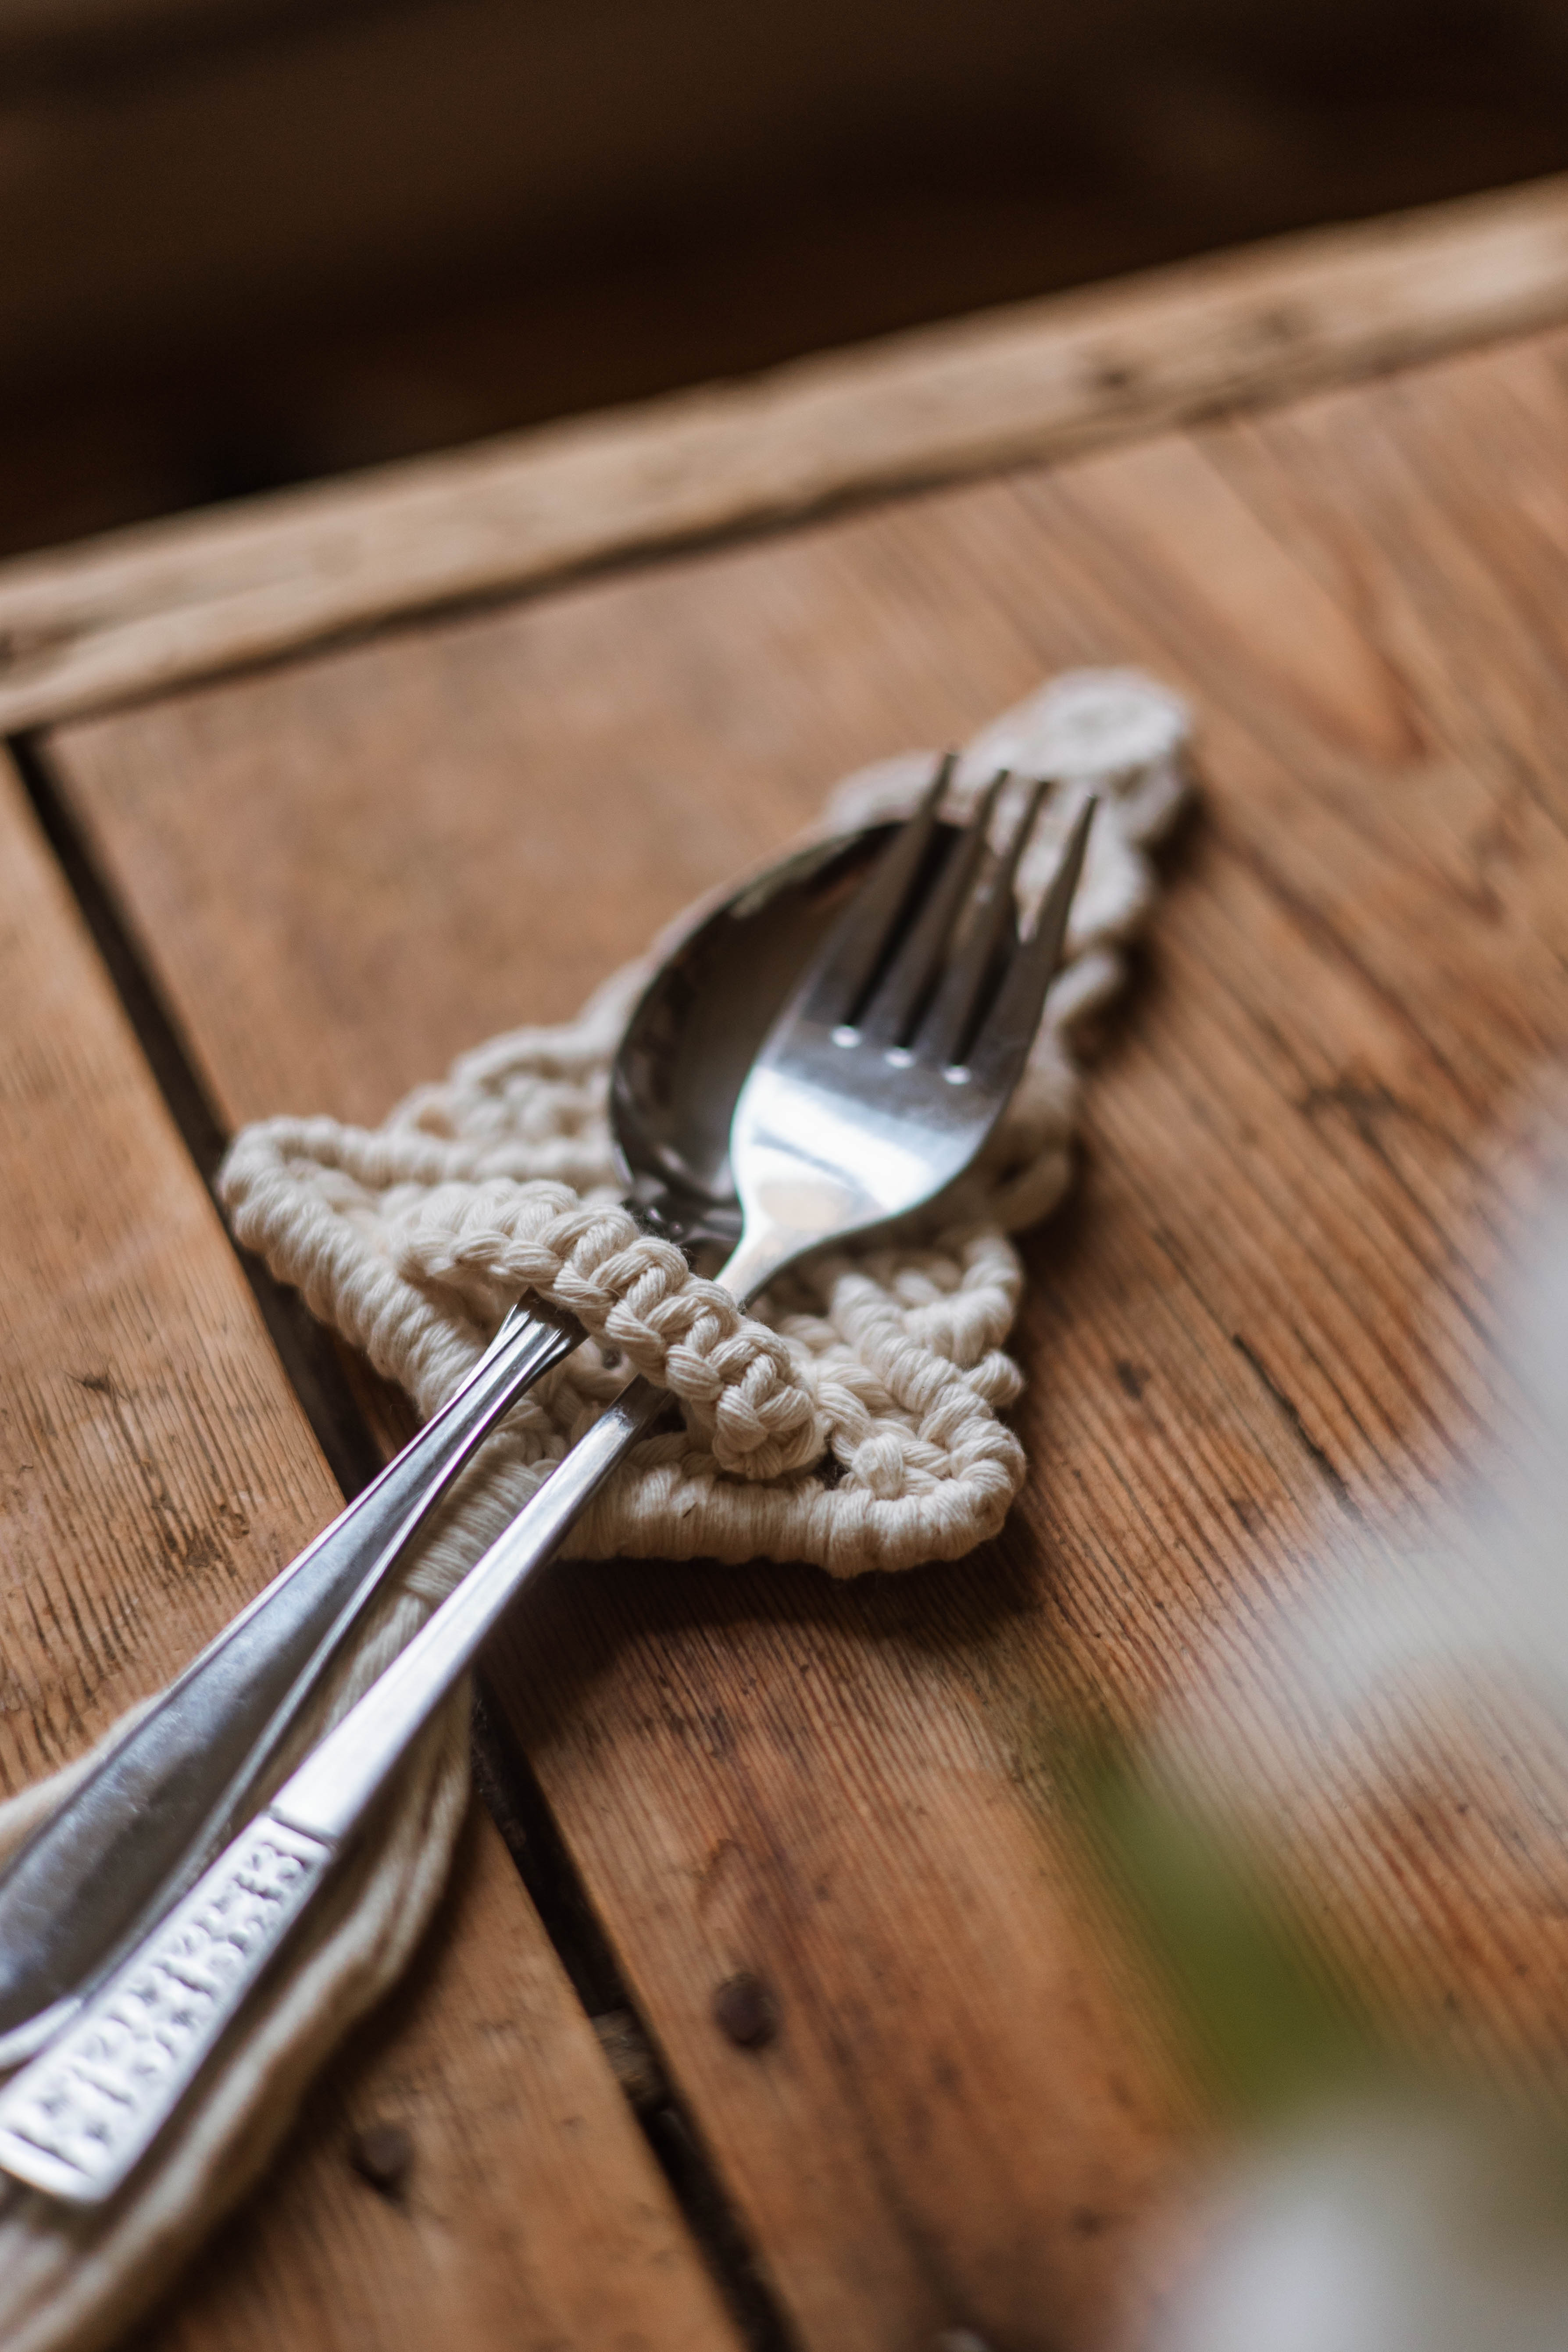
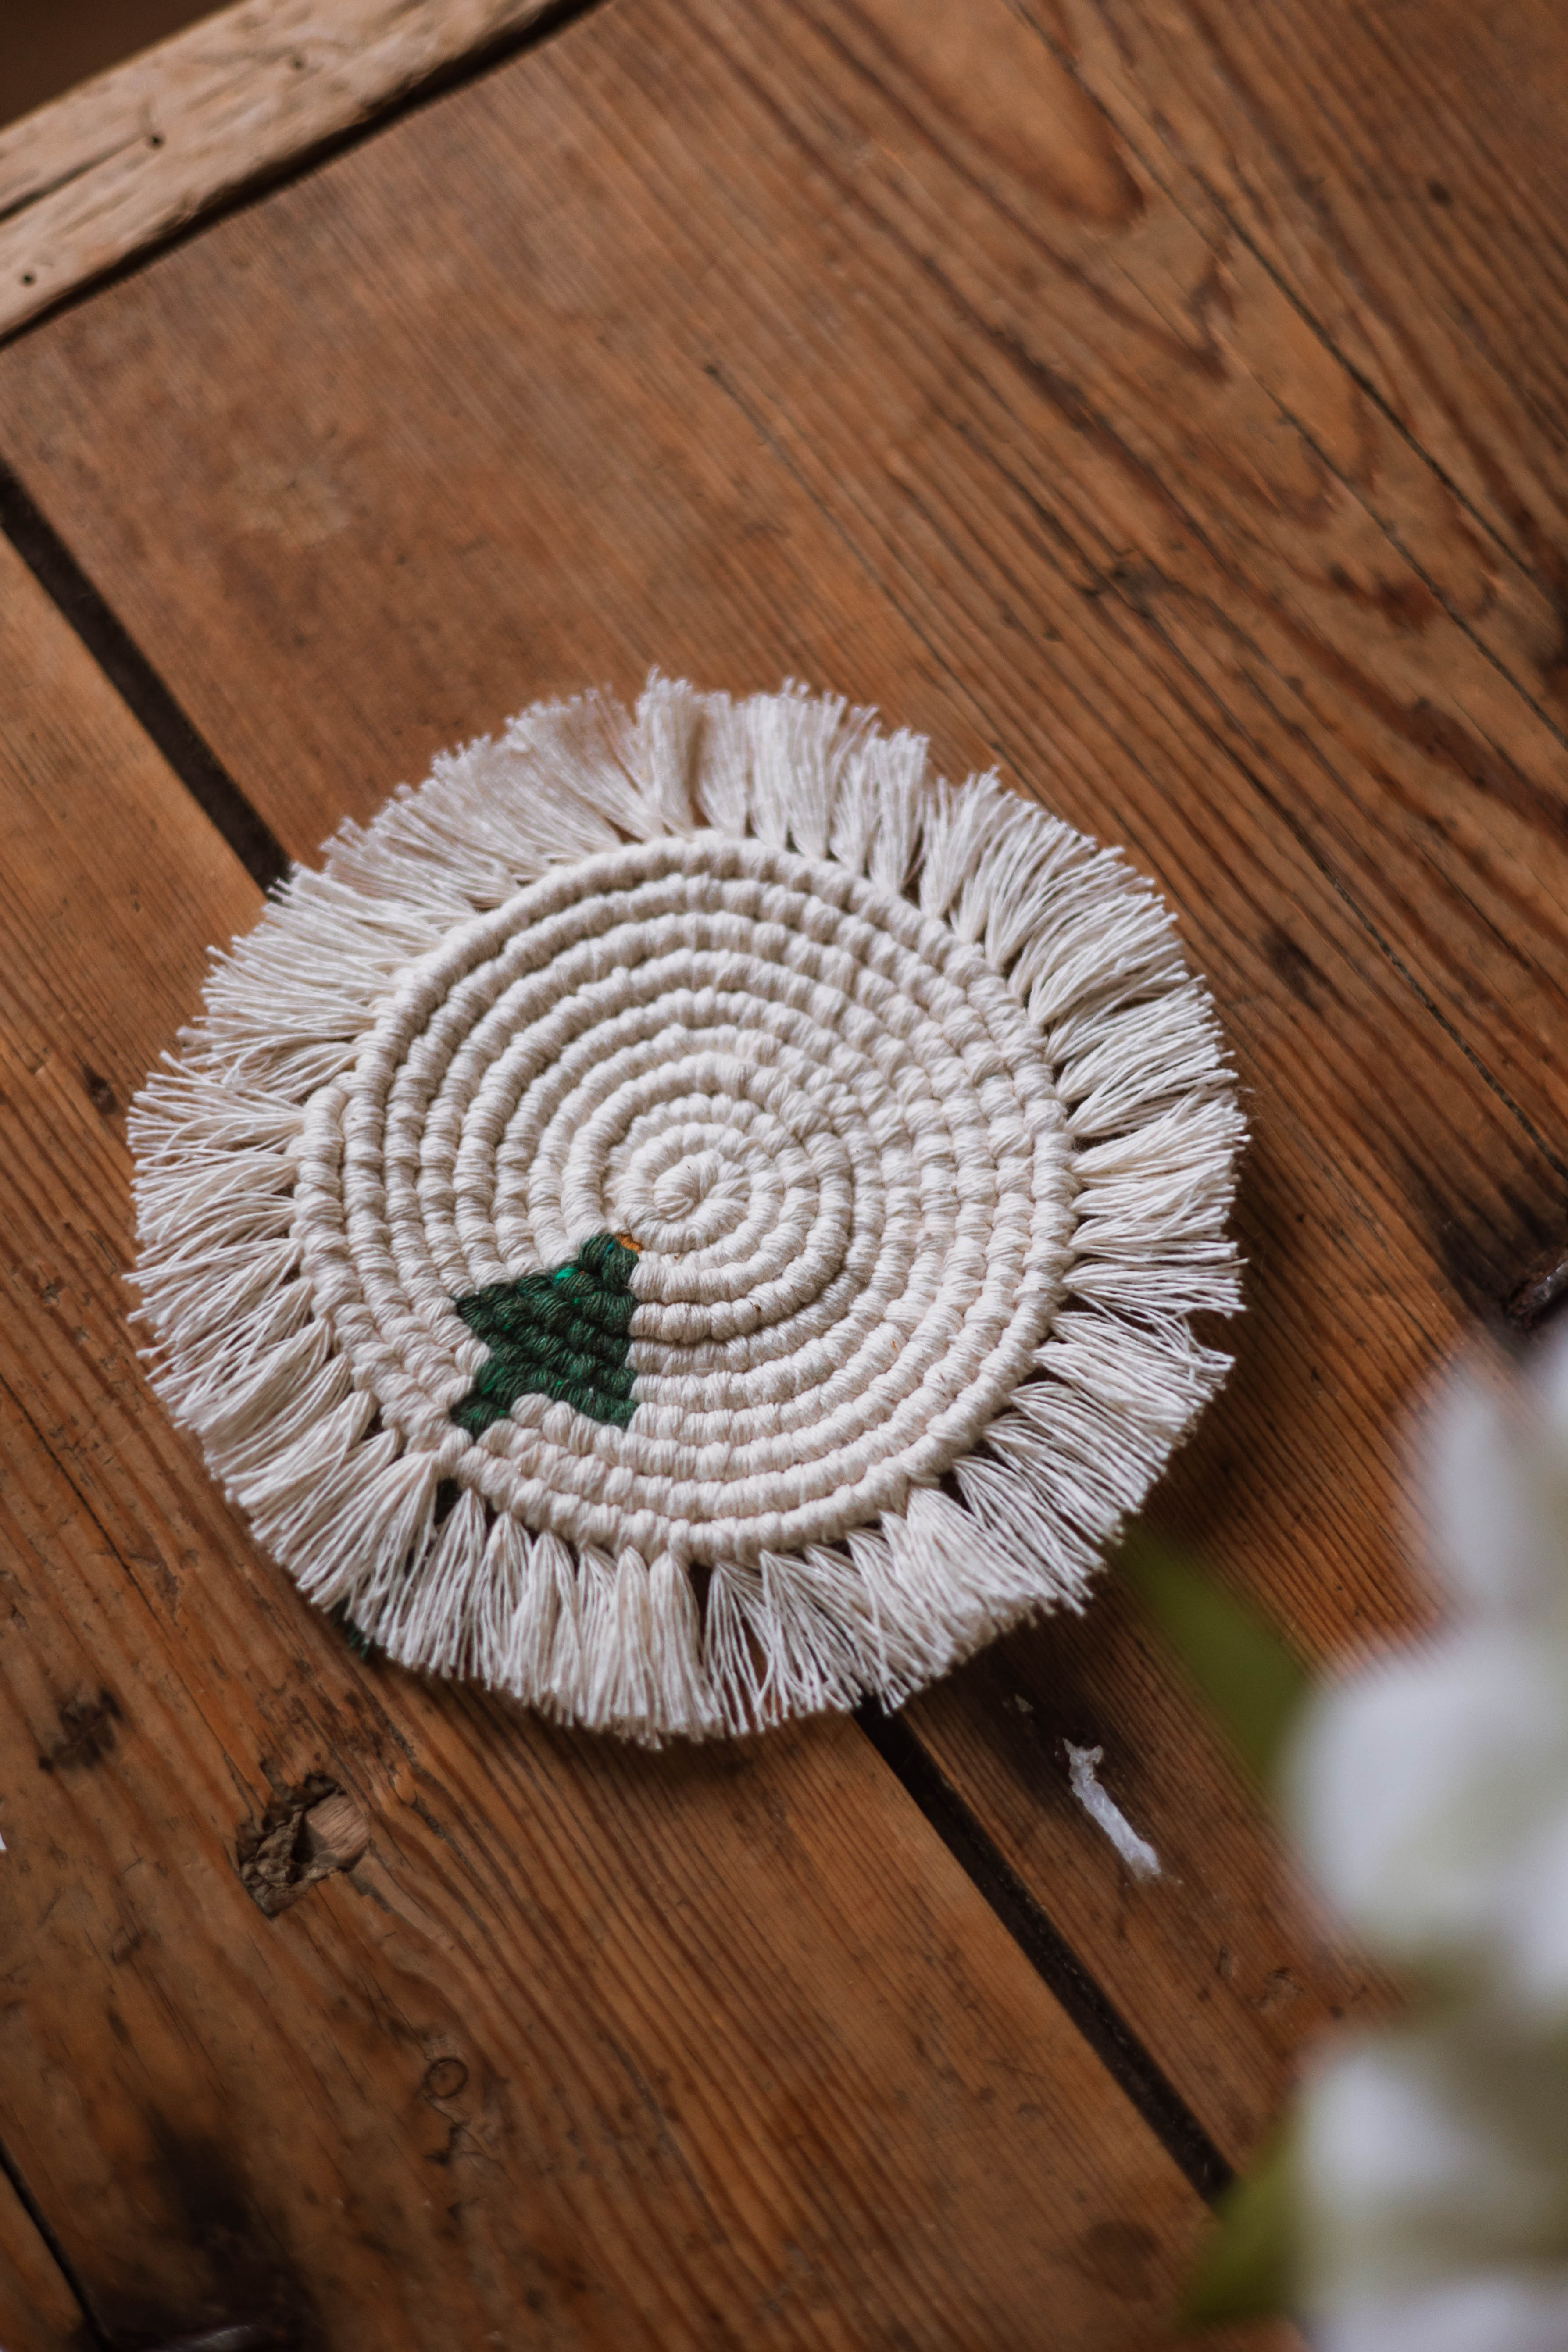
A charming and handmade decoration in the sign of Christmas! This cute macramé with wooden ring will be a nice detail in the Christmas tree, on the wall or as an ornament in the children's room. Made of soft cotton yarn with natural materials for a warm and rustic feel — perfect as a small gift or as part of your own Christmas decoration. To help, you have a full-length video to watch. You will need 1 x wooden ring, Ø 4—6 cm, 1 x wooden bead, Ø 20 mm, glue gun and single twisted 2.5 mm yarn.
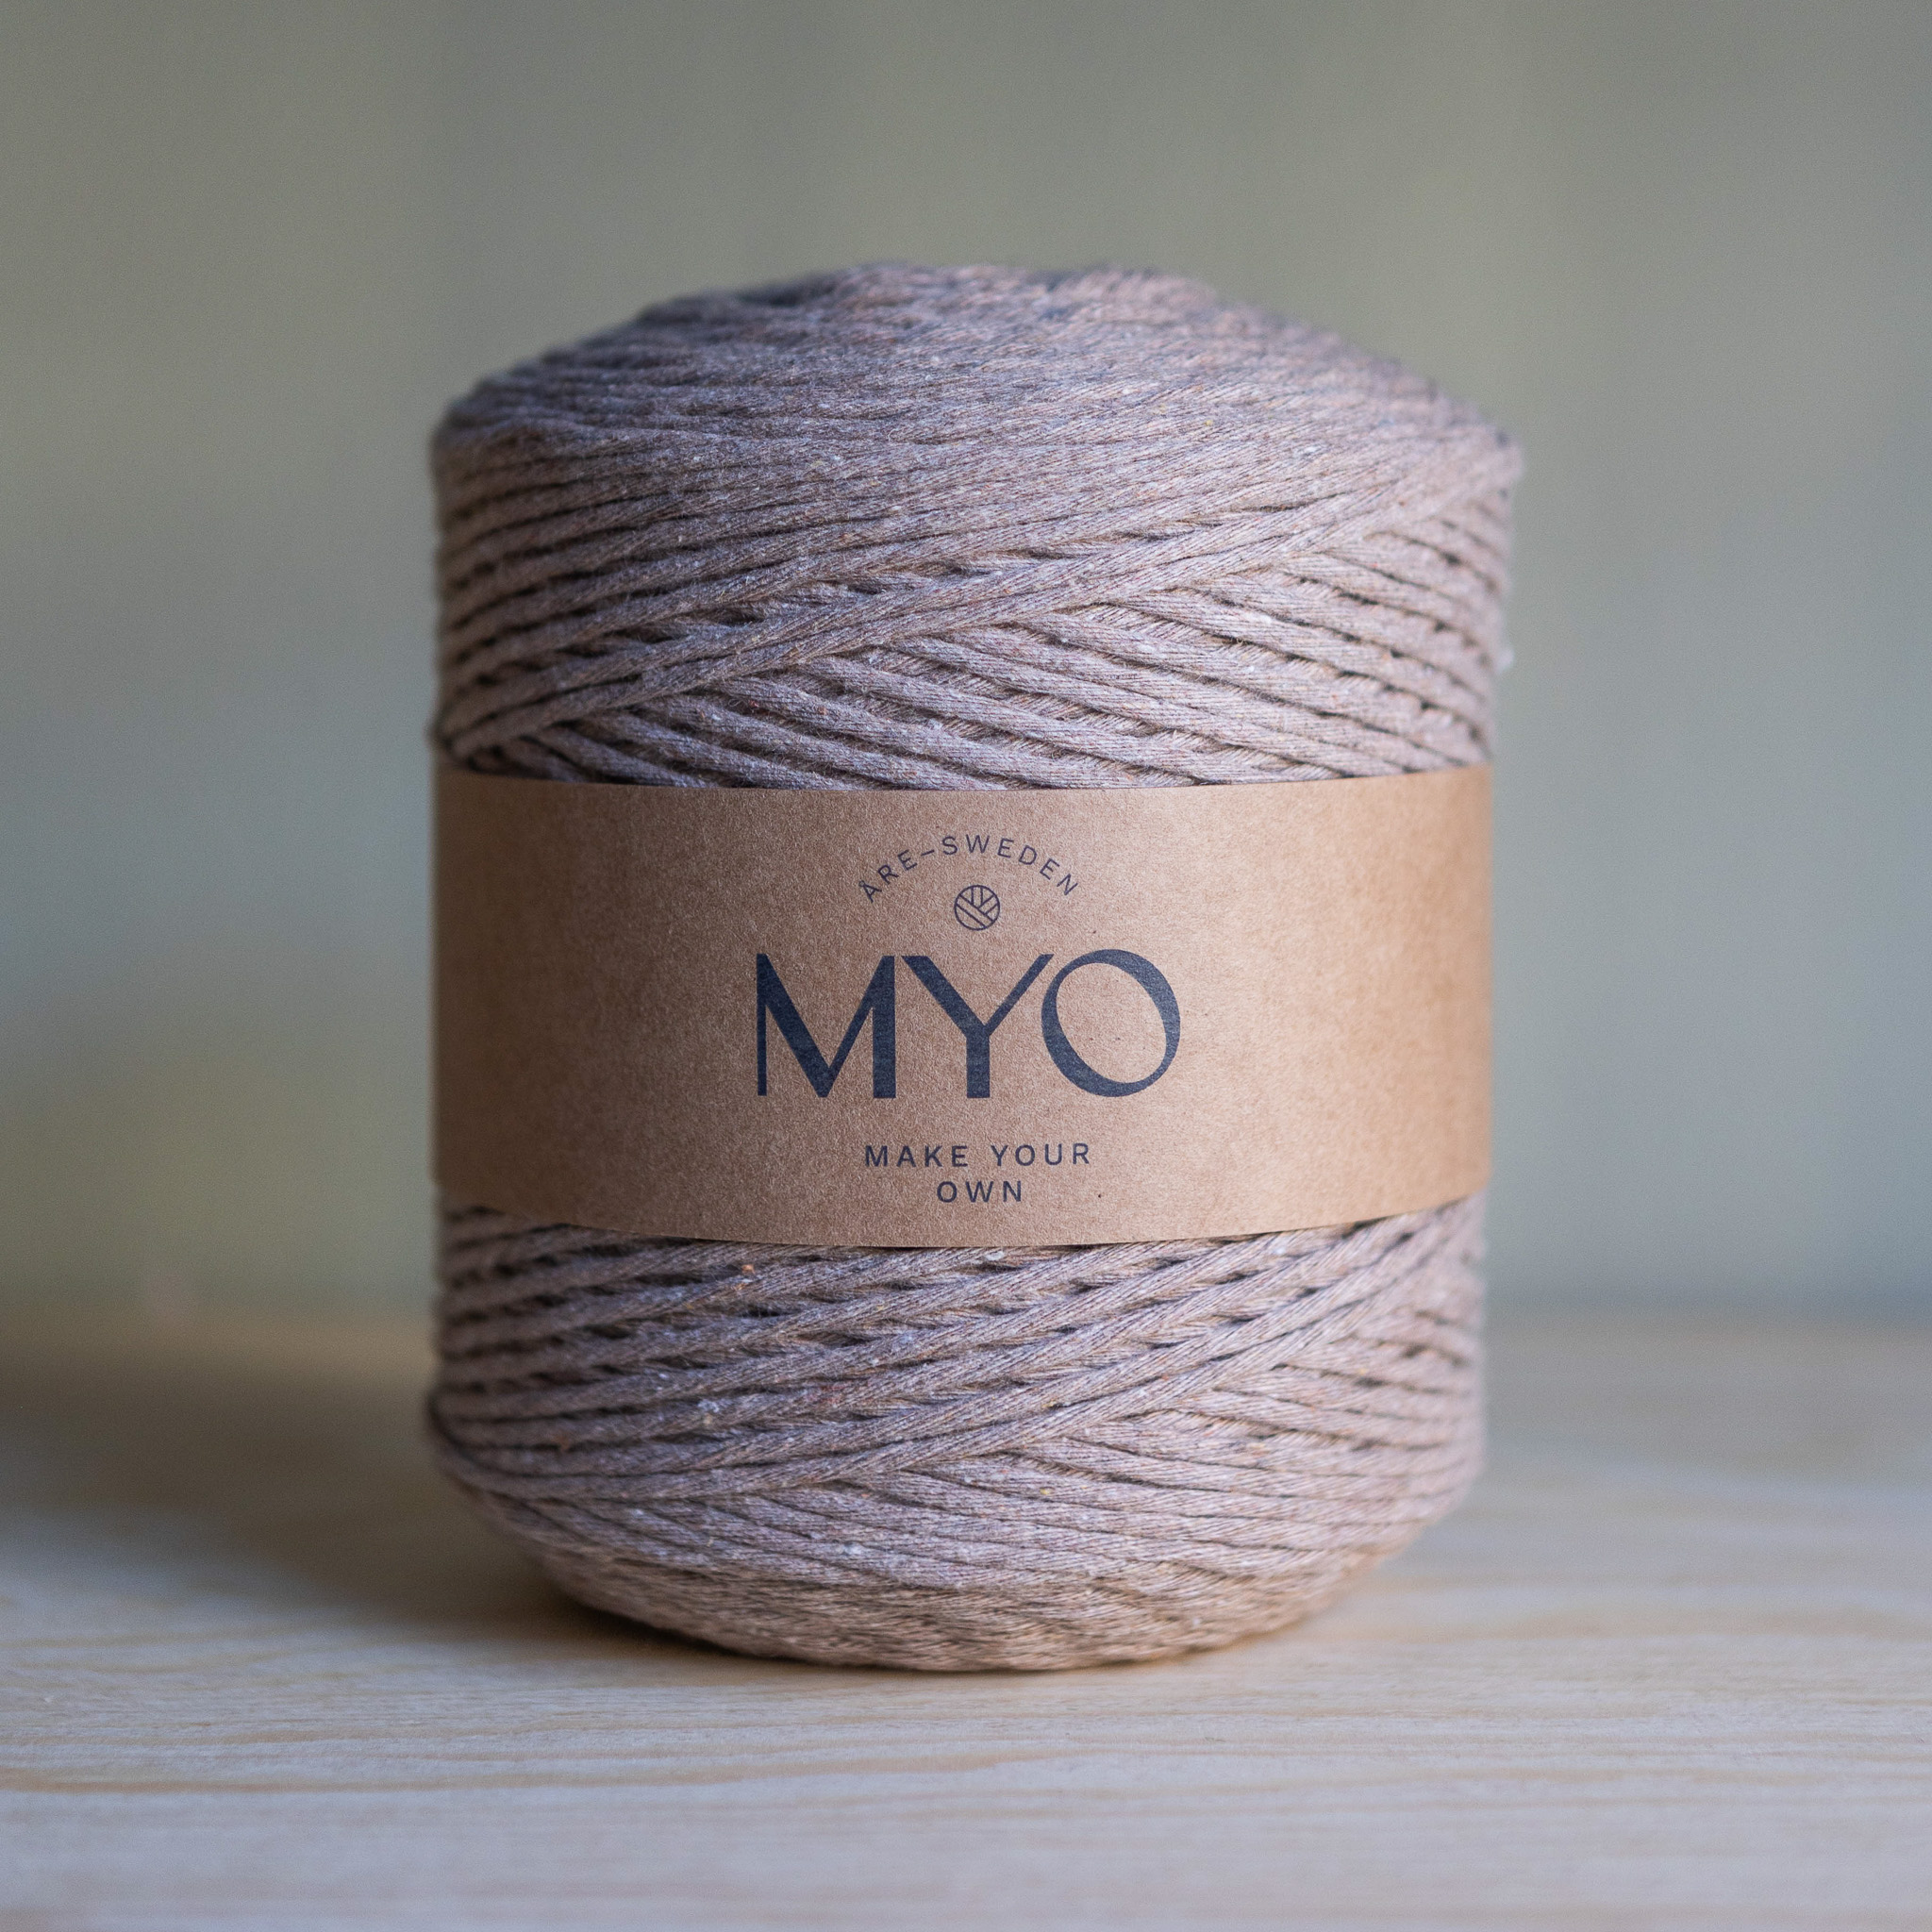
Yarn Consumption: 1 x 1.6 meters natural white cotton cord, 2.5 mm and 8 x 0.8 meters rust-yellow or terracotta colored cotton cord, 2.5 mm (single twisted)
This is what you need:
Here you can directly purchase the material for the product. Please note that the instruction is digital and appears here on the page (no written instruction).

Wooden balls 25mm | 4pcs
Can be used as decoration in your macramé projects on, for example, plant hangers and wall hangers. 25 mm in diameter (hole is 6 mm wide). Natural colored/unpainted made of FSC marked Schima wood
Buy productHere's how to do it
This cute decoration can be tied quickly! Perfect as a Christmas gift or gift for loved ones. /Isabella
.jpg)

Material
1 x 5-6cm dia wooden ring
1 x 20mm wooden bead
1 x 1.6 meters of natural white 2.5mm single twist string
8 x 0.8 meters of rusty yellow or terracotta 2.5mm single twist string
Equipment
Measuring tape
Scissors
Masking tape
Hot glue or fabric glue
Knots
Lark’s Head Knot
Vertical Lark’s Head Knot
Reversed Lark’s Head Knot
Square Knot
Tutorial
Take the natural string and place it on the wooden ring with the Lark’s Head Knot
2. Next, tie consecutive Vertical Lark’s Head Knots with one strand.
3. Repeat with the next strand, and you should have covered about ⅔ of the ring.
4. Place the coloured strings on the wooden ring with the Reversed Lark’s Head Knot. Make sure the ends of the natural string are hidden behind
5. You now have two sets of strings- each with 8 strands
6. Start with one set and tie four consecutive Square Knots over the 6 filler strings. Pull the filler strings to make sure they are straight inside the square knots.
7. Split the strings in this set into two new groups of four strings each.
8. Start from the group on the left and tie three Square Knots.
9. Repeat with the other group.
10. Trim the excess string, leaving about 1-2 cm. Keep one of the longer strings you just trimmed on the side. You will use it later to finish the ornament.
11. Repeat steps 6-10 with the other set of strings.
12. Turn the macrame and neatly glue the ends at the back. BE CAREFUL not to burn yourself if using hot glue!
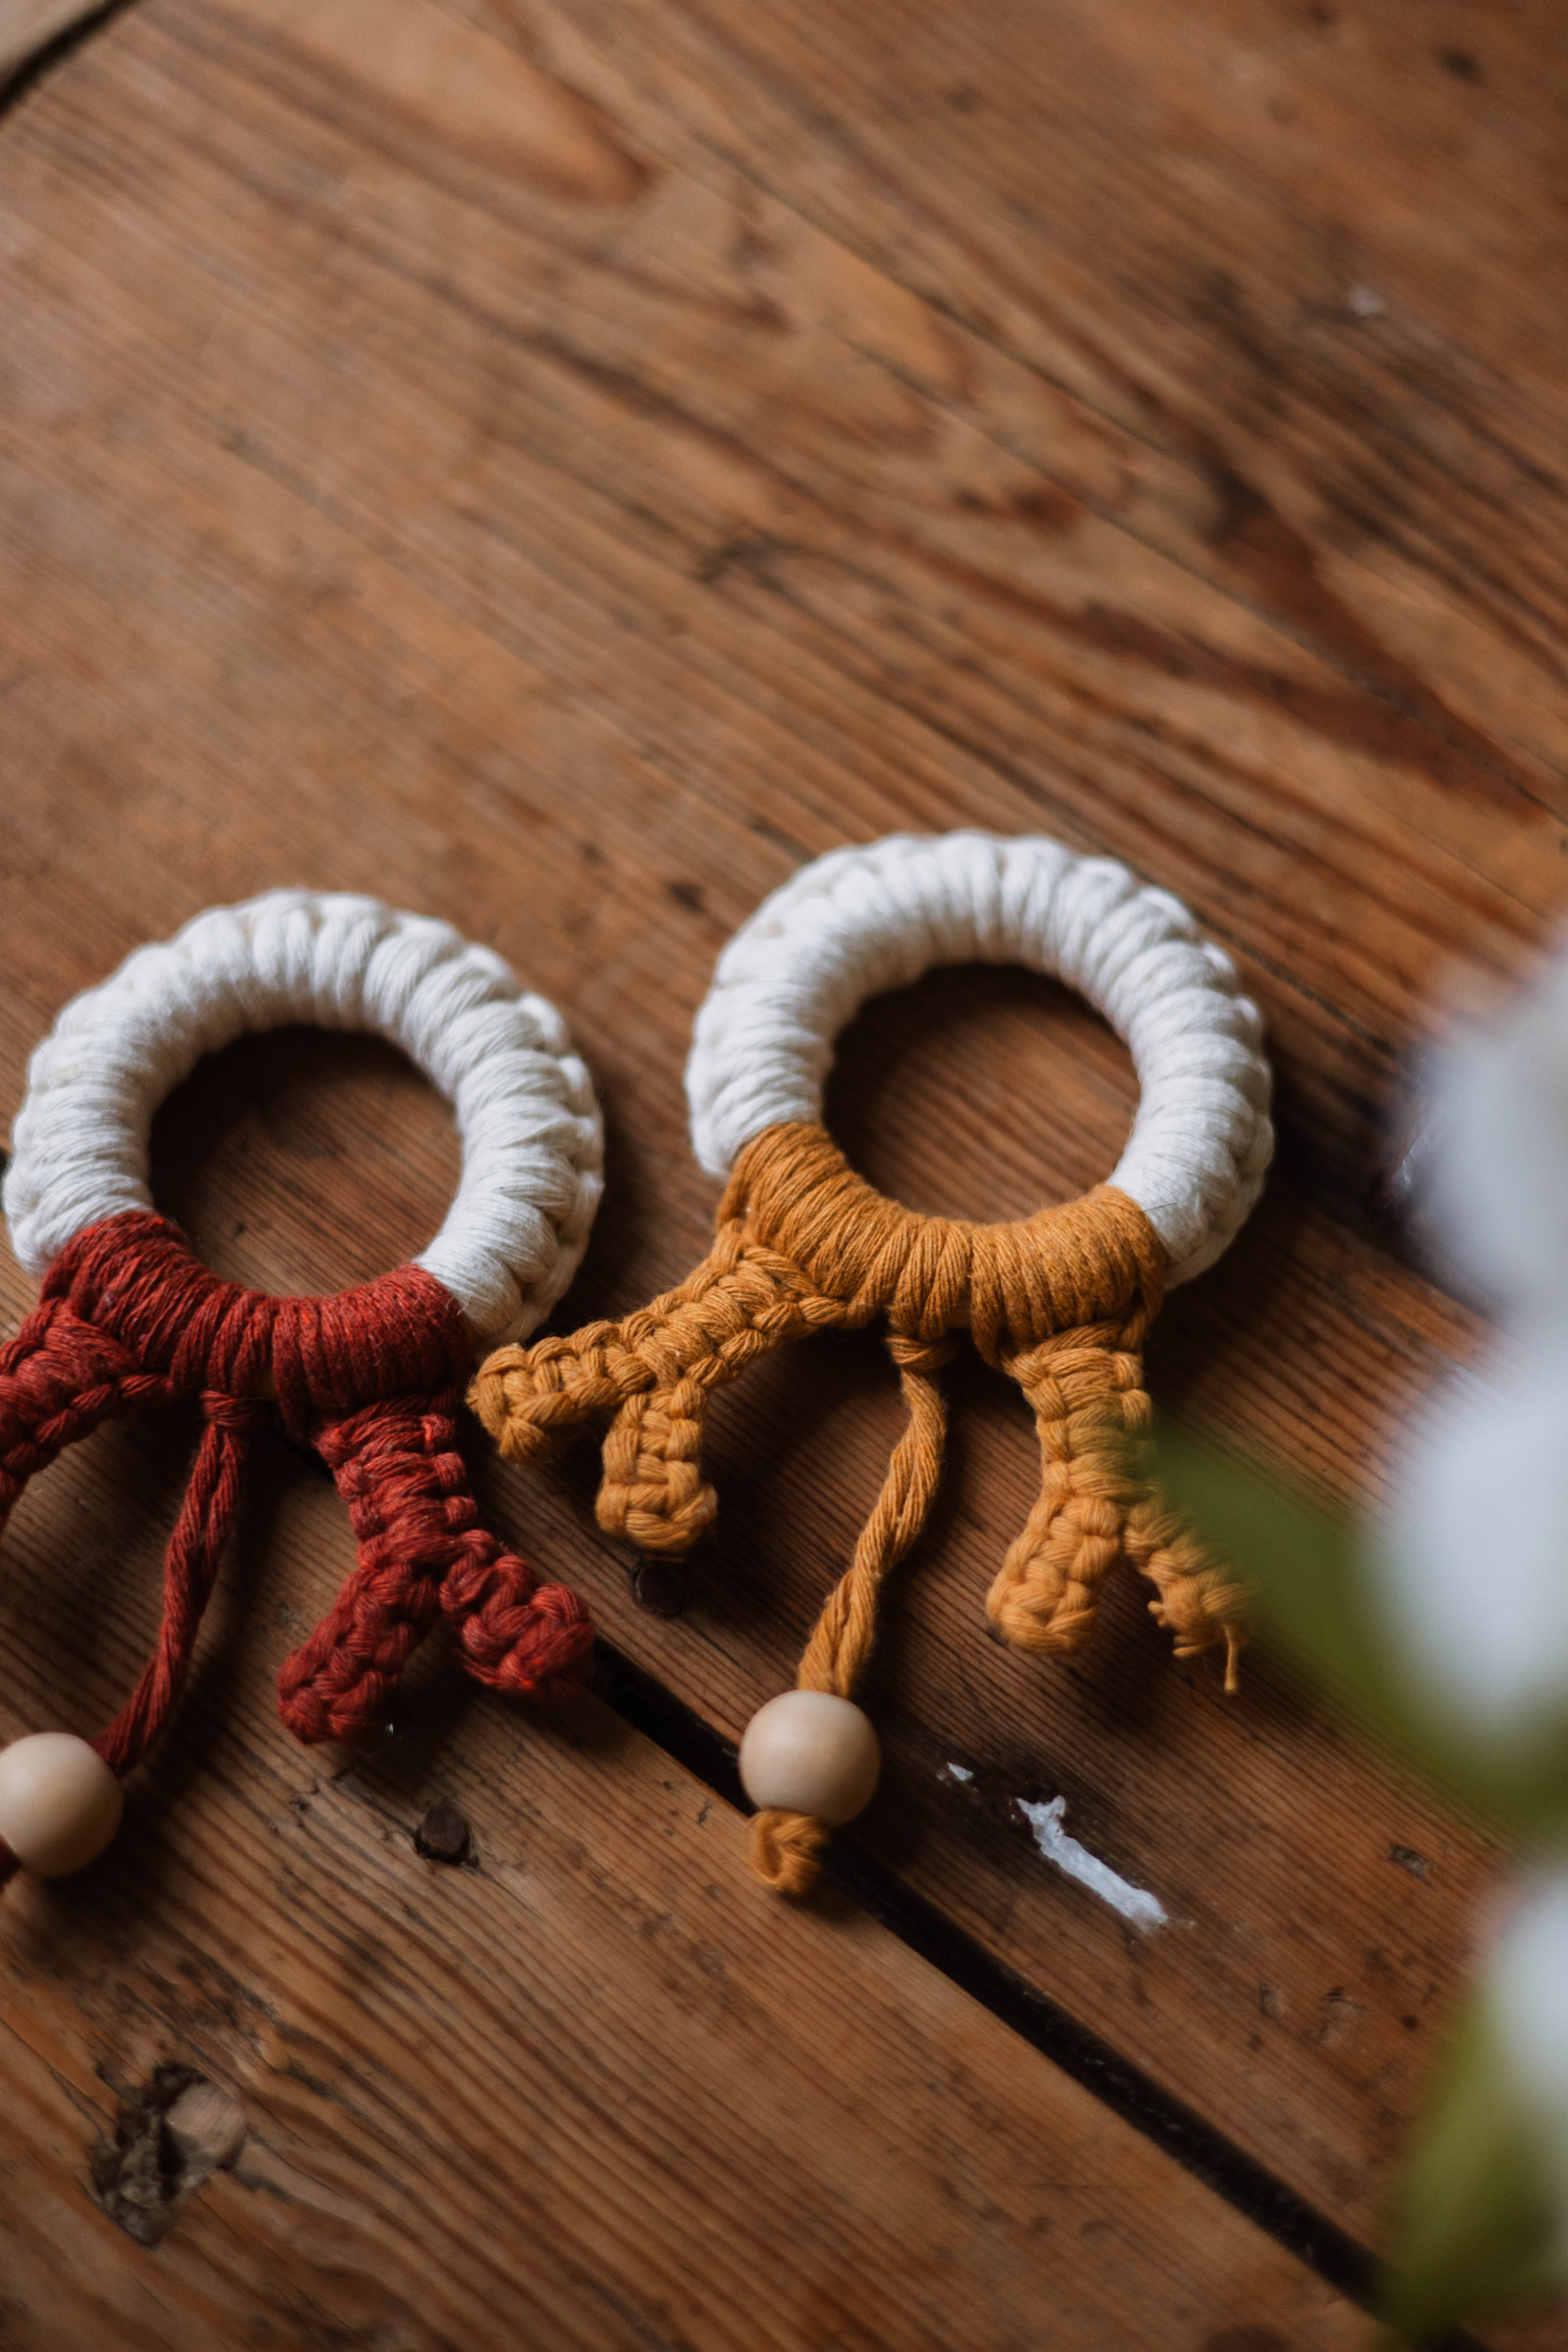
13. Take one of the coloured strings you kept on the side and place it on the wooden ring with the Lark’s Head Knot, in between the antlers.
14. Put the wooden bead on the strings, then tie a knot at the top to finish the ornament.
Material
1 x 5-6cm dia wooden ring
1 x 20mm wooden bead
1 x 1.6 meters of natural white 2.5mm single twist string
8 x 0.8 meters of rusty yellow or terracotta 2.5mm single twist string
Equipment
Measuring tape
Scissors
Masking tape
Hot glue or fabric glue
Knots
Lark’s Head Knot
Vertical Lark’s Head Knot
Reversed Lark’s Head Knot
Square Knot
Tutorial
Take the natural string and place it on the wooden ring with the Lark’s Head Knot
2. Next, tie consecutive Vertical Lark’s Head Knots with one strand.
3. Repeat with the next strand, and you should have covered about ⅔ of the ring.
4. Place the coloured strings on the wooden ring with the Reversed Lark’s Head Knot. Make sure the ends of the natural string are hidden behind
5. You now have two sets of strings- each with 8 strands
6. Start with one set and tie four consecutive Square Knots over the 6 filler strings. Pull the filler strings to make sure they are straight inside the square knots.
7. Split the strings in this set into two new groups of four strings each.
8. Start from the group on the left and tie three Square Knots.
9. Repeat with the other group.
10. Trim the excess string, leaving about 1-2 cm. Keep one of the longer strings you just trimmed on the side. You will use it later to finish the ornament.
11. Repeat steps 6-10 with the other set of strings.
12. Turn the macrame and neatly glue the ends at the back. BE CAREFUL not to burn yourself if using hot glue!
13. Take one of the coloured strings you kept on the side and place it on the wooden ring with the Lark’s Head Knot, in between the antlers.
14. Put the wooden bead on the strings, then tie a knot at the top to finish the ornament.
The rights to this pattern belong to MYO Make Your Own. The pattern or its pictures may not be copied, shared or resold either in parts or in its entirety, but you may sell items you have crocheted from this pattern. If you have questions about the pattern, contact MYO at hello@makeyourown.se.
%20(1).jpg)