Gnome “Fabler”
Crochet a Cute Gnome
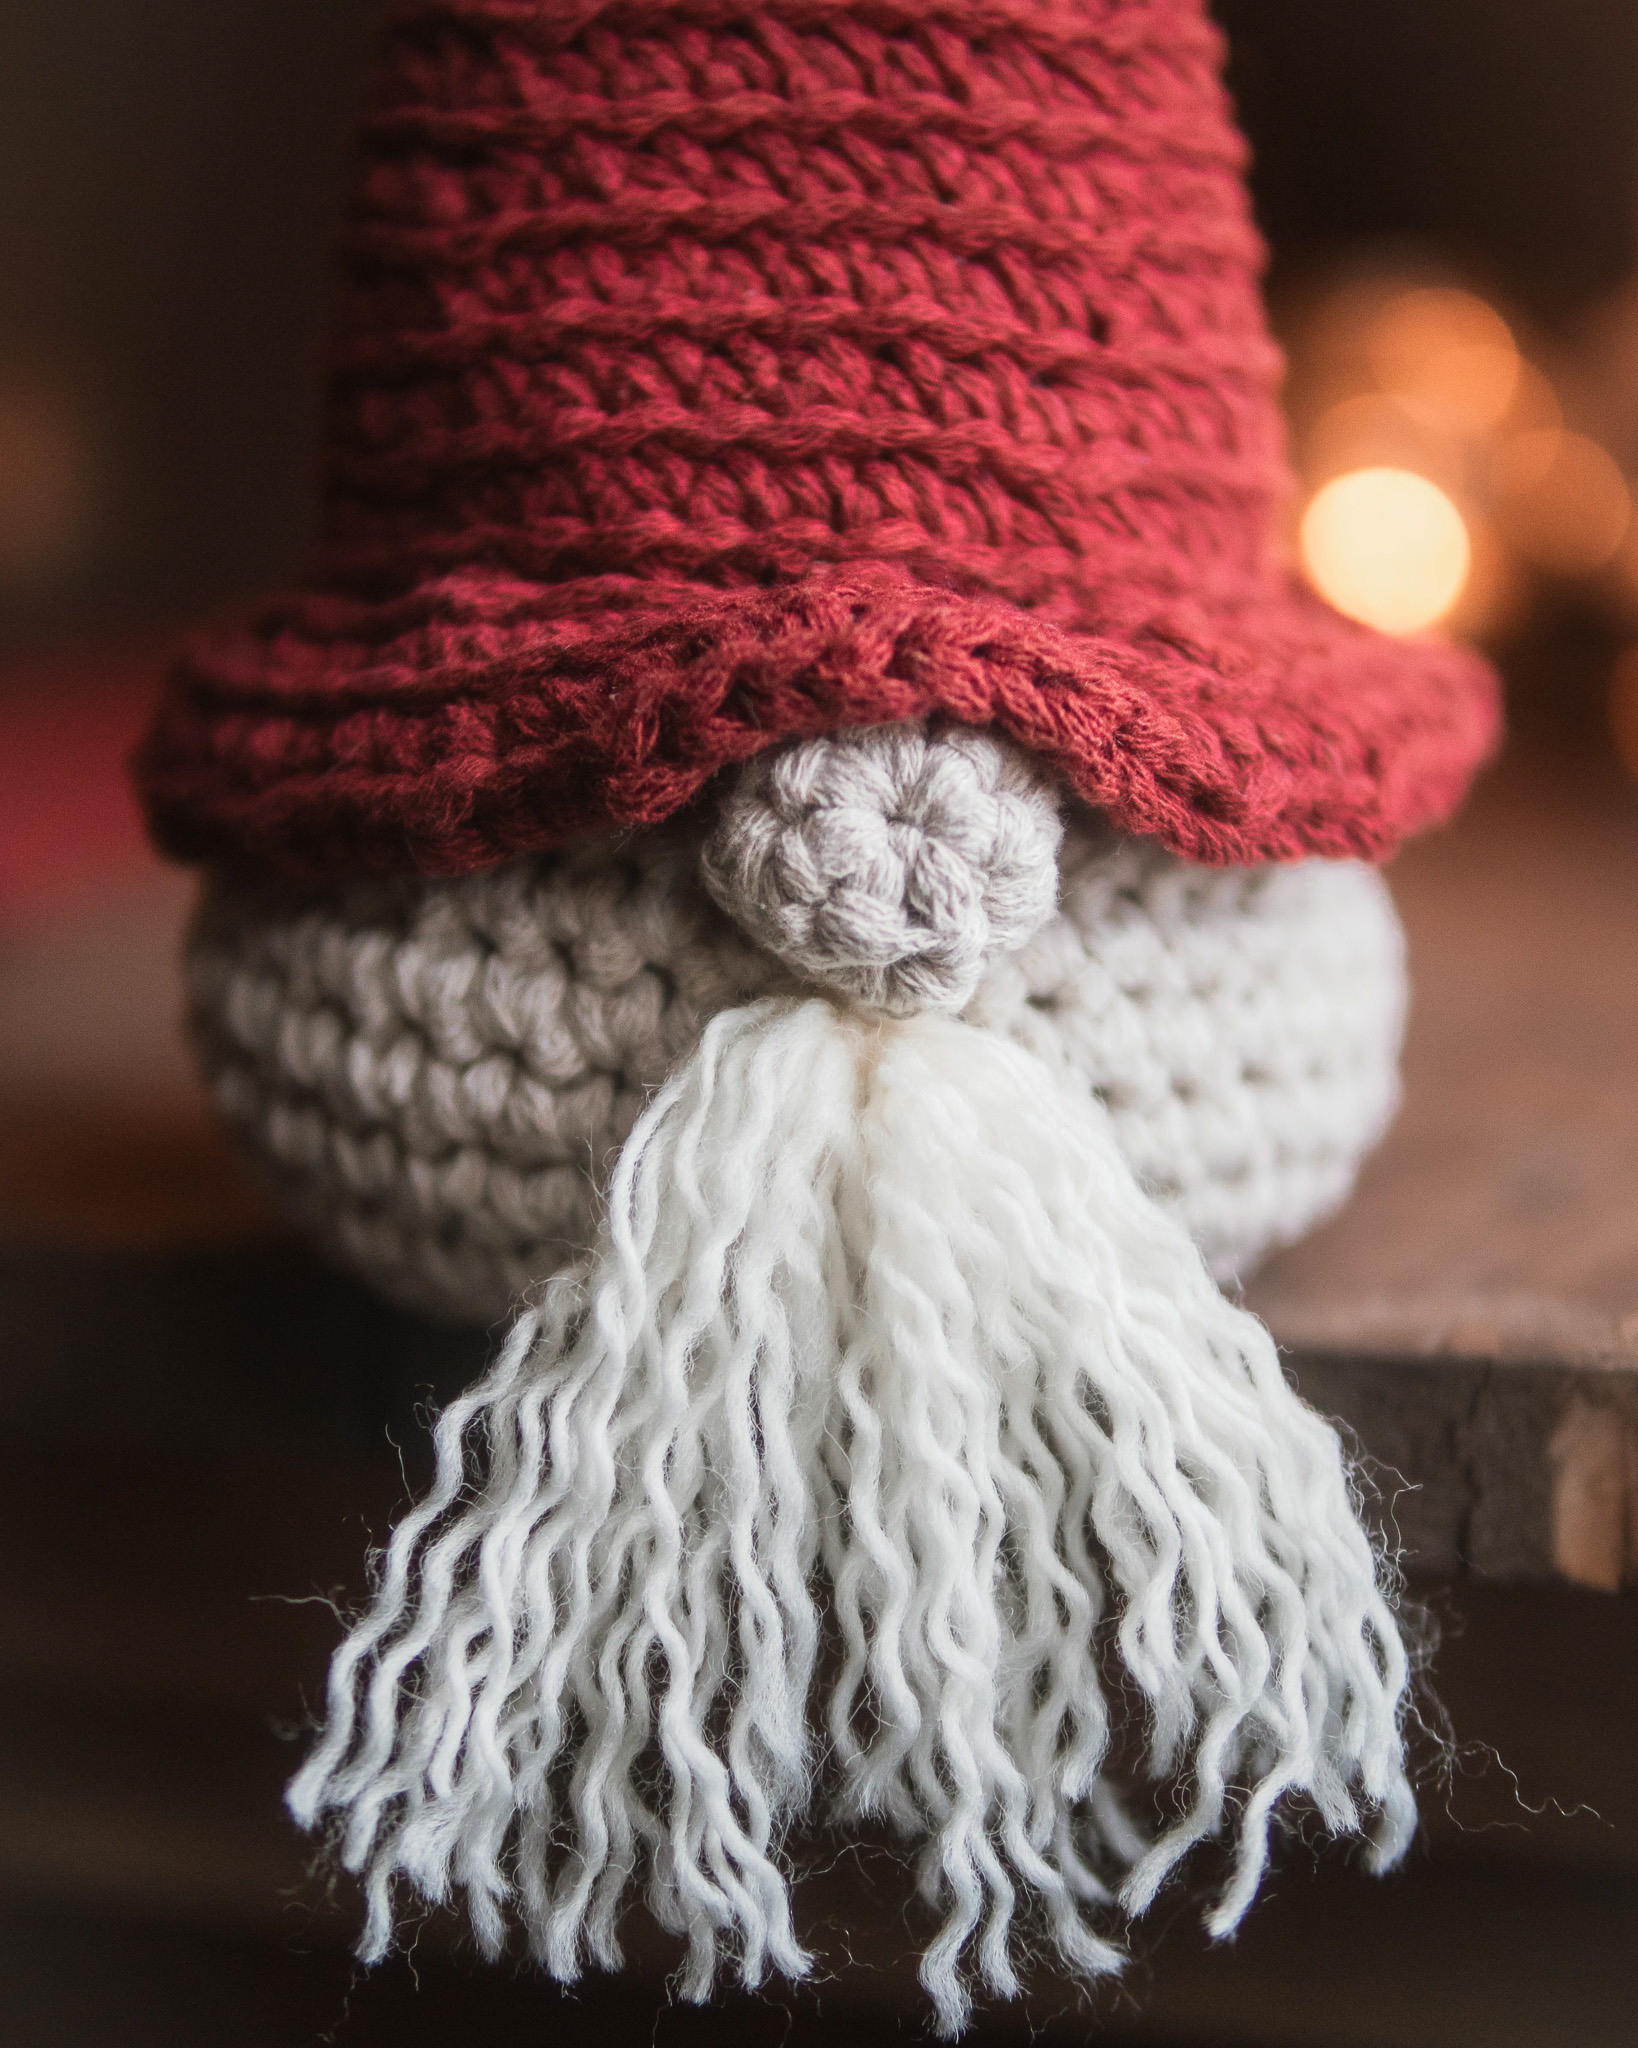
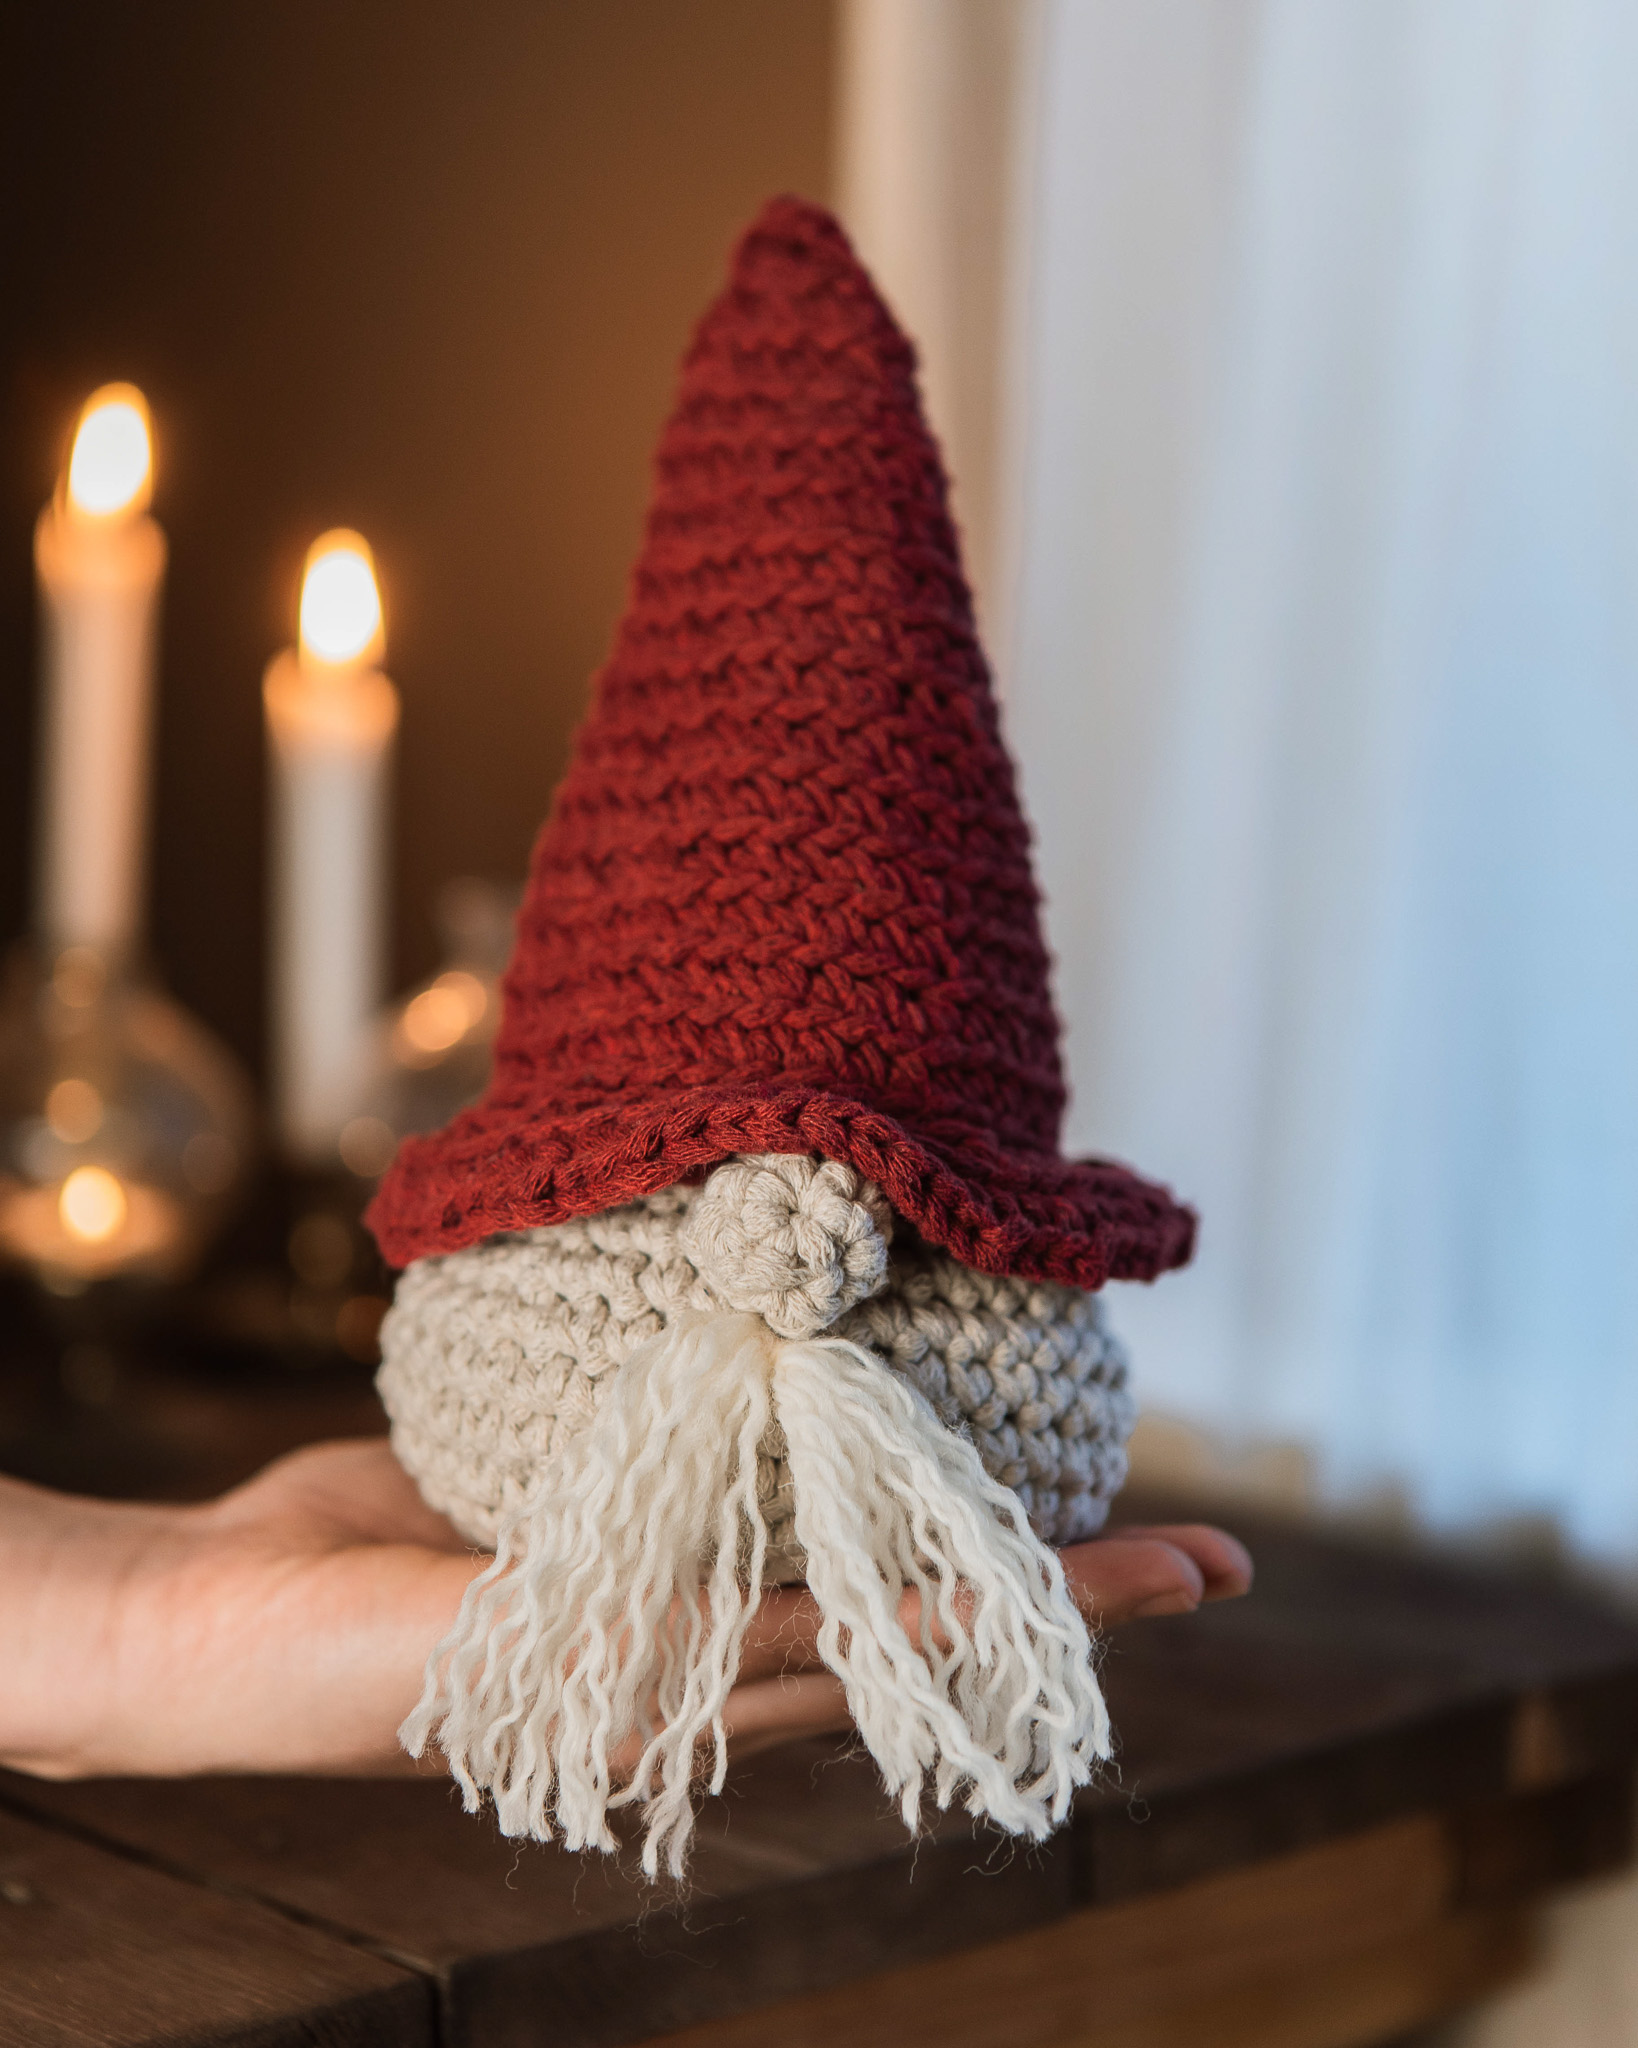
This little, cute gnome fits perfectly into your Christmas decorations at home. The gnome is easy to crochet, using the most common crochet techniques, making it a perfect project for beginners. A quick, simple, and adorable project!
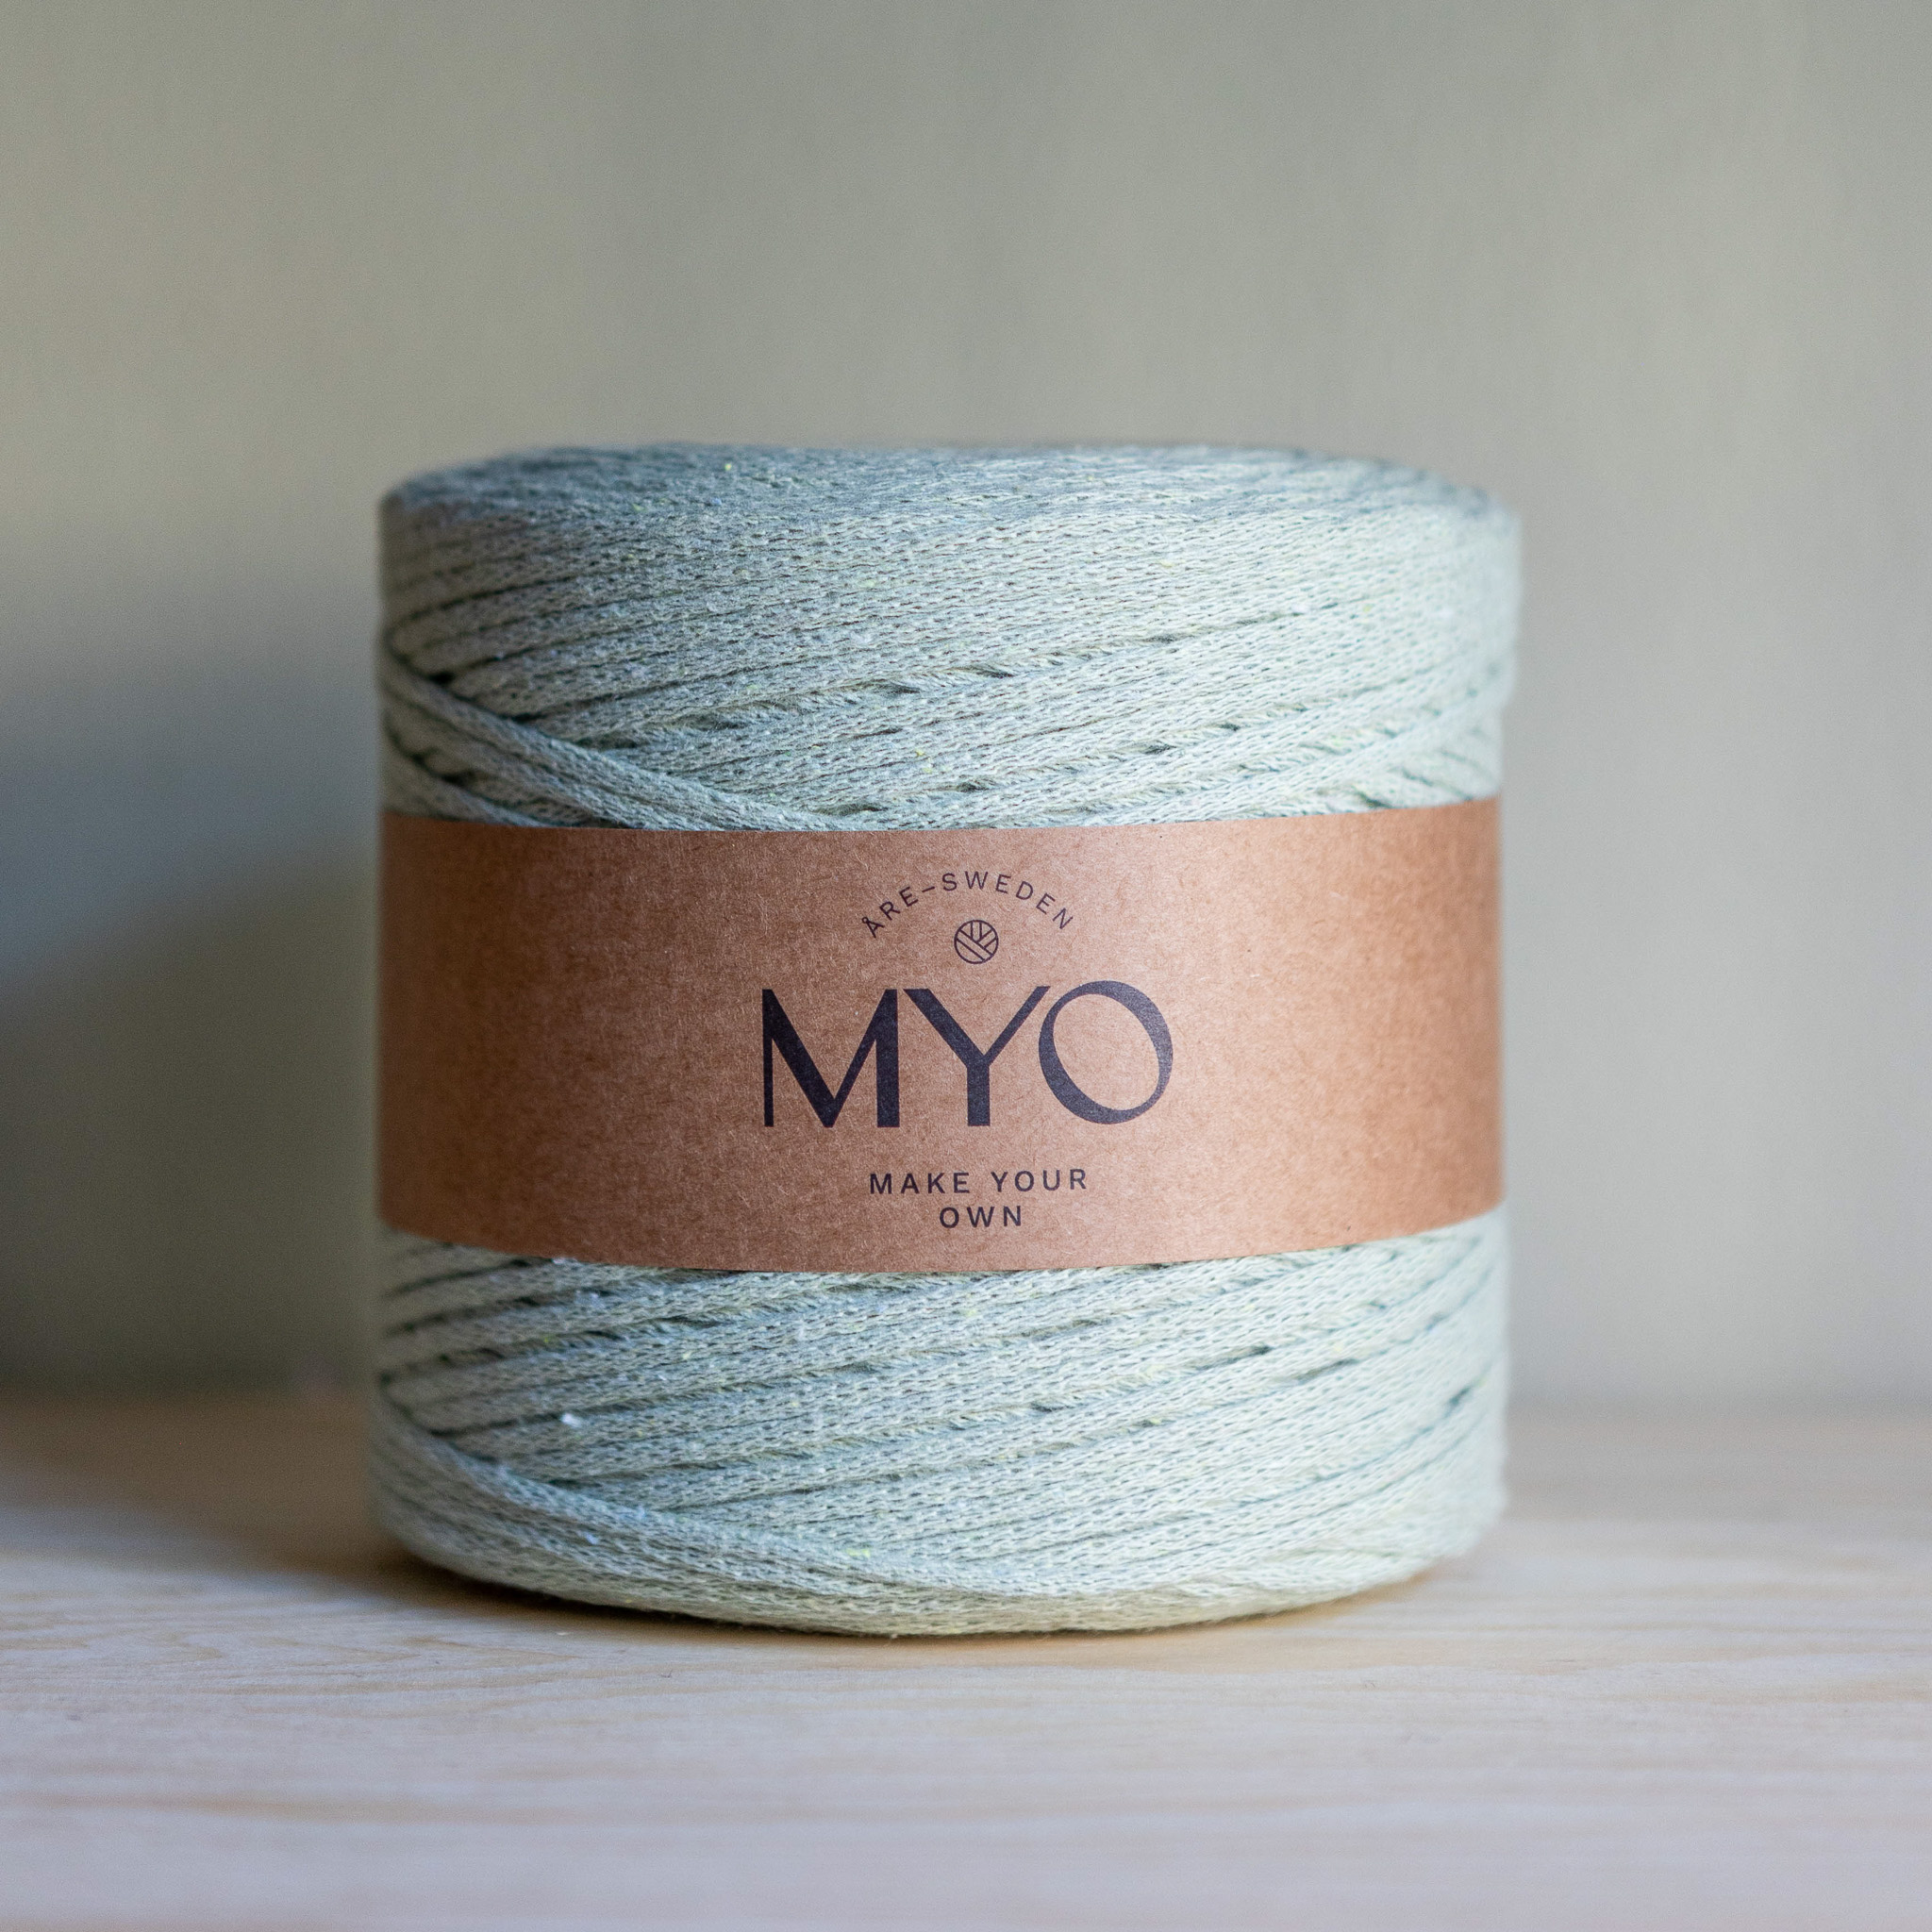
To crochet this gnome, you will need EKO Nano yarn and a 6 mm (or 7 mm) crochet hook. You’ll also need stitch markers, scissors, some form of stuffing (e.g., yarn scraps, fiberfill, cotton, dried peas, or filling from an old pillow), and some extra Basic Wool yarn for the beard if you wish to add one.
Yarn Consumption: About 60g per color, for a total of 120g. The amount of yarn needed may vary depending on how tightly you crochet.
Note that we in this instruction uses videos from out technique library.
%20(1).jpg)
This is what you need:
Here you can directly purchase the material for the product. Please note that the instruction is digital and appears here on the page (no written instruction).

Here's how to do it
This gnome is crocheted in two parts, and it's important to attach the nose and beard before sewing the body and hat together! Combining the pieces can be a bit fiddly, but with some patience, it will work out just fine. You can choose whether to use a 6 mm or 7 mm crochet hook, as both work well with the yarn. The hook size will only affect the final size of the gnome. It’s very easy to crochet, using the most common techniques, making it a perfect project for beginners! A quick, simple, and adorable project. Good luck! /Emma

You will start by crocheting the gnome's body. Use the greige yarn.
Round 1: Begin by making a magic ring and crochet 6 single crochets into the ring. Pull the ring tight. Mark the beginning of the round with a stitch marker.
If you're unsure how to make a magic ring or crochet single crochets, check out the video tutorials below.
Round 2: In this round, you will increase the number of stitches by crocheting 2 single crochets in each stitch. This will give you a total of 12 stitches at the end of the round. Remember to place your stitch marker in the last stitch of each round.
Round 3: Continue increasing the number of stitches. Increase in every other stitch, crocheting 1 single crochet in between. You’ll have 18 stitches by the end of the round.
Round 4: Increase in every 3rd stitch, for a total of 24 stitches.
Round 5: Increase in every 4th stitch, for a total of 30 stitches.
Round 6: Increase in every 5th stitch, for a total of 36 stitches.
Round 7: Increase in every 6th stitch, for a total of 42 stitches.
Rounds 8-12: Now you’ll add height to the gnome without increasing its width. Crochet 1 single crochet (SC) in each stitch around. Repeat this for a total of 5 rounds.
If you want the body to be taller, feel free to add a few more rounds.
Round 13: Check if you’re happy with the height of the gnome’s body. If not, you can crochet a few more rounds of 1 single crochet in each stitch before proceeding.
Now, it’s time to start decreasing the number of stitches. This will make it easier to attach the hat later. In Round 13, crochet 5 single crochet and then a decrease. Repeat 6 times. You should have 36 stitches in this round.
If you’re unsure how to crochet a decrease, check out the video tutorial below (Decrease).
Round 14: Crochet 4 single crochet and then a decrease. Repeat 6 times. You should have 30 stitches. Once this round is complete, the body is finished!
To finish: Crochet one chain stitch, cut the yarn, and pull it through. Secure the yarn end by weaving it through nearby stitches on the inside of the body. Also, secure the end from the magic ring.
If you’re unsure how to weave in your yarn ends, check out the video tutorial below.
Step 2: The Hat
Round 1: Take the red yarn and start with a slip knot. Crochet 3 chain stitches. Then, make a slip stitch (SS) into the first chain to form a ring.
If you’re unsure how to make a slip knot, chain stitches, or a slip stitch, check out the video tutorials below.
Round 2: Now, increase in every stitch, but only in the back loop of each stitch. The entire hat will be crocheted in single crochets through the back loop only, to create a different texture compared to the body. By the end of this round, you should have a total of 6 stitches. Use a stitch marker to mark the beginning of the round.
If you’re unsure which part of the stitch is the back loop (Back Loop Only), check out the video tutorial below.
Don’t forget to always crochet through the back loop only for the entire hat!
Round 3: Crochet one single crochet in each stitch, for a total of 6 stitches in the round.
Round 4: Continue by increasing in every other stitch, and crocheting one single crochet in between. This will give you a total of 9 stitches in the round.
Round 5: Crochet one single crochet in each stitch, for a total of 9 stitches in the round.
Round 6: Increase in every 3rd stitch, for a total of 12 stitches in the round.
Round 7: Crochet one single crochet in each stitch, for a total of 12 stitches in the round.
Round 8: Increase in every 4th stitch, for a total of 15 stitches in the round.
Round 9: Crochet one single crochet in each stitch, for a total of 15 stitches in the round.
Round 10: Increase in every 5th stitch, for a total of 18 stitches in the round.
Round 11: Crochet one single crochet in each stitch, for a total of 18 stitches in the round.
Round 12: Increase in every 6th stitch, for a total of 21 stitches in the round.
Round 13: Crochet one single crochet in each stitch, for a total of 21 stitches in the round.
Round 14: Increase in every 7th stitch, for a total of 24 stitches in the round.
Round 15: Crochet one single crochet in each stitch, for a total of 24 stitches in the round.
Round 16: Increase in every 8th stitch, for a total of 27 stitches in the round.
Round 17: Crochet one single crochet in each stitch, for a total of 27 stitches in the round.
Round 18: Increase in every 9th stitch, for a total of 30 stitches in the round.
Round 19: Crochet one single crochet in each stitch, for a total of 30 stitches in the round.
Round 20: For the final round, increase in every other stitch to create a small edge on the hat. Finish by crocheting a chain stitch, cutting the yarn, and pulling it through. Secure the yarn end inside the hat.
Since you started with a slip knot and you will be filling the hat, you don’t need to secure the beginning yarn end as it won’t be visible.
Step 3: Create the Gnome’s Nose and Attach the Beard
Start by making the nose in the same way as the body, using the beige yarn and a magic ring.
Round 1: Crochet 6 single crochets into the magic ring and pull it tight.
Round 2: Crochet an increase in every stitch, so you’ll have a total of 12 stitches at the end of the round. Make a chain stitch, cut the yarn, and pull it through.
Use your crochet hook to pull the yarn end through all the outer (front) loops of the stitches, so when you pull the yarn, the circle closes into a small ball. Decide if you prefer the nose with the front facing outward or with the back facing outward (in the picture, the nose is inside-out).
Secure the yarn ends by tying them together. If you chose the inside-out option, first pull the yarn end through so that it’s on the inside of the nose.

The nose is now done, and It's time to attach it
Choose the side of the body you like best, and also test with the hat to make sure you're happy with the placement.
Use the yarn ends to attach the nose: Insert the crochet hook from the inside to the outside and pull one yarn end through. Then, insert the crochet hook beside the first yarn end and pull the second end through. Tie the ends together tightly to secure the nose in place.
For the Beard:
Use MYO Basic Wool in white.
Measure how long and thick you want the beard by wrapping the yarn around your hand, and test under the nose of your gnome. When you're satisfied with the length and thickness, cut the yarn and snip the loops at the ends so there are no loops left.
Tie the yarn together in the middle with one of the yarn ends. Tie it tightly, making a double knot to ensure it stays securely in place.

Use the yarn ends that you tied the beard with to attach the beard to the gnome, in the same way as you did with the nose.
Step 4: Time to Stuff the Gnome!
Here are some suggestions for what you can use to fill the gnome, and you might already have these materials at home: dried yellow peas, rice, or beans. These can be used at the bottom of the gnome to help it stand firmly.
You can also use these in the hat, but keep in mind that it will be a bit heavy and may make it harder to crochet the hat closed later. For this gnome, we’ve used yellow peas and filling from an unused pillow.

The possibilities are endless when it comes to what you can use as stuffing! Yarn scraps are also a great option, as well as old, torn socks cut into small pieces, or filling from an old pillow or duvet.
Once you’re happy with the stuffing and the gnome feels well-filled, it’s time to crochet the body and hat together.
Step 5: Attach the Bottom of the Gnome’s Body to the Hat
Now, you will crochet the bottom of the body together with the hat using single crochets (SC).
Place the hat on the body in your desired position. To ensure a straight seam, follow one row on the body and one on the hat. Decide which rows you want to follow for the most even attachment.
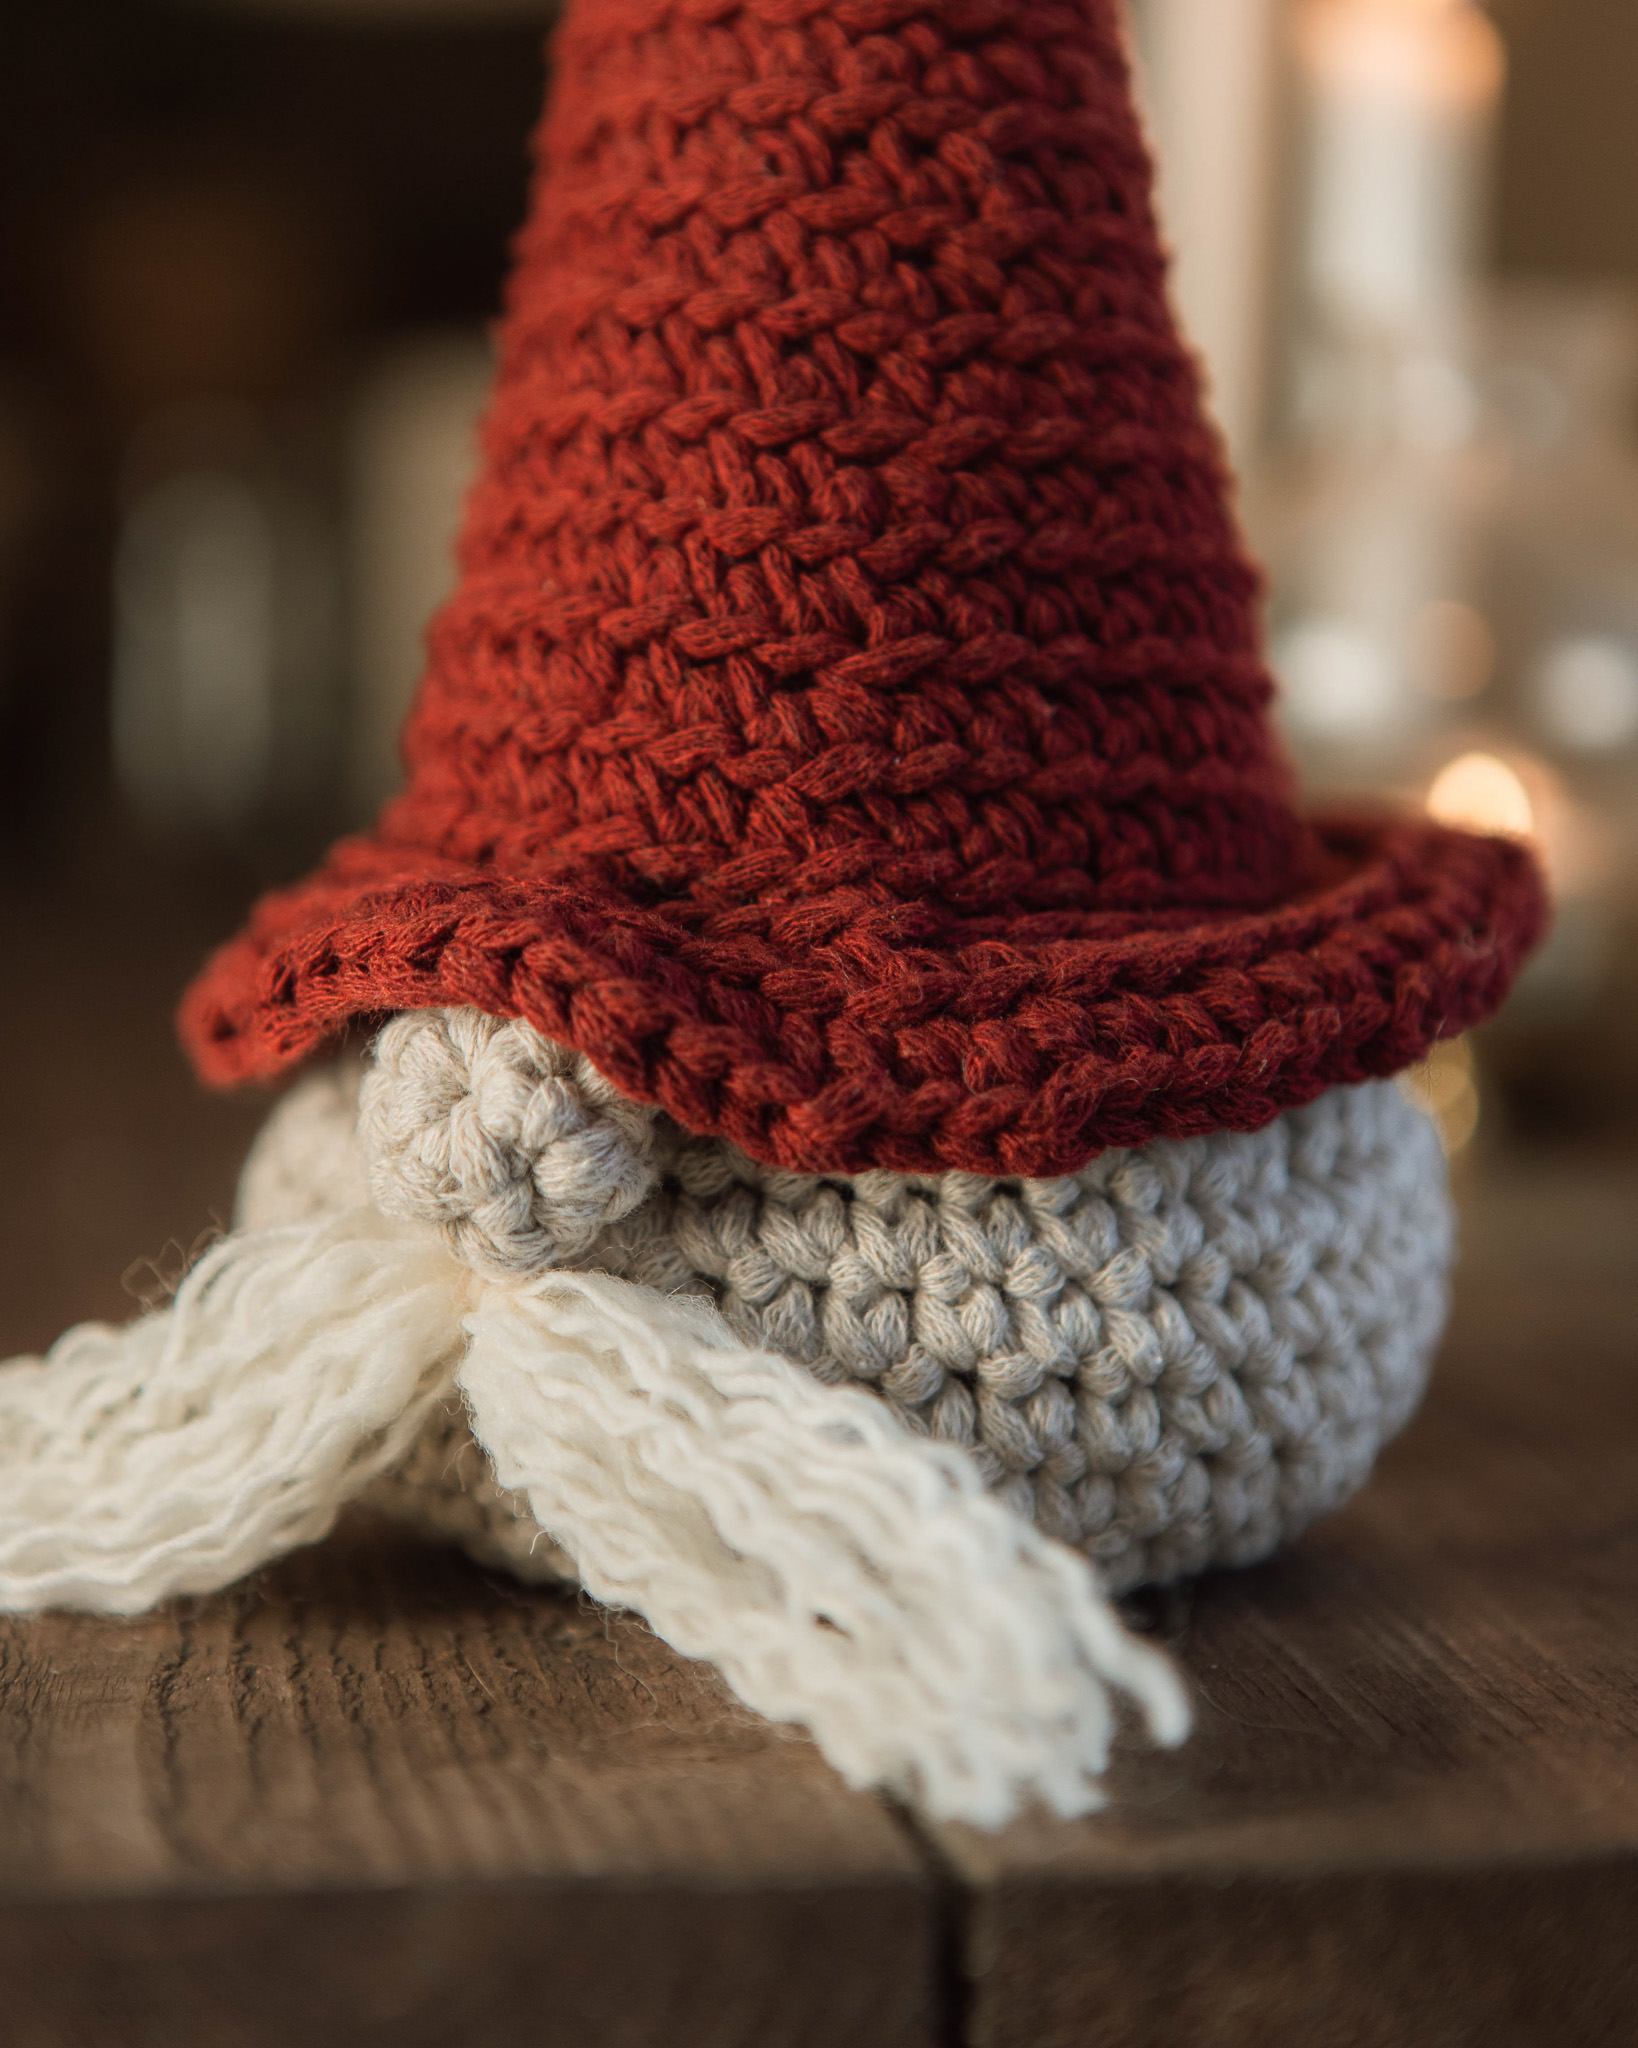
Fold the edge of the hat upward to make it easier to crochet the pieces together, and work one section at a time as you crochet.
Start at the back. Make a slip knot, and you can use any color of yarn you prefer (red is used in the image). Attach the slip knot to a single crochet (SC) on the body, starting with the rows you’ve chosen. The image shows the third row up from the bottom of the body.
Now, crochet the body and the hat together using single crochets (SC), inserting the hook into a stitch on the body and a stitch on the inside of the hat. Continue crocheting through both pieces in this way to attach them securely.

Once you’ve crocheted around the entire round, make a chain stitch, cut the yarn, and fasten it off.
Now your gnome is complete, and you can decorate your home with your very own handmade gnome! Enjoy your creation!
You will start by crocheting the gnome's body. Use the greige yarn.
Round 1: Begin by making a magic ring and crochet 6 single crochets into the ring. Pull the ring tight. Mark the beginning of the round with a stitch marker.
If you're unsure how to make a magic ring or crochet single crochets, check out the video tutorials below.
Round 2: In this round, you will increase the number of stitches by crocheting 2 single crochets in each stitch. This will give you a total of 12 stitches at the end of the round. Remember to place your stitch marker in the last stitch of each round.
Round 3: Continue increasing the number of stitches. Increase in every other stitch, crocheting 1 single crochet in between. You’ll have 18 stitches by the end of the round.
Round 4: Increase in every 3rd stitch, for a total of 24 stitches.
Round 5: Increase in every 4th stitch, for a total of 30 stitches.
Round 6: Increase in every 5th stitch, for a total of 36 stitches.
Round 7: Increase in every 6th stitch, for a total of 42 stitches.
Rounds 8-12: Now you’ll add height to the gnome without increasing its width. Crochet 1 single crochet (SC) in each stitch around. Repeat this for a total of 5 rounds.
If you want the body to be taller, feel free to add a few more rounds.
Round 13: Check if you’re happy with the height of the gnome’s body. If not, you can crochet a few more rounds of 1 single crochet in each stitch before proceeding.
Now, it’s time to start decreasing the number of stitches. This will make it easier to attach the hat later. In Round 13, crochet 5 single crochet and then a decrease. Repeat 6 times. You should have 36 stitches in this round.
If you’re unsure how to crochet a decrease, check out the video tutorial below (Decrease).
Round 14: Crochet 4 single crochet and then a decrease. Repeat 6 times. You should have 30 stitches. Once this round is complete, the body is finished!
To finish: Crochet one chain stitch, cut the yarn, and pull it through. Secure the yarn end by weaving it through nearby stitches on the inside of the body. Also, secure the end from the magic ring.
If you’re unsure how to weave in your yarn ends, check out the video tutorial below.
Step 2: The Hat
Round 1: Take the red yarn and start with a slip knot. Crochet 3 chain stitches. Then, make a slip stitch (SS) into the first chain to form a ring.
If you’re unsure how to make a slip knot, chain stitches, or a slip stitch, check out the video tutorials below.
Round 2: Now, increase in every stitch, but only in the back loop of each stitch. The entire hat will be crocheted in single crochets through the back loop only, to create a different texture compared to the body. By the end of this round, you should have a total of 6 stitches. Use a stitch marker to mark the beginning of the round.
If you’re unsure which part of the stitch is the back loop (Back Loop Only), check out the video tutorial below.
Don’t forget to always crochet through the back loop only for the entire hat!
Round 3: Crochet one single crochet in each stitch, for a total of 6 stitches in the round.
Round 4: Continue by increasing in every other stitch, and crocheting one single crochet in between. This will give you a total of 9 stitches in the round.
Round 5: Crochet one single crochet in each stitch, for a total of 9 stitches in the round.
Round 6: Increase in every 3rd stitch, for a total of 12 stitches in the round.
Round 7: Crochet one single crochet in each stitch, for a total of 12 stitches in the round.
Round 8: Increase in every 4th stitch, for a total of 15 stitches in the round.
Round 9: Crochet one single crochet in each stitch, for a total of 15 stitches in the round.
Round 10: Increase in every 5th stitch, for a total of 18 stitches in the round.
Round 11: Crochet one single crochet in each stitch, for a total of 18 stitches in the round.
Round 12: Increase in every 6th stitch, for a total of 21 stitches in the round.
Round 13: Crochet one single crochet in each stitch, for a total of 21 stitches in the round.
Round 14: Increase in every 7th stitch, for a total of 24 stitches in the round.
Round 15: Crochet one single crochet in each stitch, for a total of 24 stitches in the round.
Round 16: Increase in every 8th stitch, for a total of 27 stitches in the round.
Round 17: Crochet one single crochet in each stitch, for a total of 27 stitches in the round.
Round 18: Increase in every 9th stitch, for a total of 30 stitches in the round.
Round 19: Crochet one single crochet in each stitch, for a total of 30 stitches in the round.
Round 20: For the final round, increase in every other stitch to create a small edge on the hat. Finish by crocheting a chain stitch, cutting the yarn, and pulling it through. Secure the yarn end inside the hat.
Since you started with a slip knot and you will be filling the hat, you don’t need to secure the beginning yarn end as it won’t be visible.
Step 3: Create the Gnome’s Nose and Attach the Beard
Start by making the nose in the same way as the body, using the beige yarn and a magic ring.
Round 1: Crochet 6 single crochets into the magic ring and pull it tight.
Round 2: Crochet an increase in every stitch, so you’ll have a total of 12 stitches at the end of the round. Make a chain stitch, cut the yarn, and pull it through.
Use your crochet hook to pull the yarn end through all the outer (front) loops of the stitches, so when you pull the yarn, the circle closes into a small ball. Decide if you prefer the nose with the front facing outward or with the back facing outward (in the picture, the nose is inside-out).
Secure the yarn ends by tying them together. If you chose the inside-out option, first pull the yarn end through so that it’s on the inside of the nose.

The nose is now done, and It's time to attach it
Choose the side of the body you like best, and also test with the hat to make sure you're happy with the placement.
Use the yarn ends to attach the nose: Insert the crochet hook from the inside to the outside and pull one yarn end through. Then, insert the crochet hook beside the first yarn end and pull the second end through. Tie the ends together tightly to secure the nose in place.
For the Beard:
Use MYO Basic Wool in white.
Measure how long and thick you want the beard by wrapping the yarn around your hand, and test under the nose of your gnome. When you're satisfied with the length and thickness, cut the yarn and snip the loops at the ends so there are no loops left.
Tie the yarn together in the middle with one of the yarn ends. Tie it tightly, making a double knot to ensure it stays securely in place.

Use the yarn ends that you tied the beard with to attach the beard to the gnome, in the same way as you did with the nose.
Step 4: Time to Stuff the Gnome!
Here are some suggestions for what you can use to fill the gnome, and you might already have these materials at home: dried yellow peas, rice, or beans. These can be used at the bottom of the gnome to help it stand firmly.
You can also use these in the hat, but keep in mind that it will be a bit heavy and may make it harder to crochet the hat closed later. For this gnome, we’ve used yellow peas and filling from an unused pillow.

The possibilities are endless when it comes to what you can use as stuffing! Yarn scraps are also a great option, as well as old, torn socks cut into small pieces, or filling from an old pillow or duvet.
Once you’re happy with the stuffing and the gnome feels well-filled, it’s time to crochet the body and hat together.
Step 5: Attach the Bottom of the Gnome’s Body to the Hat
Now, you will crochet the bottom of the body together with the hat using single crochets (SC).
Place the hat on the body in your desired position. To ensure a straight seam, follow one row on the body and one on the hat. Decide which rows you want to follow for the most even attachment.
Fold the edge of the hat upward to make it easier to crochet the pieces together, and work one section at a time as you crochet.
Start at the back. Make a slip knot, and you can use any color of yarn you prefer (red is used in the image). Attach the slip knot to a single crochet (SC) on the body, starting with the rows you’ve chosen. The image shows the third row up from the bottom of the body.
Now, crochet the body and the hat together using single crochets (SC), inserting the hook into a stitch on the body and a stitch on the inside of the hat. Continue crocheting through both pieces in this way to attach them securely.

Once you’ve crocheted around the entire round, make a chain stitch, cut the yarn, and fasten it off.
Now your gnome is complete, and you can decorate your home with your very own handmade gnome! Enjoy your creation!
The rights to this pattern belong to MYO Make Your Own. The pattern or its pictures may not be copied, shared or resold either in parts or in its entirety, but you may sell items you have crocheted from this pattern. If you have questions about the pattern, contact MYO at hello@makeyourown.se.


%20(1).jpg)
