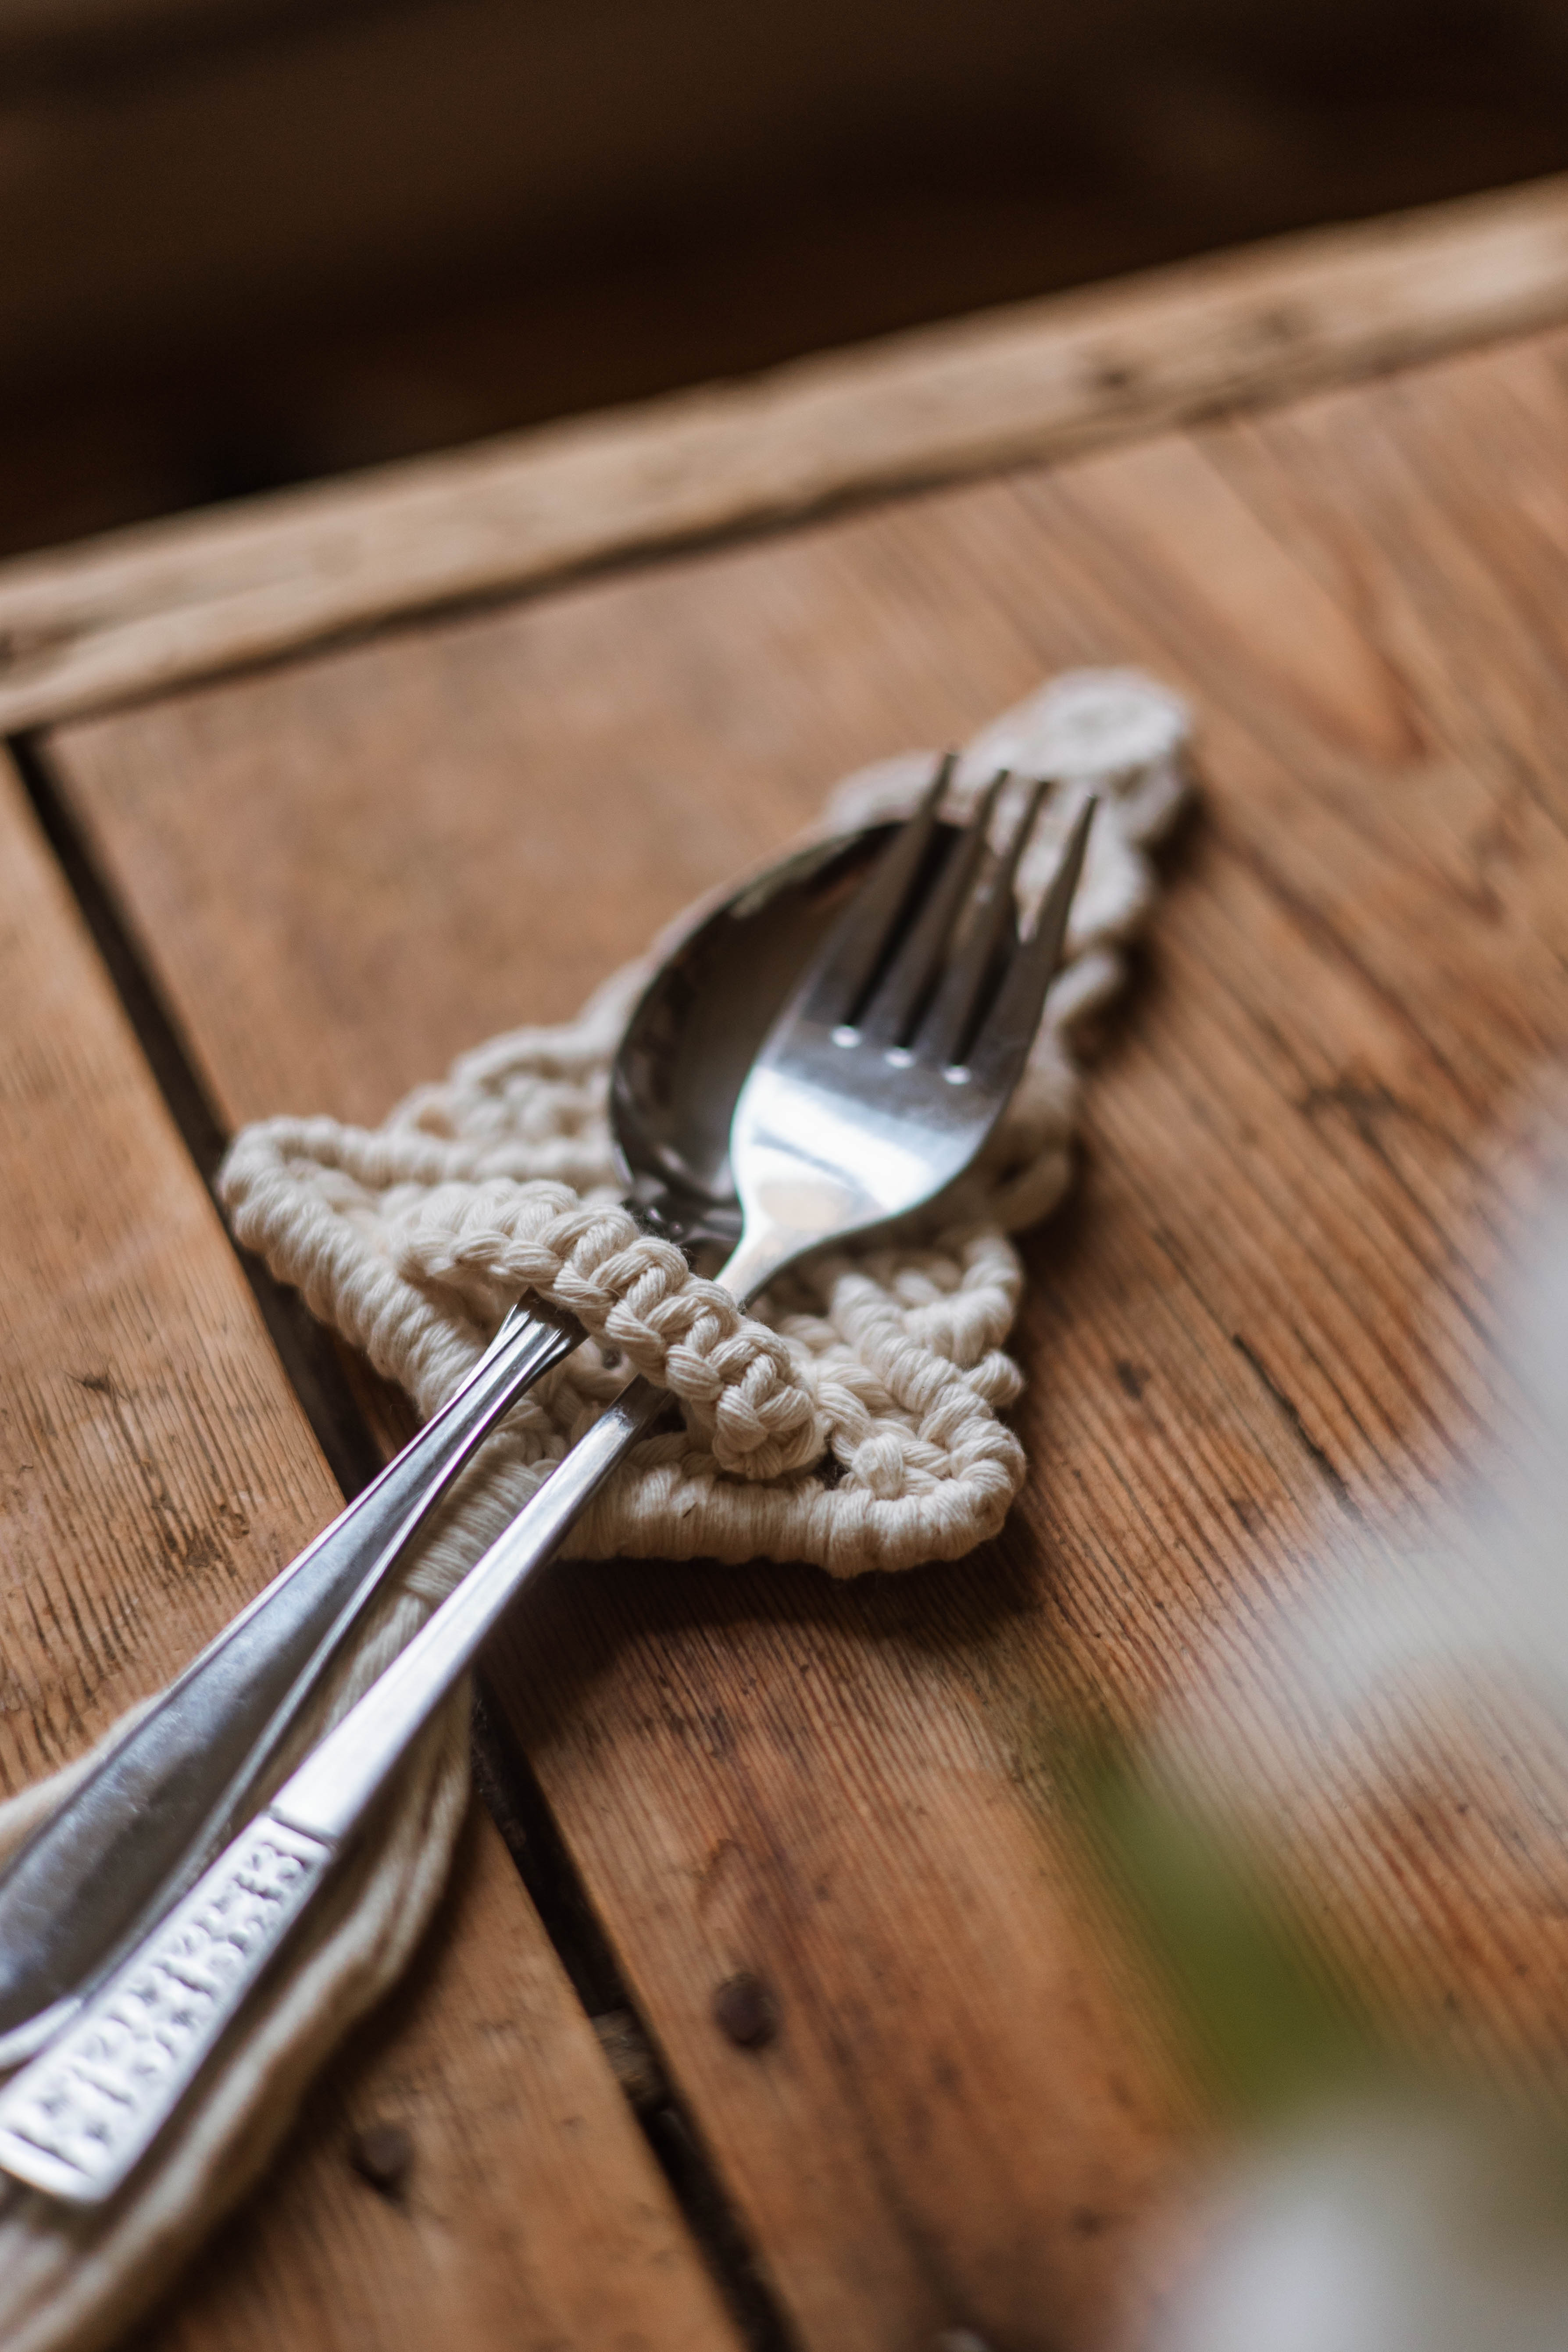
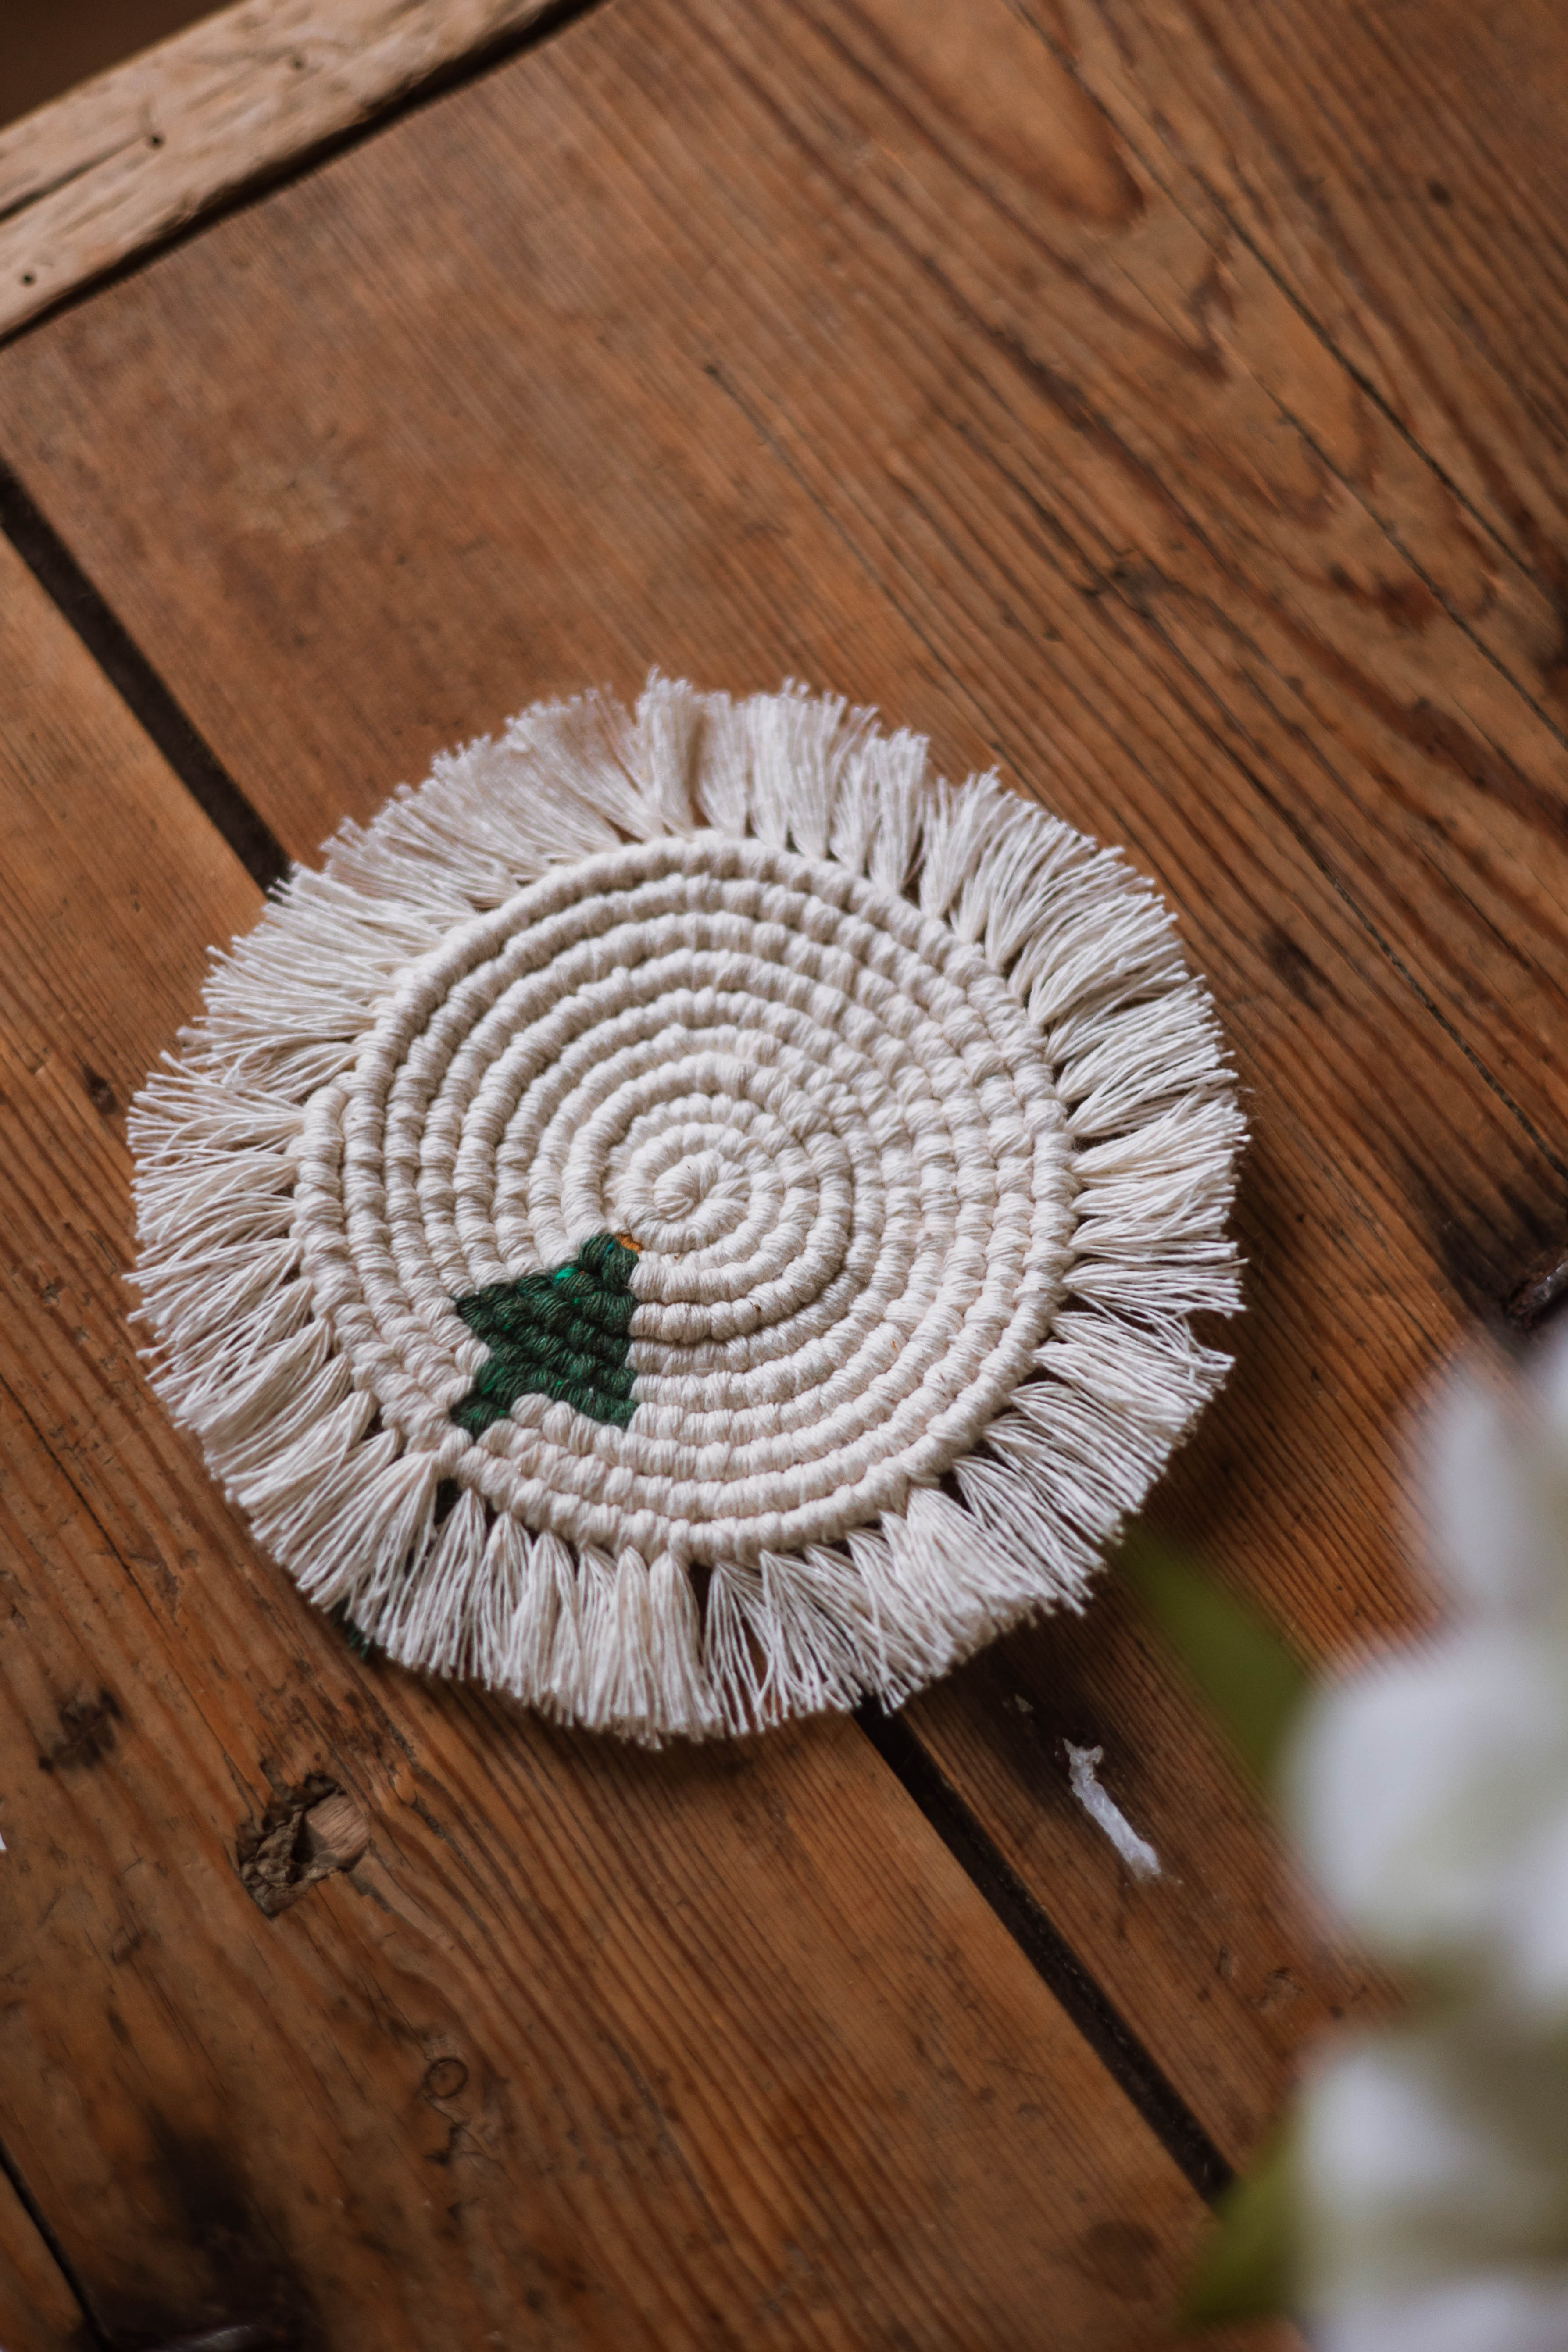
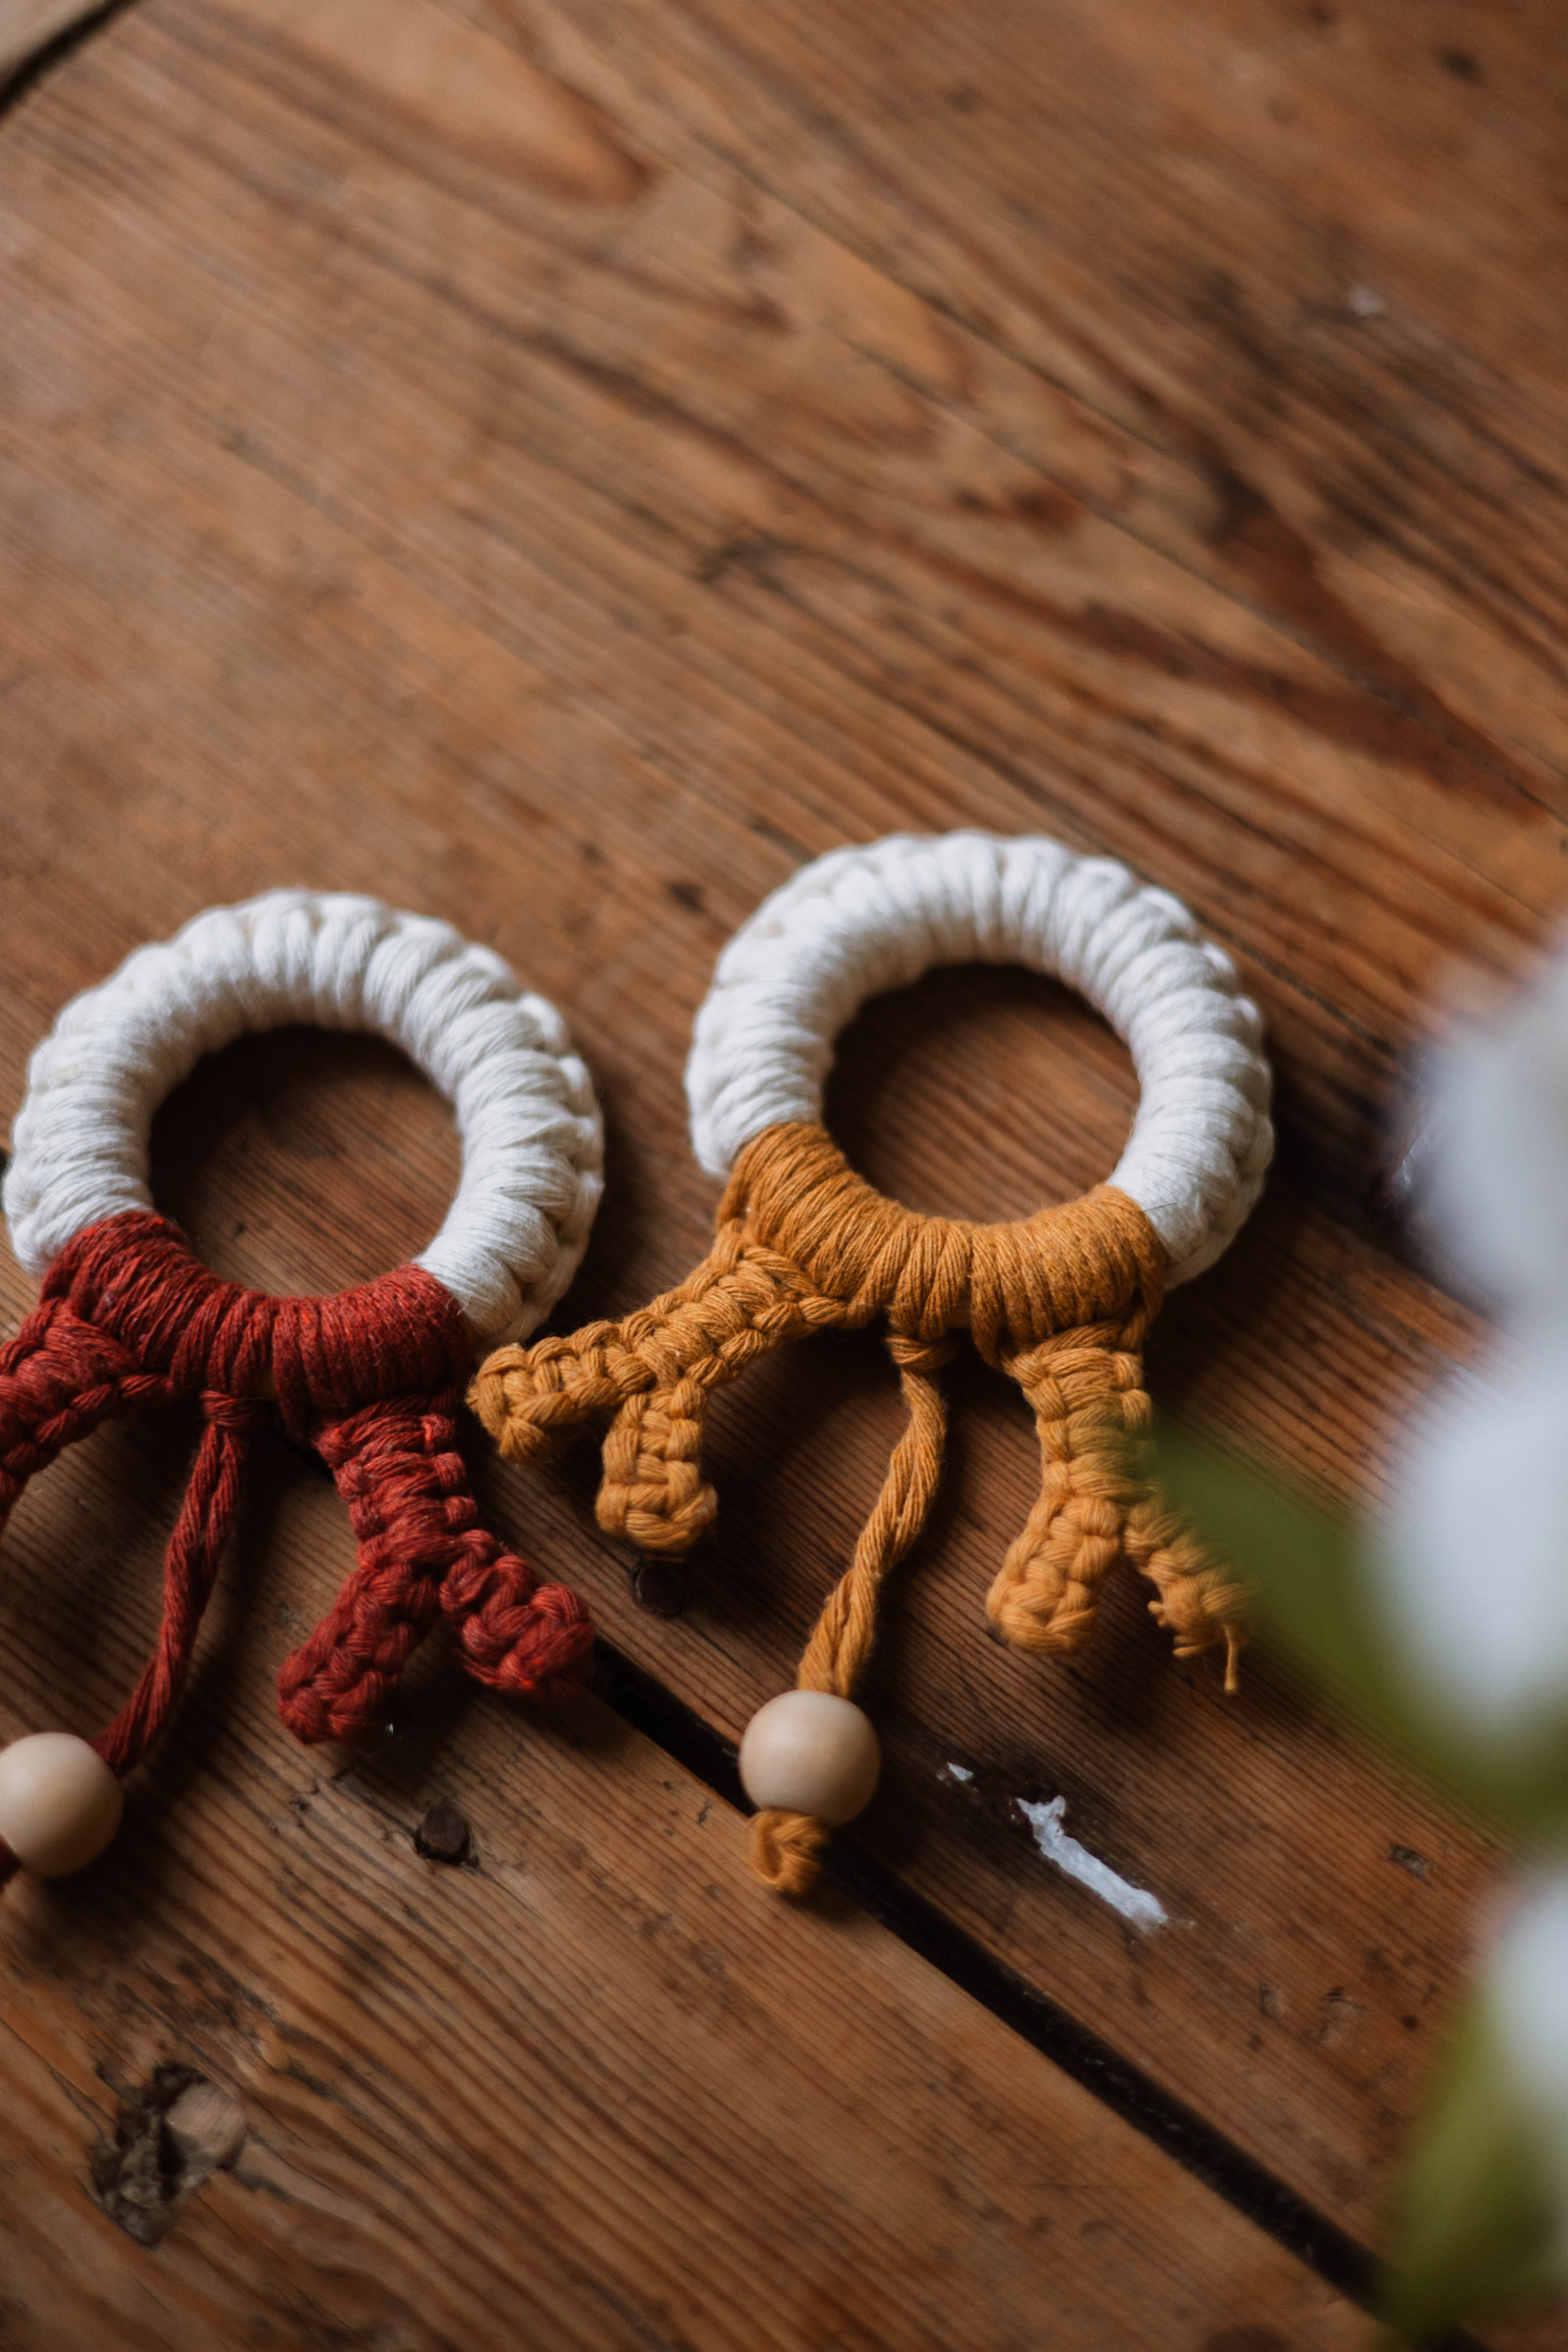
This is what you need:
Here you can directly purchase the material for the product. Please note that the instruction is digital and appears here on the page (no written instruction).


Here's how to do it

Start by cutting a cord about 40 cm long. Fold it in half and tie a simple knot at one end — this will be your hanging cord. Attach it to your wooden ring using a Lark’s Head Knot. See video 01:50.
Tape the cord in place; this will make it easier to attach the rest of your cords.
Next, cut 24 more cords, each 20 cm long, from EKO Single Twisted 4 mm.
Attach them to the ring using Lark’s Head Knots. See video 02:40.
Once you’ve attached as many cords as will fit on the ring, you can comb out the fringe.
After combing, trim them to your desired length.
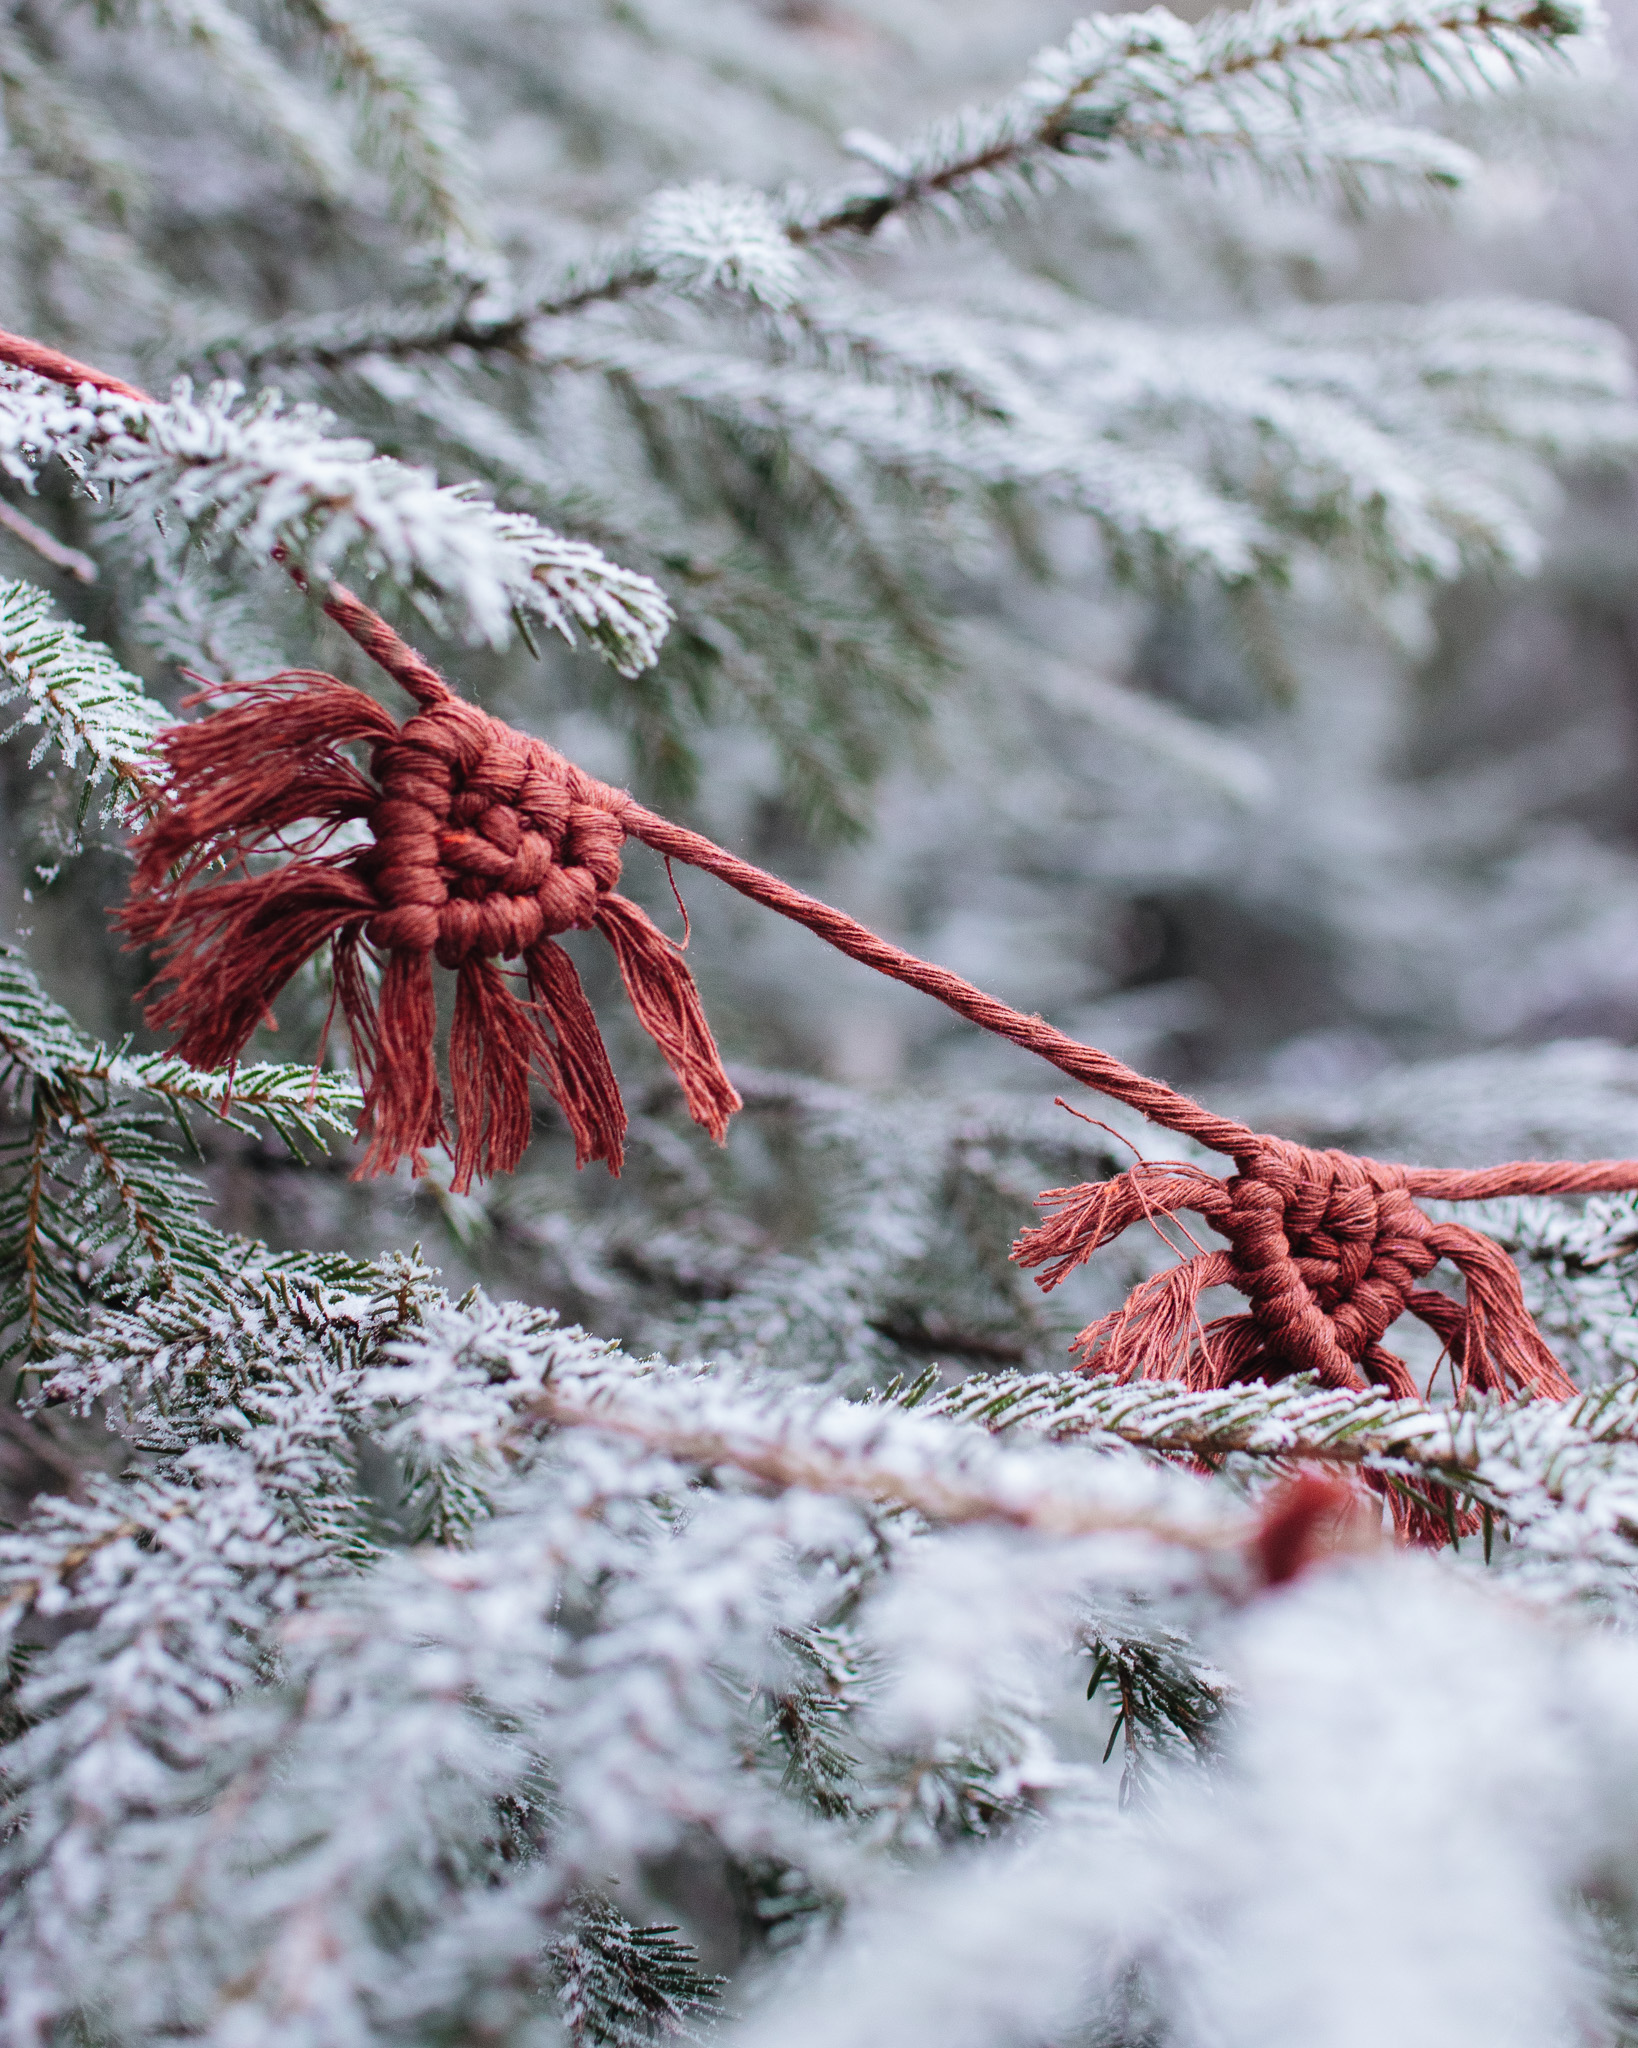
Done! Now make as many as you like to decorate your home for Christmas.
Merry Christmas from all of us at MYO!
The rights to this pattern belong to MYO Make Your Own. The pattern or its pictures may not be copied, shared or resold either in parts or in its entirety, but you may sell items you have crocheted from this pattern. If you have questions about the pattern, contact MYO at hello@makeyourown.se.


%20(1).jpg)


