
Christmas trees “Gunnar”
Crochet your own Christmas decorations this year!
These Christmas trees are modern and stylish and fit nicely in a home. One tip is to buy a very thin string of light and wrap around the tree, then they will light up nicely. You will need EKO nano tube yarn and 6 mm crochet hook for the trees. These christmas trees come in 3 different sizes, you can choose to crochet one or more. The trees can be filled with stuffing from old pillows, fabric scraps or anything similar to this. The approximate sizes of the Christmas trees are: small 19 cm x 10 cm, medium 26 cm x 11 cm, and large 30 cm x 14 cm.
Yarn Consumption: about 160 g for the large tree, 120 g for the middle one and 70 g for the small one. The consumption depends on how hard/loose you crochet. It should be enough with a small yarn roll, but keep in mind that it may need a little more.
Please note that in this tutorial we use videos from our technical school.

Here's how to do it
The Christmas trees are crocheted from the top down, and you’ll see in the pattern where to stop if you’re making the medium or small tree. Once you’ve finished the tree, you’ll crochet the tree base. Stuff the tree and attach the base, Voila! You’ll need about 15-35g (around 70g for all three) of stuffing if you’re using any. The Christmas tree looks beautiful with a thin string of lights wrapped around it; the pattern makes it easy to wind the lights around./Lizette

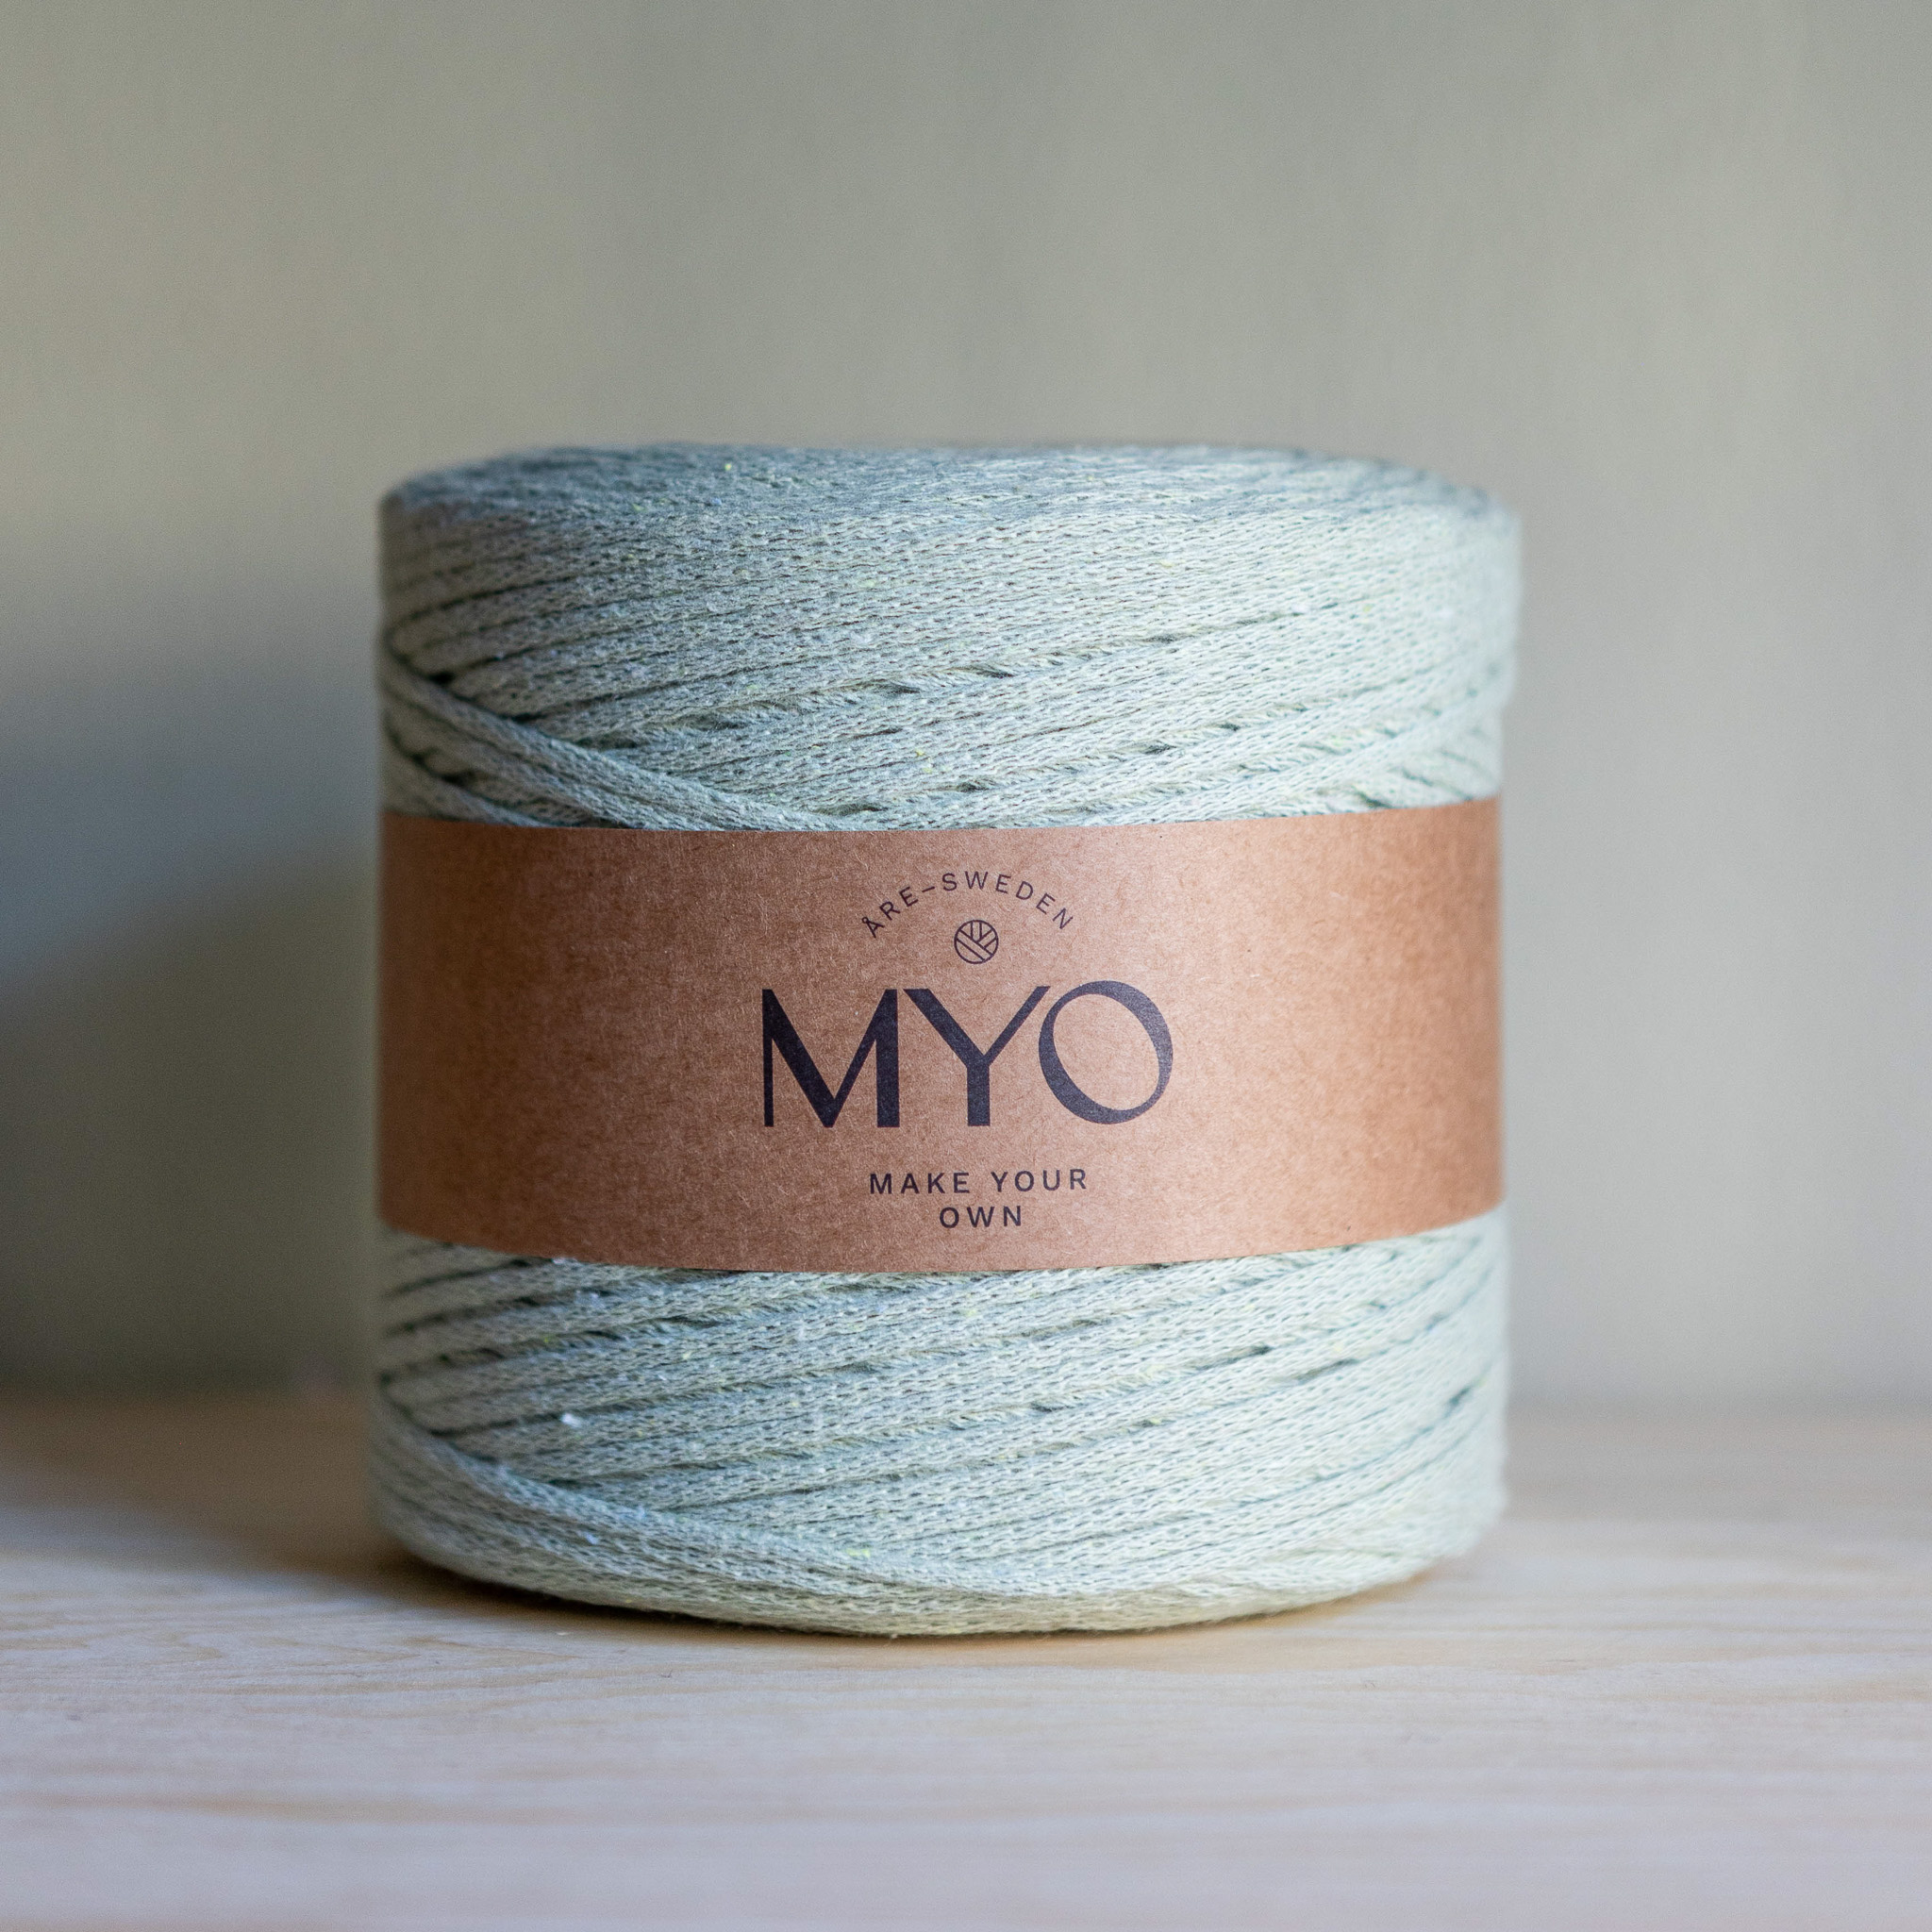
This is what you need:
Here you can directly purchase the material for the product. Please note that the instruction is digital and appears here on the page (no written instruction).

.jpg)
Your next favorite project is waiting
Get access to this pattern and over 300 other beginner-friendly projects for crochet, knitting, and macramé.
Then 85 SEK/month. Cancel anytime.

Don’t crochet the Christmas tree too tightly! The first 6 rounds are a bit fiddly, but it gets much easier after that. Throughout the pattern, every other round (follow the instructions) is worked in Camel Stitches. This means you’ll crochet into the third loop (the stitch behind the two “regular” loops). If you’re unsure, there’s a video to guide you that demonstrates the technique, although it doesn’t show the Christmas tree itself.
Start with a Magic Ring; if you’re unsure about how to do this, see the video below.
Round 1: Crochet 6 single crochets into the ring. Then pull the ring tight to close it. If you’re unsure how to crochet single crochets, see the video below.
Round 2: Make an increase in every other stitch: crochet 2 single crochets in the same stitch every other stitch, and 1 single crochet in between. You should have a total of 9 stitches.
Round 3: Crochet 9 single crochets in the 3rd loop (Camel Stitches). If you’re unsure, see the video below (Camel Stitches). You should have a total of 9 stitches. Look closely at your stitch that looks like a "V." The loop closest to you is called the front loop, and the one furthest from you is the back loop. Inside/behind the back loop, there’s another loop, often referred to as the 3rd loop. It might be hard to locate in the first few rounds, but it gets easier as you go. Don’t forget to double-check that you have 9 stitches once you've completed Round 3.
Round 4: Crochet 9 single crochets. You should have a total of 9 stitches.
Round 5: Crochet in the 3rd loop (Camel Stitches). Make 2 single crochets in the same stitch in every 3rd stitch, with 1 single crochet in between (so, 2 single crochets and then 1 increase). You should have a total of 12 stitches.
Round 6: Crochet 12 single crochets. You should have a total of 12 stitches.
Round 7: Crochet in the 3rd loop (Camel Stitches). Crochet 12 single crochets. You should have a total of 12 stitches.
Round 8: Make 2 single crochets in the same stitch in every 4th stitch, with 1 single crochet in between (so, 3 single crochets and then 1 increase). You should have a total of 15 stitches.
Round 9: Crochet in the 3rd loop (Camel Stitches). Crochet 15 single crochets. You should have a total of 15 stitches.
Round 10: Crochet 15 single crochets. You should have a total of 15 stitches.
Round 11: Crochet in the 3rd loop (Camel Stitches). Make 2 single crochets in the same stitch in every 5th stitch, with 1 single crochet in between (so, 4 single crochets and then 1 increase). You should have a total of 18 stitches.
Round 12: Crochet 18 single crochets. You should have a total of 18 stitches.
Round 13: Crochet in the 3rd loop (Camel Stitches). Crochet 18 single crochets. You should have a total of 18 stitches.
Round 14: Make 2 single crochets in the same stitch in every 6th stitch, with 1 single crochet in between (so, 5 single crochets and then 1 increase). You should have a total of 21 stitches.
Round 15: Crochet in the 3rd loop (Camel Stitches). Crochet 21 single crochets. You should have a total of 21 stitches.
Round 16: Crochet 21 single crochets. You should have a total of 21 stitches.
Round 17: Crochet in the 3rd loop (Camel Stitches). Make 2 single crochets in the same stitch in every 7th stitch, with 1 single crochet in between (so, 6 single crochets and then 1 increase). You should have a total of 24 stitches.
Round 18: Crochet 24 single crochets. You should have a total of 24 stitches.
Round 19: Crochet in the 3rd loop (Camel Stitches). Crochet 24 single crochets. You should have a total of 24 stitches.
Round 20: Make 2 single crochets in the same stitch in every 8th stitch, with 1 single crochet in between (so, 7 single crochets and then 1 increase). You should have a total of 27 stitches.
Round 21: Crochet in the 3rd loop (Camel Stitches). Crochet 27 single crochets. You should have a total of 27 stitches.
If you’re making the small tree, finish here and proceed to step 6. If you want to make the medium or large tree, continue to the next steps.
Round 22: Crochet 27 single crochets. You should have a total of 27 stitches.
Round 23: Crochet in the 3rd loop (Camel Stitches). Make 2 single crochets in the same stitch in every 9th stitch, with 1 single crochet in between (so, 8 single crochets and then 1 increase). You should have a total of 30 stitches.
Round 24: Crochet 30 single crochets. You should have a total of 30 stitches.
Round 25: Crochet in the 3rd loop (Camel Stitches). Crochet 30 single crochets. You should have a total of 30 stitches.
Round 26: Make 2 single crochets in the same stitch in every 10th stitch, with 1 single crochet in between (so, 9 single crochets and then 1 increase). You should have a total of 33 stitches.
Round 27: Crochet in the 3rd loop (Camel Stitches). Crochet 33 single crochets. You should have a total of 33 stitches.
Round 28: Crochet 33 single crochets. You should have a total of 33 stitches.
Round 29: Crochet in the 3rd loop (Camel Stitches). Make 2 single crochets in the same stitch in every 11th stitch, with 1 single crochet in between (so, 10 single crochets and then 1 increase). You should have a total of 36 stitches.
If you’re making the medium tree, finish here and proceed to step 6. Otherwise, continue with the next step to make the large tree.
Round 30: Crochet 36 single crochets. You should have a total of 36 stitches.
Round 31: Crochet in the 3rd loop (Camel Stitches). Crochet 36 single crochets. You should have a total of 36 stitches.
Round 32: Make 2 single crochets in the same stitch in every 12th stitch, with 1 single crochet in between (so, 11 single crochets and then 1 increase). You should have a total of 39 stitches.
Round 33: Crochet in the 3rd loop (Camel Stitches). Crochet 39 single crochets. You should have a total of 39 stitches.
Round 34: Crochet 39 single crochets. You should have a total of 39 stitches.
Round 35: Crochet in the 3rd loop (Camel Stitches). Make 2 single crochets in the same stitch in every 13th stitch, with 1 single crochet in between (so, 12 single crochets and then 1 increase). You should have a total of 42 stitches.
Round 36: Crochet 42 single crochets. You should have a total of 42 stitches.
Round 37: Crochet in the 3rd loop (Camel Stitches). Crochet 42 single crochets. You should have a total of 42 stitches.
The large tree is now complete! 🎄
Cut the yarn and weave in the end. If you're unsure how to fasten off, see the video below.
Crochet the bottom of the tree
Now let's crochet the bottom of the tree. The small tree has 27 stitches in the last round, the medium tree has 36 stitches, and the large tree has 42 stitches. Double-check this, as the following steps are based on these stitch counts. If you are working on the medium or large tree, skip to step 8.
Small Tree:
Round 1: 8 single crochet (sc) into a magic ring.
Round 2: 2 sc in each stitch. You should have 16 stitches in this round.
Round 3: 2 sc in every other stitch, and 1 sc between increases (1 sc, then 1 increase). You should have 24 stitches.
Round 4: 2 sc in every 8th stitch, and 1 sc between increases (7 sc, then 1 increase). You should have 27 stitches.
Do not cut the yarn—move on to step 9.
Medium Tree:
Round 1: 8 single crochet (sc) into a magic ring.
Round 2: 2 sc in each stitch. You should have 16 stitches.
Round 3: 2 sc in every other stitch, and 1 sc between increases (1 sc, then 1 increase). You should have 24 stitches.
Round 4: 2 sc in every 3rd stitch, and 1 sc between increases (2 sc, then 1 increase). You should have 32 stitches.
Round 5: 2 sc in every 8th stitch, and 1 sc between increases (7 sc, then 1 increase). You should have 36 stitches.
Do not cut the yarn—move on to step 9.
Large Tree:
Round 1: 8 single crochet (sc) into a magic ring.
Round 2: 2 sc in each stitch. You should have 16 stitches.
Round 3: 2 sc in every other stitch, and 1 sc between increases (1 sc, then 1 increase). You should have 24 stitches.
Round 4: 2 sc in every 3rd stitch, and 1 sc between increases (2 sc, then 1 increase). You should have 32 stitches.
Round 5: 2 sc in every 8th stitch, and 1 sc between increases (7 sc, then 1 increase). You should have 36 stitches.
Round 6: 2 sc in every 6th stitch, and 1 sc between increases (5 sc, then 1 increase). You should have 42 stitches.
Do not cut the yarn—move on to step 9.
Make 1 chain stitch to close off the top of the tree.
Stuff the tree with fiberfill, yarn scraps, fabric pieces, or anything else you have on hand. Be sure to fill it all the way to the top, but don't pack it too tightly—leave some space so the tree keeps its shape without being overstuffed.
Once your tree is stuffed, proceed to Step 10 for the final assembly.
Assembly
Hold the tree with the tip pointing towards you.
Place the bottom piece (the base) with the right side facing out.
Now, attach the tree to the base:
- Work through both layers (the tree and the base).
- Using a slip stitch or single crochet, join the edges of the tree to the base, going all the way around the bottom, making sure to keep the stitches even.
- Once you've attached the base securely, fasten off the yarn and weave in the ends.
Your tree should now be complete and stable!

Start in the second stitch of the bottom plate (skipping the first chain), as you will be working in the opposite direction compared to when you made the base. Work a slip stitch in each stitch around the edge of the bottom plate. Make sure the stitches are evenly placed around the bottom edge of the tree, attaching the tree to the bottom plate securely as you go along.

Make a slip stitch into the first stitch to avoid a gap between the stitches. If you're unsure how to make slip stitches, you can watch the "Slip Stitches" video for guidance. Cut the yarn and securely fasten all loose ends to keep everything in place.
Shape the tree by gently pulling and kneading it, ensuring it takes a nice, even form and that the stuffing settles properly inside.
And that's it! You’ve now completed your very own crocheted Christmas tree! 🎄
We hope you're happy with the result! If you'd like, feel free to share photos of your finished trees on social media, but remember to tag us @makeyourown.se so we can see your beautiful creations too!T hank you for crocheting with us – we hope you enjoy your Christmas trees!
Description using crochet terms
This section of the pattern consists of crochet terminology. If you need a little help, we refer you to the simpler section with more explanations.
Abbreviations
MR = Magic ring
sc = single crochet
sl st = slip stitch
ch = chain stitch
st = stitch
*...* = repeat the instructions the specified number of times
(...) = number of stitches in the round
Do not crochet the Christmas tree too tightly! The first 6 rounds are a little fiddly, but it gets much easier after that.
Throughout the pattern, you will crochet every other round (starting from Round 2, follow the instructions) in Camel Stitch. This means that you crochet into the 3rd loop of the stitch (the loop behind the two “regular” loops).
Christmas Tree
Round 1: Start with a Magic Ring. Crochet 6 sc into the ring. Pull the ring closed.
Round 2: *1 sc, inc* x6 (9)
Round 3: 9 sc in the 3rd loop (9)
Look at your stitch, which looks like a “V”. The loop closest to you is called the front loop, and the loop furthest away from you is called the back loop. If you look at the inside, there is another loop on the inside of the stitch. This is sometimes called the 3rd loop, among other names.
It can be difficult to find during the first few rounds, but it becomes much easier later on. Don't forget to double-check that you have 9 stitches after completing Round 3.
Round 4: 9 sc (9)
Round 5: Crochet in the 3rd loop: *2 sc, inc* x3 (12)
Round 6: 12 sc (12)
Round 7: Crochet in the 3rd loop: 12 sc (12)
Round 8: *3 sc, inc* x3 (15)
Round 9: Crochet in the 3rd loop: 15 sc (15)
Round 10: 15 sc (15)
Round 11: Crochet in the 3rd loop: *4 sc, inc* x3 (18)
Round 12: 18 sc (18)
Round 13: Crochet in the 3rd loop: 18 sc (18)
Round 14: *5 sc, inc* x3 (21)
Round 15: Crochet in the 3rd loop: 21 sc (21)
Round 16: 21 sc (21)
Round 17: Crochet in the 3rd loop: *6 sc, inc* x3 (24)
Round 18: 24 sc (24)
Round 19: Crochet in the 3rd loop: 24 sc (24)
Round 20: *7 sc, inc* x3 (27)
Round 21: Crochet in the 3rd loop: 27 sc (27)
If you are making the small tree, finish here and go directly to Step 6. If you are making the medium or large tree, continue with the next step (bottom).
Round 22: 27 sc (27)
Round 23: Crochet in the 3rd loop: *8 sc, inc* x3 (30)
Round 24: 30 sc (30)
Round 25: Crochet in the 3rd loop: 30 sc (30)
Round 26: *9 sc, inc* x3 (33)
Round 27: Crochet in the 3rd loop: 33 sc (33)
Round 28: 33 sc (33)
Round 29: Crochet in the 3rd loop: *10 sc, inc* x3 (36)
If you are making the medium tree, finish here and continue with Step 6. Otherwise, continue with the next step (bottom).
Round 30: 36 sc (36)
Round 31: Crochet in the 3rd loop: 36 sc (36)
Round 32: *11 sc, inc* x3 (39)
Round 33: Crochet in the 3rd loop: 39 sc (39)
Round 34: 39 sc (39)
Round 35: Crochet in the 3rd loop: *12 sc, inc* x3 (42)
Round 36: 42 sc (42)
Round 37: Crochet in the 3rd loop: 42 sc (42)
The large tree is now finished!
Cut the yarn and weave in the end.
Crochet the base
Now we will crochet the base of the tree.
The small tree has 27 stitches in the final round, the medium tree has 36 stitches, and the large tree has 42 stitches.
Double-check this—it is important because the instructions below are based on these stitch counts.
Small Christmas Tree
Round 1: 8 sc in a MR.
Round 2: Inc x8 (16)
Round 3: *1 sc, inc* x6 (24)
Round 4: *7 sc, inc* x3 (27)
Do not cut the yarn. Continue to the assembly section.
Medium Christmas Tree
Round 1: 8 sc in a MR.
Round 2: Inc x8 (16)
Round 3: *1 sc, inc* x6 (24)
Round 4: *2 sc, inc* x6 (32)
Round 5: *7 sc, inc* x4 (36)
Do not cut the yarn. Continue to the assembly section.
Large Christmas Tree
Round 1: 8 sc in a MR.
Round 2: Inc x8 (16)
Round 3: *1 sc, inc* x6 (24)
Round 4: *2 sc, inc* x6 (32)
Round 5: *7 sc, inc* x4 (36)
Round 6: *5 sc, inc* x6 (42)
Do not cut the yarn.
Chain 1.
Assembly
Stuff your Christmas tree with polyester fiberfill, yarn scraps, fabric scraps, etc. Make sure the stuffing reaches all the way up into the tip, but don't overstuff it.
Hold the Christmas tree with the tip facing towards you.
Place the base with the right side facing out. We will now crochet through both layers—the Christmas tree and the base—to join them together.
Start in the 2nd stitch of the base, meaning you skip the chain stitch. (On the base, we crochet in the opposite direction from before, but this is correct.)
Now crochet 1 slip stitch through each stitch.
Crochet one slip stitch into the first stitch as well, so that there is no gap.
If you are unsure how to crochet slip stitches, see the video below (Slip Stitches).
Cut the yarn and weave in the end.
Gently pull and knead the Christmas tree to give it a nice shape and help the stuffing settle into the correct position.
You're done! What do you think of your new Christmas trees?
Feel free to share pictures of your creations on social media, but don't forget to tag us @makeyourown.se so we can see your pictures too!
The rights to this pattern belong to MYO Make Your Own. The pattern or its pictures may not be copied, shared or resold either in parts or in its entirety, but you may sell items you have crocheted from this pattern. If you have questions about the pattern, contact MYO at hello@makeyourown.se.
Don’t crochet the Christmas tree too tightly! The first 6 rounds are a bit fiddly, but it gets much easier after that. Throughout the pattern, every other round (follow the instructions) is worked in Camel Stitches. This means you’ll crochet into the third loop (the stitch behind the two “regular” loops). If you’re unsure, there’s a video to guide you that demonstrates the technique, although it doesn’t show the Christmas tree itself.
Start with a Magic Ring; if you’re unsure about how to do this, see the video below.
Round 1: Crochet 6 single crochets into the ring. Then pull the ring tight to close it. If you’re unsure how to crochet single crochets, see the video below.
Round 2: Make an increase in every other stitch: crochet 2 single crochets in the same stitch every other stitch, and 1 single crochet in between. You should have a total of 9 stitches.
Round 3: Crochet 9 single crochets in the 3rd loop (Camel Stitches). If you’re unsure, see the video below (Camel Stitches). You should have a total of 9 stitches. Look closely at your stitch that looks like a "V." The loop closest to you is called the front loop, and the one furthest from you is the back loop. Inside/behind the back loop, there’s another loop, often referred to as the 3rd loop. It might be hard to locate in the first few rounds, but it gets easier as you go. Don’t forget to double-check that you have 9 stitches once you've completed Round 3.
Round 4: Crochet 9 single crochets. You should have a total of 9 stitches.
Round 5: Crochet in the 3rd loop (Camel Stitches). Make 2 single crochets in the same stitch in every 3rd stitch, with 1 single crochet in between (so, 2 single crochets and then 1 increase). You should have a total of 12 stitches.
Round 6: Crochet 12 single crochets. You should have a total of 12 stitches.
Round 7: Crochet in the 3rd loop (Camel Stitches). Crochet 12 single crochets. You should have a total of 12 stitches.
Round 8: Make 2 single crochets in the same stitch in every 4th stitch, with 1 single crochet in between (so, 3 single crochets and then 1 increase). You should have a total of 15 stitches.
Round 9: Crochet in the 3rd loop (Camel Stitches). Crochet 15 single crochets. You should have a total of 15 stitches.
Round 10: Crochet 15 single crochets. You should have a total of 15 stitches.
Round 11: Crochet in the 3rd loop (Camel Stitches). Make 2 single crochets in the same stitch in every 5th stitch, with 1 single crochet in between (so, 4 single crochets and then 1 increase). You should have a total of 18 stitches.
Round 12: Crochet 18 single crochets. You should have a total of 18 stitches.
Round 13: Crochet in the 3rd loop (Camel Stitches). Crochet 18 single crochets. You should have a total of 18 stitches.
Round 14: Make 2 single crochets in the same stitch in every 6th stitch, with 1 single crochet in between (so, 5 single crochets and then 1 increase). You should have a total of 21 stitches.
Round 15: Crochet in the 3rd loop (Camel Stitches). Crochet 21 single crochets. You should have a total of 21 stitches.
Round 16: Crochet 21 single crochets. You should have a total of 21 stitches.
Round 17: Crochet in the 3rd loop (Camel Stitches). Make 2 single crochets in the same stitch in every 7th stitch, with 1 single crochet in between (so, 6 single crochets and then 1 increase). You should have a total of 24 stitches.
Round 18: Crochet 24 single crochets. You should have a total of 24 stitches.
Round 19: Crochet in the 3rd loop (Camel Stitches). Crochet 24 single crochets. You should have a total of 24 stitches.
Round 20: Make 2 single crochets in the same stitch in every 8th stitch, with 1 single crochet in between (so, 7 single crochets and then 1 increase). You should have a total of 27 stitches.
Round 21: Crochet in the 3rd loop (Camel Stitches). Crochet 27 single crochets. You should have a total of 27 stitches.
If you’re making the small tree, finish here and proceed to step 6. If you want to make the medium or large tree, continue to the next steps.
Round 22: Crochet 27 single crochets. You should have a total of 27 stitches.
Round 23: Crochet in the 3rd loop (Camel Stitches). Make 2 single crochets in the same stitch in every 9th stitch, with 1 single crochet in between (so, 8 single crochets and then 1 increase). You should have a total of 30 stitches.
Round 24: Crochet 30 single crochets. You should have a total of 30 stitches.
Round 25: Crochet in the 3rd loop (Camel Stitches). Crochet 30 single crochets. You should have a total of 30 stitches.
Round 26: Make 2 single crochets in the same stitch in every 10th stitch, with 1 single crochet in between (so, 9 single crochets and then 1 increase). You should have a total of 33 stitches.
Round 27: Crochet in the 3rd loop (Camel Stitches). Crochet 33 single crochets. You should have a total of 33 stitches.
Round 28: Crochet 33 single crochets. You should have a total of 33 stitches.
Round 29: Crochet in the 3rd loop (Camel Stitches). Make 2 single crochets in the same stitch in every 11th stitch, with 1 single crochet in between (so, 10 single crochets and then 1 increase). You should have a total of 36 stitches.
If you’re making the medium tree, finish here and proceed to step 6. Otherwise, continue with the next step to make the large tree.
Round 30: Crochet 36 single crochets. You should have a total of 36 stitches.
Round 31: Crochet in the 3rd loop (Camel Stitches). Crochet 36 single crochets. You should have a total of 36 stitches.
Round 32: Make 2 single crochets in the same stitch in every 12th stitch, with 1 single crochet in between (so, 11 single crochets and then 1 increase). You should have a total of 39 stitches.
Round 33: Crochet in the 3rd loop (Camel Stitches). Crochet 39 single crochets. You should have a total of 39 stitches.
Round 34: Crochet 39 single crochets. You should have a total of 39 stitches.
Round 35: Crochet in the 3rd loop (Camel Stitches). Make 2 single crochets in the same stitch in every 13th stitch, with 1 single crochet in between (so, 12 single crochets and then 1 increase). You should have a total of 42 stitches.
Round 36: Crochet 42 single crochets. You should have a total of 42 stitches.
Round 37: Crochet in the 3rd loop (Camel Stitches). Crochet 42 single crochets. You should have a total of 42 stitches.
The large tree is now complete! 🎄
Cut the yarn and weave in the end. If you're unsure how to fasten off, see the video below.
Crochet the bottom of the tree
Now let's crochet the bottom of the tree. The small tree has 27 stitches in the last round, the medium tree has 36 stitches, and the large tree has 42 stitches. Double-check this, as the following steps are based on these stitch counts. If you are working on the medium or large tree, skip to step 8.
Small Tree:
Round 1: 8 single crochet (sc) into a magic ring.
Round 2: 2 sc in each stitch. You should have 16 stitches in this round.
Round 3: 2 sc in every other stitch, and 1 sc between increases (1 sc, then 1 increase). You should have 24 stitches.
Round 4: 2 sc in every 8th stitch, and 1 sc between increases (7 sc, then 1 increase). You should have 27 stitches.
Do not cut the yarn—move on to step 9.
Medium Tree:
Round 1: 8 single crochet (sc) into a magic ring.
Round 2: 2 sc in each stitch. You should have 16 stitches.
Round 3: 2 sc in every other stitch, and 1 sc between increases (1 sc, then 1 increase). You should have 24 stitches.
Round 4: 2 sc in every 3rd stitch, and 1 sc between increases (2 sc, then 1 increase). You should have 32 stitches.
Round 5: 2 sc in every 8th stitch, and 1 sc between increases (7 sc, then 1 increase). You should have 36 stitches.
Do not cut the yarn—move on to step 9.
Large Tree:
Round 1: 8 single crochet (sc) into a magic ring.
Round 2: 2 sc in each stitch. You should have 16 stitches.
Round 3: 2 sc in every other stitch, and 1 sc between increases (1 sc, then 1 increase). You should have 24 stitches.
Round 4: 2 sc in every 3rd stitch, and 1 sc between increases (2 sc, then 1 increase). You should have 32 stitches.
Round 5: 2 sc in every 8th stitch, and 1 sc between increases (7 sc, then 1 increase). You should have 36 stitches.
Round 6: 2 sc in every 6th stitch, and 1 sc between increases (5 sc, then 1 increase). You should have 42 stitches.
Do not cut the yarn—move on to step 9.
Make 1 chain stitch to close off the top of the tree.
Stuff the tree with fiberfill, yarn scraps, fabric pieces, or anything else you have on hand. Be sure to fill it all the way to the top, but don't pack it too tightly—leave some space so the tree keeps its shape without being overstuffed.
Once your tree is stuffed, proceed to Step 10 for the final assembly.
Assembly
Hold the tree with the tip pointing towards you.
Place the bottom piece (the base) with the right side facing out.
Now, attach the tree to the base:
- Work through both layers (the tree and the base).
- Using a slip stitch or single crochet, join the edges of the tree to the base, going all the way around the bottom, making sure to keep the stitches even.
- Once you've attached the base securely, fasten off the yarn and weave in the ends.
Your tree should now be complete and stable!
Start in the second stitch of the bottom plate (skipping the first chain), as you will be working in the opposite direction compared to when you made the base. Work a slip stitch in each stitch around the edge of the bottom plate. Make sure the stitches are evenly placed around the bottom edge of the tree, attaching the tree to the bottom plate securely as you go along.
Make a slip stitch into the first stitch to avoid a gap between the stitches. If you're unsure how to make slip stitches, you can watch the "Slip Stitches" video for guidance. Cut the yarn and securely fasten all loose ends to keep everything in place.
Shape the tree by gently pulling and kneading it, ensuring it takes a nice, even form and that the stuffing settles properly inside.
And that's it! You’ve now completed your very own crocheted Christmas tree! 🎄
We hope you're happy with the result! If you'd like, feel free to share photos of your finished trees on social media, but remember to tag us @makeyourown.se so we can see your beautiful creations too!T hank you for crocheting with us – we hope you enjoy your Christmas trees!
Description using crochet terms
This section of the pattern consists of crochet terminology. If you need a little help, we refer you to the simpler section with more explanations.
Abbreviations
MR = Magic ring
sc = single crochet
sl st = slip stitch
ch = chain stitch
st = stitch
*...* = repeat the instructions the specified number of times
(...) = number of stitches in the round
Do not crochet the Christmas tree too tightly! The first 6 rounds are a little fiddly, but it gets much easier after that.
Throughout the pattern, you will crochet every other round (starting from Round 2, follow the instructions) in Camel Stitch. This means that you crochet into the 3rd loop of the stitch (the loop behind the two “regular” loops).
Christmas Tree
Round 1: Start with a Magic Ring. Crochet 6 sc into the ring. Pull the ring closed.
Round 2: *1 sc, inc* x6 (9)
Round 3: 9 sc in the 3rd loop (9)
Look at your stitch, which looks like a “V”. The loop closest to you is called the front loop, and the loop furthest away from you is called the back loop. If you look at the inside, there is another loop on the inside of the stitch. This is sometimes called the 3rd loop, among other names.
It can be difficult to find during the first few rounds, but it becomes much easier later on. Don't forget to double-check that you have 9 stitches after completing Round 3.
Round 4: 9 sc (9)
Round 5: Crochet in the 3rd loop: *2 sc, inc* x3 (12)
Round 6: 12 sc (12)
Round 7: Crochet in the 3rd loop: 12 sc (12)
Round 8: *3 sc, inc* x3 (15)
Round 9: Crochet in the 3rd loop: 15 sc (15)
Round 10: 15 sc (15)
Round 11: Crochet in the 3rd loop: *4 sc, inc* x3 (18)
Round 12: 18 sc (18)
Round 13: Crochet in the 3rd loop: 18 sc (18)
Round 14: *5 sc, inc* x3 (21)
Round 15: Crochet in the 3rd loop: 21 sc (21)
Round 16: 21 sc (21)
Round 17: Crochet in the 3rd loop: *6 sc, inc* x3 (24)
Round 18: 24 sc (24)
Round 19: Crochet in the 3rd loop: 24 sc (24)
Round 20: *7 sc, inc* x3 (27)
Round 21: Crochet in the 3rd loop: 27 sc (27)
If you are making the small tree, finish here and go directly to Step 6. If you are making the medium or large tree, continue with the next step (bottom).
Round 22: 27 sc (27)
Round 23: Crochet in the 3rd loop: *8 sc, inc* x3 (30)
Round 24: 30 sc (30)
Round 25: Crochet in the 3rd loop: 30 sc (30)
Round 26: *9 sc, inc* x3 (33)
Round 27: Crochet in the 3rd loop: 33 sc (33)
Round 28: 33 sc (33)
Round 29: Crochet in the 3rd loop: *10 sc, inc* x3 (36)
If you are making the medium tree, finish here and continue with Step 6. Otherwise, continue with the next step (bottom).
Round 30: 36 sc (36)
Round 31: Crochet in the 3rd loop: 36 sc (36)
Round 32: *11 sc, inc* x3 (39)
Round 33: Crochet in the 3rd loop: 39 sc (39)
Round 34: 39 sc (39)
Round 35: Crochet in the 3rd loop: *12 sc, inc* x3 (42)
Round 36: 42 sc (42)
Round 37: Crochet in the 3rd loop: 42 sc (42)
The large tree is now finished!
Cut the yarn and weave in the end.
Crochet the base
Now we will crochet the base of the tree.
The small tree has 27 stitches in the final round, the medium tree has 36 stitches, and the large tree has 42 stitches.
Double-check this—it is important because the instructions below are based on these stitch counts.
Small Christmas Tree
Round 1: 8 sc in a MR.
Round 2: Inc x8 (16)
Round 3: *1 sc, inc* x6 (24)
Round 4: *7 sc, inc* x3 (27)
Do not cut the yarn. Continue to the assembly section.
Medium Christmas Tree
Round 1: 8 sc in a MR.
Round 2: Inc x8 (16)
Round 3: *1 sc, inc* x6 (24)
Round 4: *2 sc, inc* x6 (32)
Round 5: *7 sc, inc* x4 (36)
Do not cut the yarn. Continue to the assembly section.
Large Christmas Tree
Round 1: 8 sc in a MR.
Round 2: Inc x8 (16)
Round 3: *1 sc, inc* x6 (24)
Round 4: *2 sc, inc* x6 (32)
Round 5: *7 sc, inc* x4 (36)
Round 6: *5 sc, inc* x6 (42)
Do not cut the yarn.
Chain 1.
Assembly
Stuff your Christmas tree with polyester fiberfill, yarn scraps, fabric scraps, etc. Make sure the stuffing reaches all the way up into the tip, but don't overstuff it.
Hold the Christmas tree with the tip facing towards you.
Place the base with the right side facing out. We will now crochet through both layers—the Christmas tree and the base—to join them together.
Start in the 2nd stitch of the base, meaning you skip the chain stitch. (On the base, we crochet in the opposite direction from before, but this is correct.)
Now crochet 1 slip stitch through each stitch.
Crochet one slip stitch into the first stitch as well, so that there is no gap.
If you are unsure how to crochet slip stitches, see the video below (Slip Stitches).
Cut the yarn and weave in the end.
Gently pull and knead the Christmas tree to give it a nice shape and help the stuffing settle into the correct position.
You're done! What do you think of your new Christmas trees?
Feel free to share pictures of your creations on social media, but don't forget to tag us @makeyourown.se so we can see your pictures too!
The rights to this pattern belong to MYO Make Your Own. The pattern or its pictures may not be copied, shared or resold either in parts or in its entirety, but you may sell items you have crocheted from this pattern. If you have questions about the pattern, contact MYO at hello@makeyourown.se.
%20(1).jpg)




Share your creations with us
Thank you!
Your comment was sent!