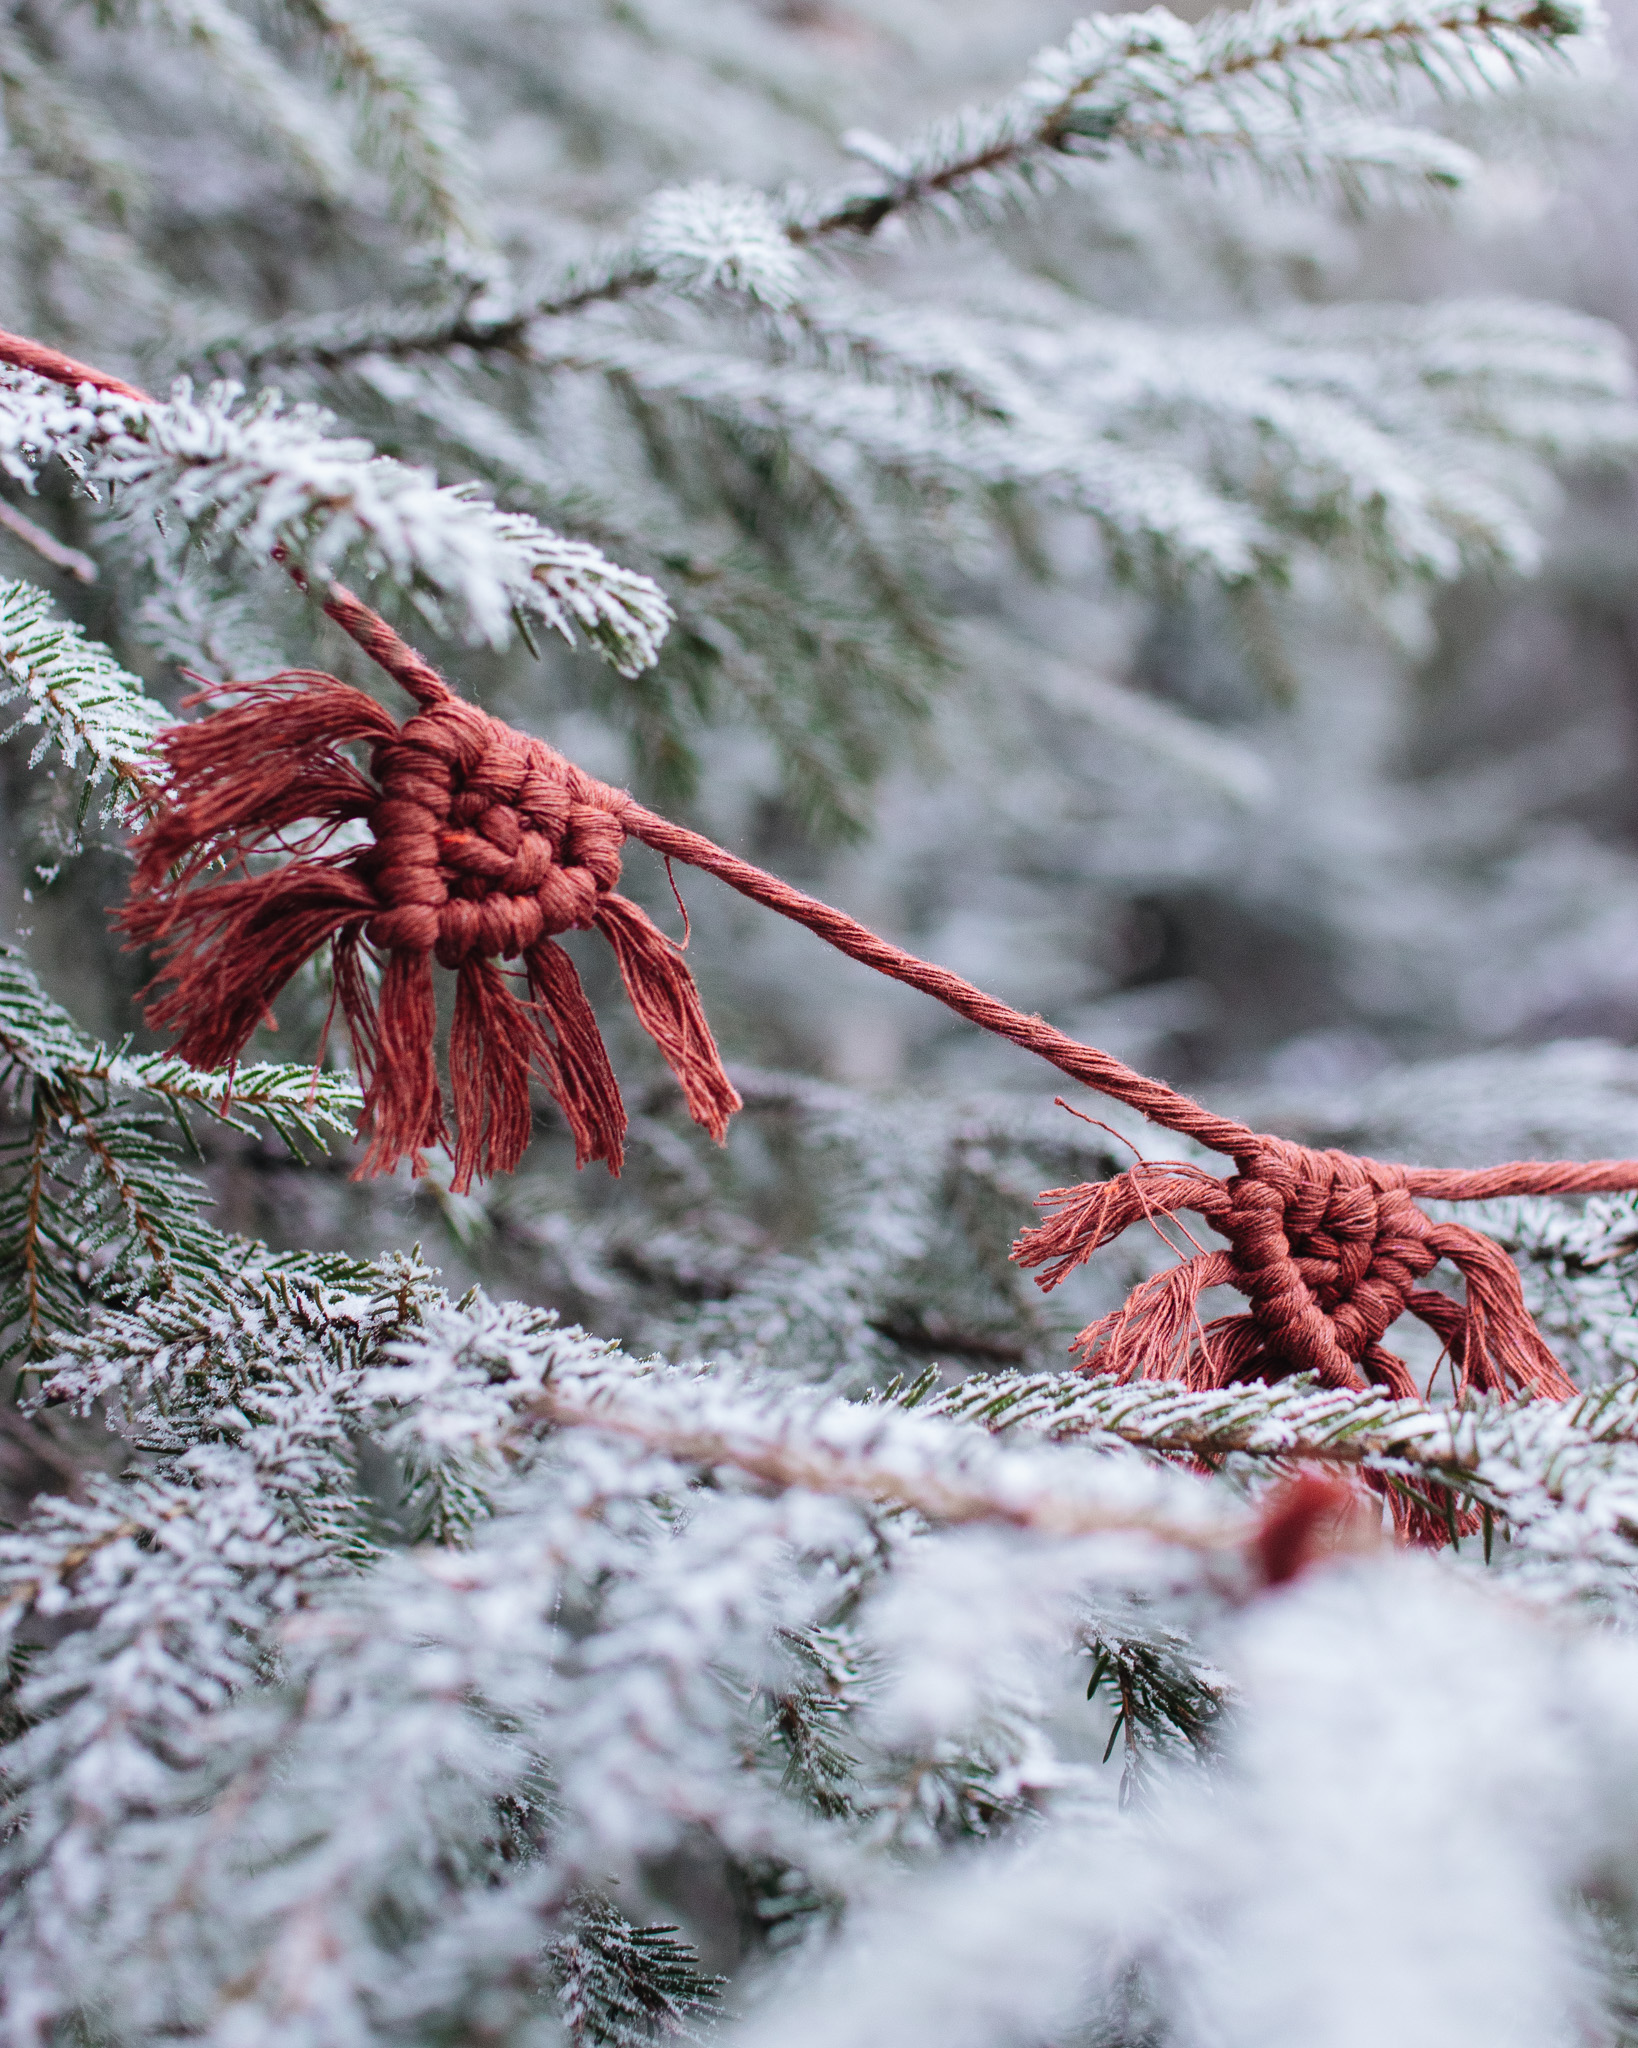
You will lose access to our instructions and member discounts. We hope you want to stay, but understand if it doesn't feel right at the moment — you're always welcome back! :)

Vi vill gärna veta vad du tycker - varför vill du säga upp ditt medlemskap?
Thank you! Your submission has been received!
Oops! Something went wrong while submitting the form.
Buy your material here

You can buy the materials and needles we use at makeyourown.semakeyourown.se

Go to shop
Copyright © 2022 Make Your Own
Please verify your email address by clicking on the link sent to youremail@gmail.com or resubmit.
patterns

Macrame Garland

A garland, which you can easily tie with our yarn EKO Single Twisted 4mm, you can make this in several colors and use for different purposes. All you need is the cord and a pair of scissors to cut with. The different knots can be seen most easily on the video. Good luck to you!

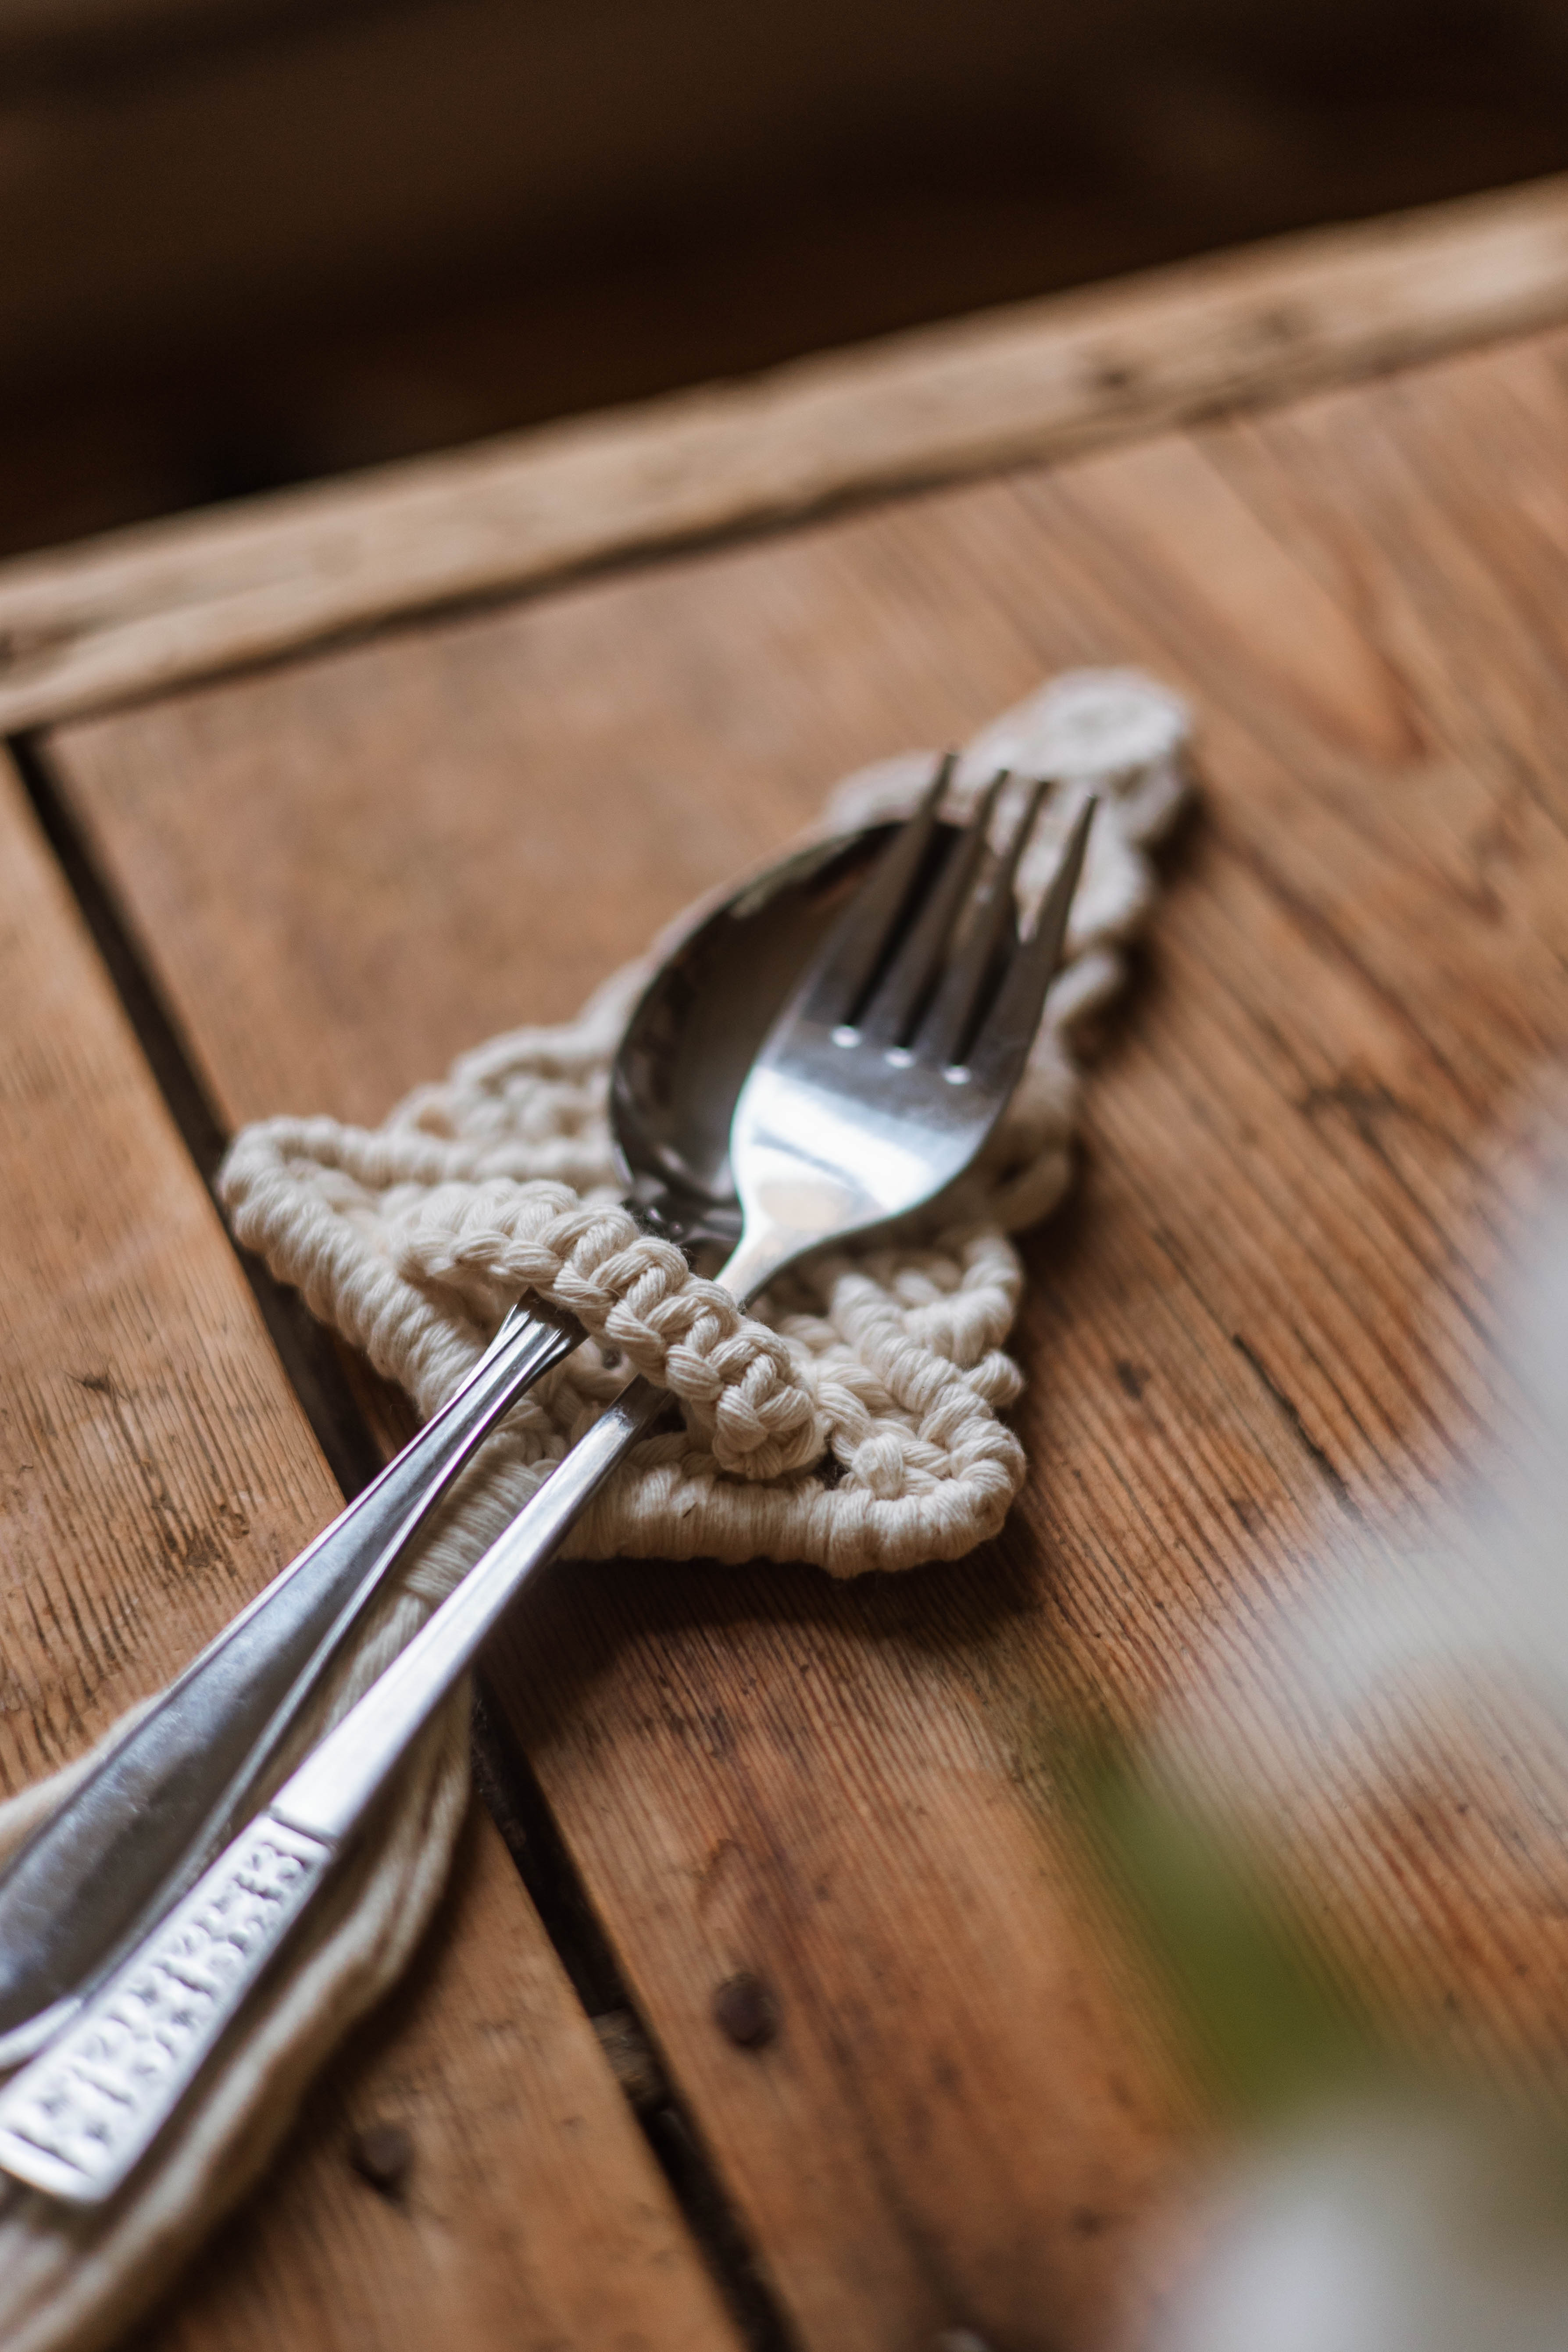
This is what you need:

Here you can directly purchase the material for the product. Please note that the instruction is digital and appears here on the page (no written instruction).

EKO Single Twisted 4mm

A versatile and soft macramé yarn that can be frayed

Buy product

Here's how to do it

Salli Skött

Easy and inspiring handicrafts – Become a Member at MYO!

Our patterns have been created with love, by our creators, for MYO’s members. By joining our community, you’ll get access to all of our instructions/patterns, digital workshops, member offers, and more. At the same time, you’ll help us further develop this page and release new instructions every week.

Becoming a member is easy and works like a subscription (starting from €7.50/month). The membership has no binding period.

Welcome to create with us! / The girls at MYO

Steg 1

First, cut one length as long as you want, depending on the size of your tree. Then cut 4 lengths, each 60 cm long. Attach these lengths to your long cord using a Lark’s Head Knot (see video 00:30).

Next, take a pin and secure your garland to a soft surface, such as a mat or cork board.

Steg 2

Take the four middle cords and tie a Square Knot. The easiest way to understand is by watching the video (see video 02:45).

Steg 3

Now we will make a diagonal Double Half Hitch Knot, which will create the V-shaped pattern you see. The easiest way to understand is by watching the video (see video 3:56).

Steg 4

The final step is to trim the ends of your fringe to the desired length. You can also comb them if you like. Done! Now make as many as you want for your garland.

Steg 5
Steg 6
Steg 7
Steg 8
Steg 9
Steg 10
Step 1

First, cut one length as long as you want, depending on the size of your tree. Then cut 4 lengths, each 60 cm long. Attach these lengths to your long cord using a Lark’s Head Knot (see video 00:30).

Next, take a pin and secure your garland to a soft surface, such as a mat or cork board.

Step 2

Take the four middle cords and tie a Square Knot. The easiest way to understand is by watching the video (see video 02:45).

Step 3

Now we will make a diagonal Double Half Hitch Knot, which will create the V-shaped pattern you see. The easiest way to understand is by watching the video (see video 3:56).

Step 4

The final step is to trim the ends of your fringe to the desired length. You can also comb them if you like. Done! Now make as many as you want for your garland.

Step 5
Step 6
Step 7
Step 8
Step 9
Step 10

The rights to this pattern belong to MYO Make Your Own. The pattern or its pictures may not be copied, shared or resold either in parts or in its entirety, but you may sell items you have crocheted from this pattern. If you have questions about the pattern, contact MYO at hello@makeyourown.se.

Macrame Garland

A garland, which you can easily tie with our yarn EKO Single Twisted 4mm, you can make this in several colors and use for different purposes. All you need is the cord and a pair of scissors to cut with. The different knots can be seen most easily on the video. Good luck to you!

Macrame Garland
Steg 1

First, cut one length as long as you want, depending on the size of your tree. Then cut 4 lengths, each 60 cm long. Attach these lengths to your long cord using a Lark’s Head Knot (see video 00:30).

Next, take a pin and secure your garland to a soft surface, such as a mat or cork board.

Steg 2

Take the four middle cords and tie a Square Knot. The easiest way to understand is by watching the video (see video 02:45).

Steg 3

Now we will make a diagonal Double Half Hitch Knot, which will create the V-shaped pattern you see. The easiest way to understand is by watching the video (see video 3:56).

Steg 4

The final step is to trim the ends of your fringe to the desired length. You can also comb them if you like. Done! Now make as many as you want for your garland.

Steg 5
Steg 6
Steg 7
Steg 8
Steg 9
Steg 10

The rights to this pattern belong to MYO Make Your Own. The pattern or its pictures may not be copied, shared or resold either in parts or in its entirety, but you may sell items you have crocheted from this pattern. If you have questions about the pattern, contact MYO at hello@makeyourown.se.