
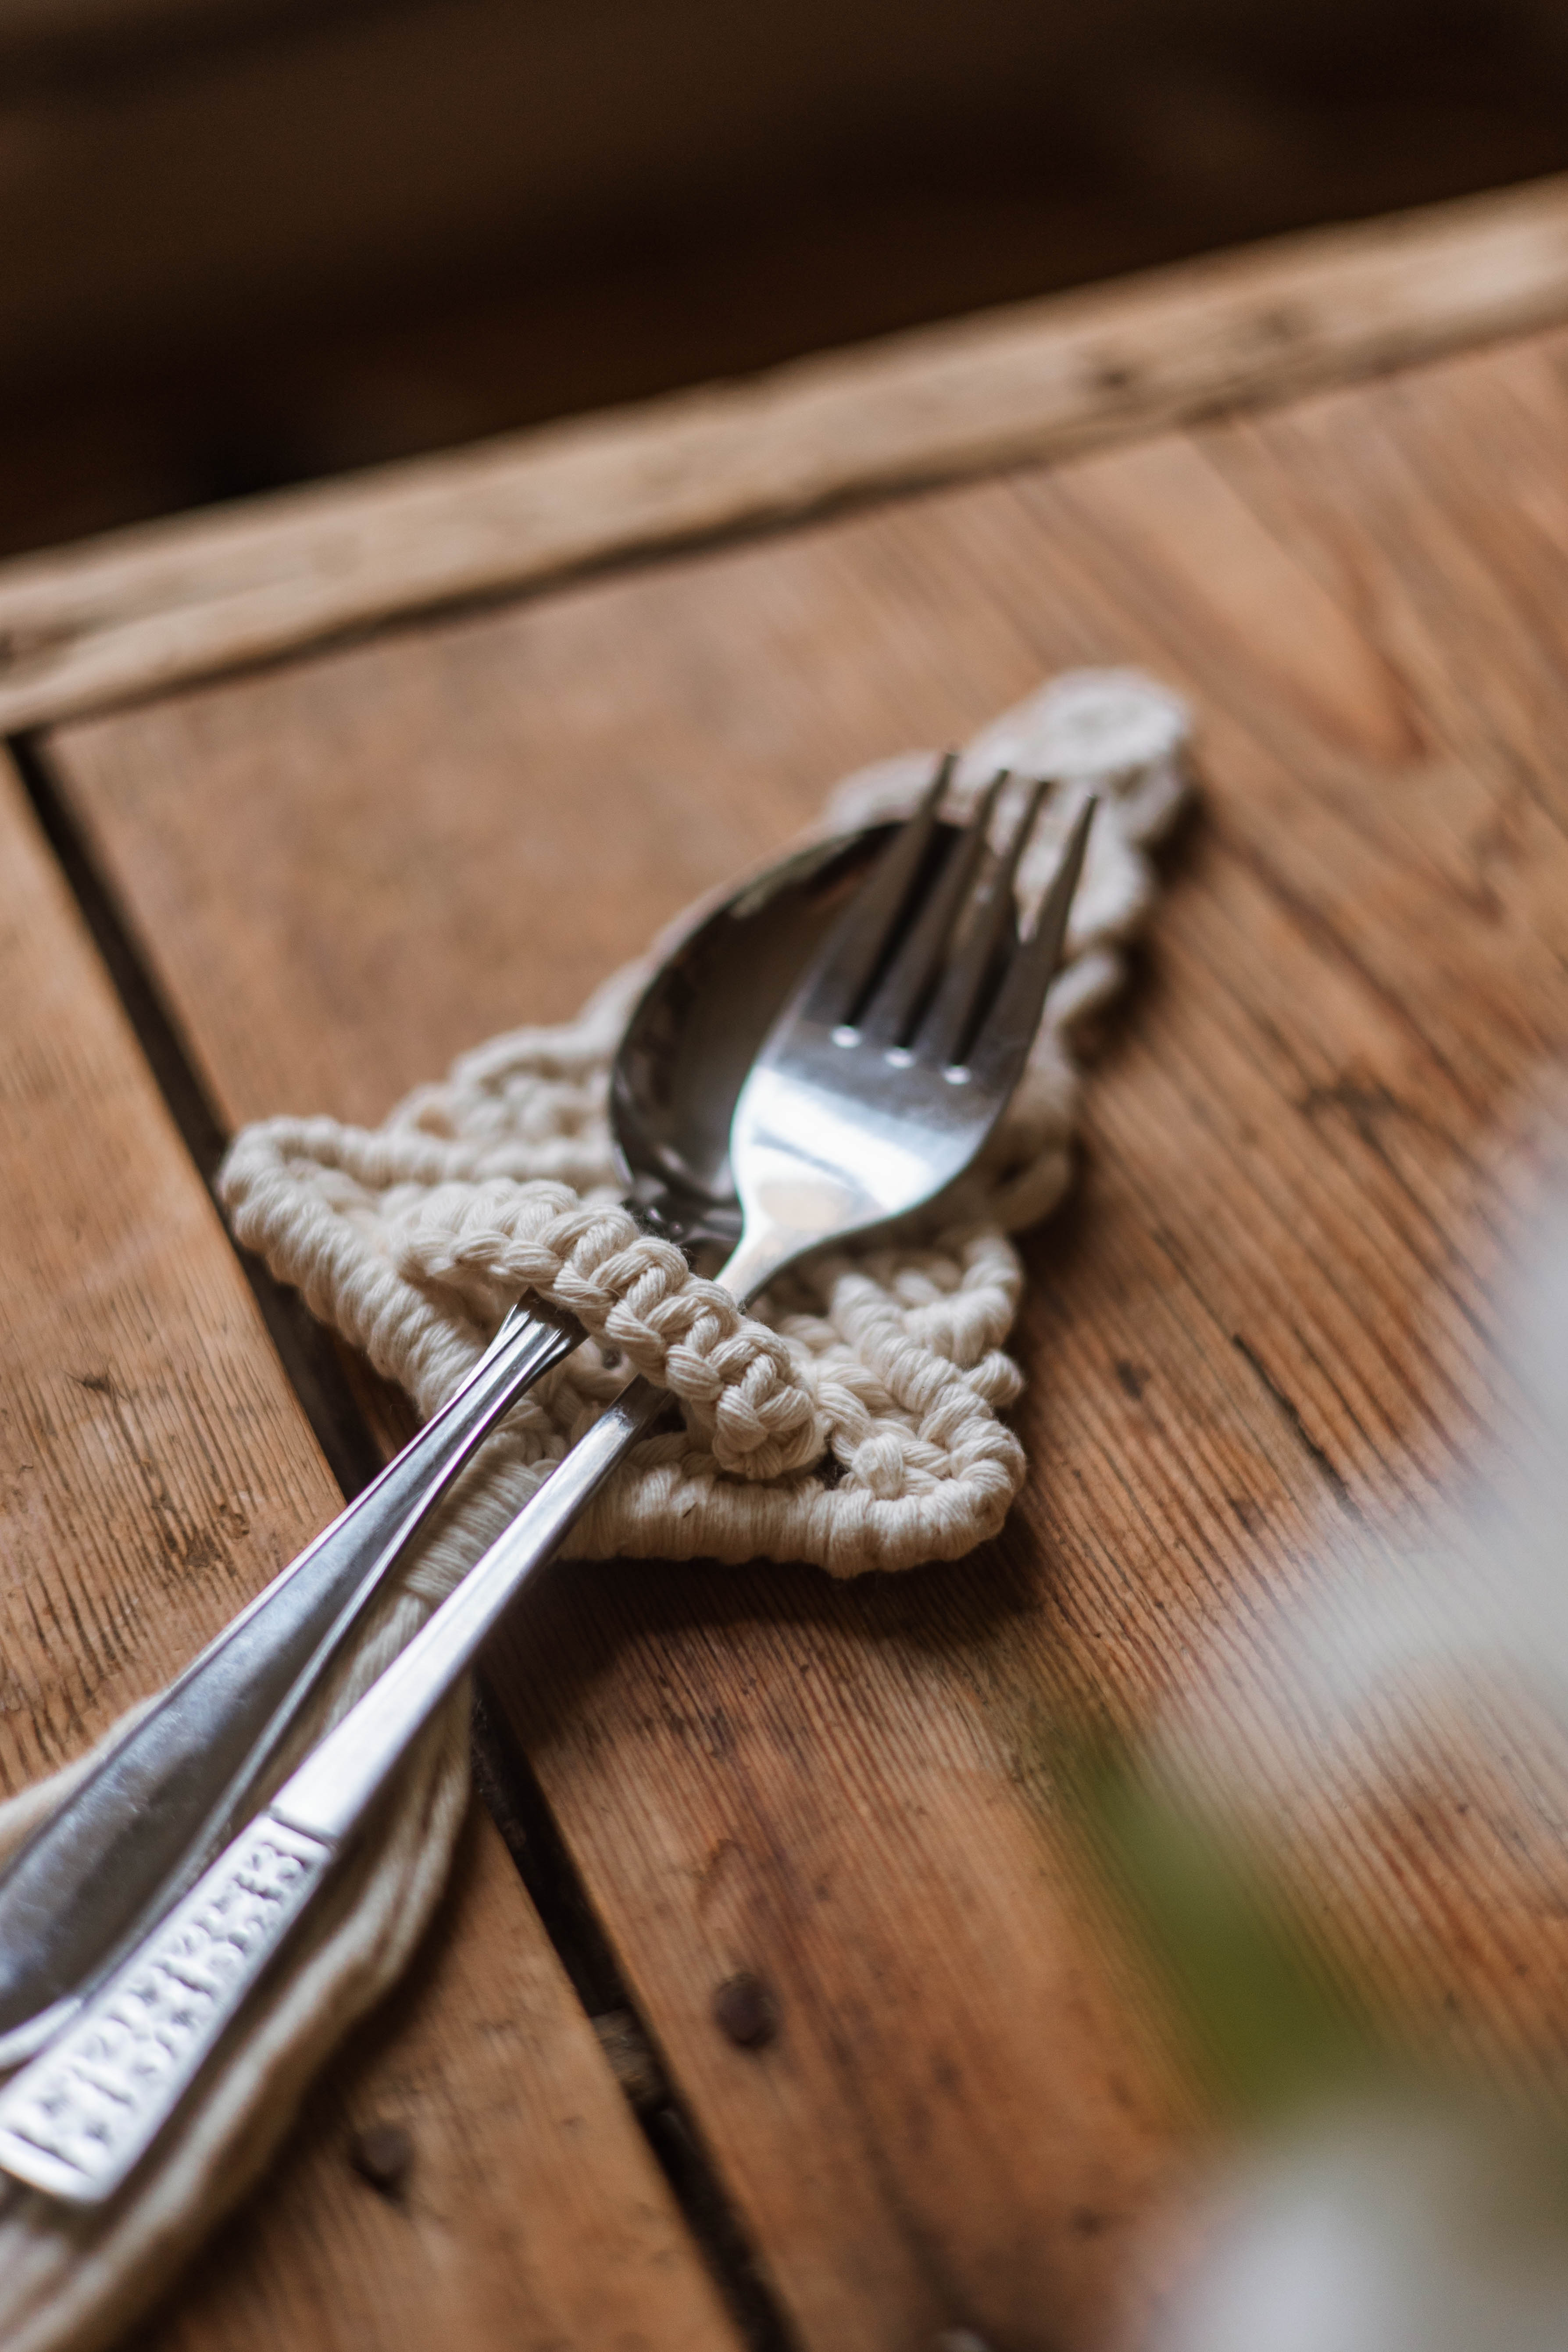
Macrame cutlery holder “Carol”
Tie a nice cutlery holder 🎄
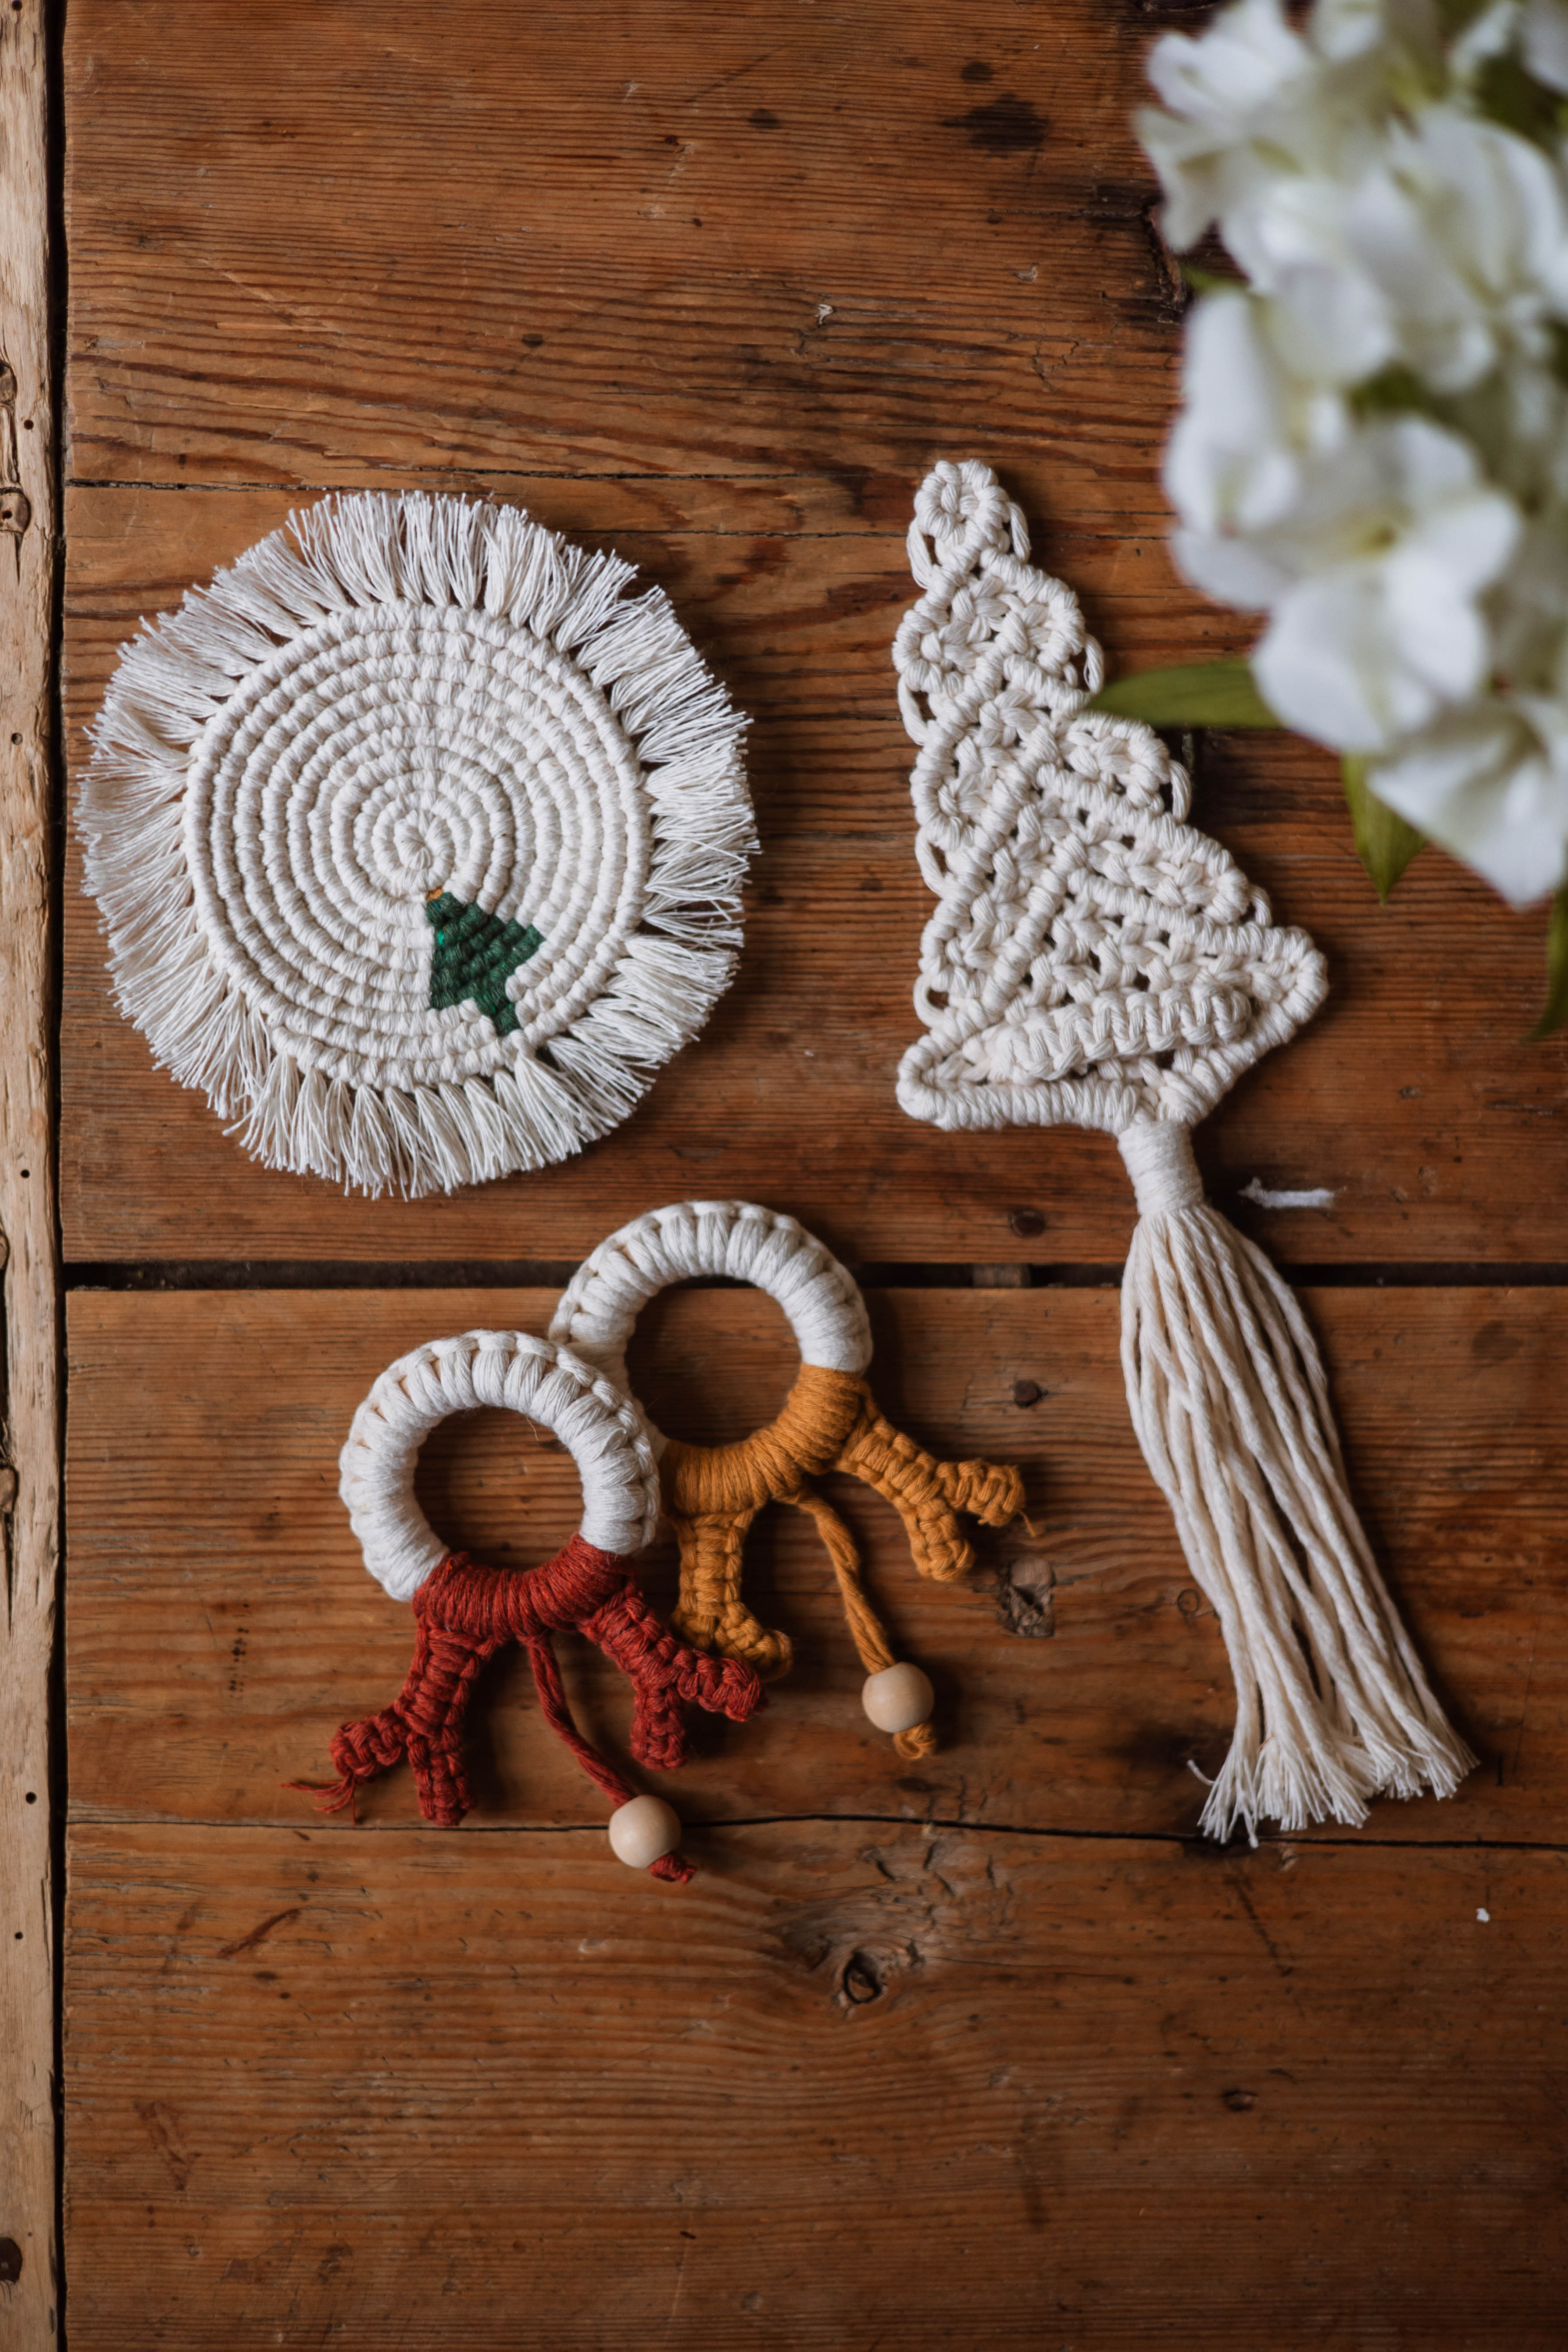
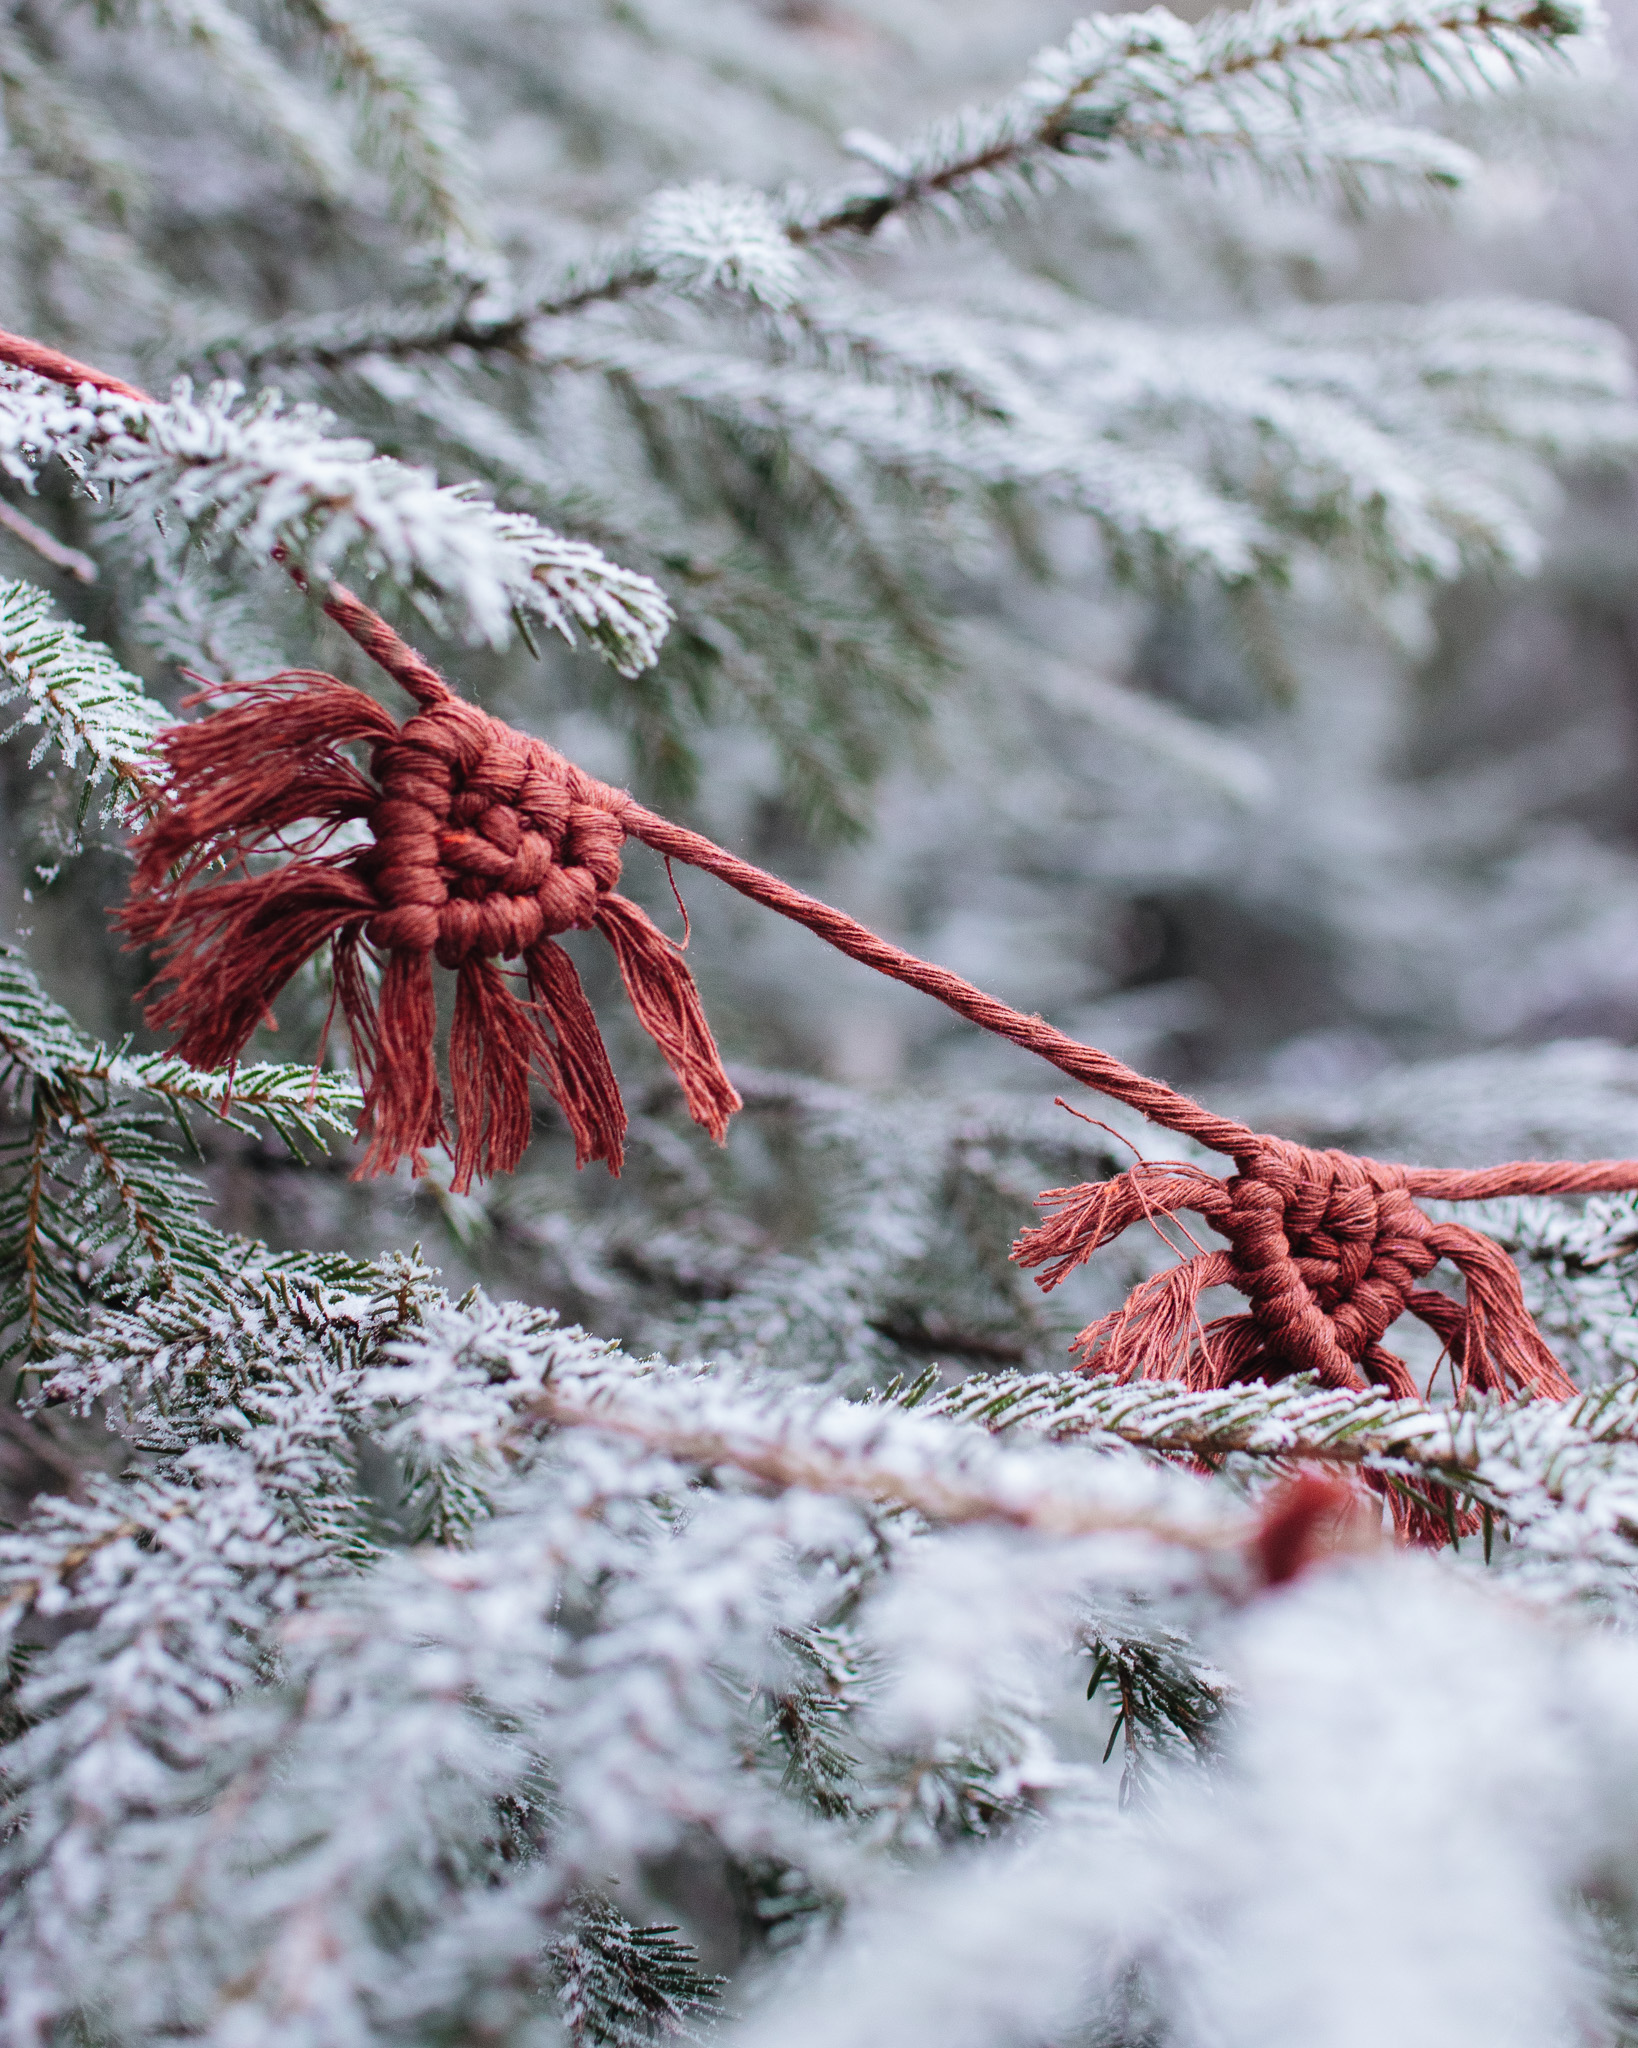
Create a festive touch on the table with a macramé cutlery holder shaped like a Christmas tree! 🎄 This small decoration keeps the cutlery neatly assembled while spreading Christmas spirit with its charming shape. Perfect for Christmas table setting and easy to make in your favourite colours for a personalised, handmade feel. You will need single twisted 2.5 mm yarn, tape measure, scissors, macrame board or cork board as well as needles or masking tape, crochet needle/needle.
Yarn Consumption: about 9 meters of natural white cotton cord.

Here's how to do it
Hope you want to decorate the table with these nice cutlery holders! /Isabella
.jpg)
This is what you need:
Here you can directly purchase the material for the product. Please note that the instruction is digital and appears here on the page (no written instruction).
.jpg)
Unleash your creativity
For only 85kr per month you get access to all our 300+ beginner-friendly instructions for crochet, knitting and macrame.
A perfect way to get started with your new hobby!

Material
Natural White 2.5mm single twist string
Rusty Yellow 2.5mm single twist string
Dark Green 2.5mm single twist string
Equipment
Measuring tape
Scissors
Macrame board or cork board + pins
Crochet hook/tapestry needle
Comb
Knots
Reversed Lark’s Head Knot
Double Half Hitch Knot
Cut
Natural White String
1 x 2-meter (Guide)
5 x 1-meter
4 x 0.9 meter
4 x 0.8 meter
8 x 0.8 meter
6 x 0.5 meter
4 x 0.4 meter
Rusty Yellow String
1 x 0.2 meter
Dark Green String
1 x 0.7 meter
1 x 0.6 meter
1 x 0.5 meter
NOTE: Depending on the tension of your knots, you might need more or fewer quantities of natural strings as listed above.
Tutorial
1. Take the 2-meter string, fold it to create a loop at the end of the string
2. Tie the 5 x 1-meter string on the loop with the Reversed Lark’s Head Knot.
3. Pull the long strand of the guide string to tie the loop and create a small circle.
4. Bundle the guide string as it’s very long.
5. Pin the circle on your board with pins.
6. Tie all the strings on the guide string with the Double Half Hitch Knot to create your first row. Remember not to tie the knots too hard or the coaster will curve.
7. Start the second round by tying a new Double Half Hitch Knot.
8. Next, add the rusty yellow string to the guide string with the Reversed Lark’s Head Knot.
9. Continue tying the remaining strings on the guide. At some point, you will notice a gap between the strings, and that’s when you will add a new string on the guide (on this round, a 0.9-meter string), using the Reversed Lark’s Head Knot. Depending on the tension of your knots, the location of your new strings will vary.
10. Once you arrive under the rusty yellow string, tie your first dark green string to the guide (1 x 0.7-meter) using the Reversed Lark’s Head Knot.
11. Go around and tie the third round of Double Half Hitches with the natural white strings, adding new strings when needed. You can massage the coaster after a few rounds to double-check that it’s nice and flat. Use the pins to keep it flat on the board.
12. Once you are under the dark green string, tie two Double Half Hitch knots. Make sure you are happy with the location of the green knots.
13. Complete the fourth round by tying all the natural white strings, adding new strings when needed.
14. At this point, tie the first green Double Half Hitch knots.
15. Next, add a new dark green string (1 x 0.6-meter) on the guide with the Reversed Lark’s Head Knot.
16. Tie the final green Double Half Hitch knots using the green string from the previous round. Make sure you are happy with the location of the green knots; you can see the Christmas tree shape emerging.
17. Complete the fifth round by tying all the natural white strings, adding new strings when needed.
18. Once you are under the green strings, tie all of them to the guide string.
19. Complete the sixth round by tying all the natural white strings, adding new strings when needed.
20. Once you are under the green strings, tie the first
two green strings on the guide with the Double Half Hitch knot, then add a new green string (1 x 0.5-meter) with the Reversed Lark’s Head Knot.
21. Tie the final two green Double Half Hitch knots using the strings from the previous round.
22. Complete the seventh round by tying all the natural white strings, adding new strings when needed.
23. At this point, you should have five rows of green lines that make the Christmas tree. Next, you will tie the trunk of the tree. Once you are under the green strings, add two natural white strings (2 x 0.5-meter) on the guide string with the Reversed Lark’s Head Knot.
24. Next, take the middle green string and tie one Double Half Hitch knot. Make sure it aligns with the star- rusty yellow knot.
25. Then, add two more natural white strings (2 x 0.5-meter) on the guide string with the Reversed Lark’s Head Knot.
26. Complete the eighth round by tying all the natural white strings, adding new strings when needed.
27. Once you are under the green string, tie one Double Half Hitch knot.
28. At this point, you can add one or two more rounds of just natural white Double Half Hitch knots to complete the coaster, adding new strings when needed.
29. Once you are done, tuck the guide string at the back of the coaster with the help of a crochet hook ot tapestry needle. Trim any excess string.
30. Trim the dark green and rusty yellow strings.
31. To trim the fringe, you need a template- you can use a piece of cardboard approximately 2.5 cm high. Place it on top of 5-6 strings and trim with sharp scissors.
32. Check that you are happy with the fringe length or repeat the process with a shorter template.
33. If you want to make the fringe fuller and fluffier, use a comb to brush it. Trim the fringe again, if needed, to make it neat.
You are done :)
The rights to this pattern belong to MYO Make Your Own. The pattern or its pictures may not be copied, shared or resold either in parts or in its entirety, but you may sell items you have crocheted from this pattern. If you have questions about the pattern, contact MYO at hello@makeyourown.se.
%20(1).jpg)


Share your creations with us
Thank you!
Your comment was sent!