Du kommer att förlora åtkomst till våra instruktioner och medlemsrabatter. Vi hoppas att du vill stanna kvar, men förstår om det inte känns rätt just nu - du är alltid välkommen tillbaka! :)

Buy your material here

You can buy the materials and needles we use at makeyourown.semakeyourown.se

Go to shop
Copyright © 2022 Make Your Own
Please verify your email address by clicking on the link sent to youremail@gmail.com or resubmit.
patterns

Macramé lamp cord “Lana”

Get a new & fresh look for your lamp cord, with the macramé technique!

This instruction will help you cover your old cords and make them look cozier and more beautiful in your home. To use this technique for a lamp cord, you need a lamp cord, max. 5m long that most technology stores sell - in case you don´t have an old cord at home. If you have yarn over from your project, you can use the same technique to dress other, shorter cords; for example mobile chargers!

We recommend the yarn EKO Braided Rope 5mm, but the technique actually works with any yarn you have at home. So it is fine to use even a narrower yarn.

Difficulty level: Beginners

Macramé lamp cord “Lana”

This is what you need:

EKO Braided rope 5mm | 1000g

EKO Braided rope 5mm is ideal for macramé work such as amples, bags, cord guards etc., but also for crocheting.

Köp produkt

Here's how to do it

Salli Skött

Sign up to see the full instruction

This instruction is exclusive content for those who have an active membership with MYO. By being a member, you get access to all our 100+ instructions, technology tips, etc., but also membership offers and priority to new product launches. At the same time, you help us develop the instructions page further and release new instructions every week.

Becoming a member is easy and works like a subscription (price: 80 kr/mo), if you want to test our instructions first, we have a number of free instructions available for everyone.

Welcome to our wonderful team of creators! /The Girls from MYO

Steg 1

Start by figuring out how much rope you need: You need:
12 meters of rope per 1 meter of cord (example: 3m of rope = 36m of rope). But this many meters can be difficult to manage so split them into two or more lengths. You will work with one at a time.

Steg 2

First step - the knot covering the cord


Start by folding your length with rope in the middle. Then lay one end of the cord on top of the middle of the rope, see picture 1.
Now we make a knot around the cord, you only need to learn this knot once because you keep making exactly the same knot over and over again. The rope twists by itself, you will notice it gradually. Don't tighten the knots too tight, you may have a hard time getting the twist and you won't get the look you might want. Follow the pictures for best understanding.

Continue adding knots in the same way:

Steg 3

Button


When you get down to the on/off button (if your cord has one), tie to the button, then leave the ropes on each side of the button, and then continue with the knot under the button again, see picture.

Steg 4

How to join/hide your rope ends

It's okay to leave this moment until the end. Take the ends of the ropes and braid into the length below. Braid the ropes in the same direction as the knots so that the joint is as invisible as possible.

Use the same technique to hide the ends closest to the electrical connector.

Steg 5

How to cover the outlet

If your cord has an outlet that you want to cover, follow the instructions below. First try how much rope you need for your specific sleeve. Wrap some rope around the outlet without adding glue, add about 10 cm extra that you will bake in later in the construction. Then start by gluing the entire outlet with glue sticks.

Then place the end of the rope as in the picture. Wrap the rope around the end, to lock the construction, and to get a nice finish.

The last 2 rounds wind a little looser to be able to get the end behind the ropes to lock the construction and get a nicer result. When you´re done, tighten the ropes so they´re snug against the outlet and let it dry.

Steg 6

Now you're done with your lamp cord. Nice work!

Steg 7
Steg 8
Steg 9
Steg 10
Steg 1

Start by figuring out how much rope you need: You need:
12 meters of rope per 1 meter of cord (example: 3m of rope = 36m of rope). But this many meters can be difficult to manage so split them into two or more lengths. You will work with one at a time.

Steg 2

First step - the knot covering the cord


Start by folding your length with rope in the middle. Then lay one end of the cord on top of the middle of the rope, see picture 1.
Now we make a knot around the cord, you only need to learn this knot once because you keep making exactly the same knot over and over again. The rope twists by itself, you will notice it gradually. Don't tighten the knots too tight, you may have a hard time getting the twist and you won't get the look you might want. Follow the pictures for best understanding.

Continue adding knots in the same way:

Steg 3

Button


When you get down to the on/off button (if your cord has one), tie to the button, then leave the ropes on each side of the button, and then continue with the knot under the button again, see picture.

Steg 4

How to join/hide your rope ends

It's okay to leave this moment until the end. Take the ends of the ropes and braid into the length below. Braid the ropes in the same direction as the knots so that the joint is as invisible as possible.

Use the same technique to hide the ends closest to the electrical connector.

Steg 5

How to cover the outlet

If your cord has an outlet that you want to cover, follow the instructions below. First try how much rope you need for your specific sleeve. Wrap some rope around the outlet without adding glue, add about 10 cm extra that you will bake in later in the construction. Then start by gluing the entire outlet with glue sticks.

Then place the end of the rope as in the picture. Wrap the rope around the end, to lock the construction, and to get a nice finish.

The last 2 rounds wind a little looser to be able to get the end behind the ropes to lock the construction and get a nicer result. When you´re done, tighten the ropes so they´re snug against the outlet and let it dry.

Steg 6

Now you're done with your lamp cord. Nice work!

Steg 7
Steg 8
Steg 9
Steg 10

The rights to this pattern belong to MYO Make Your Own. The pattern or its pictures may not be copied, shared or resold either in parts or in its entirety, but you may sell items you have crocheted from this pattern. If you have questions about the pattern, contact MYO at hello@makeyourown.se.

Macramé lamp cord “Lana”

Get a new & fresh look for your lamp cord, with the macramé technique!

This instruction will help you cover your old cords and make them look cozier and more beautiful in your home. To use this technique for a lamp cord, you need a lamp cord, max. 5m long that most technology stores sell - in case you don´t have an old cord at home. If you have yarn over from your project, you can use the same technique to dress other, shorter cords; for example mobile chargers!

We recommend the yarn EKO Braided Rope 5mm, but the technique actually works with any yarn you have at home. So it is fine to use even a narrower yarn.

Difficulty level: Beginners

Macramé lamp cord “Lana”
Steg 1

Start by figuring out how much rope you need: You need:
12 meters of rope per 1 meter of cord (example: 3m of rope = 36m of rope). But this many meters can be difficult to manage so split them into two or more lengths. You will work with one at a time.

Steg 2

First step - the knot covering the cord


Start by folding your length with rope in the middle. Then lay one end of the cord on top of the middle of the rope, see picture 1.
Now we make a knot around the cord, you only need to learn this knot once because you keep making exactly the same knot over and over again. The rope twists by itself, you will notice it gradually. Don't tighten the knots too tight, you may have a hard time getting the twist and you won't get the look you might want. Follow the pictures for best understanding.

Continue adding knots in the same way:

Steg 3

Button


When you get down to the on/off button (if your cord has one), tie to the button, then leave the ropes on each side of the button, and then continue with the knot under the button again, see picture.

Steg 4

How to join/hide your rope ends

It's okay to leave this moment until the end. Take the ends of the ropes and braid into the length below. Braid the ropes in the same direction as the knots so that the joint is as invisible as possible.

Use the same technique to hide the ends closest to the electrical connector.

Steg 5

How to cover the outlet

If your cord has an outlet that you want to cover, follow the instructions below. First try how much rope you need for your specific sleeve. Wrap some rope around the outlet without adding glue, add about 10 cm extra that you will bake in later in the construction. Then start by gluing the entire outlet with glue sticks.

Then place the end of the rope as in the picture. Wrap the rope around the end, to lock the construction, and to get a nice finish.

The last 2 rounds wind a little looser to be able to get the end behind the ropes to lock the construction and get a nicer result. When you´re done, tighten the ropes so they´re snug against the outlet and let it dry.

Steg 6

Now you're done with your lamp cord. Nice work!

Steg 7
Steg 8
Steg 9
Steg 10

The rights to this pattern belong to MYO Make Your Own. The pattern or its pictures may not be copied, shared or resold either in parts or in its entirety, but you may sell items you have crocheted from this pattern. If you have questions about the pattern, contact MYO at hello@makeyourown.se.
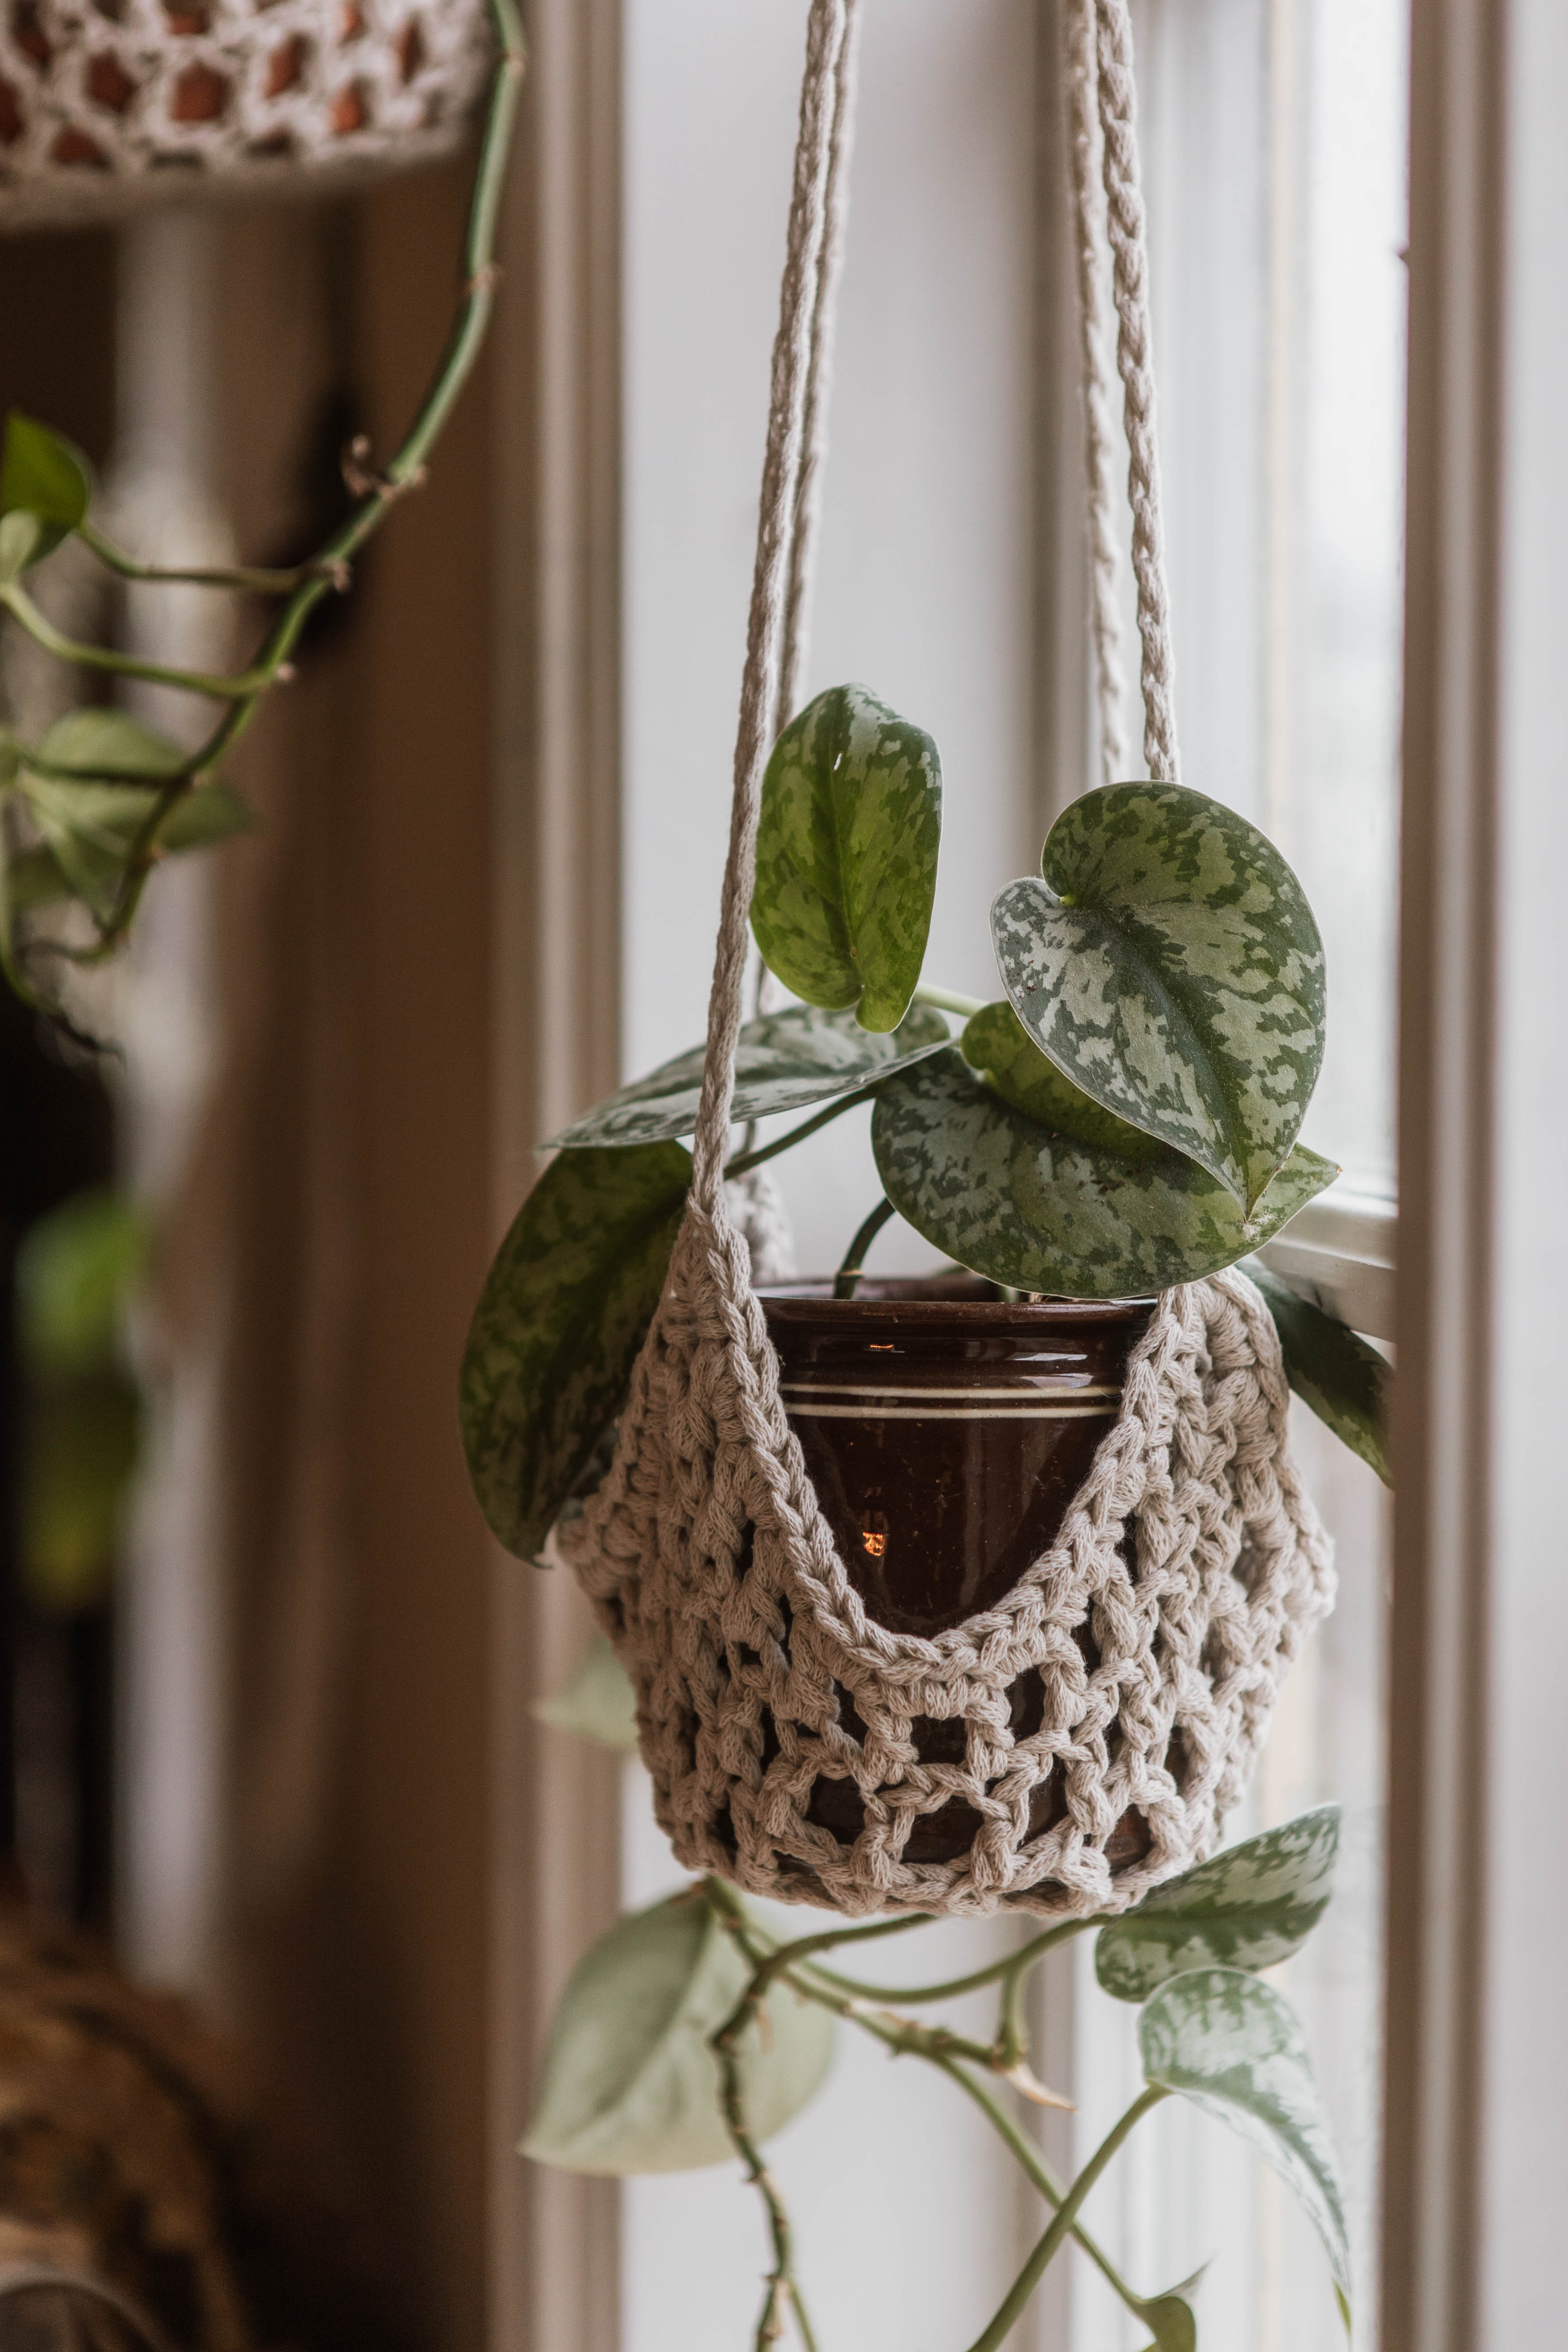
Macramé lamp cord “Lana”

Get a new & fresh look for your lamp cord, with the macramé technique!

This instruction will help you cover your old cords and make them look cozier and more beautiful in your home. To use this technique for a lamp cord, you need a lamp cord, max. 5m long that most technology stores sell - in case you don´t have an old cord at home. If you have yarn over from your project, you can use the same technique to dress other, shorter cords; for example mobile chargers!

We recommend the yarn EKO Braided Rope 5mm, but the technique actually works with any yarn you have at home. So it is fine to use even a narrower yarn.

Difficulty level: Beginners

Macramé lamp cord “Lana”
Steg 1

Start by figuring out how much rope you need: You need:
12 meters of rope per 1 meter of cord (example: 3m of rope = 36m of rope). But this many meters can be difficult to manage so split them into two or more lengths. You will work with one at a time.

Steg 2

First step - the knot covering the cord


Start by folding your length with rope in the middle. Then lay one end of the cord on top of the middle of the rope, see picture 1.
Now we make a knot around the cord, you only need to learn this knot once because you keep making exactly the same knot over and over again. The rope twists by itself, you will notice it gradually. Don't tighten the knots too tight, you may have a hard time getting the twist and you won't get the look you might want. Follow the pictures for best understanding.

Continue adding knots in the same way:

Steg 3

Button


When you get down to the on/off button (if your cord has one), tie to the button, then leave the ropes on each side of the button, and then continue with the knot under the button again, see picture.

Steg 4

How to join/hide your rope ends

It's okay to leave this moment until the end. Take the ends of the ropes and braid into the length below. Braid the ropes in the same direction as the knots so that the joint is as invisible as possible.

Use the same technique to hide the ends closest to the electrical connector.

Steg 5

How to cover the outlet

If your cord has an outlet that you want to cover, follow the instructions below. First try how much rope you need for your specific sleeve. Wrap some rope around the outlet without adding glue, add about 10 cm extra that you will bake in later in the construction. Then start by gluing the entire outlet with glue sticks.

Then place the end of the rope as in the picture. Wrap the rope around the end, to lock the construction, and to get a nice finish.

The last 2 rounds wind a little looser to be able to get the end behind the ropes to lock the construction and get a nicer result. When you´re done, tighten the ropes so they´re snug against the outlet and let it dry.

Steg 6

Now you're done with your lamp cord. Nice work!

Steg 7
Steg 8
Steg 9
Steg 10

The rights to this pattern belong to MYO Make Your Own. The pattern or its pictures may not be copied, shared or resold either in parts or in its entirety, but you may sell items you have crocheted from this pattern. If you have questions about the pattern, contact MYO at hello@makeyourown.se.