
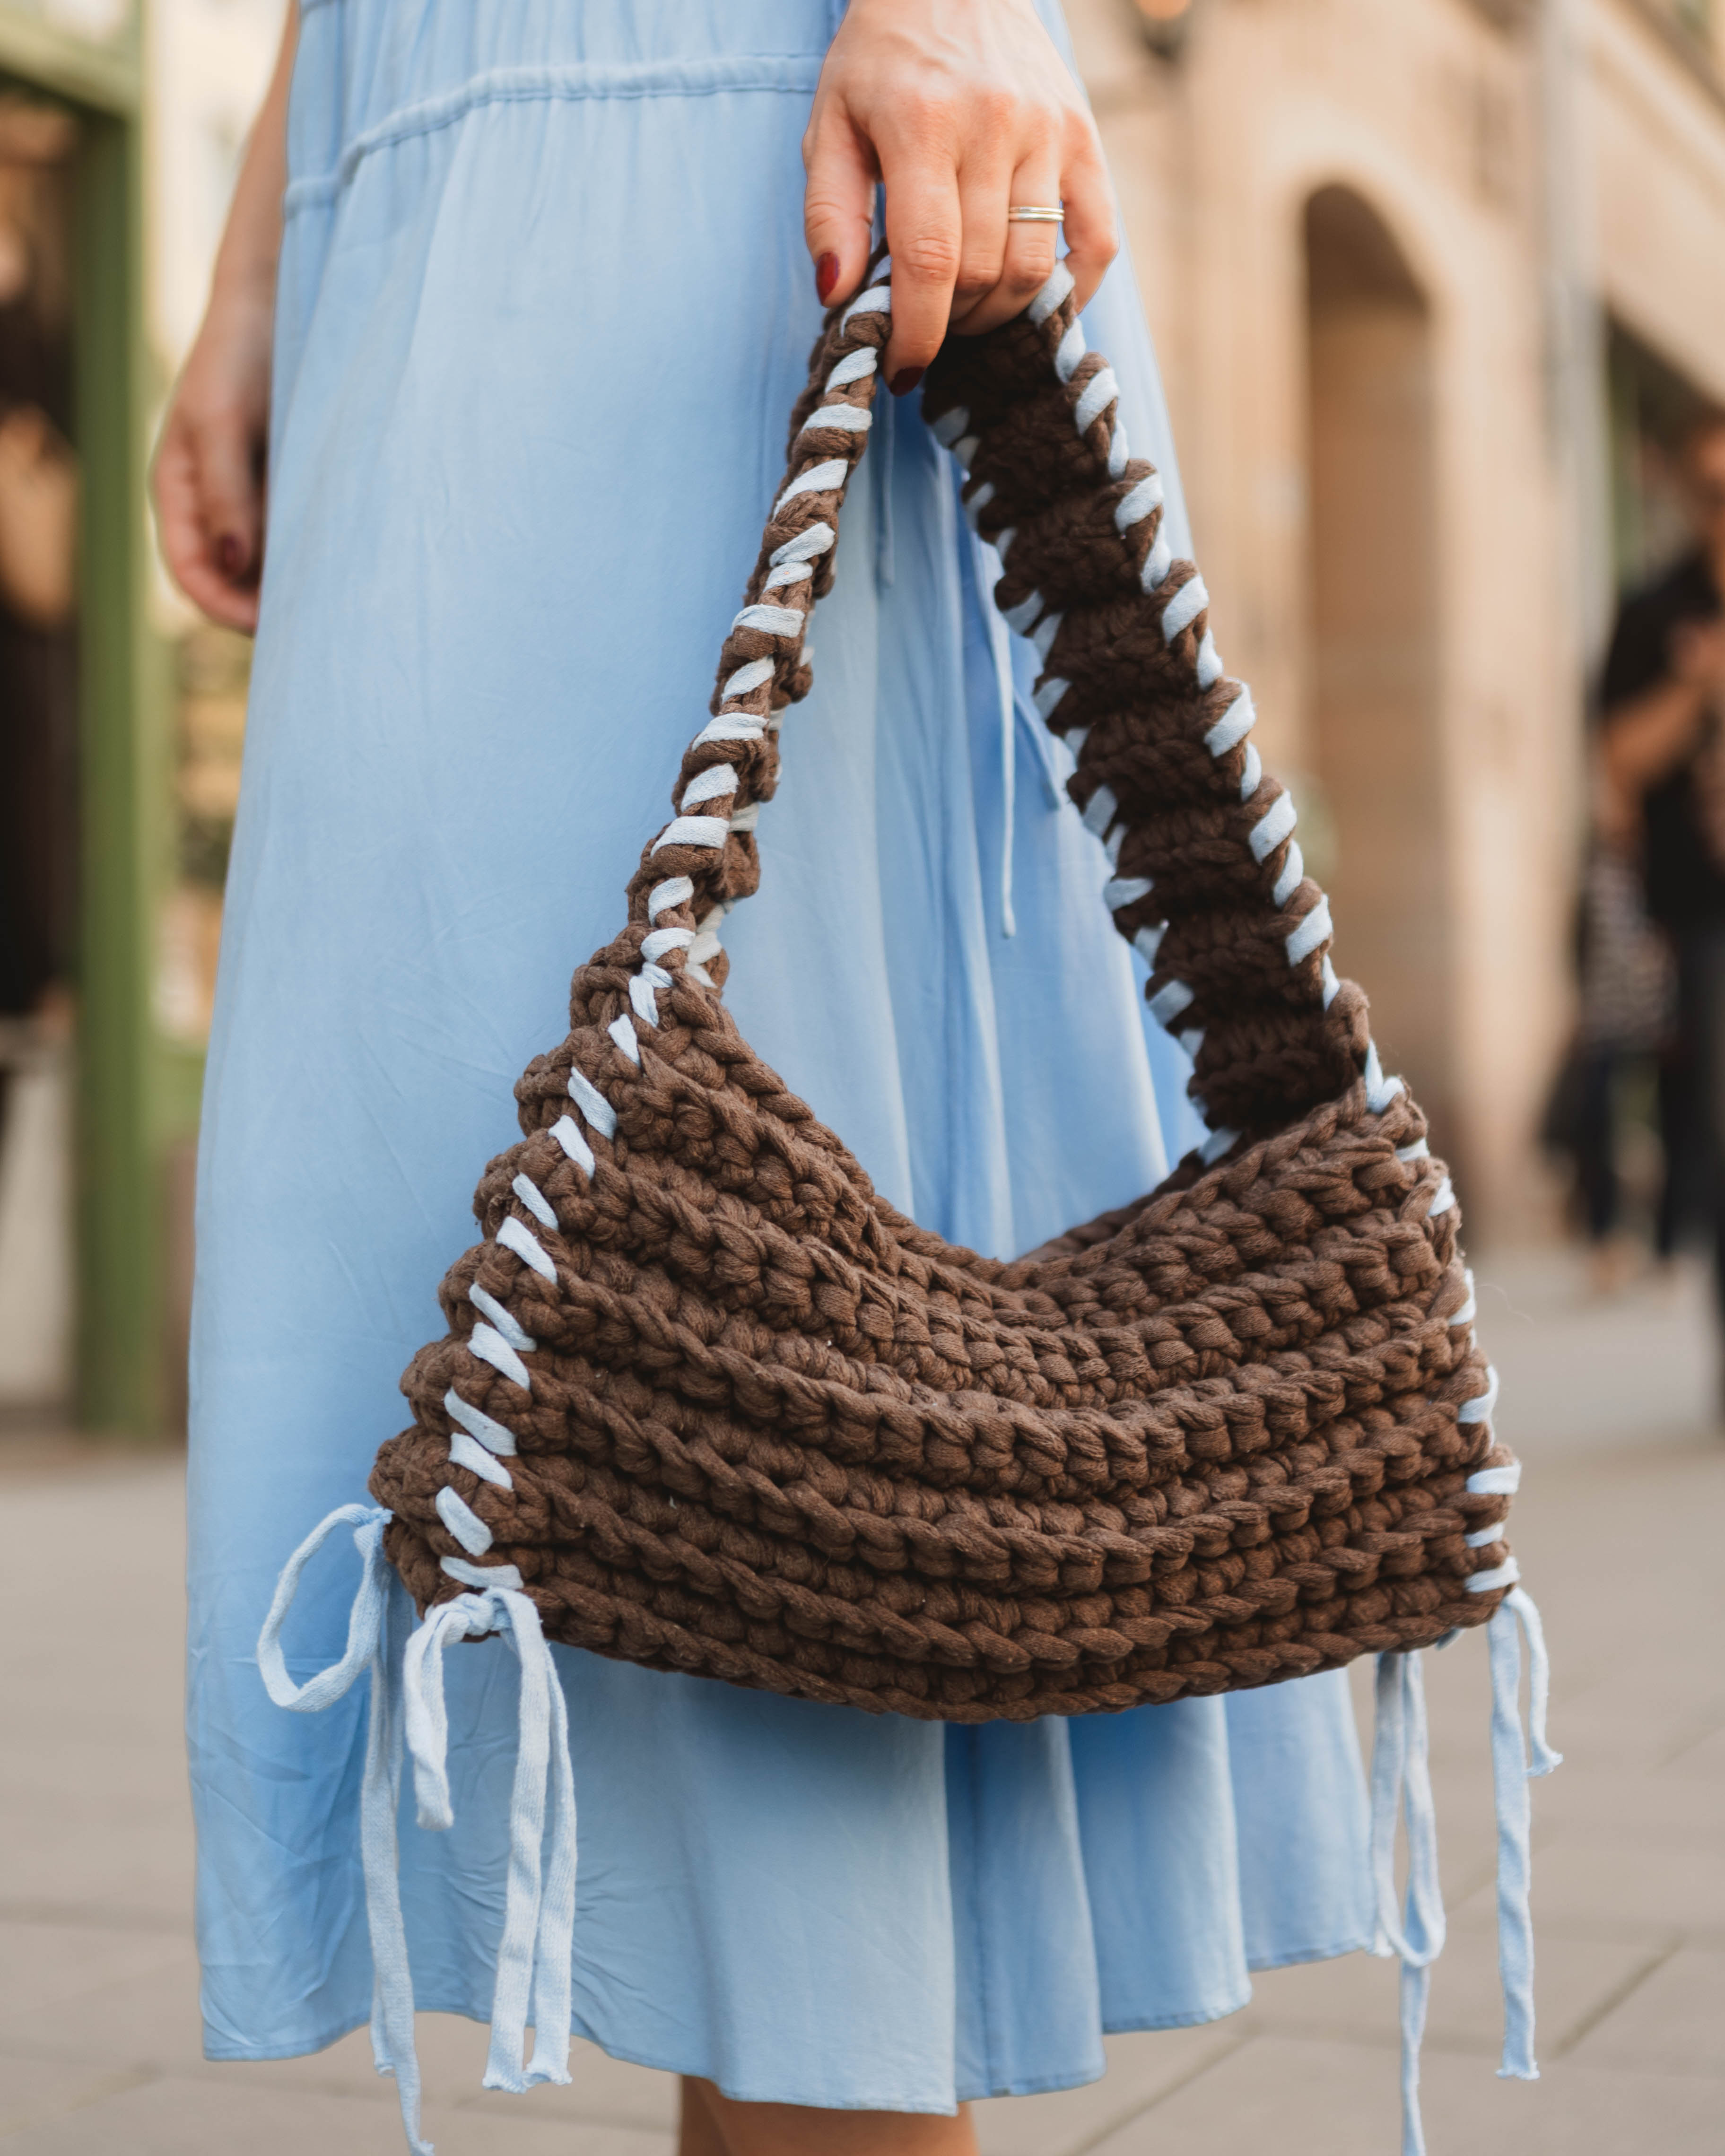
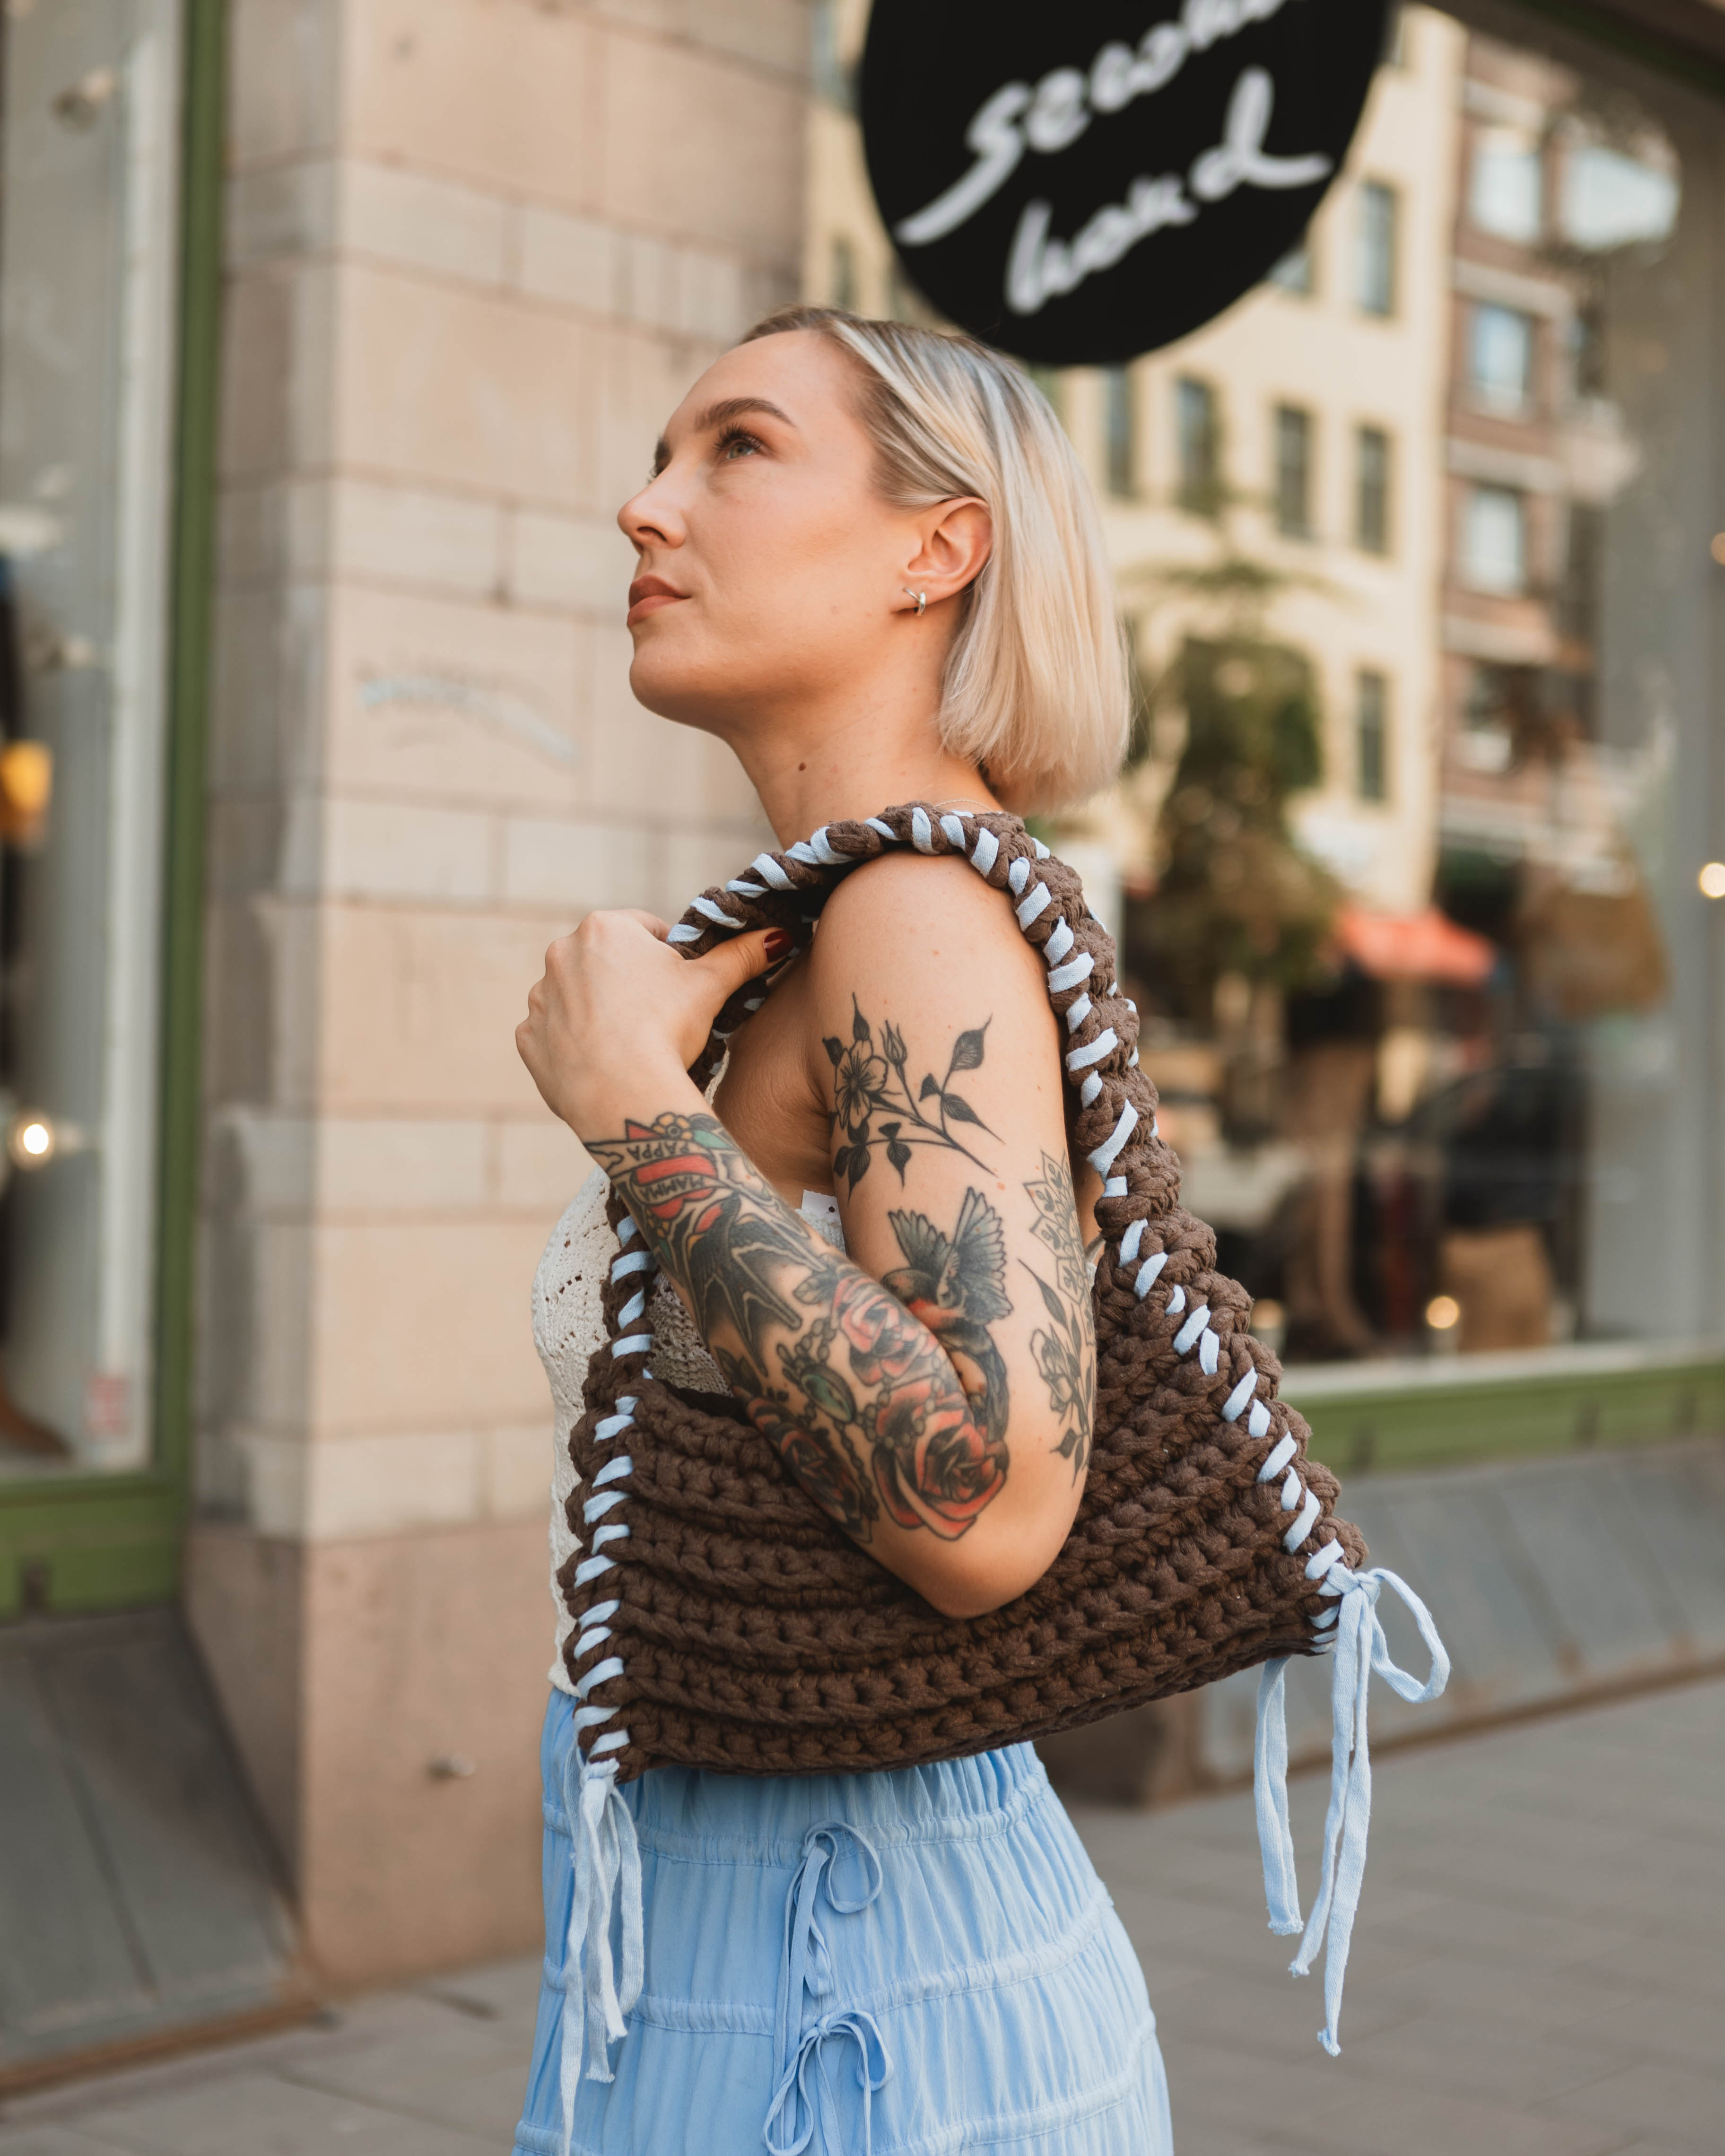
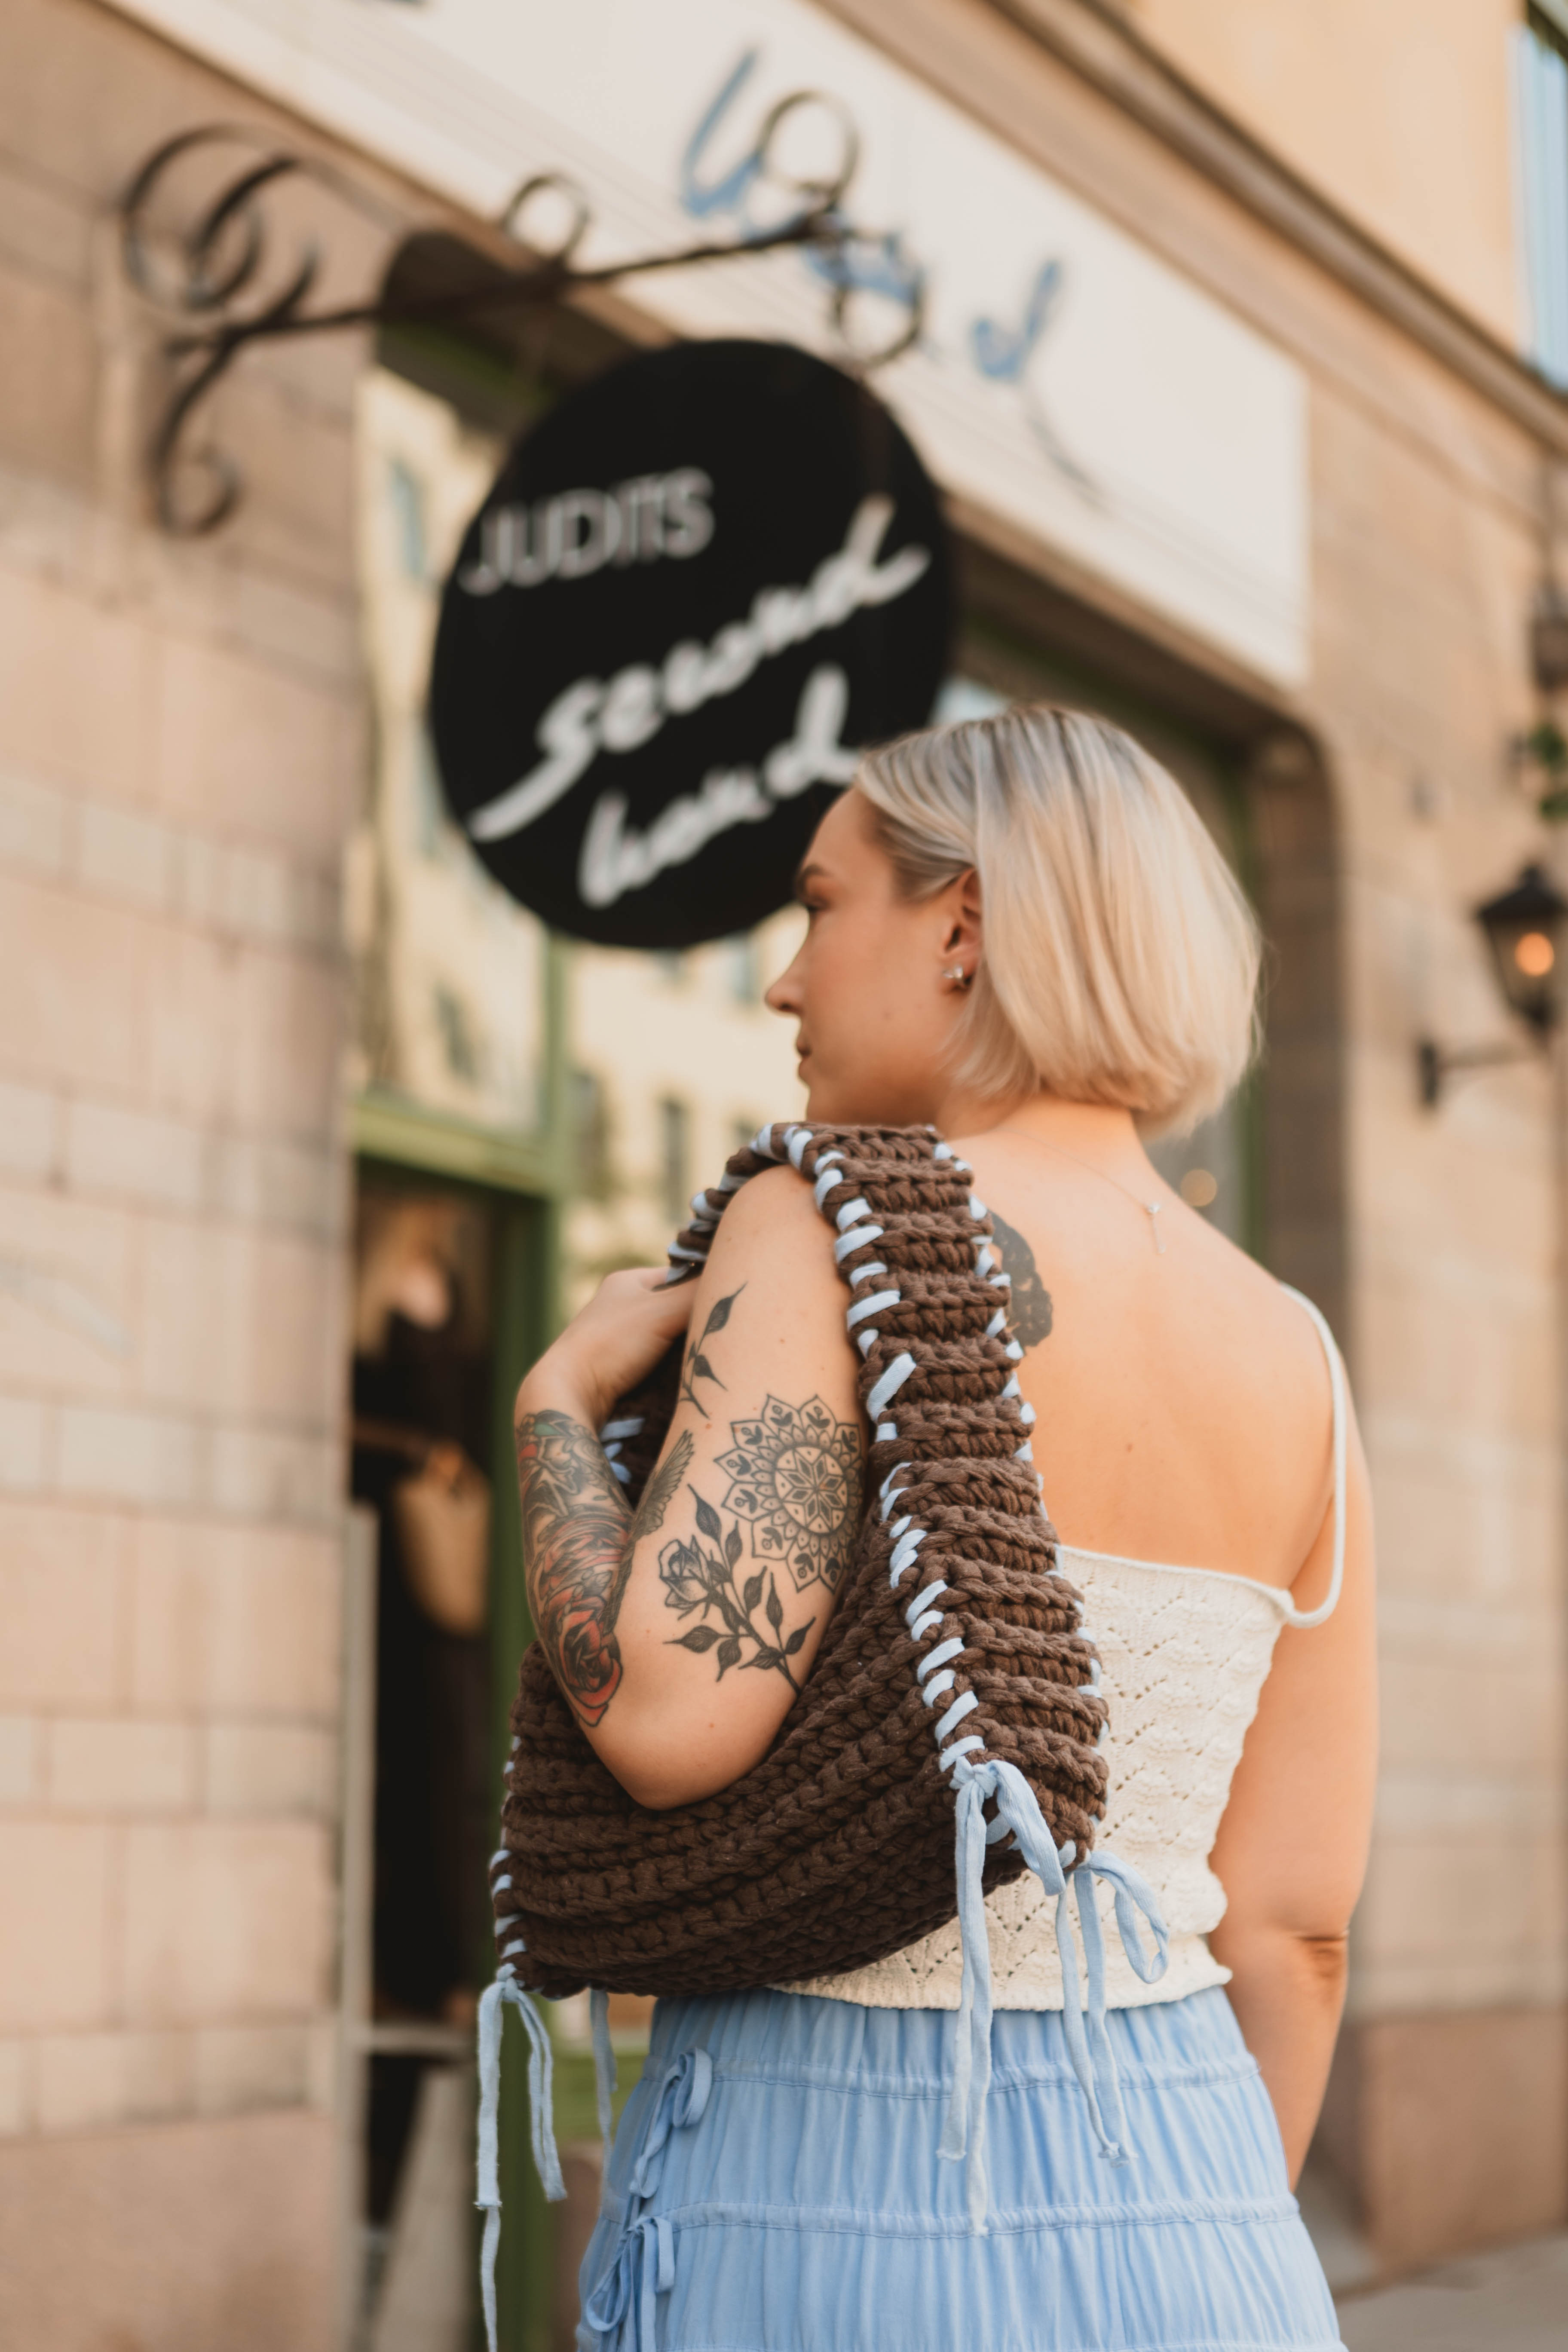
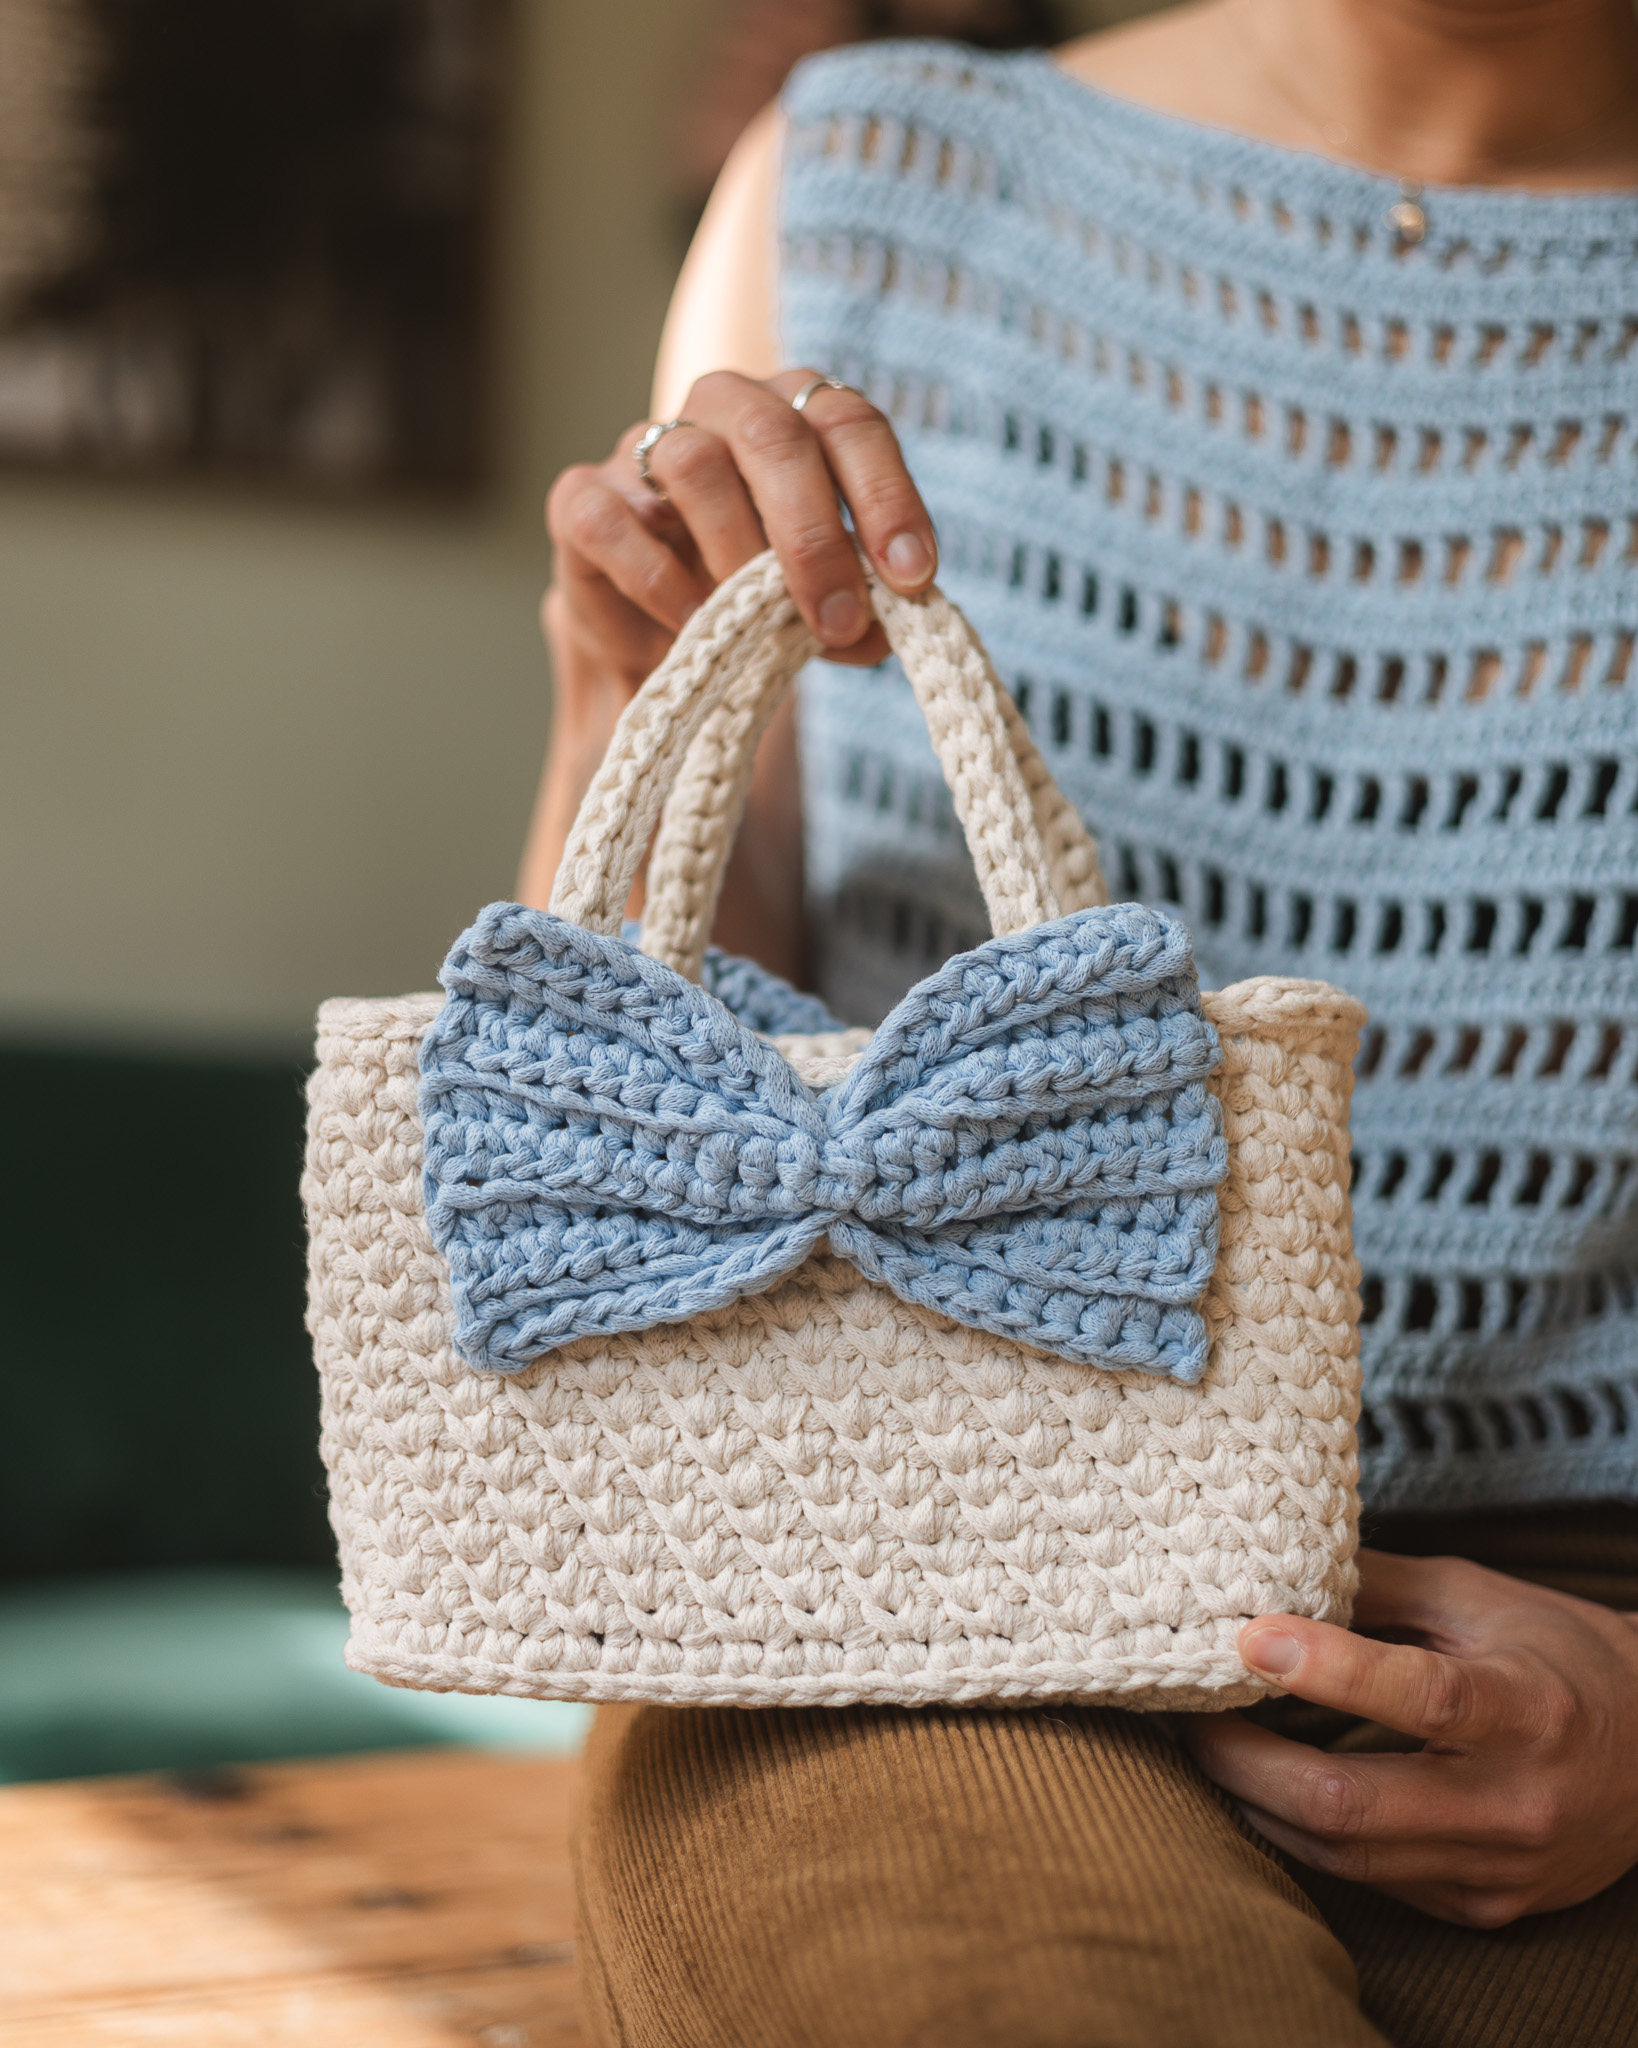
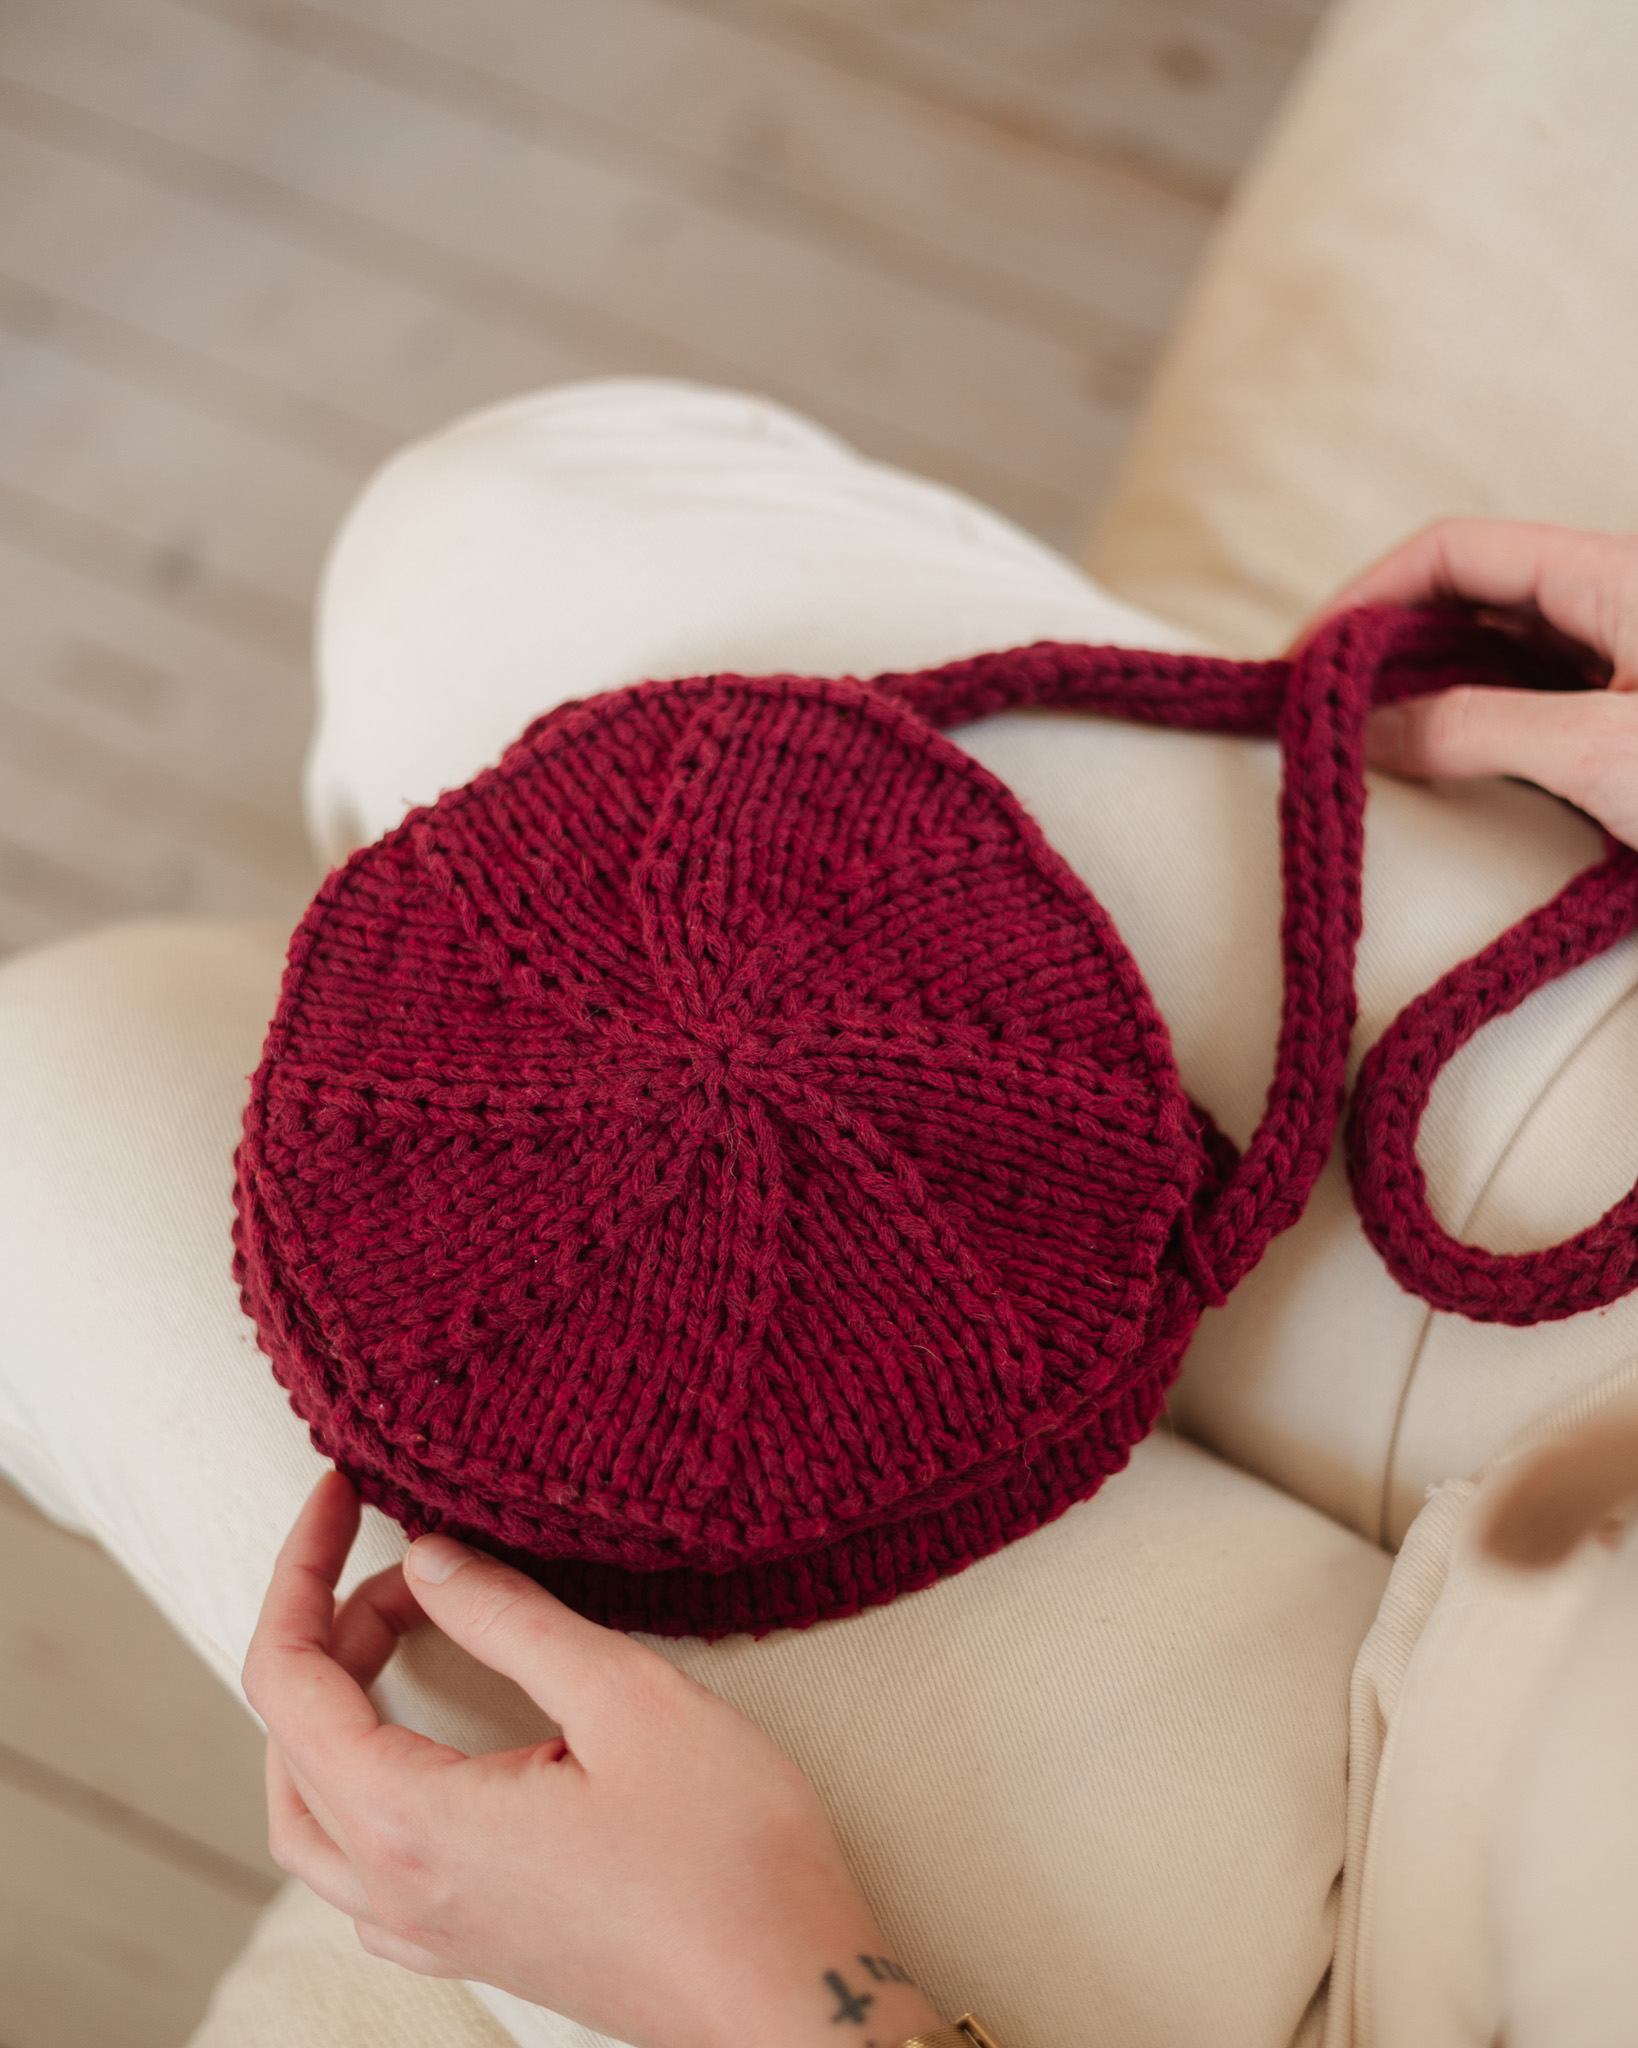
Crochet bag “Kristine”
Crochet a Super Trendy Bag by Designer Kristine Bennigsen @kristinervb!
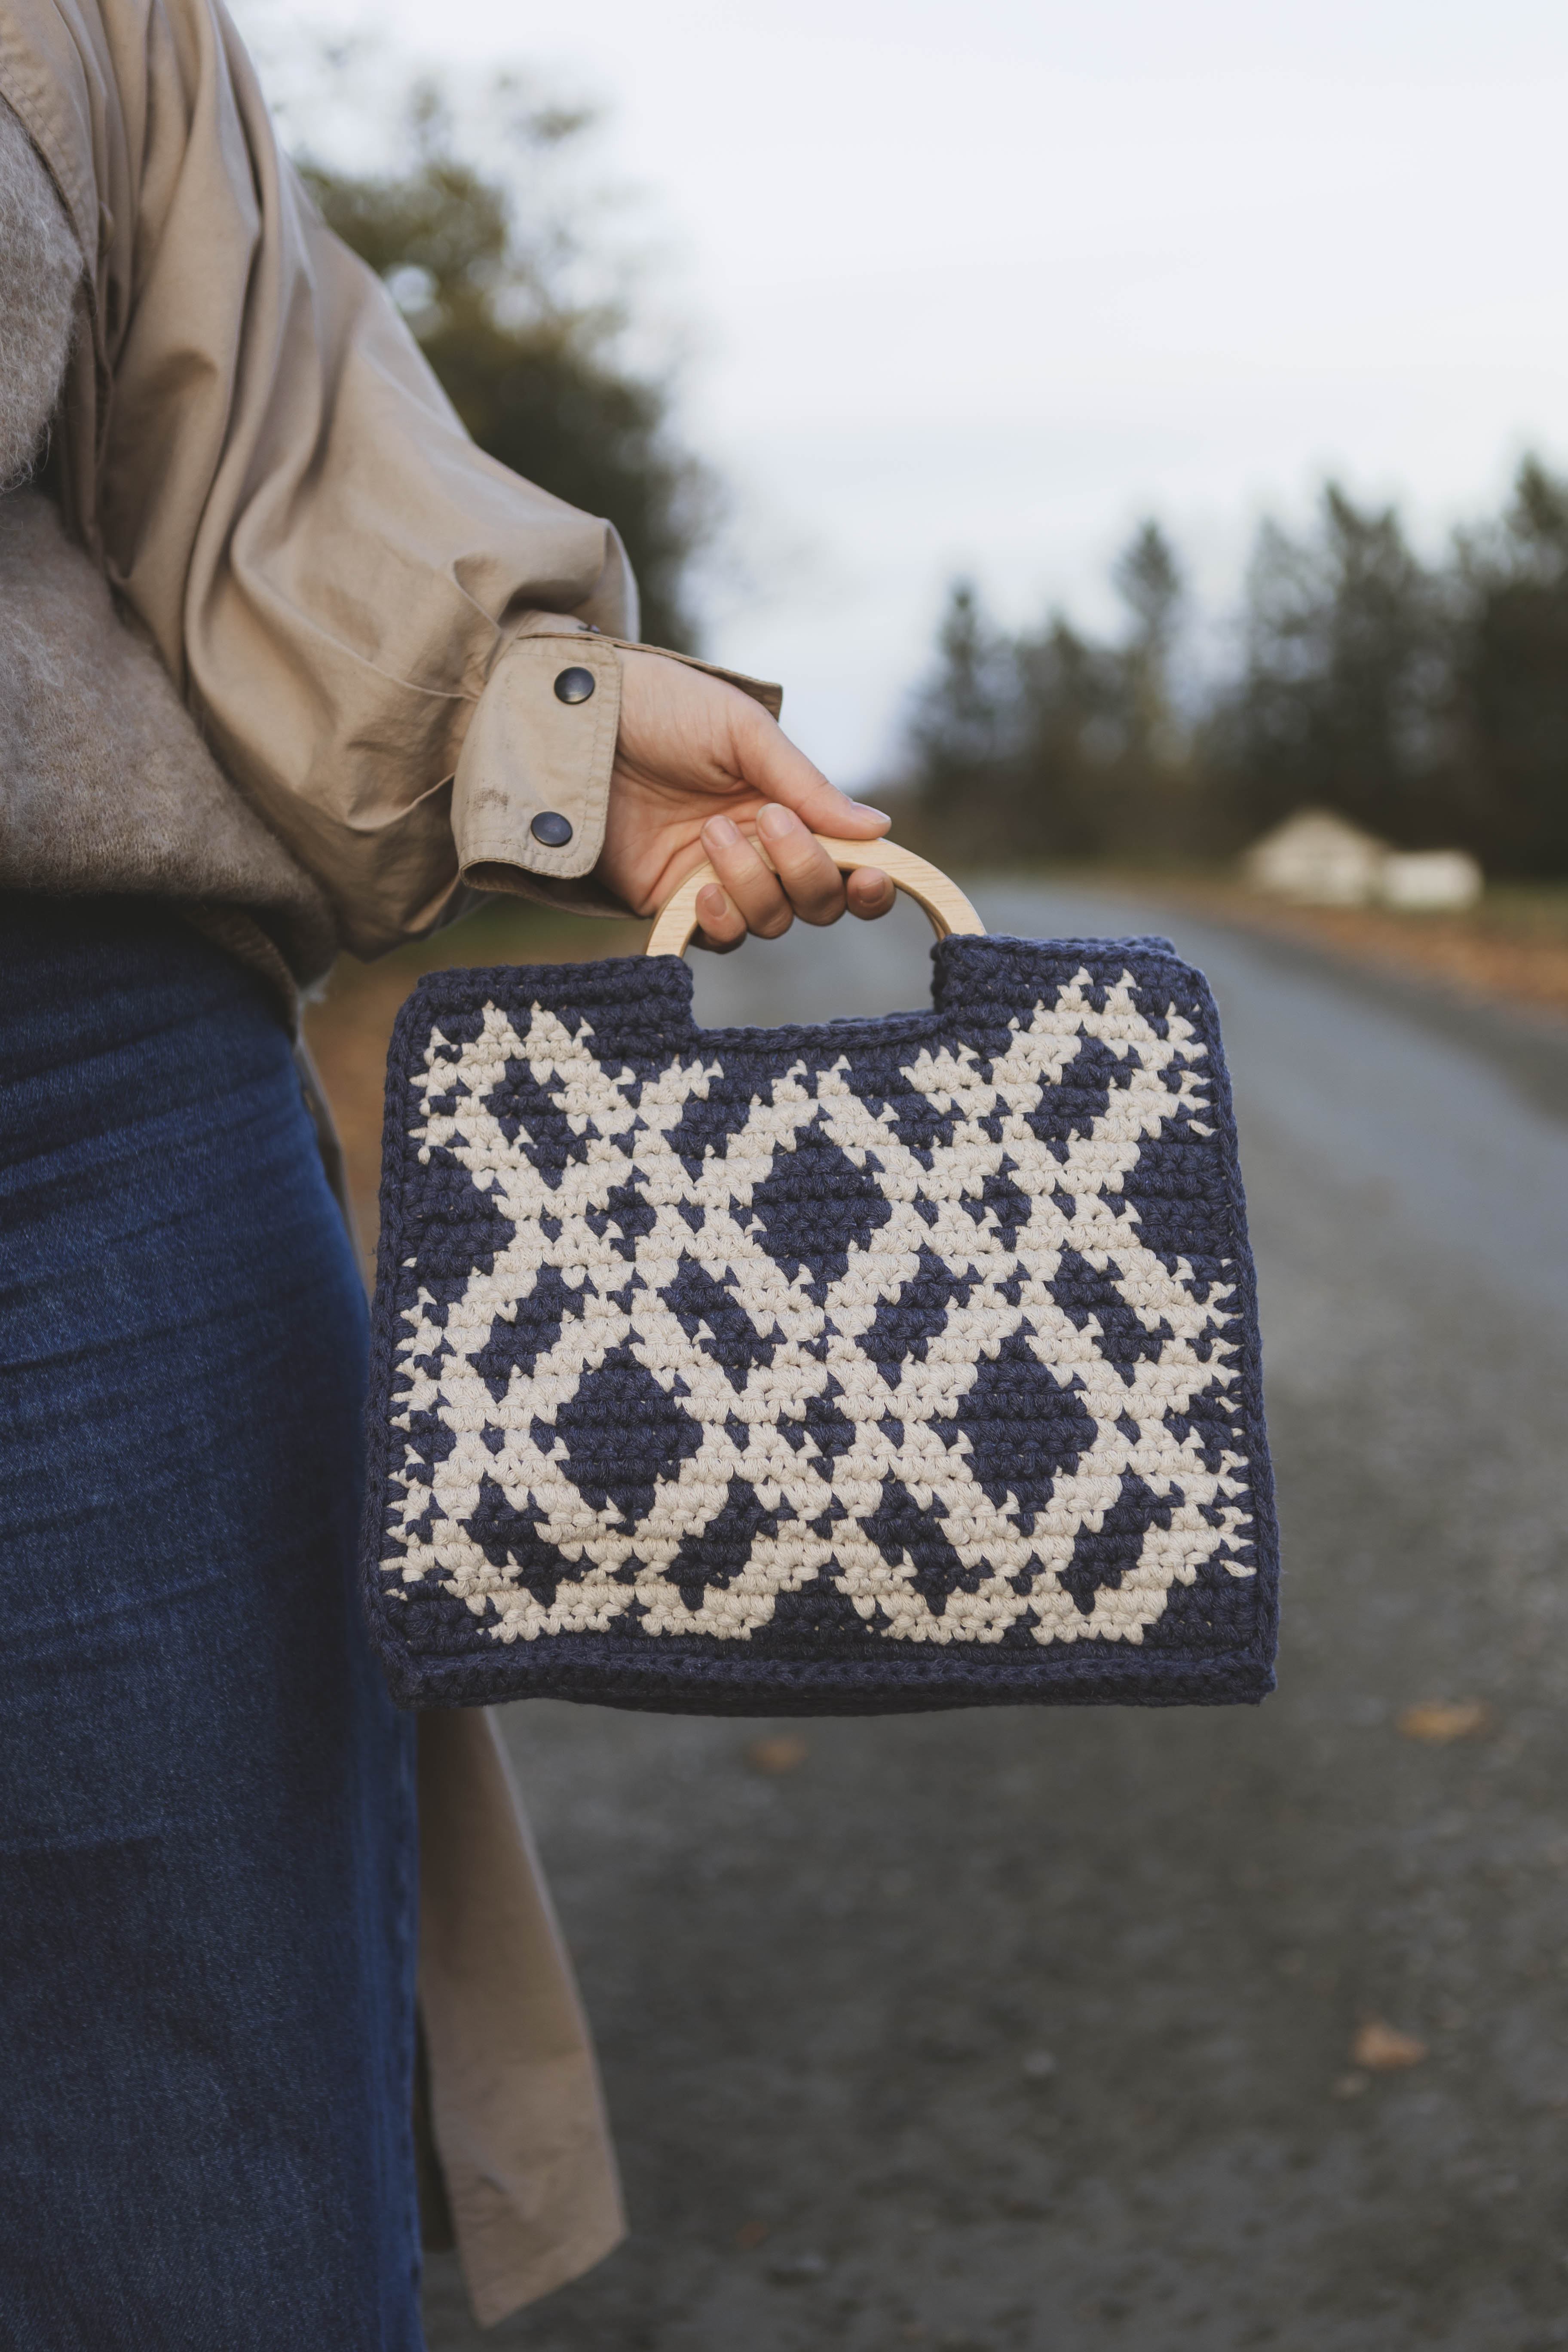
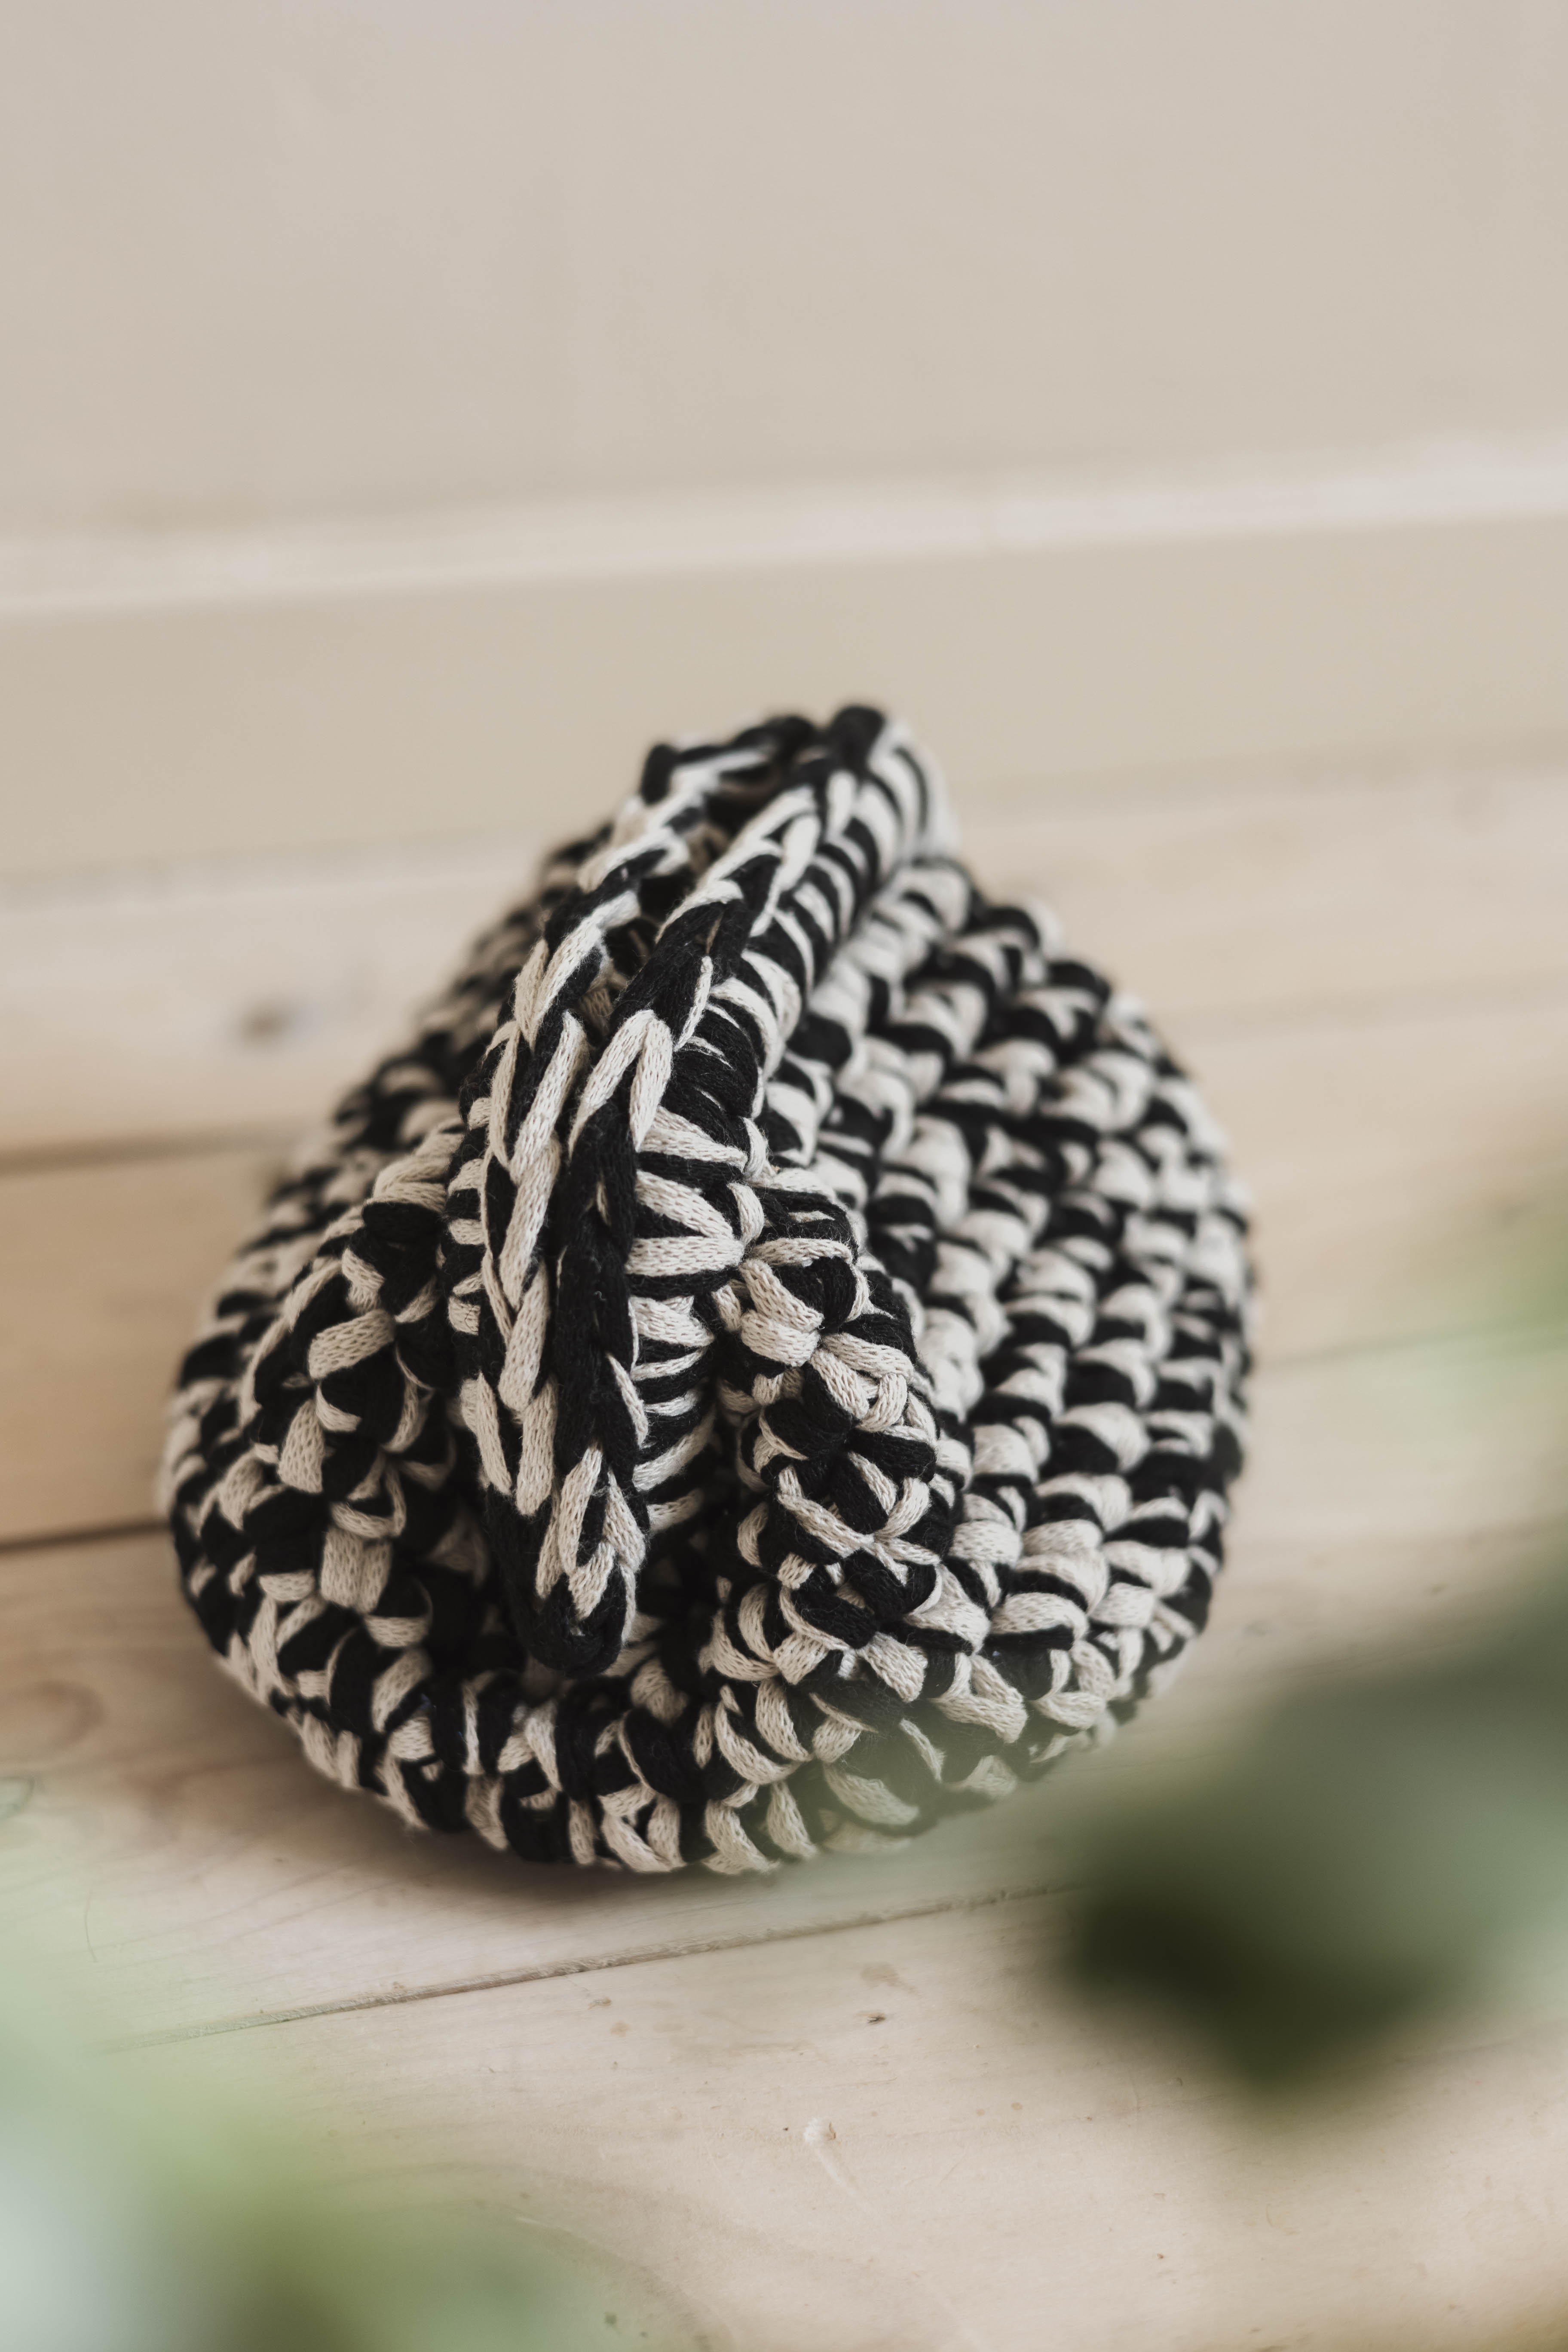
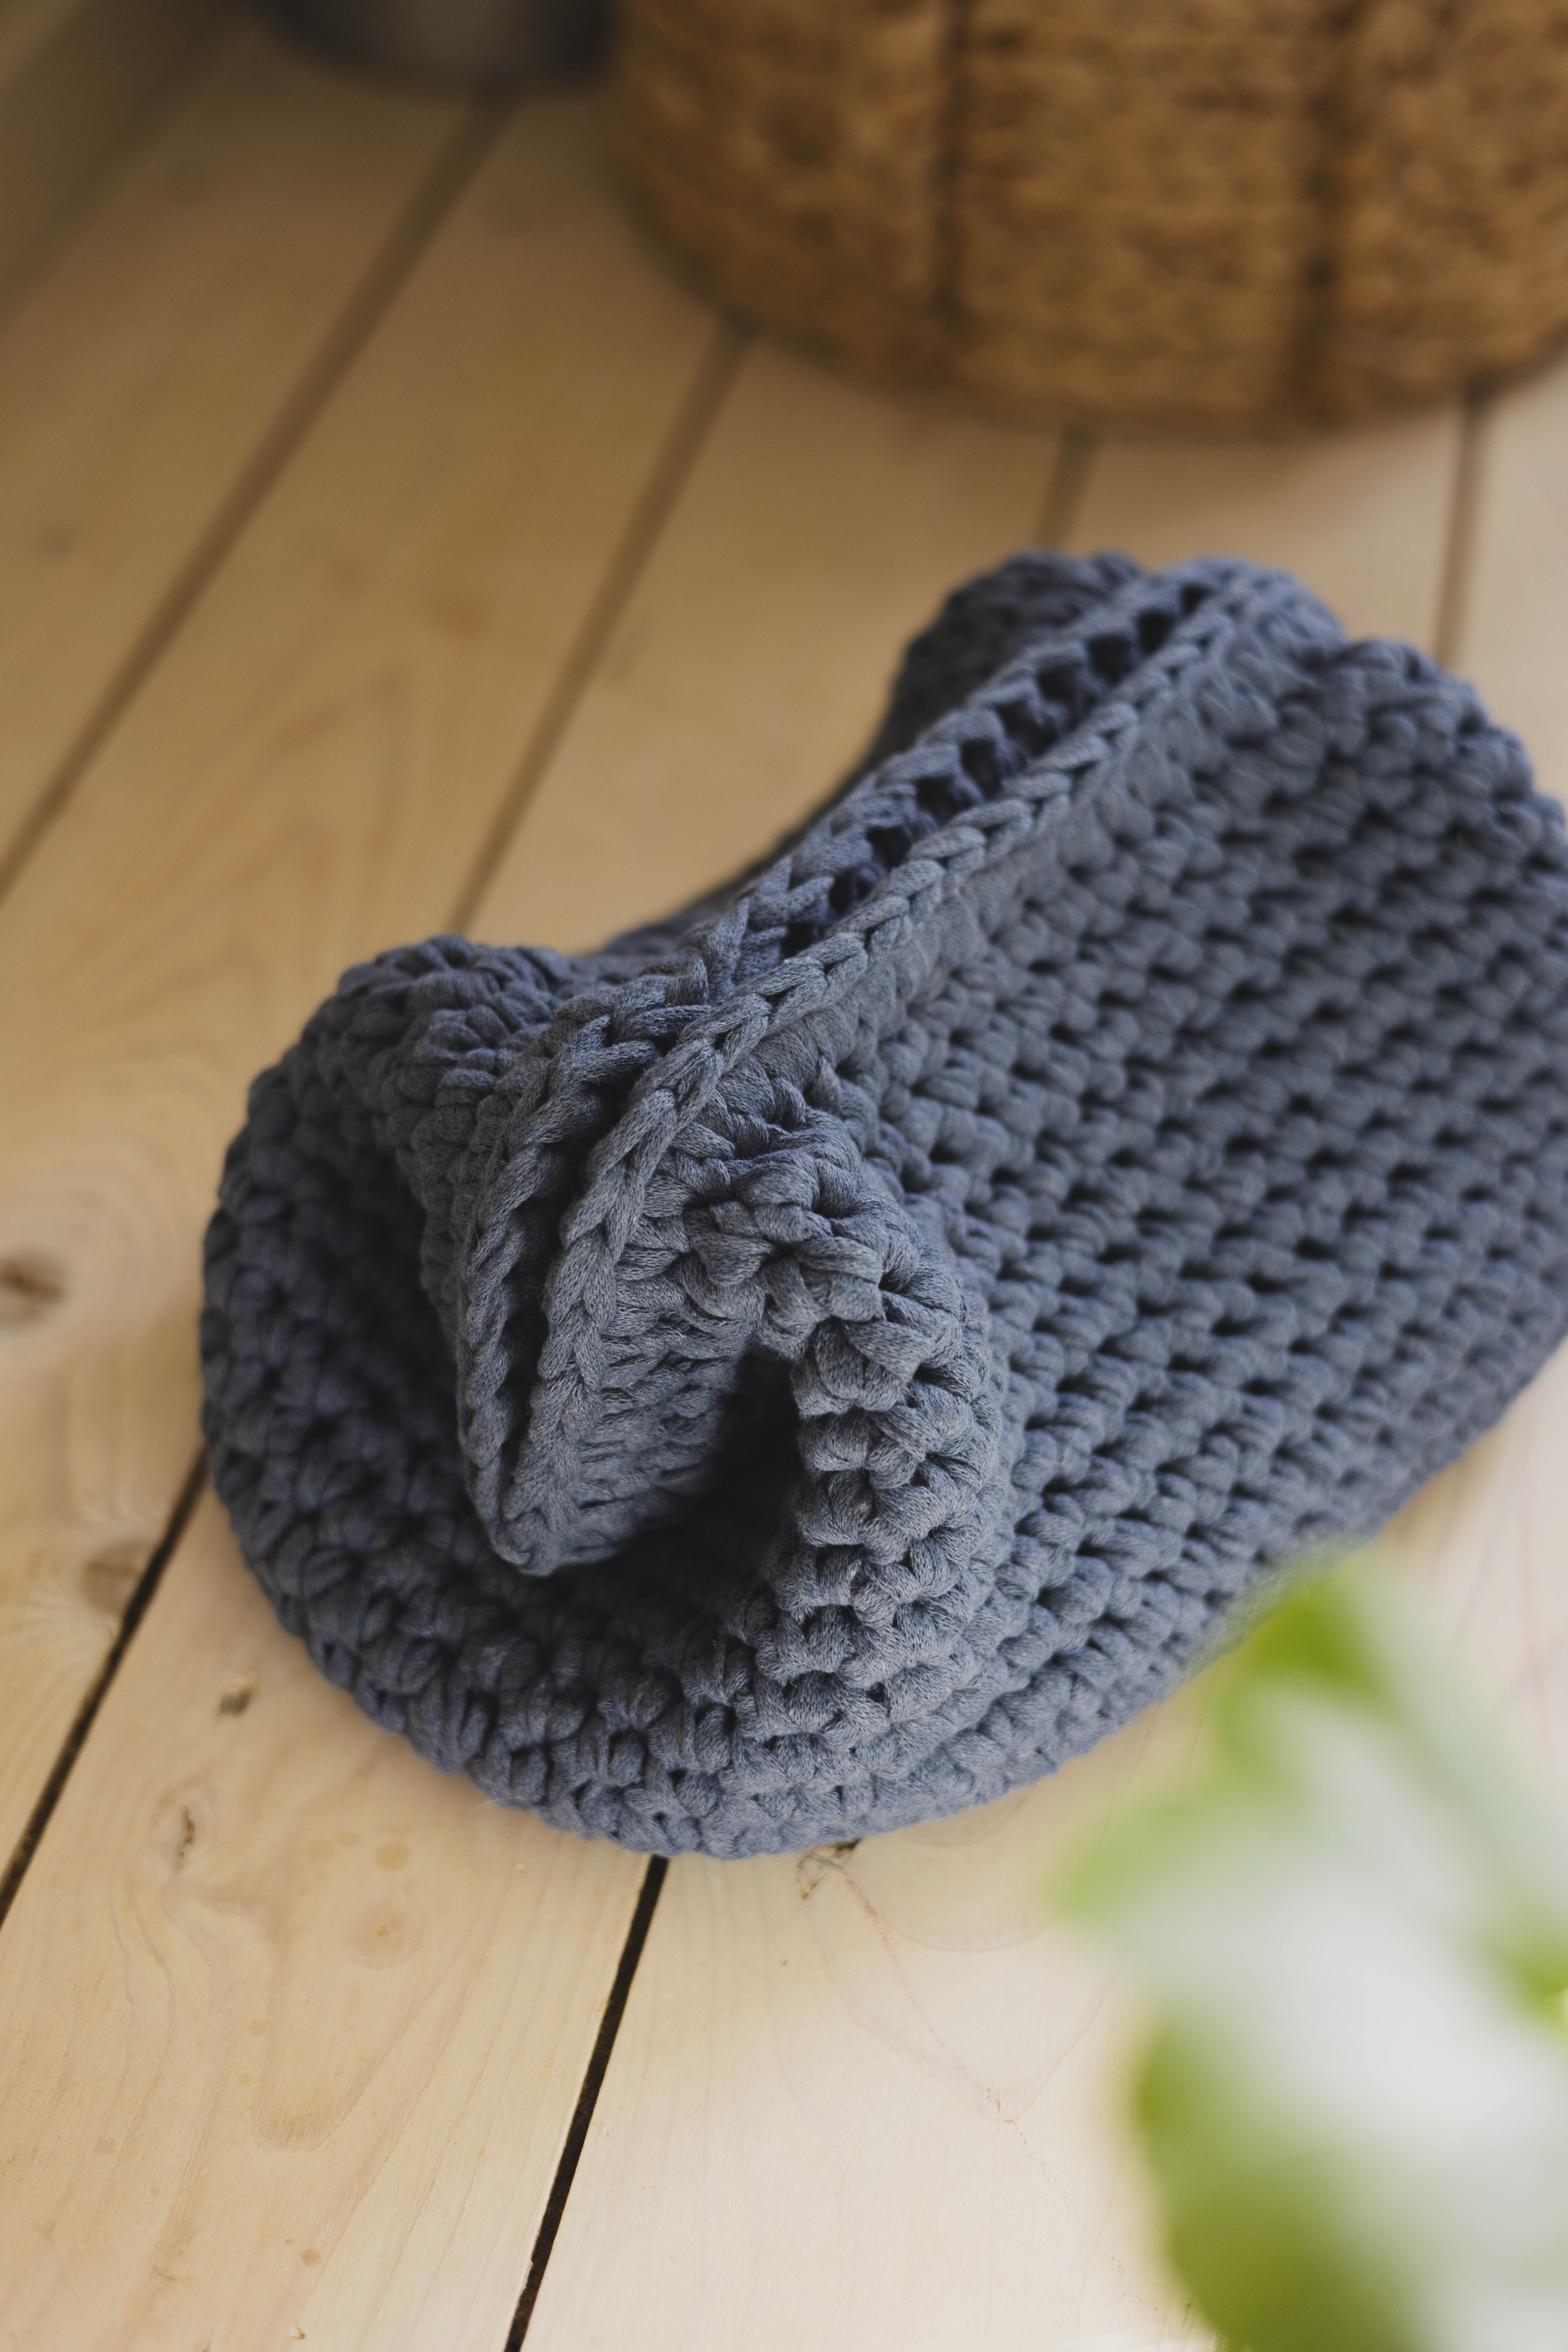
This incredibly cool bag can become your next favorite. It’s quick to make and simple, making it perfect for those who have never crocheted before. You’ll need EKO Ribbon and EKO Nano yarn, as well as a 10 mm crochet hook. The body of the bag is made with both EKO Nano and EKO Ribbon. In this pattern, "Cacao" and "Chalk Blue" are used in EKO Ribbon and "Cacao" in EKO Nano.
Yarn requirements: 1 roll of EKO Nano, 1 roll of EKO Ribbon (main color), 1 roll of EKO Ribbon (accent color)
Please note that in this tutorial, we use videos from our technical school along with images.
.jpg)
.jpg)
.jpg)
Here's how to do it
Join me and crochet my trendy bag! Both stylish and cool. First, we’ll crochet the bag's "body," then the handle. Finally, we’ll use the second color to add a stylish detail and bows. I hope you like my design! / Kristine

This is what you need:
Here you can directly purchase the material for the product. Please note that the instruction is digital and appears here on the page (no written instruction).


.jpg)
Unleash your creativity
For only 85kr per month you get access to all our 300+ beginner-friendly instructions for crochet, knitting and macrame.
A perfect way to get started with your new hobby!

Let’s start by crocheting the "body" of the bag. Use EKO Nano and one of the EKO Ribbon colors.
Begin by crocheting a chain of 23 chain stitches. Then, turn and crochet back along the chain. If you're unsure how to crochet a chain, check out the video below.
Row 1: Start in the second stitch from the hook and crochet 22 single crochet stitches until you reach the end of your chain. You will have a total of 22 stitches on the row.
If you're unsure how to crochet a single crochet stitch, check out the video below.
Rows 2-11: Start in the second stitch from the hook and crochet 22 single crochet stitches in the back loop only. Chain 1 and turn. You will have a total of 22 stitches per row (10 rows).
If you're unsure how to crochet in the back loop only, check out the video below.
Rows 12-14: Start in the second stitch from the hook and crochet 22 single crochet stitches in the front loop only. Chain 1 and turn. You will have a total of 22 stitches per row (3 rows). If you're unsure how to crochet in the front loop only, check out the video below.
Rows 15-25: Start in the second stitch from the hook and crochet 22 single crochet stitches in the back loop only. Chain 1 and turn. You will have a total of 22 stitches per row (11 rows).


Handle
Ch 5, turn.
Row 1: Start in the second stitch from the hook and crochet 4 single crochet stitches. Chain 1 and turn.
Row 2: Start in the second stitch from the hook and crochet 2 single crochet stitches in the same stitch. Crochet 2 single crochet stitches. Crochet 2 single crochet stitches in the last stitch. Chain 1 and turn. You will now have a total of 6 stitches on the row.
Rows 3-54: Start in the second stitch from the hook and crochet 6 single crochet stitches. Chain 1 and turn. Repeat for 52 rows.
Row 55: Start in the second stitch from the hook and crochet a decrease. Crochet 2 single crochet stitches. Crochet a decrease in the last 2 stitches. You will have a total of 4 stitches on the row. Cut the yarn and fasten off.
If you're unsure how to crochet a decrease or fasten off, check out the videos below.

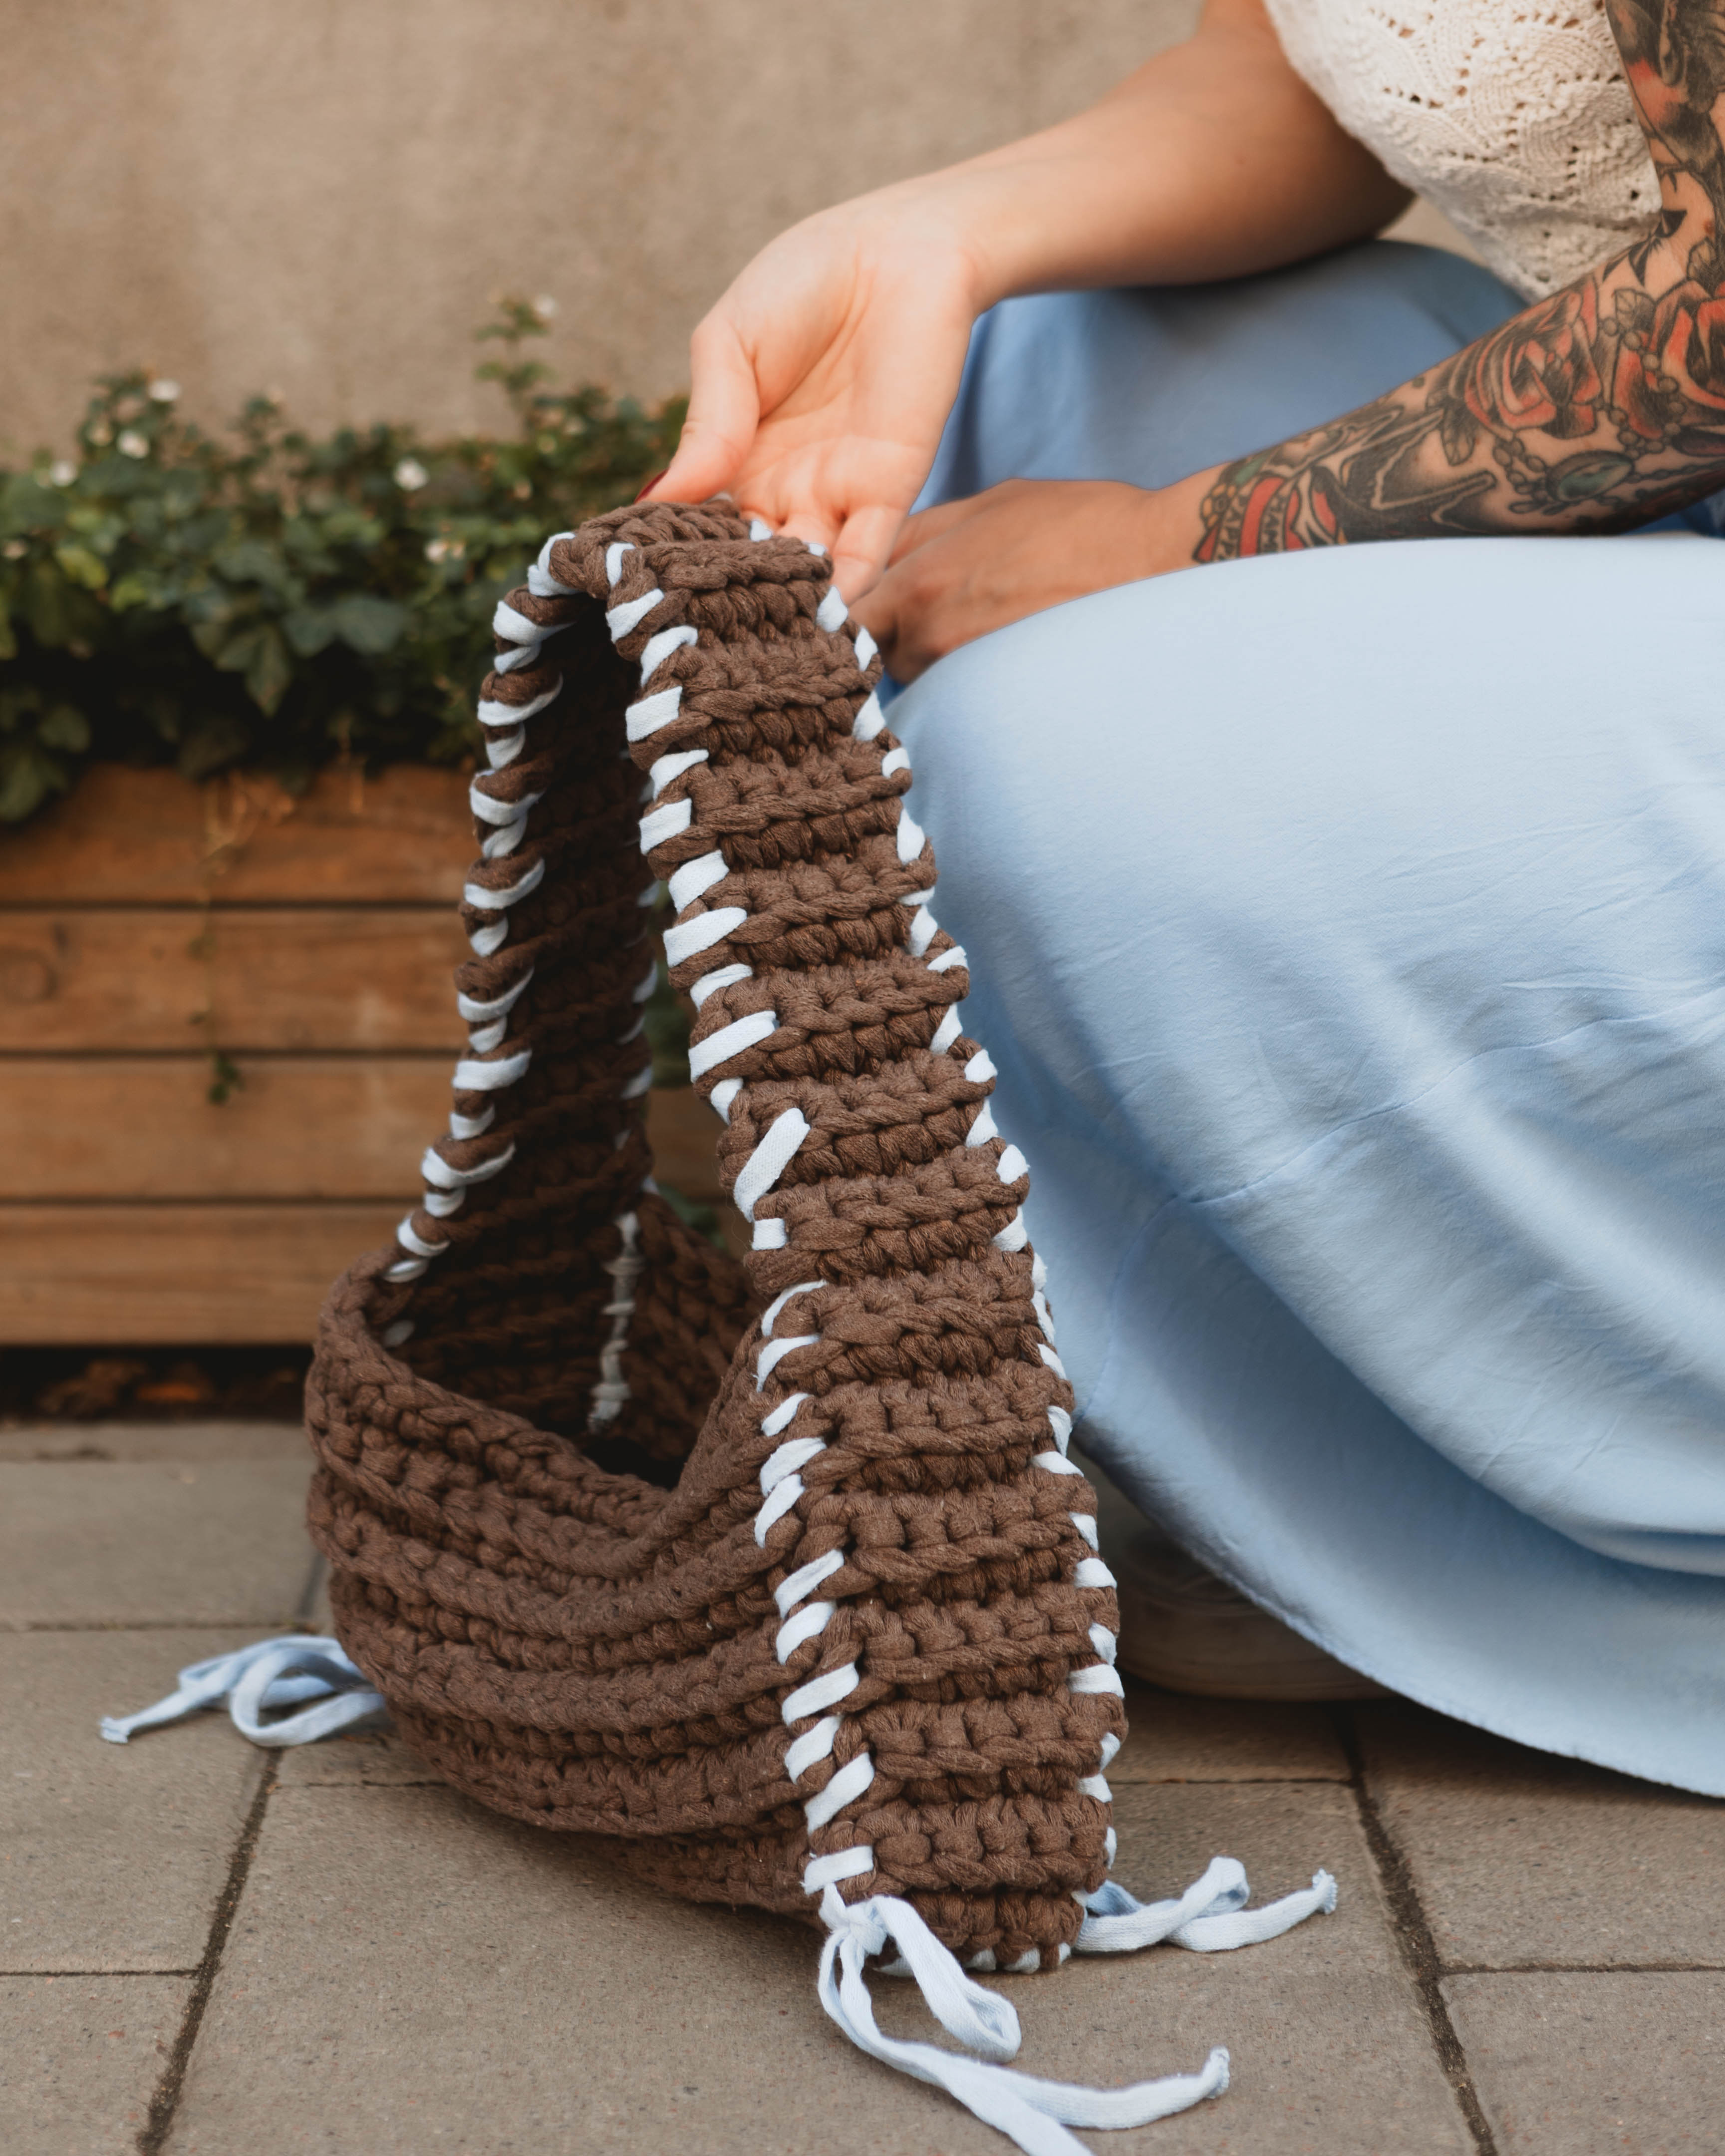
Assembly
Use your second color (or the same one if you prefer). Attach the handle by sewing it around the body of the bag. Lay the body flat, then place the handle starting from the center/bottom of the bag and attach it to both sides of the body.
Secure the handle by going up and down between the body and the handle. You can either use a needle or your crochet hook to pull the yarn through the stitches. Make sure the stitching looks neat when you attach the handle to the body.
Once you've attached one side of the handle to the body, continue stitching up and down along the side of the handle until you reach the other side of the body. Secure the handle to the body again.
If you like, you can tie bows at the bottom of the bag. Repeat on the other side. Cut the yarn and fasten off.


You are done :)

Abbreviations
Body of the Bag
Start by chaining 23 ch. Turn your work.
Row 1: Start in the 2nd chain from the hook; 22 sc (22 sts). Turn.
Rows 2-11 (10 rows): Start in the 2nd stitch from the hook; 22 sc in the blo for each row. Ch 1, turn. (22)
Rows 12-14 (3 rows): Start in the 2nd stitch from the hook; 22 sc in the flo. Ch 1 and turn (22).
Rows 15-25 (11 rows): Start in the 2nd stitch from the hook; 22 sc in the blo. Ch 1 and turn (22).
Handle
Ch 5 (turn).
Row 1: Start in 2nd ch from hook; sc 4. Ch 1, turn.
Row 2: Start in 2nd st from hook; Inc (2 sc in same st), sc 2, Inc. Ch 1, turn (6).
Rows 3-54 (52 rows): Start in 2nd st from hook. Sc 6. Ch 1, turn (6).
Row 55: Start in 2nd st from hook. dec, sc 2, dec (4)
Assembly:
Attach the Handle
Use your second color (or the same color if you prefer). Lay the body flat and position the handle starting from the middle/bottom of the bag. Attach the handle to both sides of the body by sewing through the body and the handle. You can use a sewing needle or your crochet hook to pull the yarn through the stitches.
Be sure to keep the seam neat as you stitch the handle onto the body.
Once one side of the handle is attached to the body, continue sewing around the handle until you reach the body on the other side. Then, attach the handle to the body again.
If you'd like, you can tie little bows at the bottom of the bag for added decoration.
Repeat the process on the other side if you tied bows.
Cut off any excess yarn and securely fasten the ends.
You are done :)
The rights to this pattern belong to MYO Make Your Own. The pattern or its pictures may not be copied, shared or resold either in parts or in its entirety, but you may sell items you have crocheted from this pattern. If you have questions about the pattern, contact MYO at hello@makeyourown.se.
Let’s start by crocheting the "body" of the bag. Use EKO Nano and one of the EKO Ribbon colors.
Begin by crocheting a chain of 23 chain stitches. Then, turn and crochet back along the chain. If you're unsure how to crochet a chain, check out the video below.
Row 1: Start in the second stitch from the hook and crochet 22 single crochet stitches until you reach the end of your chain. You will have a total of 22 stitches on the row.
If you're unsure how to crochet a single crochet stitch, check out the video below.
Rows 2-11: Start in the second stitch from the hook and crochet 22 single crochet stitches in the back loop only. Chain 1 and turn. You will have a total of 22 stitches per row (10 rows).
If you're unsure how to crochet in the back loop only, check out the video below.
Rows 12-14: Start in the second stitch from the hook and crochet 22 single crochet stitches in the front loop only. Chain 1 and turn. You will have a total of 22 stitches per row (3 rows). If you're unsure how to crochet in the front loop only, check out the video below.
Rows 15-25: Start in the second stitch from the hook and crochet 22 single crochet stitches in the back loop only. Chain 1 and turn. You will have a total of 22 stitches per row (11 rows).
Handle
Ch 5, turn.
Row 1: Start in the second stitch from the hook and crochet 4 single crochet stitches. Chain 1 and turn.
Row 2: Start in the second stitch from the hook and crochet 2 single crochet stitches in the same stitch. Crochet 2 single crochet stitches. Crochet 2 single crochet stitches in the last stitch. Chain 1 and turn. You will now have a total of 6 stitches on the row.
Rows 3-54: Start in the second stitch from the hook and crochet 6 single crochet stitches. Chain 1 and turn. Repeat for 52 rows.
Row 55: Start in the second stitch from the hook and crochet a decrease. Crochet 2 single crochet stitches. Crochet a decrease in the last 2 stitches. You will have a total of 4 stitches on the row. Cut the yarn and fasten off.
If you're unsure how to crochet a decrease or fasten off, check out the videos below.
Assembly
Use your second color (or the same one if you prefer). Attach the handle by sewing it around the body of the bag. Lay the body flat, then place the handle starting from the center/bottom of the bag and attach it to both sides of the body.
Secure the handle by going up and down between the body and the handle. You can either use a needle or your crochet hook to pull the yarn through the stitches. Make sure the stitching looks neat when you attach the handle to the body.
Once you've attached one side of the handle to the body, continue stitching up and down along the side of the handle until you reach the other side of the body. Secure the handle to the body again.
If you like, you can tie bows at the bottom of the bag. Repeat on the other side. Cut the yarn and fasten off.
You are done :)
Abbreviations
Body of the Bag
Start by chaining 23 ch. Turn your work.
Row 1: Start in the 2nd chain from the hook; 22 sc (22 sts). Turn.
Rows 2-11 (10 rows): Start in the 2nd stitch from the hook; 22 sc in the blo for each row. Ch 1, turn. (22)
Rows 12-14 (3 rows): Start in the 2nd stitch from the hook; 22 sc in the flo. Ch 1 and turn (22).
Rows 15-25 (11 rows): Start in the 2nd stitch from the hook; 22 sc in the blo. Ch 1 and turn (22).
Handle
Ch 5 (turn).
Row 1: Start in 2nd ch from hook; sc 4. Ch 1, turn.
Row 2: Start in 2nd st from hook; Inc (2 sc in same st), sc 2, Inc. Ch 1, turn (6).
Rows 3-54 (52 rows): Start in 2nd st from hook. Sc 6. Ch 1, turn (6).
Row 55: Start in 2nd st from hook. dec, sc 2, dec (4)
Assembly:
Attach the Handle
Use your second color (or the same color if you prefer). Lay the body flat and position the handle starting from the middle/bottom of the bag. Attach the handle to both sides of the body by sewing through the body and the handle. You can use a sewing needle or your crochet hook to pull the yarn through the stitches.
Be sure to keep the seam neat as you stitch the handle onto the body.
Once one side of the handle is attached to the body, continue sewing around the handle until you reach the body on the other side. Then, attach the handle to the body again.
If you'd like, you can tie little bows at the bottom of the bag for added decoration.
Repeat the process on the other side if you tied bows.
Cut off any excess yarn and securely fasten the ends.
You are done :)
The rights to this pattern belong to MYO Make Your Own. The pattern or its pictures may not be copied, shared or resold either in parts or in its entirety, but you may sell items you have crocheted from this pattern. If you have questions about the pattern, contact MYO at hello@makeyourown.se.

Share your creations with us
Thank you!
Your comment was sent!