Du kommer att förlora åtkomst till våra instruktioner och medlemsrabatter. Vi hoppas att du vill stanna kvar, men förstår om det inte känns rätt just nu - du är alltid välkommen tillbaka! :)

Buy your material here

You can buy the materials and needles we use at makeyourown.semakeyourown.se

Go to shop
Copyright © 2022 Make Your Own
Please verify your email address by clicking on the link sent to youremail@gmail.com or resubmit.
patterns

Crochet organizer “Sophie”

Crochet a practical and beautiful organizer to hang on the sofa.

This organizer is not only a lovely detail in the home but also very practical. Place the TV remote, your mobile phone, or your crochet hooks in the storage pocket, and you’ll always know where they are. This is easy to crochet, customize, and vary to suit any home, while making it completely unique. You will need EKO mini yarn and a 7 mm crochet hook, and a tape measure can also be helpful. The color in the picture is "Beige."

Yarn Consumption: About 600 g, depending on the size you choose to make your organizer.

Please note that in this pattern, we use videos from our technique library along with explanatory pictures.

Crochet organizer “Sophie”

This is what you need:

Crochet hook 7mm

100% Bamboo

Köp produkt

ECO Mini Tube yarn

The narrowest variant of our ribbon yarns for crochet, which is made from 80% recycled cotton.

Köp produkt

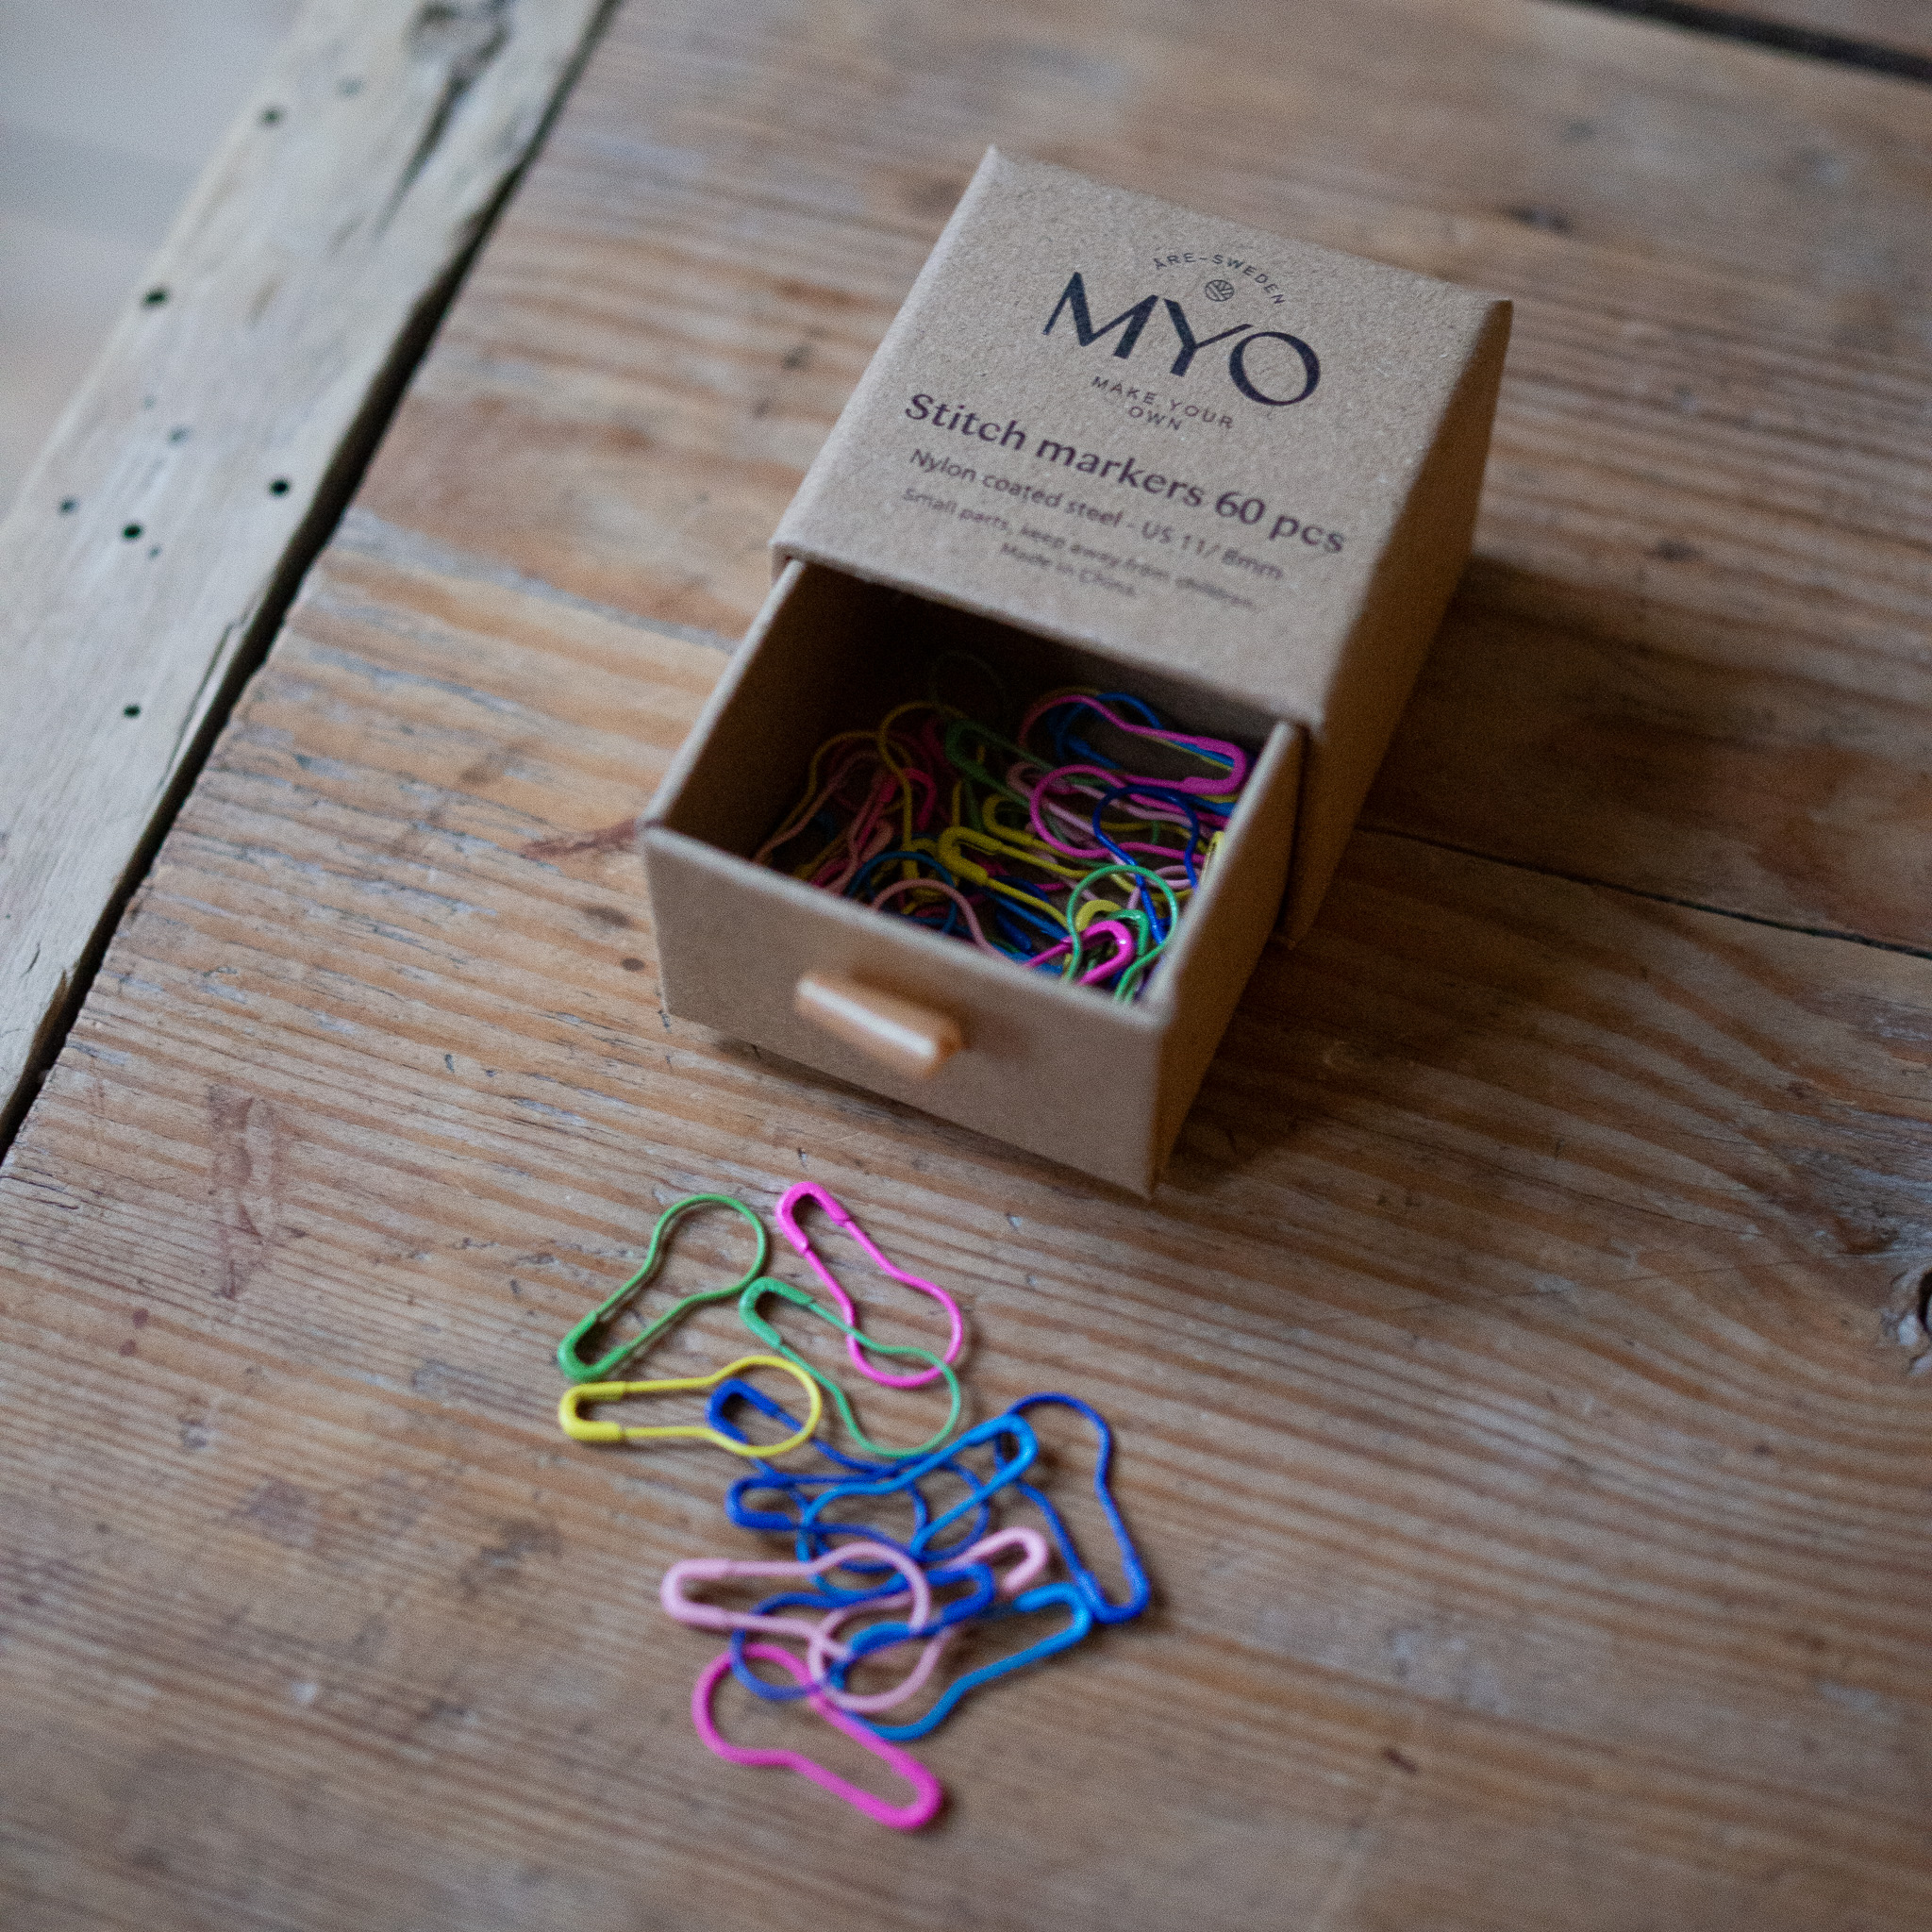
Stickmarkörer / Säkerhetsnålar

De här små markörerna i stål påminner om säkerhetsnålar – de är lätta att flytta och pålitliga när du placerat dem.

Köp produkt

Here's how to do it

This organizer is crocheted in one piece. At the end, you crochet the sides and pockets together. You can adjust it according to the dimensions of the armrest of your sofa or armchair. You can also easily customize the size of the pockets depending on what you want to store in them. /Emma

Emma Vestman

Sign up to see the full instruction

This instruction is exclusive content for those who have an active membership with MYO. By being a member, you get access to all our 100+ instructions, technology tips, etc., but also membership offers and priority to new product launches. At the same time, you help us develop the instructions page further and release new instructions every week.

Becoming a member is easy and works like a subscription (price: 80 kr/mo), if you want to test our instructions first, we have a number of free instructions available for everyone.

Welcome to our wonderful team of creators! /The Girls from MYO

Steg 1

MEASUREMENTS

Start by measuring how large you want your organizer to be. Measure both the width of the armrest and how big and how long you want the pockets that will be on the sides of the armrest. You can also measure your work as you crochet to see how it's turning out, but it can be nice to have measurements from the beginning to follow.

You will crochet a rectangle, all in one piece (front and back of pocket 1 + the section between the pockets + front and back of pocket 2).

You will begin with the front of the first pocket, crochet a "fold" (edge), then crochet the back of the pocket and the long part that will go over the armrest (between the pockets). After that, crochet the back of pocket 2, add another "fold"/edge, and finally, crochet the front of the second pocket.

Steg 2

Row 1: Start by making a slip knot, then crochet as many chain stitches as needed for the width of your organizer. Note: It should be an even number of chain stitches. The organizer in the picture is crocheted with 40 chain stitches. If you're unsure how to make a slip knot or a chain, refer to the videos below.

Row 2: Skip the first stitch and crochet single crochets. The number of single crochets will be 39 because you skip the first stitch (which counts as a turning chain). You will always crochet one less stitch than the total number of chain stitches in row 1. Finish the row with a chain stitch before turning. If you're unsure how to crochet a single crochet, refer to the video below.

Rows 3-4: Skip the first stitch (the chain stitch) and begin in the second stitch. Crochet 39 single crochets. Finish the row with a chain stitch and turn.

Row 5: In this row, you will begin crocheting the pattern for the pocket(s). Decide whether you want a large pocket or several smaller ones. Here, we will explain how to make a large pocket, and instructions for multiple pockets are provided at the end.


Start Row 5 with a single crochet (in the second stitch). Then crochet alternating puff stitches and single crochets across the entire row. Finish with a chain stitch. The puff stitches for this organizer are made with seven loops on the hook. If you're unsure how to crochet a puff stitch, refer to the video below, but note that in this pattern, we use seven loops on the hook instead of nine, as shown in the video.

Row 6: Start in the second stitch and crochet a row of single crochets. Finish with a chain stitch.

Continuation: Alternate between Row 5 and Row 6 until you have the desired size for your pocket. For reference, the organizer in the picture has 3 rows of puff stitches.

Finish the pocket: Start in the second stitch and crochet 3 rows of single crochets. End each row with a chain stitch.

Edge/Fold on the pocket: Now we will create a "fold," or a distinct edge, on the pocket. This is done by crocheting two rows.

Row 1: Start in the second stitch and crochet single crochets only in the back loop of each stitch. Finish with a chain stitch and turn. If you're unsure how to crochet in the back loop only (Back Loop Only), refer to the video below.

Row 2: Start in the second stitch and crochet single crochets only in the front loop of each stitch. This will create a fold in the work, giving the pocket a very distinct edge. If you're unsure how to crochet in the front loop only (Front Loop Only), refer to the video below.

Steg 3

Continue crocheting rows of single crochets. First, crochet the back of the pocket, meaning as long as the front of the pocket you’ve already made. Then, continue with single crochets for the length you want the storage to be over the armrest. Finally, crochet the number of rows needed to reach the desired length for the second pocket. You will end up with a long rectangle with one pocket on one side (which is not attached yet). When you are happy with the length of the second pocket, you will crochet another “fold” to begin the front of the second pocket.

Edge/Fold for Pocket 2

Row 1: Start in the second stitch and crochet single crochets only in the back loop of each stitch. Finish with a chain stitch and turn.

Row 2: Start in the second stitch and crochet single crochets only in the front loop of each stitch. This will create a fold in the work and give a very distinct pocket edge.

Steg 4

Pocket 2

Now it's time to crochet the second pocket, and here are the instructions for making several smaller pockets.

Rows 1-3: Start in the second stitch and crochet single crochets. Finish with a chain stitch and turn.

Rows 4 and onward: Now we will crochet rows with puff stitches, but not all the way to the end of the row. We will crochet sections of puff stitches if you want multiple smaller pockets. If you only want one large pocket, you can crochet the rows the same way from start to finish.

Make your first pocket as large as you want it. For example, alternate between a single crochet and a puff stitch three times to make a narrow pocket. Then crochet 2-4 single crochets (you can choose how large the gap is; ours has 3 single crochets, but we recommend an even number). Later, you will crochet the front and back together to form pockets.

Now, crochet puff stitches for the width of the next pocket, followed by 2-4 single crochets.

We have made four pockets: two with 3 puff stitches, one with 8 puff stitches, and one with 1 puff stitch. Finish the row with a single crochet, followed by a chain stitch before turning.

Row 5: Start in the second stitch and crochet a row of single crochets. Finish with a chain stitch and turn. Alternate between Row 4 and Row 5 until the pocket is as large as you want.

Finishing: End with 3 rows of single crochets. Start in the second stitch and crochet single crochets. Finish with a chain stitch and turn. Cut the yarn and fasten off all yarn ends. If you're unsure how to fasten off (Fasten off), refer to the video below.

Steg 5

Crochet the edges together to form the pockets:

Now that you have a long rectangle, you need to crochet the edges together to form the pockets. Start at one corner of the rectangle, making sure the pockets are folded the way they should be. You can use stitch markers or safety pins to position the pockets correctly before crocheting them together.

Then, continue crocheting along the long sides. You will crochet one long side at a time, attaching both pockets to the same long side on the same row. Here's how to do it:

Start by making a slip knot and attach it to the "edge" of the pocket (with the pockets folded as they should be attached). Then, crochet single crochets through both sides all the way from one side to the other. First, attach one pocket (through both sides of the pocket), and then crochet along the edge to finally attach the second pocket.

Make a chain stitch and finish by fastening off the yarn end on the inside of the pocket. Also, secure the yarn end at the corner where you started, unless you’ve already crocheted it in.

Steg 6

Divide the pockets:

On the side where you want different pocket sizes, it’s now time to crochet slip stitches in between to separate the pockets. If you made four single crochets between the puff stitches, you should now make single crochets in the middle of those four stitches. You can also easily see where there’s a natural division between the pockets.

Here’s how to do it:
Start by making a slip knot and place it on the back side of the pocket. Insert the crochet hook from the front side of the pocket. What we are doing now is called "surface crochet," which means you crochet on top of the work.

Place the yarn on the back side of the pocket.

Now you will crochet slip stitches to create as straight a line as possible. To do this, insert your crochet hook through both layers of the pocket, then grab the yarn from the underside, pulling it up to the front and pulling the loop through. This will create a neat separation between the pockets.

If you're unsure how to crochet slip stitches, refer to the video below.

Make sure to crochet as straight a line as possible.

Finish by securing the yarn ends properly, ideally on the inside or back of the pocket if you've made the pocket large enough. Continue to divide the pockets as you’ve prepared, using the same technique as described, and once you're done, you're all finished!

A tip: Spray a little water and steam the organizer to make it more straight and less rounded, as it can get when completed. This will also help the puff stitches gain more structure, and you can see the difference in the final result!

This is, of course, not something you have to do, but just a helpful tip. You can also spray a little water on the organizer to soften the yarn and shape it as you like, then block it. To do this, spray water so the organizer is damp, then use something like a yoga mat and pin the organizer into place with needles. Let it dry, and then it's ready to go!

Steg 7
Steg 8
Steg 9
Steg 10
Steg 1

MEASUREMENTS

Start by measuring how large you want your organizer to be. Measure both the width of the armrest and how big and how long you want the pockets that will be on the sides of the armrest. You can also measure your work as you crochet to see how it's turning out, but it can be nice to have measurements from the beginning to follow.

You will crochet a rectangle, all in one piece (front and back of pocket 1 + the section between the pockets + front and back of pocket 2).

You will begin with the front of the first pocket, crochet a "fold" (edge), then crochet the back of the pocket and the long part that will go over the armrest (between the pockets). After that, crochet the back of pocket 2, add another "fold"/edge, and finally, crochet the front of the second pocket.

Steg 2

Row 1: Start by making a slip knot, then crochet as many chain stitches as needed for the width of your organizer. Note: It should be an even number of chain stitches. The organizer in the picture is crocheted with 40 chain stitches. If you're unsure how to make a slip knot or a chain, refer to the videos below.

Row 2: Skip the first stitch and crochet single crochets. The number of single crochets will be 39 because you skip the first stitch (which counts as a turning chain). You will always crochet one less stitch than the total number of chain stitches in row 1. Finish the row with a chain stitch before turning. If you're unsure how to crochet a single crochet, refer to the video below.

Rows 3-4: Skip the first stitch (the chain stitch) and begin in the second stitch. Crochet 39 single crochets. Finish the row with a chain stitch and turn.

Row 5: In this row, you will begin crocheting the pattern for the pocket(s). Decide whether you want a large pocket or several smaller ones. Here, we will explain how to make a large pocket, and instructions for multiple pockets are provided at the end.


Start Row 5 with a single crochet (in the second stitch). Then crochet alternating puff stitches and single crochets across the entire row. Finish with a chain stitch. The puff stitches for this organizer are made with seven loops on the hook. If you're unsure how to crochet a puff stitch, refer to the video below, but note that in this pattern, we use seven loops on the hook instead of nine, as shown in the video.

Row 6: Start in the second stitch and crochet a row of single crochets. Finish with a chain stitch.

Continuation: Alternate between Row 5 and Row 6 until you have the desired size for your pocket. For reference, the organizer in the picture has 3 rows of puff stitches.

Finish the pocket: Start in the second stitch and crochet 3 rows of single crochets. End each row with a chain stitch.

Edge/Fold on the pocket: Now we will create a "fold," or a distinct edge, on the pocket. This is done by crocheting two rows.

Row 1: Start in the second stitch and crochet single crochets only in the back loop of each stitch. Finish with a chain stitch and turn. If you're unsure how to crochet in the back loop only (Back Loop Only), refer to the video below.

Row 2: Start in the second stitch and crochet single crochets only in the front loop of each stitch. This will create a fold in the work, giving the pocket a very distinct edge. If you're unsure how to crochet in the front loop only (Front Loop Only), refer to the video below.

Steg 3

Continue crocheting rows of single crochets. First, crochet the back of the pocket, meaning as long as the front of the pocket you’ve already made. Then, continue with single crochets for the length you want the storage to be over the armrest. Finally, crochet the number of rows needed to reach the desired length for the second pocket. You will end up with a long rectangle with one pocket on one side (which is not attached yet). When you are happy with the length of the second pocket, you will crochet another “fold” to begin the front of the second pocket.

Edge/Fold for Pocket 2

Row 1: Start in the second stitch and crochet single crochets only in the back loop of each stitch. Finish with a chain stitch and turn.

Row 2: Start in the second stitch and crochet single crochets only in the front loop of each stitch. This will create a fold in the work and give a very distinct pocket edge.

Steg 4

Pocket 2

Now it's time to crochet the second pocket, and here are the instructions for making several smaller pockets.

Rows 1-3: Start in the second stitch and crochet single crochets. Finish with a chain stitch and turn.

Rows 4 and onward: Now we will crochet rows with puff stitches, but not all the way to the end of the row. We will crochet sections of puff stitches if you want multiple smaller pockets. If you only want one large pocket, you can crochet the rows the same way from start to finish.

Make your first pocket as large as you want it. For example, alternate between a single crochet and a puff stitch three times to make a narrow pocket. Then crochet 2-4 single crochets (you can choose how large the gap is; ours has 3 single crochets, but we recommend an even number). Later, you will crochet the front and back together to form pockets.

Now, crochet puff stitches for the width of the next pocket, followed by 2-4 single crochets.

We have made four pockets: two with 3 puff stitches, one with 8 puff stitches, and one with 1 puff stitch. Finish the row with a single crochet, followed by a chain stitch before turning.

Row 5: Start in the second stitch and crochet a row of single crochets. Finish with a chain stitch and turn. Alternate between Row 4 and Row 5 until the pocket is as large as you want.

Finishing: End with 3 rows of single crochets. Start in the second stitch and crochet single crochets. Finish with a chain stitch and turn. Cut the yarn and fasten off all yarn ends. If you're unsure how to fasten off (Fasten off), refer to the video below.

Steg 5

Crochet the edges together to form the pockets:

Now that you have a long rectangle, you need to crochet the edges together to form the pockets. Start at one corner of the rectangle, making sure the pockets are folded the way they should be. You can use stitch markers or safety pins to position the pockets correctly before crocheting them together.

Then, continue crocheting along the long sides. You will crochet one long side at a time, attaching both pockets to the same long side on the same row. Here's how to do it:

Start by making a slip knot and attach it to the "edge" of the pocket (with the pockets folded as they should be attached). Then, crochet single crochets through both sides all the way from one side to the other. First, attach one pocket (through both sides of the pocket), and then crochet along the edge to finally attach the second pocket.

Make a chain stitch and finish by fastening off the yarn end on the inside of the pocket. Also, secure the yarn end at the corner where you started, unless you’ve already crocheted it in.

Steg 6

Divide the pockets:

On the side where you want different pocket sizes, it’s now time to crochet slip stitches in between to separate the pockets. If you made four single crochets between the puff stitches, you should now make single crochets in the middle of those four stitches. You can also easily see where there’s a natural division between the pockets.

Here’s how to do it:
Start by making a slip knot and place it on the back side of the pocket. Insert the crochet hook from the front side of the pocket. What we are doing now is called "surface crochet," which means you crochet on top of the work.

Place the yarn on the back side of the pocket.

Now you will crochet slip stitches to create as straight a line as possible. To do this, insert your crochet hook through both layers of the pocket, then grab the yarn from the underside, pulling it up to the front and pulling the loop through. This will create a neat separation between the pockets.

If you're unsure how to crochet slip stitches, refer to the video below.

Make sure to crochet as straight a line as possible.

Finish by securing the yarn ends properly, ideally on the inside or back of the pocket if you've made the pocket large enough. Continue to divide the pockets as you’ve prepared, using the same technique as described, and once you're done, you're all finished!

A tip: Spray a little water and steam the organizer to make it more straight and less rounded, as it can get when completed. This will also help the puff stitches gain more structure, and you can see the difference in the final result!

This is, of course, not something you have to do, but just a helpful tip. You can also spray a little water on the organizer to soften the yarn and shape it as you like, then block it. To do this, spray water so the organizer is damp, then use something like a yoga mat and pin the organizer into place with needles. Let it dry, and then it's ready to go!

Steg 7
Steg 8
Steg 9
Steg 10

The rights to this pattern belong to MYO Make Your Own. The pattern or its pictures may not be copied, shared or resold either in parts or in its entirety, but you may sell items you have crocheted from this pattern. If you have questions about the pattern, contact MYO at hello@makeyourown.se.

Crochet organizer “Sophie”

Crochet a practical and beautiful organizer to hang on the sofa.

This organizer is not only a lovely detail in the home but also very practical. Place the TV remote, your mobile phone, or your crochet hooks in the storage pocket, and you’ll always know where they are. This is easy to crochet, customize, and vary to suit any home, while making it completely unique. You will need EKO mini yarn and a 7 mm crochet hook, and a tape measure can also be helpful. The color in the picture is "Beige."

Yarn Consumption: About 600 g, depending on the size you choose to make your organizer.

Please note that in this pattern, we use videos from our technique library along with explanatory pictures.

Crochet organizer “Sophie”
Steg 1

MEASUREMENTS

Start by measuring how large you want your organizer to be. Measure both the width of the armrest and how big and how long you want the pockets that will be on the sides of the armrest. You can also measure your work as you crochet to see how it's turning out, but it can be nice to have measurements from the beginning to follow.

You will crochet a rectangle, all in one piece (front and back of pocket 1 + the section between the pockets + front and back of pocket 2).

You will begin with the front of the first pocket, crochet a "fold" (edge), then crochet the back of the pocket and the long part that will go over the armrest (between the pockets). After that, crochet the back of pocket 2, add another "fold"/edge, and finally, crochet the front of the second pocket.

Steg 2

Row 1: Start by making a slip knot, then crochet as many chain stitches as needed for the width of your organizer. Note: It should be an even number of chain stitches. The organizer in the picture is crocheted with 40 chain stitches. If you're unsure how to make a slip knot or a chain, refer to the videos below.

Row 2: Skip the first stitch and crochet single crochets. The number of single crochets will be 39 because you skip the first stitch (which counts as a turning chain). You will always crochet one less stitch than the total number of chain stitches in row 1. Finish the row with a chain stitch before turning. If you're unsure how to crochet a single crochet, refer to the video below.

Rows 3-4: Skip the first stitch (the chain stitch) and begin in the second stitch. Crochet 39 single crochets. Finish the row with a chain stitch and turn.

Row 5: In this row, you will begin crocheting the pattern for the pocket(s). Decide whether you want a large pocket or several smaller ones. Here, we will explain how to make a large pocket, and instructions for multiple pockets are provided at the end.


Start Row 5 with a single crochet (in the second stitch). Then crochet alternating puff stitches and single crochets across the entire row. Finish with a chain stitch. The puff stitches for this organizer are made with seven loops on the hook. If you're unsure how to crochet a puff stitch, refer to the video below, but note that in this pattern, we use seven loops on the hook instead of nine, as shown in the video.

Row 6: Start in the second stitch and crochet a row of single crochets. Finish with a chain stitch.

Continuation: Alternate between Row 5 and Row 6 until you have the desired size for your pocket. For reference, the organizer in the picture has 3 rows of puff stitches.

Finish the pocket: Start in the second stitch and crochet 3 rows of single crochets. End each row with a chain stitch.

Edge/Fold on the pocket: Now we will create a "fold," or a distinct edge, on the pocket. This is done by crocheting two rows.

Row 1: Start in the second stitch and crochet single crochets only in the back loop of each stitch. Finish with a chain stitch and turn. If you're unsure how to crochet in the back loop only (Back Loop Only), refer to the video below.

Row 2: Start in the second stitch and crochet single crochets only in the front loop of each stitch. This will create a fold in the work, giving the pocket a very distinct edge. If you're unsure how to crochet in the front loop only (Front Loop Only), refer to the video below.

Steg 3

Continue crocheting rows of single crochets. First, crochet the back of the pocket, meaning as long as the front of the pocket you’ve already made. Then, continue with single crochets for the length you want the storage to be over the armrest. Finally, crochet the number of rows needed to reach the desired length for the second pocket. You will end up with a long rectangle with one pocket on one side (which is not attached yet). When you are happy with the length of the second pocket, you will crochet another “fold” to begin the front of the second pocket.

Edge/Fold for Pocket 2

Row 1: Start in the second stitch and crochet single crochets only in the back loop of each stitch. Finish with a chain stitch and turn.

Row 2: Start in the second stitch and crochet single crochets only in the front loop of each stitch. This will create a fold in the work and give a very distinct pocket edge.

Steg 4

Pocket 2

Now it's time to crochet the second pocket, and here are the instructions for making several smaller pockets.

Rows 1-3: Start in the second stitch and crochet single crochets. Finish with a chain stitch and turn.

Rows 4 and onward: Now we will crochet rows with puff stitches, but not all the way to the end of the row. We will crochet sections of puff stitches if you want multiple smaller pockets. If you only want one large pocket, you can crochet the rows the same way from start to finish.

Make your first pocket as large as you want it. For example, alternate between a single crochet and a puff stitch three times to make a narrow pocket. Then crochet 2-4 single crochets (you can choose how large the gap is; ours has 3 single crochets, but we recommend an even number). Later, you will crochet the front and back together to form pockets.

Now, crochet puff stitches for the width of the next pocket, followed by 2-4 single crochets.

We have made four pockets: two with 3 puff stitches, one with 8 puff stitches, and one with 1 puff stitch. Finish the row with a single crochet, followed by a chain stitch before turning.

Row 5: Start in the second stitch and crochet a row of single crochets. Finish with a chain stitch and turn. Alternate between Row 4 and Row 5 until the pocket is as large as you want.

Finishing: End with 3 rows of single crochets. Start in the second stitch and crochet single crochets. Finish with a chain stitch and turn. Cut the yarn and fasten off all yarn ends. If you're unsure how to fasten off (Fasten off), refer to the video below.

Steg 5

Crochet the edges together to form the pockets:

Now that you have a long rectangle, you need to crochet the edges together to form the pockets. Start at one corner of the rectangle, making sure the pockets are folded the way they should be. You can use stitch markers or safety pins to position the pockets correctly before crocheting them together.

Then, continue crocheting along the long sides. You will crochet one long side at a time, attaching both pockets to the same long side on the same row. Here's how to do it:

Start by making a slip knot and attach it to the "edge" of the pocket (with the pockets folded as they should be attached). Then, crochet single crochets through both sides all the way from one side to the other. First, attach one pocket (through both sides of the pocket), and then crochet along the edge to finally attach the second pocket.

Make a chain stitch and finish by fastening off the yarn end on the inside of the pocket. Also, secure the yarn end at the corner where you started, unless you’ve already crocheted it in.

Steg 6

Divide the pockets:

On the side where you want different pocket sizes, it’s now time to crochet slip stitches in between to separate the pockets. If you made four single crochets between the puff stitches, you should now make single crochets in the middle of those four stitches. You can also easily see where there’s a natural division between the pockets.

Here’s how to do it:
Start by making a slip knot and place it on the back side of the pocket. Insert the crochet hook from the front side of the pocket. What we are doing now is called "surface crochet," which means you crochet on top of the work.

Place the yarn on the back side of the pocket.

Now you will crochet slip stitches to create as straight a line as possible. To do this, insert your crochet hook through both layers of the pocket, then grab the yarn from the underside, pulling it up to the front and pulling the loop through. This will create a neat separation between the pockets.

If you're unsure how to crochet slip stitches, refer to the video below.

Make sure to crochet as straight a line as possible.

Finish by securing the yarn ends properly, ideally on the inside or back of the pocket if you've made the pocket large enough. Continue to divide the pockets as you’ve prepared, using the same technique as described, and once you're done, you're all finished!

A tip: Spray a little water and steam the organizer to make it more straight and less rounded, as it can get when completed. This will also help the puff stitches gain more structure, and you can see the difference in the final result!

This is, of course, not something you have to do, but just a helpful tip. You can also spray a little water on the organizer to soften the yarn and shape it as you like, then block it. To do this, spray water so the organizer is damp, then use something like a yoga mat and pin the organizer into place with needles. Let it dry, and then it's ready to go!

Steg 7
Steg 8
Steg 9
Steg 10

The rights to this pattern belong to MYO Make Your Own. The pattern or its pictures may not be copied, shared or resold either in parts or in its entirety, but you may sell items you have crocheted from this pattern. If you have questions about the pattern, contact MYO at hello@makeyourown.se.