
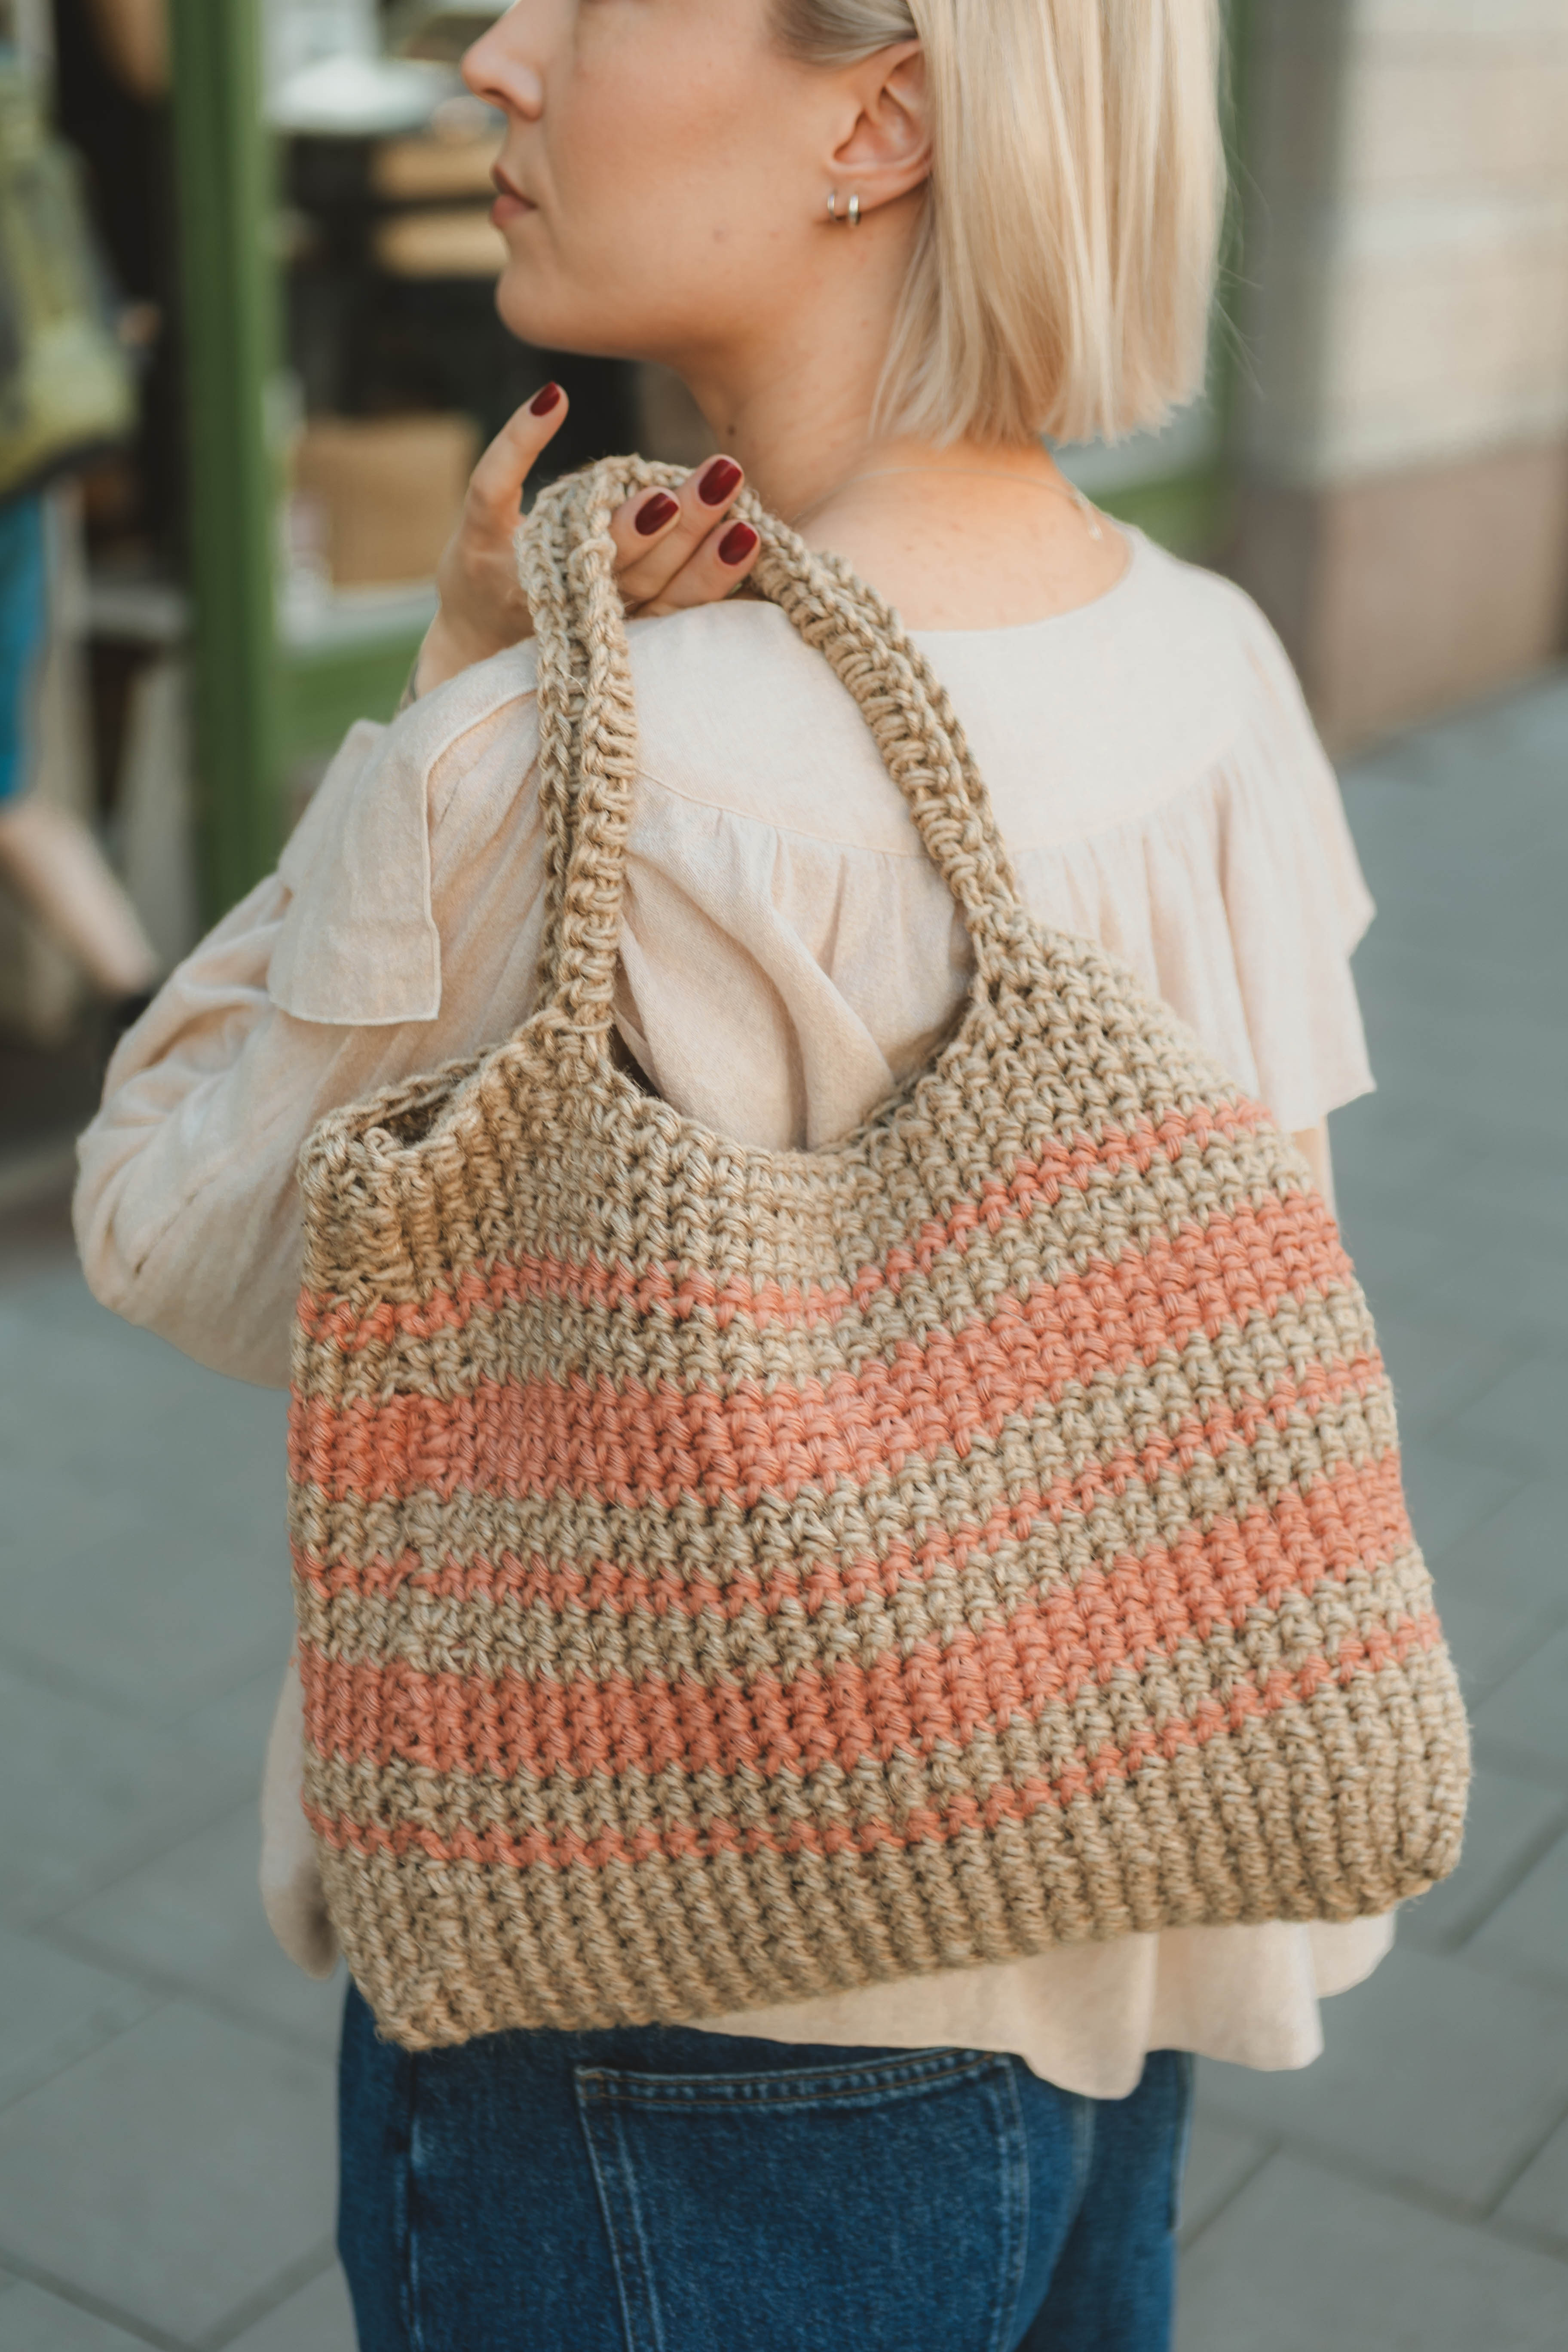
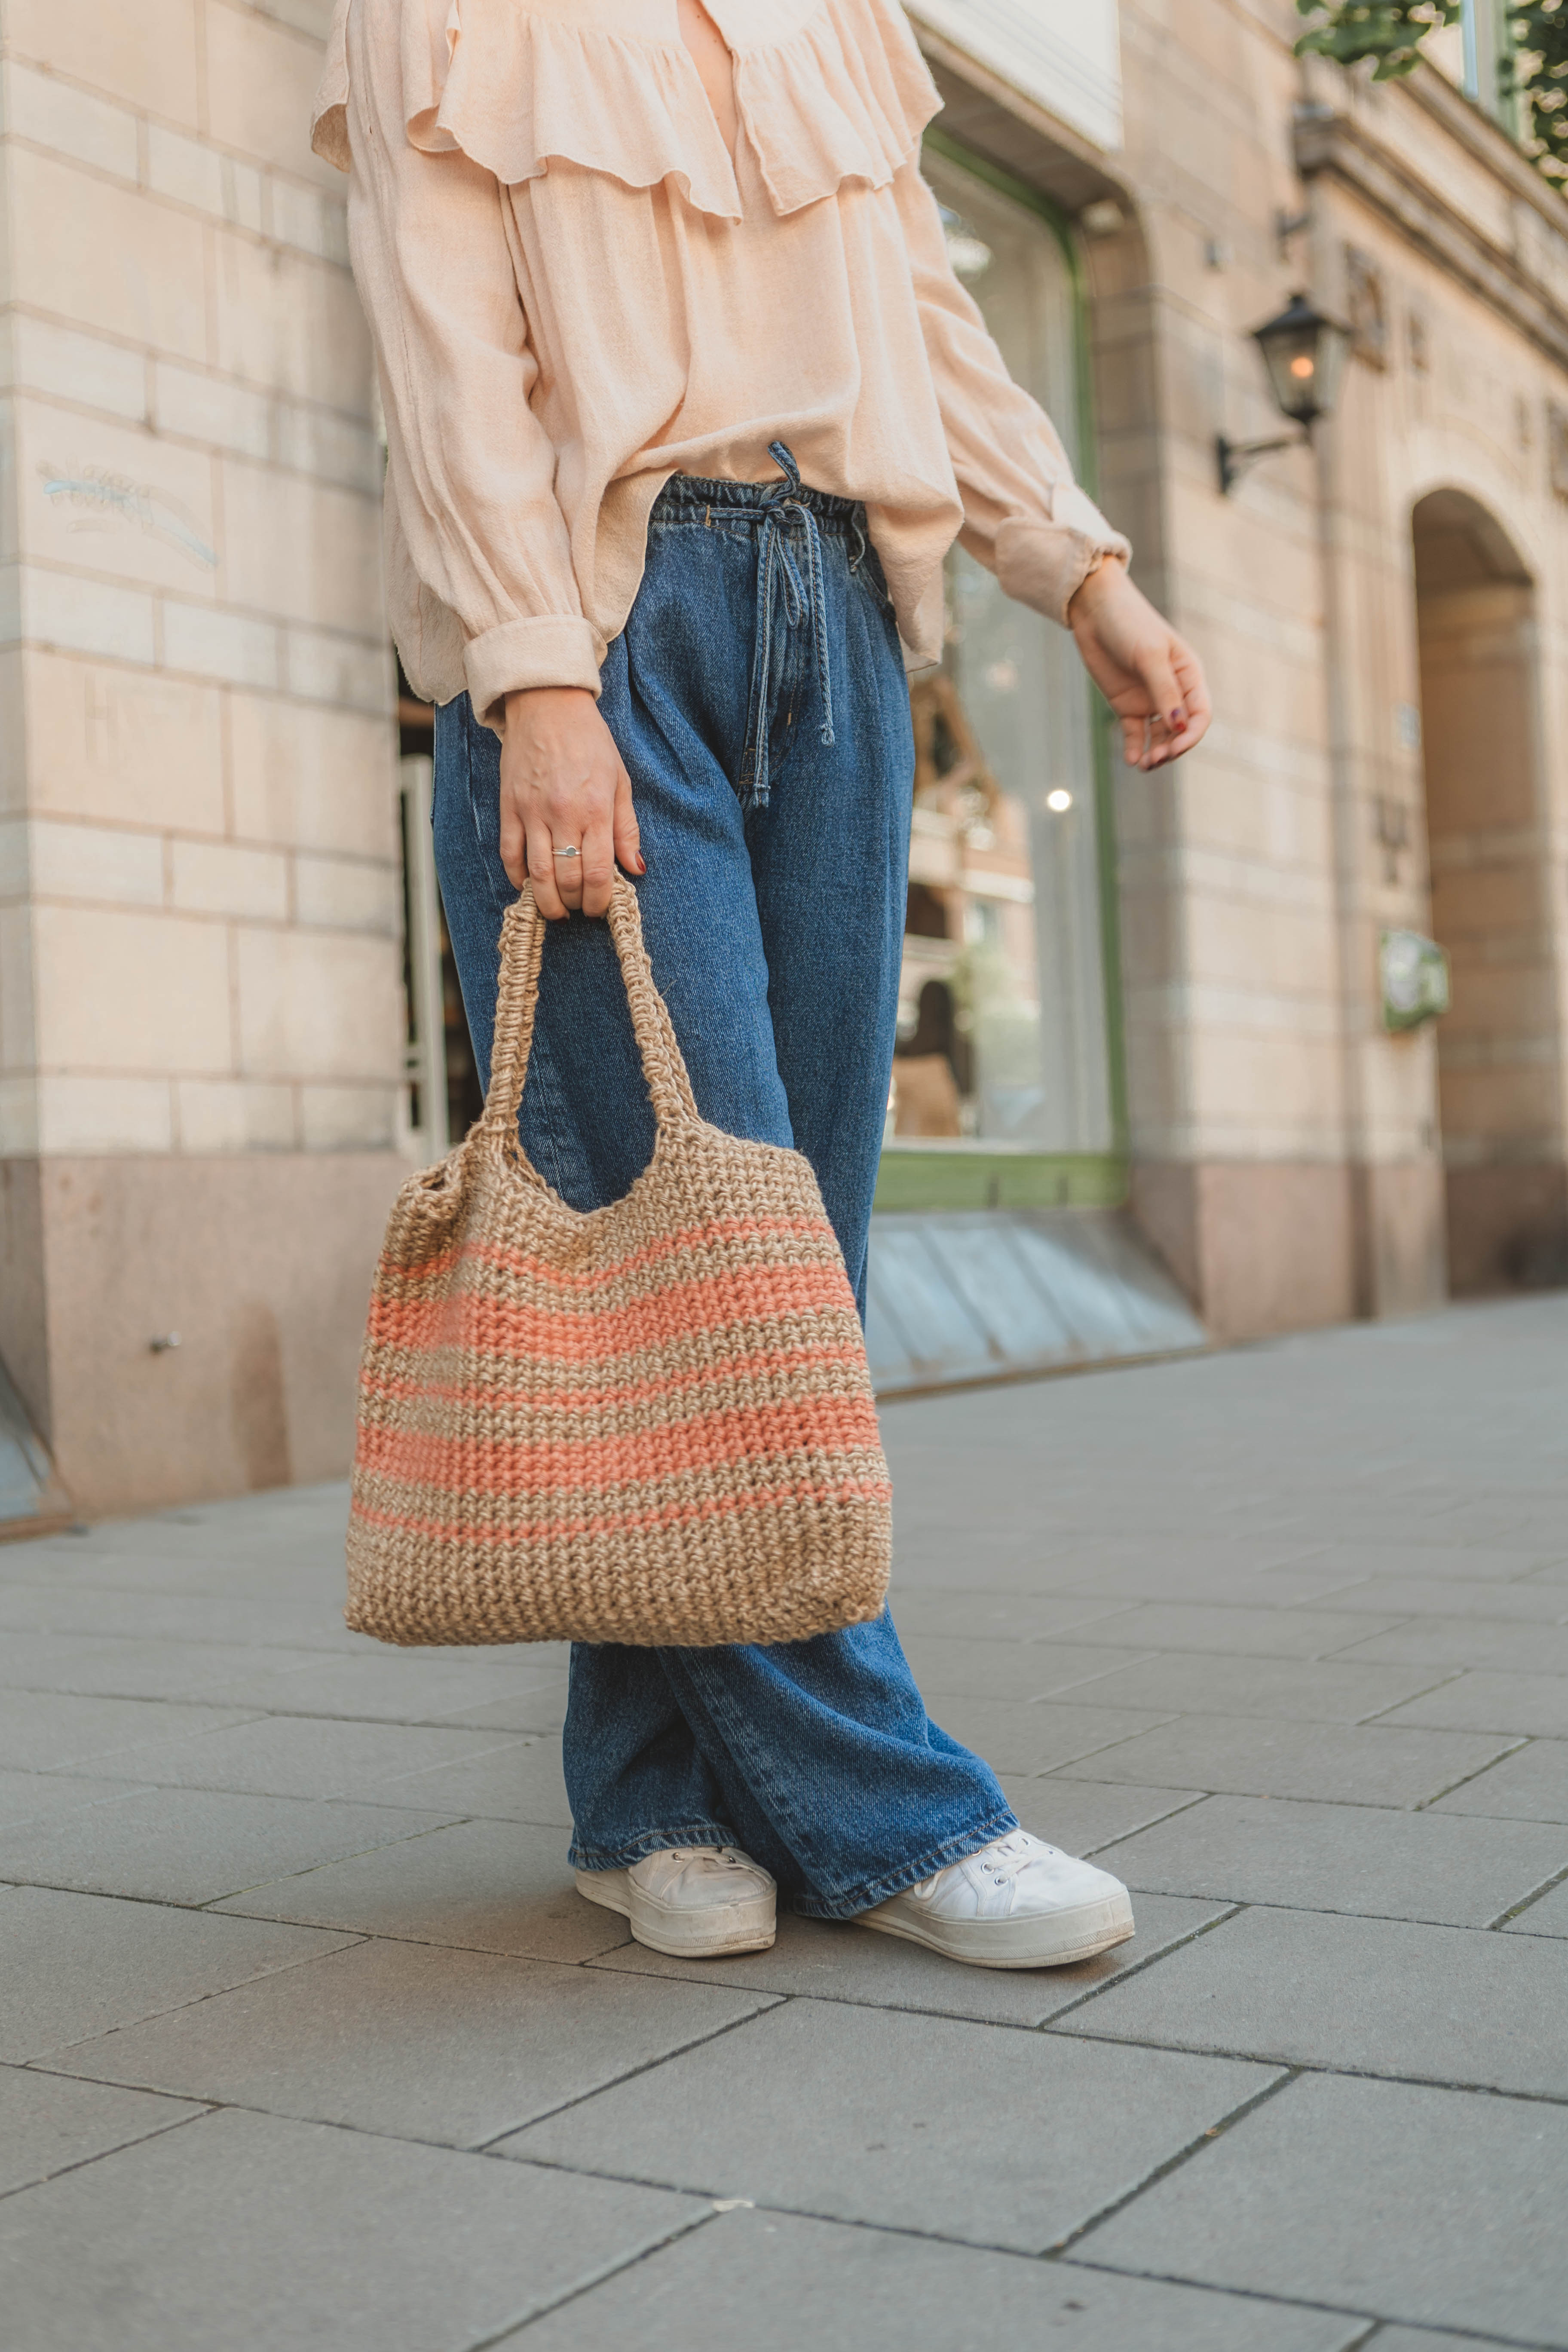
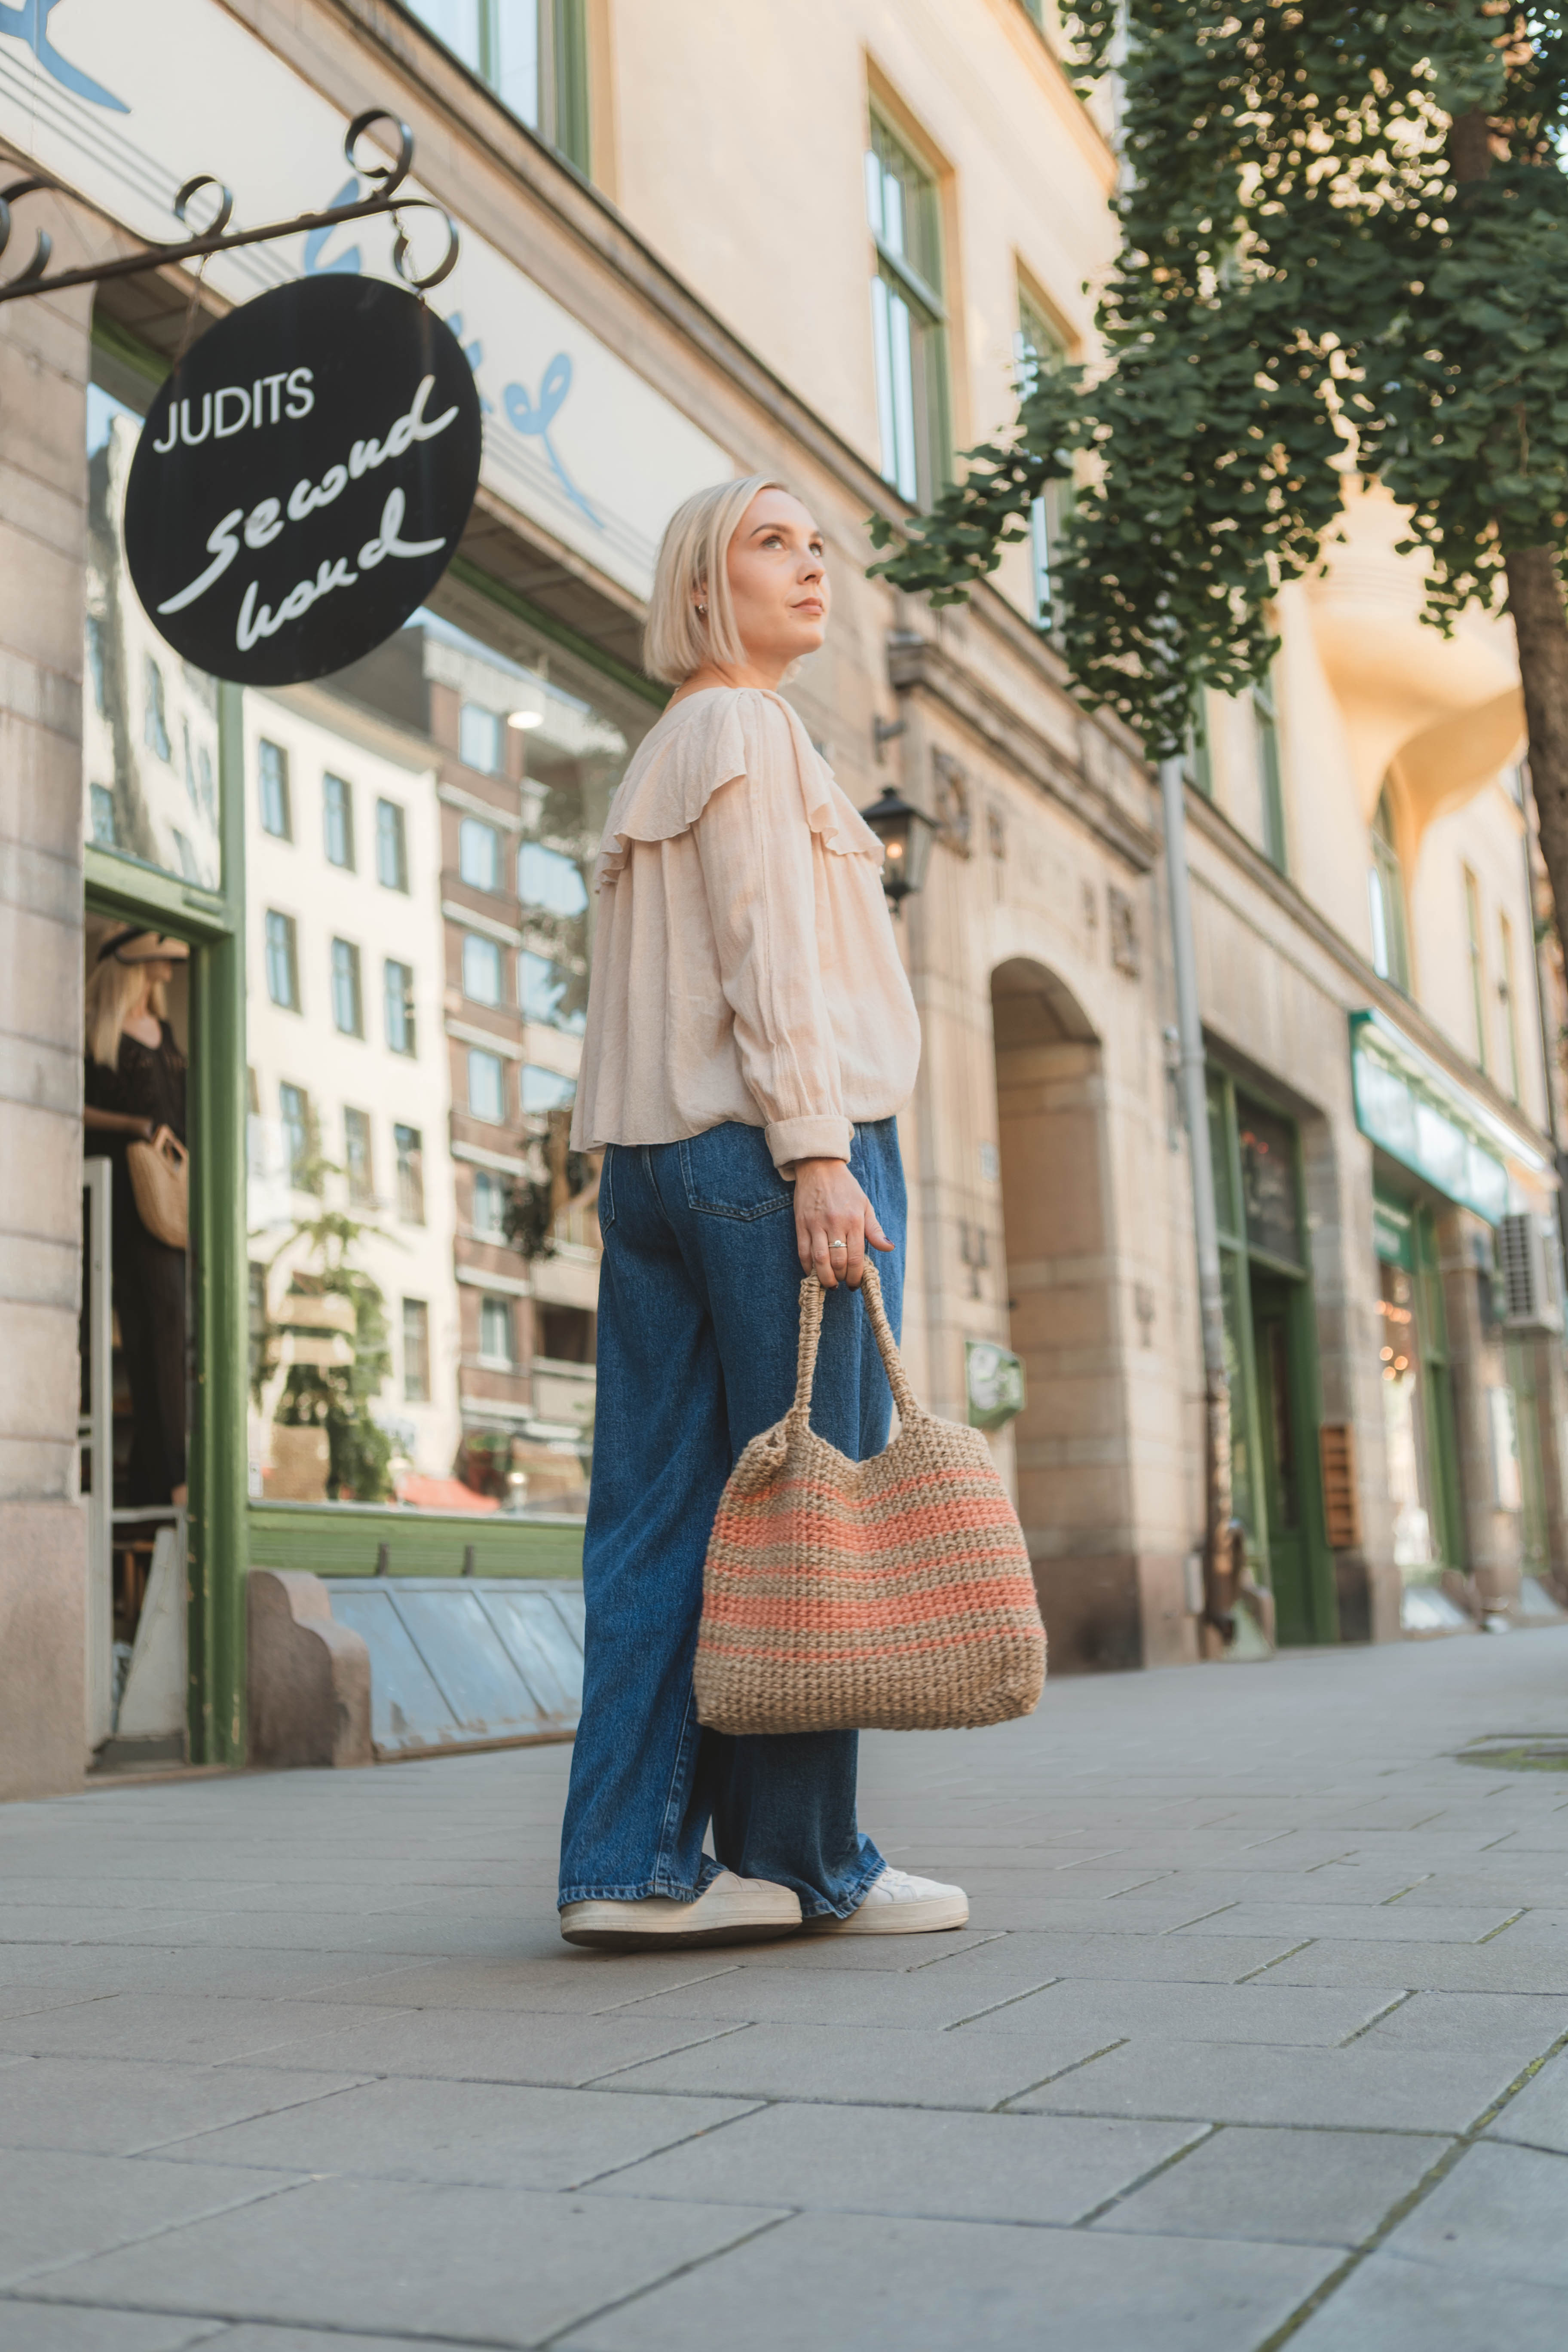
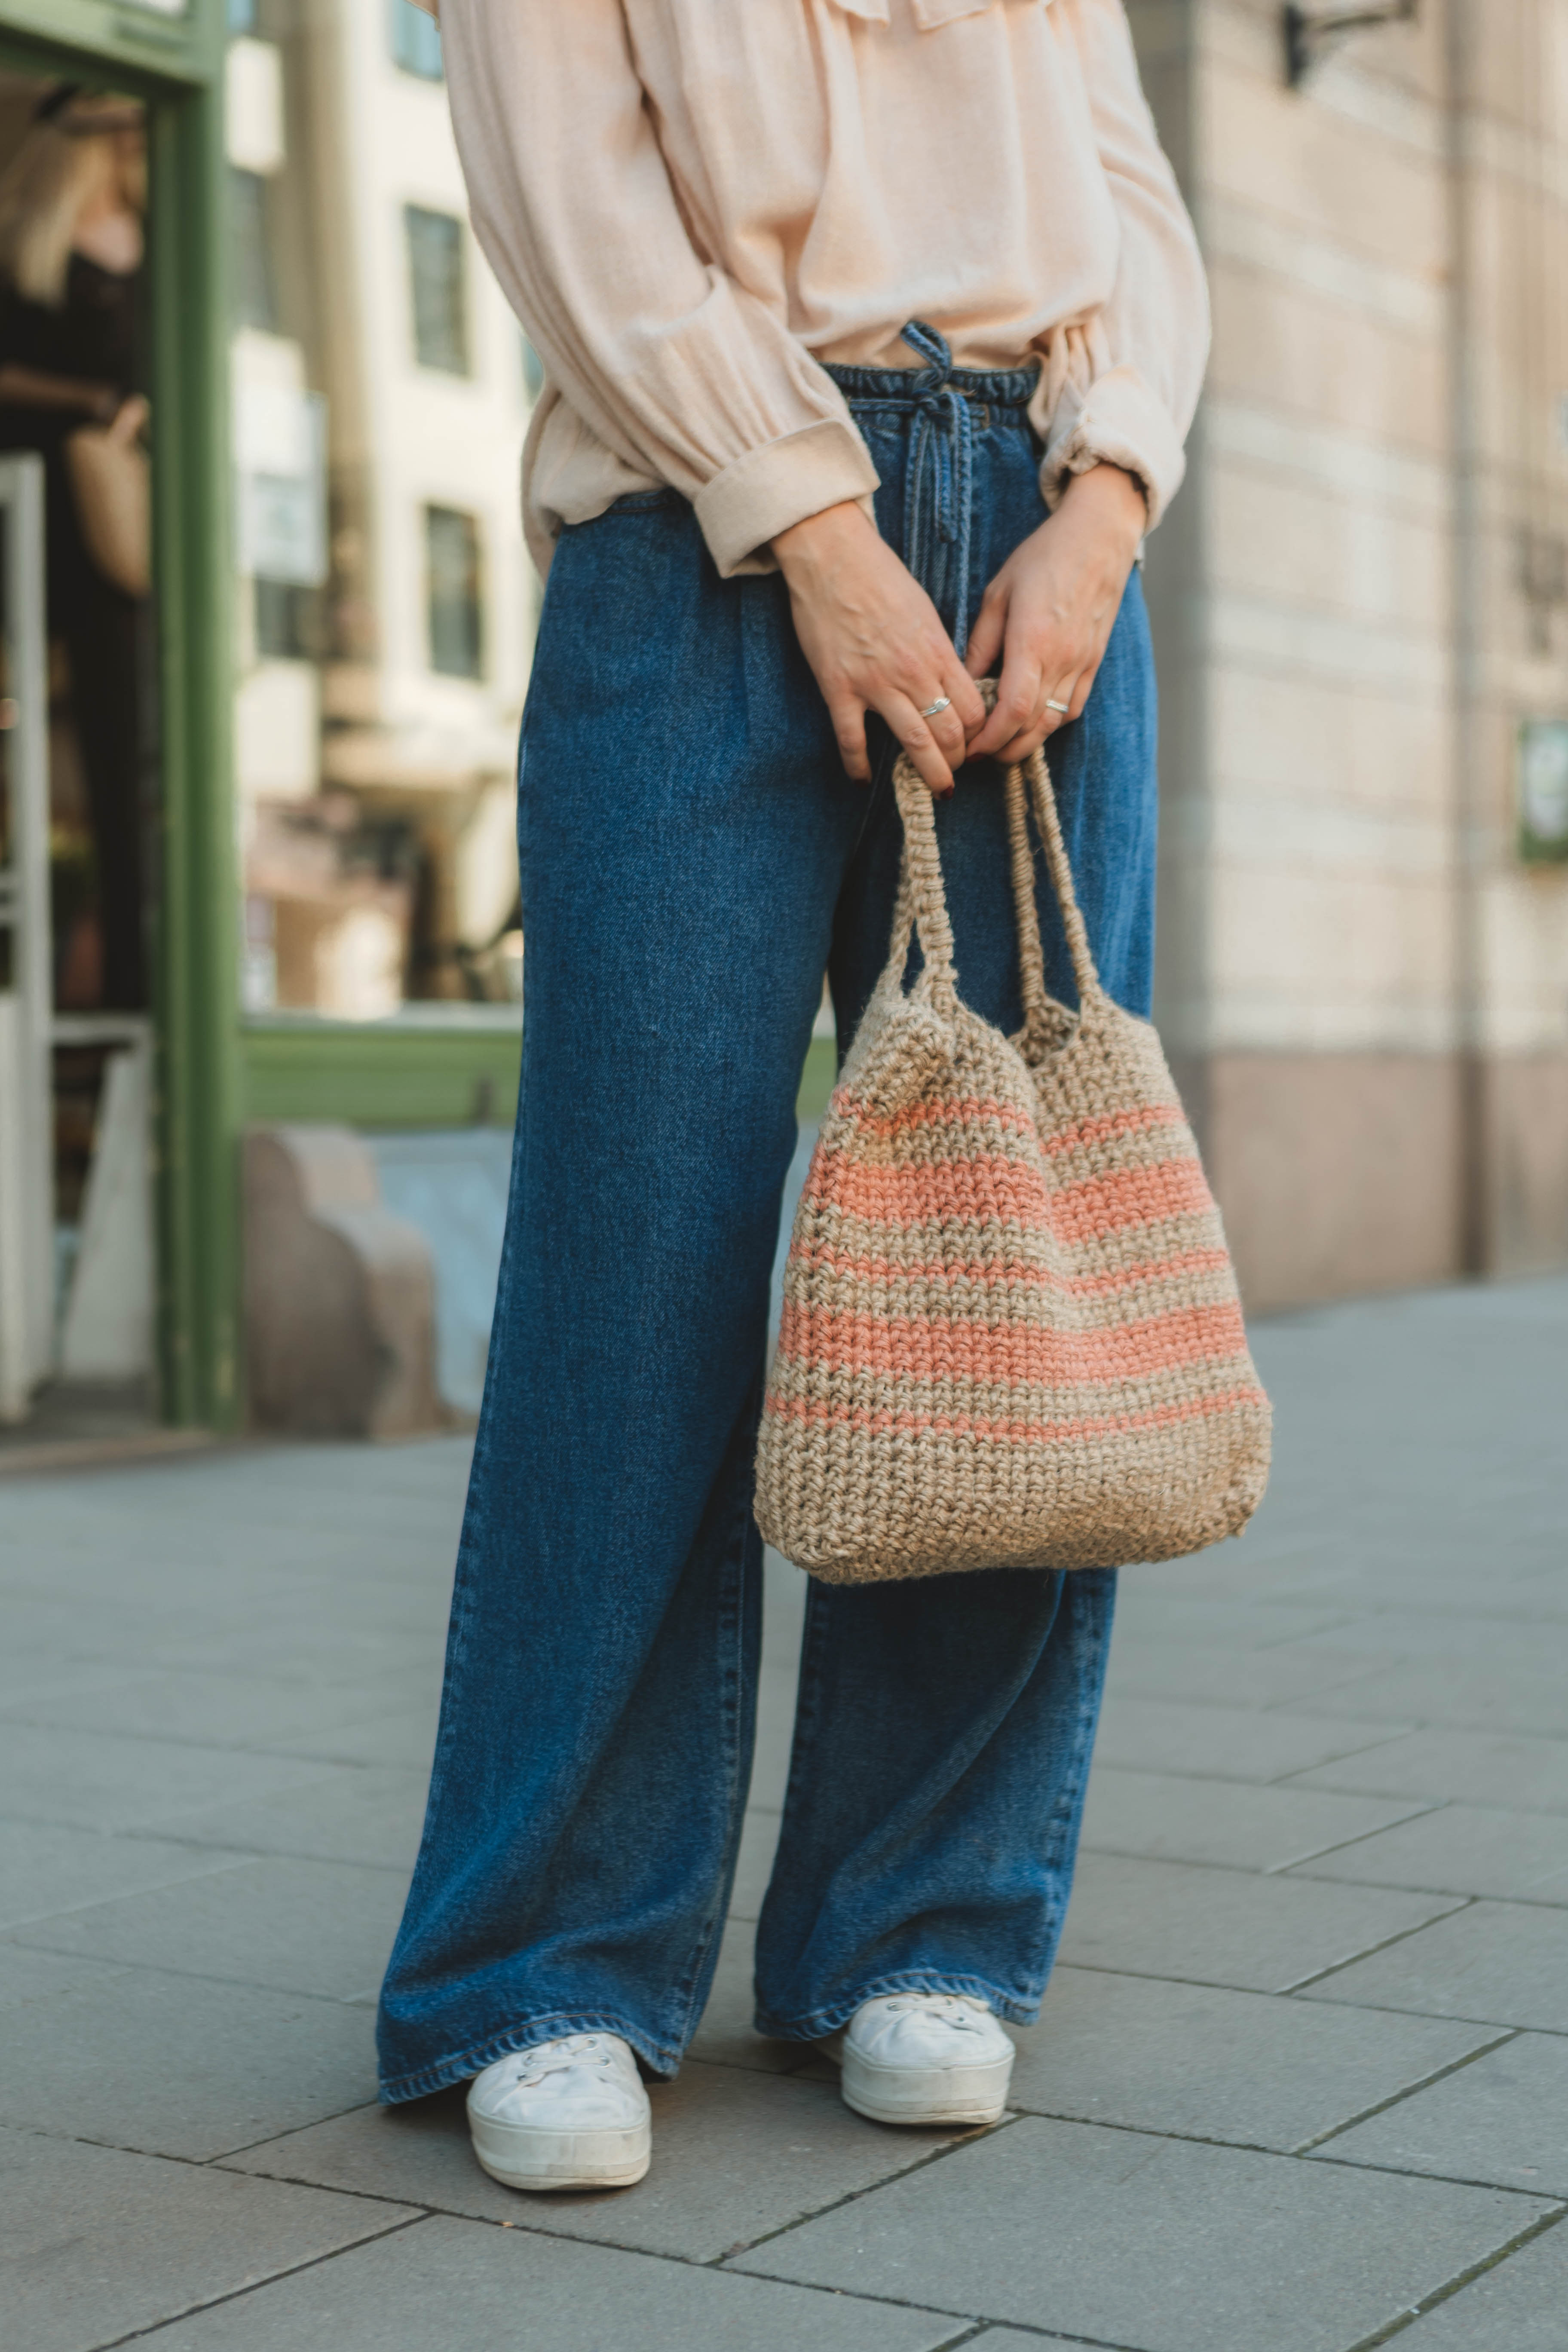
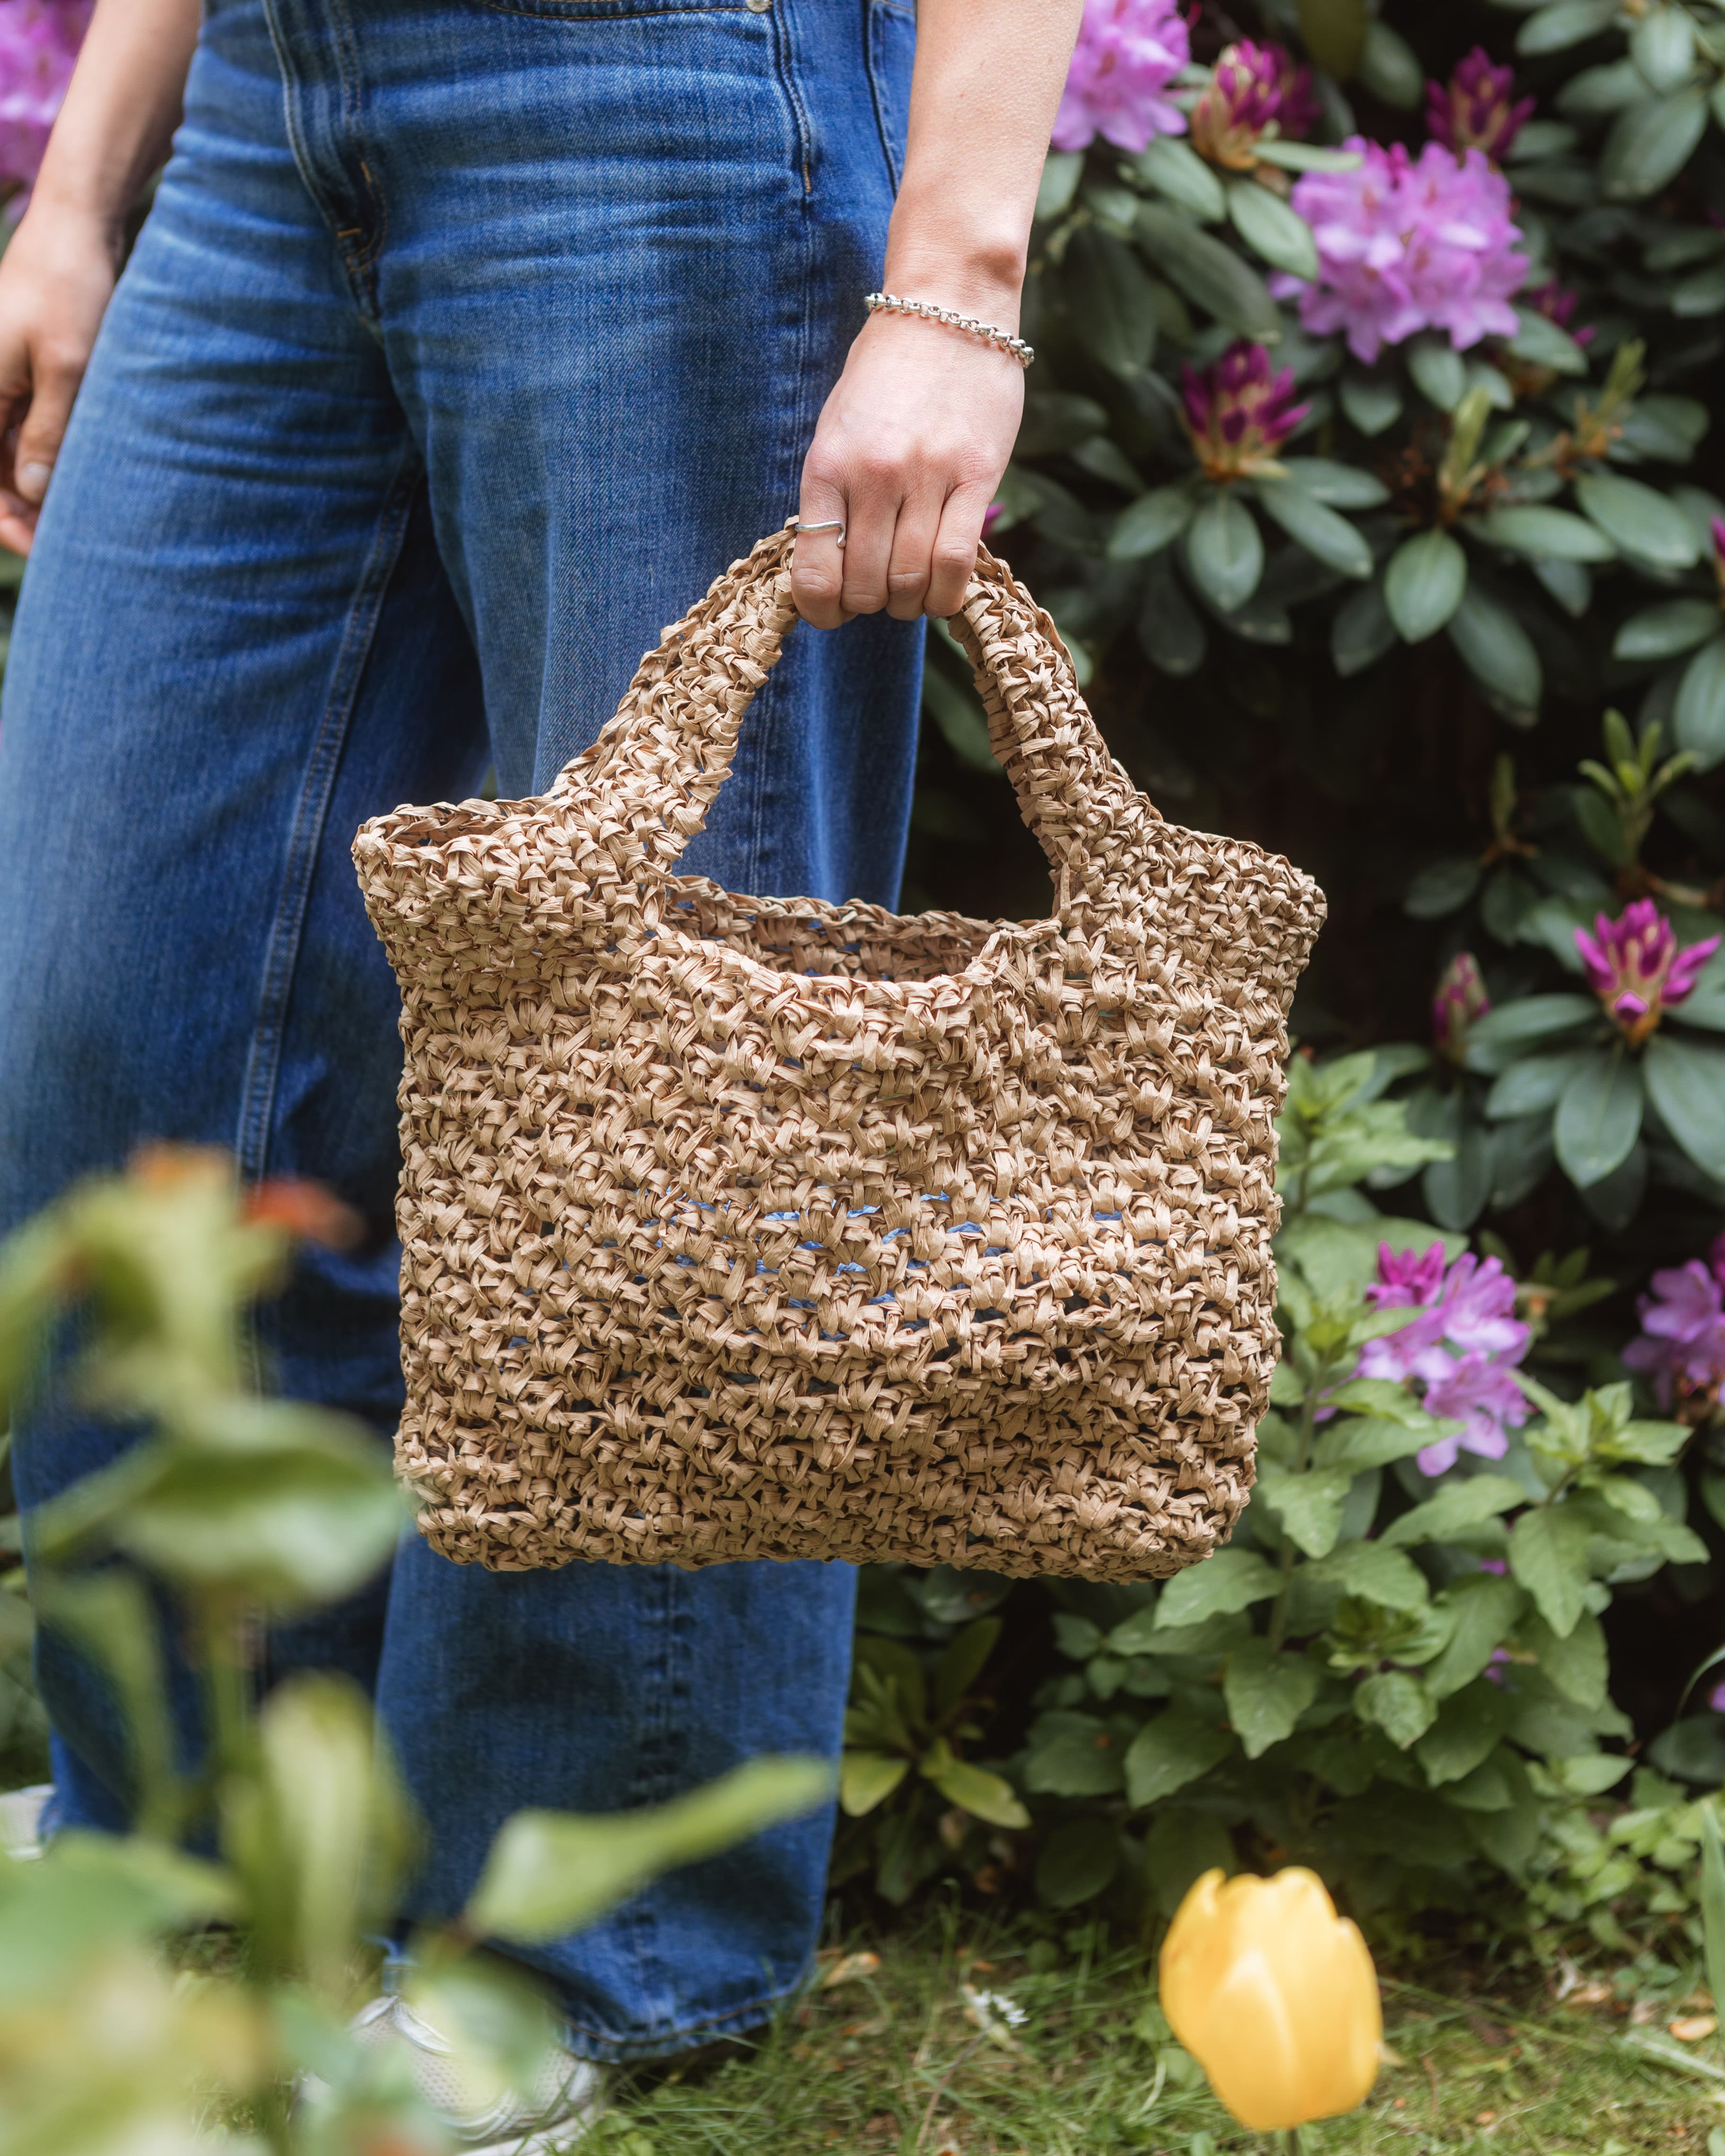
Crochet jute bag “Lovis”
Crochet a Beautiful Jute Bag
Have you tried crocheting with jute before? If not, this bag is a perfect first project! A bag that suits many occasions and is also easy to crochet. You will need two rolls of medium jute and a 7 mm crochet hook, and that's all. We have used beige as the main color and peach as the second color. This bag is suitable for everyone as it comes with a full-length pattern, a clearly explained text, and text with crochet terms only. And if you prefer to crochet the bag with other yarn, you could use EKO mini or EKO nano, which will give the bag a different texture.
Yarn Consumption: 500 g of medium jute (main color) and about 200 g of medium jute (color 2).


Here's how to do it
The bag is crocheted from the bottom up and crocheted with single crochets. This makes it a simple and nice bag suitable for many occasions. /Rebecca

This is what you need:
Here you can directly purchase the material for the product. Please note that the instruction is digital and appears here on the page (no written instruction).


.jpg)
Unleash your creativity
For only 85kr per month you get access to all our 300+ beginner-friendly instructions for crochet, knitting and macrame.
A perfect way to get started with your new hobby!

Step 1: The Bottom of the Bag
Choose the yarn you will use as the base color for your bag; this will be color number 1.
Row 1: The Chain
Start by making a slip knot. Here's how: Wrap the yarn around your fingers so that the yarn crosses over itself, then pull the yarn through the loop you've just made and tighten. You've now made a slip knot.
Next, crochet a chain of 29 stitches. Here’s how you make a chain: Insert your hook into the loop, wrap the yarn over the hook, and pull it through the loop. Now you’ve made a new loop. Continue in this way until you reach the desired number of stitches. This will form your chain.
In the second stitch (loop) from your hook, start crocheting single crochets. Here’s how you make a single crochet: Insert your hook into the stitch, catch the yarn, and pull it up. You now have two loops on your hook. Then, catch the yarn again and pull it through both loops. You've now made a single crochet.
Continue crocheting single crochets, one in each loop across the row, and finish the row with an extra chain stitch and turn. You should have a total of 28 stitches in one row.
Row 2 - 6: Continue the Bottom
Crochet an additional 5 rows, so you’ll have a total of 6 rows for the bottom. You will crochet one single crochet in each stitch, and at the end of each row, crochet a chain stitch and turn.
Now the bottom is complete!
Step 2: Crochet Around the Bottom
Now, you will crochet a round around the bottom to round the edges, and additional stitches will be added. The increases are: 1 extra stitch per corner + 4 stitches per short side between the corners. Do the following:
In the first stitch (which is the first corner), crochet 2 single crochets into the same stitch. This is your first increase. Then continue crocheting 26 single crochets along the side of the bottom until you reach the last stitch of the row, which is corner number 2. Here, make another increase by crocheting 2 single crochets into the same stitch. On the short side, add 4 stitches before reaching corner number 3. In corner number 3, make another increase by crocheting 2 single crochets into the same stitch. Then crochet 26 single crochets along the second long side until you reach corner number 4. Make an increase in corner number 4 by crocheting 2 single crochets into the same stitch. On the short side, add 4 stitches before returning to corner number 1.
Finish the round by making a slip stitch and a chain stitch in the first stitch of the round. Here’s how to make a slip stitch: Wrap the yarn over the hook and pull it through both loops at once.
Your new round should have a total of 68 stitches.
Step 3: Start Crocheting the Sides
Continue crocheting with color 1.
Now you will crochet a total of 6 rows of single crochets. Tip: Use a stitch marker at the beginning of each row to help keep track. Start the new row in the same stitch as the chain stitch from the previous row. This will ensure that your "seam," which forms when you crochet the ends of the rows, stays aligned.
- Crochet the following: One single crochet in each stitch (68 stitches).
- Finish each row with a slip stitch and a chain stitch.
Note: Row 6 is not finished with a chain stitch. Color 2 will be added here in the next step!
Step 4: Crochet Stripes / Add Color 2
Now you will switch to color 2. Do not cut the yarn for color 1.
To change to color 2, do the following:
When you are about to finish the round with a slip stitch, instead, make the slip stitch using your color 2. Fold the end of the new yarn into a U-shape, catch the yarn with your crochet hook, and make the slip stitch. Tighten the yarn ends from both color 1 and color 2 to ensure that all loops are tight and the yarn stays in place. Do a slip stitch and continue crocheting.
The striped section is crocheted as follows:
Stripe 1 / Color 2: Crochet 1 round. Finish by making the slip stitch with color 1.
Space / Color 1: Crochet 2 rounds. Finish by making the slip stitch with color 2.
Stripe 2 / Color 2: Crochet 3 rounds. Finish by making the slip stitch with color 1.
Space / Color 1: Crochet 2 rounds. Finish by making the slip stitch with color 2.
Stripe 3 / Color 2: Crochet 1 round. Finish by making the slip stitch with color 1.
Space / Color 1: Crochet 2 rounds. Finish by making the slip stitch with color 2.
Stripe 4 / Color 2: Crochet 3 rounds. Finish by making the slip stitch with color 1.
Space / Color 1: Crochet 2 rounds. Finish by making the slip stitch with color 2.
Stripe 5 / Color 2: Crochet 1 round. Finish by cutting the yarn for color 2 once you have completed the round, and do the slip stitch with color 1.
Step 5: Final Round and Handles
Now that you've finished crocheting stripes with two colors, you will continue crocheting only with your base color/color 1 from here on. Crochet 4 rounds of single crochets. Be sure to hide the yarn end from color 2 as you continue crocheting.
Once you’ve completed the fourth round, place 4 stitch markers where you want your handles. You can place them wherever you prefer.
For the 5th round, you will begin the handles. Here’s how:
- Crochet single crochets until you reach stitch marker 1.
- Then, crochet a chain as long as you want your handle to be. For reference, I chose 24 chain stitches for my handle.
- Attach the chain with a single crochet at the position of stitch marker 2.
- Crochet single crochets until you reach stitch marker 3, and then crochet a new chain of the same length as the previous one.
- Attach the second chain at stitch marker 4.
- Crochet single crochets until the round ends, finishing with a slip stitch and a chain stitch.
Round 6: Crochet a full round of single crochets. When you reach the chains for your handles, crochet the single crochets around the chains, not in the individual chain stitches. This will help make the handle more sturdy.
Finish the round with a slip stitch, cut the yarn, and pull it all the way through the loop to make a knot. Then, hide the yarn end inside the bag between your stitches. If it feels tight to weave in the end, you may find it helpful to use a smaller crochet hook.
Your bag is now ready to be used!
Abbreviations:
ch = chain
sl st = slip stitch
sc = single crochet
(...) = indicates the number of stitches in the current round
We’re going to crochet a beautiful bag in jute! If you need help along the way, check out the easier version of this pattern. Since there are no images included here, we refer you to the full-length video tutorial for guidance.
Bottom (Start with beige)
Row 1: 29 ch
Row 2-6: Start in 2nd ch from hook; 29 sc, 1 ch, turn (29)
One Round Around the Bottom (Increase for corners)
Round 1: 2 sc in 1st corner, 26 sc, 2 sc in same st (corner 2), 4 sc (short side), 2 sc in same st (corner 3), 26 sc (long side), 2 sc in same st (corner 4), 4 sc along short side (68)
Sides of the Bag
Round 1-6: 68 sc, 1 sl st in 1st st, 1 ch. (68)
Note: Round 6 does not end with a ch.
Sides of the Bag
Rounds 1-6: 68 sc, 1 sl st in 1st st, 1 ch. (68) Note: Round 6 does not end with a ch.
Round 7: Change to peach. 68 sc, 1 sl st in 1st st, 1 ch. (68)
Change to beige.
Rounds 8-9: 68 sc, 1 sl st in 1st st, 1 ch. (68) (2 rounds)
Change to peach.
Rounds 10-12: 68 sc, 1 sl st in 1st st, 1 ch. (68) (3 rounds)
Change to beige.
Rounds 13-14: 68 sc, 1 sl st in 1st st, 1 ch. (68) (2 rounds)
Change to peach.
Round 15: 68 sc, 1 sl st in 1st st, 1 ch. (68)
Change to beige.
Rounds 16-17: 68 sc, 1 sl st in 1st st, 1 ch. (68) (2 rounds)
Change to peach.
Rounds 18-20: 68 sc, 1 sl st in 1st st, 1 ch. (68) (3 rounds)
Change to beige.
Rounds 21-22: 68 sc, 1 sl st in 1st st, 1 ch. (68) (2 rounds)
Change to peach.
Round 23: 68 sc, 1 sl st in 1st st, 1 ch. (68)
Change to beige and continue the remaining rounds with beige only. Cut peach and fasten off.
Rounds 24-27: 68 sc, 1 sl st in 1st st, 1 ch. (68) (4 rounds)
Placing the Handles:
Round 28: Place 4 markers where you want the handles to be.
Round 28: sc until you reach marker 1. Crochet ch for the desired length of the handle. Go down into the st after marker 2. sc until you reach marker 3. Crochet the same number of ch as for handle 1. Go down into the st after marker 4. sc until the end. 1 sl st in 1st st. 1 ch.
Round 29: sc in all sts. When you reach the ch, sc around the ch. Fasten off all yarn ends.
You’re done! :)
The rights to this pattern belong to MYO Make Your Own. The pattern or its pictures may not be copied, shared or resold either in parts or in its entirety, but you may sell items you have crocheted from this pattern. If you have questions about the pattern, contact MYO at hello@makeyourown.se.

Share your creations with us
Thank you!
Your comment was sent!