
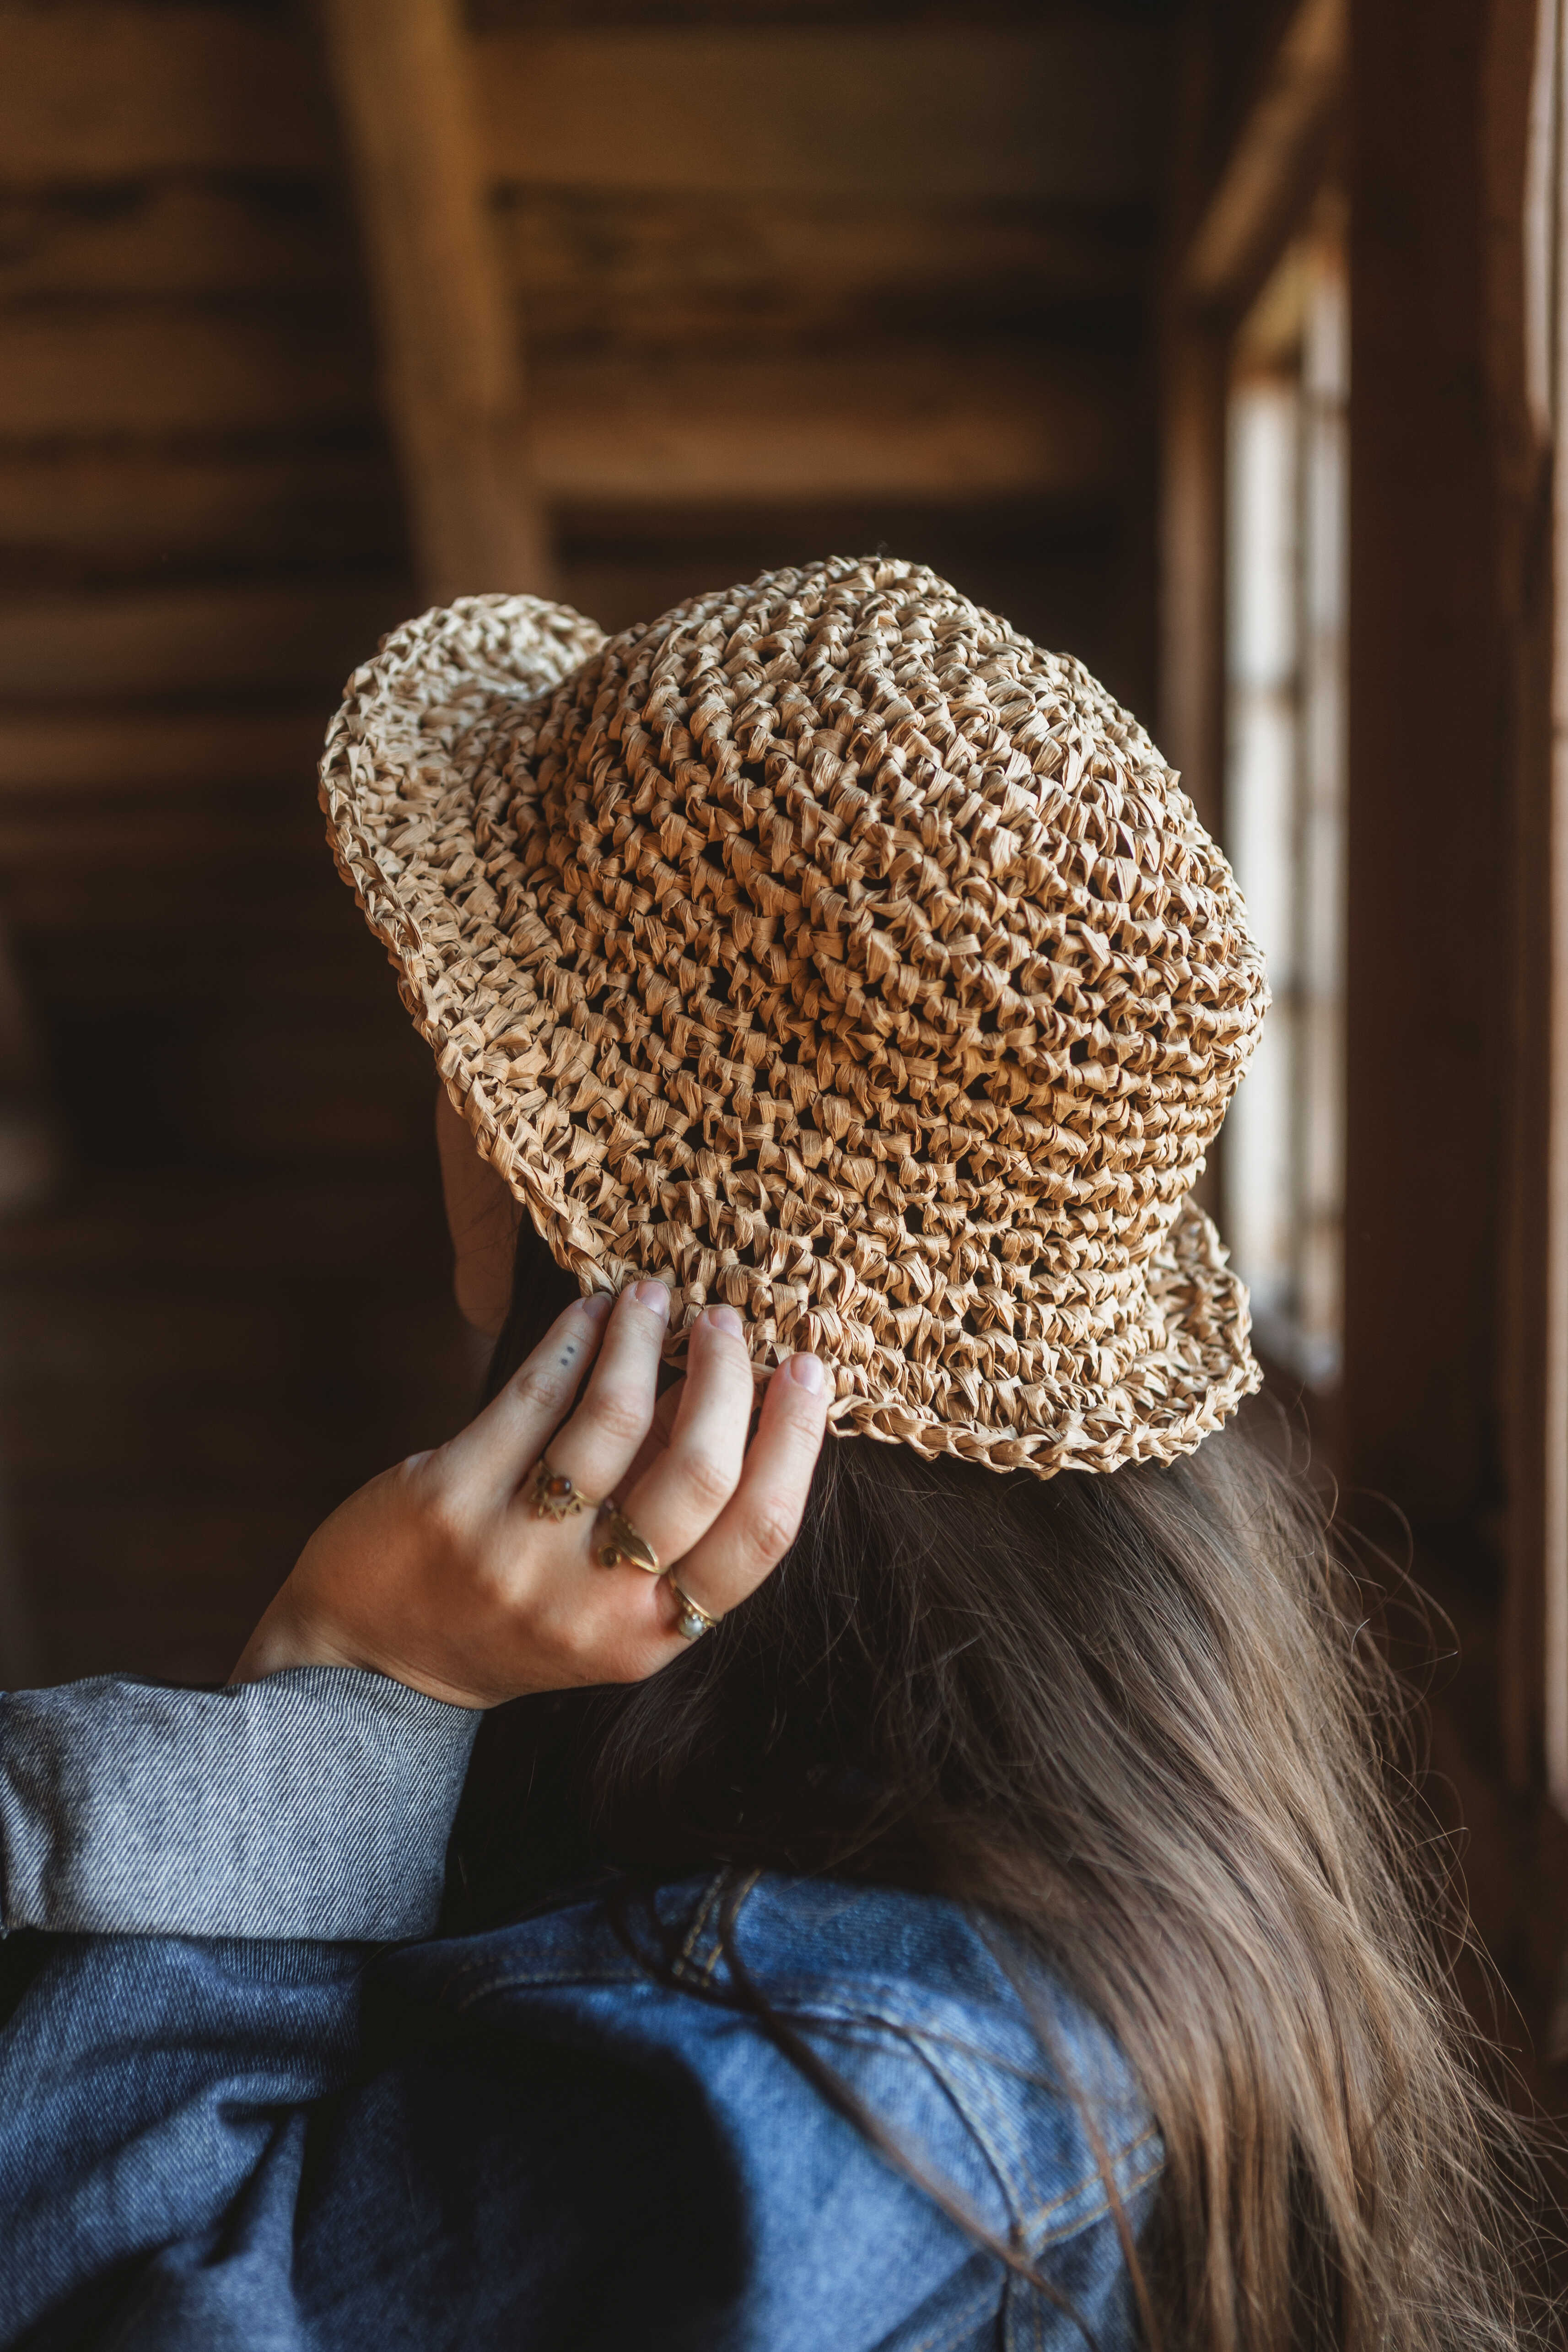
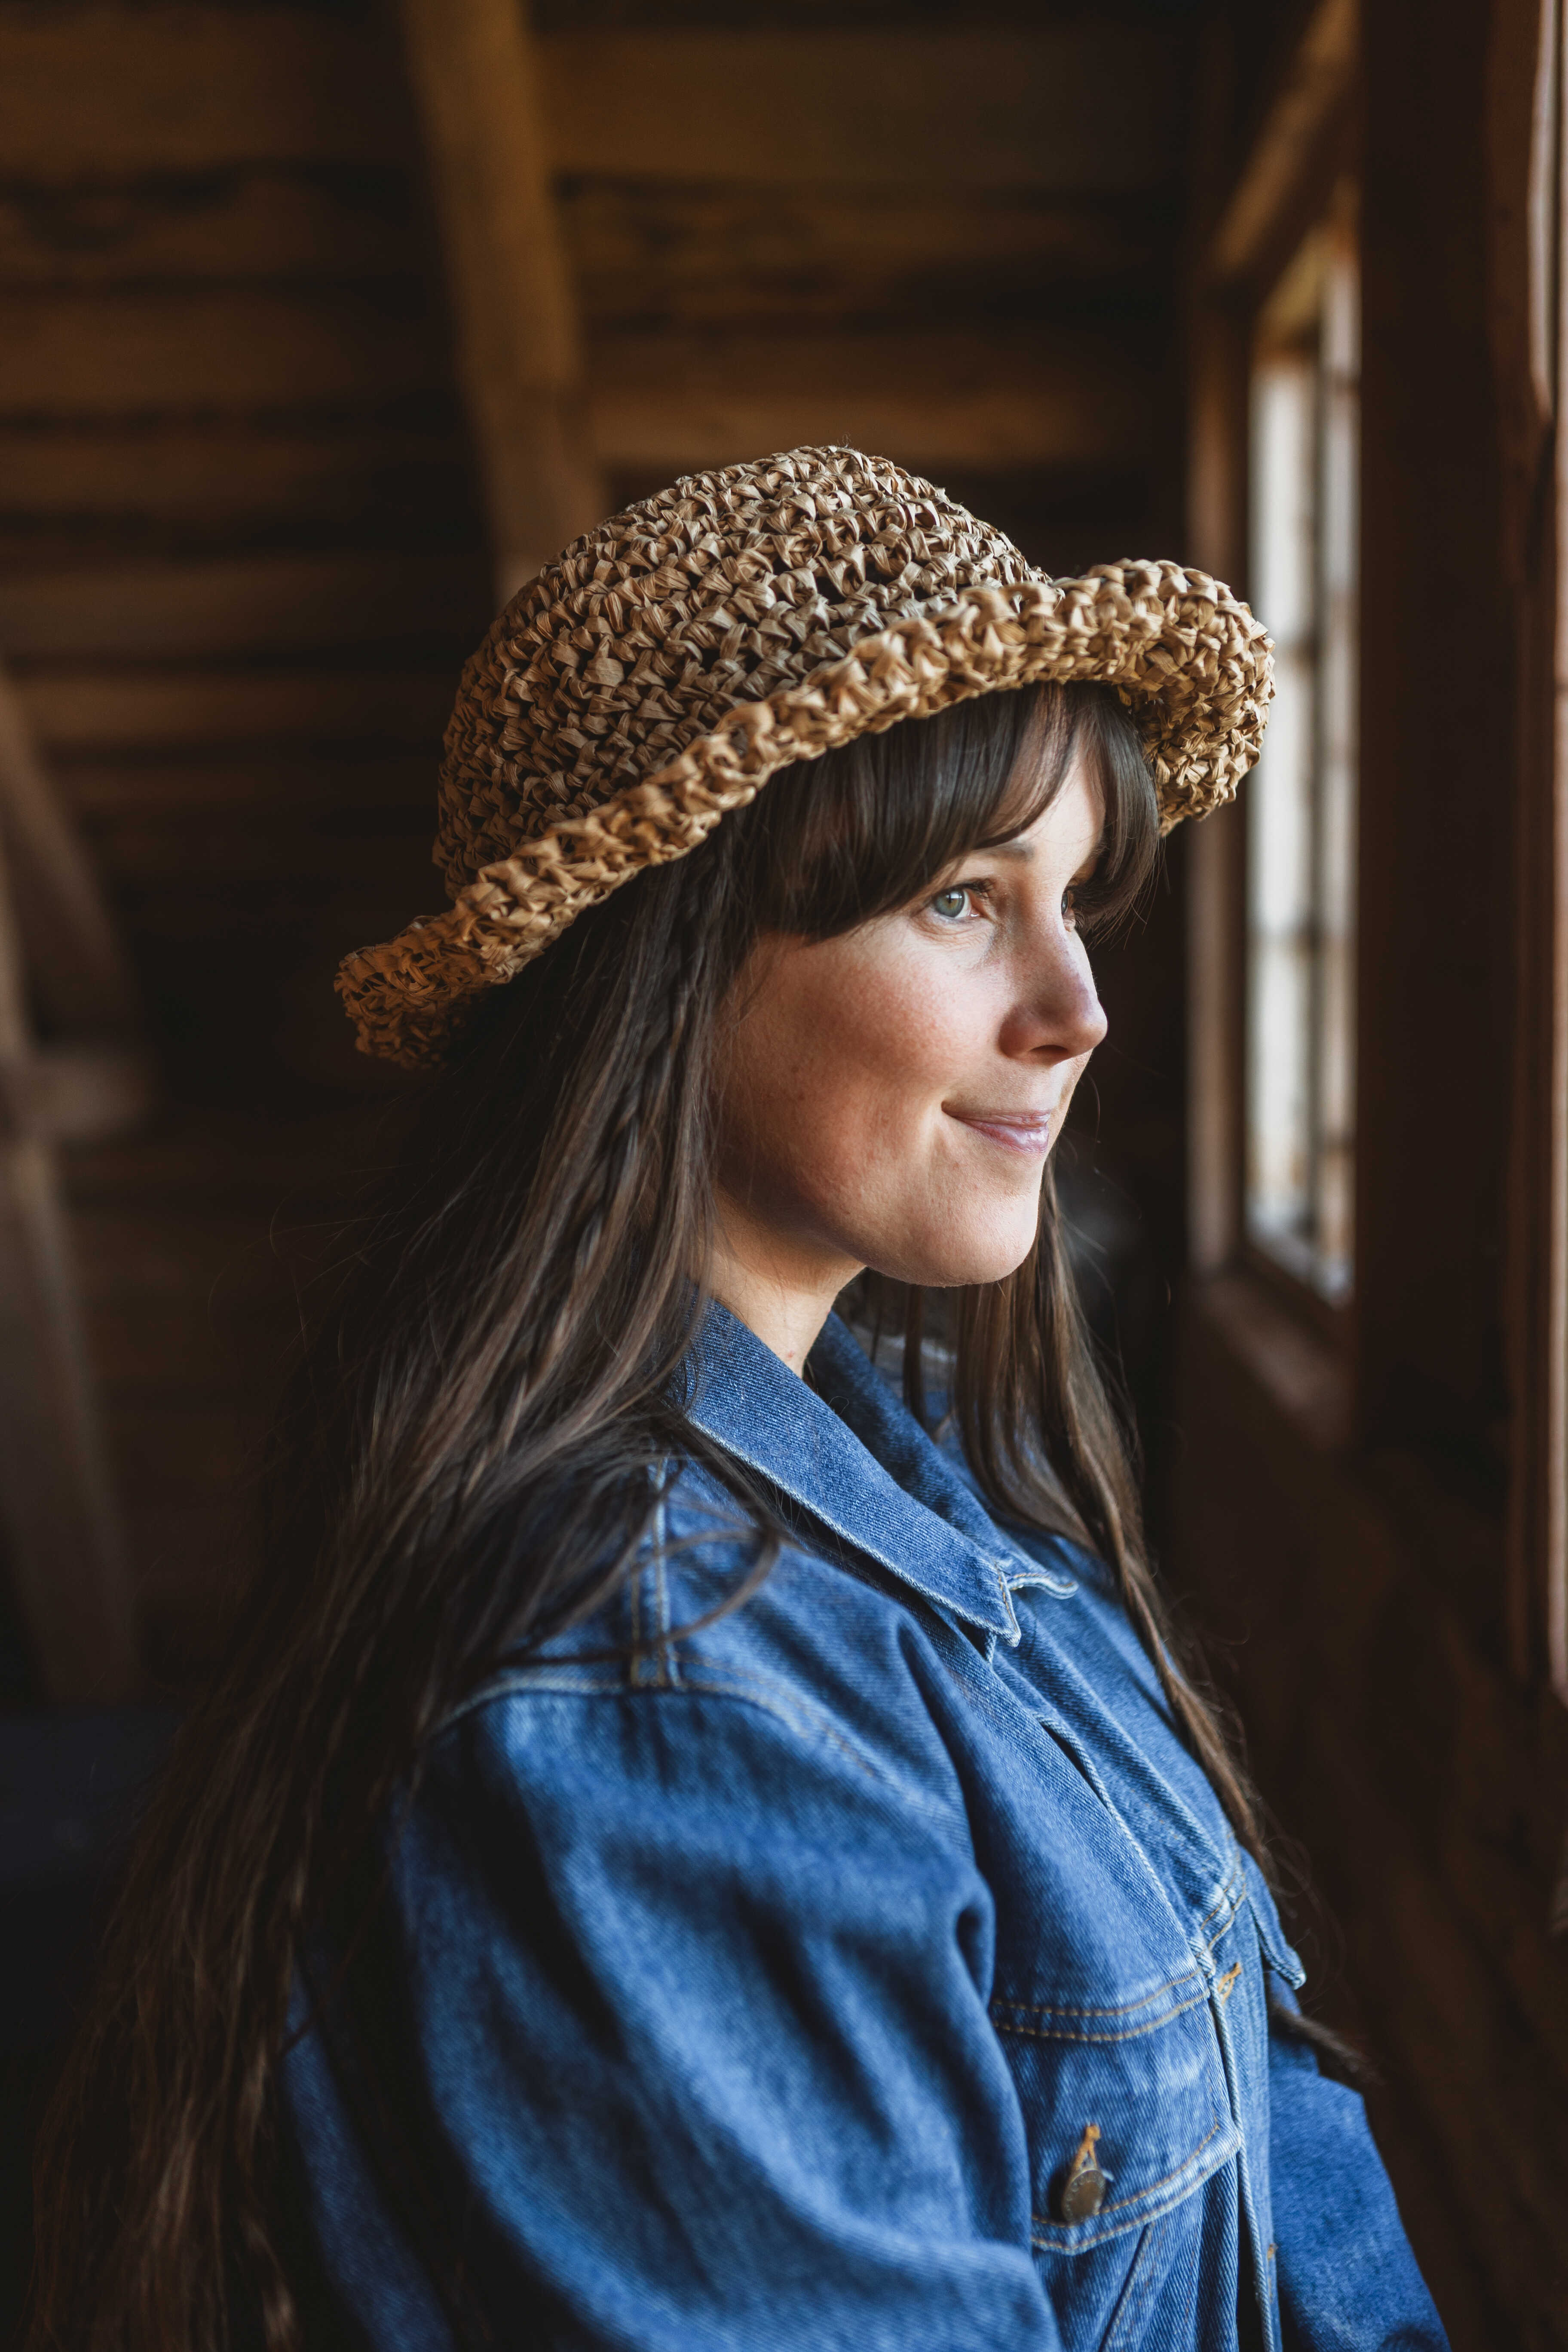
Crochet hat “Ella”
Crochet a wonderful summer hat that is quick and fun to make!
The hat is made of our new paper yarn which is available in several lovely colours and weighs nothing - so perfect for sunny holiday days.
The hat is crocheted with a crochet hook size 7 mm and the color used in the video is brown, but in our webshop www.makeyourown.se you will find more colors for this yarn to create your very unique summer hat.


Here's how to do it
This hat is suitable for beginners and we go through all the steps together. The hat is made of our new paper yarn which is available in several lovely colours and it weighs nothing. It is crocheted with a 7 mm crochet hook and the color used in the video is brown, but you can choose any of the 5 colors you want to create your very unique summer hat.

This is what you need:
Here you can directly purchase the material for the product. Please note that the instruction is digital and appears here on the page (no written instruction).


.jpg)
Unleash your creativity
For only 85kr per month you get access to all our 300+ beginner-friendly instructions for crochet, knitting and macrame.
A perfect way to get started with your new hobby!

We start in the center of the top part of the hat and work outward toward the brim.
Round 1: Begin by making a slip knot and then chain three stitches. Join the first and last chain with a slip stitch so that the chain forms a ring.
Here’s how to do it:
Start by making a slip knot by wrapping the yarn around two fingers one and a half times and then pulling the innermost loop through under the first yarn on your fingers. Pull the inner loop through and release the yarn from your fingers, and you now have a starting loop.
Make a chain of three stitches. Adjust the loop you just made around your crochet hook so that it is snug but not too tight.
Now start crocheting the chain. Use your crochet hook to pull the yarn from the yarn ball through the loop on your hook so that a new loop forms (this is your first chain stitch). Repeat this until you have three loops on your hook.
Next, join your first and last chain stitches by inserting the hook into the first loop, pulling the yarn from the ball through, just as you did before. You now have a ring containing three chain stitches.
Now we will crochet in continuous rounds until the hat reaches the diameter you want. Follow the increases below to expand evenly. Keep track of your rounds by placing a stitch marker or safety pin at the beginning of each round.
On the ring with the three chain stitches you already have, we will work two single crochets in each front loop of each stitch. This gives a total of six stitches around the ring. This is Round 1.
We are now working the top part of the hat, the section that sits closest to the crown of the head. Continue until the crown reaches the desired size. Remember to use a stitch marker at the beginning of each new round to keep track.
Round 2: Work 2 single crochets in the front loop of each stitch around. Total stitches for the round 6.
Round 3: Work 2 single crochets in each stitch around. Total stitches for the round 12.
Round 4: Increase evenly by working 2 single crochets in every second stitch, and 1 single crochet in each stitch between the increases. Total stitches for the round: 18.
Round 5: Work 2 single crochets in every third stitch, and 1 single crochet in each stitch between the increases. Total stitches for the round: 24
Round 6: Work 2 single crochets in every fourth stitch, and 1 single crochet in each stitch between the increases. Total stitches for the round: 30.
Round 7: Work 2 single crochets in every fifth stitch, and 1 single crochet in each stitch between the increases. Total stitches for the round: 36.
Round 8: Work 2 single crochets in every sixth stitch, and 1 single crochet in each stitch between the increases. Total stitches for the round: 42.
Round 9: Work 2 single crochets in every seventh stitch, and 1 single crochet in each stitch between the increases. Total stitches for the round: 48.
Sides
Now we will work the sides of the hat. These rounds are worked without any increases.
Rounds 10–14: Work one single crochet in each stitch around for every round until the hat reaches the desired height. The sides of the hat should extend downward to cover roughly the upper half of your ears.
When you are satisfied with the height, you can begin working the brim.
For reference: The hat in the video has six rounds for the sides. Measure the side so that it covers your ears about halfway. Once you are happy with the height, we will add a few increases to shape the brim nicely in the next step.
Brim
Round 15: To shape the brim outward and forward, we now increase the number of stitches. Work only in the front loops of the stitches.
*Work 2 single crochets in the same stitch every fourth stitch. Between the increases, work 1 single crochet in each stitch.*
Repeat this sequence around until you reach the starting point. Note: It does not matter if the round does not divide evenly.
Round 16: Work 1 increase in every fourth stitch until the brim reaches the shape you want. Repeat this round until you are satisfied with the width of the brim.
Not all rounds will divide evenly for the number of repeats, so just continue working until you are happy with the shape. Don’t worry about where the round starts.
Finish with 1 round of 1 single crochet in each stitch.
If the brim appears too wavy, reduce the number of increases in the last couple of rounds — for example, try increasing every fifth stitch instead.
Cut the yarn and weave in the ends. When the yarn is finished or you are happy with the size, secure the yarn so the end does not stick out (see video for an example).
Your hat is now complete! 🙂
Crochet Abbreviations (US Terms)
- st = stitch
- ch = chain
- sc = single crochet
- blo = back loop only
- ( … ) = number of stitches in the current round
- * … * = repeat everything within * … * the number of times stated
Now we’re going to crochet a hat using paper yarn! If you need help along the way, see our simple version of this pattern. In this case, there are no images, so we refer to the full-length video included in the pattern.
We start in the center of the crown of the hat and work outward toward the brim.
Crown
Round 1: Ch 3. Join with 1 sl st to form a ring. Work 2 sc in each sc of the 3-ch ring. (6)
Round 2: Inc × 3. (6)
Round 3: Inc × 6. (12)
Round 4: *1 sc, inc* × 6. (18)
Round 5: *2 sc, inc* × 6. (24)
Round 6: *3 sc, inc* × 6. (30)
Round 7: *4 sc, inc* × 6. (36)
Round 8: *5 sc, inc* × 6. (42)
Round 9: *6 sc, inc* × 6. (48)
Sides
Rounds 10–14: Work 1 sc in each st until the hat reaches the desired height. It should cover roughly the upper half of your ears.
Brim
Round 15: *3 sc, increase in the blo*. Continue around the round. It’s okay if it doesn’t divide evenly — finish the sequence when you reach the start of the round.
Round 16: Work 1 increase in every 4th stitch until the brim reaches the shape you want. Repeat this round until the brim has the desired width. Not all rounds will divide evenly — just keep going until satisfied.
Tip: If the brim becomes too wavy, reduce the number of increases.
Work 1 final round of 1 sc in each st. Cut the yarn and weave in the ends.
Finished!
The rights to this pattern belong to MYO Make Your Own. The pattern or its pictures may not be copied, shared or resold either in parts or in its entirety, but you may sell items you have crocheted from this pattern. If you have questions about the pattern, contact MYO at hello@makeyourown.se.


Share your creations with us
Thank you!
Your comment was sent!