Buy your material here

You can buy the materials and needles we use at makeyourown.semakeyourown.se

Go to shop
Copyright © 2022 Make Your Own
Please verify your email address by clicking on the link sent to youremail@gmail.com or resubmit.
mönster

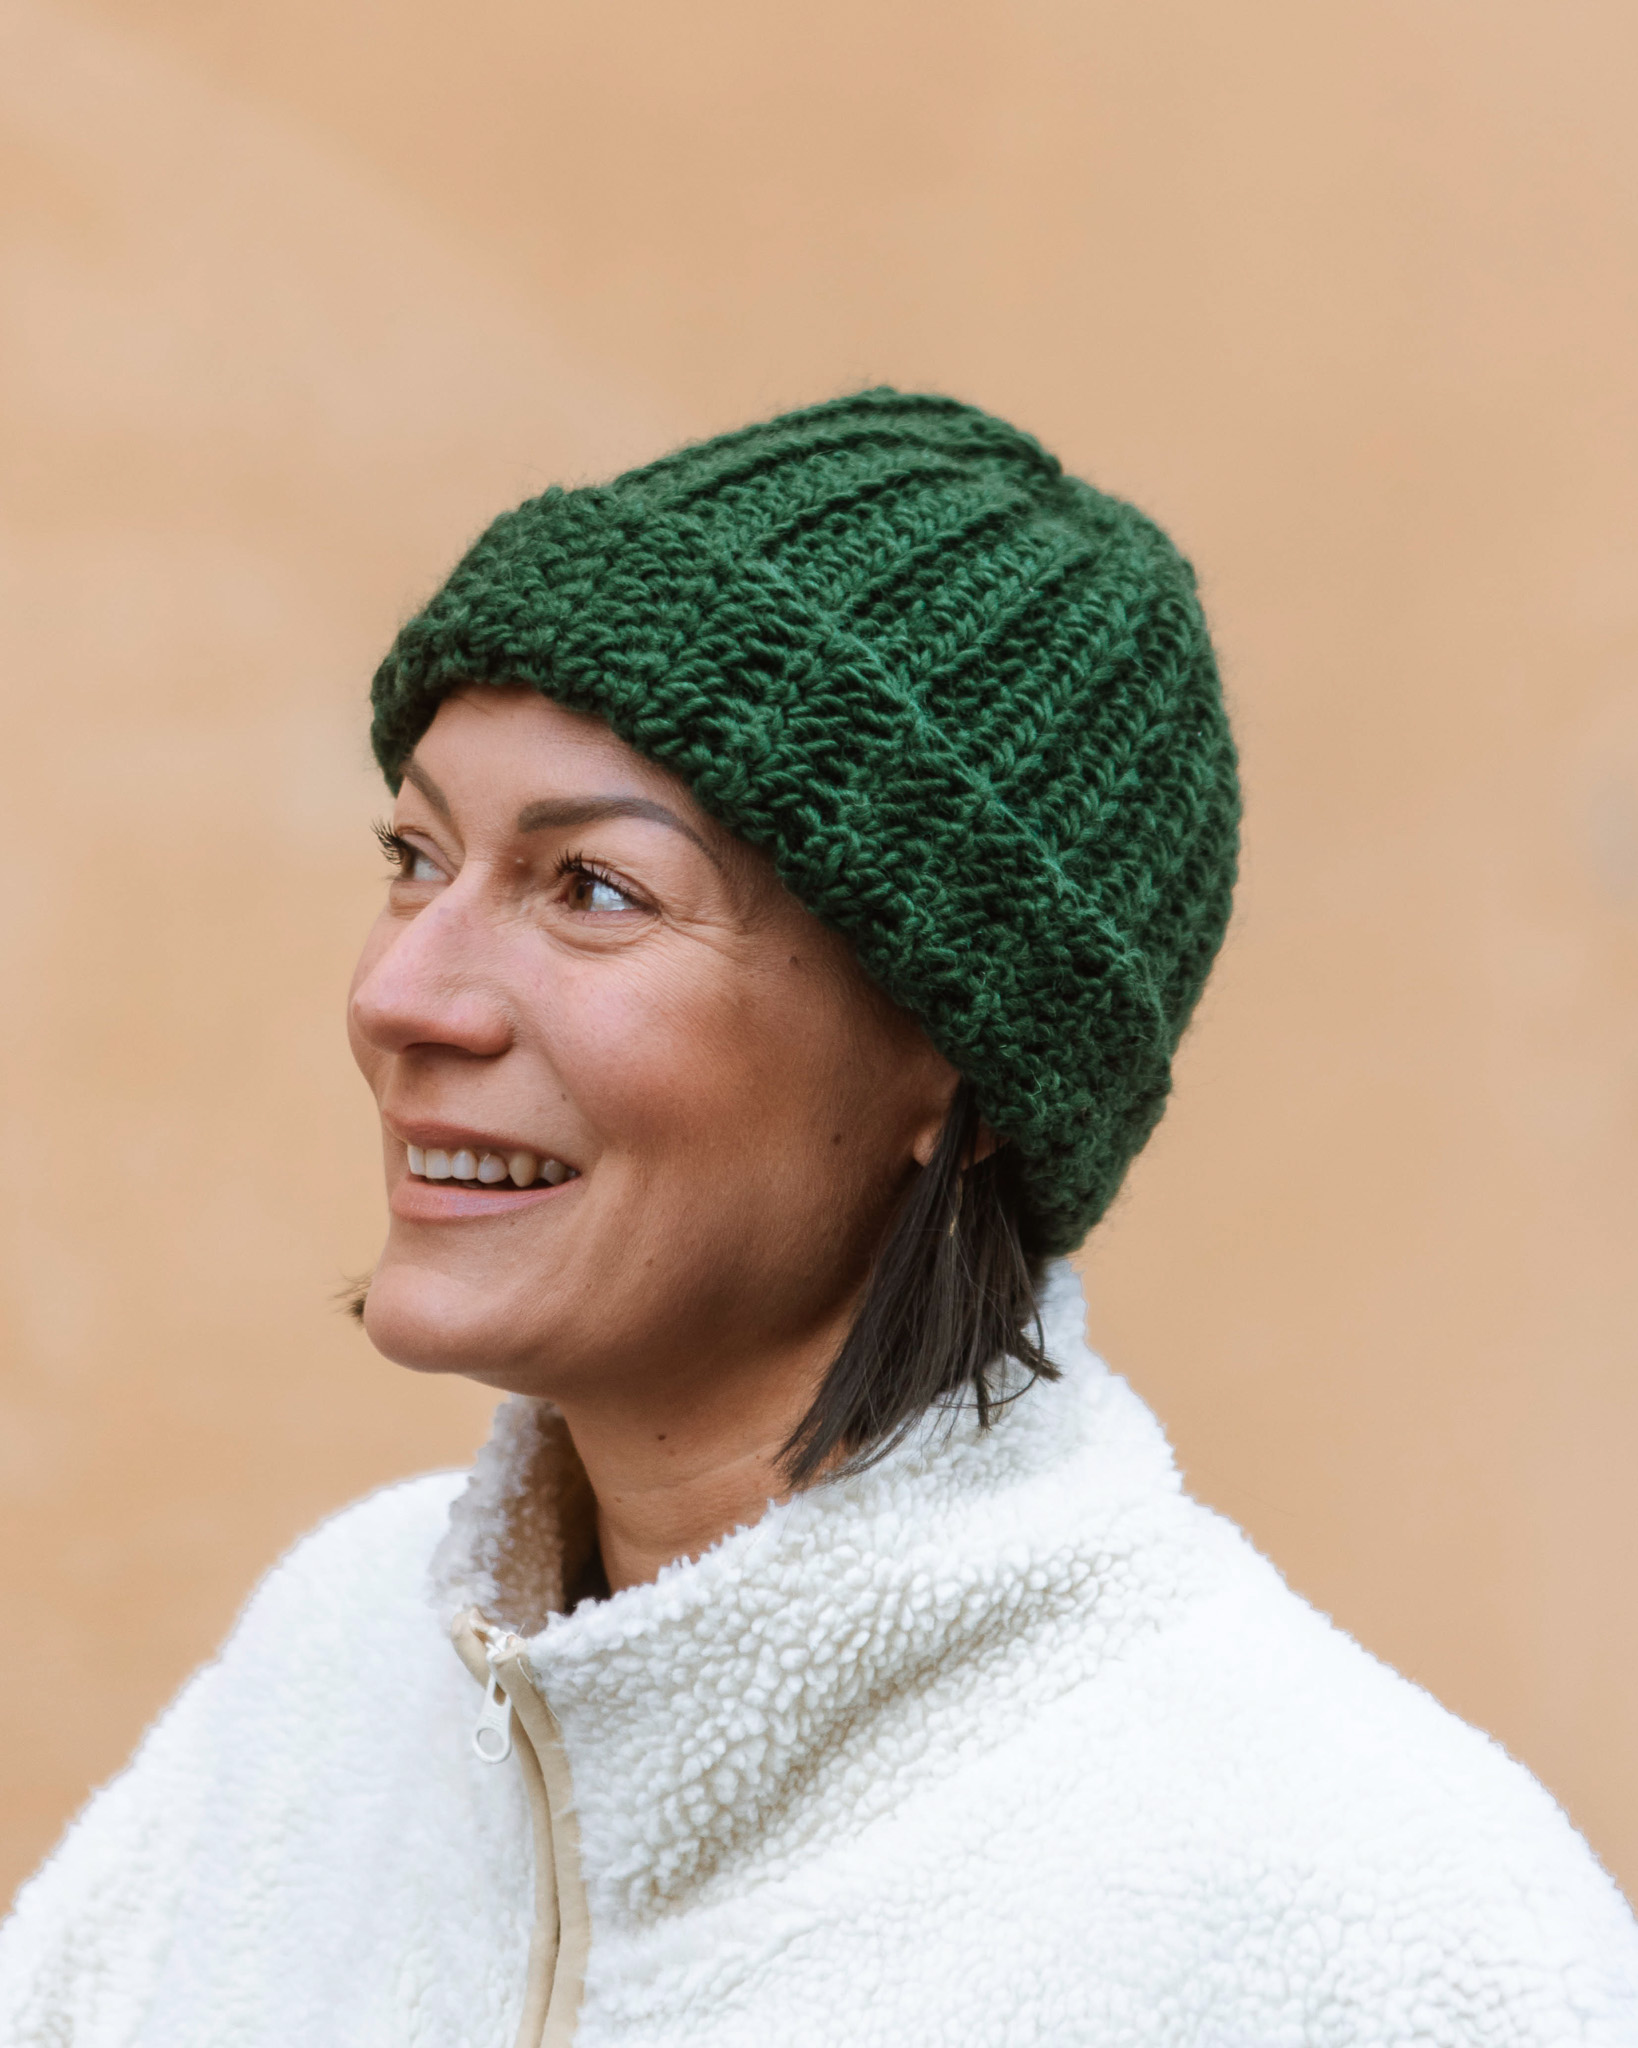
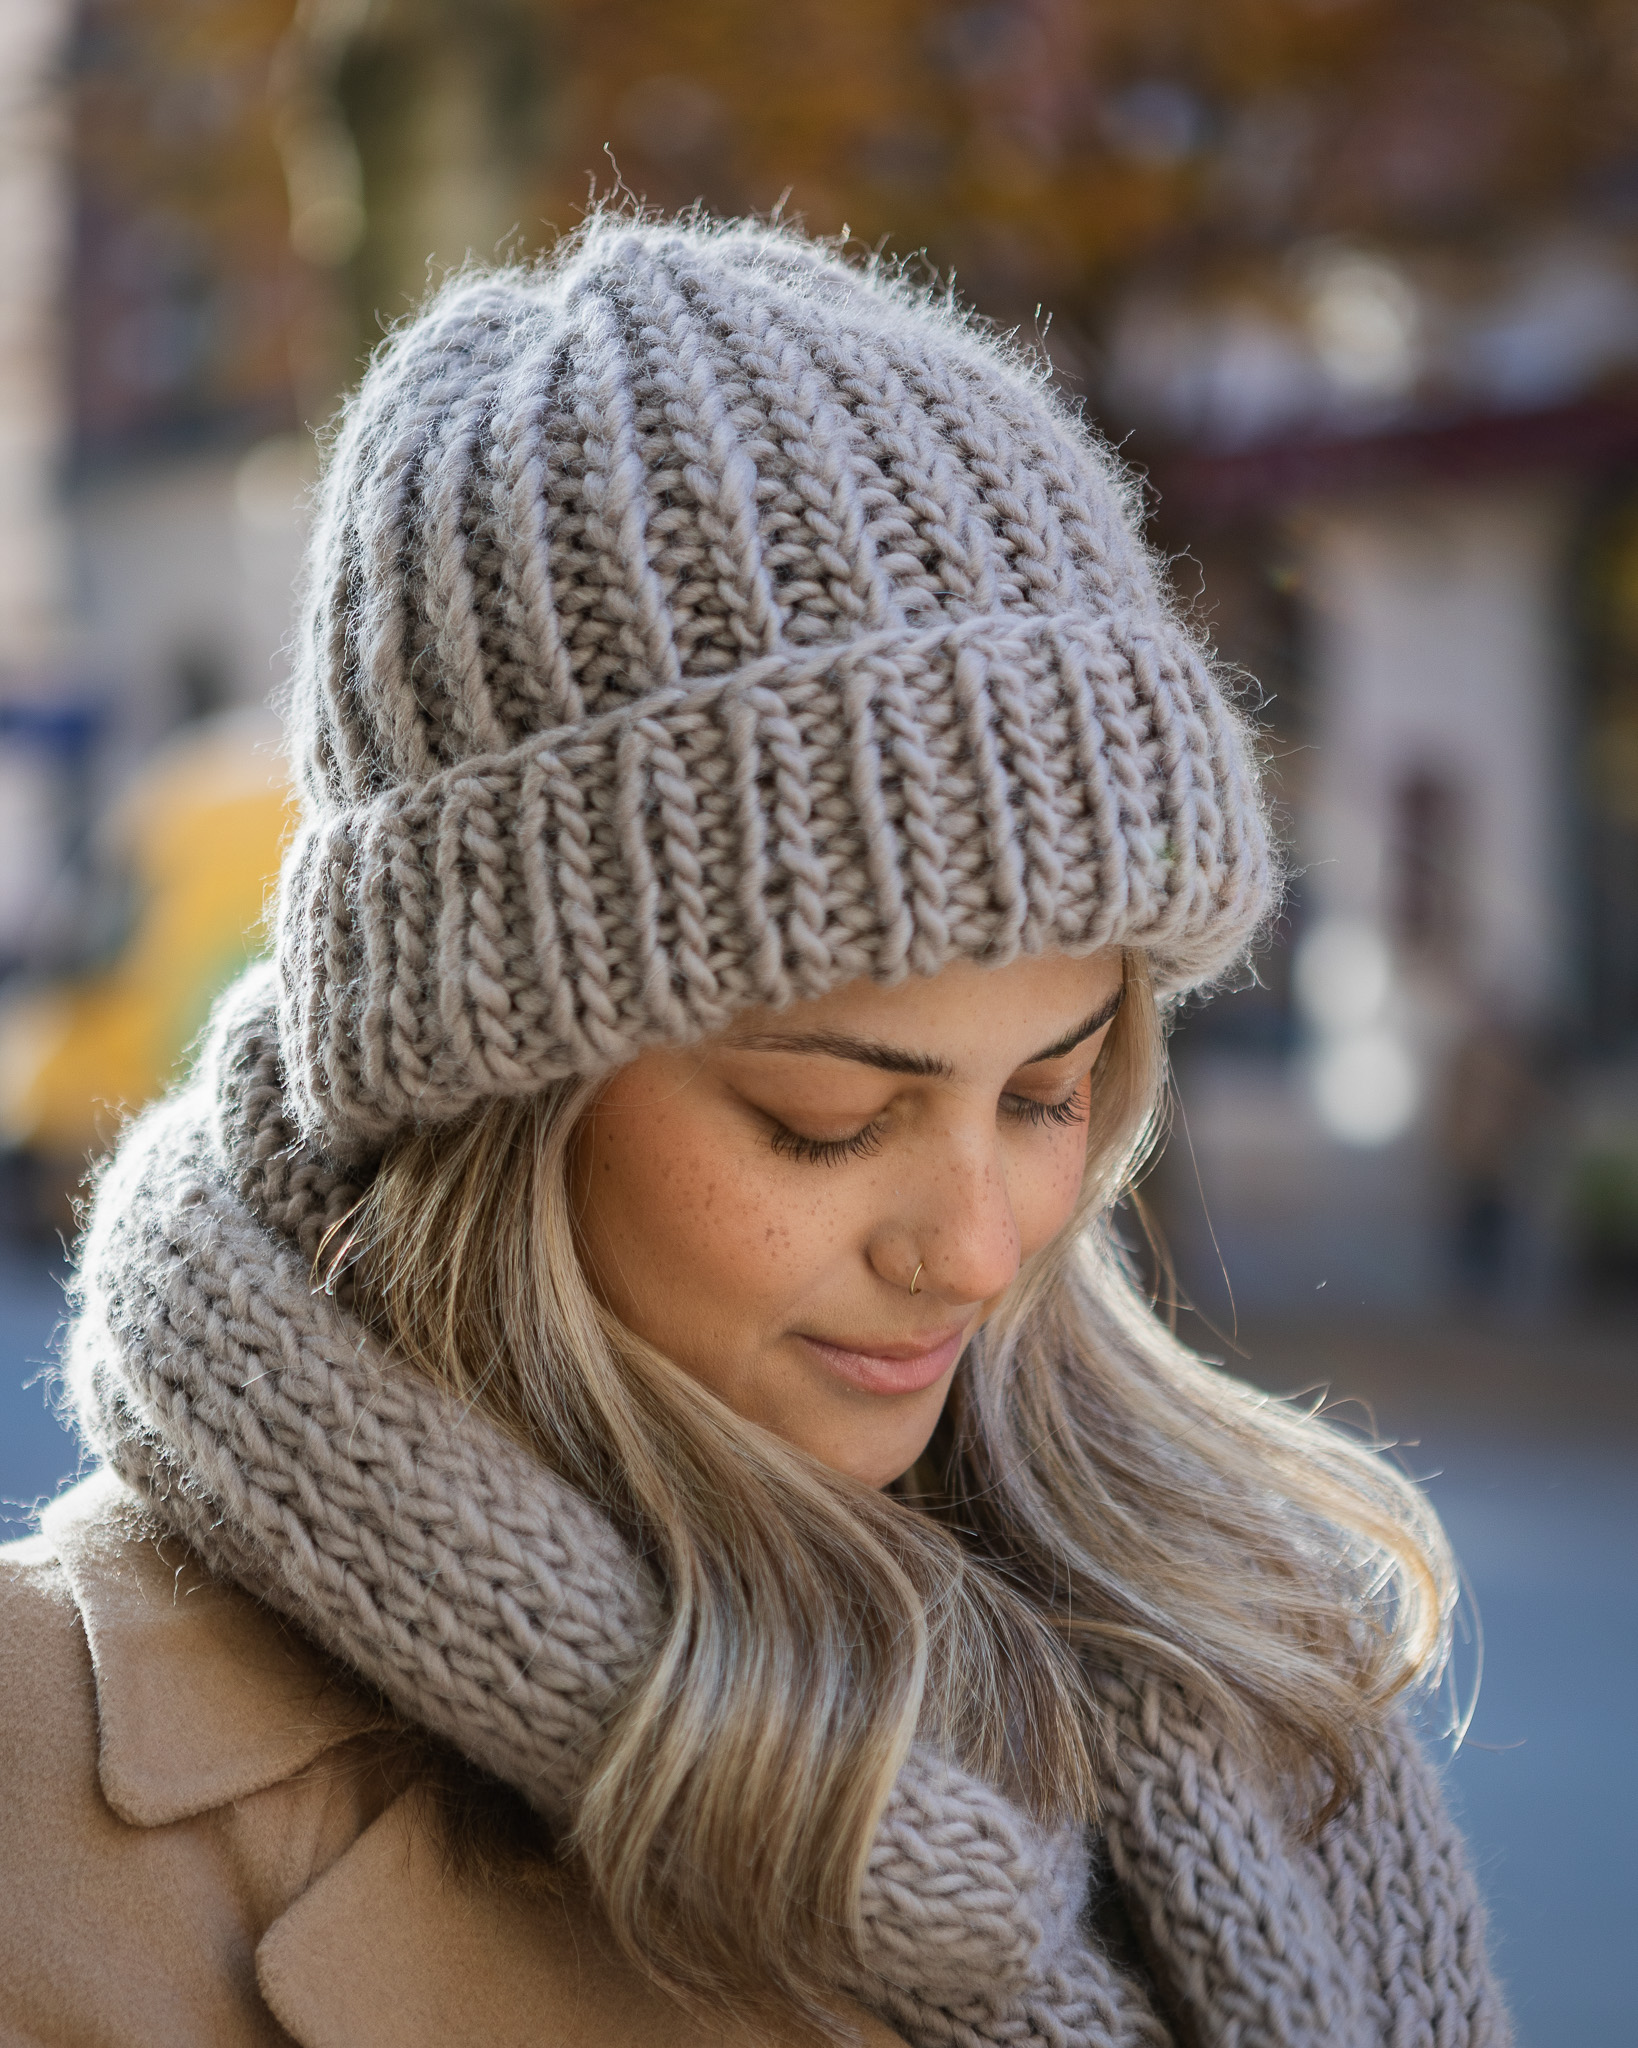
Crocheted beanie “Maria”

Crochet a nice and trendy hat in soft MYO Basic Wool

This is a bit thinner than our cap in MYO Chunky Wool. This is also a very simple project that is perfect for those who are beginners and want to learn crochet. In addition to the wool yarn, you will need a crochet hook in size 6 mm - both can be purchased at MYO, via the link below.

Yarn consumption: about 100g for a small size (if you crochet a beanie in adult size, two Basic Wool are needed)

Crocheted beanie “Maria”

Detta behöver du:

Crochet hook 6mm

Bamboo Crochet Hook

Köp produkt

MYO Basic wool | 100g

Basic wool - Wool yarn

Köp produkt

Såhär gör du

Isabella Sääf

Bli medlem för att se hela instruktionen

Den här instruktionen är exklusivt innehåll för dig som har ett aktivt medlemskap hos MYO. Genom att vara medlem får du tillgång till alla våra 100+ instruktioner, tekniktips mm., men även medlemserbjudanden och förtur till nya produktlanseringar. Samtidigt hjälper du oss att utveckla instruktionssidan vidare och släppa nya instruktioner varje vecka.

Att bli medlem är enkelt och fungerar som en prenumeration (pris: 80kr / mån), vill du testa våra instruktioner först så har vi ett antal gratis instruktioner tillgängliga för alla.

Välkommen med i vårt härliga skapargäng! / Tjejerna från MYO

Steg 1

Start by making a slip knot/loop by taking the end of the yarn and twisting two turns around your fingers. Use the crochet hook to pull the inner yarn under the outer one to create a loop. Tighten the knot and thread the crochet needle into the loop.

Row 1

Now we will crochet a chain consisting of 35 loops, but you can crochet more or fewer loops depending on how long you want the beanie to be. To crochet a loop, grab the yarn with the crochet needle and pull again. After you have crocheted 35 (or more/fewer) loops, proceed to row 2. 35 loops correspond to adult size medium.

Steg 2

Row 2

Once you have crocheted a chain, crochet an extra loop and turn over. Now we will crochet three slipstitches. You crochet a slipstitch by diving down with the crochet hook, catching yarn and pulling up a loop so you have two loops on the hook and then you pull through the top loop through the other.

After you have crocheted three slip stitches, you should crochet three single stitches. You crochet a single stitch by going down the second loop and picking up yarn and pulling through (you have two loops on the crochet hook). Then pick up yarn again and pull through both loops.

Next, we will crochet half double crochet all the way down. You crochet a half double crochet by wrapping the yarn around the crochet hook before diving into the loop and pulling up another loop. Now you have three loops on the crochet hook, catch up yarn and pull through all three. A half double crochet is really the same as a single stitch, but you thread the yarn around the crochet hook once before diving down. Make an extra loop and turn over.

Steg 3

Row 3

Once you've crocheted all the way down, make an extra loop and turn. Now you should crochet single stitches all the way up.

Row 4 - 40

Repeat rows 2 and 3 until you have crocheted about 40 turns (crochet as many as necessary for the cap to fit around your head).

Now we will sew the cap together from the bottom edge to the top. Use large, blunt sewing needle and yarn.

You sew the top of the hat together by threading the needle into the “turning loops” i.e. the loops on the top that you crocheted to be able to turn. Pull the yarn together so that the hole at the top is as small as possible. Fold up the edge of the cap.

Now you're done, nice job!

Steg 4
Steg 5
Steg 6
Steg 7
Steg 8
Steg 9
Steg 10

The rights to this pattern belong to MYO Make Your Own. The pattern or its pictures may not be copied, shared or resold either in parts or in its entirety, but you may sell items you have crocheted from this pattern. If you have questions about the pattern, contact MYO at hello@makeyourown.se.

Crocheted beanie “Maria”

Crochet a nice and trendy hat in soft MYO Basic Wool

This is a bit thinner than our cap in MYO Chunky Wool. This is also a very simple project that is perfect for those who are beginners and want to learn crochet. In addition to the wool yarn, you will need a crochet hook in size 6 mm - both can be purchased at MYO, via the link below.

Yarn consumption: about 100g for a small size (if you crochet a beanie in adult size, two Basic Wool are needed)

Crocheted beanie “Maria”
Steg 1

Start by making a slip knot/loop by taking the end of the yarn and twisting two turns around your fingers. Use the crochet hook to pull the inner yarn under the outer one to create a loop. Tighten the knot and thread the crochet needle into the loop.

Row 1

Now we will crochet a chain consisting of 35 loops, but you can crochet more or fewer loops depending on how long you want the beanie to be. To crochet a loop, grab the yarn with the crochet needle and pull again. After you have crocheted 35 (or more/fewer) loops, proceed to row 2. 35 loops correspond to adult size medium.

Steg 2

Row 2

Once you have crocheted a chain, crochet an extra loop and turn over. Now we will crochet three slipstitches. You crochet a slipstitch by diving down with the crochet hook, catching yarn and pulling up a loop so you have two loops on the hook and then you pull through the top loop through the other.

After you have crocheted three slip stitches, you should crochet three single stitches. You crochet a single stitch by going down the second loop and picking up yarn and pulling through (you have two loops on the crochet hook). Then pick up yarn again and pull through both loops.

Next, we will crochet half double crochet all the way down. You crochet a half double crochet by wrapping the yarn around the crochet hook before diving into the loop and pulling up another loop. Now you have three loops on the crochet hook, catch up yarn and pull through all three. A half double crochet is really the same as a single stitch, but you thread the yarn around the crochet hook once before diving down. Make an extra loop and turn over.

Steg 3

Row 3

Once you've crocheted all the way down, make an extra loop and turn. Now you should crochet single stitches all the way up.

Row 4 - 40

Repeat rows 2 and 3 until you have crocheted about 40 turns (crochet as many as necessary for the cap to fit around your head).

Now we will sew the cap together from the bottom edge to the top. Use large, blunt sewing needle and yarn.

You sew the top of the hat together by threading the needle into the “turning loops” i.e. the loops on the top that you crocheted to be able to turn. Pull the yarn together so that the hole at the top is as small as possible. Fold up the edge of the cap.

Now you're done, nice job!

Steg 4
Steg 5
Steg 6
Steg 7
Steg 8
Steg 9
Steg 10

The rights to this pattern belong to MYO Make Your Own. The pattern or its pictures may not be copied, shared or resold either in parts or in its entirety, but you may sell items you have crocheted from this pattern. If you have questions about the pattern, contact MYO at hello@makeyourown.se.
Crocheted beanie “Maria”

Crochet a nice and trendy hat in soft MYO Basic Wool

This is a bit thinner than our cap in MYO Chunky Wool. This is also a very simple project that is perfect for those who are beginners and want to learn crochet. In addition to the wool yarn, you will need a crochet hook in size 6 mm - both can be purchased at MYO, via the link below.

Yarn consumption: about 100g for a small size (if you crochet a beanie in adult size, two Basic Wool are needed)

Crocheted beanie “Maria”
Steg 1

Start by making a slip knot/loop by taking the end of the yarn and twisting two turns around your fingers. Use the crochet hook to pull the inner yarn under the outer one to create a loop. Tighten the knot and thread the crochet needle into the loop.

Row 1

Now we will crochet a chain consisting of 35 loops, but you can crochet more or fewer loops depending on how long you want the beanie to be. To crochet a loop, grab the yarn with the crochet needle and pull again. After you have crocheted 35 (or more/fewer) loops, proceed to row 2. 35 loops correspond to adult size medium.

Steg 2

Row 2

Once you have crocheted a chain, crochet an extra loop and turn over. Now we will crochet three slipstitches. You crochet a slipstitch by diving down with the crochet hook, catching yarn and pulling up a loop so you have two loops on the hook and then you pull through the top loop through the other.

After you have crocheted three slip stitches, you should crochet three single stitches. You crochet a single stitch by going down the second loop and picking up yarn and pulling through (you have two loops on the crochet hook). Then pick up yarn again and pull through both loops.

Next, we will crochet half double crochet all the way down. You crochet a half double crochet by wrapping the yarn around the crochet hook before diving into the loop and pulling up another loop. Now you have three loops on the crochet hook, catch up yarn and pull through all three. A half double crochet is really the same as a single stitch, but you thread the yarn around the crochet hook once before diving down. Make an extra loop and turn over.

Steg 3

Row 3

Once you've crocheted all the way down, make an extra loop and turn. Now you should crochet single stitches all the way up.

Row 4 - 40

Repeat rows 2 and 3 until you have crocheted about 40 turns (crochet as many as necessary for the cap to fit around your head).

Now we will sew the cap together from the bottom edge to the top. Use large, blunt sewing needle and yarn.

You sew the top of the hat together by threading the needle into the “turning loops” i.e. the loops on the top that you crocheted to be able to turn. Pull the yarn together so that the hole at the top is as small as possible. Fold up the edge of the cap.

Now you're done, nice job!

Steg 4
Steg 5
Steg 6
Steg 7
Steg 8
Steg 9
Steg 10

The rights to this pattern belong to MYO Make Your Own. The pattern or its pictures may not be copied, shared or resold either in parts or in its entirety, but you may sell items you have crocheted from this pattern. If you have questions about the pattern, contact MYO at hello@makeyourown.se.