
Crochet Clutch "Aria"
Crochet a Simple and Beautiful Clutch
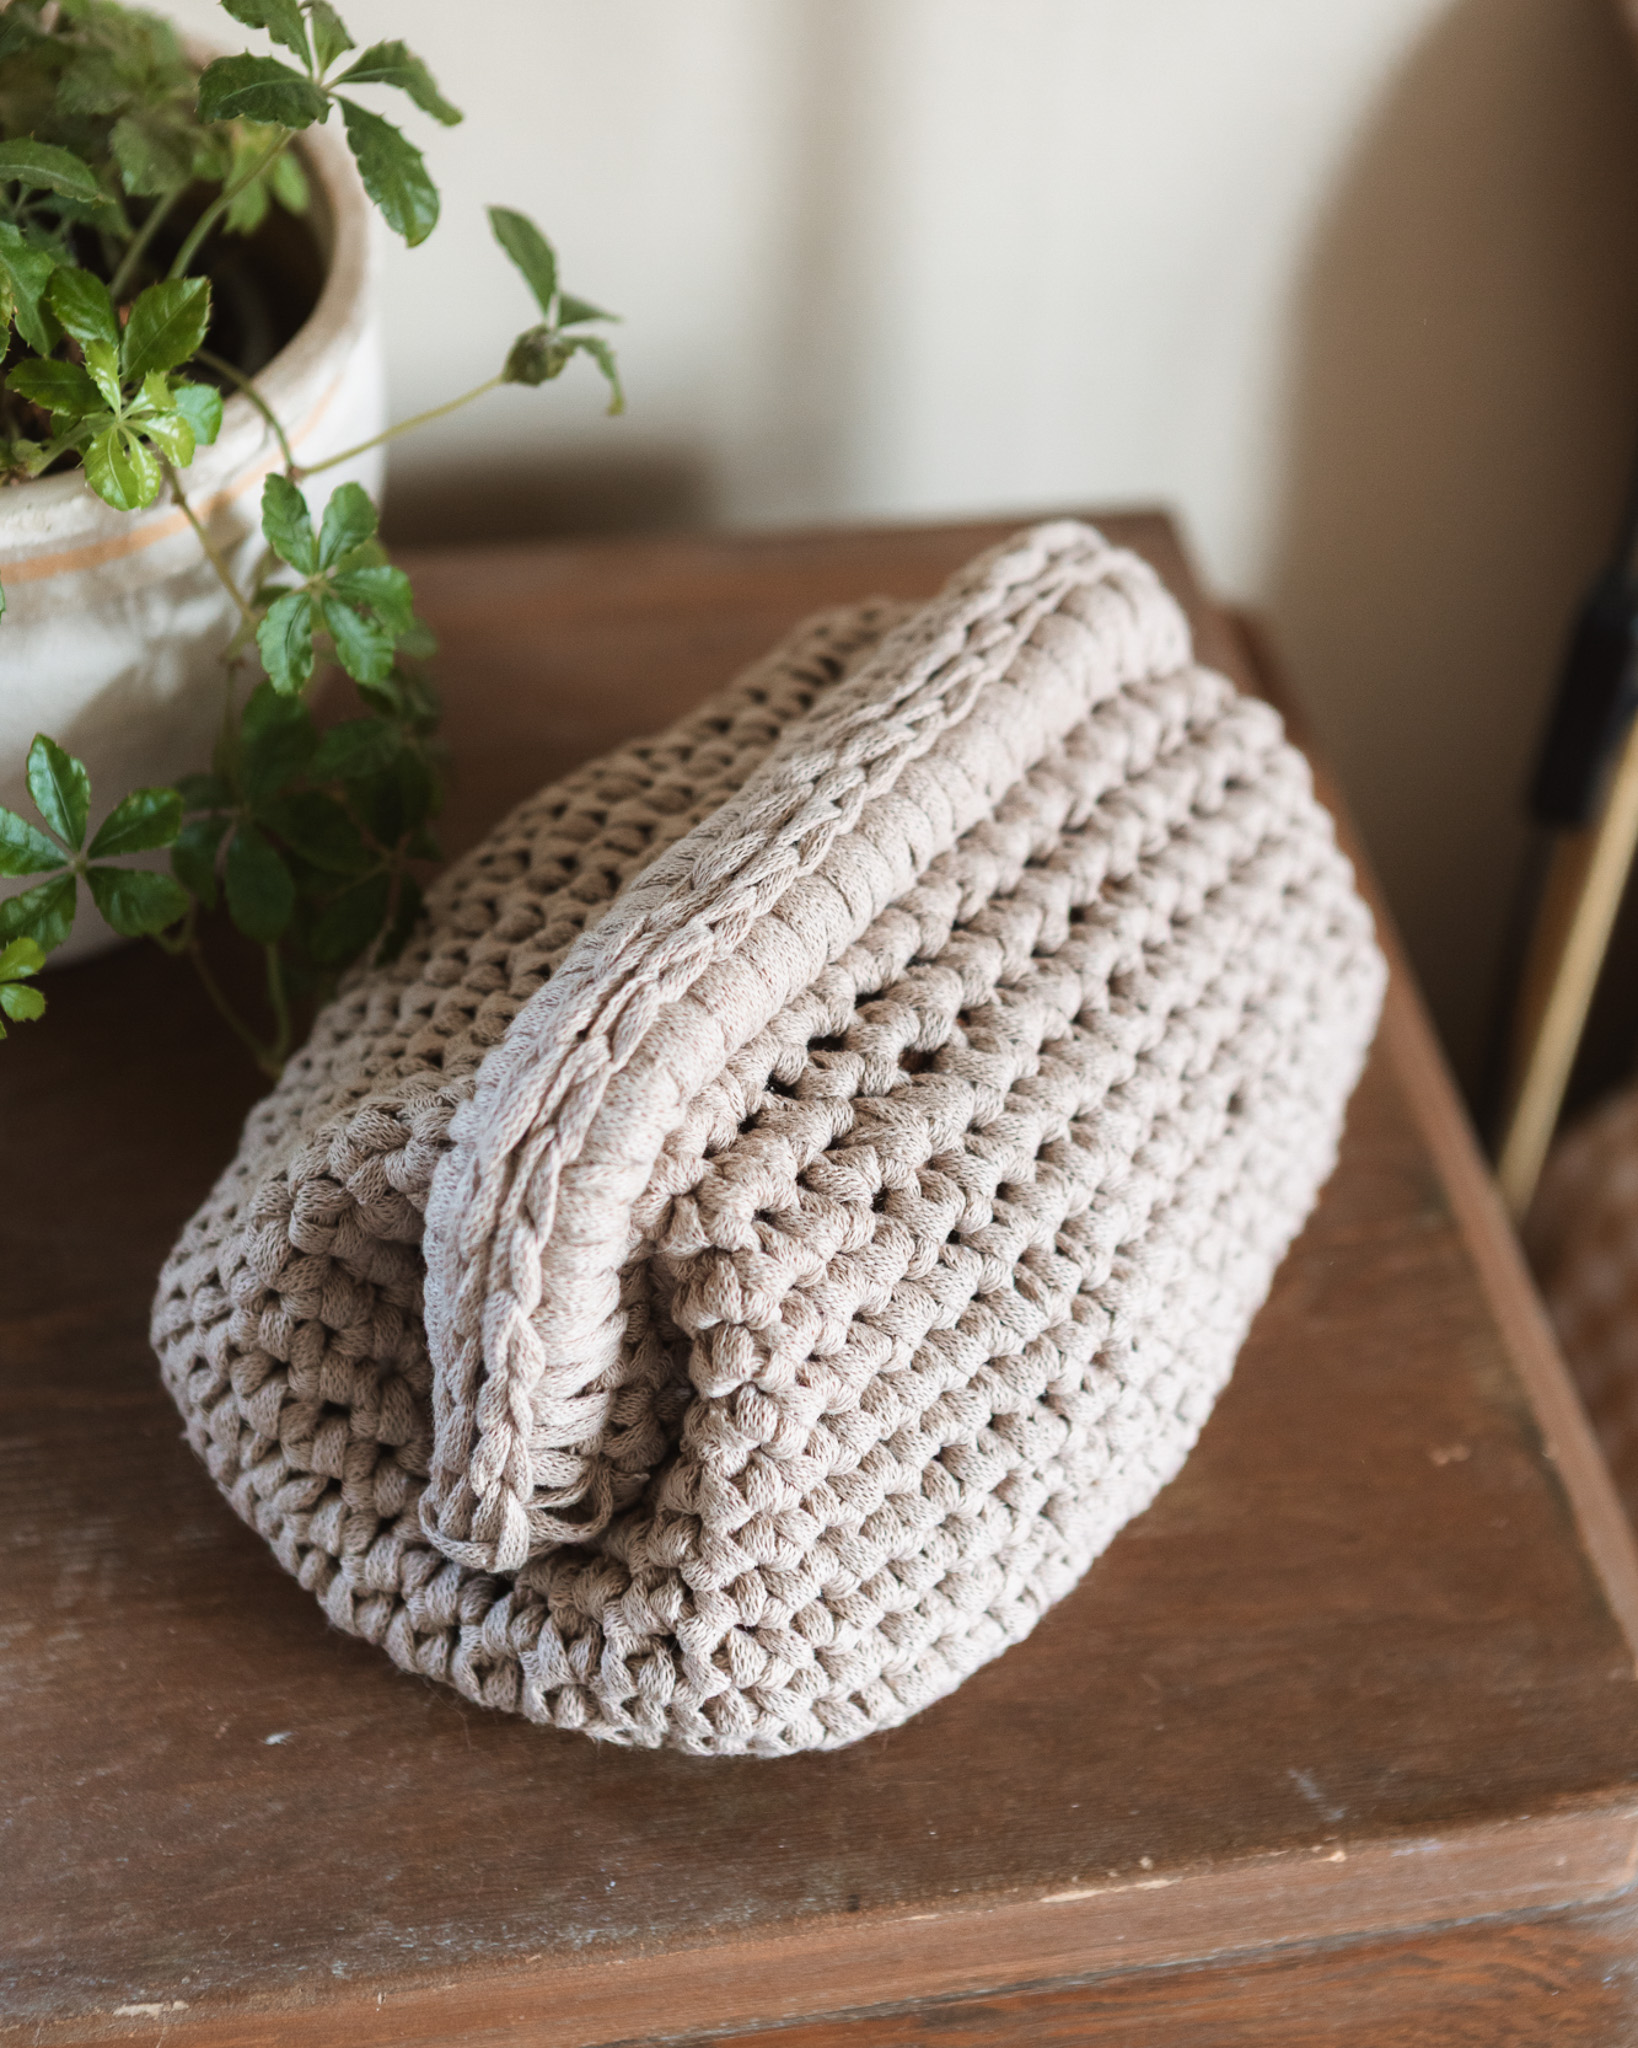
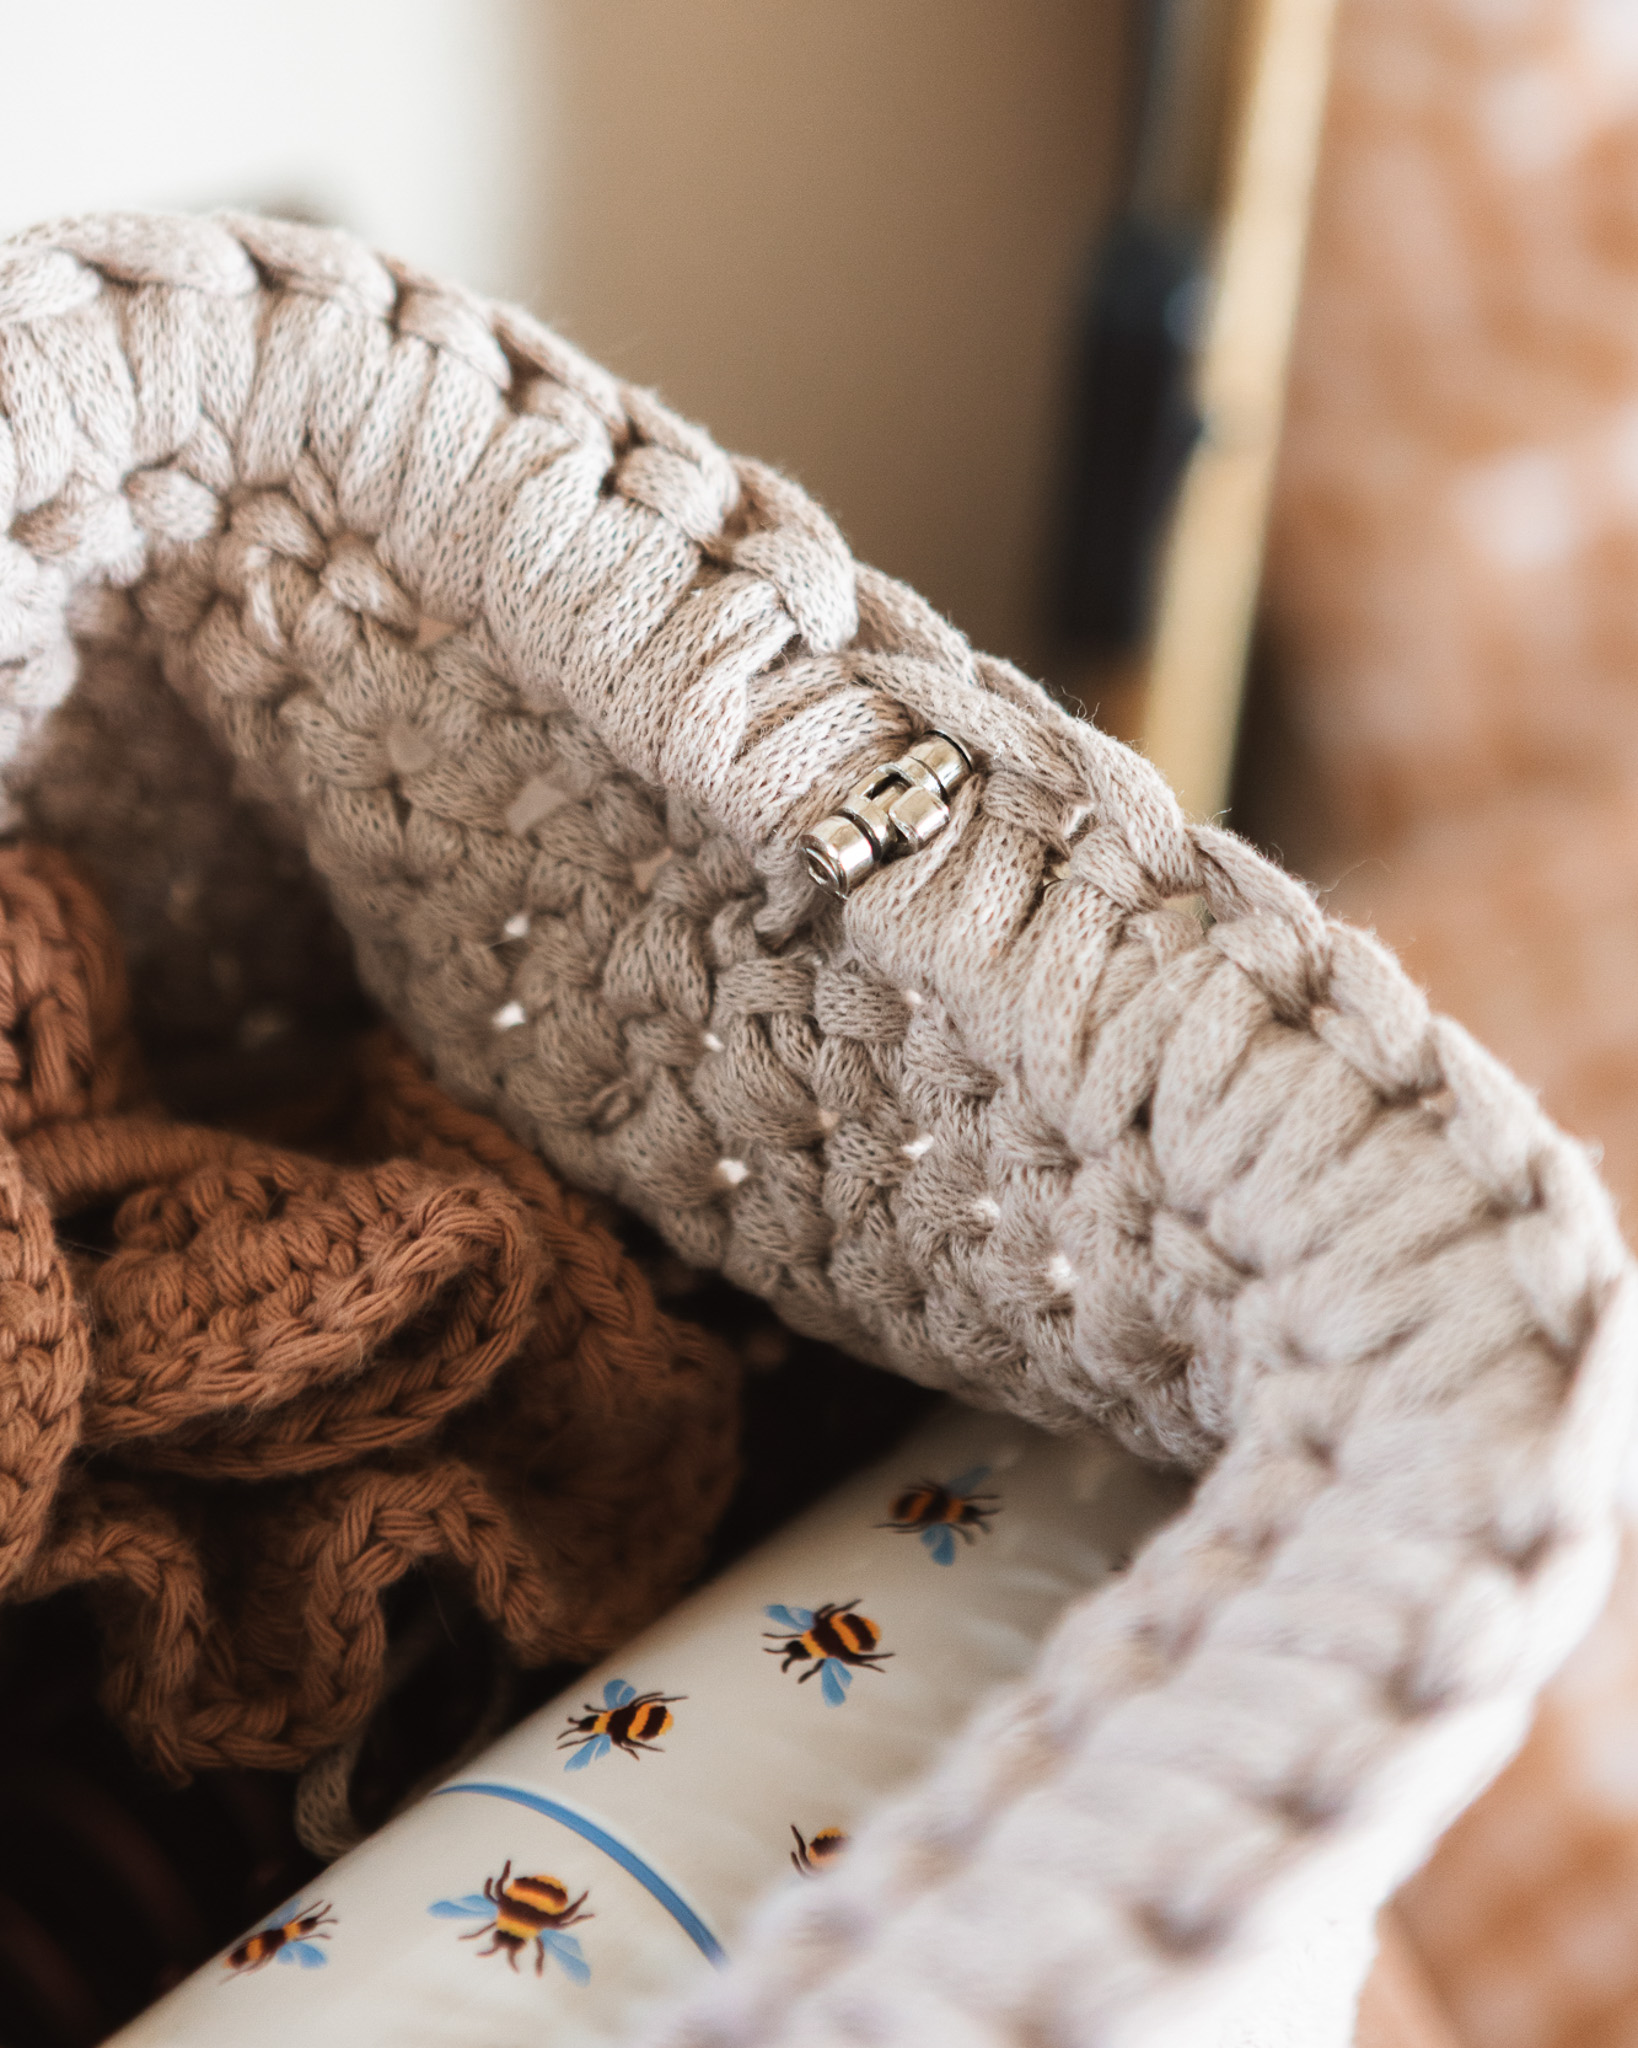
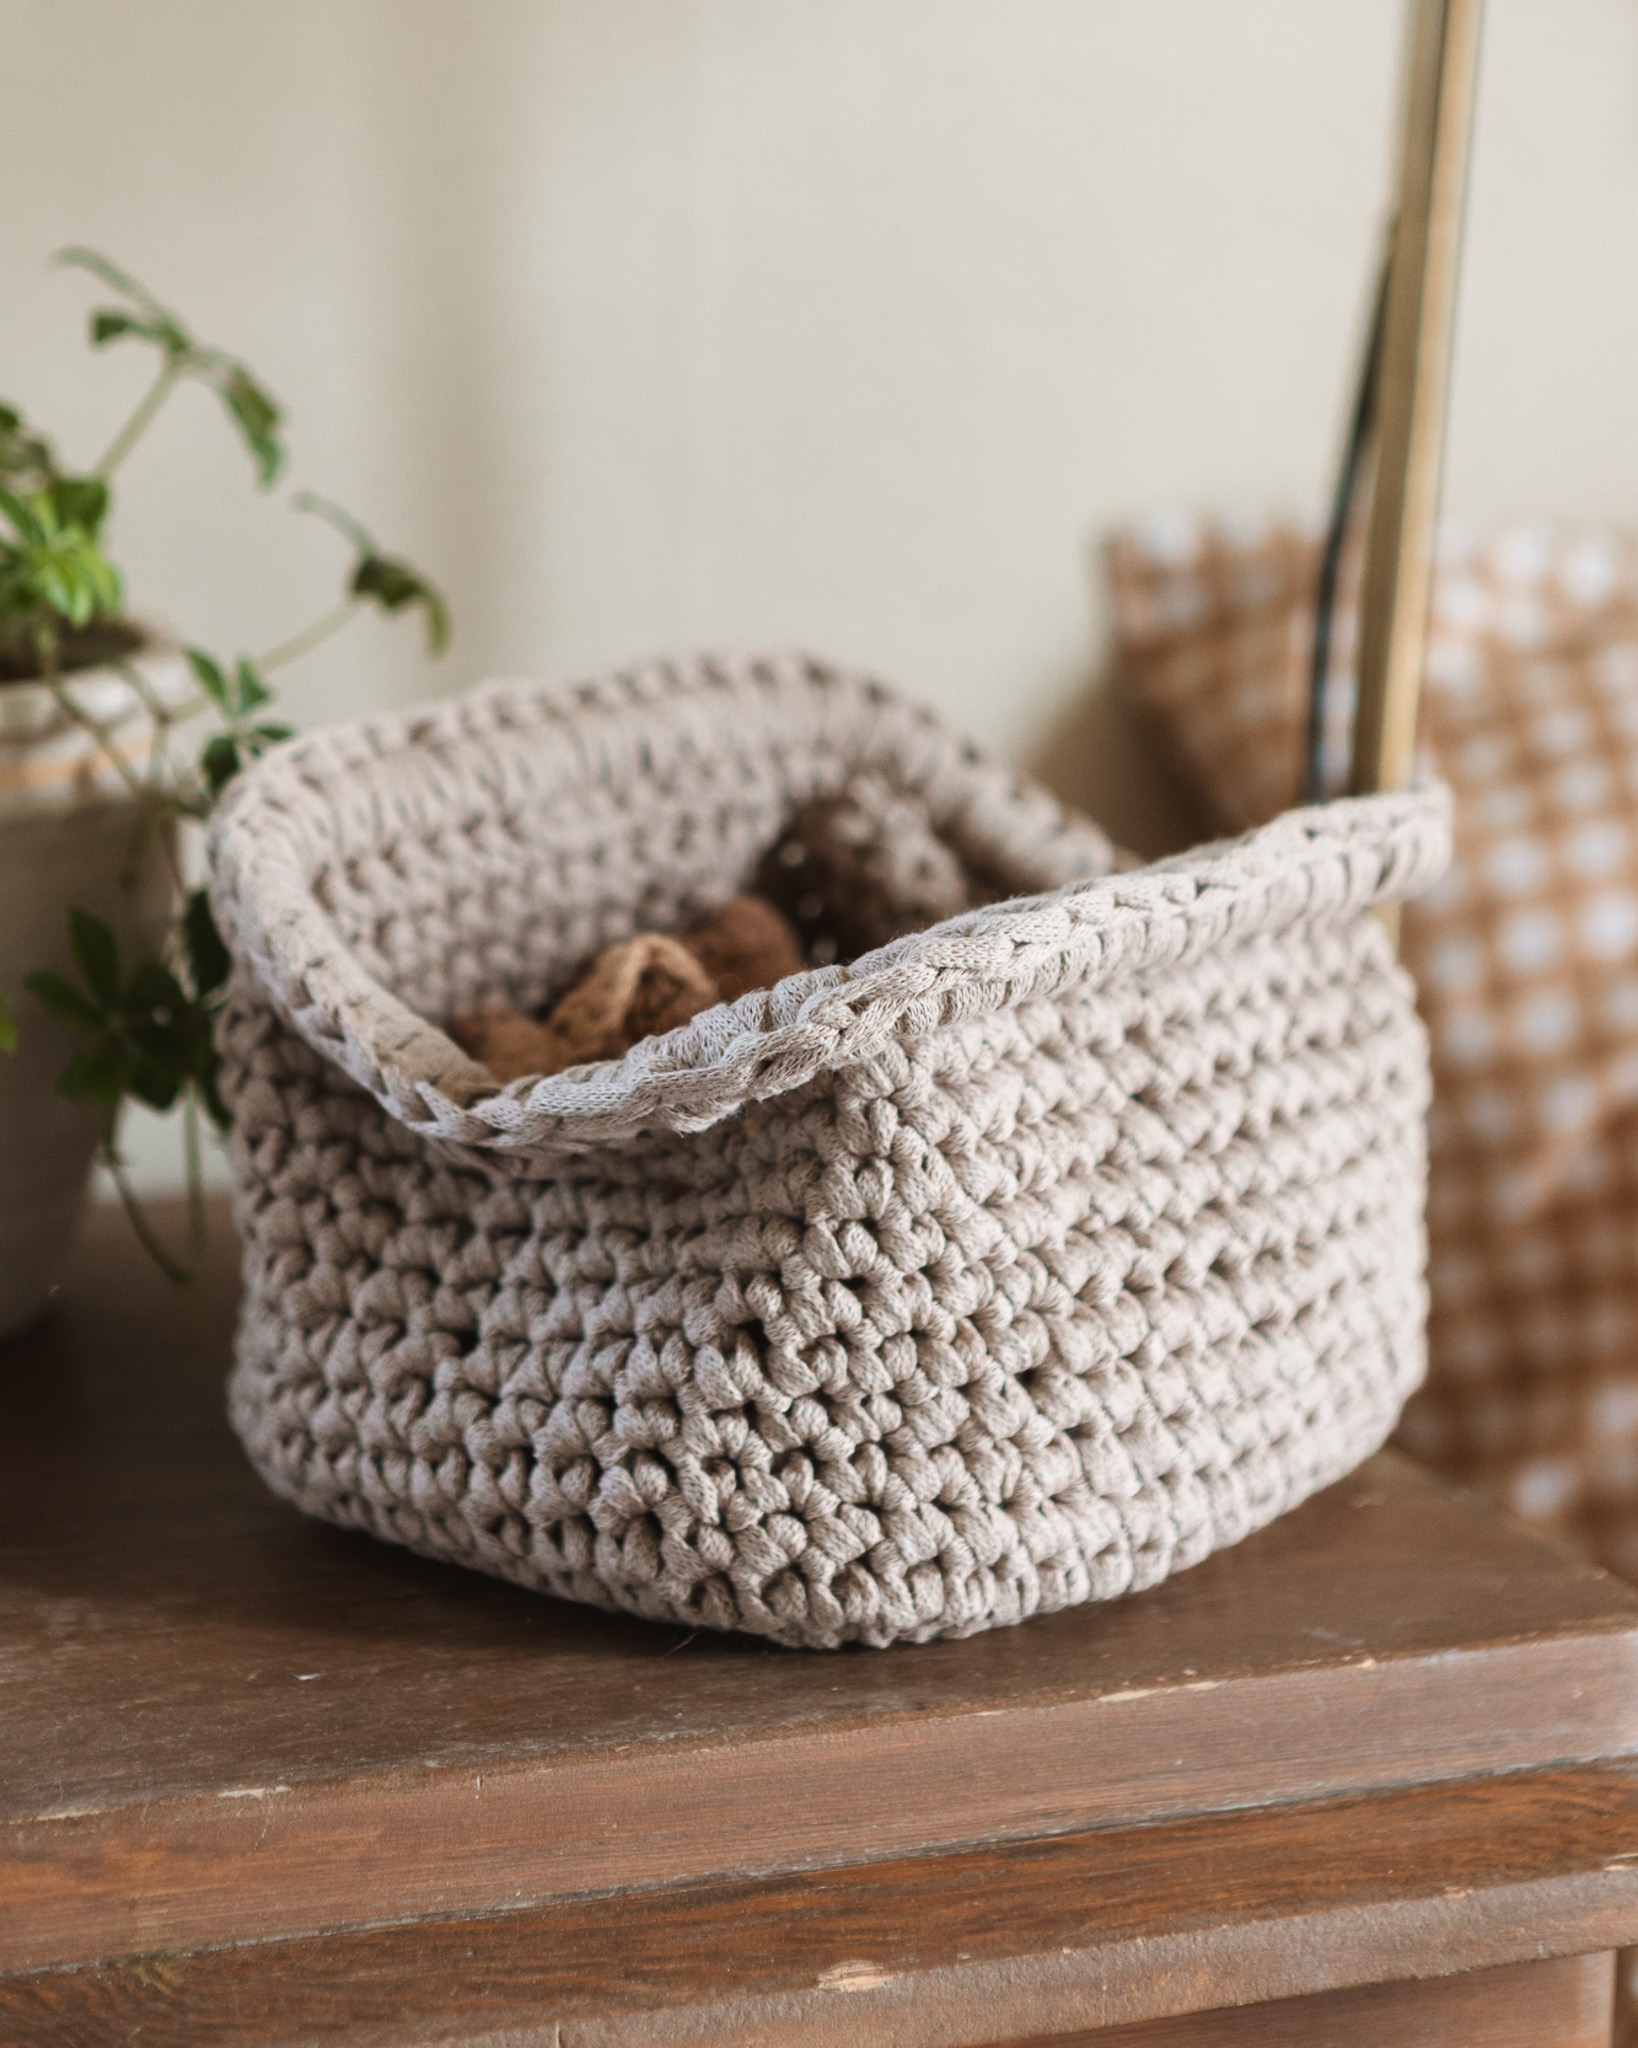
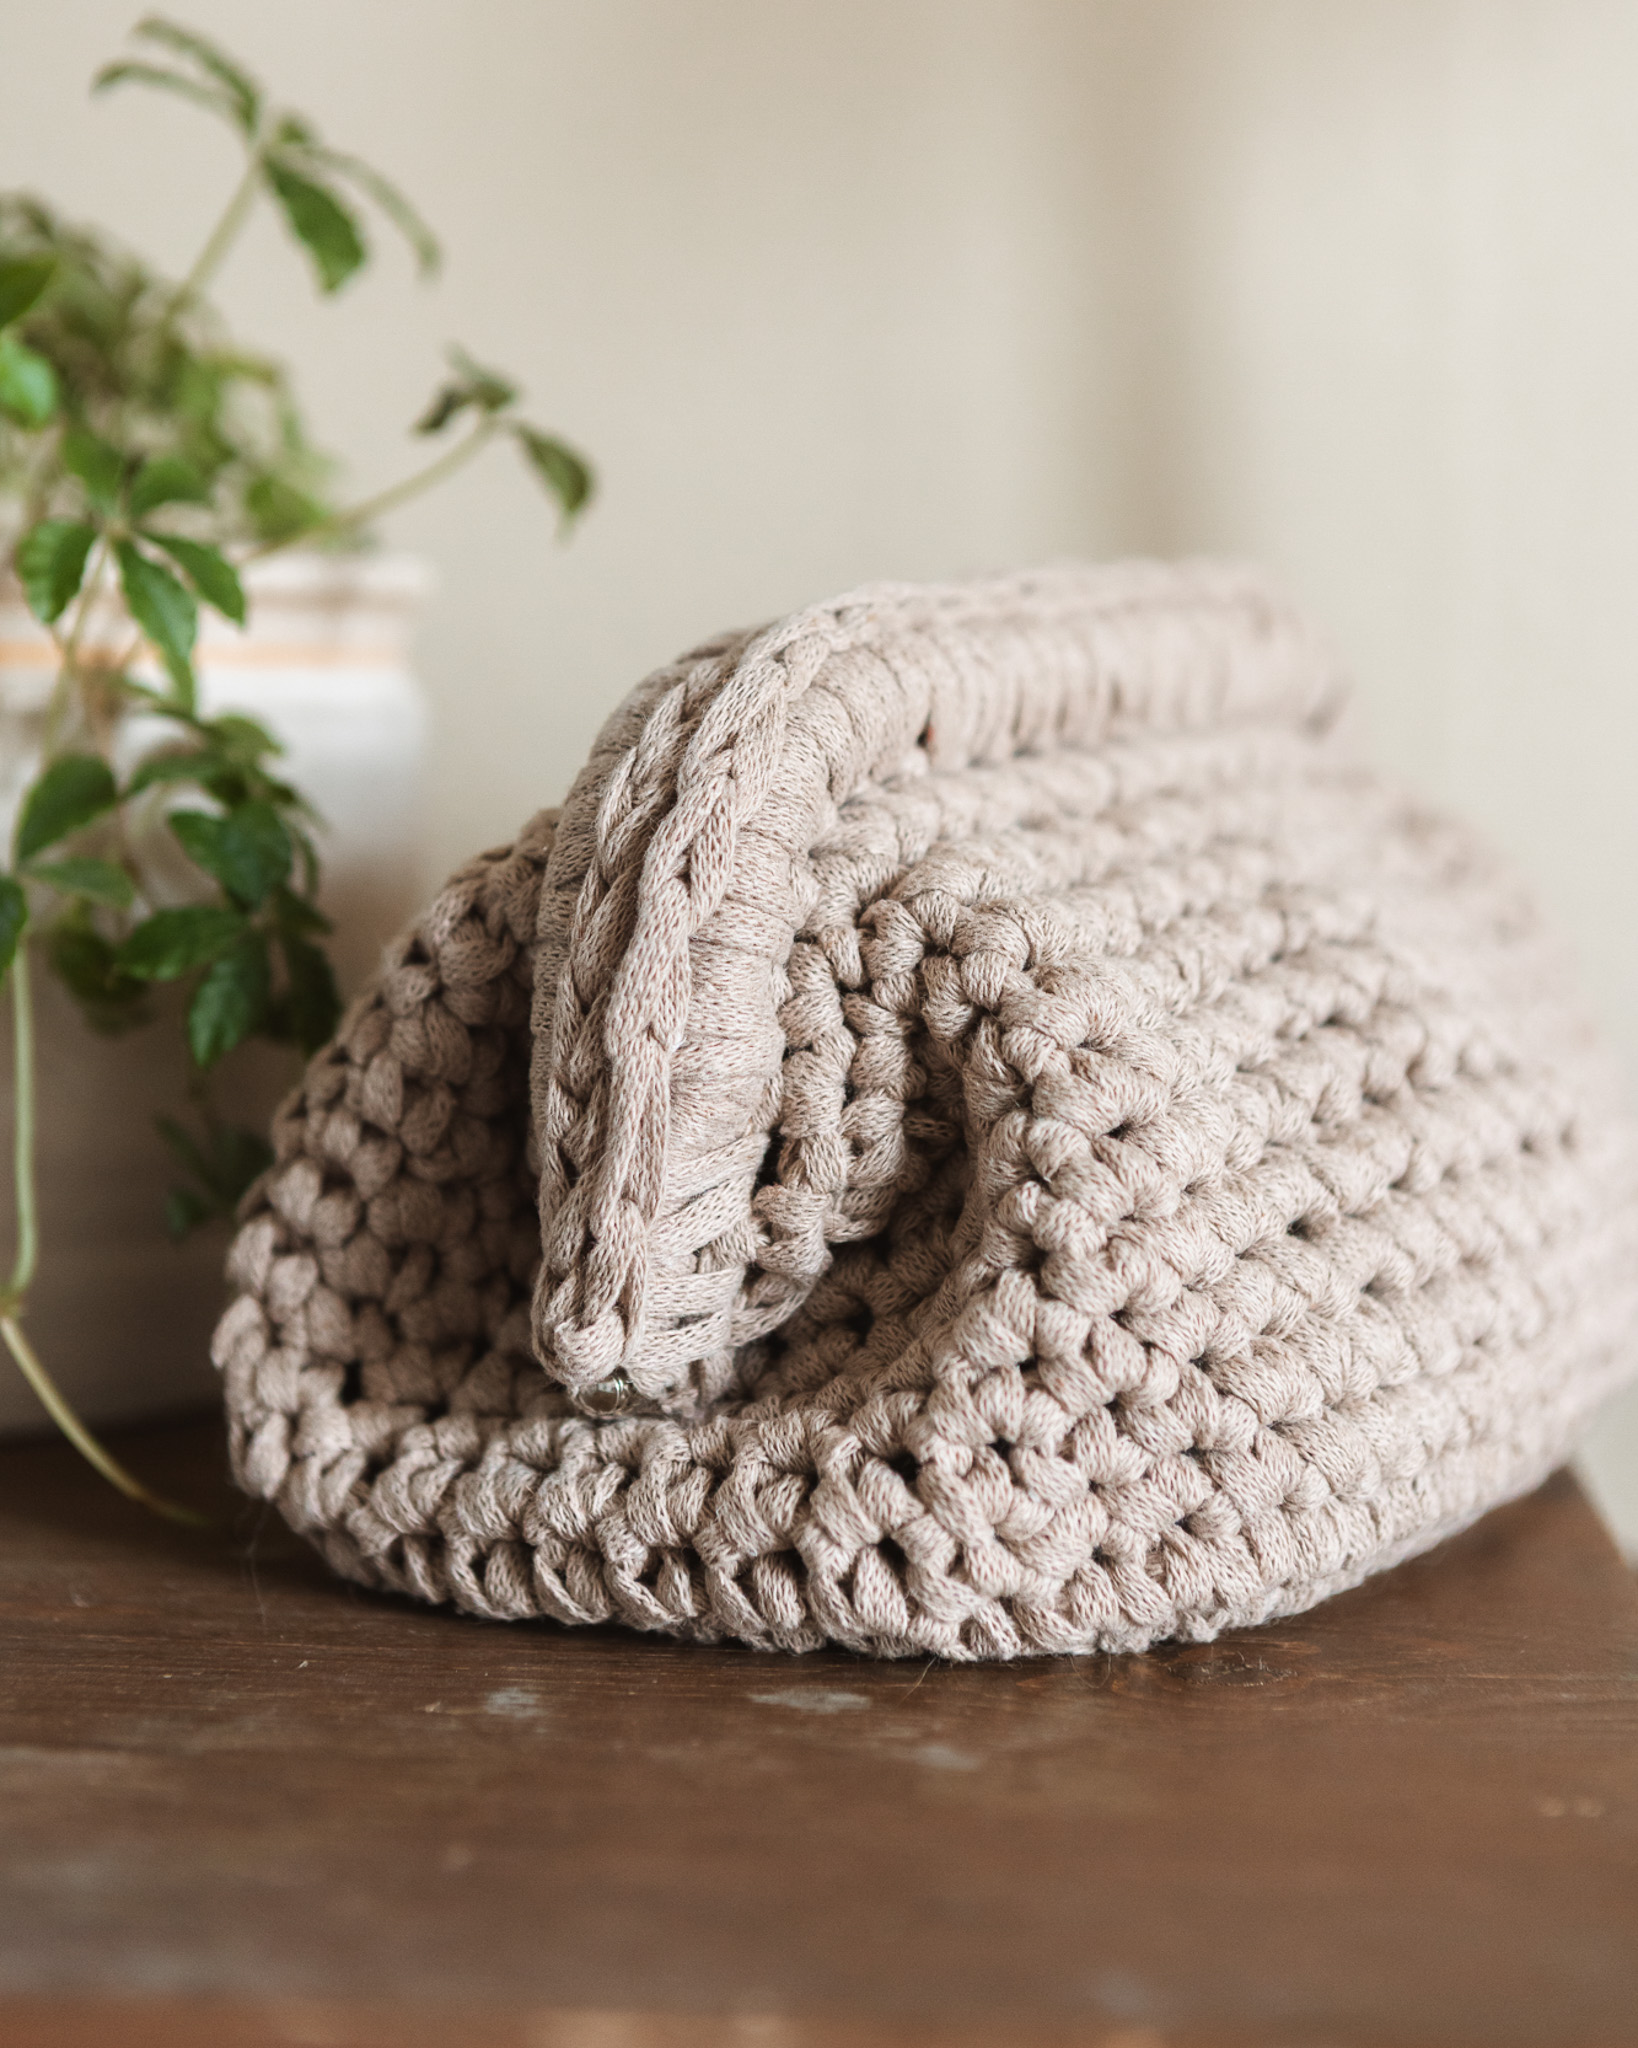
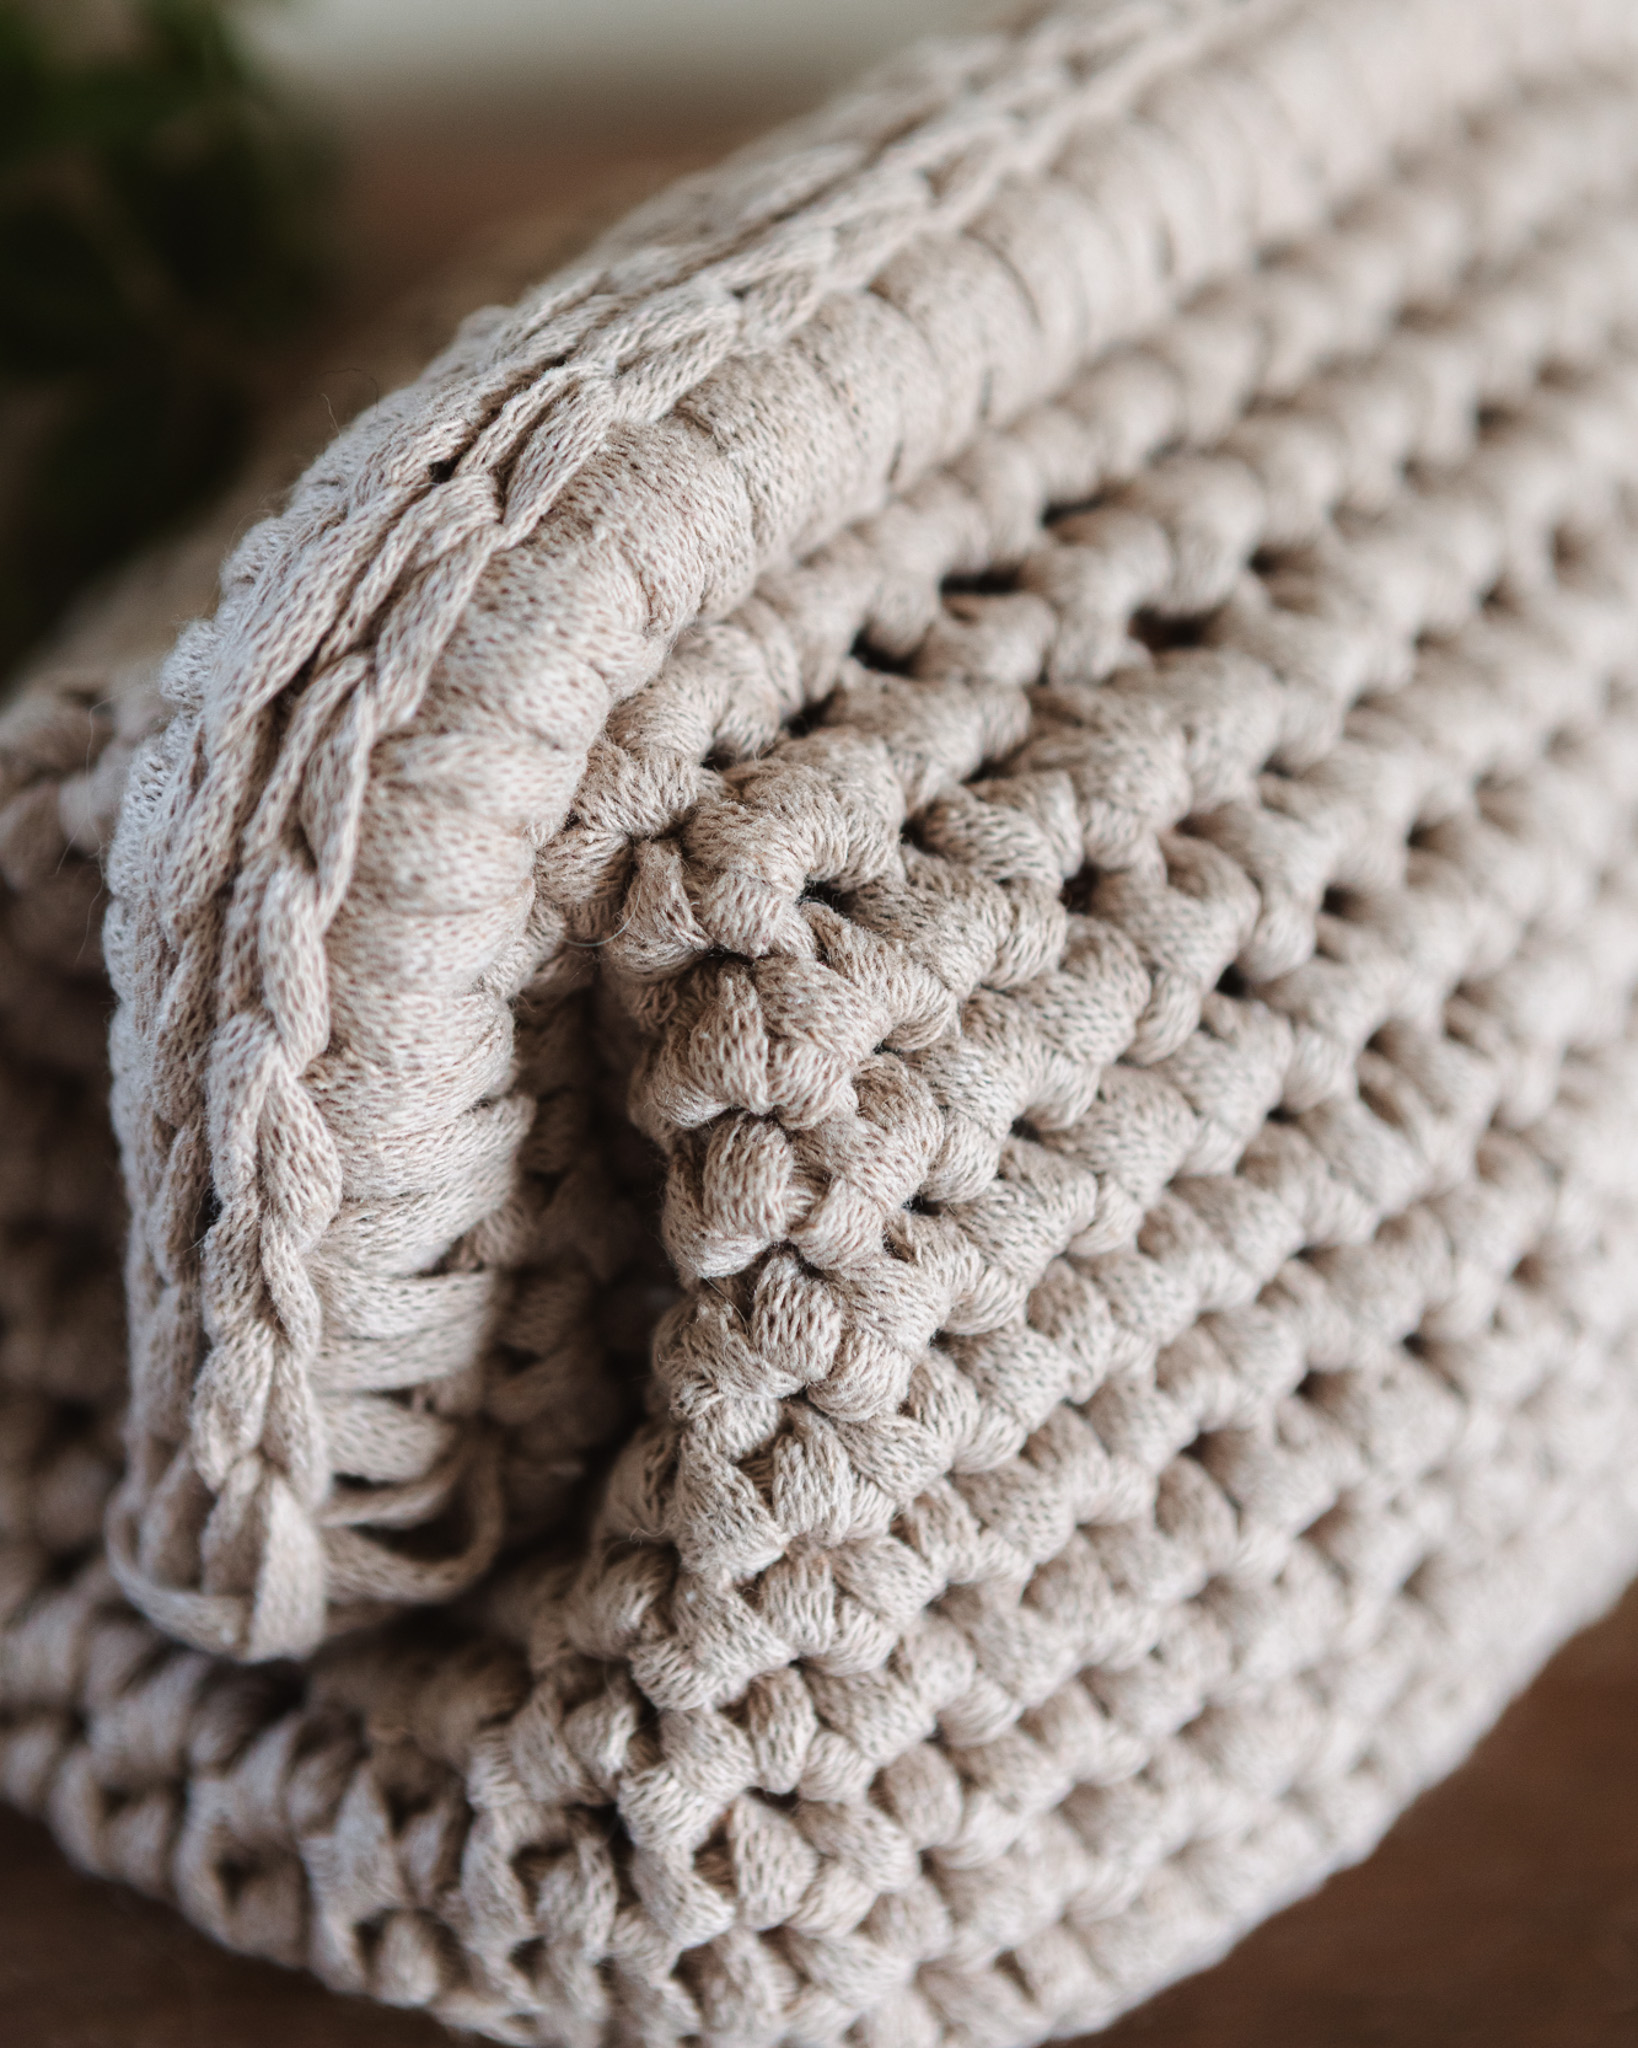
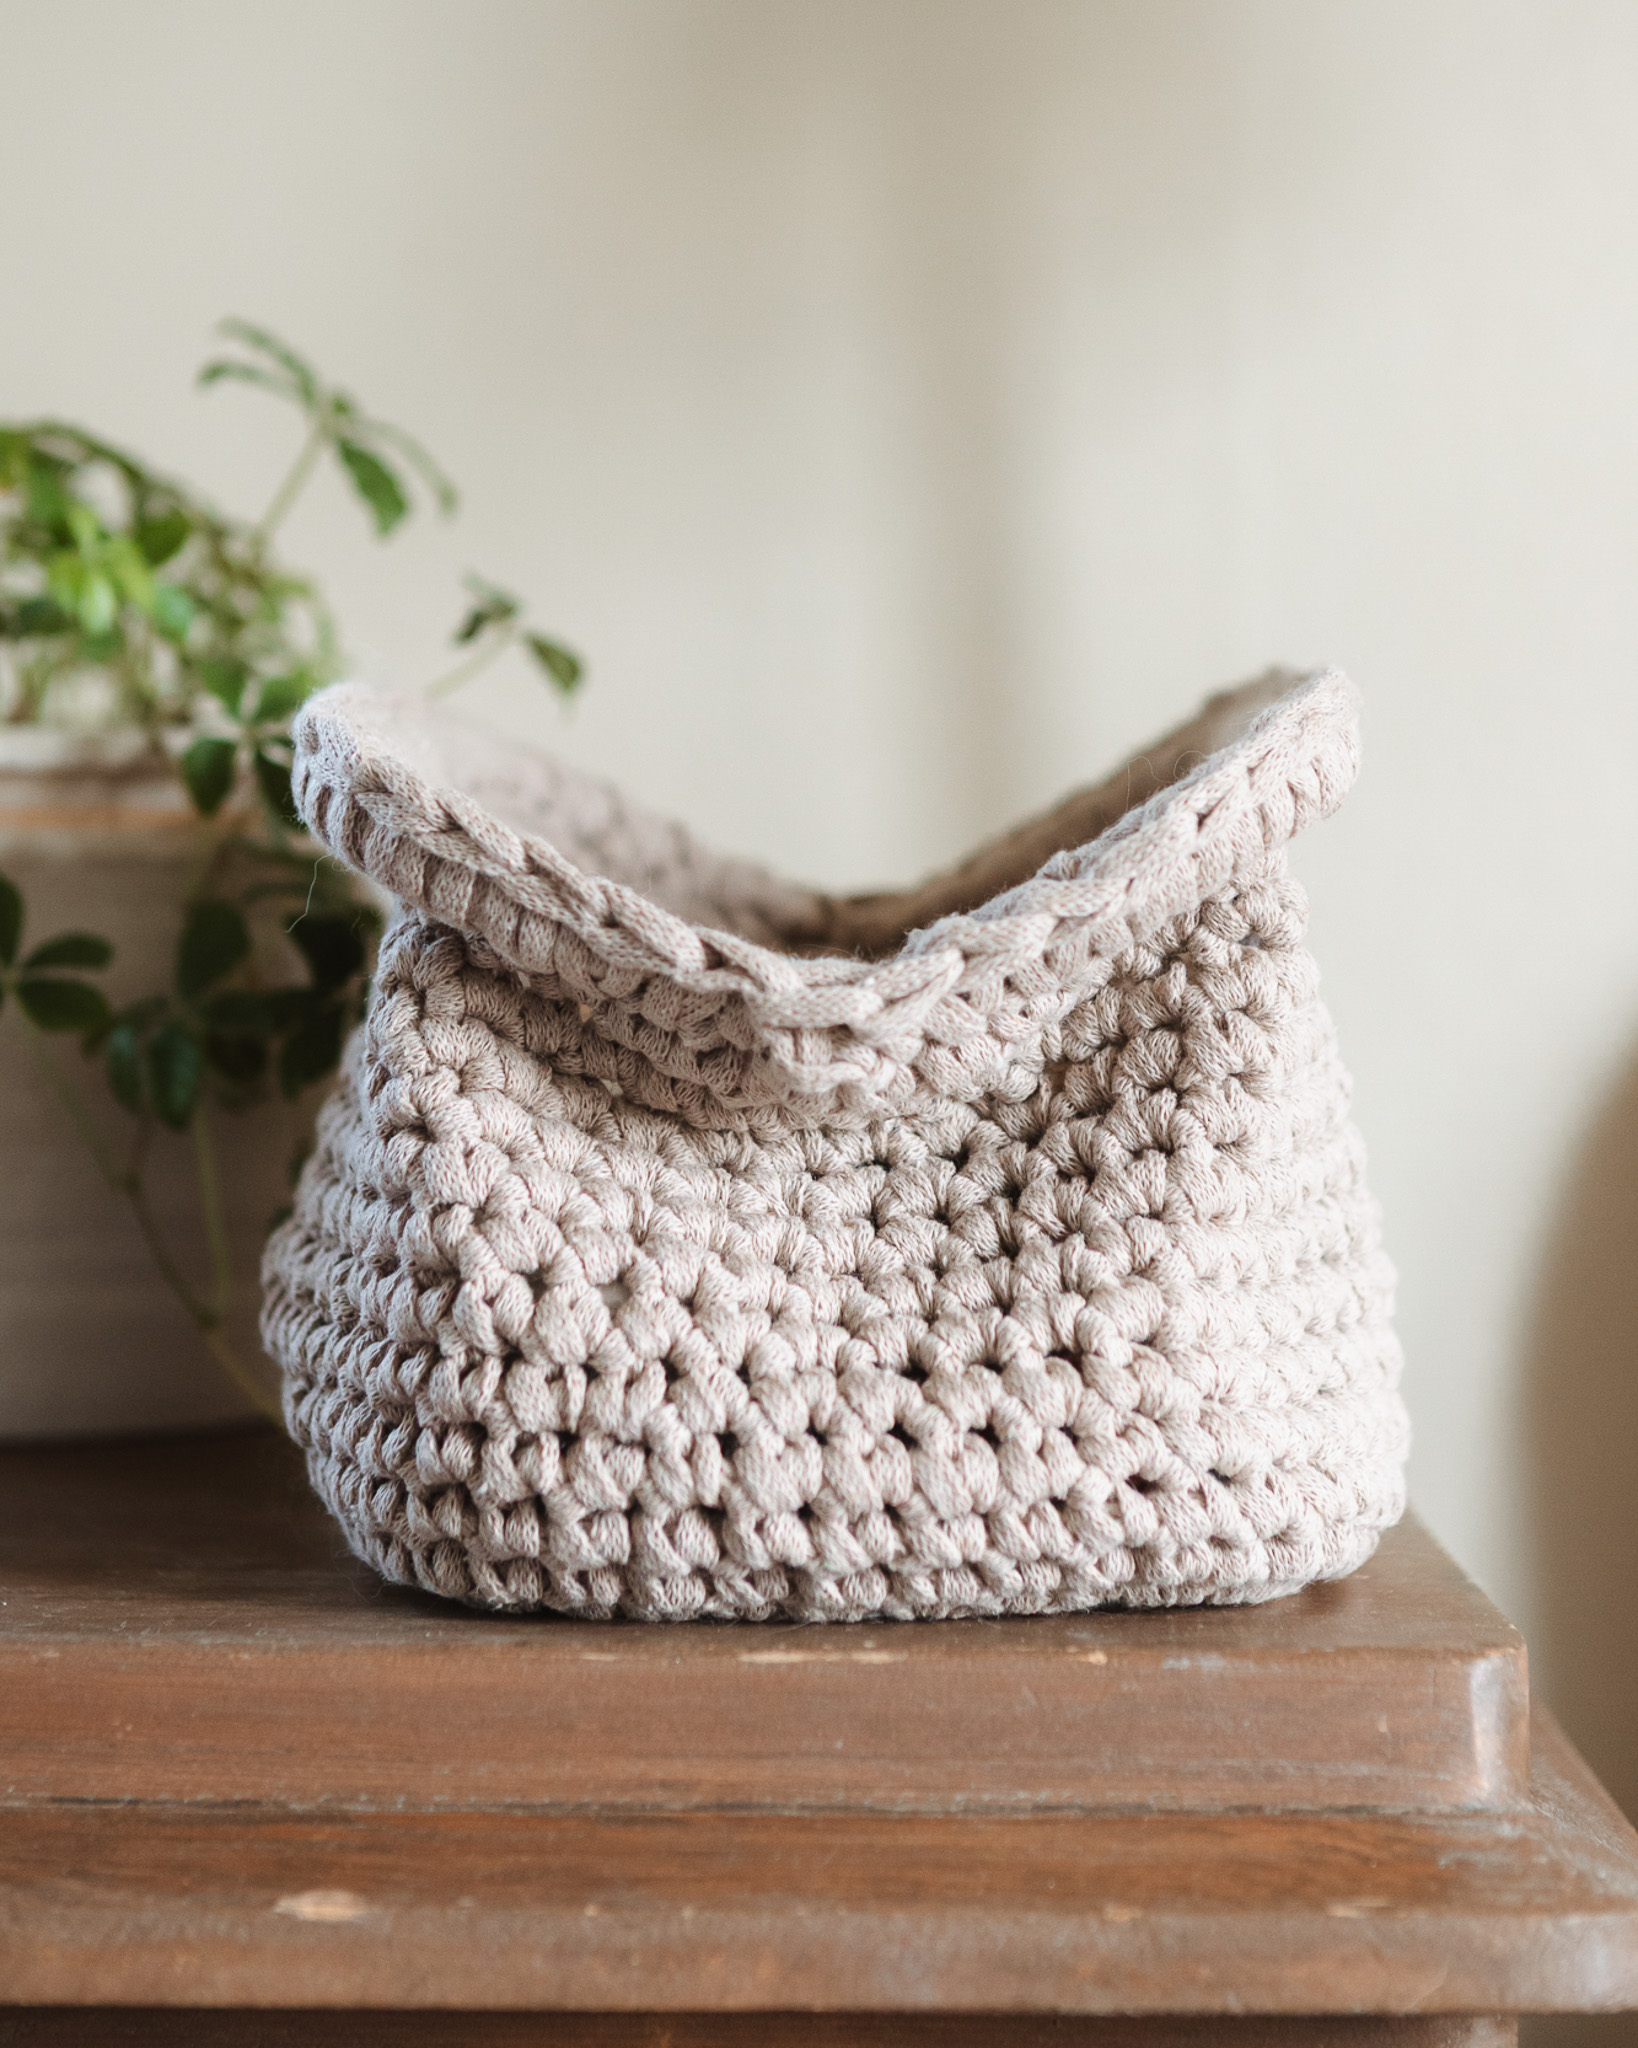
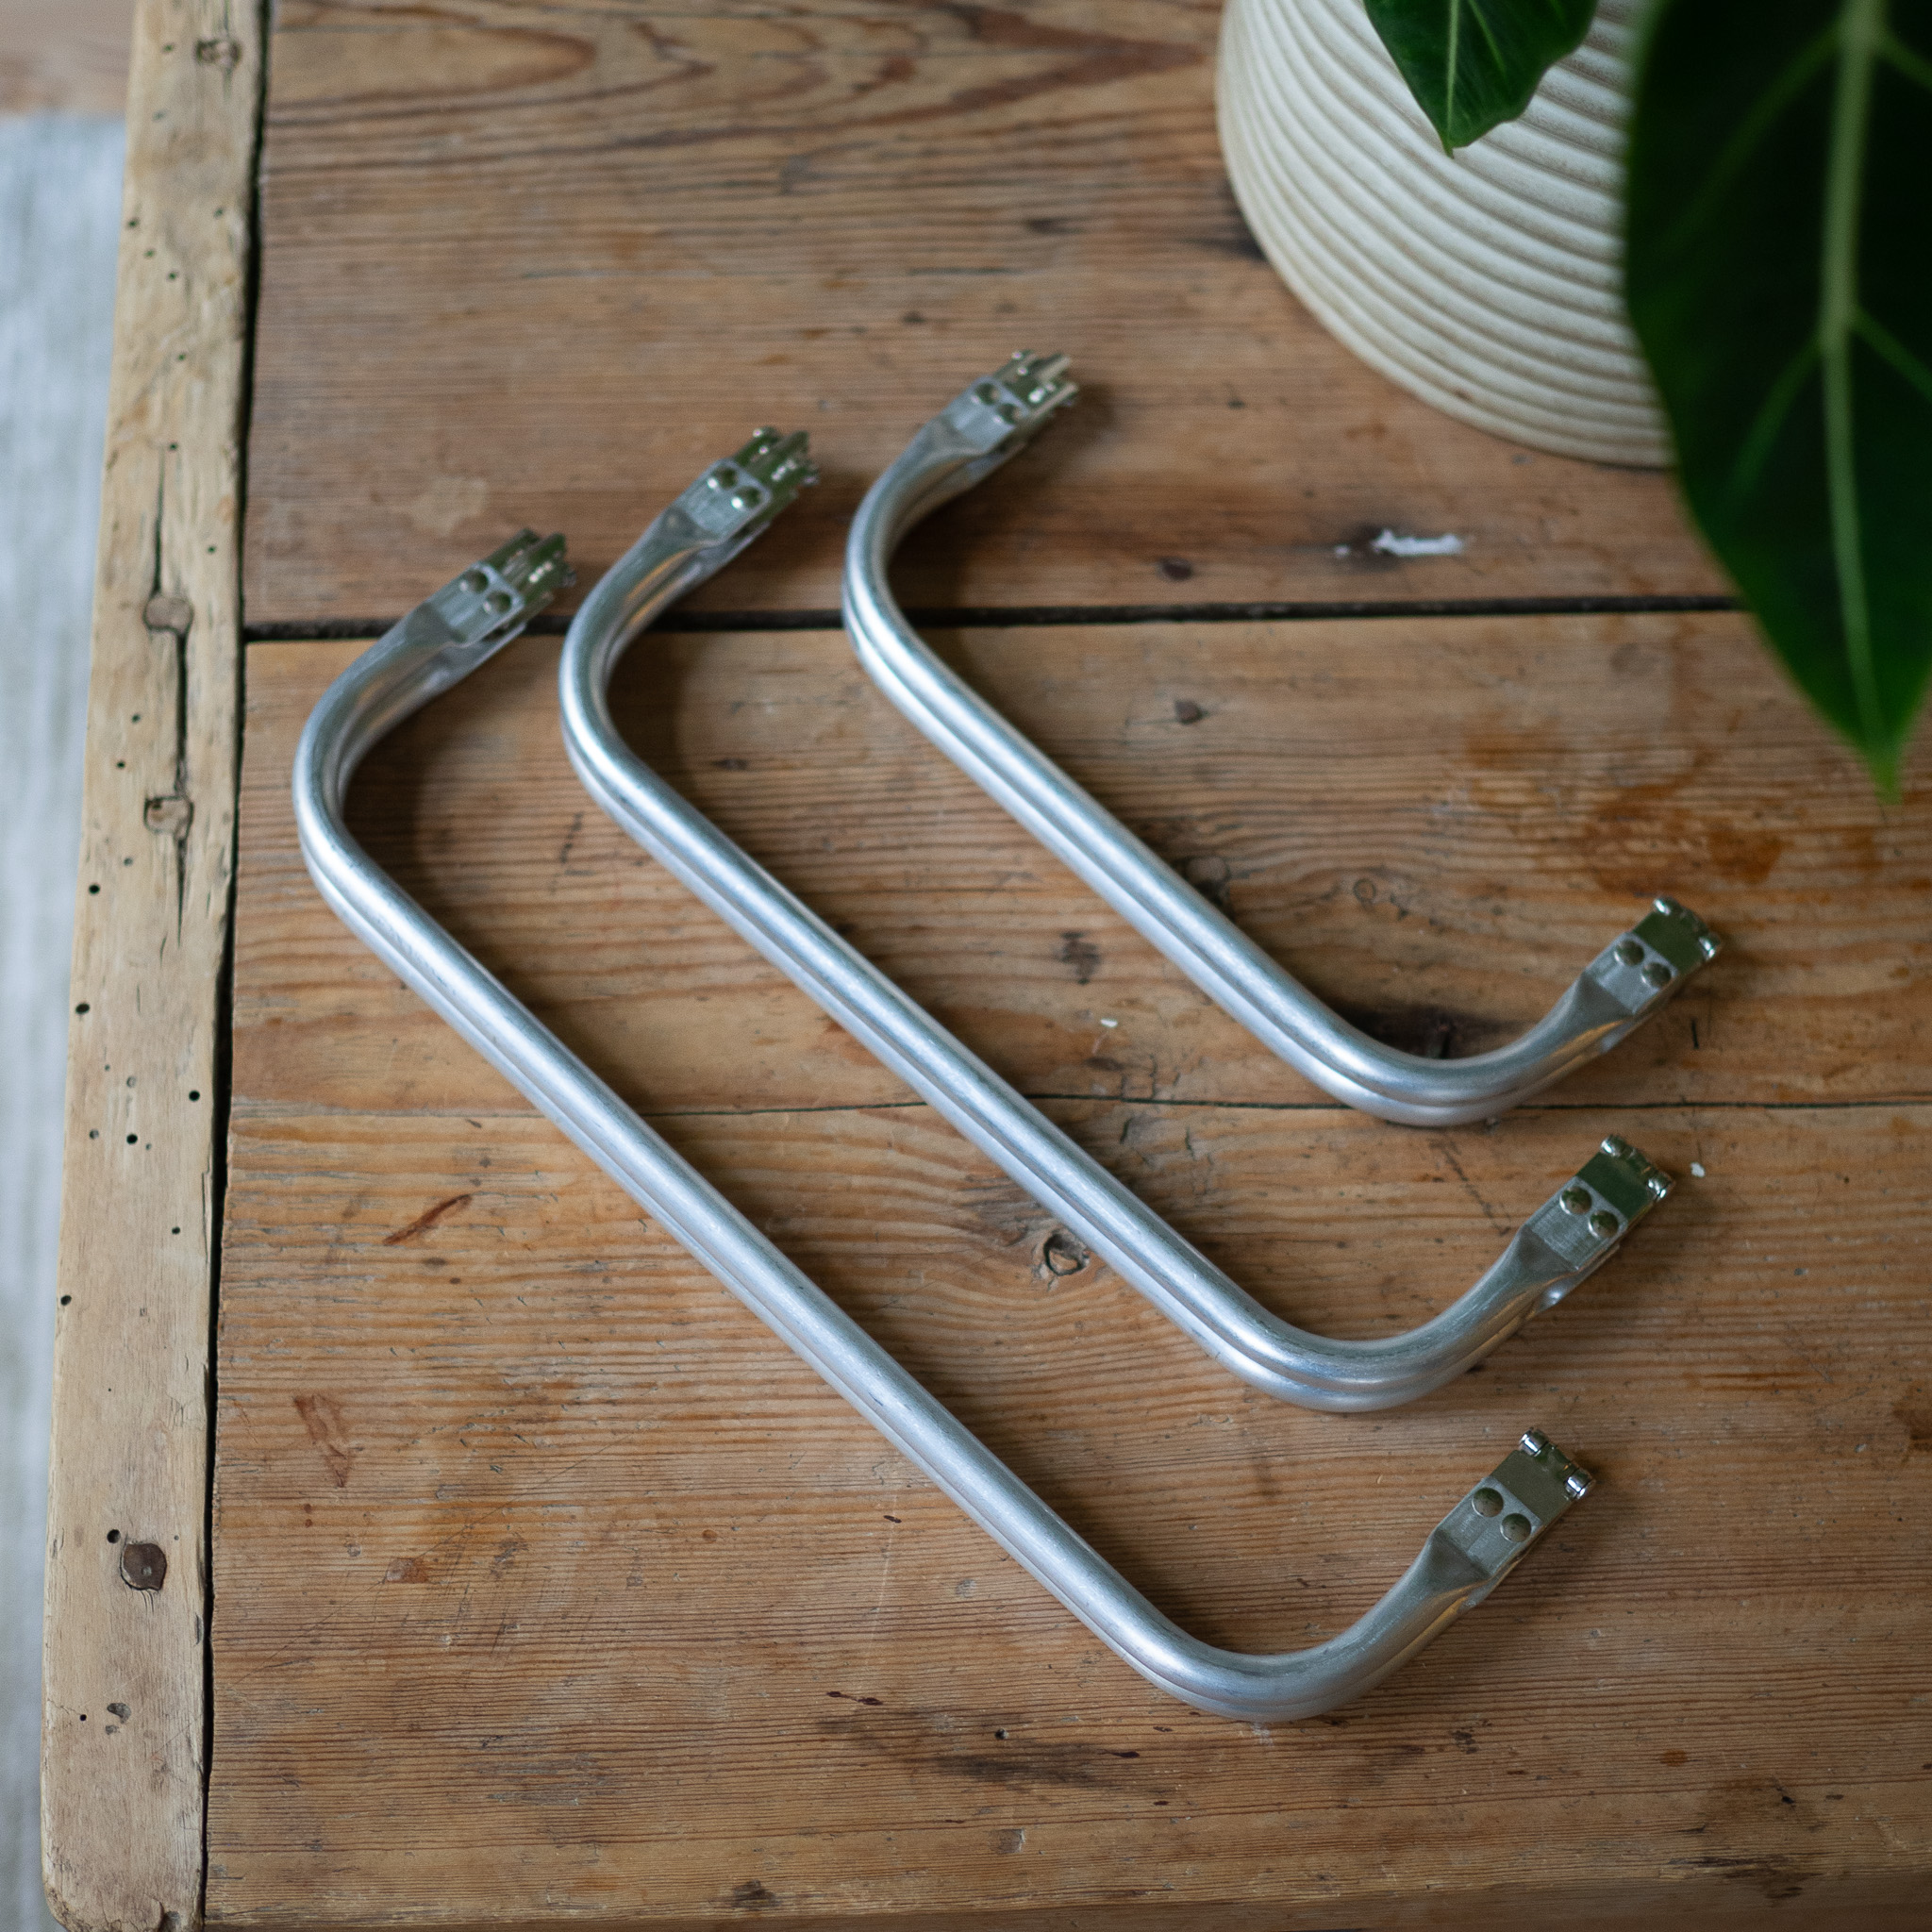
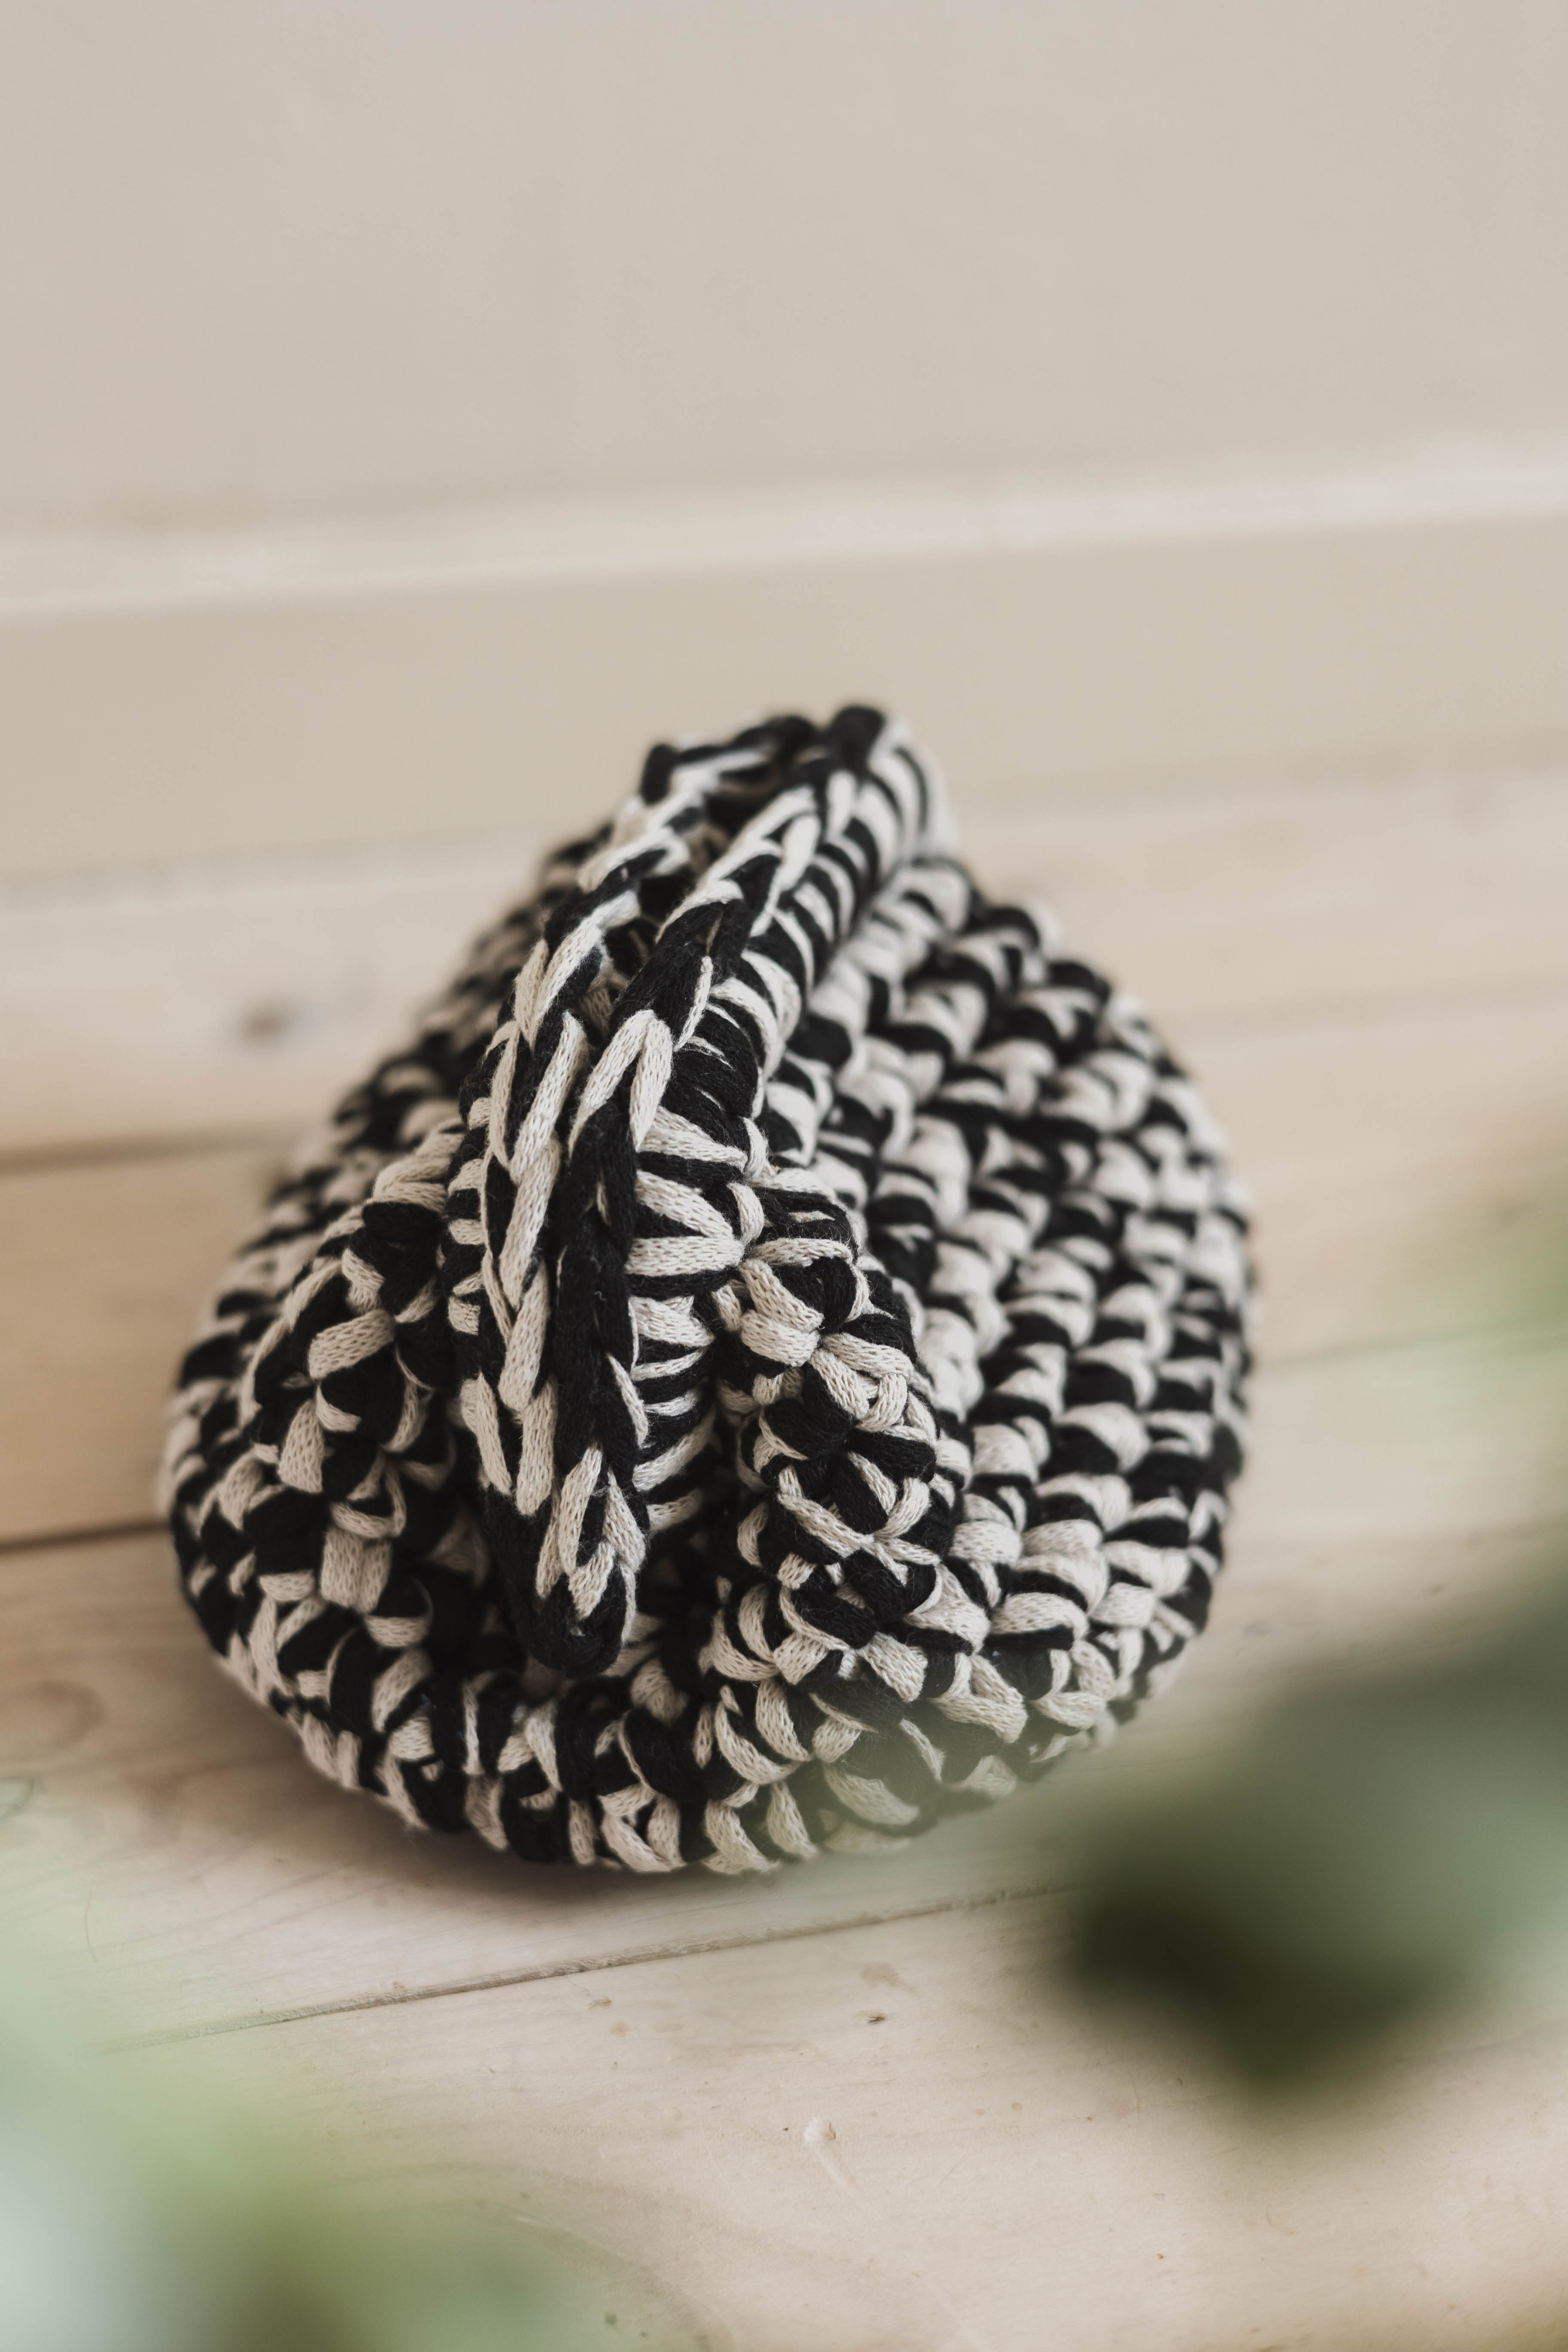
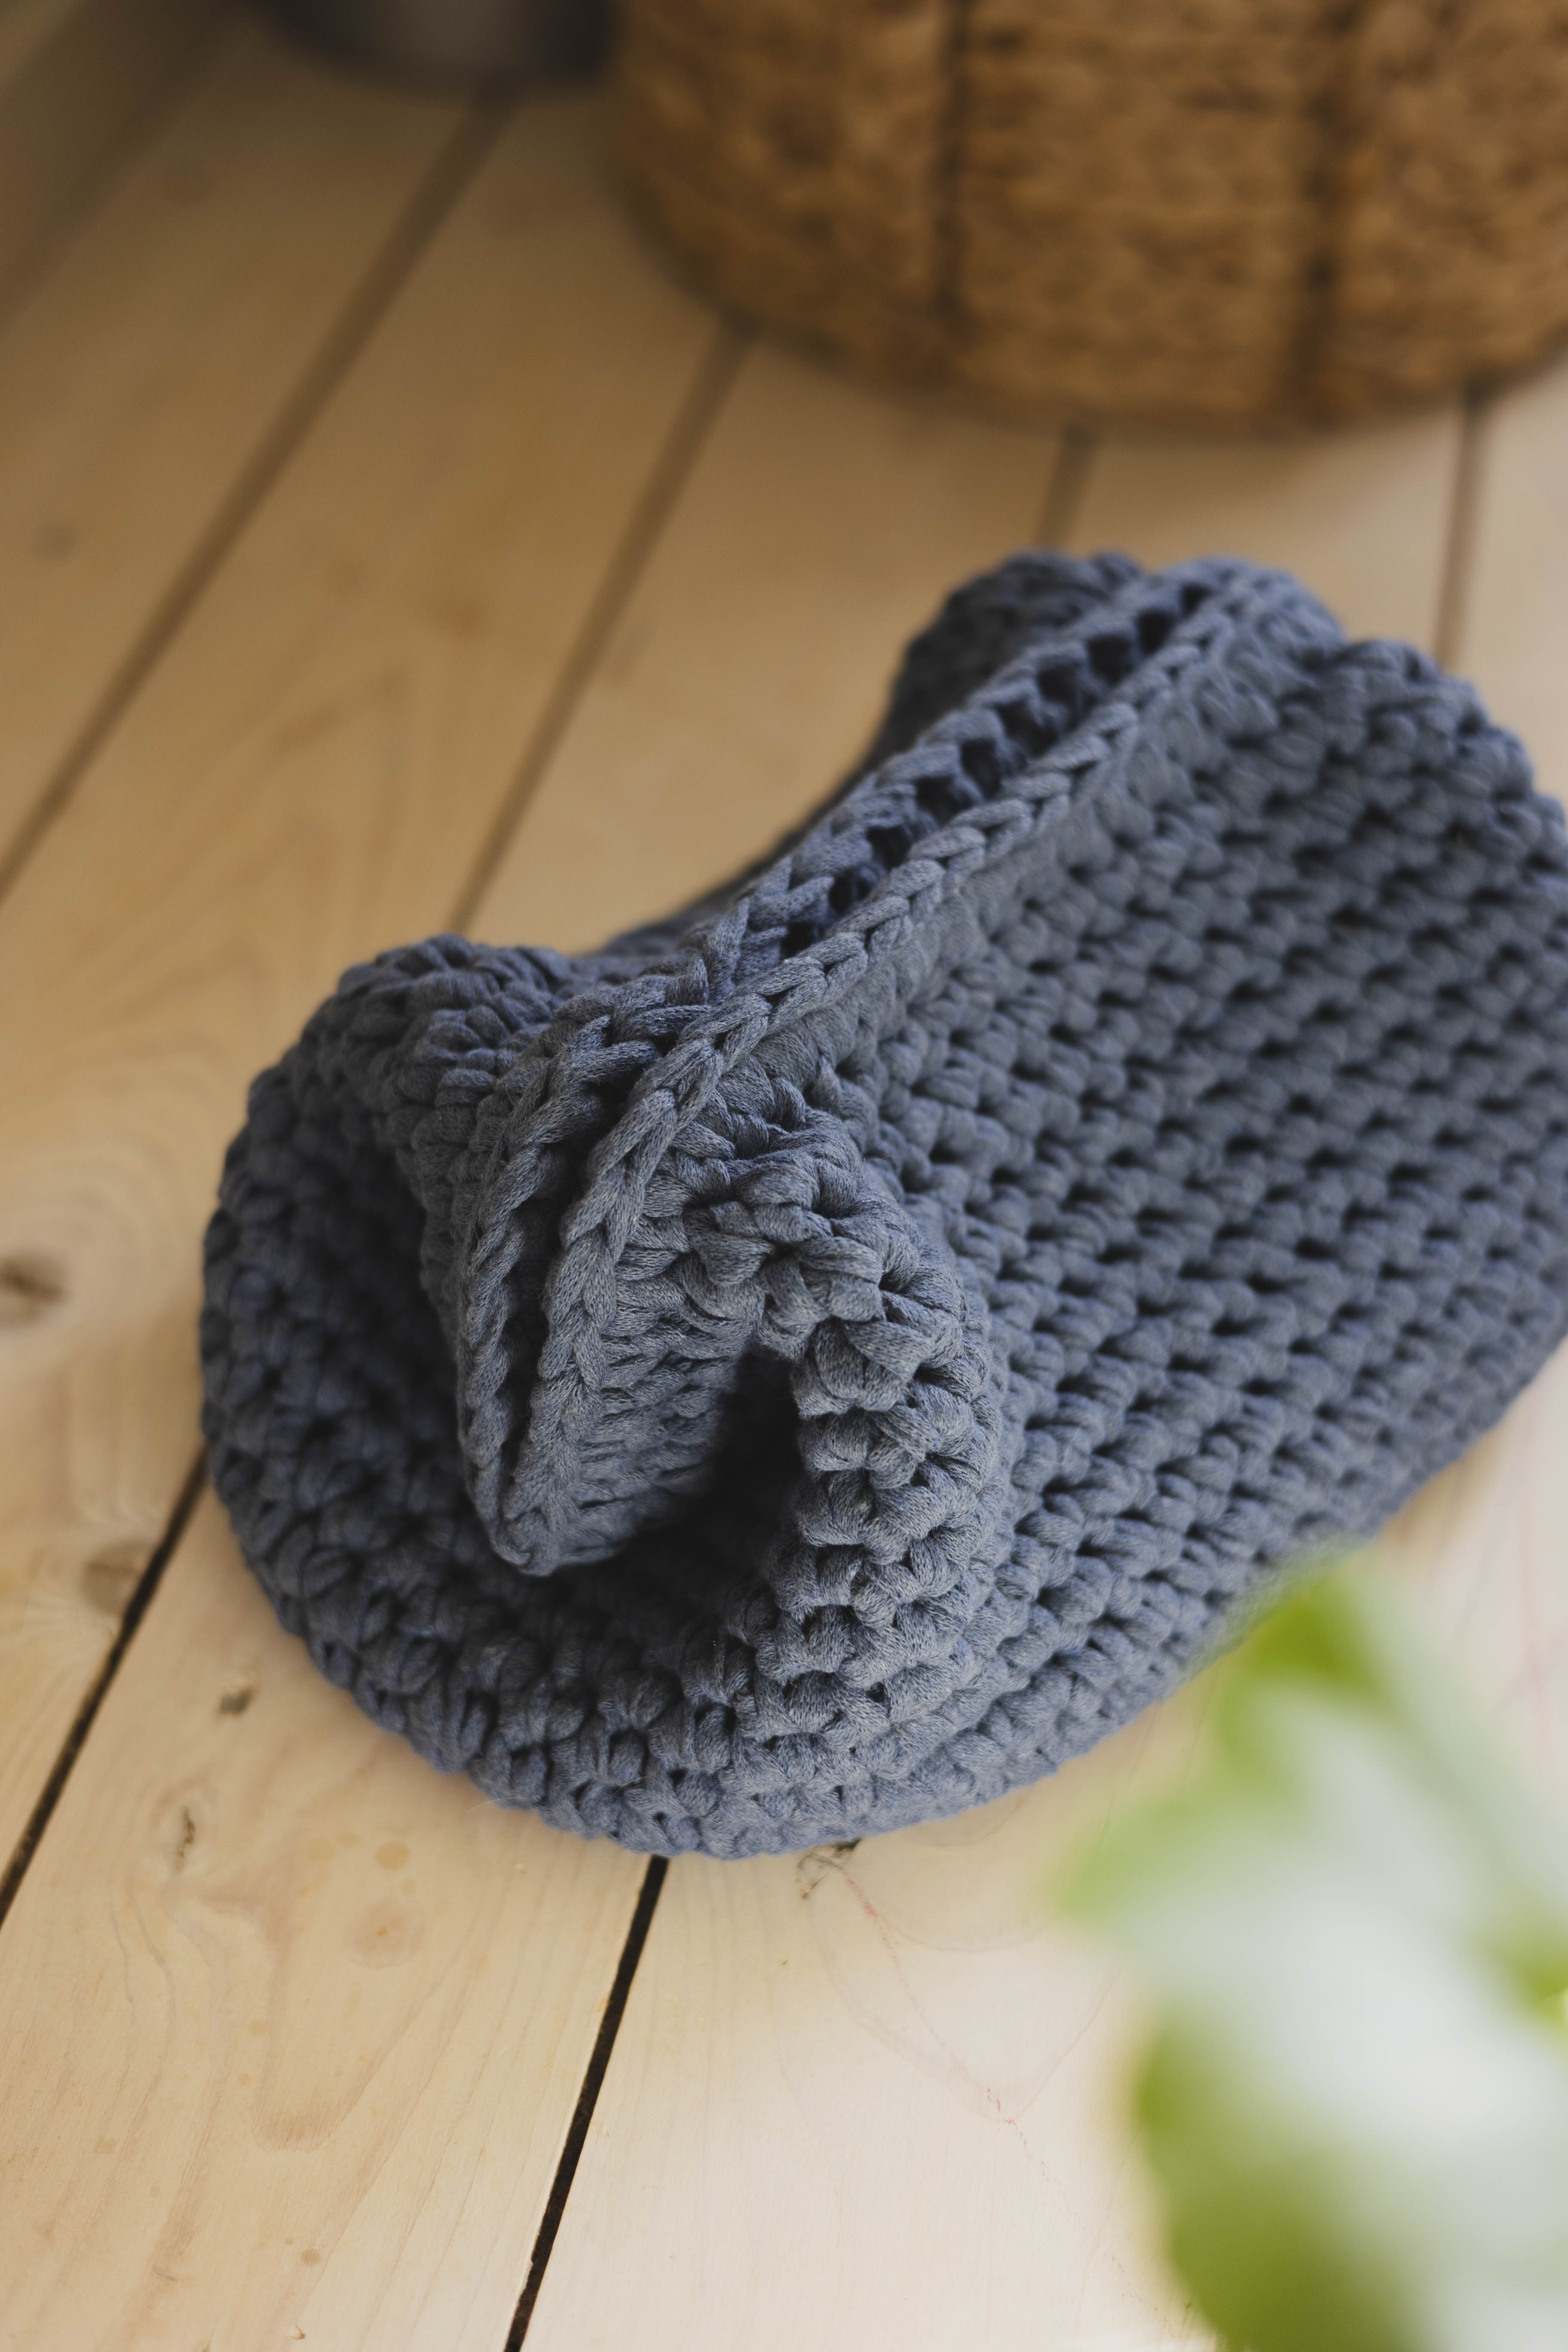
Create a stylish and personal clutch with this crochet pattern! It’s perfect for both everyday use and special occasions, making it a lovely accessory for carrying your everyday essentials. Choose your favorite color and yarn to create a bag that suits your personal style. The pattern includes a full-length video tutorial that guides you step by step through the entire process, making it suitable for beginners. EKO Mini yarn, 7 mm crochet hook and straight clutch frame measuring 20 cm (or your preferred size)
Yarn required: Approx. 250 g
Here's how to do it
Start with the base of your clutch. It’s easy to adjust the size to suit your chosen clutch frame. Next, crochet the sides of your clutch, where you can decide how tall or short you want them to be. Once the base and sides are complete, attach the clutch frame to finish your bag. And that’s it — your clutch is ready! /Lizette

This is what you need:
Here you can directly purchase the material for the product. Please note that the instruction is digital and appears here on the page (no written instruction).

EKO Mini tube yarn | 1000g
Narrow "Ribbon" yarn for crocheting, made of 80% recycled cotton
Buy product

Your next favorite project is waiting
Get access to this pattern and over 300 other beginner-friendly projects for crochet, knitting, and macramé.
Then 85 SEK/month. Cancel anytime.

Base
Start by crocheting a chain that is the same length as either the short or long side of your clutch frame. Begin with a slip knot, then make chain stitches.
Slip Knot: Wrap the yarn around your index and middle fingers to form a cross. Insert your crochet hook under the loop from above and catch the yarn, pulling it through to form a new loop. Gently pull the yarn ends to tighten the knot around your hook, making sure the loop is not too tight.


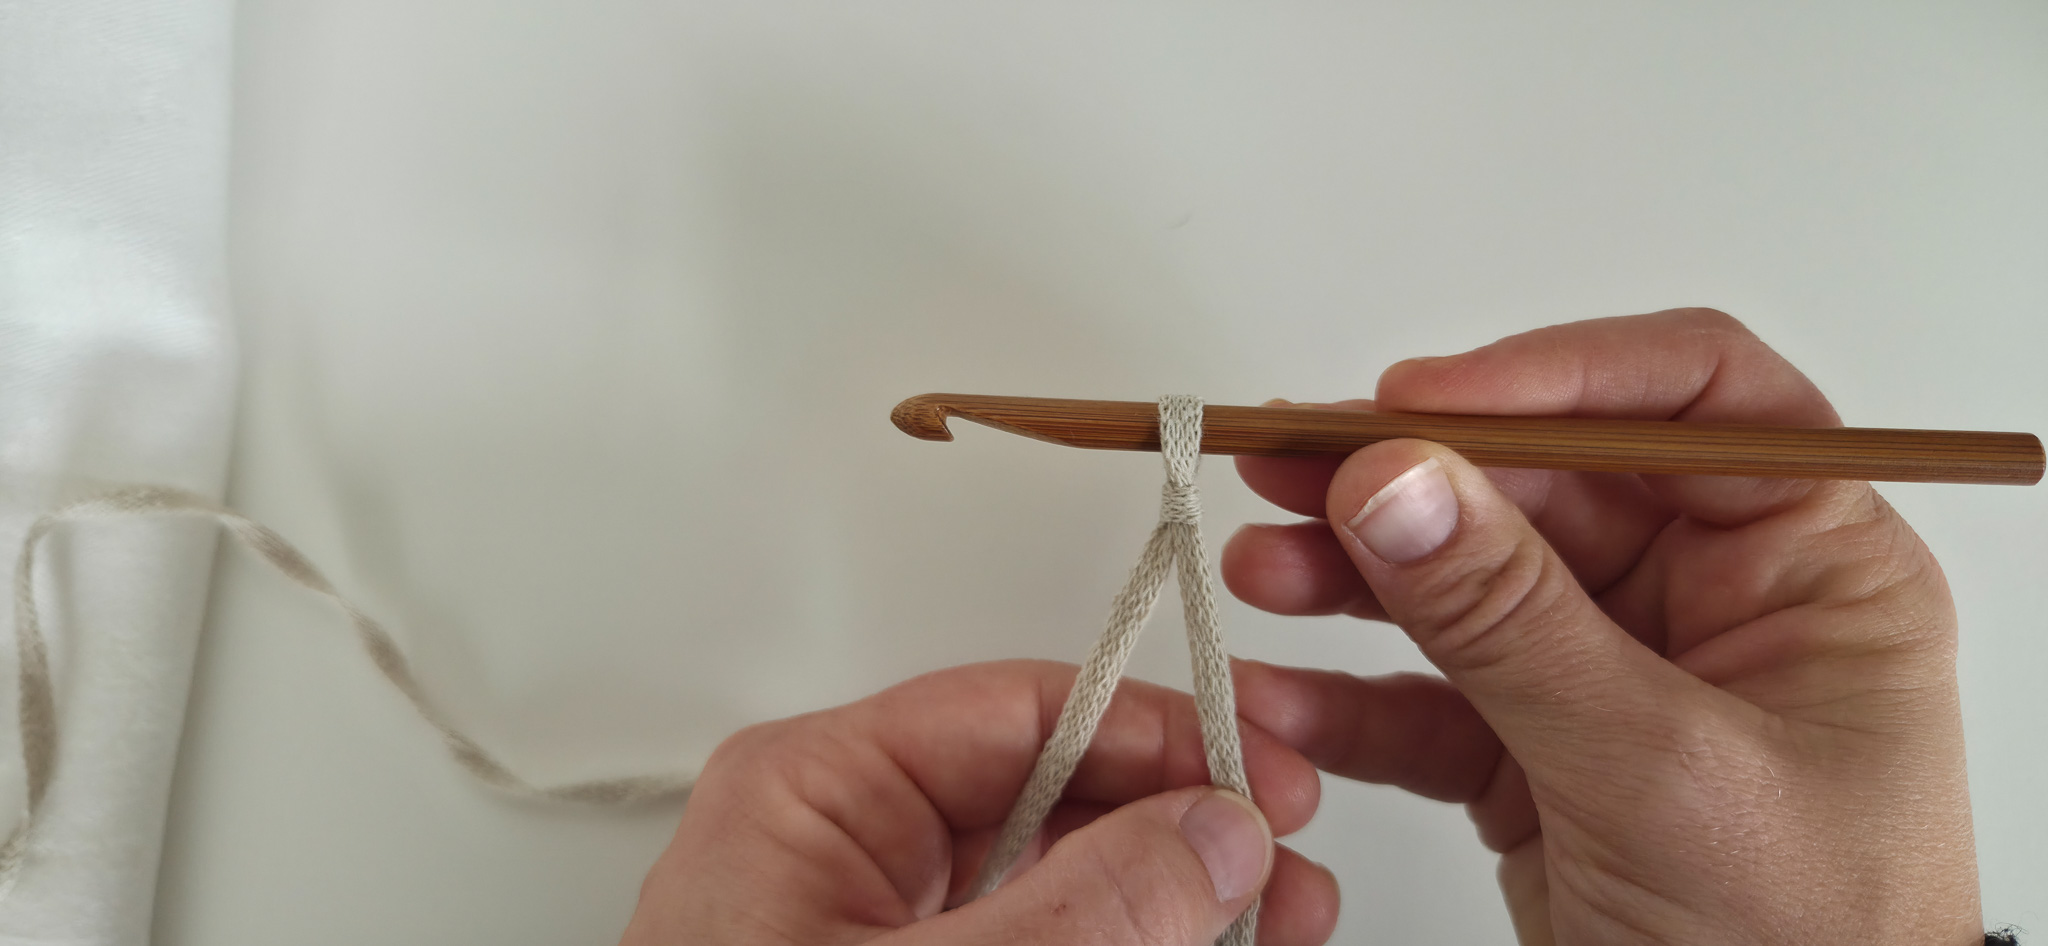
Chain Stitch (ch): Yarn over and pull the yarn through the loop already on your hook. Repeat to make more chain stitches.
For reference, I started with 16 chain stitches, but this may vary depending on the desired size and how tightly you crochet.
Row 1: Skip the first chain and begin in the second chain from the hook. Work 15 single crochet stitches, then ch 1.
How to make a single crochet (sc): Insert your hook into the second chain from the hook and pull up a loop (you will have 2 loops on your hook). Yarn over and pull through both loops. You have now made 1 single crochet.
Row 2: Skip the first chain and begin in the second chain from the hook. Work 15 single crochet stitches, then ch 1.
Repeat Row 2 until your rectangle is the same size as your clutch frame. For reference, I worked 19 rows.
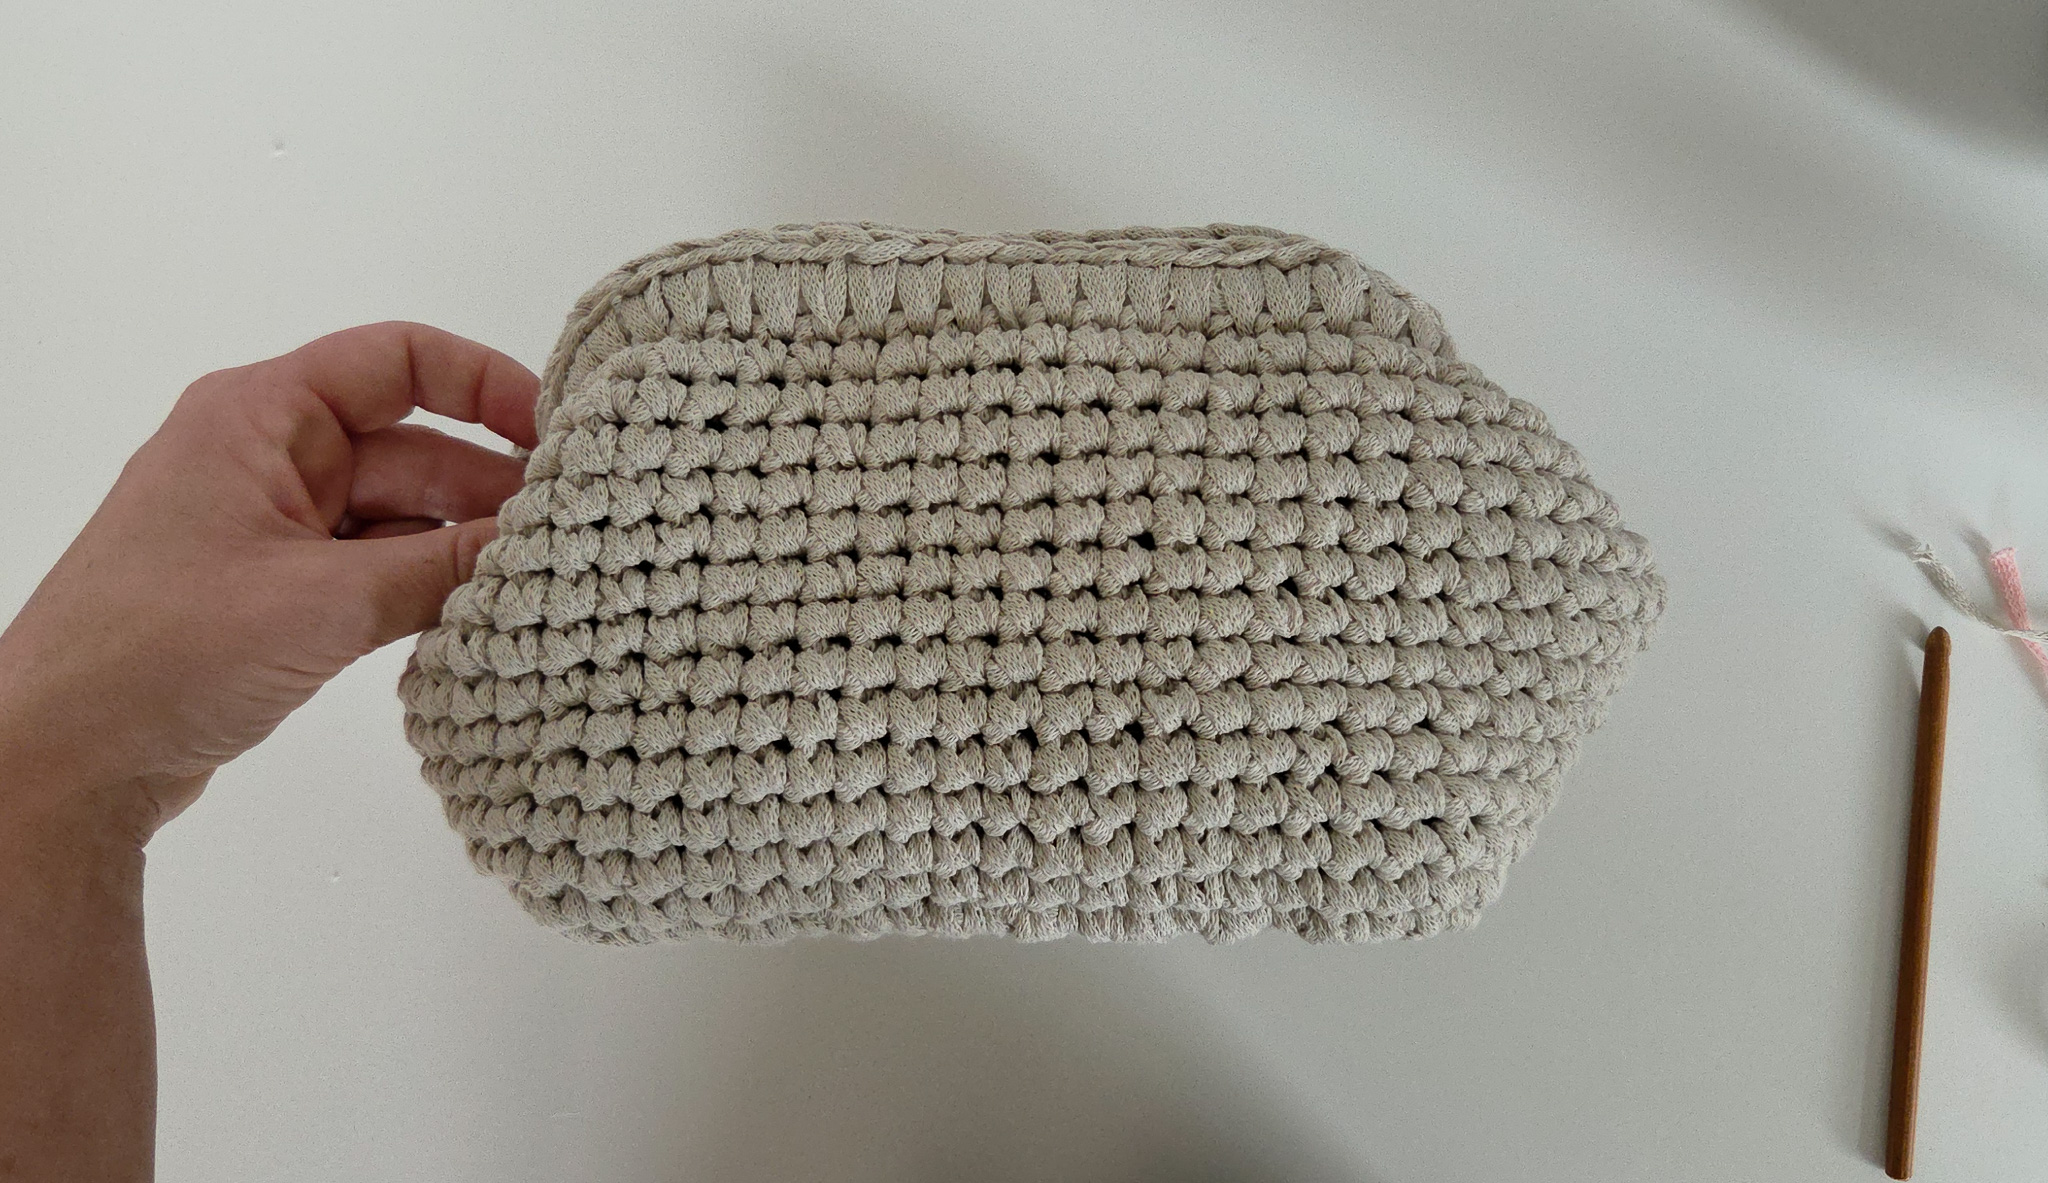
For reference, the base shown in the image below weighs 60 g and measures 19 × 16.5 cm.

Sides
Now that the base is complete, it’s time to crochet the sides of the clutch. The sides are worked around the base.
First Round Around the Base: Remove the last chain stitch from your final row of the base. Work 1 additional single crochet into the last stitch, giving you 2 single crochet stitches in the same stitch at the corner.
Continue working 1 single crochet into each row along the side. When you reach the next corner, work 2 single crochet stitches into the same stitch.
Repeat this process all the way around the base until you reach your starting point.
Place a stitch marker or a piece of yarn in the corner to mark the beginning and end of the round. This will make it easier to keep track of your rounds as you continue crocheting the sides.

Continuing the Sides
Work 1 single crochet in each stitch, round after round, until you reach your desired height. For reference, I worked 13 rounds, but the number may vary depending on your personal preference, the size of your clutch frame, and how tightly or loosely you crochet.
Once you are happy with the height, move on to the next step.

Fold the clutch in half along the short side so that both long sides line up evenly.

Now mark and secure the clutch using 6 pieces of yarn.
Cut 6 pieces of yarn, preferably in a contrasting color so they are easy to see. Use them to mark the attachment points evenly along the opening of the clutch to ensure a symmetrical result.
Make sure the fold in the clutch frame aligns with the center of the clutch and that the ends of the frame are positioned evenly on either side. This will help ensure a symmetrical shape and an even fit when attaching the frame.


Assembly
Attach the clutch frame by working single crochet stitches around both the stitches of the clutch and the clutch frame, joining them together. Make sure your stitches are even and secure all the way around the frame. Continue until you have worked all the way around.


Finishing
Once you have attached the clutch frame, check that everything is symmetrical and that you are happy with the result.
If something doesn’t look quite right, don’t be afraid to unravel your work and make adjustments! Perhaps you would prefer taller sides, or the frame may be sitting unevenly. Take your time to fine-tune the details until you are completely happy with your clutch.
When you are satisfied with the result, cut the yarn and pull the yarn end through the final loop to fasten off.
Remove all the pieces of yarn you used to mark and hold the pieces in place, if you haven’t already done so.
Weave in the yarn end: Insert your crochet hook from the inside of the clutch through the first stitch. Catch the yarn end and pull it through. Then secure the yarn end around a stitch on the inside of the clutch and tie a double knot. Finally, weave the yarn end under a few nearby stitches to hide it.
Trim any excess yarn.
You’re done!
Crochet Pattern Instructions
This section of the pattern uses crochet terminology. If you are unsure about any step, we recommend watching the full-length video tutorial.
Abbreviations
sc = single crochet
ch = chain
sk = skip
Base
Chain enough stitches to match the short side/long side of your clutch frame.
Row 1: Skip 1 ch, work 1 sc in each st. Ch 1, turn.
Repeat Row 1 until your rectangle is the same size as your clutch frame.
Note! Do not ch 1 at the end of the final row.
Sides
Round 1: Work 1 extra sc in the last st, so that you have 2 sc in the corner. Work 1 sc in each row until you reach the next corner, then work 2 sc in the corner. Repeat around.
Round 2: Work 1 sc in each st.
Repeat Round 2 as many times as desired to achieve the height of your clutch. For reference, this clutch was worked over 13 rounds.
Assembly
Fold the clutch in half along the short side so that both long sides line up evenly.
Mark and secure the clutch using 6 pieces of yarn.
Cut 6 pieces of yarn, preferably in a contrasting color so they are easy to see. Use them to mark the attachment points evenly along the opening of the clutch to ensure a symmetrical result.
Make sure the fold in the clutch frame aligns with the center of the clutch and that the ends of the frame are positioned evenly on either side. This will help ensure a symmetrical shape and an even fit when attaching the frame.
Attach the clutch frame by working single crochet stitches around both the stitches of the clutch and the clutch frame, joining them together. Make sure the stitches are even and secure all the way around the frame. Continue until you have worked all the way around.
Finishing
Once you have attached the clutch and the frame, check that everything is symmetrical and that you are happy with the result.
If something doesn’t look quite right, don’t be afraid to unravel your work and make adjustments! Perhaps you would prefer taller sides, or the frame may be sitting unevenly. Take your time to adjust the details until you are completely happy with your clutch.
When you are satisfied with the result, cut the yarn and pull the yarn end through the final loop to fasten off.
Remove all the pieces of yarn you used to mark and hold the pieces in place, if you haven’t already done so.
Weave in the yarn end securely.
You’re done!
The rights to this pattern belong to MYO Make Your Own. The pattern or its pictures may not be copied, shared or resold either in parts or in its entirety, but you may sell items you have crocheted from this pattern. If you have questions about the pattern, contact MYO at hello@makeyourown.se.
Base
Start by crocheting a chain that is the same length as either the short or long side of your clutch frame. Begin with a slip knot, then make chain stitches.
Slip Knot: Wrap the yarn around your index and middle fingers to form a cross. Insert your crochet hook under the loop from above and catch the yarn, pulling it through to form a new loop. Gently pull the yarn ends to tighten the knot around your hook, making sure the loop is not too tight.
Chain Stitch (ch): Yarn over and pull the yarn through the loop already on your hook. Repeat to make more chain stitches.
For reference, I started with 16 chain stitches, but this may vary depending on the desired size and how tightly you crochet.
Row 1: Skip the first chain and begin in the second chain from the hook. Work 15 single crochet stitches, then ch 1.
How to make a single crochet (sc): Insert your hook into the second chain from the hook and pull up a loop (you will have 2 loops on your hook). Yarn over and pull through both loops. You have now made 1 single crochet.
Row 2: Skip the first chain and begin in the second chain from the hook. Work 15 single crochet stitches, then ch 1.
Repeat Row 2 until your rectangle is the same size as your clutch frame. For reference, I worked 19 rows.
For reference, the base shown in the image below weighs 60 g and measures 19 × 16.5 cm.
Sides
Now that the base is complete, it’s time to crochet the sides of the clutch. The sides are worked around the base.
First Round Around the Base: Remove the last chain stitch from your final row of the base. Work 1 additional single crochet into the last stitch, giving you 2 single crochet stitches in the same stitch at the corner.
Continue working 1 single crochet into each row along the side. When you reach the next corner, work 2 single crochet stitches into the same stitch.
Repeat this process all the way around the base until you reach your starting point.
Place a stitch marker or a piece of yarn in the corner to mark the beginning and end of the round. This will make it easier to keep track of your rounds as you continue crocheting the sides.
Continuing the Sides
Work 1 single crochet in each stitch, round after round, until you reach your desired height. For reference, I worked 13 rounds, but the number may vary depending on your personal preference, the size of your clutch frame, and how tightly or loosely you crochet.
Once you are happy with the height, move on to the next step.
Fold the clutch in half along the short side so that both long sides line up evenly.
Now mark and secure the clutch using 6 pieces of yarn.
Cut 6 pieces of yarn, preferably in a contrasting color so they are easy to see. Use them to mark the attachment points evenly along the opening of the clutch to ensure a symmetrical result.
Make sure the fold in the clutch frame aligns with the center of the clutch and that the ends of the frame are positioned evenly on either side. This will help ensure a symmetrical shape and an even fit when attaching the frame.
Assembly
Attach the clutch frame by working single crochet stitches around both the stitches of the clutch and the clutch frame, joining them together. Make sure your stitches are even and secure all the way around the frame. Continue until you have worked all the way around.
Finishing
Once you have attached the clutch frame, check that everything is symmetrical and that you are happy with the result.
If something doesn’t look quite right, don’t be afraid to unravel your work and make adjustments! Perhaps you would prefer taller sides, or the frame may be sitting unevenly. Take your time to fine-tune the details until you are completely happy with your clutch.
When you are satisfied with the result, cut the yarn and pull the yarn end through the final loop to fasten off.
Remove all the pieces of yarn you used to mark and hold the pieces in place, if you haven’t already done so.
Weave in the yarn end: Insert your crochet hook from the inside of the clutch through the first stitch. Catch the yarn end and pull it through. Then secure the yarn end around a stitch on the inside of the clutch and tie a double knot. Finally, weave the yarn end under a few nearby stitches to hide it.
Trim any excess yarn.
You’re done!
Crochet Pattern Instructions
This section of the pattern uses crochet terminology. If you are unsure about any step, we recommend watching the full-length video tutorial.
Abbreviations
sc = single crochet
ch = chain
sk = skip
Base
Chain enough stitches to match the short side/long side of your clutch frame.
Row 1: Skip 1 ch, work 1 sc in each st. Ch 1, turn.
Repeat Row 1 until your rectangle is the same size as your clutch frame.
Note! Do not ch 1 at the end of the final row.
Sides
Round 1: Work 1 extra sc in the last st, so that you have 2 sc in the corner. Work 1 sc in each row until you reach the next corner, then work 2 sc in the corner. Repeat around.
Round 2: Work 1 sc in each st.
Repeat Round 2 as many times as desired to achieve the height of your clutch. For reference, this clutch was worked over 13 rounds.
Assembly
Fold the clutch in half along the short side so that both long sides line up evenly.
Mark and secure the clutch using 6 pieces of yarn.
Cut 6 pieces of yarn, preferably in a contrasting color so they are easy to see. Use them to mark the attachment points evenly along the opening of the clutch to ensure a symmetrical result.
Make sure the fold in the clutch frame aligns with the center of the clutch and that the ends of the frame are positioned evenly on either side. This will help ensure a symmetrical shape and an even fit when attaching the frame.
Attach the clutch frame by working single crochet stitches around both the stitches of the clutch and the clutch frame, joining them together. Make sure the stitches are even and secure all the way around the frame. Continue until you have worked all the way around.
Finishing
Once you have attached the clutch and the frame, check that everything is symmetrical and that you are happy with the result.
If something doesn’t look quite right, don’t be afraid to unravel your work and make adjustments! Perhaps you would prefer taller sides, or the frame may be sitting unevenly. Take your time to adjust the details until you are completely happy with your clutch.
When you are satisfied with the result, cut the yarn and pull the yarn end through the final loop to fasten off.
Remove all the pieces of yarn you used to mark and hold the pieces in place, if you haven’t already done so.
Weave in the yarn end securely.
You’re done!
The rights to this pattern belong to MYO Make Your Own. The pattern or its pictures may not be copied, shared or resold either in parts or in its entirety, but you may sell items you have crocheted from this pattern. If you have questions about the pattern, contact MYO at hello@makeyourown.se.

Share your creations with us
Thank you!
Your comment was sent!