
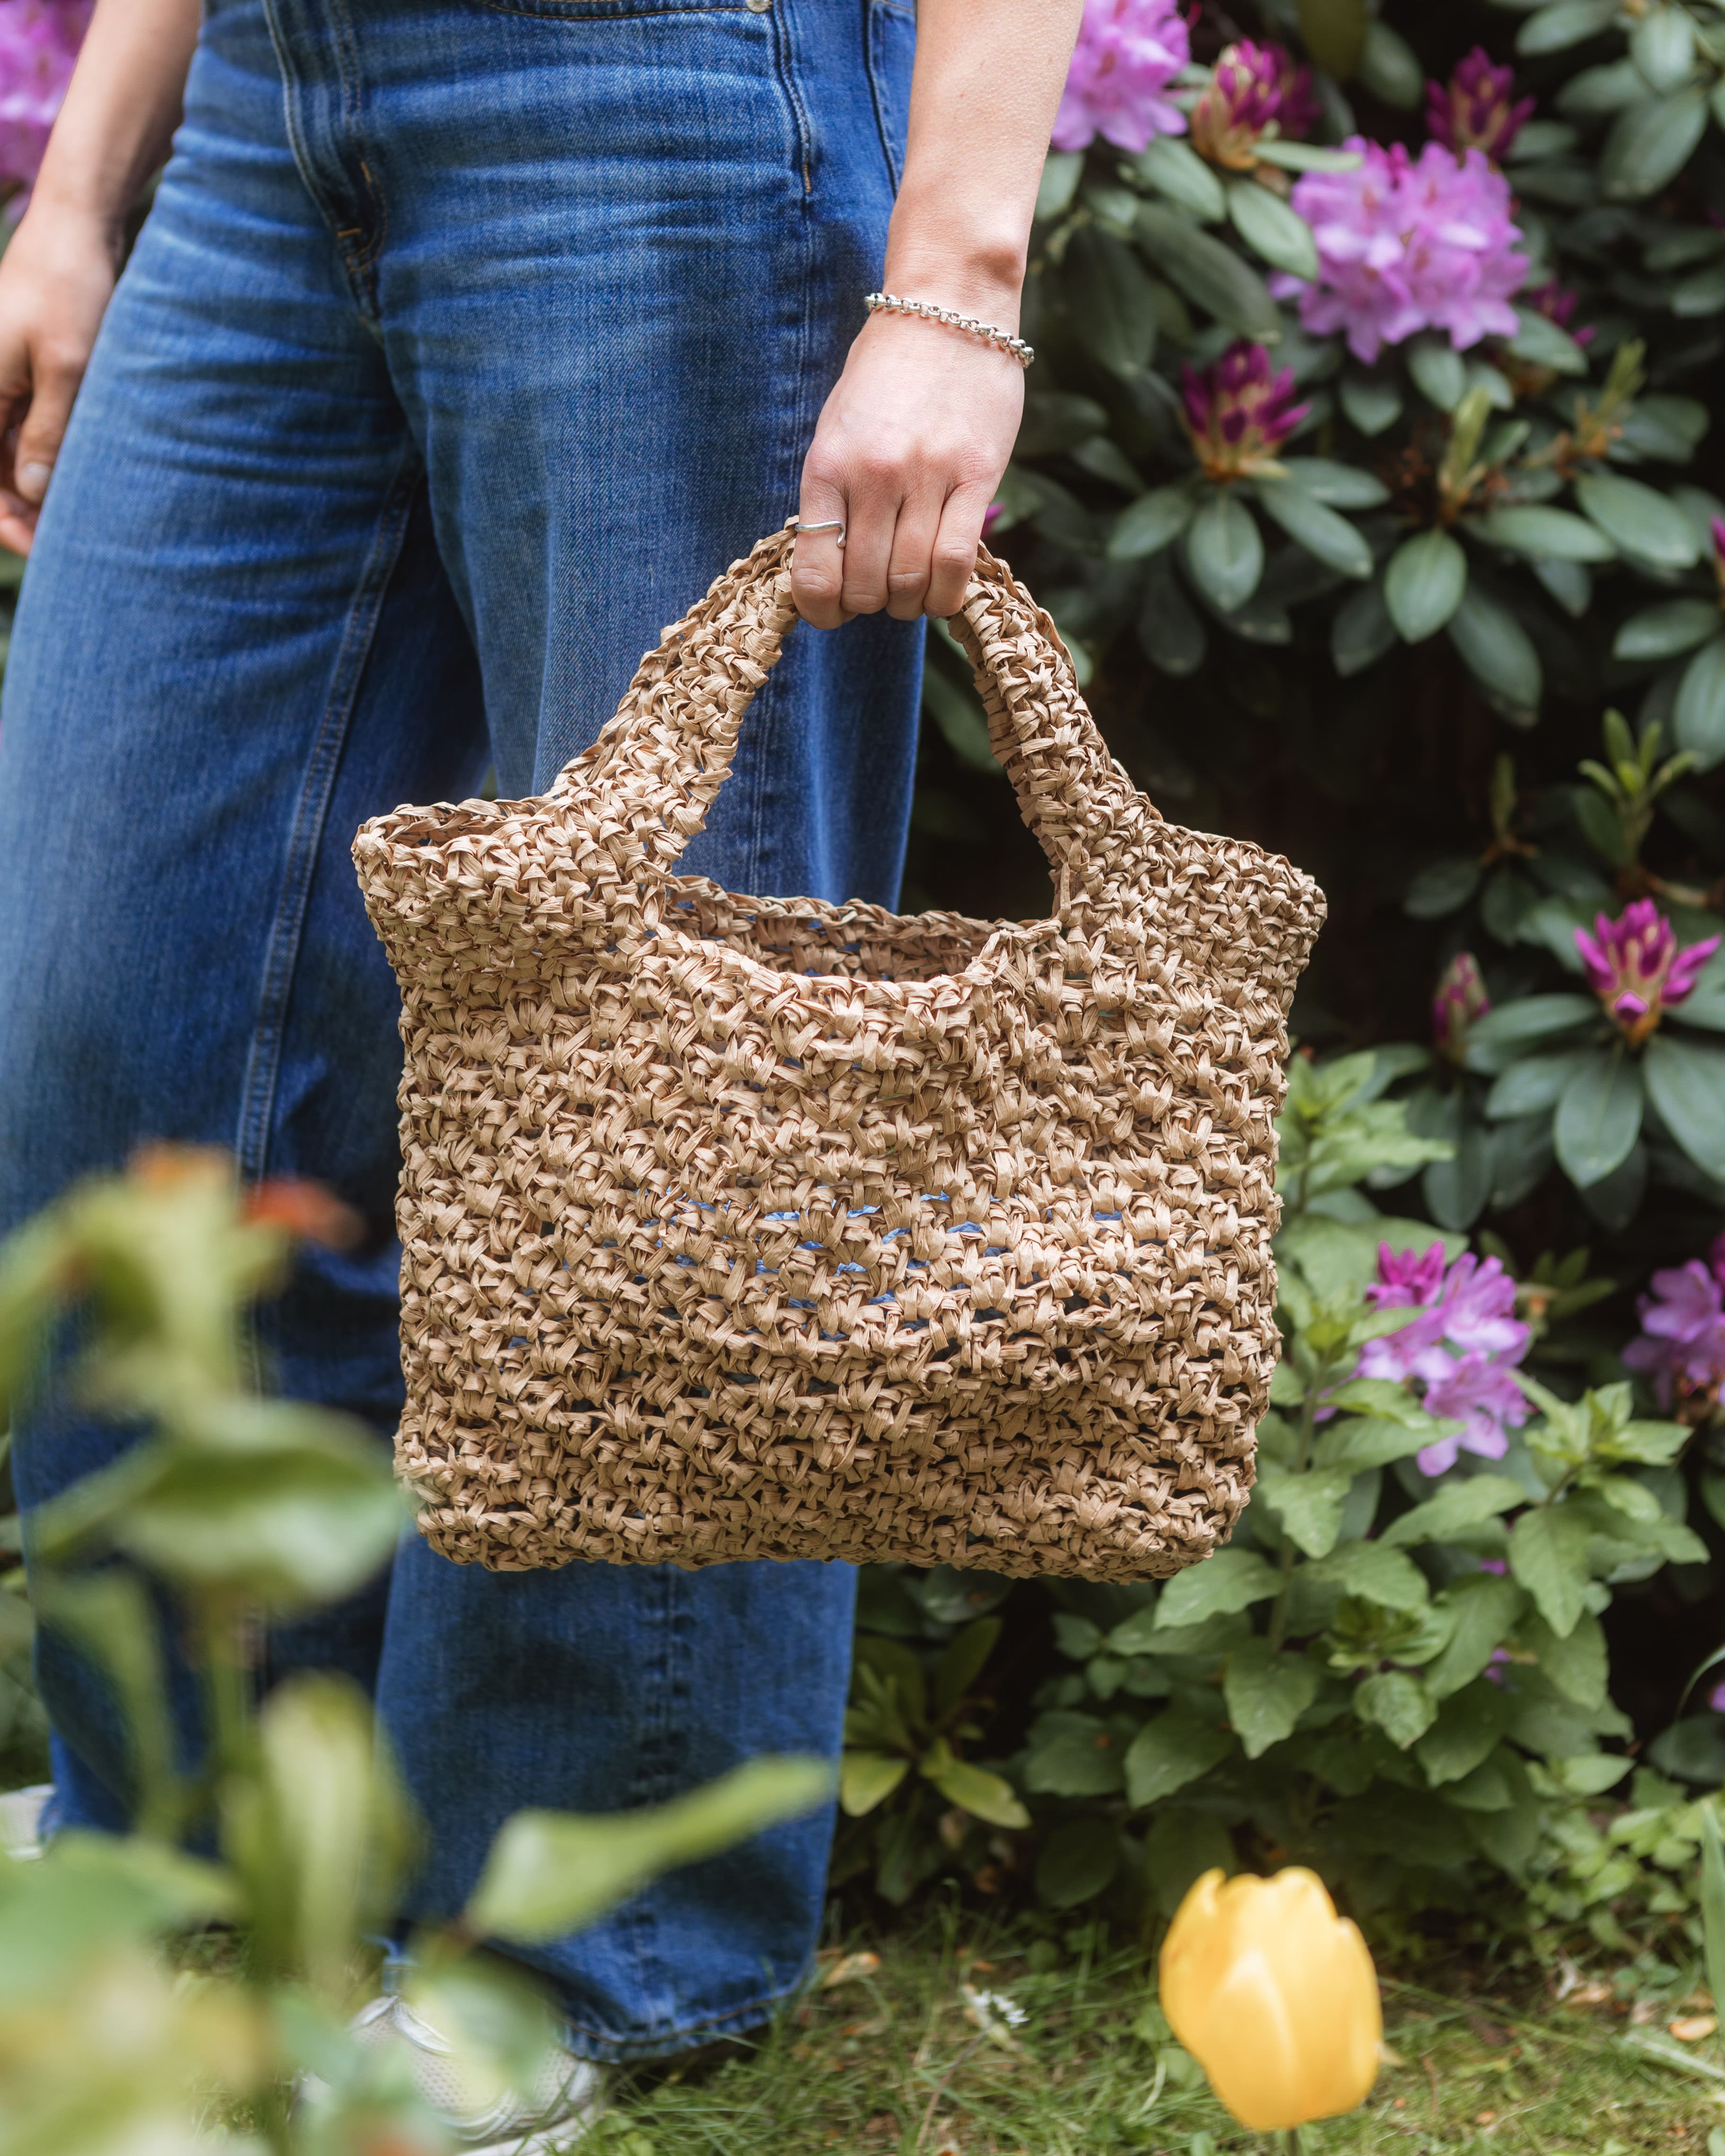
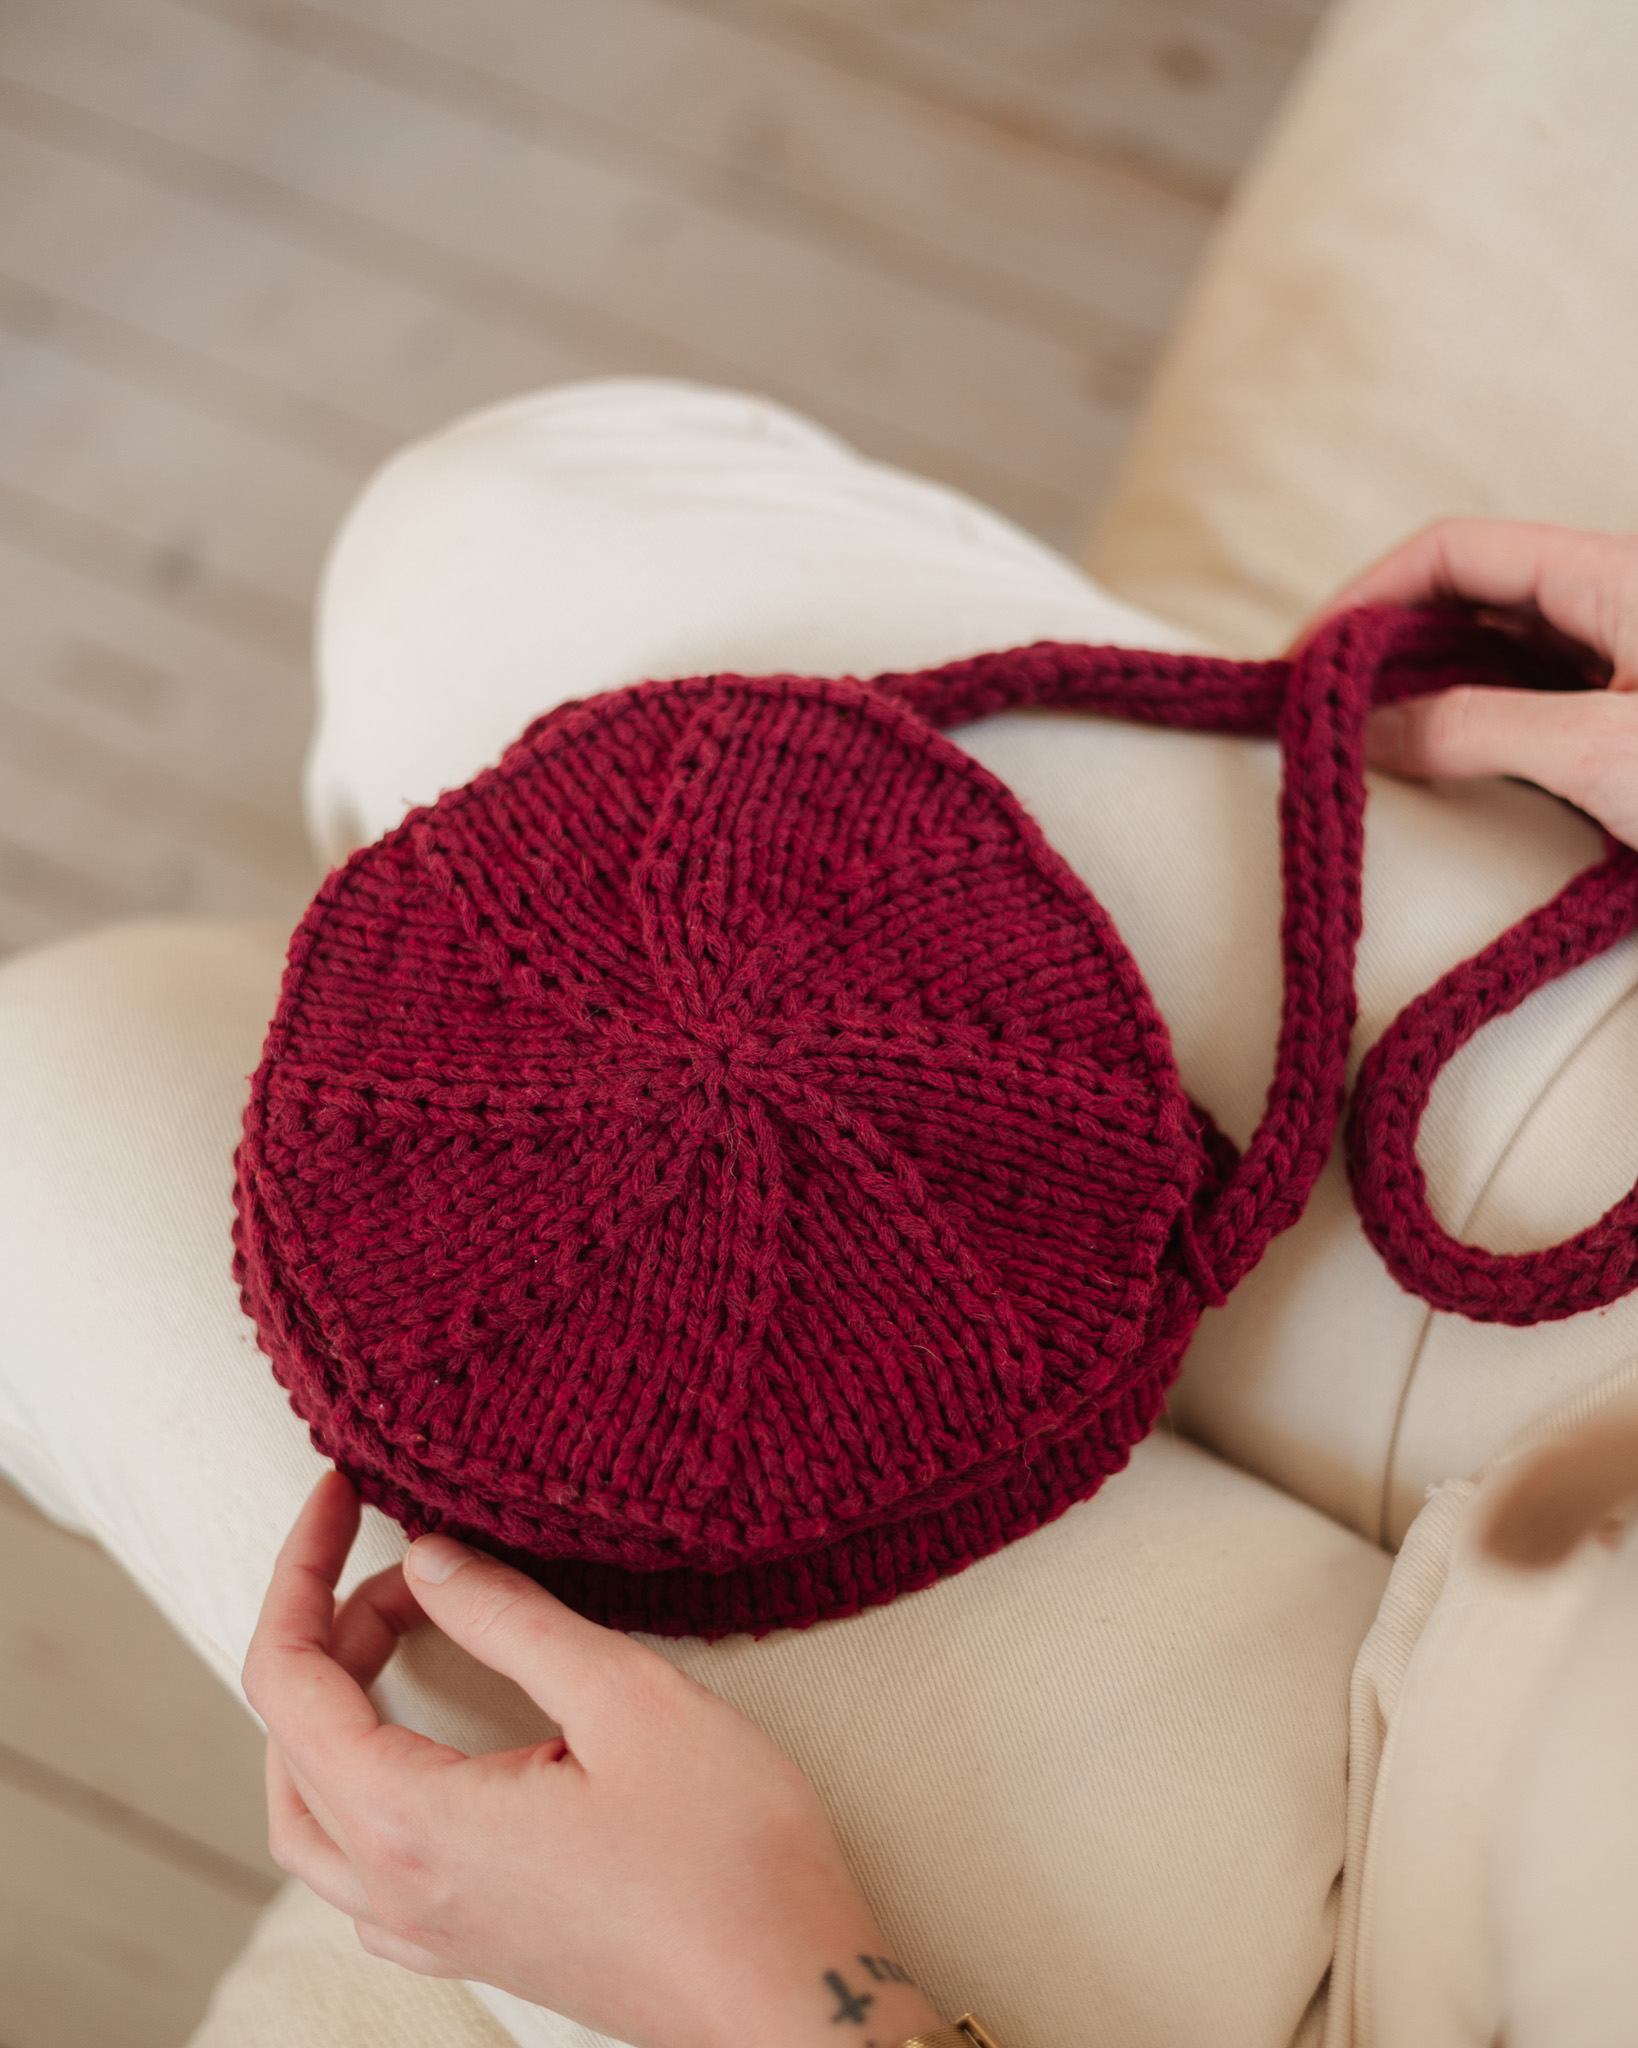
Crochet shoulder bag “Sia 2"
Crochet a Small Shoulder Bag – Quick to Make & Super Stylish
The updated version of last summer’s favorite, Sia 2, is crocheted using double strands of yarn! It's both stylish and very easy to make. Take the bag with you to town or wherever you need to carry small items like your phone and wallet. You can crochet the bag using any yarns you like, preferably with one being a bit thicker – in this version, we used a combination of EKO Ribbon + EKO Nano. The instructional video is the same as for our other bag, Sia. The only difference is that this one is made with double yarn, which is easy to handle as long as you let the strands follow each other throughout the project.
Yarn Consumption: Approx. 300 g


Here's how to do it
Sia 2 is crocheted using any yarns of your choice, preferably with one being a bit thicker – in this version, we used a combination of EKO Ribbon + EKO Nano. The instructional video is the same as for our other bag, Sia; the only difference is that this one is crocheted with double strands of yarn, which is easy as long as you let the yarns follow each other throughout the entire project. Good luck! :)

This is what you need:
Here you can directly purchase the material for the product. Please note that the instruction is digital and appears here on the page (no written instruction).


.jpg)
Unleash your creativity
For only 85kr per month you get access to all our 300+ beginner-friendly instructions for crochet, knitting and macrame.
A perfect way to get started with your new hobby!

We’re going to crochet a small bag that’s perfect for spring and summer. Each step is linked to the timestamps in the video, listed next to the headings to make it easier to follow along.
Starting Loop – 0:57
Begin by making a slip knot around the crochet hook. One way to do this is to wrap the yarn around your index and middle fingers, then pull the yarn through to form a loop that tightens when you pull. Leave about 15 cm (6 inches) of tail.
The Chain – 1:38
Adjust the size of the loop around your crochet hook. Now we’re going to start crocheting the chain. Use the hook to catch the yarn coming from the yarn ball (you’ll temporarily have two loops on the hook), then pull it through to create a chain stitch (the first loop). Repeat this until you have crocheted 11 chain stitches.
Row 2 – 3:10
Now you’ll start working your way back along the chain to crochet Row 2 using single crochet stitches. Skip the first stitch and insert the hook into the next one. Yarn over and pull through (you’ll now have two loops on the hook). Yarn over again and pull through both loops. Repeat this 9 times.
Next, crochet 3 single crochet stitches into the same stitch (this will be the top stitch at the end of the chain). Now you’ll crochet along the other side of the chain. Make 8 single crochet stitches, then crochet 2 single crochets into the last stitch.
You should now have a total of 22 single crochet stitches in this row.
Side of the Bag – 8:34
Now crochet single crochet stitches into each stitch until the bag is as tall as you want. Once you’re satisfied with the height, stop when you're at the side of the bag to begin crocheting the shoulder strap.
It’s important to start the shoulder strap from the side of the bag. The strap is made using chain stitches, and you can make as many as needed to get your desired strap length. Keep in mind that the strap will stretch a bit with use.
For reference, 62 chain stitches are made in the video. Once your strap is the length you want, finish it by making a single crochet stitch on the opposite side of the bag. Then, make one extra stitch on the side to secure the strap firmly. After that, continue to the next step.
Finishing – 12:50
Finish by cutting the yarn, leaving a 5–10 cm (2–4 inch) tail. Tie the remaining tail in a knot around the last loop to prevent it from unraveling. Pull tight and weave in the tail by threading it through a few nearby stitches.
Do the same with the starting tail if you haven’t already crocheted over it to hide it.
Now your shoulder bag is complete! :)
Abbreviations (U.S. terms):
st = stitch
sc = single crochet
ch = chain
sl st = slip stitch
inc = increase (2 sc in the same stitch)
(...) = Indicates the total number of stitches in the round
*...* = Repeat the instructions between asterisks the number of times indicated
Pattern
Round 1: Ch 11 (11)
Round 2: Start in the 2nd ch from the hook: Sc in next 9 sts, 3 sc in the same st (this is the top stitch). Now continue on the other side of the chain: Sc in next 8 sts, inc in the last st (22)
Rounds 3–xx: Sc in each st around (22 sc per round) for as many rounds as you'd like. When you're happy with the height, stop when you're at the side of the bag.
Strap: Ch 62 (or as many as you want for your desired strap length). Join the strap to the opposite side of the bag with a sl st. Fasten off and weave in the ends.
You're done! :)
The rights to this pattern belong to MYO Make Your Own. The pattern or its pictures may not be copied, shared or resold either in parts or in its entirety, but you may sell items you have crocheted from this pattern. If you have questions about the pattern, contact MYO at hello@makeyourown.se.

Share your creations with us
Thank you!
Your comment was sent!