
Macramé placemat “Luca”
Make a Beautiful Macramé Placemat
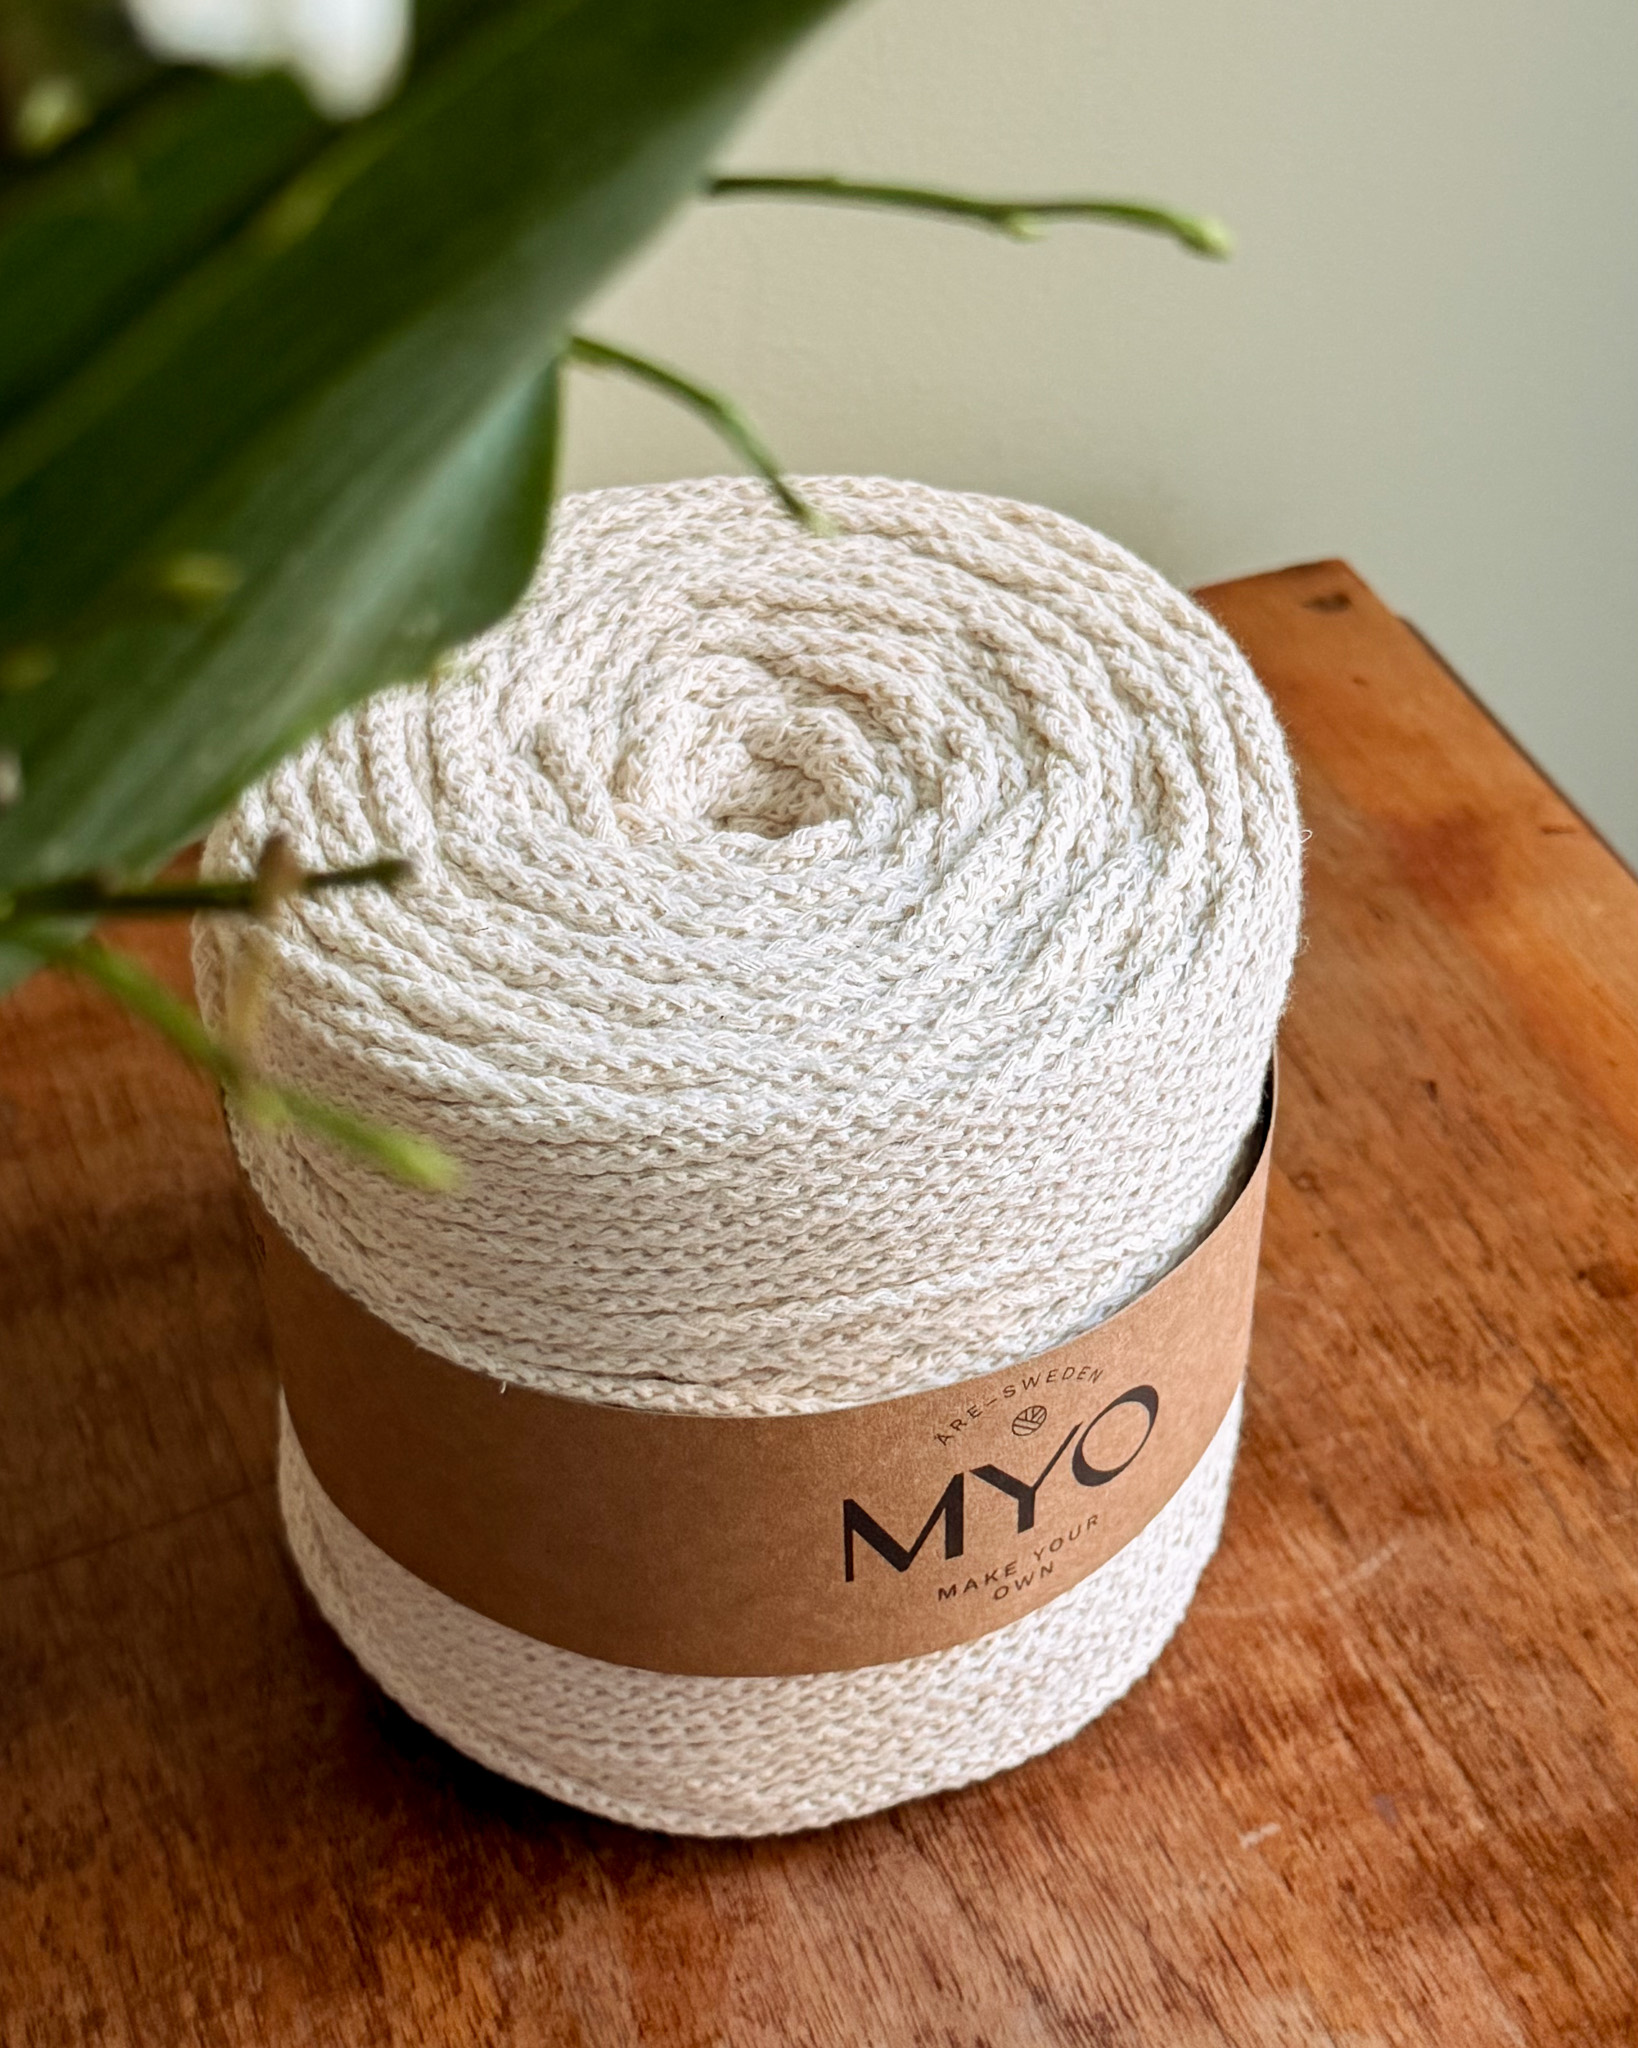
Create a personal and stylish detail for your table with a macramé placemat! This project is suitable for beginners, as there is a full-length instructional video available. With simple knots and durable cotton cord, you can make placemats in any color and size, perfect for both everyday meals and special occasions. Follow our step-by-step pattern and learn the basics of macramé while creating something beautiful and practical for your home. Materials needed: MYO 3 mm braided rope, wooden dowel, masking tape, measuring tape, scissors. The finished placemat measures approximately 47 x 30 cm.
Cord needed: about 105 meters


Here's how to do it
This project uses only a few knots and is therefore perfect for beginners. /Isabella
.jpg)
This is what you need:
Here you can directly purchase the material for the product. Please note that the instruction is digital and appears here on the page (no written instruction).

EKO Braided rope 3mm | 700g
A 3mm wide braided yarn that can be used both for crocheting and macrame
Buy product.jpg)
Unleash your creativity
For only 85kr per month you get access to all our 300+ beginner-friendly instructions for crochet, knitting and macrame.
A perfect way to get started with your new hobby!

Cutting
- 26 cords, each 4 meters long
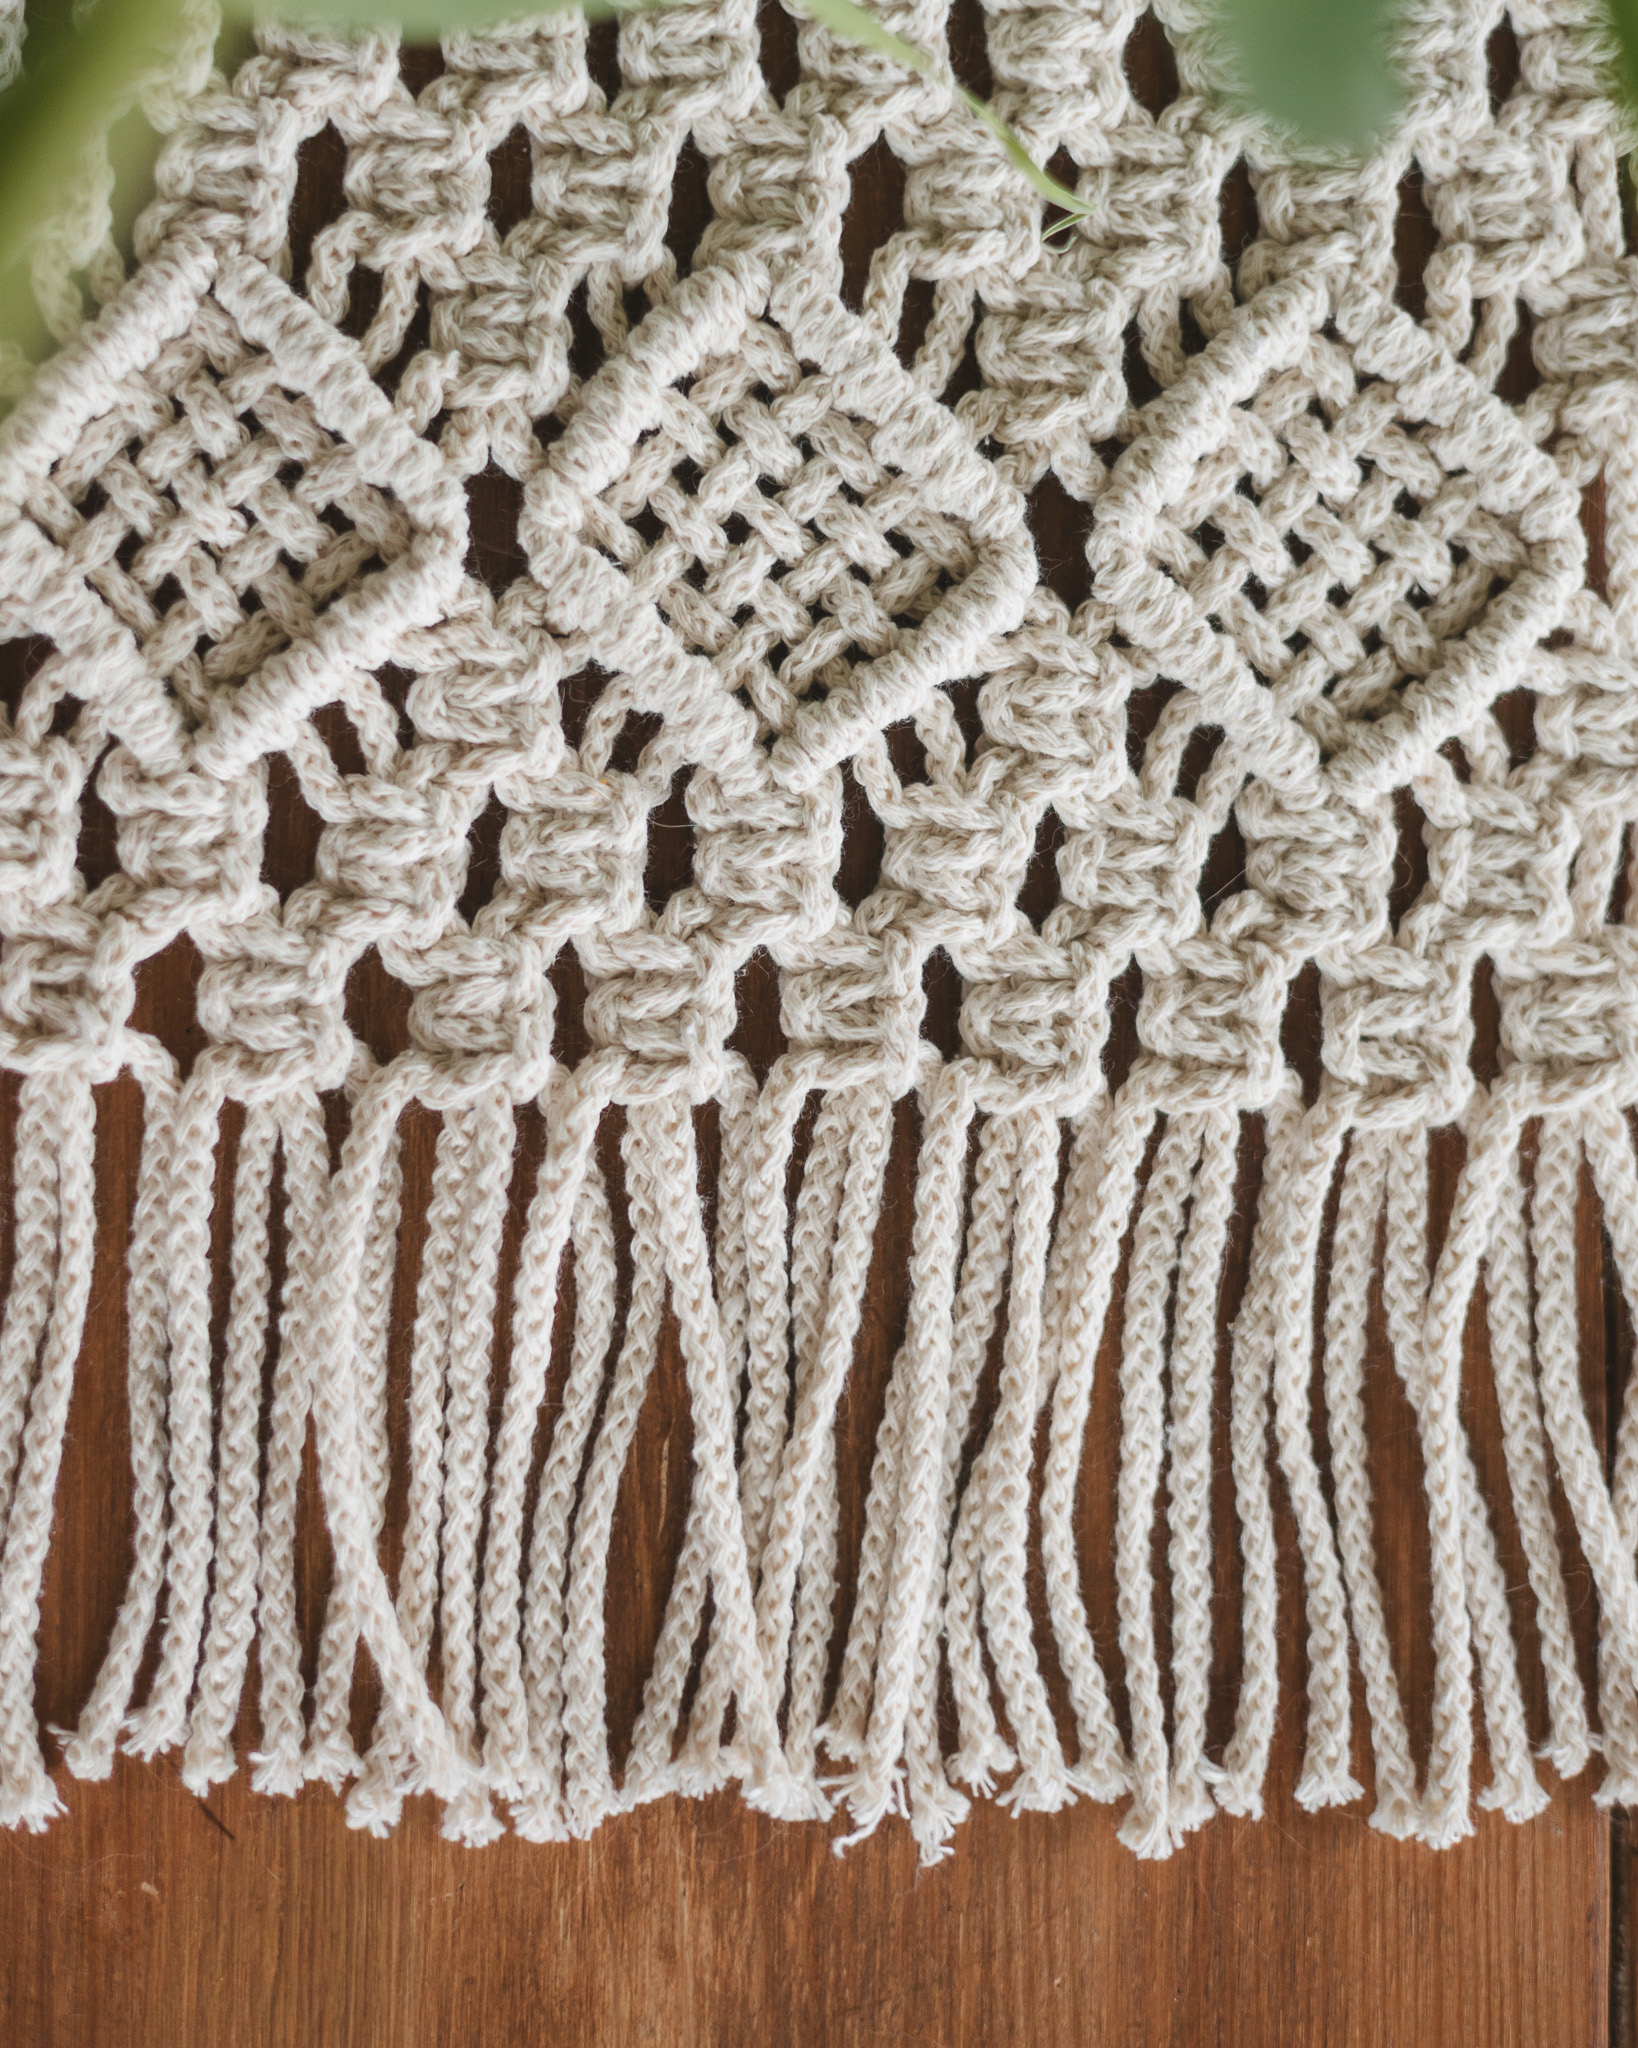
Knots Used
- Lark’s Head Knot
- Square Knot
- Double Half Hitch Knot
Instruction (to support the video):
- Secure the wooden dowel on a flat surface or hang it with S-hooks on a rod.
- Attach the 26 cords to the dowel using Lark’s Head Knots.
- Tie a row of double square knots with a gap of about two fingers between the dowel and the row of knots.
- Tie an alternating row of double square knots.
- Starting from the left, tie a set of double square knots with the first four cords.
- Leave the next eight cords unused and tie a set of double square knots with the next four cords.
- Continue as in step 5 until you tie the last set of double square knots with the final four cords.
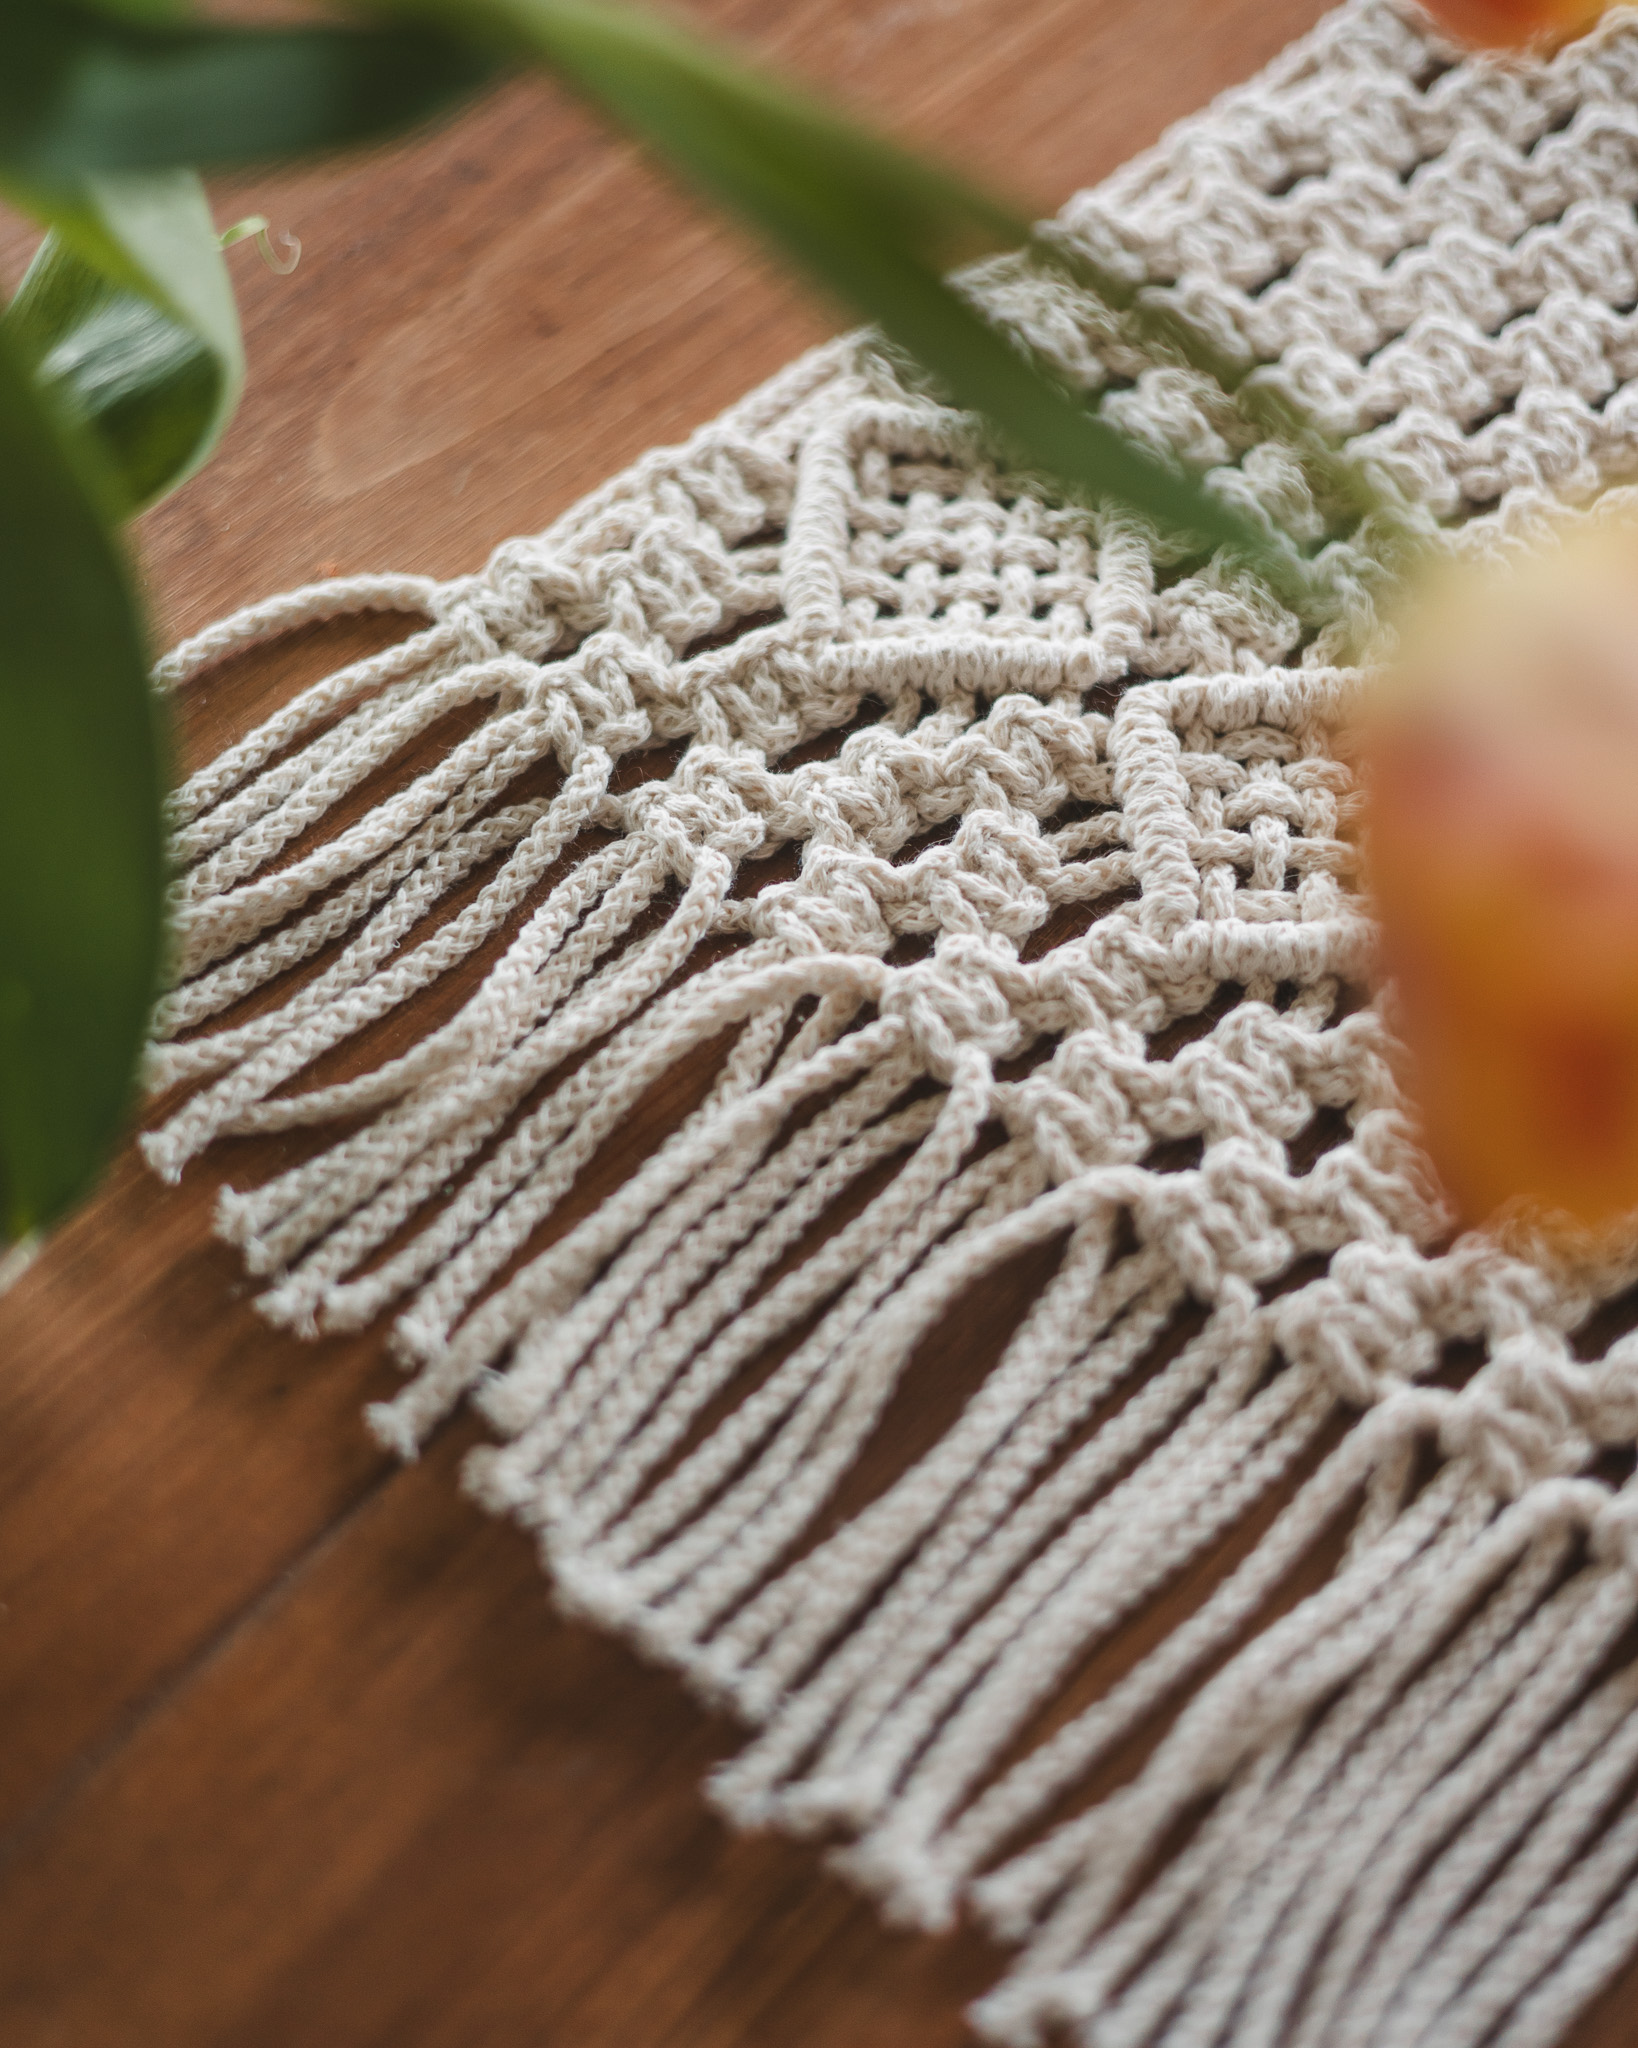
- Create a diamond shape using the eight cords between the sets of double square knots, plus two extra cords from the set on the left and right. Total of 12 cords.
- Take cord number 6 and use it as a guide to make the first diagonal line with double half hitch knots from the center to the left, using cords 5 to 1 as working cords.
- Take cord number 7 and use it as a guide to make the next diagonal line with double half hitch knots from the center to the right, using cords 6 to 12 as working cords.
- Weave the working cords: start with the first cord on the left and weave over, under, over, under, and over the working cords on the right.
- Take the second cord on the left and weave under, over, under, over, and under the working cords on the right.
- Repeat this weaving process with all remaining working cords on the left.
- Close the diamond shape. Tie two diagonal lines with double half hitch knots below the woven pattern.
- Repeat steps 8–14 to create a row of four diamonds.
- Repeat steps 5–7 to tie sets of double square knots between the diamonds.
- Tie six rows of double square knots.
- Measure the placemat from the first row of square knots to the last row; it should measure approximately 22–23 cm. If your piece is shorter, add one or two more rows of double square knots.
- Tie six or seven more rows of double square knots, making sure the last row has 12 sets of double square knots.
- Repeat steps 5–7 to tie sets of double square knots.
- Repeat steps 8–15.
- Finish with two rows of double square knots.
- Cut the Lark’s Head Knots on the dowel.
- Fold the placemat in half and trim the cords so the fringes are even on both ends.
- Gently stretch the placemat if needed.
You are done!
The rights to this pattern belong to MYO Make Your Own. The pattern or its pictures may not be copied, shared or resold either in parts or in its entirety, but you may sell items you have crocheted from this pattern. If you have questions about the pattern, contact MYO at hello@makeyourown.se.
Cutting
- 26 cords, each 4 meters long
Knots Used
- Lark’s Head Knot
- Square Knot
- Double Half Hitch Knot
Instruction (to support the video):
- Secure the wooden dowel on a flat surface or hang it with S-hooks on a rod.
- Attach the 26 cords to the dowel using Lark’s Head Knots.
- Tie a row of double square knots with a gap of about two fingers between the dowel and the row of knots.
- Tie an alternating row of double square knots.
- Starting from the left, tie a set of double square knots with the first four cords.
- Leave the next eight cords unused and tie a set of double square knots with the next four cords.
- Continue as in step 5 until you tie the last set of double square knots with the final four cords.
- Create a diamond shape using the eight cords between the sets of double square knots, plus two extra cords from the set on the left and right. Total of 12 cords.
- Take cord number 6 and use it as a guide to make the first diagonal line with double half hitch knots from the center to the left, using cords 5 to 1 as working cords.
- Take cord number 7 and use it as a guide to make the next diagonal line with double half hitch knots from the center to the right, using cords 6 to 12 as working cords.
- Weave the working cords: start with the first cord on the left and weave over, under, over, under, and over the working cords on the right.
- Take the second cord on the left and weave under, over, under, over, and under the working cords on the right.
- Repeat this weaving process with all remaining working cords on the left.
- Close the diamond shape. Tie two diagonal lines with double half hitch knots below the woven pattern.
- Repeat steps 8–14 to create a row of four diamonds.
- Repeat steps 5–7 to tie sets of double square knots between the diamonds.
- Tie six rows of double square knots.
- Measure the placemat from the first row of square knots to the last row; it should measure approximately 22–23 cm. If your piece is shorter, add one or two more rows of double square knots.
- Tie six or seven more rows of double square knots, making sure the last row has 12 sets of double square knots.
- Repeat steps 5–7 to tie sets of double square knots.
- Repeat steps 8–15.
- Finish with two rows of double square knots.
- Cut the Lark’s Head Knots on the dowel.
- Fold the placemat in half and trim the cords so the fringes are even on both ends.
- Gently stretch the placemat if needed.
You are done!
The rights to this pattern belong to MYO Make Your Own. The pattern or its pictures may not be copied, shared or resold either in parts or in its entirety, but you may sell items you have crocheted from this pattern. If you have questions about the pattern, contact MYO at hello@makeyourown.se.

.jpg)


Share your creations with us
Thank you!
Your comment was sent!