
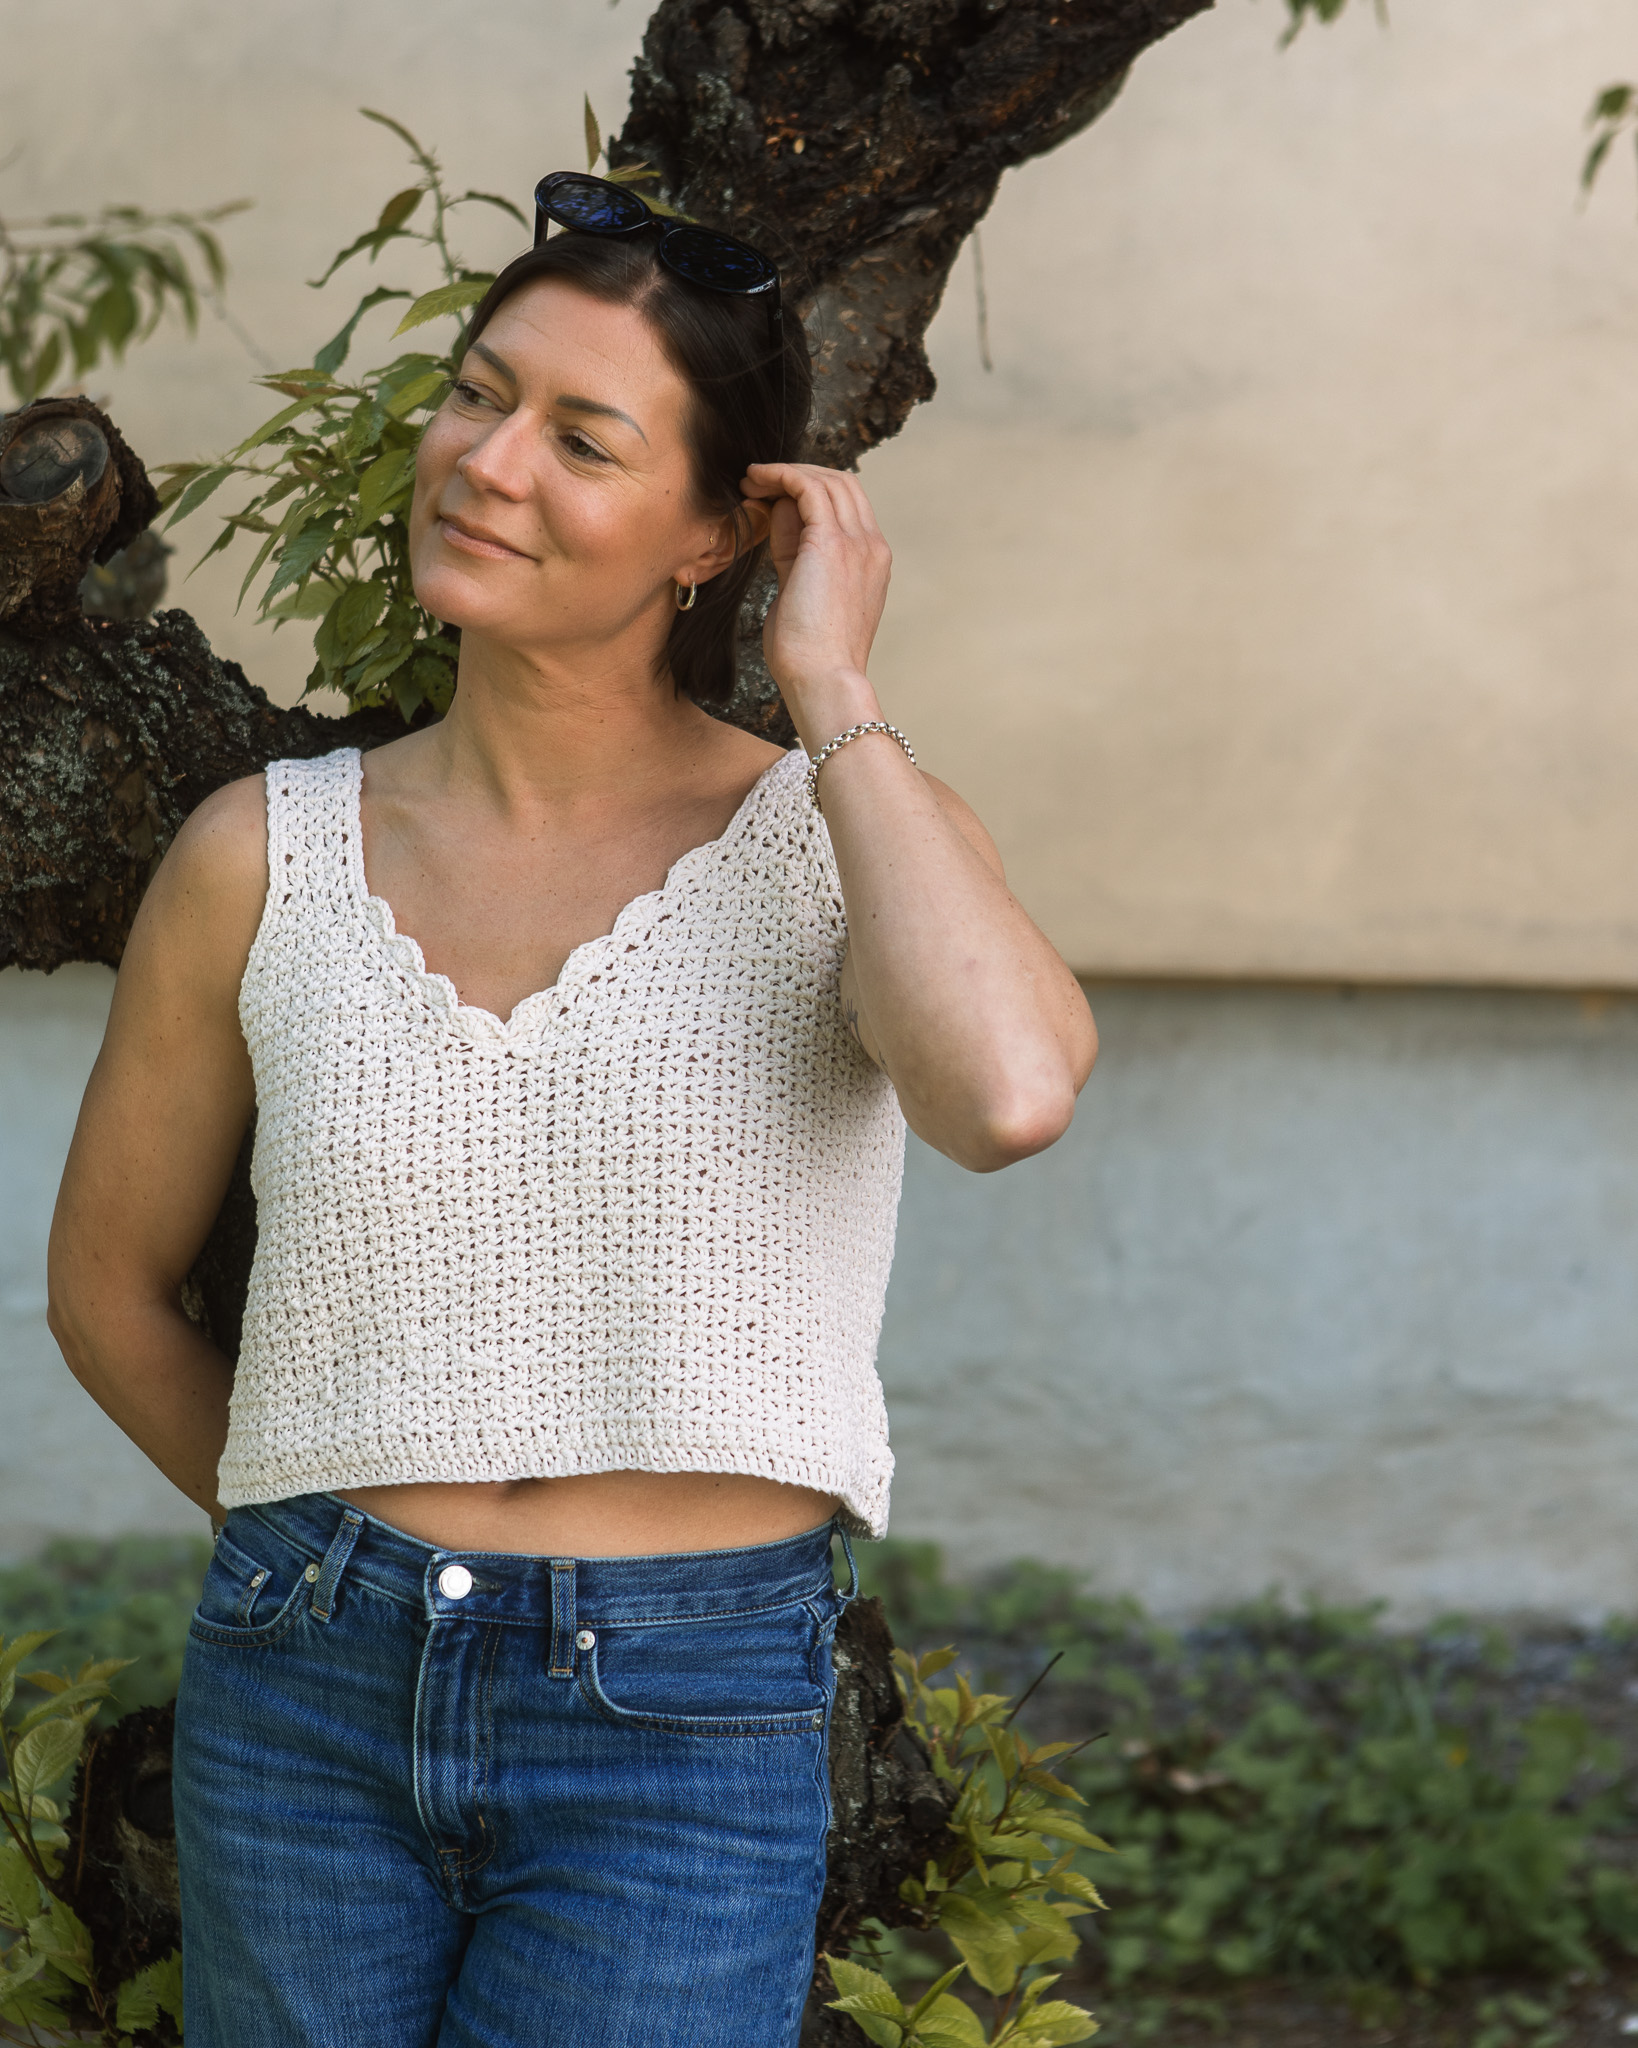
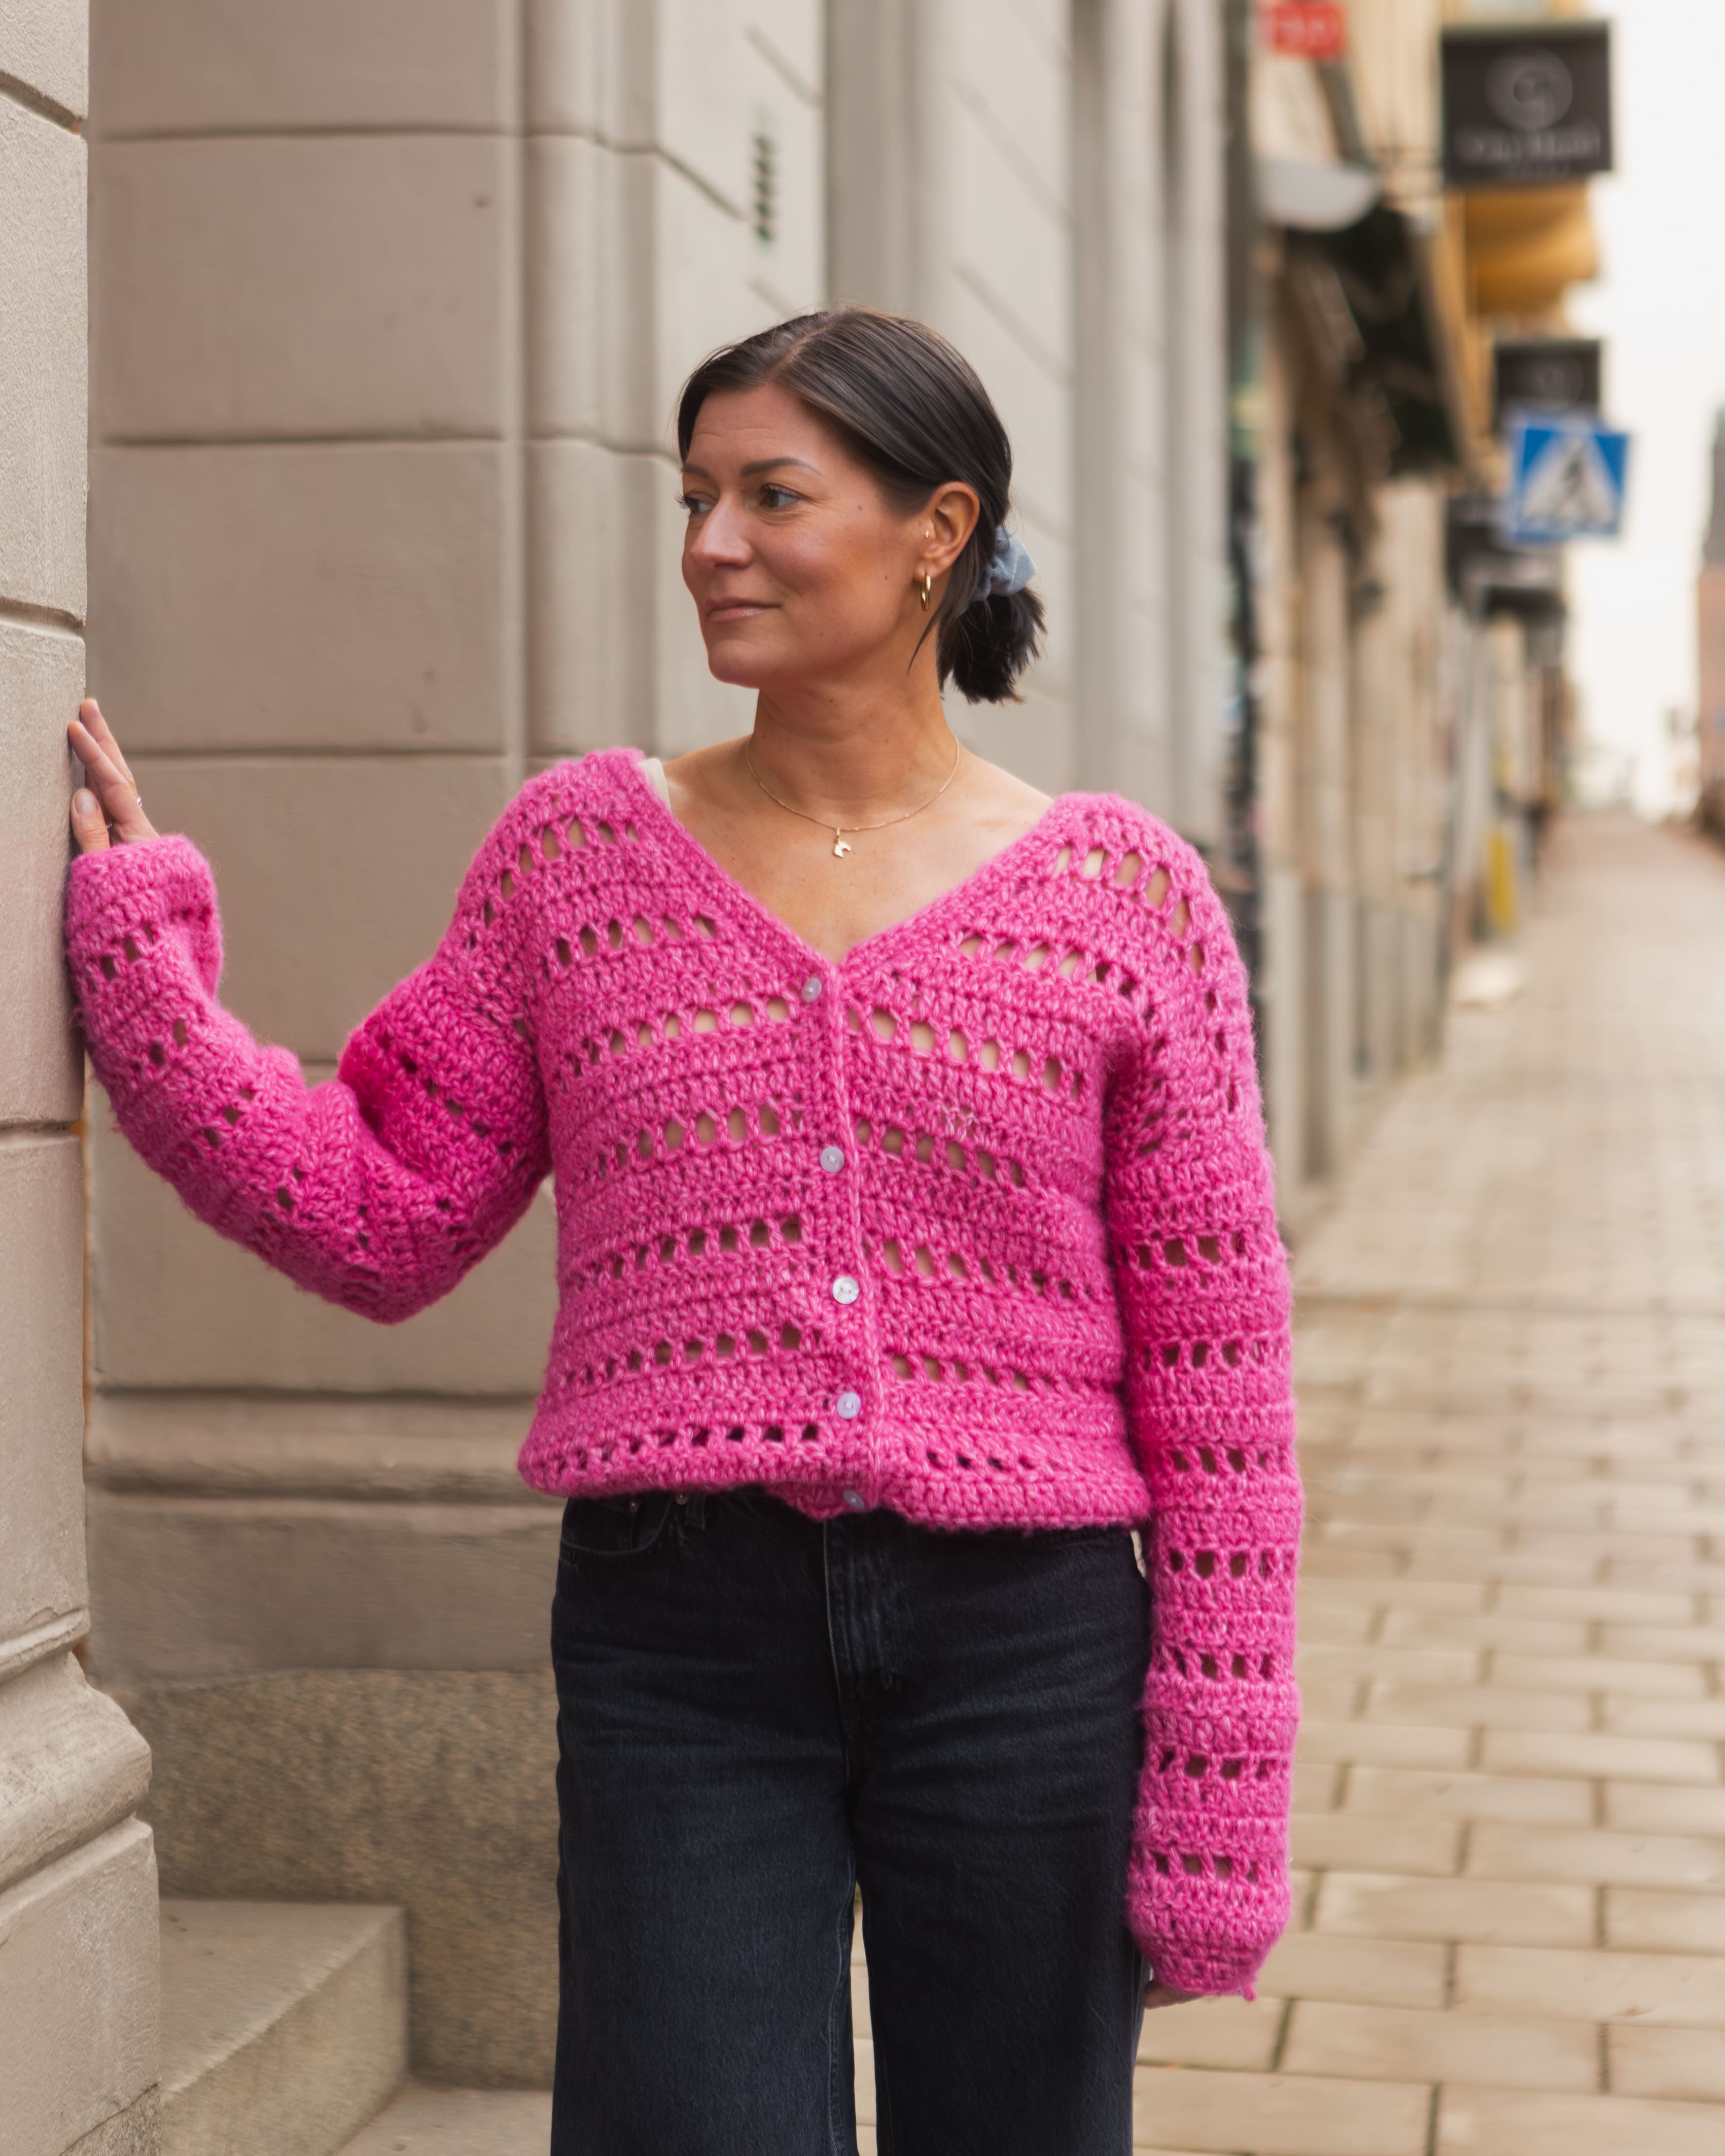
Knitted sweater "Ilse"
Knit a cozy sweater with us!
This sweater is perfect for all seasons: cool summer evenings, cozy autumn days, or winter evenings by the fire. This pattern is designed for complete beginners, and our creator will guide you through every step. Just imagine knitting your own sweater—how wonderful is that?
Pick your favorite color and let’s get started!
Yarn consumption: Size S/M requires approx 10 balls, size L/XL approx 11 balls
.jpg)
Here's how to do it
The sweater is knitted from the top down with raglan increases, balloon sleeves and elasticated edges. The pattern is available in sizes S/M and L/XL, the video is shot in S/M but you can always have the text to help if you want to make the L/XL. The sweater is roomy. When the sweater is ready, we'll weave in the yarn ends and block the sweater. Join us for perhaps your first knitting project!

This is what you need:
Here you can directly purchase the material for the product. Please note that the instruction is digital and appears here on the page (no written instruction).

.jpg)
Unleash your creativity
For only 85kr per month you get access to all our 300+ beginner-friendly instructions for crochet, knitting and macrame.
A perfect way to get started with your new hobby!

INFO
Techniques used in this pattern:
- Stockinette stitch
- Ribbing
- Decreases
- Increases
- Magic loop technique
- Raglan increases
- Bind off
Important! If your yarn runs out, don’t tie two ends together. Instead, “blend in” the new ball by alternating the new and old yarn every other stitch. This is shown in the video at 1:07 min.
Measurements:
Size S/M:
- Bust: approx. 115 cm
- Sleeve length (from armpit): 40 cm
- Length: 55 cm
Size L/XL:
- Bust: 130 cm
- Sleeve length (from armpit): 40 cm
- Length: 60 cm
Which size you choose is up to you. We recommend the sweater be about 30 cm larger than your chest circumference. So, if you measure 100 cm around the chest, we suggest knitting size L/XL.
Adjust the size, if needed.
- If the sweater feels too wide: do fewer raglan increases (e.g., 11 rows instead of 13).
- If it feels too narrow: add raglan increases (e.g., 17 rows instead of 15).
- Too short? Just knit more rows.
- Too long? Knit fewer rows.
Where to find all the steps in the video
Gauge
We’ll start by knitting a swatch.
Gauge for this pattern is:
10 stitches across and 14 rows in height (in stockinette stitch) = 10 x 10 cm.
The recommended needle size is just a suggestion.
- If you get too few stitches in 10 cm, switch to a larger needle, or you can cast on fewer stitches.
- If you get too many stitches, switch to a smaller needle, or cast on more stitches.
Examples:
- If you get 8 stitches per 10 cm in width, we recommend casting on 4 fewer stitches for both size S/M and L/XL.
- If you get 12 stitches per 10 cm, we recommend casting on 4 extra stitches.
How to knit a swatch to measure your gauge:
- Cast on 12 stitches using the long-tail cast-on.
- The first and last stitch are edge stitches and are always knit, both on the right side and the wrong side.
Row 1: K1, purl 10, K1. Turn.
Row 2: Knit all 12 stitches. Turn.
Repeat these 2 rows 7 times = 14 rows total.
Bind off all stitches.
Now measure your work. If your swatch is 10 cm wide and 10 cm high, you’re using the right needle size.
- If it’s too big, go down a needle size.
- If it’s too small, go up a needle size.
Or adjust your cast-on number as described above.
STEP 1: Neckline (see video at 06:10)
Use 7 mm circular needles (80 cm).
Cast on 56 (S/M) – 60 (L/XL) stitches using the long-tail cast-on method. The cast-on should be firm but not too tight. If it feels too tight, you can:
- Use thicker needles just for the cast-on, or
- Cast on over two needles held together. (Don’t forget to switch back to the correct size when you start knitting.)
How to long-tail cast on:
- Measure out a long enough tail (wrap the yarn around the needle as many times as the number of stitches you need).
- Hold the yarn tail over your thumb and the working yarn (from the ball) over your index finger.
- Pinch both ends with your remaining fingers in your palm.
- Insert the right needle under the strand on your thumb, then over the strand on your index finger, and pull it through the loop on your thumb to form a stitch.
- Slide the loop off your thumb, pull both strands to tighten.
Repeat until all stitches are cast on.
STEP 2: Knitting in the round with the magic loop method (see video at 10:00)
Now we’ll knit in the round using the Magic Loop method, if you're using an 80 cm needle.
If you’re using a 40 cm needle, you don’t need Magic Loop—you can knit in the round directly.
Why Magic Loop? Because your cast-on stitches are shorter than the length of the needle, you need this method to knit in the round.
- Slide all 56 (S/M) or 60 (L/XL) stitches to the middle of the cable.
- Split the stitches in half to form two groups (they don’t need to be evenly divided).
- Pull out the cable between the two stitch groups to form a loop.
Make sure your stitches aren’t twisted!
- Push the stitches closer to the needle tips. The working yarn should come from the back needle.
You’ll knit onto the front needle. - Pull out some of the cable of the back needle to start knitting onto the front needle.
We’ll knit the neckline in ribbing: alternating knit and purl stitches. Ribbing is used where you want some stretch, like at the neckline. It forms vertical columns: knit stitches in front, purl stitches behind.
Tip: Place a stitch marker on the first stitch to mark the beginning of the round. This also helps you track your total length. This marker ends up at the center back.
Make sure you keep some constant yarn tension when switching from one needle to the other. Do this by keeping the needles close toeach other when you switch over. Otherwise the transfer points will show up as loose gaps on the finished ribbing.
How to knit the first stitches:
Knit stitch:
- Hold your left needle with the stitches. Wrap the yarn over your left index finger, securing it with your pinky and ring finger.
- Insert the right needle into the first stitch on the left needle.
- Wrap the yarn over the right needle and pull it through.
- Slide the old stitch off the left needle. Pull the yarn to tighten.
Purl stitch:
- Bring the yarn in front of your needle.
- Insert the right needle into the stitch from right to left.
- Wrap the yarn over and pull it through.
- Slide off the stitch and tighten gently.
Repeat by alternating knit 1, purl 1 all the way across your front needle.
Turn your work, push the stitches over to the empty back needle and repeat. If your last stitch was a knit, your first stitch on the back needle should be a purl. When you get to the marker, leave it attached to mark the first stitch of the round. Continuing on the next round, knit on knit stitches and purl on purl stitches from the previous round. Be careful not to twist the stitches around the needles, it's difficult to fix later.
Continue in ribbing for about 5 cm, measuring from your marker down.
STEP 3: Increases from the neckline, preparing for the yoke (see video at 27:20)
Your ribbed neckline currently has 56 (S/M) – 60 (L/XL) stitches.
Now we’ll increase to 66 (S/M) – 70 (L/XL) stitches.
That means we need to add 10 stitches, spaced fairly evenly around the round—roughly every 6th or 7th stitch. (In the video, we sometimes increase every 5th or 6th—it doesn’t have to be exact. What matters is that the total number of increases is 10.)
It’s easiest to increase after a purl stitch, but you can also do it after a knit stitch.
On this setup round, knit only knit stitches—even over the ribbing.
So you’ll knit over both the former knit and purl stitches.
To make an increase:
- Knit 6 (S/M) or 7 (L/XL) stitches.
- Locate the strand of yarn between the stitch you just knit on the right needle and the next stitch on the left needle.
- Insert the right needle from front to back under this strand to lift it.
- Transfer it to the left needle by inserting the left needle from front to back under it.
- Knit into the back of the lifted strand (this twists the stitch and avoids creating a hole).
You’ve now made one new stitch!
Repeat this process all the way around until you have increased 10 stitches total.
You should now have 66 (S/M) – 70 (L/XL) stitches.
Next: Transfer all stitches to your larger needle (10 mm).
It might feel tight at first, but it’ll get easier in the next round.
STEP 4: Raglan increases (see video at 40:00)
We’ll now divide the 66 (S/M) – 70 (L/XL) stitches into 4 sections and place stitch markers.
Your beginning-of-round marker (from the neckline) stays—it marks the center back.
Now count and place markers as follows:
- Count 12 (S/M) or 13 (L/XL) stitches → place marker (this is the halfway point of the back).
- Count 8 (S/M) or 9 (L/XL) stitches → place marker (this is one sleeve).
- Count 23 (S/M) or 24 (L/XL) stitches → place marker (this is the front).
- Count 8 (S/M) or 9 (L/XL) stitches → place marker (this is the second sleeve).
You’ll now be back at the center back.
From here, continue in stockinette stitch (=knit every round).
Raglan increase setup:
- You’ll increase every other round (one round with increases, one plain round).
- Each increase round adds 8 stitches total.
How to do the increases invisibly:
- Before each marked stitch, do a right-leaning increase (M1R):
- Lift the strand between stitches with the left needle from front to back.
- Knit into the back of the strand.
- Knit the stitch with the marker (this is your "raglan stitch").
- After the raglan stitch, do a left-leaning increase (M1L):
- Lift the strand with the left needle from back to front.
- Knit into the front of the strand.
Repeat these two rounds:
- 1 increase round
- 1 plain knit round
Repeat these two rounds 13 times for S/M, which is a total of 26 rows, 170 stitches in total. For L/XL, repeat 15 times, which is 30 rounds and 190 stitches.
Tip:
You can place your stitches on a long piece scrap yarn now and try on the sweater to check the fit and length.
To resume knitting: transfer stitches back to your 10 mm needle. Make sure stitches aren’t twisted—insert the needle from right to left into each stitch.
If it feels too short, continue knitting plain rounds (no increases) until the yoke reaches the desired depth.
Target yoke length (measure from the center back marker):
- 30 cm for S/M
- 35 cm for L/XL
STEP 5: Divide for sleeves, front and back (see video at 1:14)
Now it's time to divide your work into four parts: one back, two sleeves, and one front.
The easiest way to do this is to place the sleeve stitches on a piece of scrap yarn or thread, and we’ll come back to them after finishing the front and back.
Here’s how to divide the stitches:
- Start knitting at the first marker we placed in the beginning.Knit 26 (S/M) or 29 (L/XL) stitches — this includes one raglan stitch.
- Using a needle and contrast-colored scrap yarn, slip 34 (S/M) or 39 (L/XL) stitches (for the sleeve) onto the scrap yarn from the right needle.Cut the working yarn and tie a knot in the scrap yarn to keep the stitches secure.
- Now cast on 6 (S/M) or 8 (L/XL) stitches for the underarm, next to the stitches you just knit (part of the back).
Use the thumb cast-on method:- Hold the right needle in your right hand and let the left side rest.
- The yarn comes from the body section you just knit.
- Hold the yarn in your left hand and wrap your left thumb away from you, under the yarn, creating a loop.
- Insert the right needle through this loop from the left, catch the yarn, and slide the loop onto the needle.
- Pull gently to tighten the stitch.
- Repeat until you’ve cast on 6 (S/M) or 8 (L/XL) stitches.
- Continue knitting 51 (S/M) or 56 (L/XL) stitches (this is the front, including 2 raglan stitches).
- Using a needle and contrast-colored scrap yarn, slip 34 (S/M) or 39 (L/XL) stitches (for the other sleeve) onto the scrap yarn from the right needle.Cut the working yarn and tie a knot in the scrap yarn to keep the stitches secure.
- Cast on 6 (S/M) or 8 (L/XL) new stitches for the second underarm, using the same thumb method.
- Finally, knit 25 (S/M) or 27 (L/XL) stitches to complete the other half of the back (includes 1 raglan stitch)
Now you’re back to the beginning. It’s a good idea to place a marker here to keep track of your starting point.
After placing the sleeve stitches on holders and casting on underarm stitches, you should now have:
- 114 stitches (S/M)
- 144 stitches (L/XL)
Continue knitting the body in stockinette stitch (knit every round), including the newly cast-on underarm stitches.
Knit until your work measures the desired length, remembering we’ll finish with about 5 cm of ribbing at the bottom.
In the sample:
- Size S/M = total length of 50 cm
- Size L/XL = 55 cm
Note: The sweater may “grow” slightly when washed.
Now you can try it on again by placing the stitches on a long piece of scrap yarn.
If it’s too short, just keep knitting. If it’s too long, you can unravel a few rounds.
If you don't need to try your sweater on at this point, transfer all stitches straight to your thinner needle (7 mm) instead, to begin the stretchy ribbing.
STEP 6: Ribbing at the bottom of the body (see video at 1:34)
To make the bottom edge of your sweater a little tighter and more fitted, we’ll now knit about 5 cm of ribbing using the rib stitch technique. If you need a reminder on how to knit ribbing, you can look back at Step 2 in these instructions.
Once you’ve finished your 5 cm of ribbing, continue to the next step.
STEP 7: Binding off (see video at 1:37)
After knitting the ribbing at the bottom of your sweater, it’s time to bind off the stitches. Before binding off, knit one full round in plain knit stitches, across the ribbing.
Important: Don’t bind off too tightly! Binding off too tight will make the bottom edge curl up. Binding off too loosely will make it flare out.
If you tend to bind off tightly, you can use a larger needle (e.g. 10 mm) just for the bind-off.
Then start binding off:
- Knit the first stitch on the left needle.
- Knit the second stitch.
- Use your index finger to hold both stitches on the right needle so they don’t slip off.
- Insert the left needle from the left side into the first stitch on the right needle.
- Use your finger to hold only the most recent stitch on the needle.
- Lift the first stitch over the second one and off the needle tip.
- Now you’ve bound off one stitch—it’s now lying beneath your right needle.
- You have one stitch remaining on the right needle.
- Knit the next stitch and repeat from step 3.
- When you have one final stitch, cut the yarn and pull the tail through the last stitch to secure it.
- Sew the tail neatly to the first bound-off stitch to finish the edge.
STEP 8: Sleeves (see video at 1:42)
After finishing the body of your sweater, it’s time to knit the sleeves. Start with either one sleeve.
The stitches for the sleeves are currently held on a piece of scrap yarn. We’ll transfer them back to a 10 mm circular needle, using the Magic Loop technique (as shown in Step 2).
Place the sleeve stitches (34 for S/M or 39 for L/XL) back on your needle. Start picking up stitches from the left side of the sleeve when the underarm is facing you. Insert the right needle into the stitches from right to left so they don’t twist. Once all stitches are on the needle, pull the scrap yarn out gently.
Picking up the underarm stitches
You had cast on 6 (S/M) or 8 (L/XL) stitches for the underarm. Now we’ll pick these up and knit them along with the sleeve stitches.
On each side of the underarm stitches, you’ll also pick up 1 extra stitch to help prevent holes.
So you’ll be picking up a total of 8 (S/M) or 10 (L/XL) stitches under the arm, giving you:
- 42 stitches (S/M)
- 49 stitches (L/XL) for the full sleeve.
How to pick up underarm stitches:
- Look for the little holes between the stitches below the underarm cast-on.
(See the video at 1:15 for visual help.) These are where you’ll insert your needle, this way the result will be seamless. - Start in the center of the underarm — this will be the beginning of the round.
- Take a new ball of yarn and leave a 20 cm tail hanging to weave in later.
Hold the working yarn in your left hand. - Insert your needle into one of the "holes" between stitches (not a stitch) just below the underarm cast-on.
Use your right needle to catch the yarn and pull up a loop (like making a knit stitch). - Pick up 2 (S/M) or 3 (L/XL) stitches this way from nearby holes.
- To avoid a gap, pick up one extra stitch between the picked-up underarm stitches and the stitches on the needle.
Try a couple of different options of twisting the picked up loop left and right, until you find a suitable way that makes the smallest hole.
Gently tighten the yarn after picking up the stitch. - If you still see a gap between the underarm and the sleeve stitches, you can pick up one more stitch directly in the gap.
Then place it and the next sleeve stitch on the left needle and knit them together. This will close the hole. - Knit across the sleeve stitches as usual until you reach the last stitch.
- Slip that last stitch (unworked) to the right needle.
- Pick up a nearby stitch to close the other gap and place it and the slipped stitch back on the left needle. Knit them together.
- Pick up the remaining 4 (S/M) or 5 (L/XL) stitches under the arm, just like before. Make sure you're picking them up with the working yarn, not the yarn tail from the beginning of the round.
- You’ve now completed the round and should have:
- 42 stitches for S/M
- 49 stitches for L/XL
Knit in the round (stockinette stitch) until the sleeve measures about 35 cm from the underarm. Try the sweater on to make sure the sleeve length is right. Don’t forget that we’ll finish the sleeve with about 5 cm of ribbing.
Decrease for the ribbed cuff
Once you’re happy with the sleeve length:
- Transfer all stitches to a 7 mm needle. Use the magic loop method like in step 2.
- Place a stitch marker at the beginning of the round.
- Knit 1 stitch.
- Purl the next two stitches together (insert the needle as if to purl, but through both stitches).
- Repeat steps 3 and 4 around the round.
- Important: If your first stitch was a knit stitch, your last stitch should be a purl.
- Note for L/XL: You’ll have 49 stitches, an uneven number. The last purl stitch will be purled alone, not with another.
After the decrease round:
- You’ll have 24 stitches (S/M)
- And 31 stitches (L/XL)
Now knit 5 cm of ribbing (k1, p1).
Then, bind off just like in Step 7 (don’t forget the round of knit stitches before binding off).
Repeat all these steps for the second sleeve, and make sure it’s the same length as the first one.
STEP 9: Weaving in the yarn ends (see video at 2:04)
Before your sweater is ready to wear, you’ll need to weave in all the yarn ends.
Turn your sweater inside out—this makes it easier to see all the loose ends that need finishing. If you skip this step, your stitches could unravel and cause holes in your sweater.
Use a darning needle to sew the ends into the nearby stitches on the inside of the sweater. Pull the yarn slightly as you go so that the stitches don’t loosen and become uneven. Be careful not to sew too deep into the fabric—if you go too far, the yarn may show through to the outside. The easiest way is to sew sideways and follow the purl ridges. Weave in about 10 cm of each yarn end. After weaving in, you can cut off the excess yarn if any remains.
Use the same method for the underarm yarn ends or where you joined new yarn.
STEP 10: Blocking (see video at 2:14)
Now we’ve come to the final, important step before your sweater is truly finished: blocking.
Blocking isn’t absolutely necessary, but it can make a big difference in the final look and fit of your sweater. It helps even out stitches, improve the shape, and make the fabric drape nicely.
Blocking means that you soak the sweater thoroughly so the fibers are wet all the way through, then shape it and let it dry flat.
You might think your project is soaked after just a few seconds—but it actually takes time for the core of the fibers to get completely wet. When the fibers are fully saturated, blocking gives the best results.
Benefits of blocking:
- You can adjust the shape slightly (make it a little wider or longer).
- The stitch pattern looks neater and more defined.
- Uneven stitches become more consistent.
How to block your sweater
- Fill a basin with lukewarm water and add a little hair conditioner or wool wash.
- Submerge your sweater and let it soak for about one hour.
- Gently squeeze out the water—do not wring!
- Press out as much water as possible by gently squeezing.
- Wrap the sweater in a towel and press again to remove excess water.
- Lay the sweater flat on a towel or another surface.
Shape it carefully with your hands until it looks just how you want it. - If you want the sleeves to be a little wider, gently stretch them outward.
- Let the sweater dry completely before using or storing it.
You’re done—great job! We’d love to see your finished sweater—feel free to share it with us on social media!
Sweater Ilse
Sizes: S/M (L/XL)
Finished measurements:
- Bust: 115 (130) cm
- Length: 55 (60) cm
- Sleeve from underarm: 40 cm
Suggested ease: 30 cm of positive ease
Yarn: MYO CHUNKY WOOL, approx. 10 (11) balls
Needles: 7 mm & 10 mm circular needles (80 cm)
Notions: Tapestry needle, stitch markers, scrap yarn or contrast thread, scissors
Gauge (in St st): 10 sts x 14 rows = 10 × 10 cm on 10 mm needles
Notes
- Worked top-down in the round with raglan shaping.
- Magic Loop method is used where applicable.
- Increases are M1L and M1R to avoid holes.
- Adjust length or width by changing the number of rows or raglan increases.
Instructions
Neckline (7 mm needles)
CO 56 (60) sts using long-tail cast-on. Join to work in the round, being careful not to twist. Place a marker for BOR.
Work in k1, p1 rib for approx. 5 cm.
Yoke Increases
Switch to 10 mm needles.
Increase 10 sts evenly around:
*K6 (7), M1, rep from * to end → 66 (70) sts
Distribute sts for raglan:
- Back: 12 (13)
- Sleeve: 8 (9)
- Front: 23 (24)
- Sleeve: 8 (9)
(Plus 4 raglan sts between sections)
Place markers to separate sections.
Raglan Increases:
Work M1L before and M1R after each raglan marker every other rnd (total 13 (15) increase rnds).
After increases: 170 (190) sts
Optional: place all sts on scrap yarn to try on for fit.
Separate Sleeves & Body
Work to first sleeve section.
Place 34 (39) sleeve sts on scrap yarn.
CO 6 (8) sts for underarm using backward loop or thumb method.
Work across front.
Place second sleeve on scrap yarn.
CO 6 (8) sts for second underarm.
Work across remaining back sts.
You now have 114 (144) sts for the body.
Work in St st in the round until piece measures 50 (55) cm from neck or desired length.
Switch to 7 mm needles and work 5 cm of k1, p1 rib.
BO loosely in pattern.
Sleeves (10 mm needles)
Return 34 (39) held sleeve sts to needle.
Pick up 8 (10) sts around underarm (include 1 extra st on each side to avoid holes).
→ 42 (49) sts
Work in St st in the round until sleeve measures 35 cm from underarm (or desired length).
Switch to 7 mm needles.
Decrease rnd: k1, p2tog, rep from * around (last st p1 if needed).
→ 24 (31) sts
Work 5 cm in k1, p1 rib.
BO loosely.
Repeat for second sleeve.
Finishing
- Weave in all ends neatly on WS.
- Block by soaking in lukewarm water with wool wash. Gently press water out, lay flat to dry in shape.
The rights to this pattern belong to MYO Make Your Own. The pattern or its pictures may not be copied, shared or resold either in parts or in its entirety, but you may sell items you have crocheted from this pattern. If you have questions about the pattern, contact MYO at hello@makeyourown.se.
%20(5).jpg)
Share your creations with us
Thank you!
Your comment was sent!