Du kommer att förlora åtkomst till våra instruktioner och medlemsrabatter. Vi hoppas att du vill stanna kvar, men förstår om det inte känns rätt just nu - du är alltid välkommen tillbaka! :)

Buy your material here

You can buy the materials and needles we use at makeyourown.semakeyourown.se

Go to shop
Copyright © 2022 Make Your Own
Please verify your email address by clicking on the link sent to youremail@gmail.com or resubmit.
patterns

Macramé flowerpot hanger “Elin”

Tie a stunning flowerpot hanger to your patio,  or greenhouse.

Since this flowerpot hanger is tied in jute (you can use our other macramé threads as well), you can have this outdoors without spoiling it, a perfect summer project. This video is beginner-friendly and suitable for those who want to tie your first flowerpot hanger. You will need our string jute medium, scissors and tape measure.

Yarn Consumption: 34m JUTE medium (a 500g roll is equivalent to about 220m, so you can make many more with the same roll).

Macramé flowerpot hanger “Elin”

This is what you need:

JUTE Medium

A fantastic jute yarn for crochet and macrame

Köp produkt

Here's how to do it

Rebecca Pedersen

Sign up to see the full instruction

This instruction is exclusive content for those who have an active membership with MYO. By being a member, you get access to all our 100+ instructions, technology tips, etc., but also membership offers and priority to new product launches. At the same time, you help us develop the instructions page further and release new instructions every week.

Becoming a member is easy and works like a subscription (price: 80 kr/mo), if you want to test our instructions first, we have a number of free instructions available for everyone.

Welcome to our wonderful team of creators! /The Girls from MYO

Steg 1

Start by cutting 8 threads of 4 m & 2 threads of 60 cm


Step 1 (This step creates a loop for hanging part)
- Fold the 8 long strands in half.
- Tie all the strands together with a “wrap knot” (gathering knot) about 5-7 cm down from the top.
- Use one of the 60 cm long threads you cut.
- You tie your “wrap knot” as long as you want, I chose to wrap my thread 8 turns.


Do this:
- Fold your wire, about 10 cm from the end, so you get a U. Then fold it again so you have a U at the top and bottom (see video).
- Start from below by wrapping your thread around all the threads (including the one you use to make the wrap knot).
- Wrap about 8 times around, work your way up.
- Then thread the end of the rope through the upper loop.
- Pull hard! That way you'll lock the knot. Cut off the threads that stick out.

Steg 2

Step 2
- Separate your threads so you get 4 sections of 4 threads each.
- About 10cm down from your “wrap knot” now tie the “right twisting half square knot”.


Do this:
- Take the right thread and fold it like an L above the two middle threads.
- Take the left thread and put it first over the right thread, then under the middle threads and then through the loop on the right side. Tighten.
- Repeat as many times as you want, I chose to make 20 knots.


Repeat on all sections.

Steg 3

Step 3

About 10 cm down from your “twists”, tie a regular knot with all the threads for that section.
Repeat on all sections.

Steg 4

Step 4
- About 10 cm down, repeat step 2.
- So tie 20 “right twisting half square knots” (or as many as you chose to do for step 2).
Repeat on all sections

Steg 5

Step 5
Now the different sections must be tied together to create a stability/shape at the bottom for the pot you want to hang up.
- About 20 cm down from your previous knots, take the two outermost threads from two adjacent sections. So, the two right threads from one section and the two left threads from the section on the other side.
- They now form 4 new sections.
- They are tied together with 1st "Square knot".


Do this:
- Take the right thread and put an L over the two middle threads
- Take the left thread and put it over the right one, then under the middle threads and pull through the loop on the other side and tighten.
- Now take the left thread and place like an L above the middle threads.
- Take the right thread and put it over the left one, then under the middle threads and pull through the loop on the other side and tighten.

Steg 6

Step 6
- About 5 cm down, repeat the same steps as for step 5.
- You again select the two outermost threads from two adjacent sections. So, the two right threads from one section and the two left threads from the section on the other side.
- They now form 4 new sections.
- They are tied together with 1st "Square knot" as in the previous step.

Repeat on all sections.

Steg 7

Step 7
- About 15 cm down (or adapted to your pot) you tie all the threads together with a "wrap knot".
- Follow the instructions from step 1.
Finish by cutting off your strands at the bottom, leaving them just as long as you want.
Done!

Steg 8
Steg 9
Steg 10

The rights to this pattern belong to MYO Make Your Own. The pattern or its pictures may not be copied, shared or resold either in parts or in its entirety, but you may sell items you have crocheted from this pattern. If you have questions about the pattern, contact MYO at hello@makeyourown.se.

Macramé flowerpot hanger “Elin”

Tie a stunning flowerpot hanger to your patio,  or greenhouse.

Since this flowerpot hanger is tied in jute (you can use our other macramé threads as well), you can have this outdoors without spoiling it, a perfect summer project. This video is beginner-friendly and suitable for those who want to tie your first flowerpot hanger. You will need our string jute medium, scissors and tape measure.

Yarn Consumption: 34m JUTE medium (a 500g roll is equivalent to about 220m, so you can make many more with the same roll).

Macramé flowerpot hanger “Elin”
Steg 1

Start by cutting 8 threads of 4 m & 2 threads of 60 cm


Step 1 (This step creates a loop for hanging part)
- Fold the 8 long strands in half.
- Tie all the strands together with a “wrap knot” (gathering knot) about 5-7 cm down from the top.
- Use one of the 60 cm long threads you cut.
- You tie your “wrap knot” as long as you want, I chose to wrap my thread 8 turns.


Do this:
- Fold your wire, about 10 cm from the end, so you get a U. Then fold it again so you have a U at the top and bottom (see video).
- Start from below by wrapping your thread around all the threads (including the one you use to make the wrap knot).
- Wrap about 8 times around, work your way up.
- Then thread the end of the rope through the upper loop.
- Pull hard! That way you'll lock the knot. Cut off the threads that stick out.

Steg 2

Step 2
- Separate your threads so you get 4 sections of 4 threads each.
- About 10cm down from your “wrap knot” now tie the “right twisting half square knot”.


Do this:
- Take the right thread and fold it like an L above the two middle threads.
- Take the left thread and put it first over the right thread, then under the middle threads and then through the loop on the right side. Tighten.
- Repeat as many times as you want, I chose to make 20 knots.


Repeat on all sections.

Steg 3

Step 3

About 10 cm down from your “twists”, tie a regular knot with all the threads for that section.
Repeat on all sections.

Steg 4

Step 4
- About 10 cm down, repeat step 2.
- So tie 20 “right twisting half square knots” (or as many as you chose to do for step 2).
Repeat on all sections

Steg 5

Step 5
Now the different sections must be tied together to create a stability/shape at the bottom for the pot you want to hang up.
- About 20 cm down from your previous knots, take the two outermost threads from two adjacent sections. So, the two right threads from one section and the two left threads from the section on the other side.
- They now form 4 new sections.
- They are tied together with 1st "Square knot".


Do this:
- Take the right thread and put an L over the two middle threads
- Take the left thread and put it over the right one, then under the middle threads and pull through the loop on the other side and tighten.
- Now take the left thread and place like an L above the middle threads.
- Take the right thread and put it over the left one, then under the middle threads and pull through the loop on the other side and tighten.

Steg 6

Step 6
- About 5 cm down, repeat the same steps as for step 5.
- You again select the two outermost threads from two adjacent sections. So, the two right threads from one section and the two left threads from the section on the other side.
- They now form 4 new sections.
- They are tied together with 1st "Square knot" as in the previous step.

Repeat on all sections.

Steg 7

Step 7
- About 15 cm down (or adapted to your pot) you tie all the threads together with a "wrap knot".
- Follow the instructions from step 1.
Finish by cutting off your strands at the bottom, leaving them just as long as you want.
Done!

Steg 8
Steg 9
Steg 10

The rights to this pattern belong to MYO Make Your Own. The pattern or its pictures may not be copied, shared or resold either in parts or in its entirety, but you may sell items you have crocheted from this pattern. If you have questions about the pattern, contact MYO at hello@makeyourown.se.
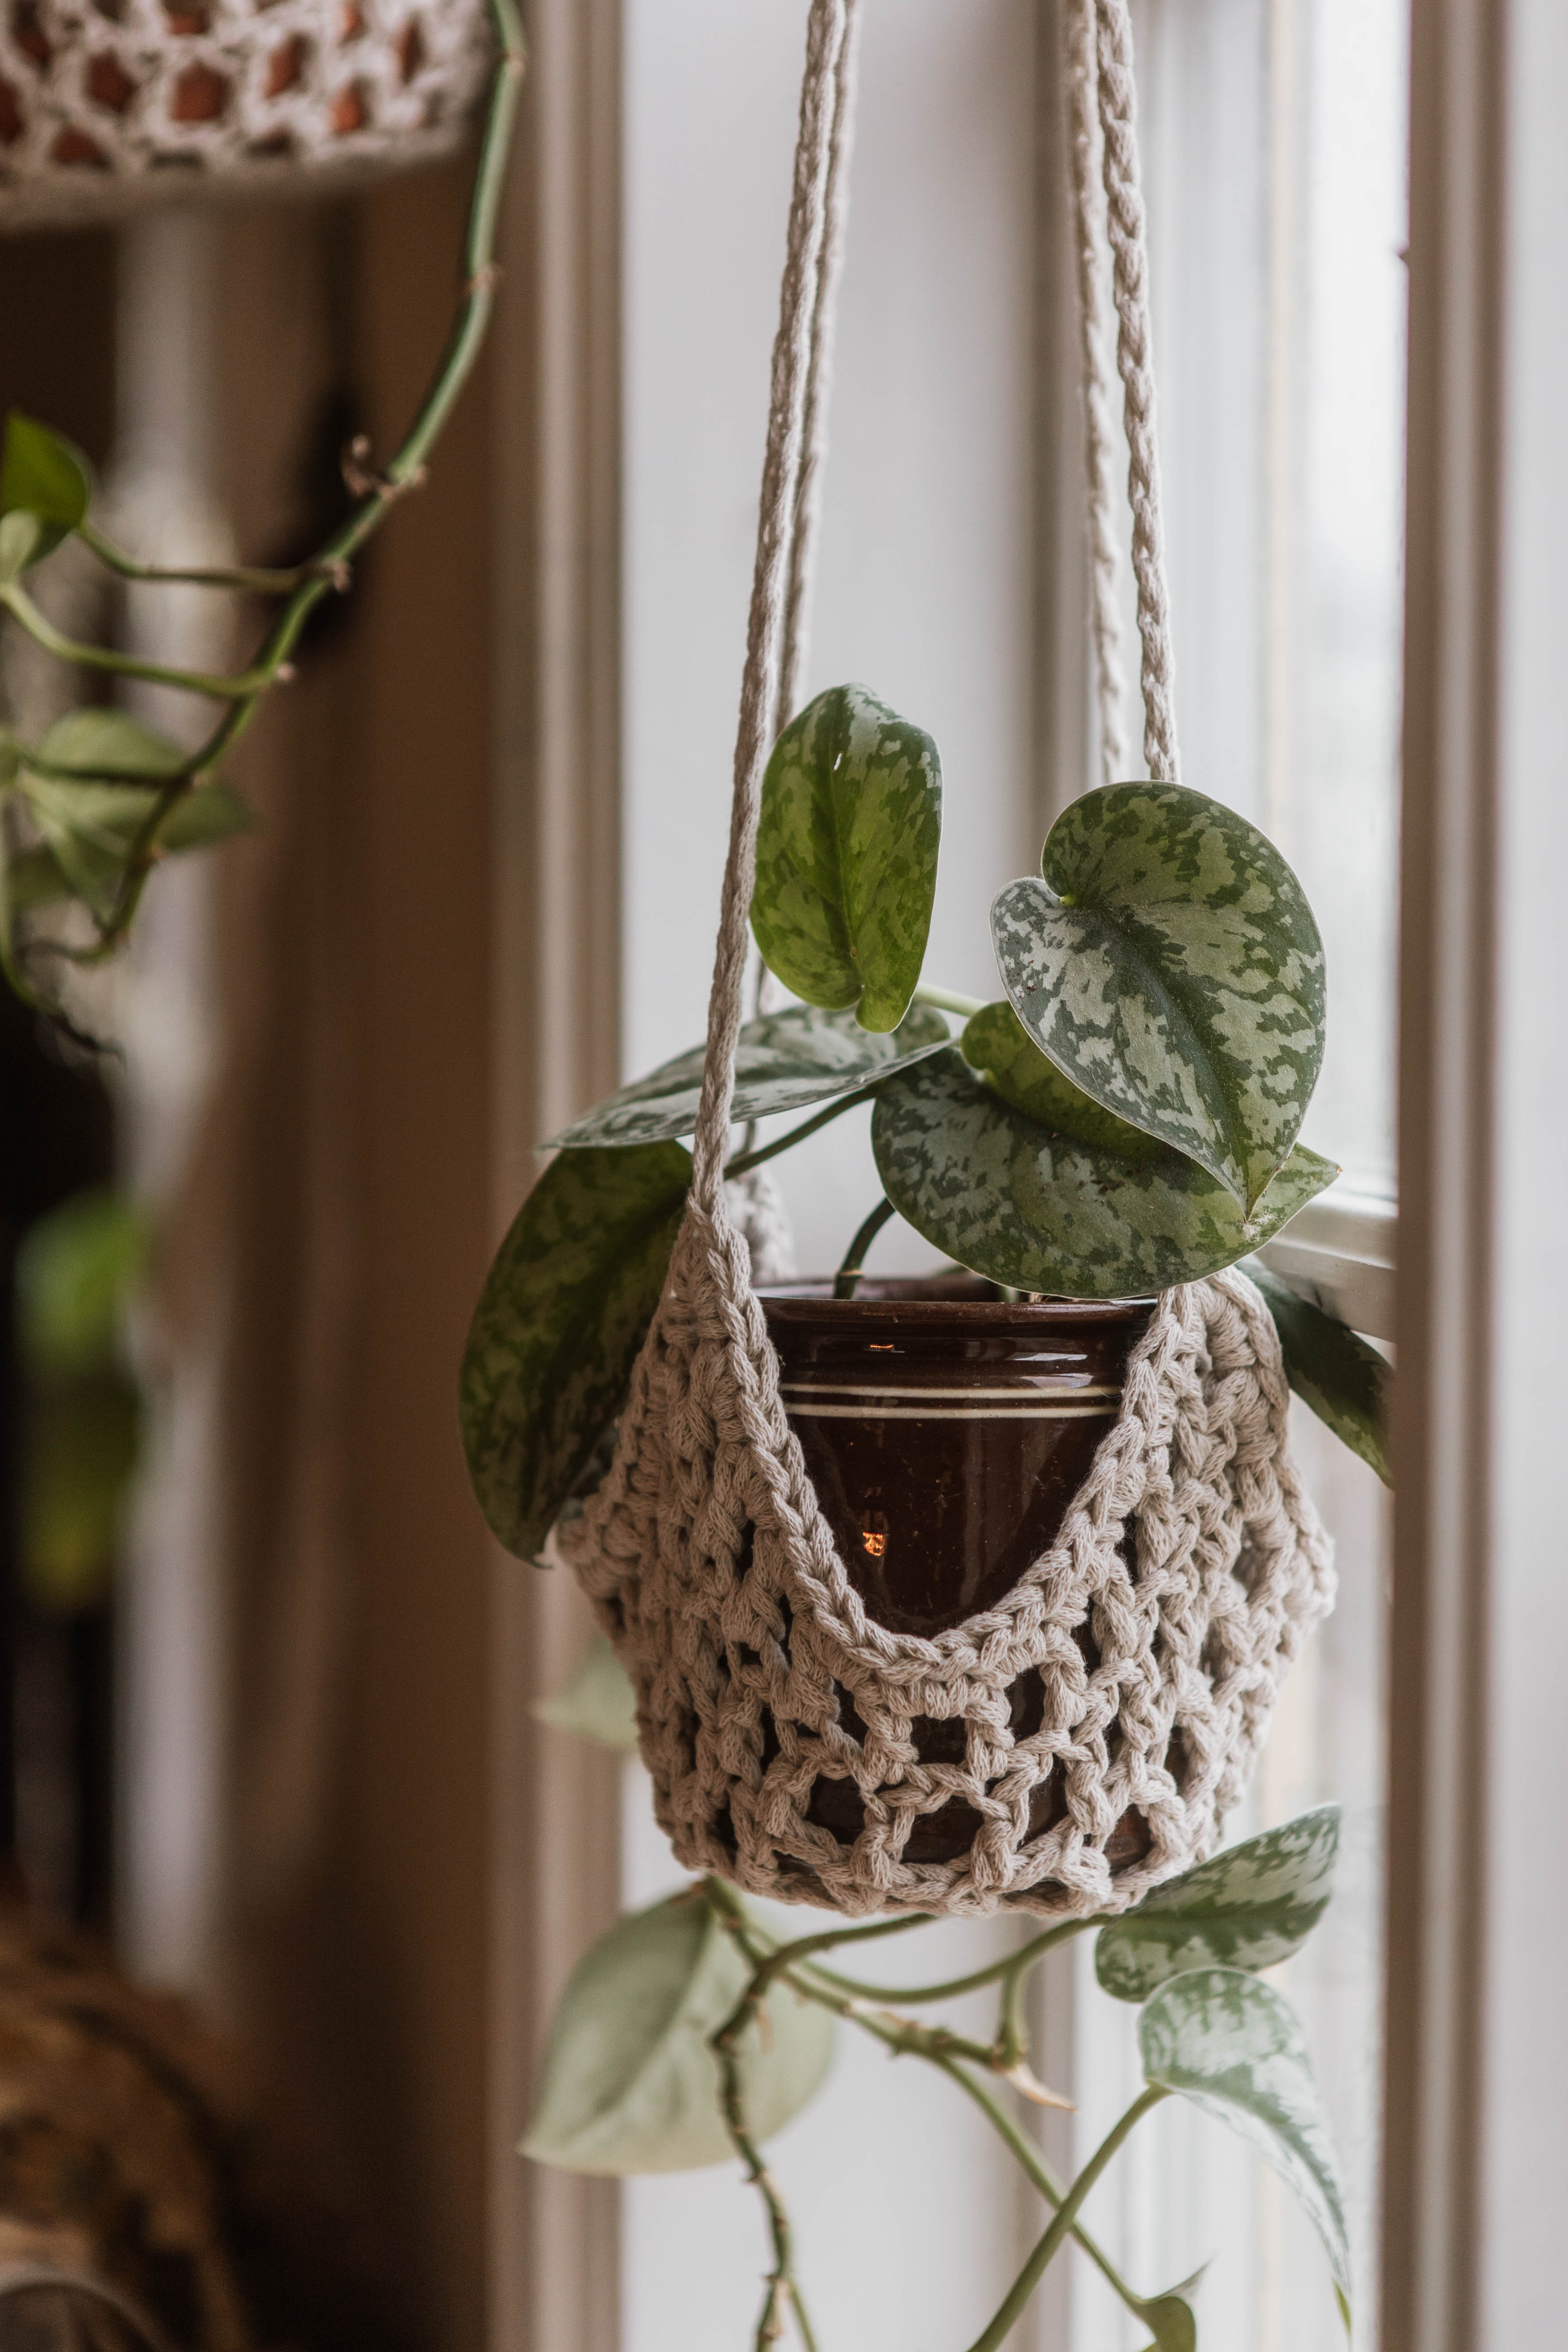
Macramé flowerpot hanger “Elin”

Tie a stunning flowerpot hanger to your patio,  or greenhouse.

Since this flowerpot hanger is tied in jute (you can use our other macramé threads as well), you can have this outdoors without spoiling it, a perfect summer project. This video is beginner-friendly and suitable for those who want to tie your first flowerpot hanger. You will need our string jute medium, scissors and tape measure.

Yarn Consumption: 34m JUTE medium (a 500g roll is equivalent to about 220m, so you can make many more with the same roll).

Macramé flowerpot hanger “Elin”
Steg 1

Start by cutting 8 threads of 4 m & 2 threads of 60 cm


Step 1 (This step creates a loop for hanging part)
- Fold the 8 long strands in half.
- Tie all the strands together with a “wrap knot” (gathering knot) about 5-7 cm down from the top.
- Use one of the 60 cm long threads you cut.
- You tie your “wrap knot” as long as you want, I chose to wrap my thread 8 turns.


Do this:
- Fold your wire, about 10 cm from the end, so you get a U. Then fold it again so you have a U at the top and bottom (see video).
- Start from below by wrapping your thread around all the threads (including the one you use to make the wrap knot).
- Wrap about 8 times around, work your way up.
- Then thread the end of the rope through the upper loop.
- Pull hard! That way you'll lock the knot. Cut off the threads that stick out.

Steg 2

Step 2
- Separate your threads so you get 4 sections of 4 threads each.
- About 10cm down from your “wrap knot” now tie the “right twisting half square knot”.


Do this:
- Take the right thread and fold it like an L above the two middle threads.
- Take the left thread and put it first over the right thread, then under the middle threads and then through the loop on the right side. Tighten.
- Repeat as many times as you want, I chose to make 20 knots.


Repeat on all sections.

Steg 3

Step 3

About 10 cm down from your “twists”, tie a regular knot with all the threads for that section.
Repeat on all sections.

Steg 4

Step 4
- About 10 cm down, repeat step 2.
- So tie 20 “right twisting half square knots” (or as many as you chose to do for step 2).
Repeat on all sections

Steg 5

Step 5
Now the different sections must be tied together to create a stability/shape at the bottom for the pot you want to hang up.
- About 20 cm down from your previous knots, take the two outermost threads from two adjacent sections. So, the two right threads from one section and the two left threads from the section on the other side.
- They now form 4 new sections.
- They are tied together with 1st "Square knot".


Do this:
- Take the right thread and put an L over the two middle threads
- Take the left thread and put it over the right one, then under the middle threads and pull through the loop on the other side and tighten.
- Now take the left thread and place like an L above the middle threads.
- Take the right thread and put it over the left one, then under the middle threads and pull through the loop on the other side and tighten.

Steg 6

Step 6
- About 5 cm down, repeat the same steps as for step 5.
- You again select the two outermost threads from two adjacent sections. So, the two right threads from one section and the two left threads from the section on the other side.
- They now form 4 new sections.
- They are tied together with 1st "Square knot" as in the previous step.

Repeat on all sections.

Steg 7

Step 7
- About 15 cm down (or adapted to your pot) you tie all the threads together with a "wrap knot".
- Follow the instructions from step 1.
Finish by cutting off your strands at the bottom, leaving them just as long as you want.
Done!

Steg 8
Steg 9
Steg 10

The rights to this pattern belong to MYO Make Your Own. The pattern or its pictures may not be copied, shared or resold either in parts or in its entirety, but you may sell items you have crocheted from this pattern. If you have questions about the pattern, contact MYO at hello@makeyourown.se.