Crochet cardigan “Linnea”
Crochet a Cozy Cardigan That You Can Adjust to Suit Your Style
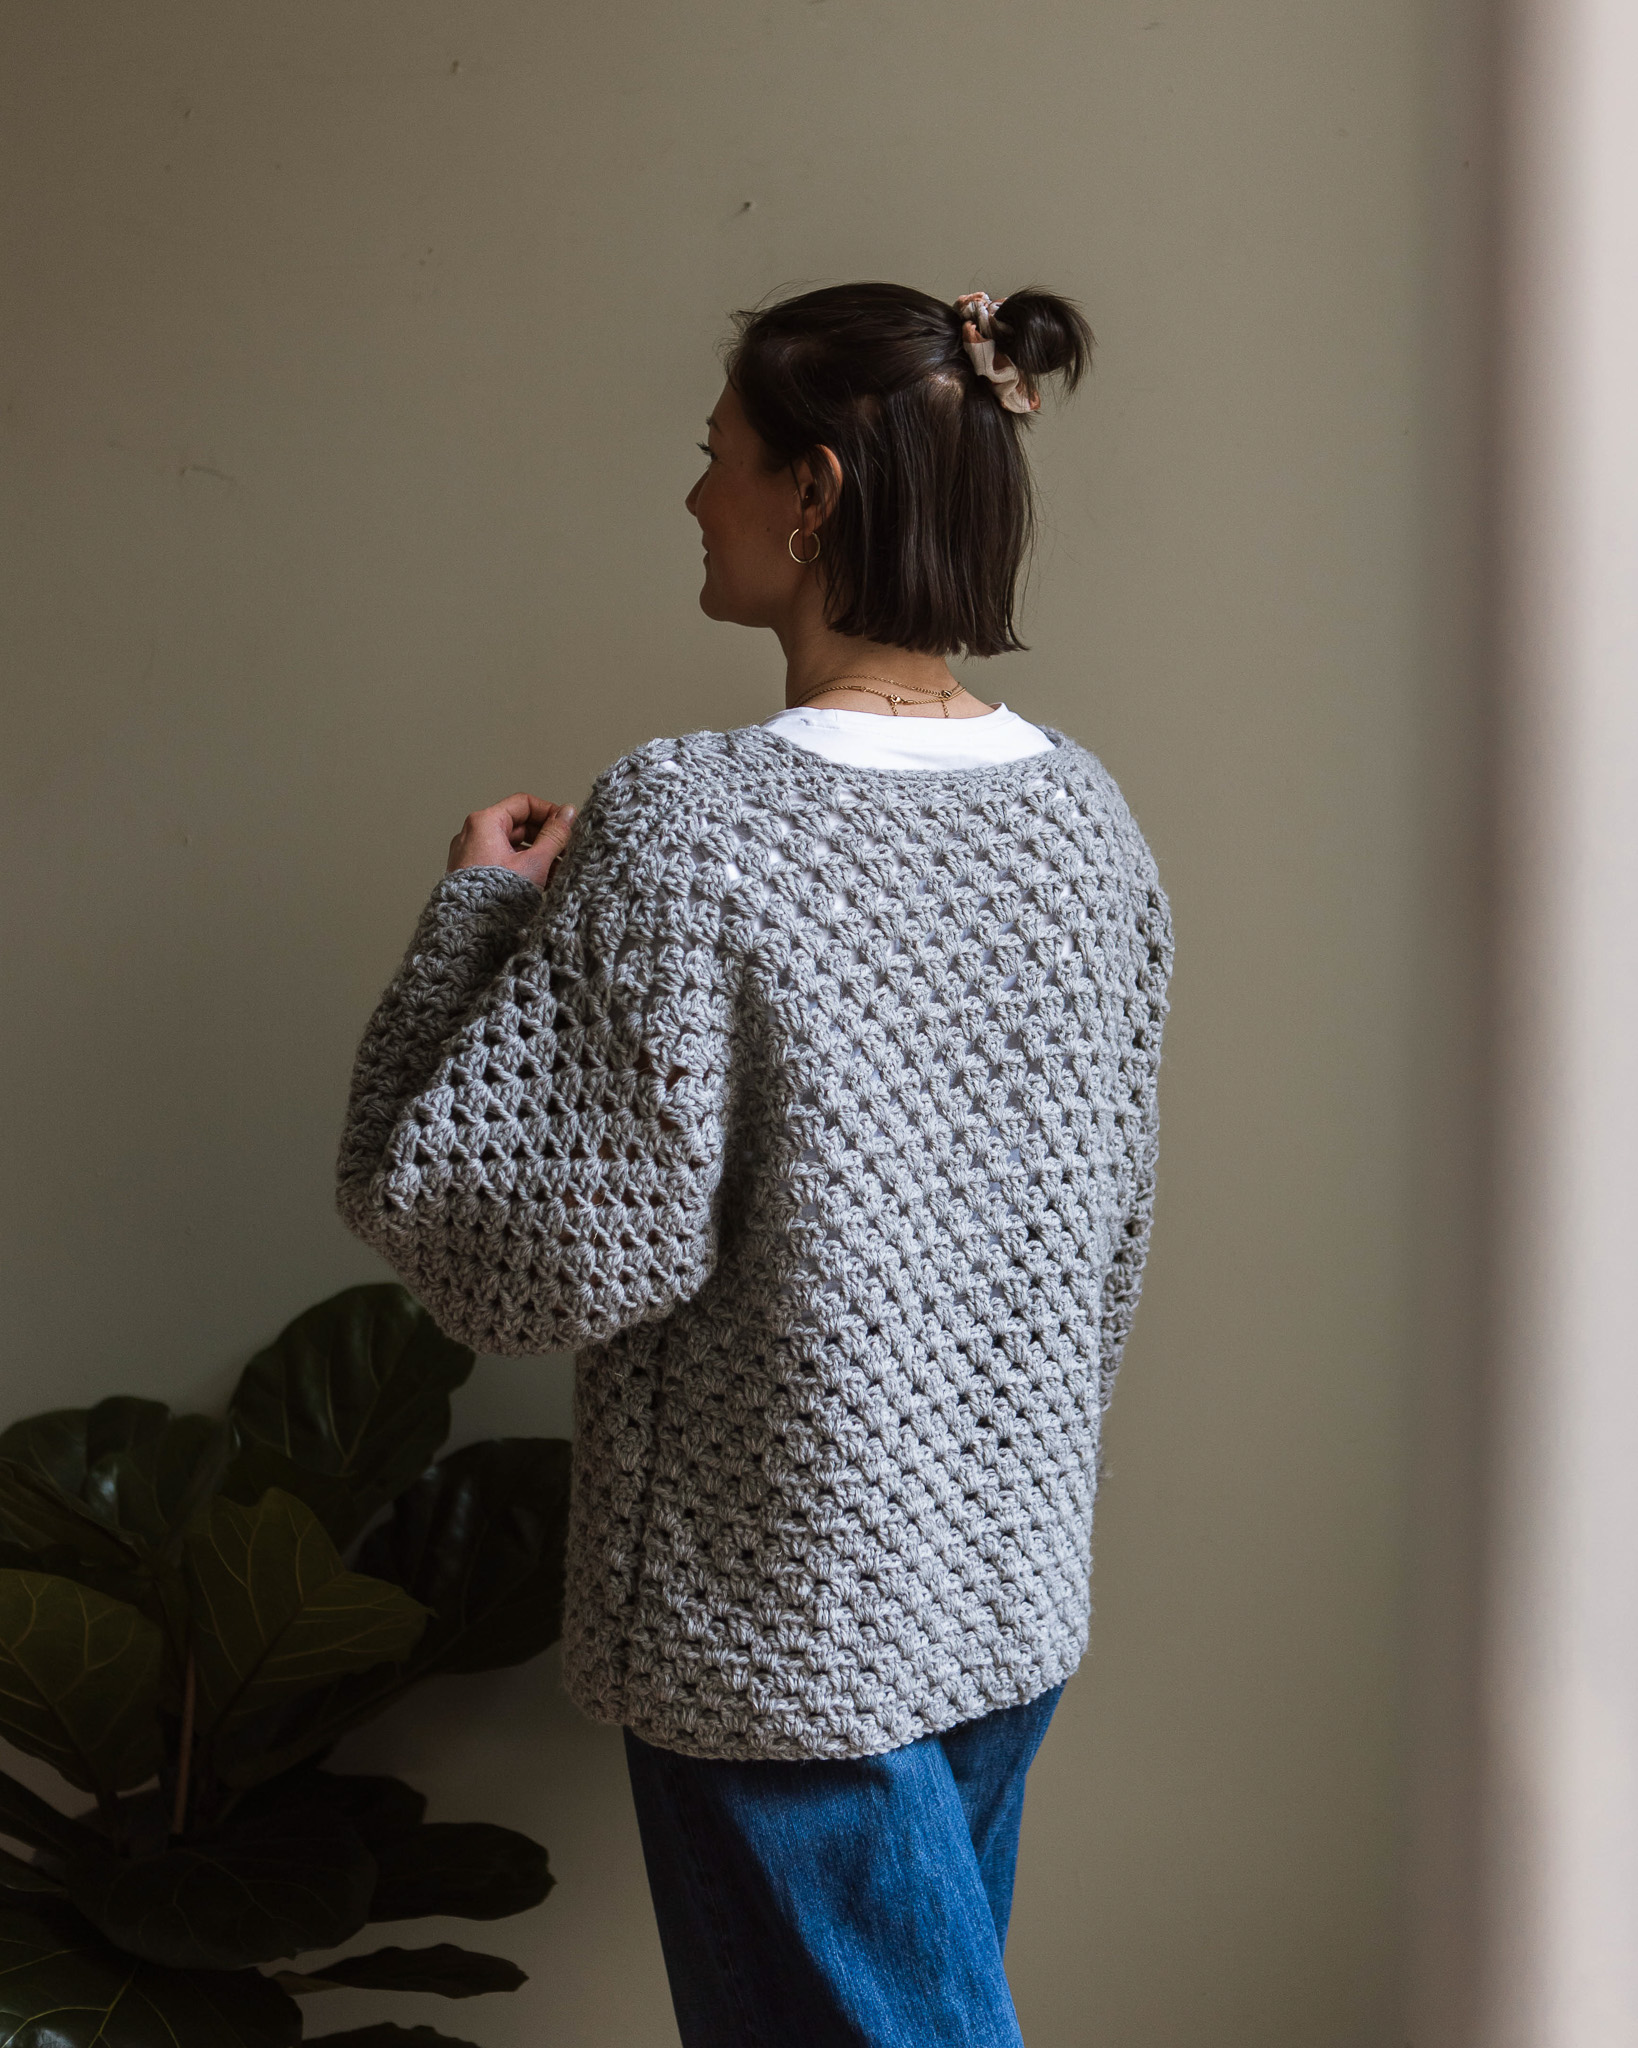
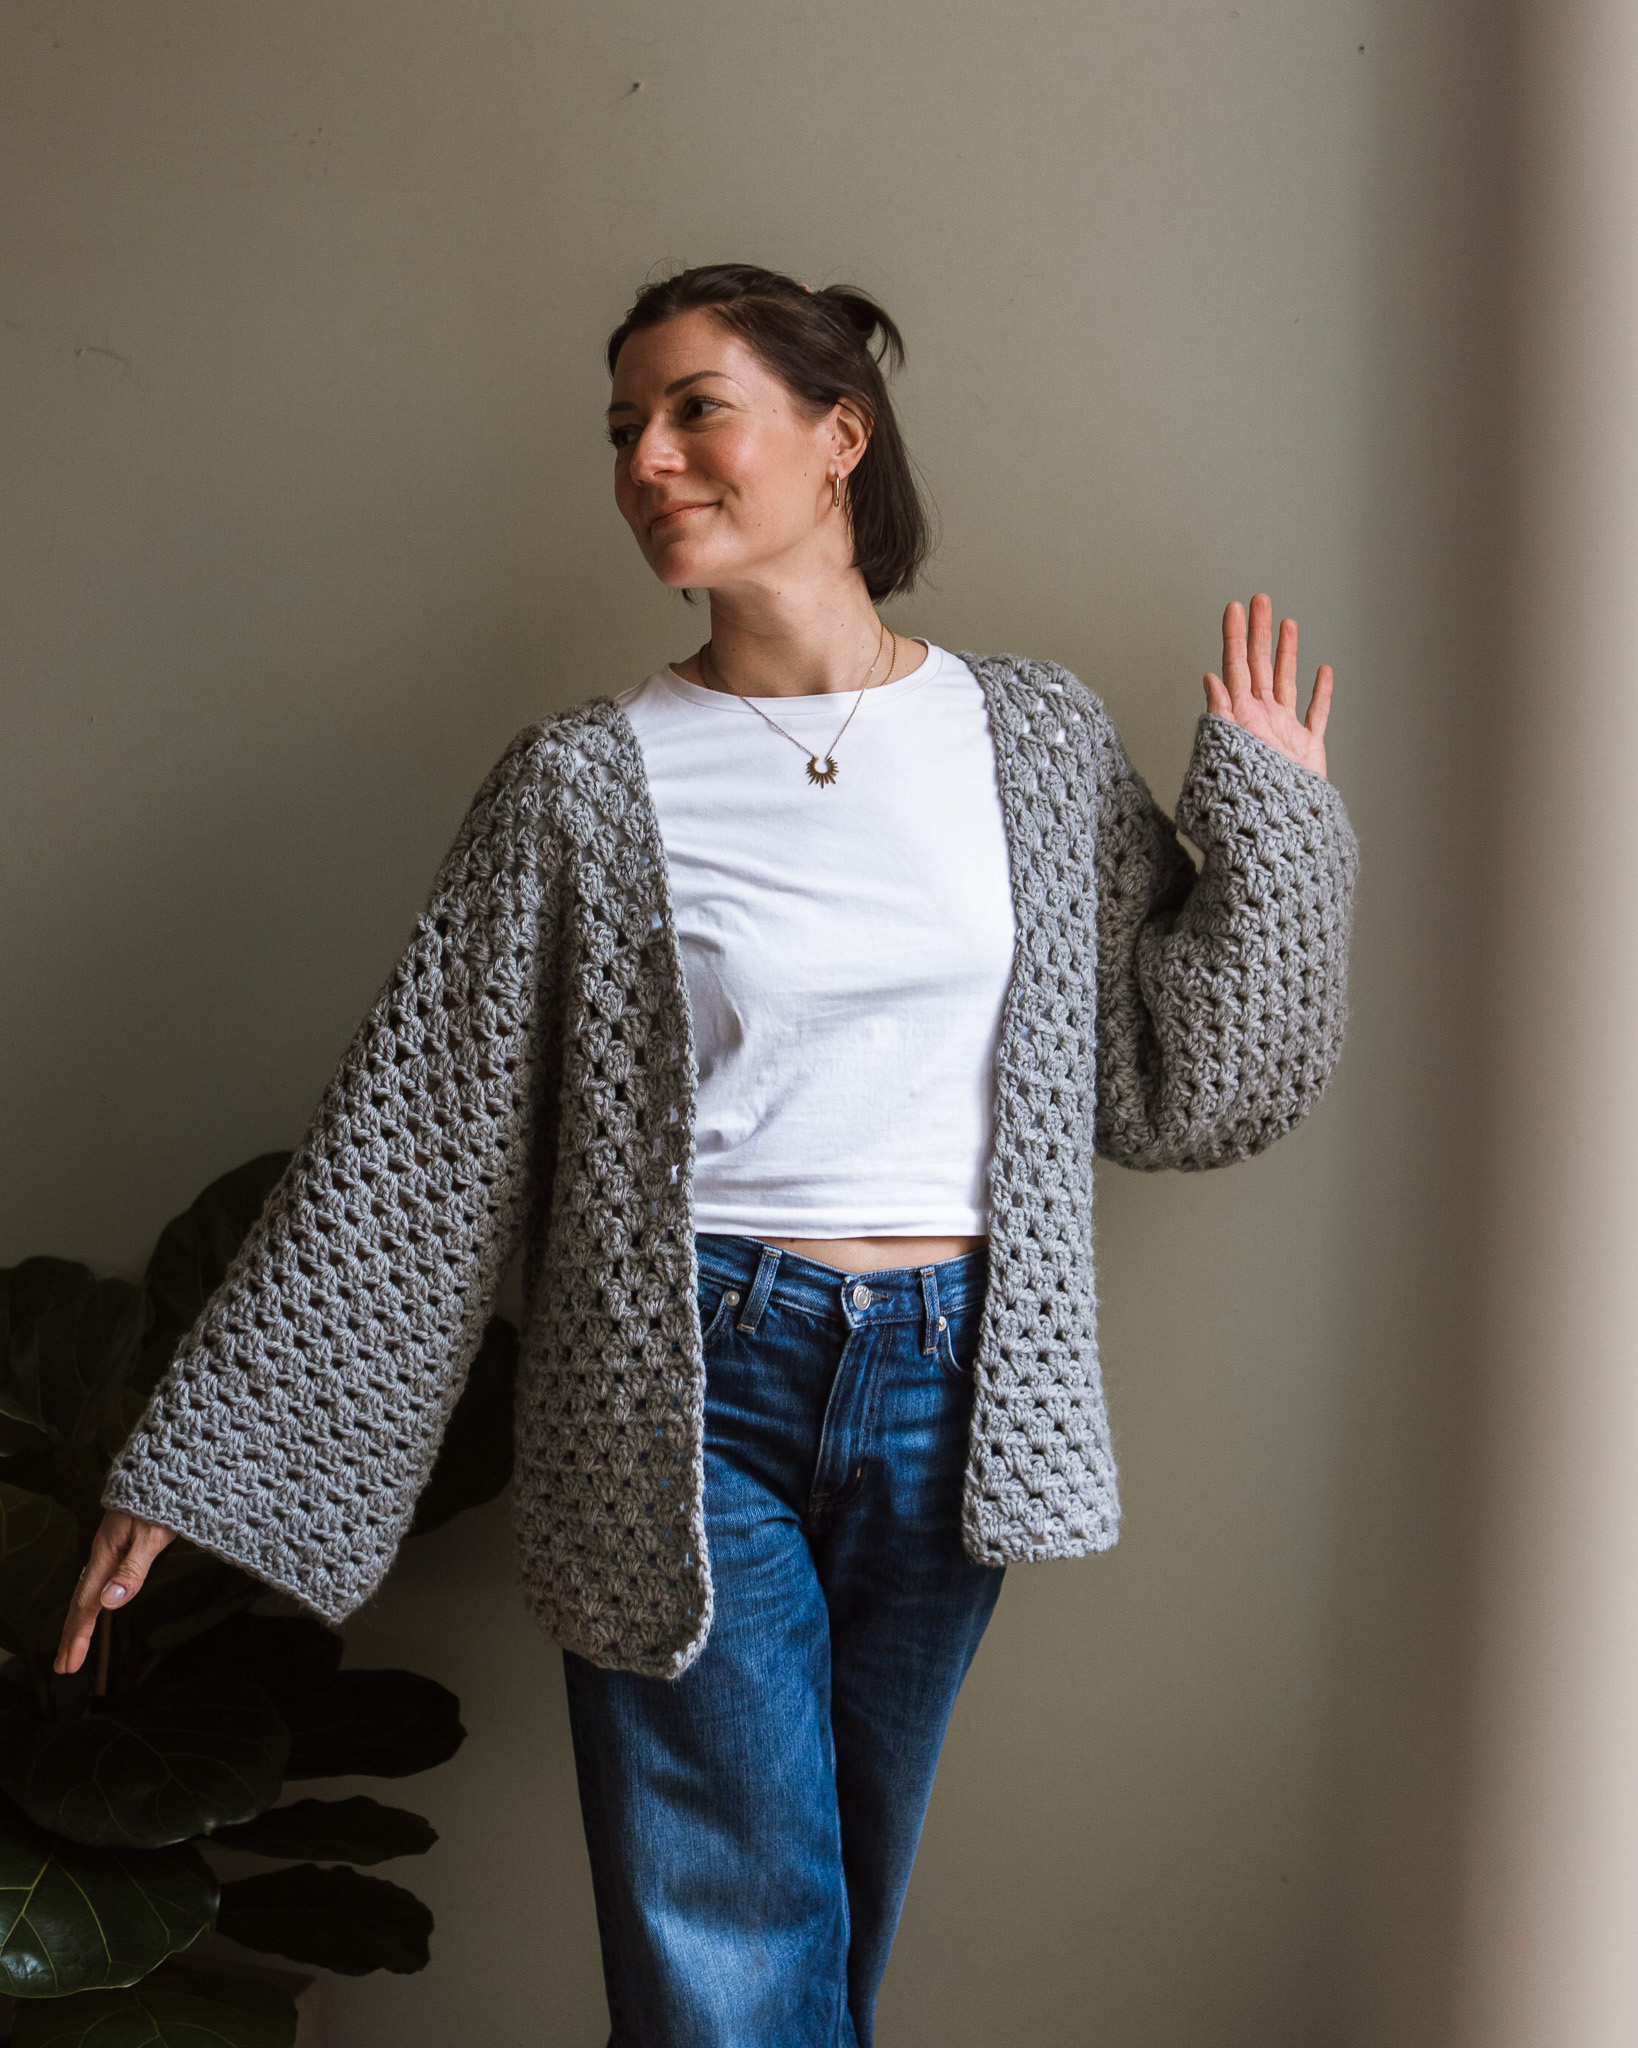
In this tutorial, you'll learn how to crochet a stylish cardigan using the classic grandmother’s stripe pattern. You can choose the length and size to match your personal style. For a cardigan approximately the same size as the one in the photo (Size S), you'll need about 8 skeins of MYO Basic Wool. You can use a crochet hook size 6 or 7 mm – both will work well.
This tutorial is beginner-friendly, as we guide you through all the steps in the video. The cardigan also turns out beautifully in children's sizes!
Yarn : In the video, we crocheted the cardigan using EKO Nano, but we now recommend MYO's Basic Wool, which was added to our collection after the video was made.
The cardigan becomes lighter and softer when made with Basic Wool – just like the one in the photo.
For size S, you’ll need approximately 700–800 g of MYO Basic Wool, depending on how long and oversized you want your cardigan to be. If you plan to make it longer, you’ll need additional skeins.

This is what you need:
Here you can directly purchase the material for the product. Please note that the instruction is digital and appears here on the page (no written instruction).


Here's how to do it
GOOD TO KNOW BEFORE YOU START: In the instructional video, we crocheted the cardigan using EKO Nano, but we now recommend using MYO's wool yarn Basic Wool, which was added to our range after this tutorial was made. The cardigan will be lighter and softer with Basic Wool – like the one in the picture. For size S, you’ll need about 700–800 g of MYO Basic Wool, depending on how long and oversized you choose to make your cardigan. If you want to make it longer, you’ll need more skeins. Everything depends on how tightly you crochet – if you crochet more tightly, you’ll also need more yarn. Try to crochet fairly loosely to get a cardigan that drapes nicely and softly. :)

We will start by crocheting the back of the cardigan, then the front sides. Then we crochet the front and back sides together before crocheting the sleeves. Last, we crochet an edge around the cardigan.
THE BACK
Start by making a simple loop around the crochet hook. One way you can do this is to wrap the yarn around your index and middle finger and then pull the yarn up so that the loop locks when you tighten. Leave about 15cm tail.
1. The Chain
Adjust the size of the loop around your crochet hook. Now we will start crocheting the chain, use the crochet hook and pick up the yarn with the end that comes from the yarn roll (you temporarily have 2 loops on the crochet hook) and pull through so that a loop is formed (first loop). To know how many stitches you need, measure from your shoulder to shoulder on the front and add a few more stitches. On the shirt in the video, I have added about 10-15 cm. The total number of stitches must divided by 3+1. So 48 is dividable by 3+1 = 49. When you found the number you like to use, add one more chain. For example, 50 stitches that I use in the video.
Row 2
Now start following the chain back and crochet row 2. Skip the first loop (which is holding your crochet hook) and start going down the loop that comes after. Catch the yarn and pull through (you now temporarily have 2 loops on the hook). Pick up the yarn with the needle again and pull through both loops. Repeat until you reach the other side. You should have one stitch less than the number you had in point 2. When you get to the end of the row, crochet 3 loose loops and then turn the work and continue on row 3. NOTE! If you forget to add loose loops before turning the work, the back will be uneven.
Row 3
Now that you have turned your work, we will crochet back. Crochet a double crochet in the 4th stitch. A double crochet is crocheted by taking the yarn over the hook and going down with the hook in the stitch, pick up yarn and pull through (you now have 3 loops on the hook), pick up yarn and pull through 2 loops (you have two loops left on the hook) , pick up the yarn one last time and pull through the last two loops. You have now crocheted a double crochet. So you have a double crochet and 3 loose loops (counted as a double crochet) in the same stitch.
b. Skip 2 stitches and crochet 3 double crochets in the next stitch. Continue like this until you have 3stitches left.
c. Skip two stitches and crochet 2 double crochets in the last stitch. Crochet 3 loose loops, turn.
Row 4
Now that you have turned your work, we are going to crochet back again. Now crochet 3 double crochets in the next hole and continue like this. When you have crocheted 3 double crochets in the last hole, there is a small hole between the last two double crochets from the next round. There you crochet 1 double crochet. Finish with 3 loose loops, turn.
ATTENTION! If you start the round with 3 loops before crocheting 3 double crochets in the next hole, you must end the round with a double crochet in the last stitch. If you start the round with 3 loops and a double crochet in the same stitch, you end the round with two double crochets
Row 5
a. Crochet 1 double crochet in the small hole between the 3 loops and the first double crochet from the next round.
b. Crochet 3 double crochets in each hole until you are in the last hole (the hole between the last three double crochets and 3 single loops from the previous row), there you crochet 2 double crochets. Finish with 3 loops, turn.
ATTENTION! If you start the round with two double crochets (3 loops and one double crochet), you must end the round with two double crochets in the last stitch. Alternate row 4 and row 5 until you have the length of the back that you desire. Finish the last round with 1 loose loop and not 3.
Row 6
On the last round on the back, crochet only 1 loop before turning and then crochet single stitches in each stitch. Finish the back piece by cutting the yarn, leaving a 5-10 cm tail. Tie the remaining tail in a knot around the last loop to prevent it from unraveling. Tightenand hide the tail by attaching it through some nearby loops. Do the same to the tail that was left from the start (if you haven't already crocheted it in so it's hidden).
THE FRONT
Crochet two fronts in the same way as the back but with fewer loops on the first row (chain). The front sides should cover a little more than 2/3 of the back and the number of stitches should be an even number of stitches. So each front should be about 1/3 of the back.
for example: 50/3= approx. 17 (51 stitches/3) so for example 18 or 20 loops would be good
Follow the pattern on the back and crochet the front sides as long as the back
Test by holding the parts together on yourself and test to your satisfaction before moving on.
ASSEMBLY
Place the finest side of the backing down and place the two fronts (finest side up) on top of the backing.
If you want the seams inward: Lay the nice side of the back up and tuck the two front sides on the back, but the nice side down.
Start by making a simple loop around the hook and go down with the hook into the stitch at the top of one side. Crochet through both front and back. Go down and pick up yarn and pull right through. From now on, you go down into the back stitch on the front piece and down into the front stitch on the back piece, pick up yarn and pull through directly. Do this until the first front piece is attached. In parts between front pieces, where you only crochet in the back piece, you make regular stitches. Then you crochet front side 2 in the same way as front side 1. Fasten the yarn ends. Try the shirt on to make sure you´re happy before moving on. If you are satisfied, attach the yarn as you did before.
The next part of the assembly is to crochet the sides together on the back and front. Start at the bottom of the sweater and crochet the back with the front, one stitch in each stitch/hole. You should not crochet all the way up, but save a hole for the sleeve. Test until you are satisfied and stop when you have the size of the hole that you desire. If you are satisfied, attach the yarn as you did before. Do the same on the other side and test so that the holes are the same size and you are satisfied.
SLEEVES
Round 1 sleeve: Now we will crochet a sleeve. Start with a loop and go down with the crochet hook into a hole in the armpit, pick up yarn and pull right through. Now we will start on the first sleeve. Crochet 3 loose loops and then 2 double crochets. Crochet 3 double crochets in the holes until you are back at the start. There are several holes along the sleeve. Keep in mind that togo down the hole that is the biggest (check the video if you're not sure). If you go down into all the holes, it will be too big.
When you are at the start, you go down with the crochet hook in the third loop we made at the beginning.
Round 2 sleeve: Now we will get to the next hole. You do this by going down into the next stitch and picking up the yarn and pulling it through directly. Do the same 1-2 more times until you are in the hole. When you are in the hole, you crochet 3 loops and two double crochets. Then you crochet three double crochets in all holes. You finish the round in the same way as the previous round.
Continue in the same way as round 2 on the sleeve until you have the length you want. Try the shirt in the meantime.
Last round on the sleeve: When you are satisfied with the size, crochet a final round on the sleeve. Finish the last round without loops and crochet a stitch in each stitch. This is done by going down into the next stitch and picking up the yarn and pulling through, picking up yarn again and pulling through. Finnish off by doingit in the same way as we did the last time.
Cardigans finishing rounds
It is nice to finish the sweater by crocheting a finishing round. Start with a loop and go down with the crochet hook in the joint between the front and back pieces (at the bottom). Crochet a regular stitch all the way around. In the two corners, crochet 3 stitches in the same stitch. On the long side, it can be difficult to know where to go down, go down in each hole and check as you go that it doesn´t get too loose or tight. Crochet until you are back at the start and attach the yarn as before.
You are now done with your cardigan:)
Abbreviations:
MR: magic ring
st: stitch
sc: single crochet
ch: chain
sl st: slip stitch
inc: two stitches in the same stitch
dc: double crochet
Cl: Cluster, group of 3 double crochets in the same stitch
FLO: front loop only
BLO: back loop only
(...): indicates the number of stitches in the row
*...*: repeat everything within *...* the specified number of times
[...]: everything within ......... is crocheted in the same stitch
Instructions for the Cardigan:We will start by crocheting the back panel, then the two front panels. Afterward, the front and back panels are assembled before crocheting the sleeves. Finally, we crochet an edging around the entire cardigan.Back Panel:
Measure from shoulder to shoulder across the front and add a few stitches. The total stitch count should be an even number.
Row 1: Chain 50, turn (50).
Row 2: Starting in the 2nd chain from the hook, make 49 sc, turn (49).
Row 3: Ch 3 (counts as 1 dc), 1 dc in the 4th stitch from the hook, *skip 2 sts, 1 dc group in the next st* x15, skip 2 sts, 2 dc in the last stitch, turn (49 dc).
Row 4: Ch 3 (counts as 1 dc), *1 dc group in the space between each dc group from the previous row* x16, 1 dc in the last stitch, turn (50 dc).
Row 5: Ch 3 (counts as 1 dc), 1 dc in the space between the last dc and the dc group from the previous row, *1 dc group in the space between each dc group from the previous row* x15, 2 dc in the last stitch (49 dc).
Repeat Row 4 and Row 5 until the back panel reaches your desired length. End with a single crochet row:
Final Row: Ch 1, 1 sc in each stitch across, fasten off and weave in the ends.
Front Panels:
Crochet two front panels the same way as the back panel, but with fewer chains in the foundation chain.
Each front panel's width should cover slightly more than 1/3 of the back panel's width, and the stitch count should be even.
For example: If the back panel is 50 chains wide, divide 50/3 ≈ 17. You could use 18 or 20 chains for each front panel. Follow the same pattern as the back panel for the rows and make the front panels the same length.
Hold the pieces together to test the fit before moving on.
Assembling the Back and Front Panels:
For visible seams: Place the right side of the back panel facing down and the right sides of the front panels facing up on top of the back panel.
For hidden seams: Place the right side of the back panel facing up and the right sides of the front panels facing down on top of the back panel.
Start at one corner of the back panel and a front panel. Attach the yarn with a slip stitch and crochet slip stitches through the BLO of the front panel and the BLO of the back panel. Continue until the first front panel is joined to the back panel.
In the area between the front panels, crochet single crochets only. Join the second front panel in the same way as the first.
Test the fit. If satisfied, fasten off and weave in the ends.
Next, join the sides of the back and front panels:
Start at the bottom edge of the cardigan and crochet single crochets to join the back and front panels together, working 1 sc in each stitch/space.
Leave an opening at the top for the sleeve. Test the size of the armhole to ensure it fits.
Once satisfied, fasten off and weave in the ends. Repeat on the other side.
Sleeves:
The sleeves are crocheted directly into the armholes.
Round 1: Attach the yarn with a slip stitch at the bottom of the armhole. Ch 3 (counts as 1 dc), 2 dc in the same "space," skip the next space, 1 dc group in the next space. Repeat the sequence until you reach the beginning. Slip stitch to the 3rd chain of the starting chain.
Round 2: Slip stitch twice to reach the first space. Ch 3, 2 dc in the same "space." Work 1 dc group in the space between each dc group from the previous row. Repeat until you reach the beginning.
Continue working in the same pattern as Round 2 until the sleeve reaches your desired length. Test the cardigan as you work.
Final Round: 1 sc in each stitch, fasten off and weave in the ends.
Cardigan Edging:
Add a finishing edge around the cardigan:
Attach the yarn with a slip stitch where the front and back panels meet at the bottom. Crochet single crochets all around the edge.
At the two corners, make 3 sc in the same stitch.
On the long sides, it may be tricky to find where to insert your hook. Crochet into each space, adjusting as needed to ensure the edge is not too tight or loose.
Continue crocheting until you return to the starting point. Fasten off and weave in the ends.
You’re now finished with your cardigan! 😊
The rights to this pattern belong to MYO Make Your Own. The pattern or its pictures may not be copied, shared or resold either in parts or in its entirety, but you may sell items you have crocheted from this pattern. If you have questions about the pattern, contact MYO at hello@makeyourown.se.





%252520(6).webp)

