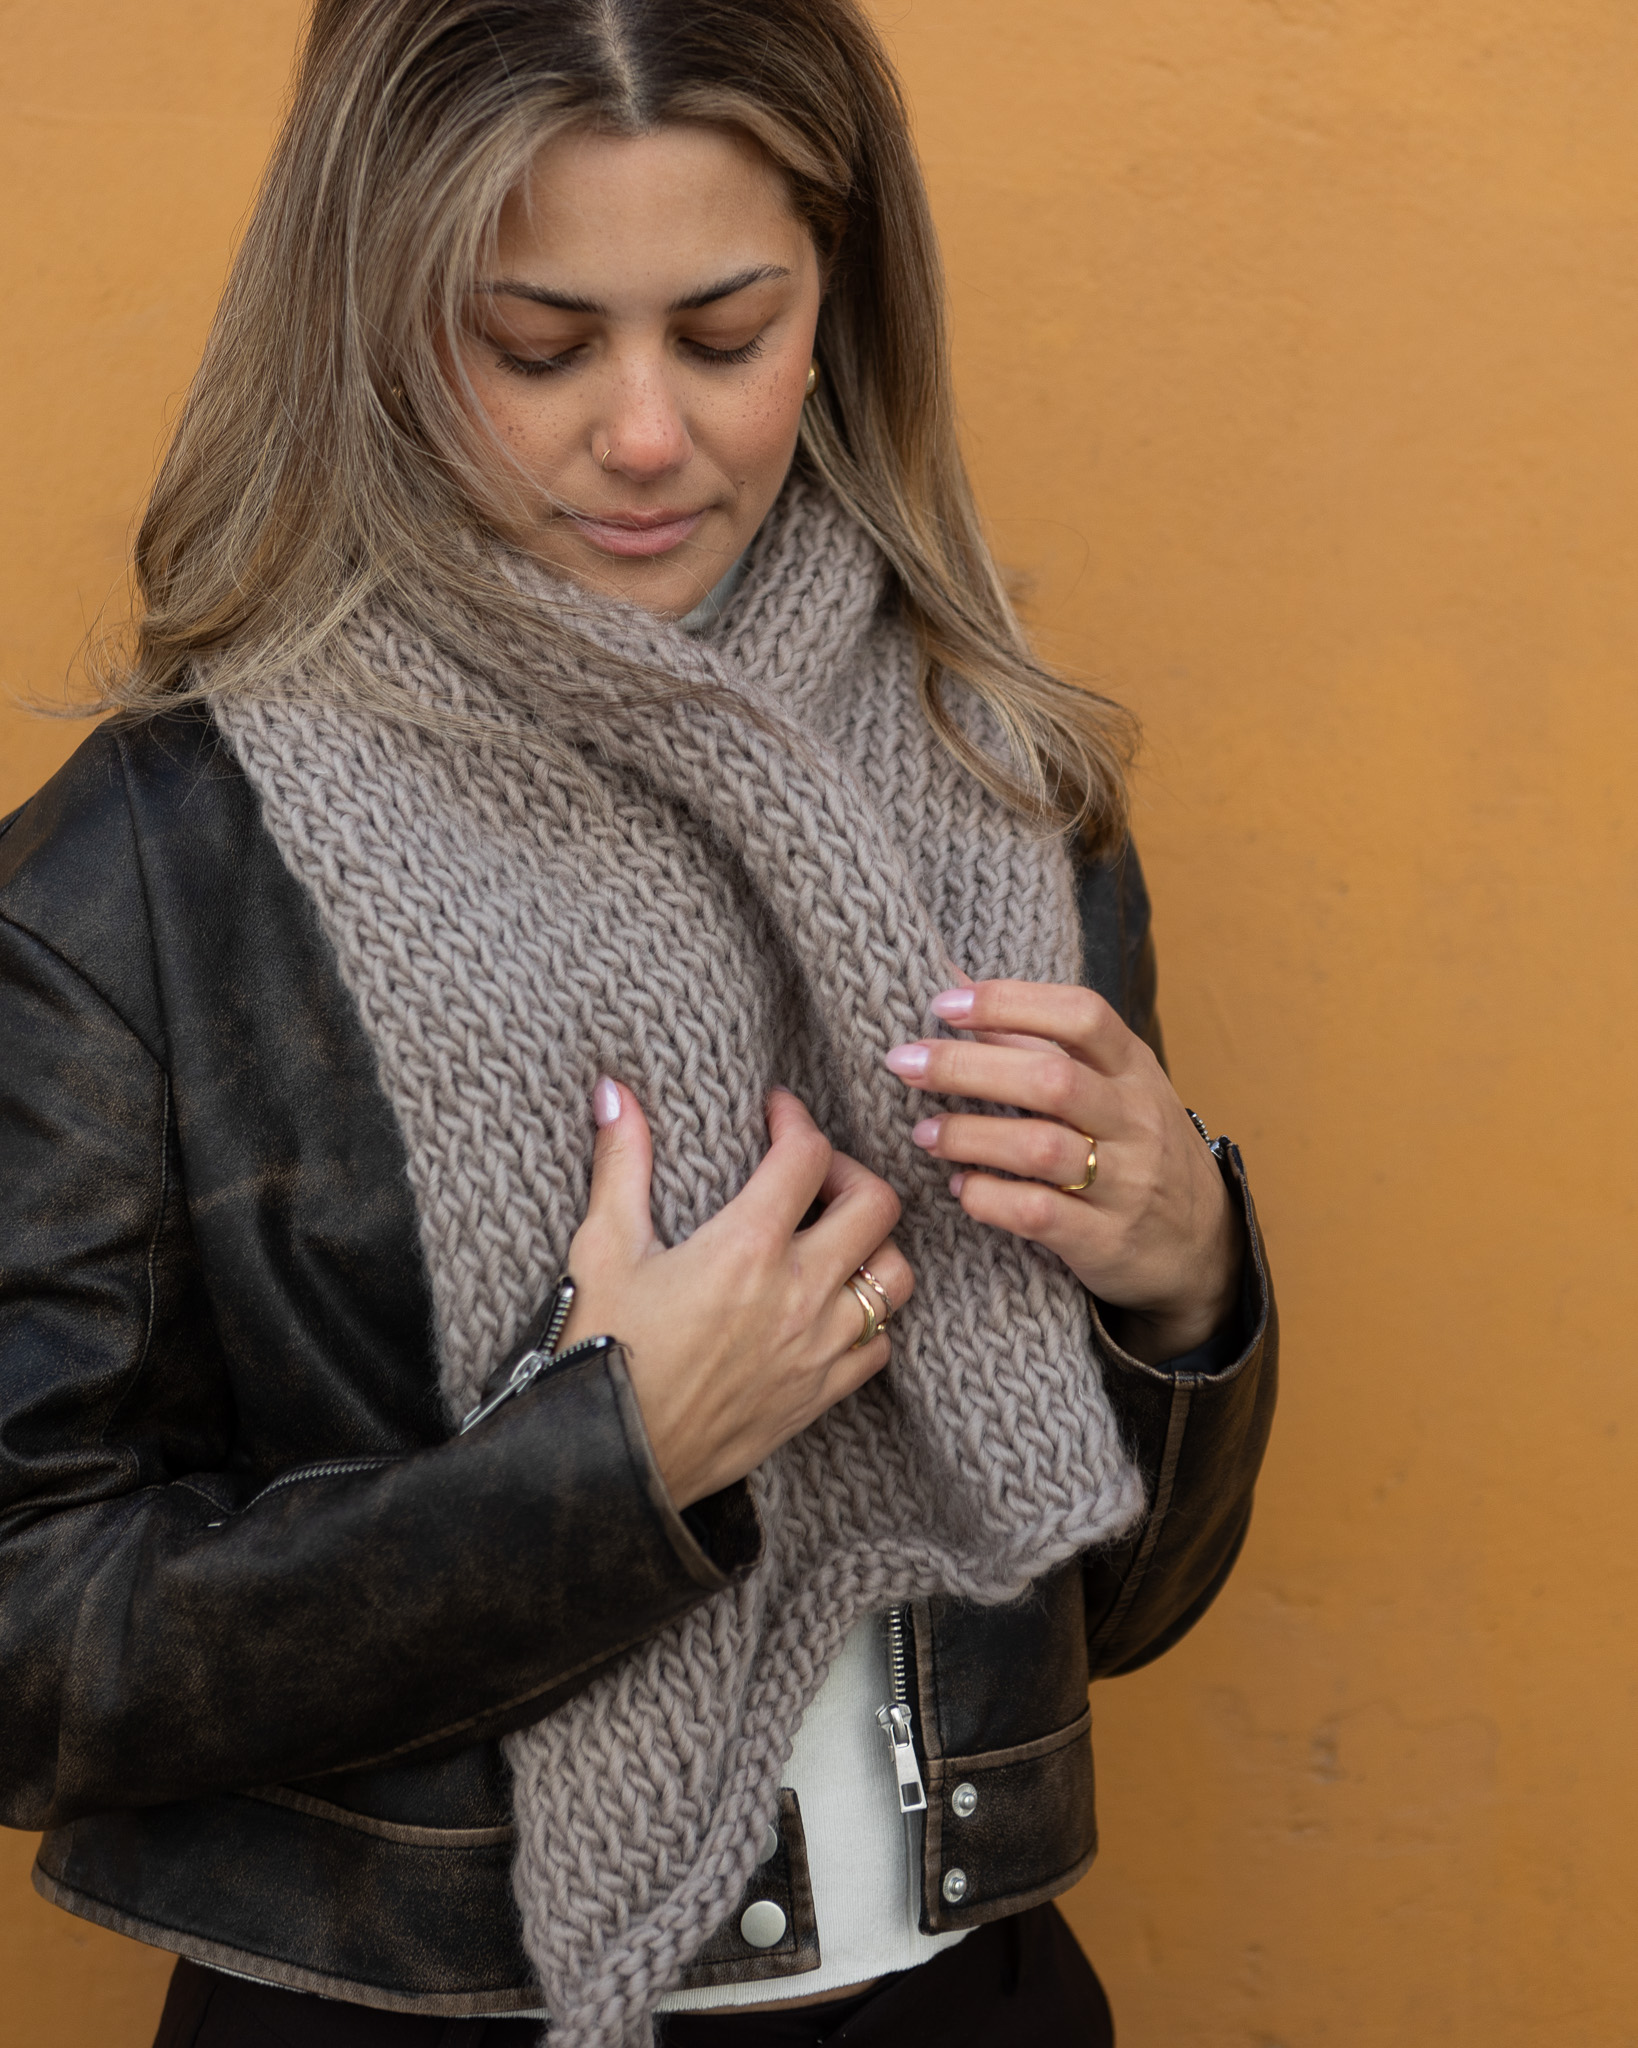
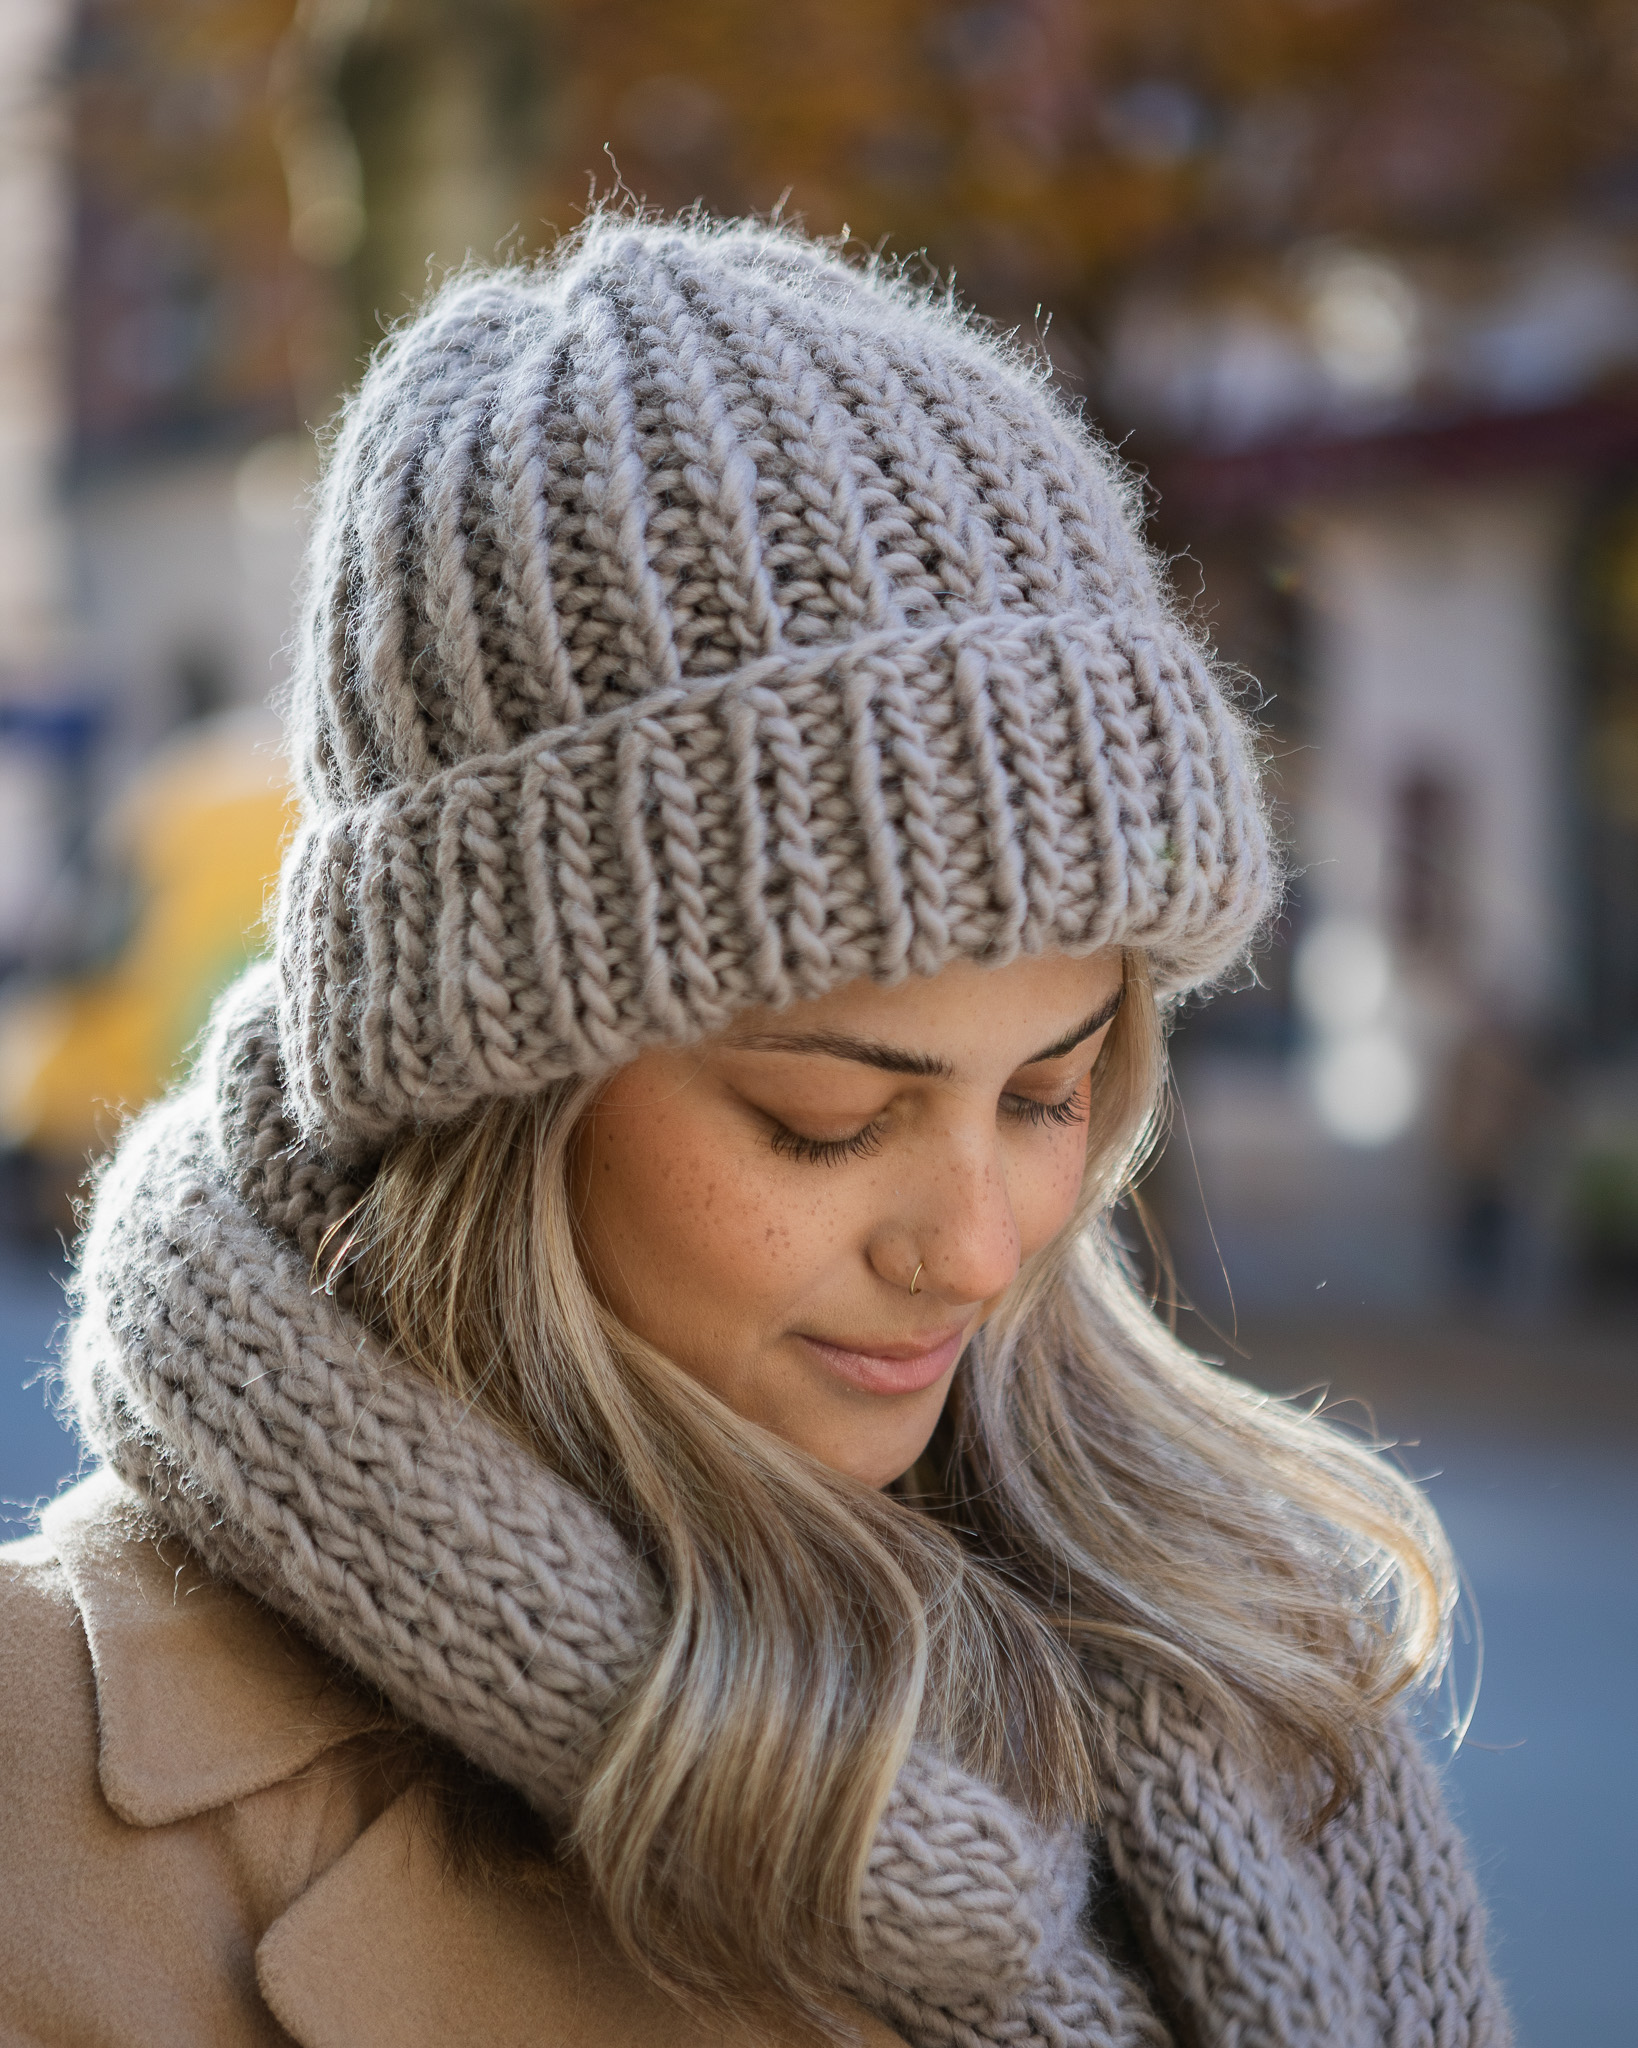
Knitted scarf "Maaike"
Knit a trendy and warm scarf!
The scarf is both warm and stylish, perfect for your outfit when it’s cooler outside. This instruction is beginner-friendly and suitable for you who have never knitted before. This instruction has a long video showing you every step in the instruction. You need MYO Basic wool and 5 mm, 80 cm circular needle or other needles size 5 mm. This scarf can also be knitted in our yarn Dreamy Blend.
Yarn consumption: Approx. 70 g. Usage depends on how tightly you knit.
The instruction has been created by our guest creator Danique Karlsson!

This is what you need:
Here you can directly purchase the material for the product. Please note that the instruction is digital and appears here on the page (no written instruction).


Here's how to do it
The work is knitted back and forth on a circular knitting needle or 2 ordinary knitting needles. The work is increased evenly distributed the first 60 cm. After that, it is knitted 5 cm without increasing. Last, you will decrease stitches the next 60 cm. In the end, the scarf measures approximately 125 cm — or the desired length. The scarf in the picture has a width of about 18 cm and a length of about 125 cm. The knitting gauge is 17 stitches across and 34 rows in garter knitting = 10 x 10 cm. /Danique

The techniques used in the pattern:
- Long-tail cast-on technique
- Garter stitch
- Increases
- Decreases
- Bind-off
See Step 2 to start knitting!
Step 1: Cast-on
Cast on 5 stitches using the long-tail cast-on technique. The cast-on should be firm but not too tight. If you feel you're casting on too tightly, you can switch to thicker needles or cast on around two needles held together. But remember to switch back to the correct size after you are done casting on the stitches and about to start knitting.
Cast on the stitches according to the following steps:
- Measure a long enough thread (the length varies depending on how many stitches you're casting on, yarn quality, and needle thickness). You can wind the yarn around the needle, and that is the length of yarn you need. Hold the loose yarn end with your thumb and wrap the yarn once around your index and middle fingers.
- Pull the yarn, which comes from the ball, from the back towards you through the loop between the index and middle fingers.
- Pull the loop and make a long stitch.
- Put the stitch on the needle and pull both yarn ends to tighten the stitch. Now you're ready to start casting on stitches.
- Wrap the loose yarn around your left thumb. Wind the yarn from the ball over your left index finger and hold both yarn ends in the palm with your pinky and ring finger.
- Insert the right needle from underneath through the loop on your thumb.
- Use the needle to pull the yarn from the ball (the yarn over the index finger) back through the loop so that a stitch forms.
- Let the loop slip off the thumb, tighten the new stitch formed on the right needle. Gather the thread on your thumb again and continue the same way until all stitches are cast on.
Step 2: Start knitting the first row including edge stitches
Edge stitches:
At the beginning and end of the row, 2 edge stitches are knitted. These edge stitches are knitted as follows:
- At the beginning of the row: slip 1 stitch from the needle as if it were to be purled, with the yarn in front of the work, and knit the next stitch.
- At the end of the row: knit until 2 stitches remain on the left needle. Slip the second last stitch as if it were to be purled, with the yarn in front of the work. Then knit the last stitch.
Repeat these 2 steps every row, at the beginning and end.
The first row is from the right side – you can see this because the yarn tail is on the right side of your cast-on stitches.
Row 1:
a) Knit 2 edge stitches as described above.
b) Knit 1 stitch:
- Hold the needle with stitches in your left hand. Place the yarn from the ball over your left index finger and hold the thread in the hand between your ring and pinky fingers. The yarn should always be behind the work when knitting knit stitches.
- Insert the right needle through the first stitch on the left needle to make a new knit stitch.
- Lay the thread from the index finger over the right needle.
- Pull the thread back through the stitch and use the tip of the needle to help.
- Now you have a new stitch on the right needle, but the old stitch is still on the left needle.
- Slip off the knitted stitch from the left needle and tighten the thread around the new stitch.
Knit 2 edge stitches as described above.
Turn the work so that your work is on the left needle.
Row 2 (wrong side):
a) Knit 2 edge stitches as described
b) Knit 1 stitch (as described above)
Knit 2 edge stitches as described above.
Turn the work so that your work is on the left needle.
Row 3 (from the right side) — first increase:
a) Knit 2 edge stitches as described above
b) Increase one stitch by wrapping the yarn around the right needle (= "yarn over")
c) Knit 1 stitch (as described above)
Knit 2 edge stitches as described above.
Row 4 (wrong side):
a) Knit 2 edge stitches as described above
b) Knit 1 stitch (as described above)
Knit the newly made "yarn over" twisted:
Insert the right needle into the cast-on stitch from the back of the needle instead of the front and knit.
Knit 2 edge stitches as described above.
Turn the work so your work is on the left needle.
Continue knitting and make increases as described above every 8th row – or every 4th right-side row. It may help to write on a piece of paper how many rows you have knitted. Otherwise, increases will be roughly every 3rd row.
This means you increase one stitch on rows: 3, 11, 19, 27, etc.
If you want a narrower scarf, knit fewer increases than in the pattern. Then in the next step below, you can knit more than 5 cm. A tip is to measure your scarf when you stop increasing so you know how long it will be when you begin decreasing.
Step 3: Middle section with no increases
When your work measures about 60 cm in length and 18 cm in width, you have 30 stitches on the needle. That means you have increased 25 stitches.
Now you continue knitting 5 cm without increasing a stitch.
Step 4: Decreases
Continue knitting the scarf as described above. When your work measures 65 cm, you will decrease every 8th row – or every 4th right-side row.
You decrease 1 stitch every 8th row directly after the first 2 edge stitches at the beginning of the row. It is important to decrease on the right-side row.
Decrease as follows:
- Knit 2 edge stitches as described above
- Slip one stitch from the left needle as if to knit – that stitch is now on the right needle
- Knit the next stitch and keep it also on the left needle
- Keep your right index finger on these 2 stitches so you don’t drop them
- Insert the left needle, from the left side, into the first stitch that you slipped without knitting
- Keep your finger only on the last knitted stitch
- Lift the slipped stitch over the last knitted stitch and over the needle tip
- The slipped stitch now lies under and around the last knitted stitch – under the needle and is now the 1st bound-off stitch
- Now you have 1 stitch left on the right needle of these 2 knitted stitches.
Now you have decreased 1 stitch. Continue knitting the whole row according to the description above. On the next row (wrong side), the decreased stitch is knitted as a knit stitch.
Continue knitting and decreasing until the work measures 125 cm.
Step 5: Bind off
When your work measures 125 cm and you have decreased 25 stitches, there remain 5 stitches on the needle.
The last 2 rows should be without decreases. You bind off according to the following description:
- Knit the first stitch on the left needle and keep it on the right needle
- Knit the second stitch and also keep it on the left needle
- Keep your right index finger on these 2 stitches so you don’t drop them
- Insert the left needle from the left side into the first knitted stitch
- Keep your finger only on the last knitted stitch
- Lift the first knitted stitch over the last knitted stitch and over the needle tip
- The lifted stitch now lies under and around the last knitted stitch – under the needle and is now the 1st bound-off stitch
- Now you have 1 stitch left on the right needle of these 2 knitted stitches.
- Knit a new stitch and start over from point 3.
When one stitch remains, cut the yarn and pull it through the last stitch.
Sew in the yarn end into the work so it’s not visible.
Now you’re done with your scarf! Hope you like it :)
Scarf "Maaike"
Materials
- Yarn: ~70g MYO Basic Wool or equivalent worsted weight yarn
- Needles: 5 mm (US 8), 80 cm (32") circular or straight needles
- Gauge: Not crucial
- Notions: Tapestry needle for weaving in ends
Abbreviations
- CO – Cast On
- BO – Bind Off
- K – Knit
- M1 – Make 1 (increase)
- sl1 wyif – Slip 1 stitch purlwise with yarn in front (edge stitch)
- RS – Right Side
- WS – Wrong Side
Pattern Overview
Knit flat in garter stitch (all rows K). Shaped with increases and decreases to form a modern triangle scarf. Includes slipped edge stitches for a clean finish.
Instructions
CO 5 sts using long-tail cast-on.
Edge stitches (worked every row)
- Begin row: sl1 wyif
- End row: sl1 wyif, K1
Begin Garter Stitch Pattern
Row 1 (RS):
sl1 wyif, K3, sl1 wyif, K1
Row 2 (WS):
sl1 wyif, K3, sl1 wyif, K1
Increase Section
- Increase 1 st every 8th row (i.e., every 4th RS row):
After edge sts, M1, K across to last 2 sts, work edge sts - Repeat until you have 30 sts on the needle (approx. 60 cm long, 18 cm wide)
Straight Section
Work even in garter stitch (no increases) for 5 cm.
Decrease Section
- Dec 1 st every 8th row (i.e., every 4th RS row):
After edge sts, K2tog, K to end - Continue until 5 sts remain (approx. 125 cm total length)
Bind Off
BO loosely in pattern. Cut yarn and pull through final loop. Weave in ends.
Finishing
- Lightly block to shape if desired
- Enjoy your modern minimalist scarf!
The rights to this pattern belong to MYO Make Your Own. The pattern or its pictures may not be copied, shared or resold either in parts or in its entirety, but you may sell items you have crocheted from this pattern. If you have questions about the pattern, contact MYO at hello@makeyourown.se.


