
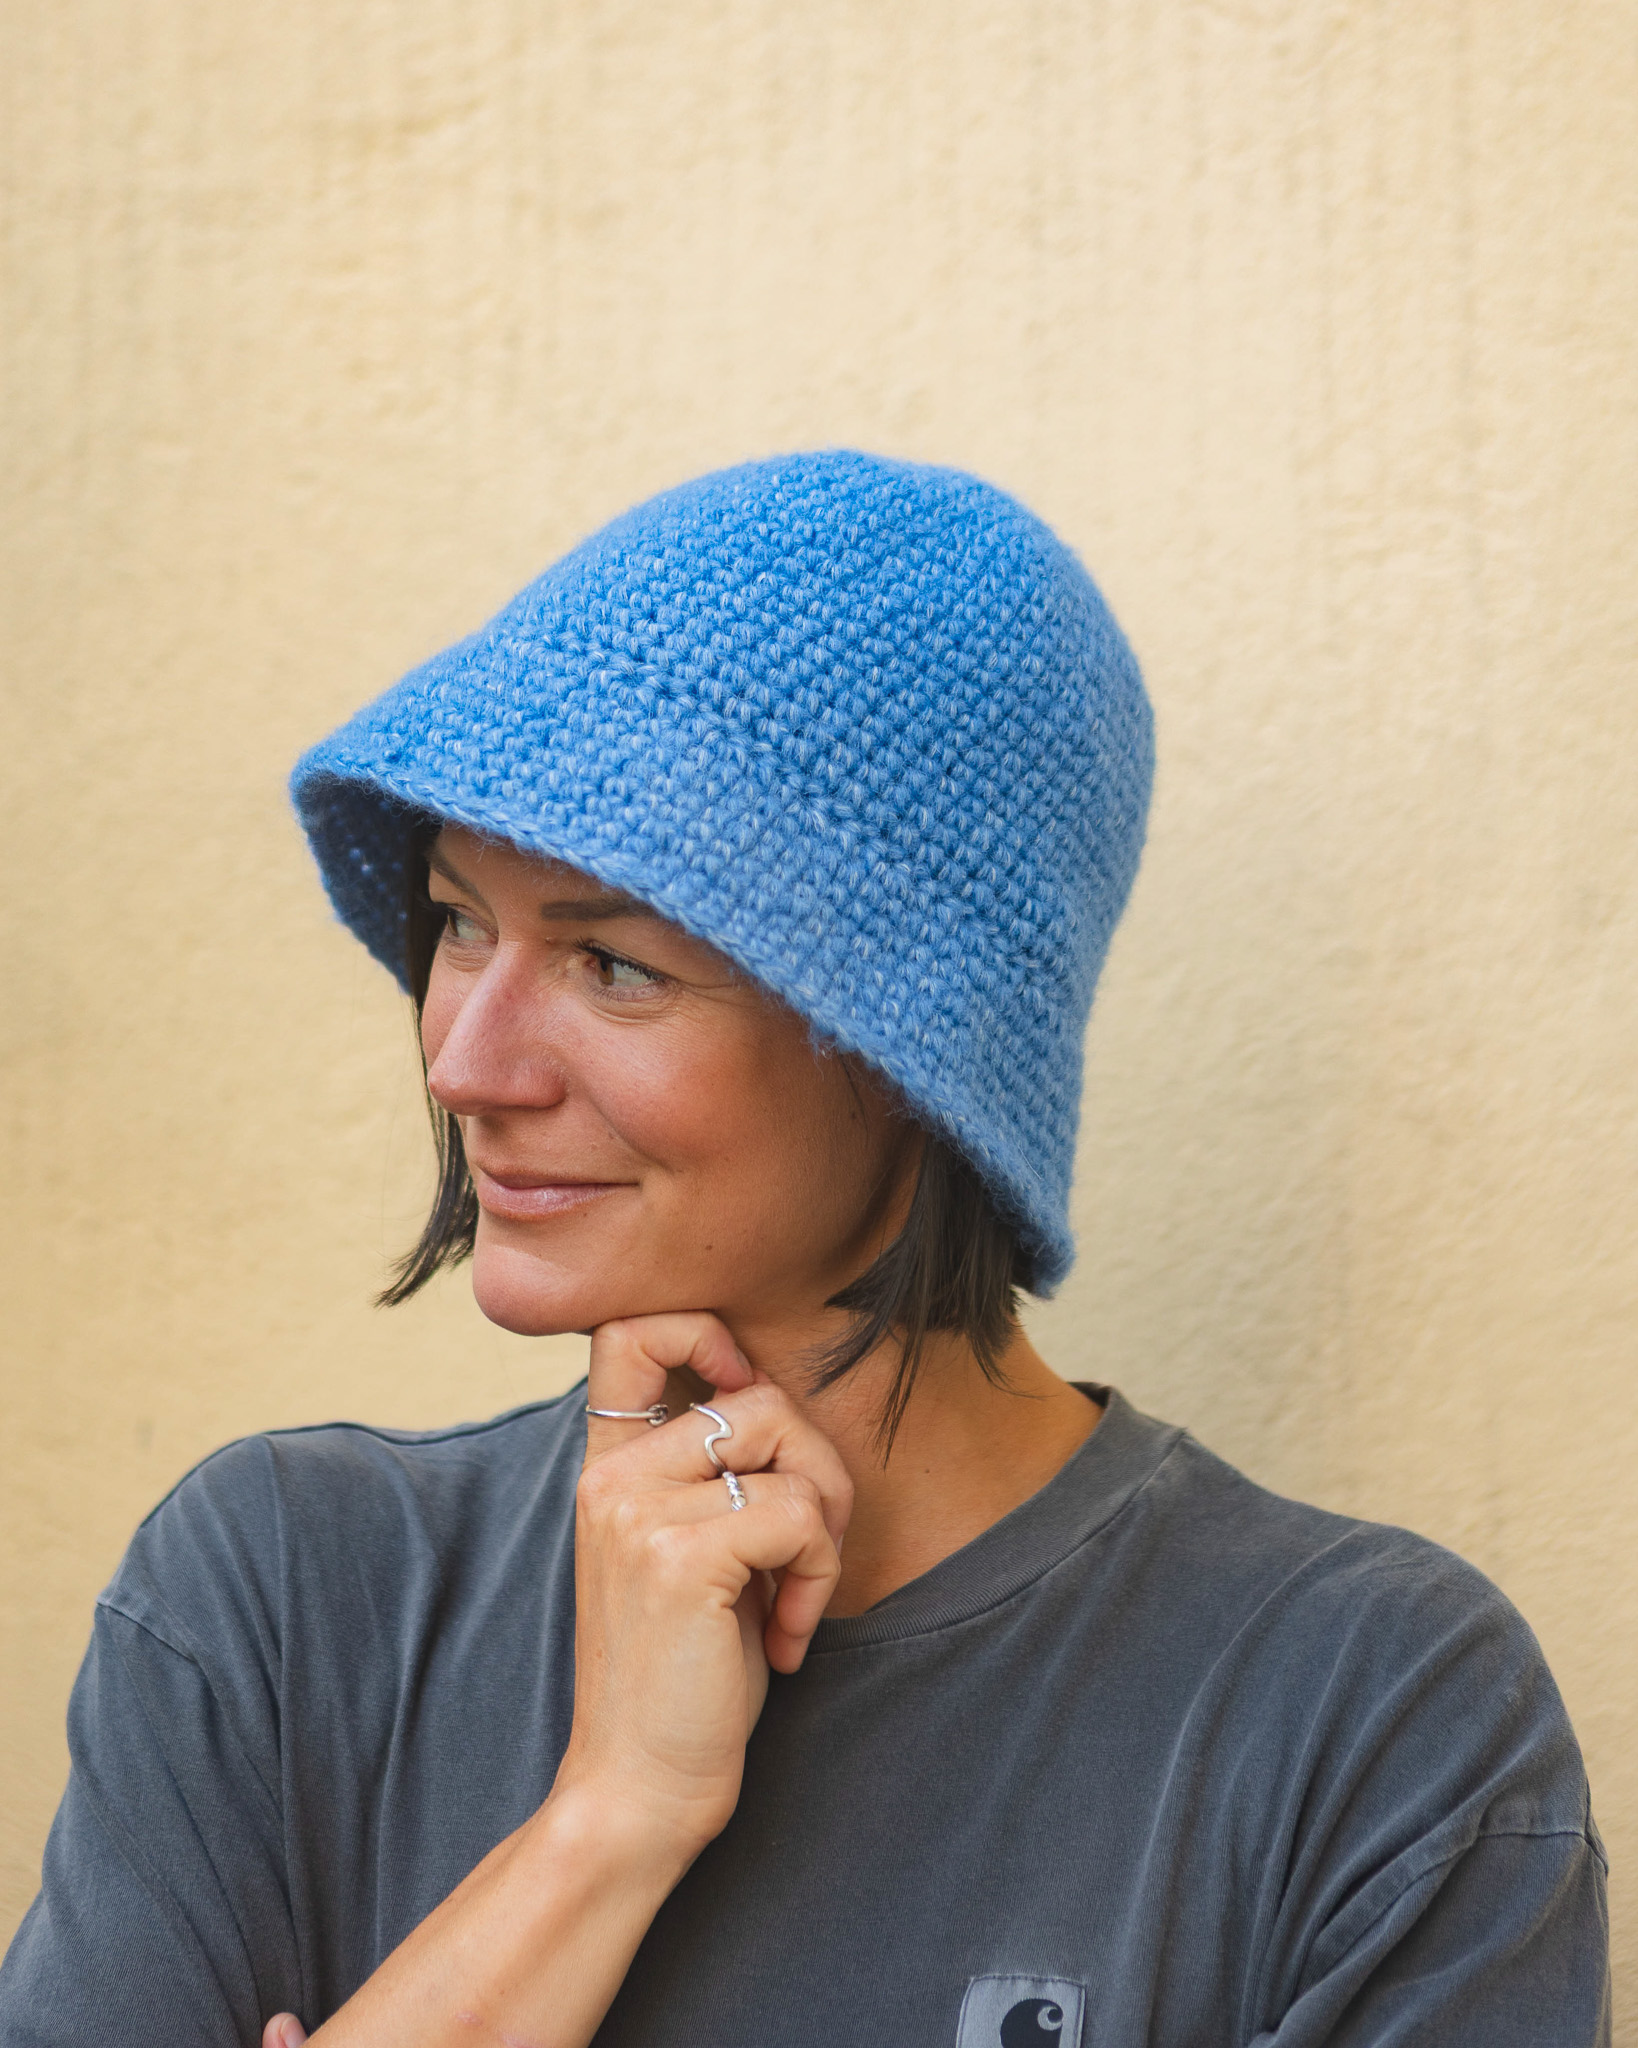
Crochet beanie “Boel”
Crochet the beautiful and trendy “Boel” hat using the soft wool yarn Soft Wool.
This yarn is made from 100% wool, so the hat will keep you warm all winter. It is also a very easy project, perfect for beginners who want to learn how to crochet. You can adjust the size of the hat to suit your personal preference. In addition to the wool yarn, you will need a 6–7 mm crochet hook (6 mm for a denser and warmer hat). We have used the color “Dark Green.” To help you along, there is a full-length instructional video to watch.
Yarn Consumption: approximately 100–200 g. The green hat shown in the picture, crocheted with a 7 mm hook, weighs about 100 g. For a hat made with a 6 mm hook that is slightly taller, you will need two skeins.

%20(1).jpg)
%20(2).jpg)
%20(4).jpg)
%20(3).jpg)
Here's how to do it
This beanie is easy to adjust in size, making the pattern suitable for all ages! If you like a more dense beanie then use crochet hook 6 mm /Rebecca

This is what you need:
Here you can directly purchase the material for the product. Please note that the instruction is digital and appears here on the page (no written instruction).

.jpg)
.jpg)
Unleash your creativity
For only 85kr per month you get access to all our 300+ beginner-friendly instructions for crochet, knitting and macrame.
A perfect way to get started with your new hobby!

If you use a 7 mm crochet hook, the hat will be looser and not as tight. If you want a snugger hat, we recommend using a 6 mm crochet hook instead. The pattern is written based on a 6 mm hook (the video was made using a 7 mm hook).
If you use a 7 mm hook and want a low-profile hat, we crocheted about 31 chains.
For a child’s hat, approximately 10–18 months, we crocheted about 31 chains using a 6 mm hook. This produced a hat that fit well—i.e., not too tall or pointy. Add more chains if you want a taller hat. Every child’s head is different, so measure as you go.
Row 1: Begin by making a slip knot and then crochet a chain the length corresponding to the height you want for the hat, including the folded-up brim. For reference, the hat in the picture is 43 chains long (including the folded-up brim). If you want a taller brim, add, for example, 5 more chains. After completing your chain, add 1 extra chain and turn your work.
Slip Knot: Start by making a slip knot/loop by taking the end of the yarn and twisting it twice around your fingers. Use the crochet hook to pull the inner yarn under the outer yarn to create a loop. Tighten the knot and insert the hook into the loop.
Row 2: Start in the 2nd chain from the hook, skipping the chain closest to the hook. Crochet 3 slip stitches, then 3 single crochets. After that, work half double crochets across the row until you reach the end. The total number of stitches should now be 1 less than the total number of chains in Row 1. Chain 1 and turn.
Slip Stitch (sl st): Insert the hook into the stitch, yarn over, pull up a loop so you have two loops on the hook, then pull the top loop through the other loop.
Single Crochet (sc): Insert the hook into the next stitch, yarn over, pull up a loop (you have two loops on the hook), yarn over again and pull through both loops.
Half Double Crochet (hdc): Yarn over, insert the hook into the stitch and pull up a loop (you now have three loops on the hook), yarn over and pull through all three loops. A half double crochet is essentially the same as a single crochet, but you wrap the yarn around the hook once before inserting it into the stitch.
Row 3: Once again, start in the 2nd stitch from the hook. Crochet 1 single crochet in each back loop across the row. Repeat Rows 2–3 until the piece is wide enough to fit comfortably around your head. (Hold it around your head as you go to check that it will fit comfortably.)
Back Loop: If you look at a stitch, you’ll see two vertical lines forming a V. The line farthest from you, at the back, is the back loop. Crocheting into this loop creates a ribbed texture.
Sew the Hat Edges: Sew the sides of the hat together. (At the end of the video instructions, there are tips on how to make the seam as invisible as possible.)
Top of the Hat: Close the top by threading your needle through the turning chains—the chain stitches at the end of each row that you made to turn your work. Pull the yarn tight so that the opening at the top is as small as possible. Fasten off the yarn.
Now your hat is finished—well done!
Pattern with US Crochet Terms
This part of the pattern uses crochet terms. If you need help along the way, see our basic version of this pattern. In this case, there are no images as guidance, so we refer you to the full-length video in the pattern.
Abbreviations (US terms):
ch = chain
sl st = slip stitch
sc = single crochet
hdc = half double crochet
bp = back loop only
(…) = indicates the number of stitches in the current row
*…* = repeat everything inside the … the number of times indicated
If you use a 7 mm hook, the hat will be looser and less dense. If you want a tighter hat, we recommend using a 6 mm hook. The pattern is written for a 6 mm hook (the video was made with a 7 mm hook).
If you use a 7 mm hook and want a low hat, we worked about 31 chains.
For a child’s hat (about 10–18 months), we worked about 31 chains with a 6 mm hook. This gave a hat that fit well—not too tall or pointy. Add more chains if you want a taller hat. Every child’s head is different, so measure as you go.
Row 1: Work the number of ch needed for the desired height of the hat. Remember to include the folded brim. For reference, the hat in the photo was made with 43 chains (including folded edge).
From Row 2 onward, finish each row with ch 1 and then turn your work. Each new row begins in the 2nd ch from the hook.
Row 2: Work 3 sl st, 3 sc, then work 1 hdc in each remaining chain across the row.
Row 3: Work 1 sc in each back loop across the row.
Repeat Rows 2–3 until the width of the hat fits your head.
Finishing: Sew the hat edges together. Close the top by threading your needle through the turning chains (the chains at the end of each row that allowed you to turn your work). Pull the yarn tight so the hole at the top is as small as possible. Fasten off the yarn.
Now your hat is finished—great job!
The rights to this pattern belong to MYO Make Your Own. The pattern or its pictures may not be copied, shared or resold either in parts or in its entirety, but you may sell items you have crocheted from this pattern. If you have questions about the pattern, contact MYO at hello@makeyourown.se.


Share your creations with us
Thank you!
Your comment was sent!