Crochet hat in Granny squares “Emma”
Finally a simple pattern for a hat with granny squares
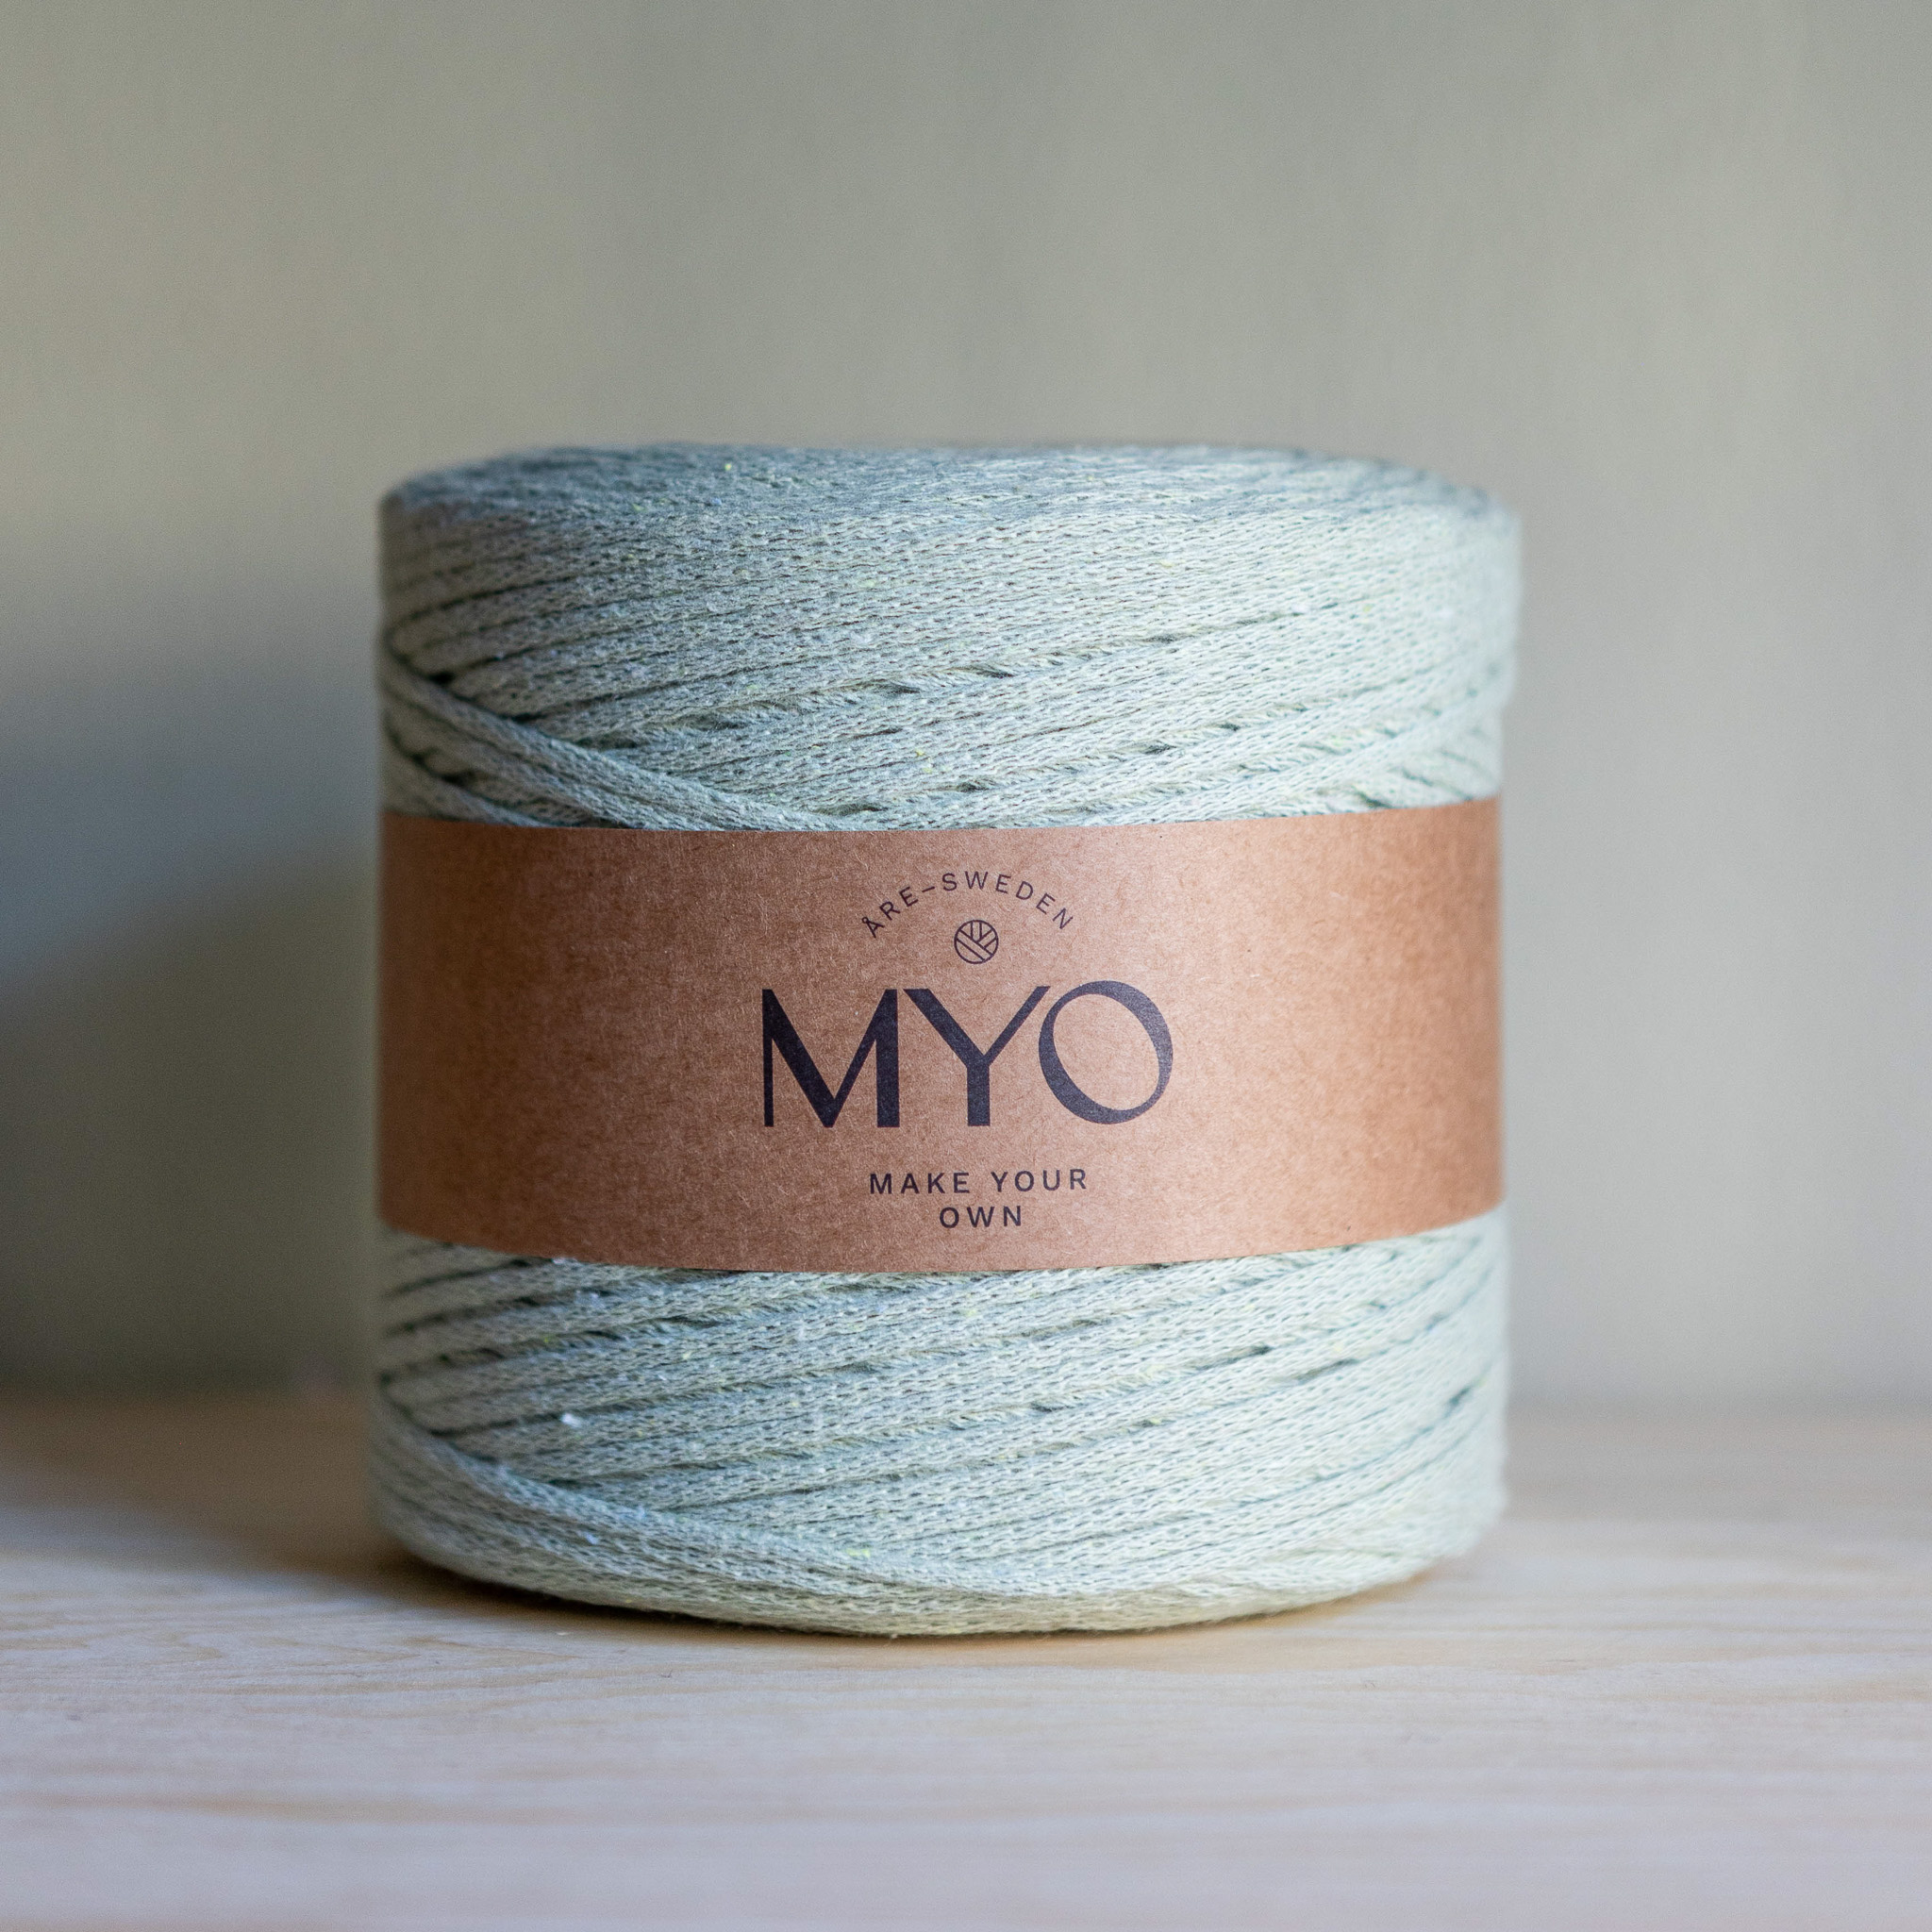
In this tutorial, we will crochet a Bucket Hat in granny squares. The yarn used is EKO Nano tube yarn (purchase at makeyourown.se), which is an easy-to-handle yarn made from 80% recycled cotton. You can use different colors on the hat, or make the hat with just one color. The choice is yours! In this pattern, we use three different colors and we start with the top and then crochet the squares & put them together. Finally, we make the screen for which you decide the size yourself. The pattern is made to suit beginners and we go through all the steps in the video.
For the hat, you need 1-3 colors of EKO Nano tube yarn, as well as crochet hook size 6. You can also use EKO Nano for, for example, crocheted linen.
Yarn consumption : approx. 250g

This is what you need:
Here you can directly purchase the material for the product. Please note that the instruction is digital and appears here on the page (no written instruction).

Here's how to do it

Get Started - Innermost Ring (Youtube: 0:22)
Hold the yarn in your left hand. Twist the yarn around your fingers (left hand) three times. Use your crochet hook to go under the first two loops and hook the third with your crochet hook. Pick up the yarn again and pull under the two finger loops, hook the yarn onto the hook and pull through. Now the loop on the crochet hook holds the double inner ring together and we can start on round 1.
Second round (Youtube: 2:57)
Now the top of the hat will grow in size and therefore we start adding extra stitches. On this round we will make two stitches in each stitch from round 1.
Pass the hook through both sides of the first stitch you made for the first round and pull the yarn through. You now have two loops on the hook. Grab the yarn again and pull it through both loops. Now you only have one loop on the hook and have crocheted the first stitch. On this round we will make two stitches in each stitch so you go down in the SAME stitch again and catch the yarn and pull through so you temporarily have 2 stitches on the hook. Then you pick up the yarn again and pull through. You have now made two stitches in the same stitch. Continue in the same way round out, a total of 12 stitches on round 2.
For the next round, continue to add extra stitches according to the following pattern:
Round 3: Make two stitches in every other stitch (between these you only make one stitch as usual). You have a total of 18 stitches on the round.
Round 4: Make two stitches in every 3rd stitch. In total you have 24 stitches on the round.
Round 5: Make two stitches in every 4th stitch. In total you have 30 stitches on the round.
Round 6: Make two stitches in every 5th stitch. In total you have 36 stitches on the round.
Round 7: Make two stitches in every 6th stitch. You have a total of 42 stitches on the round.
Round 8: Make two stitches in every 7th stitch. In total you have 48 stitches on the row.
Round 9: Make two stitches in every 8th stitch. Finish by making one more stitch in the last stitch. In total you have 55 stitches on the round.
Now the circle is approximately 15-16 cm in diameter.
Attach the yarn ends by cutting the yarn, leaving a 5-10 cm tail. Tie the remaining tail in a knot around the last loop to prevent it from unraveling. Tighten and hide the tail by attaching it through a few nearby loops. Do the same on the tail left from the inner ring.
Granny Squares (Youtube: 16:04)
Now we are going to crochet 5 granny squares in two different colours. Start with the color you want in the center of the box. The square will be crocheted in double crochets, follow the instructions. Remember to crochet the granny squares hard and tight so that the hat doesn´t get too big.
Round 1 on the granny square:
- Crochet the innermost ring just like you did on the top of the hat.
- Crochet 3 single loops (this chain replaces the first double crochet). Then crochet two double crochets in the innermost ring. A pole is crocheted by taking the yarn over the crochet hook and going down with the crochet hook in the innermost ring, pick up yarn and pull through (you now have 3 loops on the hook), pick up yarn and pull through 2 loops (you have two loops left on the hook ), pick up the yarn one last time and pull through the last two loops. You have now crocheted a double crochet. Crochet one more so you have two double crochet. Crochet three loops.
- Crochet three double crochets and after that, crochet three loops.
- Crochet three double crochets and after that, crochet three loops.
- Crochet three double crochets and after that, crochet three loops.
- Finish round 1 by bringing the hook down into the top of the three loops (as you did at the beginning), picking up the yarn and pulling through.
Round 2 on the granny square:
- In the stitch go down with the crochet hook, pick up the yarn and pull the yarn through both loops directly. Do the same 2-3 more times (until you are in the corner).
- On round 2 we will crochet in all corners only. Pull through with your new color. In the first corner you crochet (in the same hole); three loose loops, two double crochets, then three loose loops and finally three double crochets. Then you crochet a loose loop. Let the yarn end of the first color follow under your stitches so you don´t have to attach it later.
- In the other corner you crochet (in the same hole); three double crochets, then three single loops and finally three double crochets. Then you crochet a loop.
- In the third corner you crochet (in the same hole); three double crochets, then three single loops and finally three double crochets. Then you crochet a loop.
- In the fourth corner you crochet (in the same hole); three double crochets, then three loose loops and finally three double crochets. Then you crochet a loose loop. Finish round 2 by bringing the hook down into the top of the three loops (as you did at the beginning), picking up the yarn and pulling straight through.
Check that the granny square is approx. 8-8.5 cm on the edges and pull the first yarn end so that the hole in the middle is closed.
Fasten off all yarn ends by cutting the yarn, leaving a 5-10 cm tail. Tie the remaining tail in a knot around a loop at the back of the granny square to prevent it from unraveling. Tighten and hide the tail by attaching it through a few nearby loops.
Crochet the squares together (Youtube 32:54)
- Take a square and have the wrong side (back) facing you. Use the same color as you have on the top of the hat. Make a loop, one way to do this is to wrap the yarn around your index and middle finger and then pull the yarn up so that the loop locks when you tighten.
- Pull the yarn through the first corner and then crochet 9 stitches (starting in the corner) until you are at the second corner. Tip is to count the 9 stitches before you start crocheting. You should have 9 stitches in total. Crochet a loose loop and turn. Skip the first stitch and crochet 9 stitches back to the first corner. Crochet a loose loop.
- Take the next square and put the two squares together with the right side (front) facing each other. Now crochet 9 stitches through both squares. Do not crochet in the loose loop, but go down into the second stitch and then into the stitch of the second square. You have now crocheted two squares together and the seam should be on the wrong side (back). Attach the yarn ends in the same way as before.
- Start on the other side of square 2, with the wrong side facing you. Pull the yarn through the first corner and crochet 9 stitches (start in the same stitch you pulled the yarn through) until you are on the second corner. You should have 9 stitches in total. Crochet a loose loop and turn. Skip the first stitch and crochet 9 stitches back to the first corner. Crochet a loose stitch. Place square 2 and square 3 right sides together. Go down with the crochet hook through both squares, start in the second stitch and then go down in the corner of the second square. Crochet 9 stitches along the edge. Attach the yarn ends as before (on the inside).
- Repeat the same way 2 more times, until all squares are attached. Also do the same between box 5 with box 1. Cut and attach the yarn as you did before.
Crochet the top and side piece together (Youtube: 49:33)
1. The side piece, with all the granny squares, should be crocheted together with the top. Have the side piece with the seams in (fine side out). Make a loop and pull the yarn through first, then go down with the hook in the same stitch and crochet 55 stitches around the entire circumference of the side piece. There should be 11 stitches per square (tip is to count it first so you know which stitches to decrease, the most important thing is that there will be a total of 55 stitches all around).
2 . Make a simple, loose loop. Take the top of the hat and have the right side of the top (nice side) facing up, we will now crochet the upper edge of the side piece with the top.
3 . Go down with the crochet hook into the back loop of the side piece and then go through the front loop at the top of the hat (the two loops closest to each other), pick up the yarn and pull through both straight away. Do this a total of 55 times. Attach the yarn by cutting the yarn, leaving a 5-10 cm tail. Tie the remaining tail in a knot around a stitch on the inside to prevent it from unraveling. Hide the tail by attaching it through some nearby loops. Thought about attaching the yarn to the inside.
Board (Brim) (Youtube: 54:33)
We´re going to crochet again around the lower part of the side piece, exactly the same way you did with the upper part of the side piece. Go down with the crochet hook into one of the joints between two squares and pick up the yarn and pull through directly. Starting in the same stitch you started in, crochet 55 stitches around the entire bottom circumference of the side piece. There should be 11 stitches per square. Hold the hat upside down and crochet from right to left.
1. Make a stitch in each stitch. A total of 55 stitches on the round.
2. Make two stitches in every 5 stitches. In total you have 66 stitches on the row.
3 . Make a stitch in each stitch. A total of 66 stitches on the round.
4. Make two stitches in every 6 stitches. In total you have 77 stitches on the row.
5 . Make a stitch in each stitch. A total of 77 stitches on the round.
Try the hat on and check how big the brim is, if it´s too small, crochet one or two more rounds:
6 . Make two stitches in every 7th stitch. In total you have 88 stitches on the round.
7 . Make a stitch in each stitch. A total of 88 stitches on the round.
Closing (Youtube: 1:00:55)
Finish by cutting the yarn, leaving a 5-10 cm tail. Tie the remaining tail in a knot around the last loop on the inside of the hat to prevent it from riding up. Tighten and hide the tail by attaching it through a few nearby loops. Do the same on the tail left from the inner ring.
CONGRATULATIONS - now you are done with your hat! :)
Top of the Hat
Round 1: 6 sc into a magic ring (MR)
Round 2: inc x6 (12)
Round 3: *1 sc, inc* x6 (18)
Round 4: *2 sc, inc* x6 (24)
Round 5: *3 sc, inc* x6 (30)
Round 6: *4 sc, inc* x6 (36)
Round 7: *5 sc, inc* x6 (42)
Round 8: *6 sc, inc* x6 (48)
Round 9: *7 sc, inc* x5, *6 sc, inc* x2 (55)
Fasten off and cut the yarn.
Crochet 5 Granny Squares
Start with the color you want in the center of each square.
Round 1: Make a magic ring (MR), then crochet: 3 ch (counts as 1 dc), 2 dc, 3 ch, *3 dc, 3 ch* x3.
Finish with 1 sl st into the 3rd ch from the beginning. Cut and fasten yarn (unless you want to continue in the same color).
Round 2: Join the new color into a ch-space (corner). 3 ch, 2 dc, 3 ch, 3 dc into the first corner space. Crochet 1 ch between ch-spaces, and in each corner space: 3 dc, 3 ch, 3 dc. Finish with a sl st into the 3rd ch. Cut and fasten yarn.
Join the Squares
Take one square and turn the wrong side facing you.
Row 1: 9 sc along one edge of the square, turn with 1 ch
Row 2: 9 sc, turn with 1 ch
Take the next square and place it right side facing the first square.
Row 3: 9 sc through the stitches of both squares, fasten off and cut yarn.
Continue this way, joining all five squares into a long strip. Then join square 1 to square 5 in the same way to form a loop.
📝 Tip: Since there are three rows of sc between the squares, make sure the wrong side of the square is facing you when crocheting the first row, the right side when doing the second row, and again the wrong side when joining it to the next square.
📏 Each square should measure approx. 8–8.5 cm along the sides.
Fasten and cut the yarn.
Join Top to Side Panel
Turn the side panel so that the seams are facing inward.
Round 1: 55 sc around the top edge of the side panel (55) Place the top of the hat right side up, and join with the upper edge of the side panel.
Round 2: 1 ch, 55 sl st in BLO (back loop only) of the side panel and FLO (front loop only) of the top (55)
Finish with a sl st and fasten yarn.
Brim
Start along the bottom edge of the side panel.
Round 1: 55 sc (55)
From now on, continue in a spiral (do not join rounds).
Round 2: 55 sc (55)
Round 3: 4 sc, inc x11 (66)
Round 4: 66 sc (66)
Round 5: 5 sc, inc x11 (77)
Round 6: 77 sc (77)
Round 7: 6 sc, inc x11 (88)
Round 8: 88 sc (88)
Finish with a sl st and fasten yarn.
You’re Done!
Congratulations – you’ve made a beautiful granny square hat! 🧡
The rights to this pattern belong to MYO Make Your Own. The pattern or its pictures may not be copied, shared or resold either in parts or in its entirety, but you may sell items you have crocheted from this pattern. If you have questions about the pattern, contact MYO at hello@makeyourown.se.



%252520(6).webp)

