ABBA Beanie 2.0
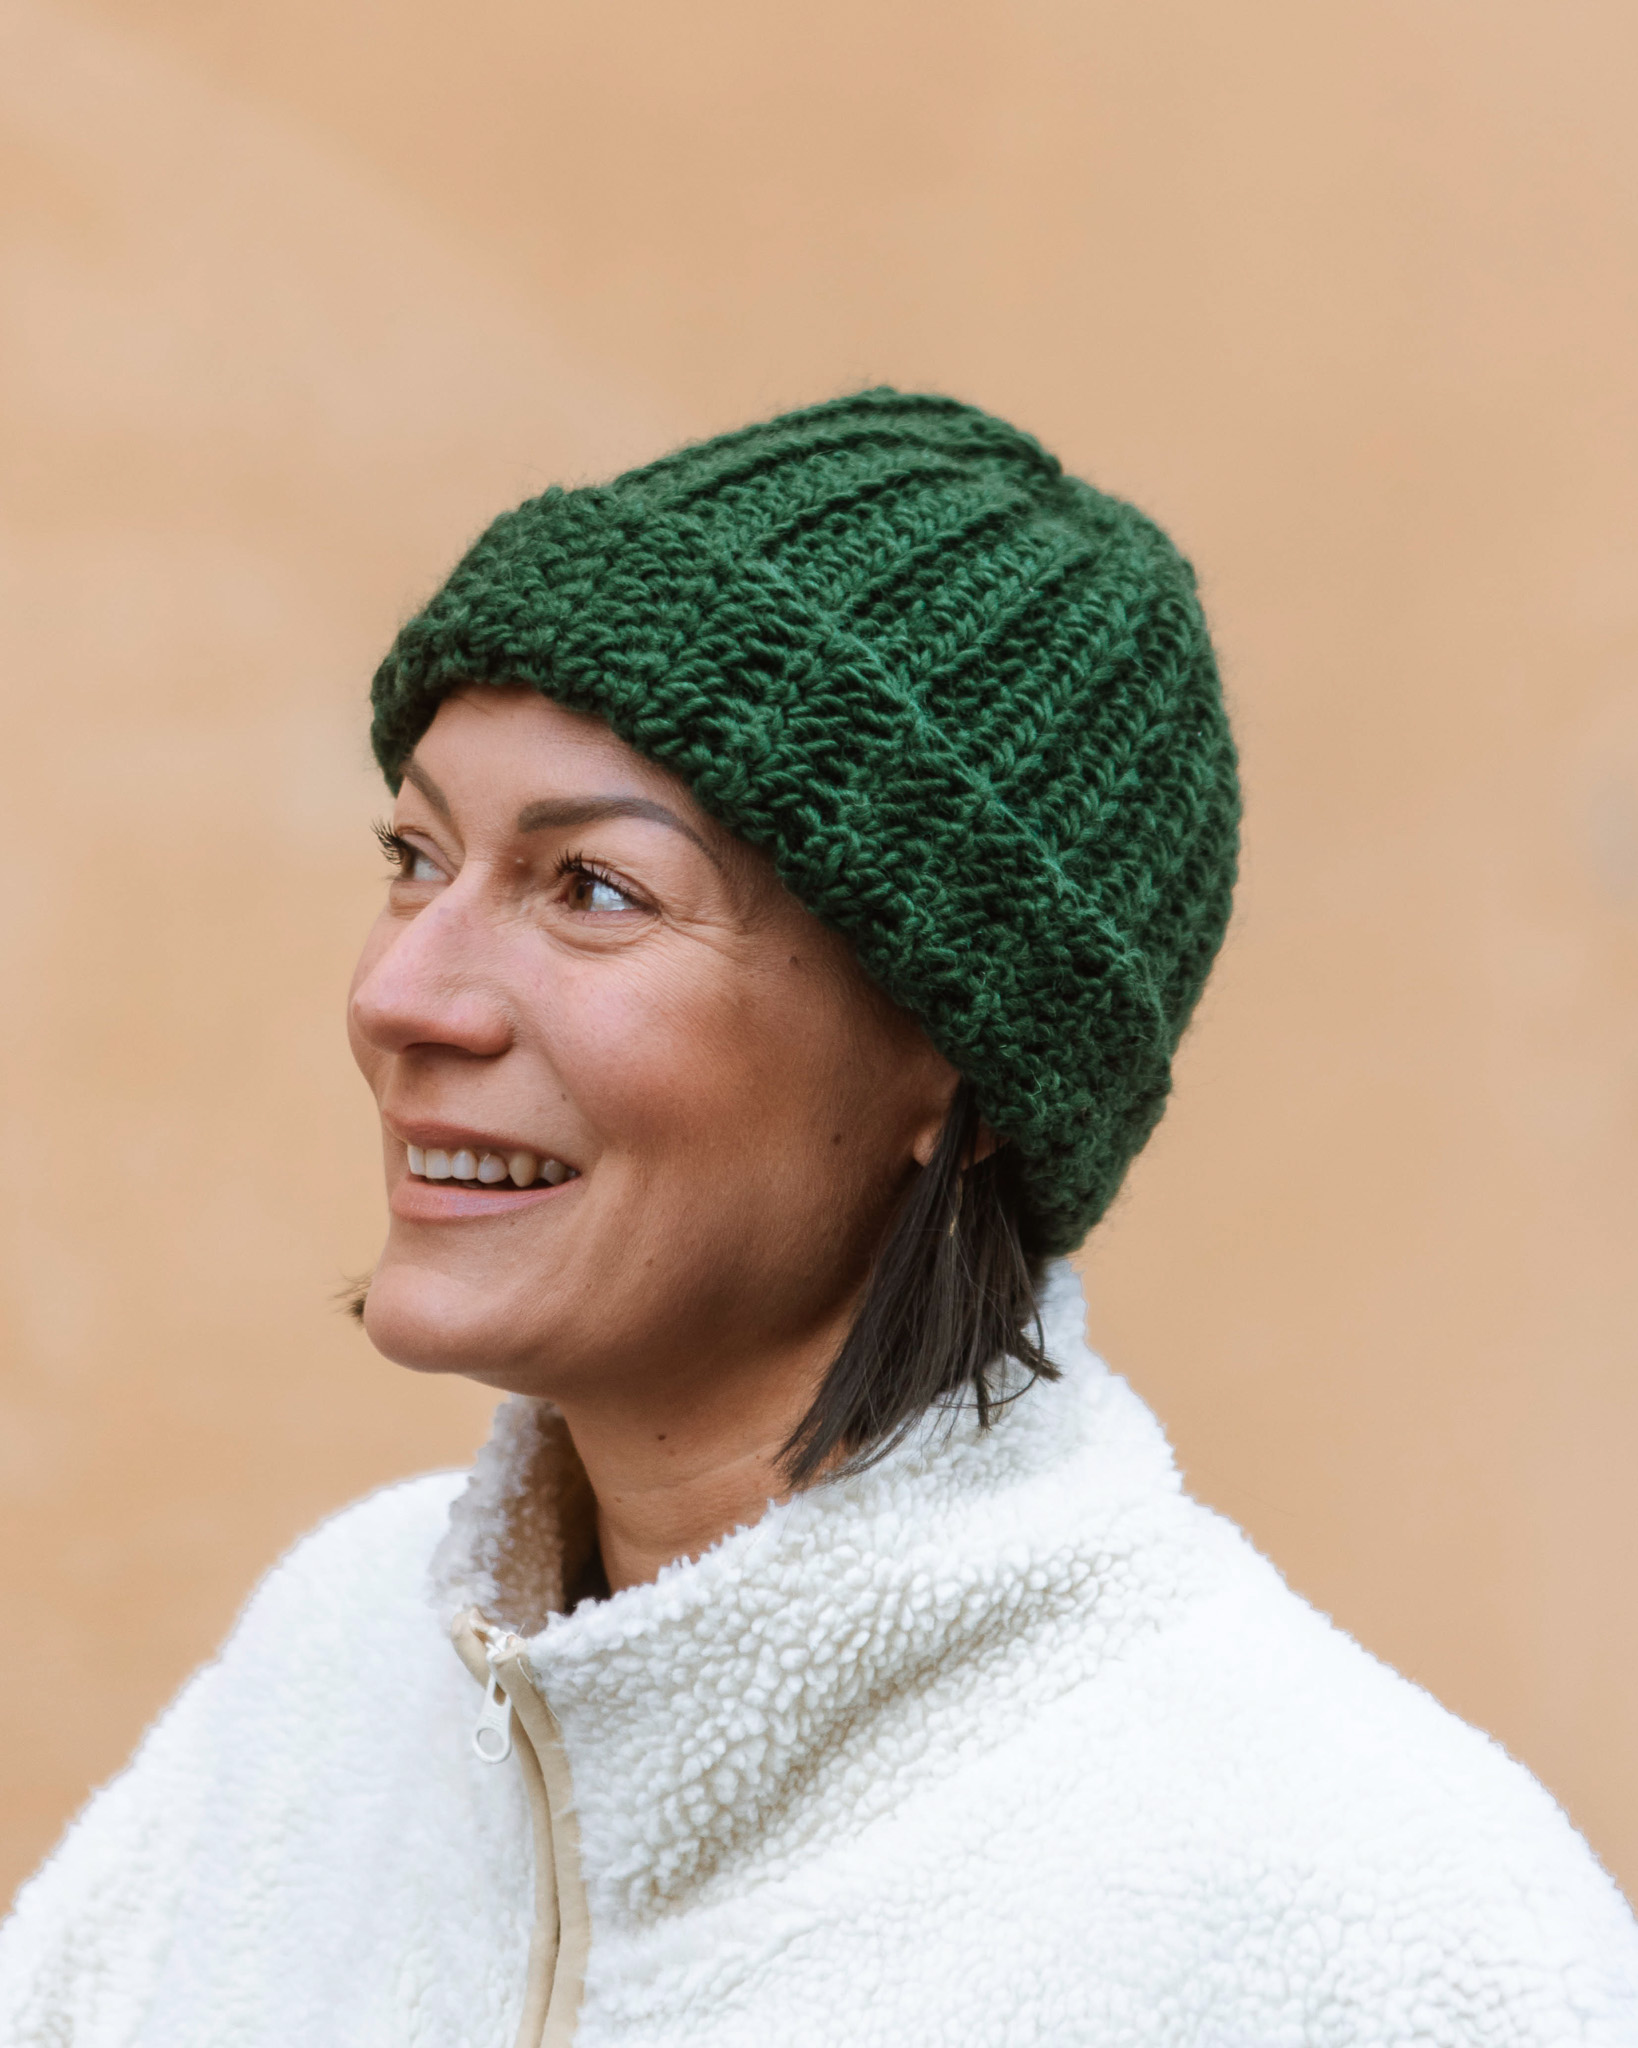
Crochet a hat similar to the one Agnetha wore when ABBA won the Eurovision Song Contest with the song Waterloo 50 years ago! 🇸🇪 🌟
Together with the Swedish Institute (www.sweden.se) we have developed the ABBA Beanie 2.0 to celebrate Waterloo's 50th anniversary. 50 years ago ABBA won the Eurovision Song Contest with the song Waterloo and we have made our own version of the hat that Agnetha wore in the final - so you should be able to create your own. You can crochet the hat in our yarn EKO Nano and you can decorate it afterwards with e.g. glitter, if you want.
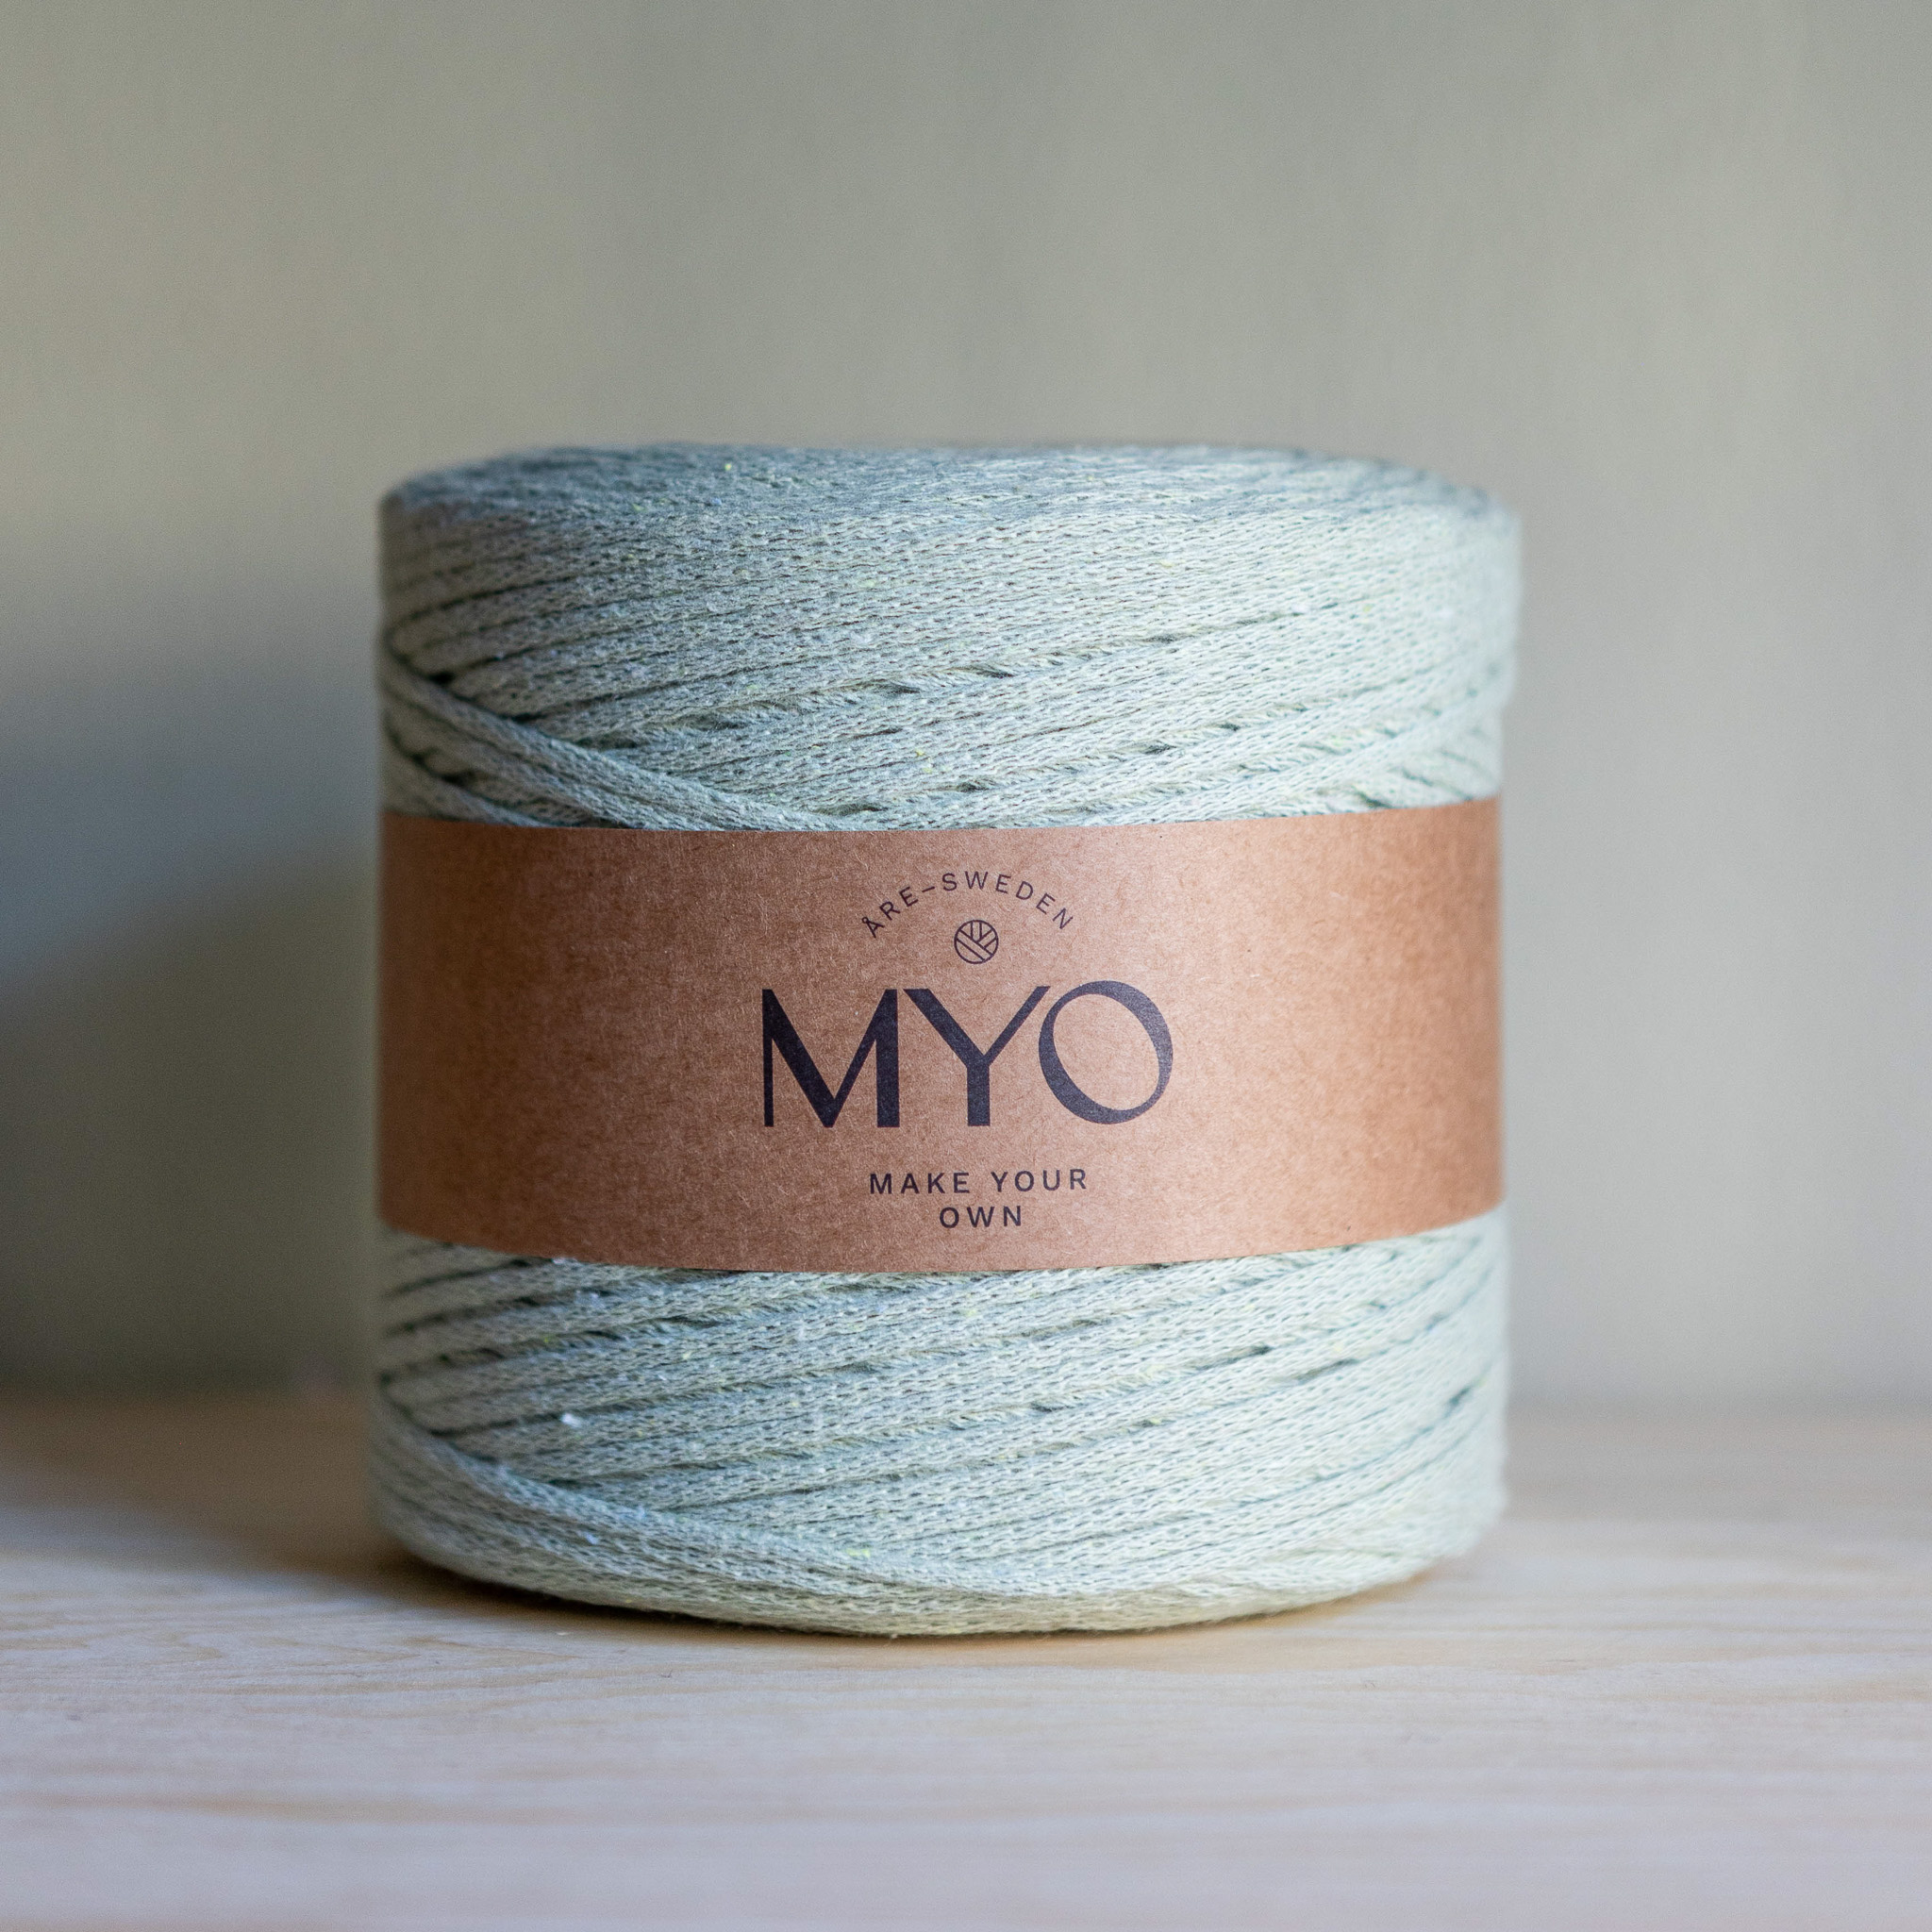
Yarn input: 200g of EKO Nano tube yarn

This is what you need:
Here you can directly purchase the material for the product. Please note that the instruction is digital and appears here on the page (no written instruction).

Here's how to do it

We start with the top of the beanie by making a so-called magic ring. This may be the hardest thing on the whole beanie but you will get the hang of it— we promise!
Magic Ring
Hold the yarn in your left hand. Twist the yarn around your fingers (left hand) three times. Use your crochet hook to go under the first two loops and hook the third with your crochet hook. Pick up the yarn again and pull under the two loops, hook the yarn onto the crochet hook and pull through. Now the loop of the crochet hook holds together the double “inner ring” and you can proceed below.
Lap 1:
Take off your ring from your hand. Take the crochet hook in your hand and catch the yarn with the crochet hook- thread the yarn through the loop that you have on your crochet hook. Now you make 7 single crochet stitches around your ring by going in with the crochet hook into the ring to catch the yarn and pull it back through the ring, catch the yarn again and pull it through the loop that you have on your crochet hook. When you have finished your 7 stitches, pull on the long ends to pull together and create your magic ring.
Then make a slip stitch to close the ring.
Lap 2
Start by making 3 chain stitches. After that, make a double crochet in the same loop as your just made your chain.
You make a double crochet by first wrapping the yarn around your crochet hook and then go into the stitch in your ring. Catch the yarn on the other side and pull it back the same way. You now have 3 loops on your crochet hook. Pick up the yarn again and pull through 2 of the loops on your crochet hook. Catch the yarn again and pull through all the loops on your crochet hook.
For the rest of the round, you continue to make 2 double crochet in each stitch.
Finish the lap with a slip stitch.
Lap 3
Make 4 chain stitches.
Then make 1 double crochet in each stitch.
When you finish your lap, you finish with a slip stitch to close your lap.
Lap 4
Time to make an increase so that the cap becomes larger in circumference.
Start the round with 4 chain stitch- place the chain stitch in the double crochet from the previous lap.
Then make 2 double crochet also these in the double crochet from previous lap-so that they are lined up.
Then make a double crochet in the middle of 2 double crochet (this will be the increase)
Now you continue to make 3 double crochet lined up with previous double crochet, then another double crochet in the stitch between the double crochet. Continue until you finish your lap.
Finish the lap with a slip stitch.
Lap 5
Time to measure your head. If it's under 55cm, jump straight to lap 6. (18.20 in the video)
If your head is 56-59cm, do one more turn exactly like lap 4.
If your head is 59cm and bigger then do lap 4 - 3 times in total.

Lap 6
Make 4 chain stitches
Then make a double crochet that lines up with the double crochet from the previous lap throughout the lap until you finish your lap. Finish with a slip stitch.
Continue with this step until you have the height of the beanie you want.
The Flower
Repeat steps 1 and 2. When you are done- cut the yarn and attach it to the flower so it does not curl up.
Attach your flower to the beanie in the desired location- using your crochet hook or needle and thread.
If you want glitter on your hat then it is dax to put this on. We have chosen to use glue gun and glitter that we found in the nearest hobby shop.
Good luck!
Abbreviations
MR = magic ring
st = stitch
sc = single crochet
ch = chain
sl st = slip stitch
dc = double crochet
(.....) = Indicates the number of stitches in the round
*...* = Everything within ... is repeated the number of times specified
Hat
Finish each round with 1 sl st in the 1st stitch of the round. This sl st is not included in the total stitch count.
Round 1: 7 sc in a MR (7)
Round 2: 3 ch (counts as 1 dc), 1 dc in the same stitch, *2 dc in the same stitch* x6 (14)
Round 3: 4 ch (counts as 1 dc and 1 ch), *1 dc, 1 ch* x13 (28)
Round 4: 4 ch (counts as 1 dc and 1 ch), skip the next ch space, 1 dc, 1 ch, skip the next ch space, 1 dc, 1 ch, in the next ch space make 1 dc, 1 ch. Repeat the same sequence for the rest of the round. You will make a total of 18 dc in this round.
Now it’s time to measure your head:
- If the circumference is under 55 cm, skip directly to Round 6.
- If your head measures 56-59 cm, repeat Round 4 once more as Round 5.
- If your head measures 59 cm or more, repeat Round 4 a total of 3 times before moving to Round 6.
Round 6: 4 ch (counts as 1 dc and 1 ch), skip the next ch space, 1 dc, 1 ch.
Continue this pattern for as many rounds as needed until you are satisfied with the height of the hat. Fasten off and weave in the ends.
Flower
Round 1: 7 sc in a MR (7)
Round 2: 3 ch (counts as 1 dc), 1 dc in the same stitch, *2 dc in the same stitch* x6, finish and weave in the ends (14).
Attach your flower to the desired spot on the hat using your crochet hook or needle and thread.
If you want glitter on your hat, now is the time to add it! We recommend using a hot glue gun and glitter from a local craft store.
We hope you’re happy with your creation!
We start with the top of the beanie by making a so-called magic ring. This may be the hardest thing on the whole beanie but you will get the hang of it— we promise!
Magic Ring
Hold the yarn in your left hand. Twist the yarn around your fingers (left hand) three times. Use your crochet hook to go under the first two loops and hook the third with your crochet hook. Pick up the yarn again and pull under the two loops, hook the yarn onto the crochet hook and pull through. Now the loop of the crochet hook holds together the double “inner ring” and you can proceed below.
Lap 1:
Take off your ring from your hand. Take the crochet hook in your hand and catch the yarn with the crochet hook- thread the yarn through the loop that you have on your crochet hook. Now you make 7 single crochet stitches around your ring by going in with the crochet hook into the ring to catch the yarn and pull it back through the ring, catch the yarn again and pull it through the loop that you have on your crochet hook. When you have finished your 7 stitches, pull on the long ends to pull together and create your magic ring.
Then make a slip stitch to close the ring.
Lap 2
Start by making 3 chain stitches. After that, make a double crochet in the same loop as your just made your chain.
You make a double crochet by first wrapping the yarn around your crochet hook and then go into the stitch in your ring. Catch the yarn on the other side and pull it back the same way. You now have 3 loops on your crochet hook. Pick up the yarn again and pull through 2 of the loops on your crochet hook. Catch the yarn again and pull through all the loops on your crochet hook.
For the rest of the round, you continue to make 2 double crochet in each stitch.
Finish the lap with a slip stitch.
Lap 3
Make 4 chain stitches.
Then make 1 double crochet in each stitch.
When you finish your lap, you finish with a slip stitch to close your lap.
Lap 4
Time to make an increase so that the cap becomes larger in circumference.
Start the round with 4 chain stitch- place the chain stitch in the double crochet from the previous lap.
Then make 2 double crochet also these in the double crochet from previous lap-so that they are lined up.
Then make a double crochet in the middle of 2 double crochet (this will be the increase)
Now you continue to make 3 double crochet lined up with previous double crochet, then another double crochet in the stitch between the double crochet. Continue until you finish your lap.
Finish the lap with a slip stitch.
Lap 5
Time to measure your head. If it's under 55cm, jump straight to lap 6. (18.20 in the video)
If your head is 56-59cm, do one more turn exactly like lap 4.
If your head is 59cm and bigger then do lap 4 - 3 times in total.

Lap 6
Make 4 chain stitches
Then make a double crochet that lines up with the double crochet from the previous lap throughout the lap until you finish your lap. Finish with a slip stitch.
Continue with this step until you have the height of the beanie you want.
The Flower
Repeat steps 1 and 2. When you are done- cut the yarn and attach it to the flower so it does not curl up.
Attach your flower to the beanie in the desired location- using your crochet hook or needle and thread.
If you want glitter on your hat then it is dax to put this on. We have chosen to use glue gun and glitter that we found in the nearest hobby shop.
Good luck!
Abbreviations
MR = magic ring
st = stitch
sc = single crochet
ch = chain
sl st = slip stitch
dc = double crochet
(.....) = Indicates the number of stitches in the round
*...* = Everything within ... is repeated the number of times specified
Hat
Finish each round with 1 sl st in the 1st stitch of the round. This sl st is not included in the total stitch count.
Round 1: 7 sc in a MR (7)
Round 2: 3 ch (counts as 1 dc), 1 dc in the same stitch, *2 dc in the same stitch* x6 (14)
Round 3: 4 ch (counts as 1 dc and 1 ch), *1 dc, 1 ch* x13 (28)
Round 4: 4 ch (counts as 1 dc and 1 ch), skip the next ch space, 1 dc, 1 ch, skip the next ch space, 1 dc, 1 ch, in the next ch space make 1 dc, 1 ch. Repeat the same sequence for the rest of the round. You will make a total of 18 dc in this round.
Now it’s time to measure your head:
- If the circumference is under 55 cm, skip directly to Round 6.
- If your head measures 56-59 cm, repeat Round 4 once more as Round 5.
- If your head measures 59 cm or more, repeat Round 4 a total of 3 times before moving to Round 6.
Round 6: 4 ch (counts as 1 dc and 1 ch), skip the next ch space, 1 dc, 1 ch.
Continue this pattern for as many rounds as needed until you are satisfied with the height of the hat. Fasten off and weave in the ends.
Flower
Round 1: 7 sc in a MR (7)
Round 2: 3 ch (counts as 1 dc), 1 dc in the same stitch, *2 dc in the same stitch* x6, finish and weave in the ends (14).
Attach your flower to the desired spot on the hat using your crochet hook or needle and thread.
If you want glitter on your hat, now is the time to add it! We recommend using a hot glue gun and glitter from a local craft store.
We hope you’re happy with your creation!
The rights to this pattern belong to MYO Make Your Own. The pattern or its pictures may not be copied, shared or resold either in parts or in its entirety, but you may sell items you have crocheted from this pattern. If you have questions about the pattern, contact MYO at hello@makeyourown.se.



%252520(6).webp)

