
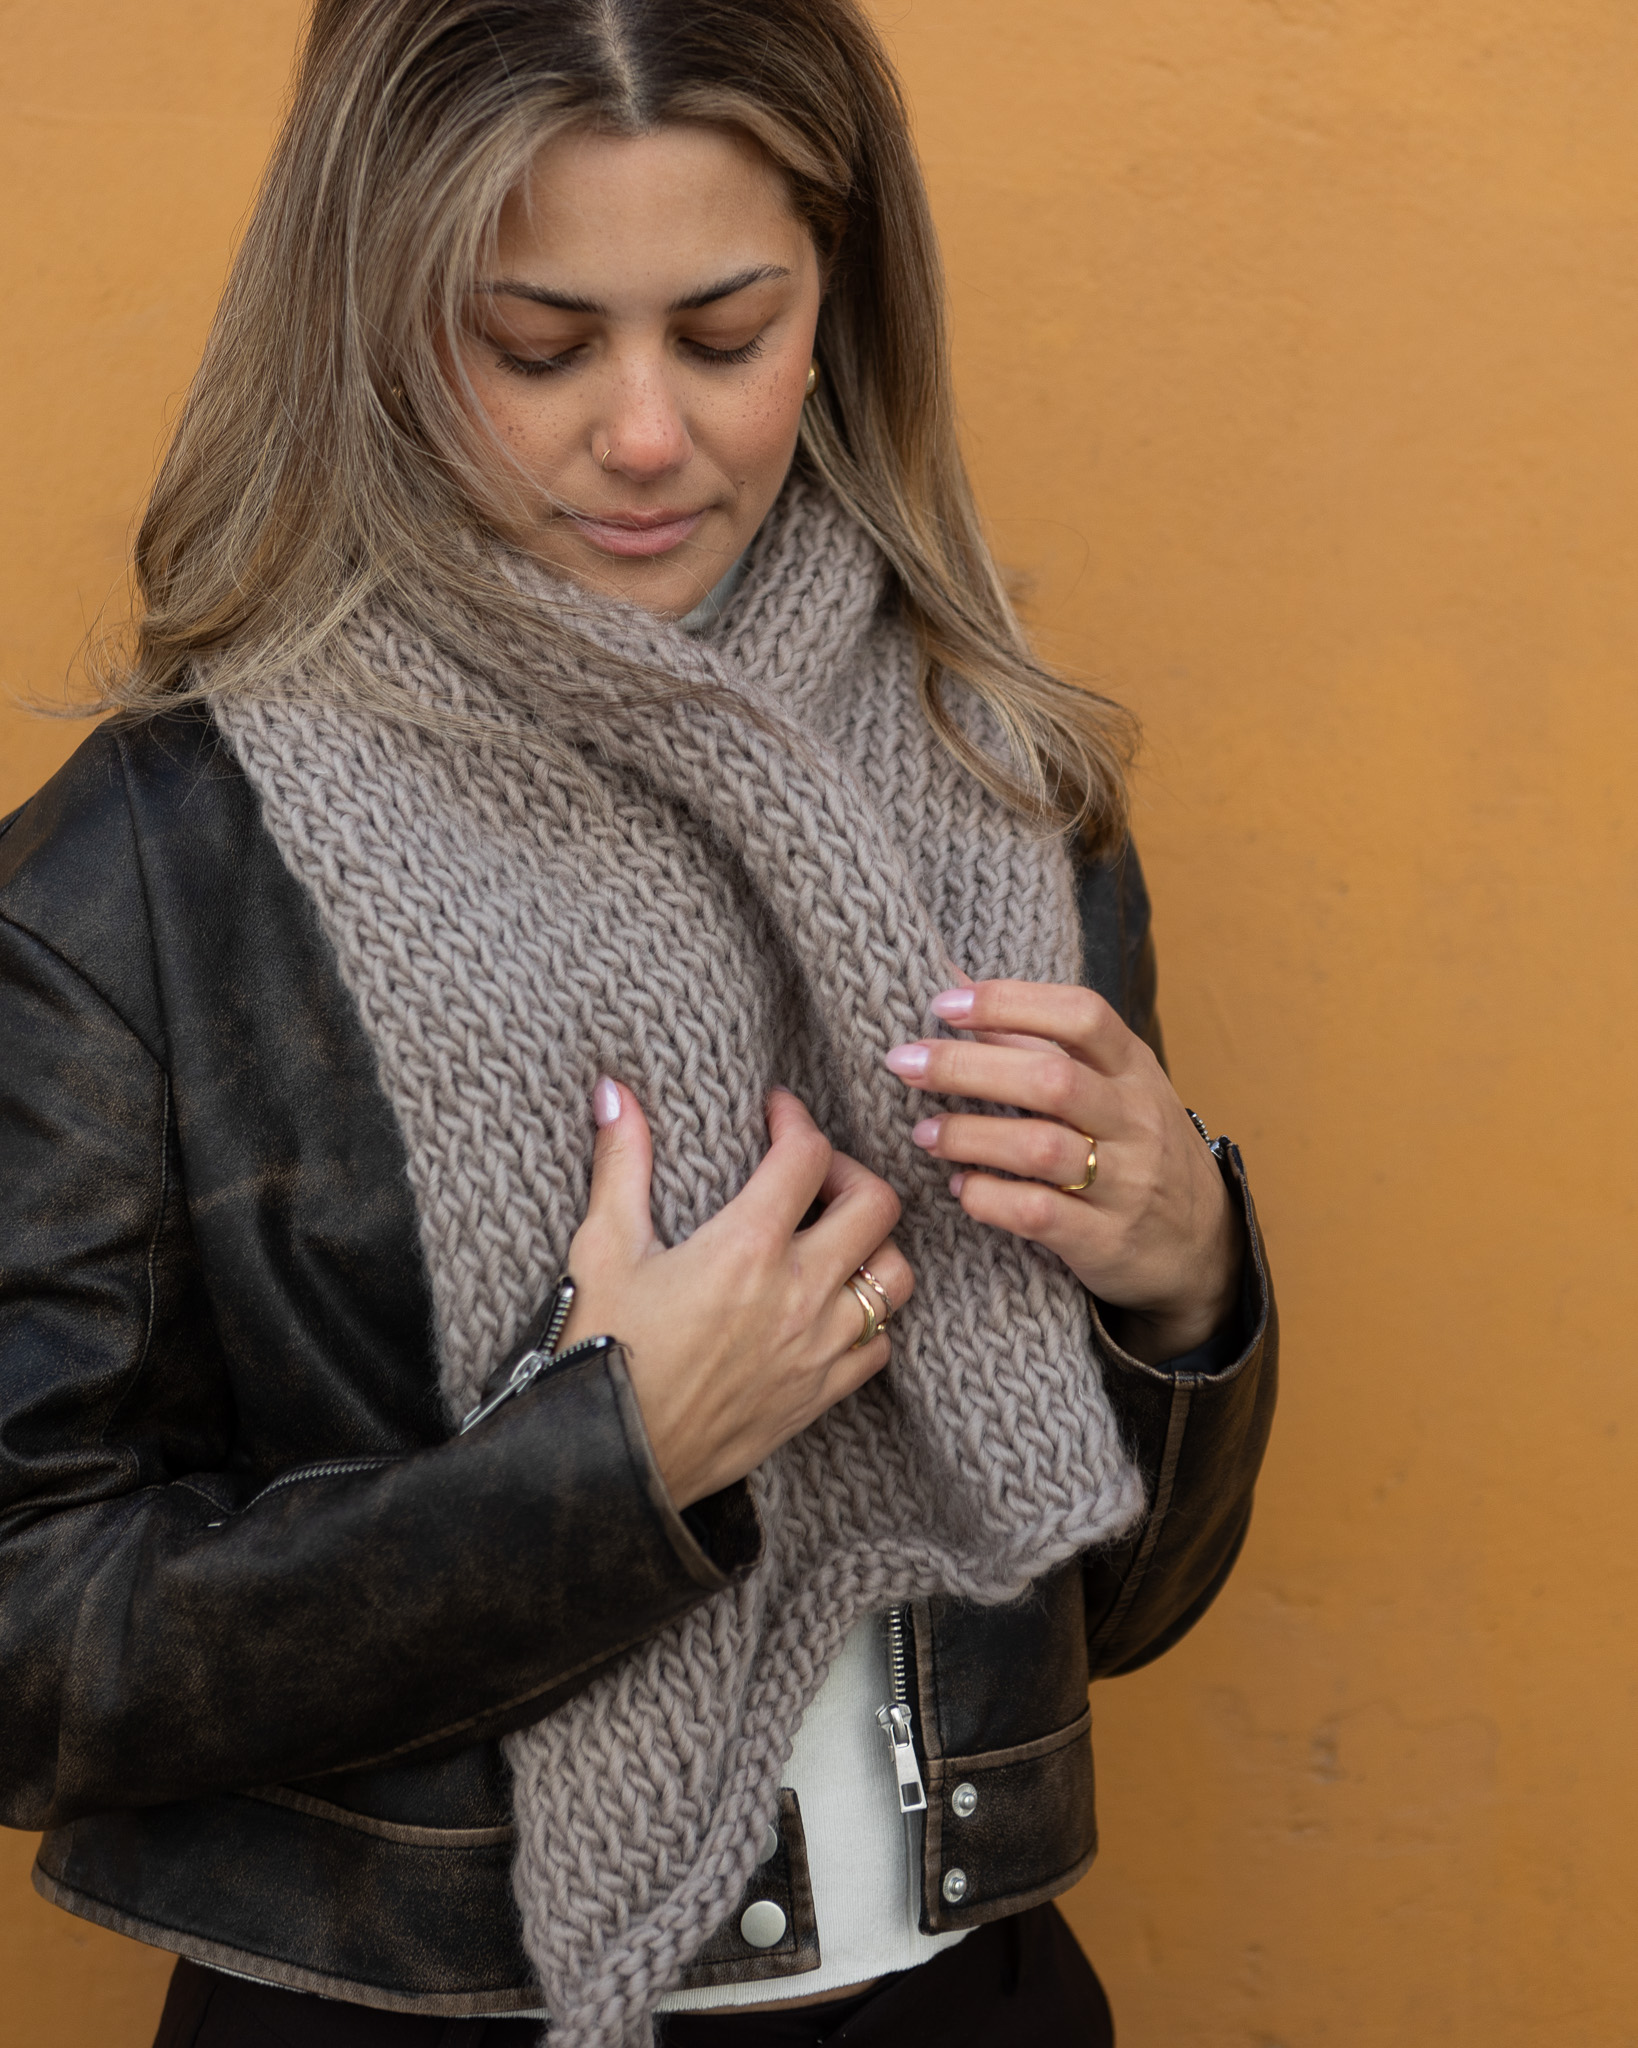
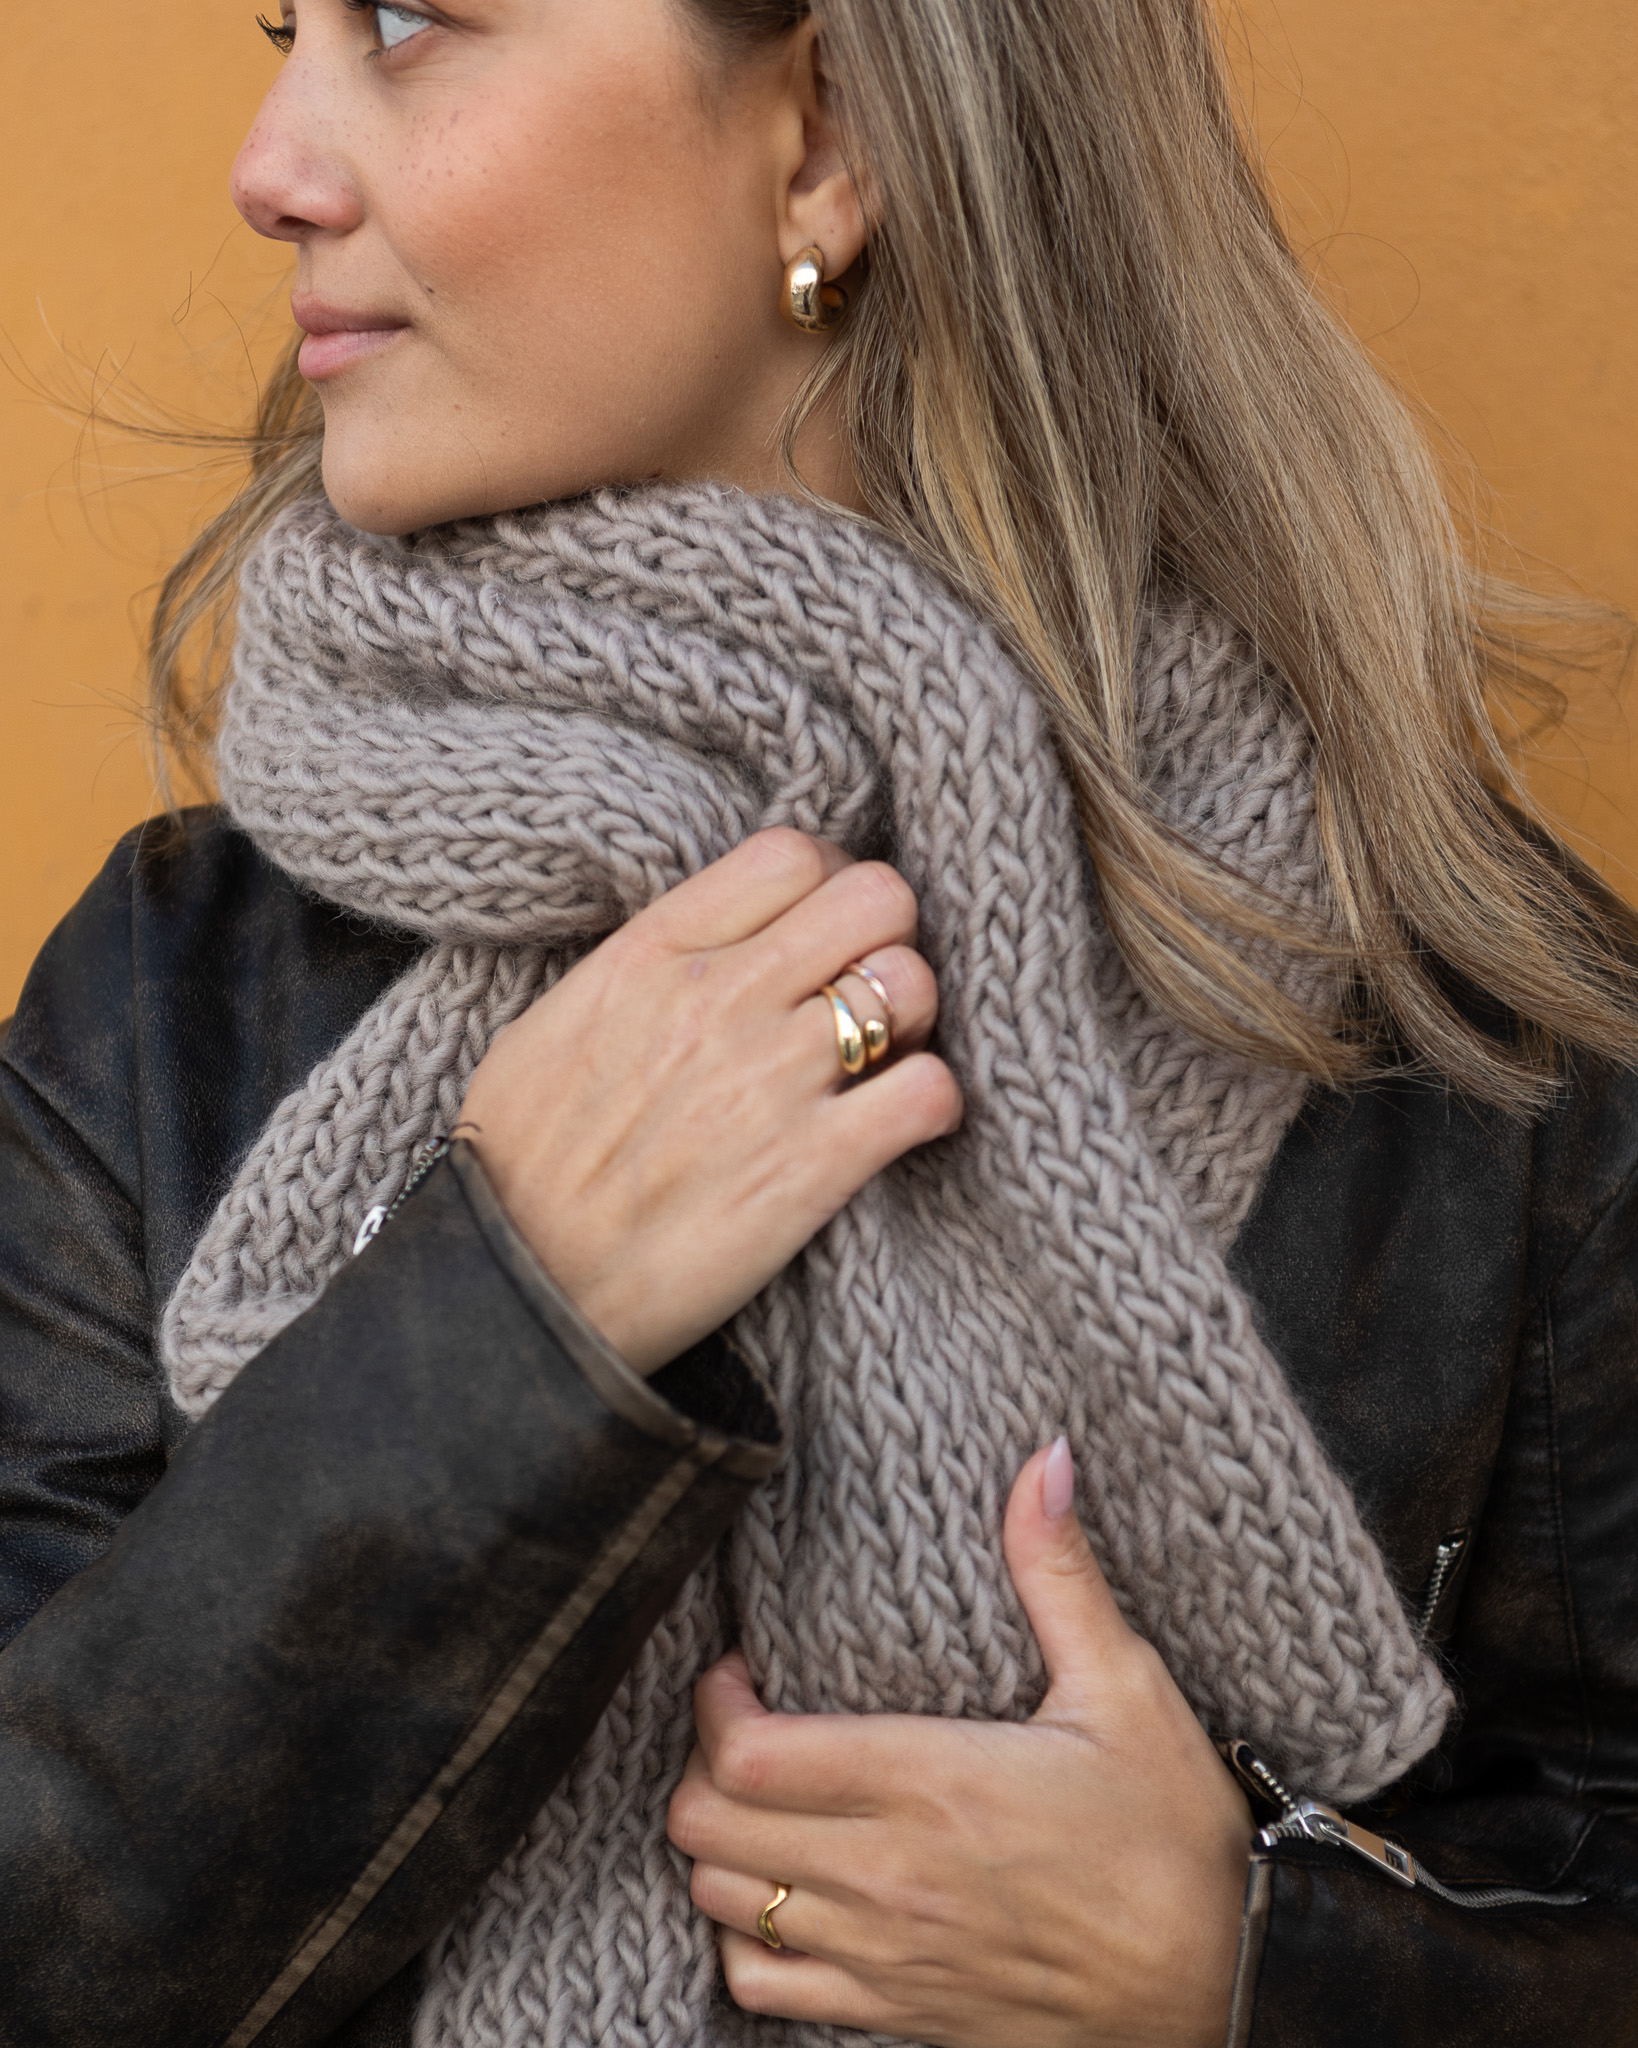
Knitted scarf "Moa"
Knit a big and cozy scarf!
A perfect instruction for those who have never knitted before. This scarf goes well with the beanie “Magda”. It is entirely up to you how big and long you want to make your scarf, the size is easy to adjust. The scarf is knitted with Myo's Chunky Wool yarn and MYO's 10mm circular knitting needles (80cm).
This instruction has a long video that takes you through every step of the make.
Yarn consumption: 5 skeins (depending on the desired length/width)
Here's how to do it
The size of the scarf can be adjusted completely to your liking. Simply cast on as many stitches as you want for the width and then knit as far as you want. For reference, the scarf in the picture is knitted with 44 stitches across and it's 5 skeins long. Hope you like your new scarf! /Rebecca

This is what you need:
Here you can directly purchase the material for the product. Please note that the instruction is digital and appears here on the page (no written instruction).


.jpg)
Unleash your creativity
For only 85kr per month you get access to all our 300+ beginner-friendly instructions for crochet, knitting and macrame.
A perfect way to get started with your new hobby!

Step 1
Start off by determining where to place the slip knot, in order to have a suitable amount of yarn tail to cast on. Rule of thumb: multiply the desired width of your work by 2,5 or 3. Measure up the yarn tail to be 2,5-3 times longer than the width and place your slip knot there.
Make a slip knot: make a loop around your fingers, pull the working yarn through and let the fingerloop tighten around it, creating a new loop.


Step 2
Put the slip knot on your needle in order to cast on:
- Hold the needle in your dominant hand, with the end tail of the yarn towards you and the working yarn away from you.
- Hold the yarn with your other hand. Place the working yarn between index and middle fingers, wrap the tail over your thumb and grip both yarn ends firmly in your palm.
- Insert the needle in the thumb loop from below, then raise the needle to grab the yarn on your index finger from above, pull it through the thumb loop and pull the tail slightly to tighten.
- Repeat until you have your preferred amount of stitches on the needle. The slip knot counts as the first stitch.


Step 3
Knit stitch
The scarf is knitted alternating a row of knit stitches and a row of purled stitches. It doesn't matter which one you start with, here we started with a knit stitch row.
Knit stitches are made as follows:
- Keep the working yarn on the back of your work.
- Insert the right needle in the first stitch on the left needle.
- Wrap the working yarn around the right needle an pull it through the stitch to form a loop.
- Release the stitch from the left needle, the loop aka the new stitch stays on the right needle.
Repeat this until you reach the end of this row, then turn your work to make row 2.


Step 4
Purl stitch
On the next row, purl stitches are made as follows:
- Keep the working yarn in front of your work.
- Insert the right needle in the first stitch on the left needle.
- Put the working yarn behind the right needle and let the right needle pull it through the stitch to form a loop.
- Release the stitch from the left needle, the loop aka the new stitch stays on the right needle.
Repeat until you reach the end.


Step 5
Joining yarn ends
Did you run out of yarn? Here's an easy way to join the next skein to your work.
- Take yarn end 1 and tie it in a tight knot around yarn end 2.
- Repeat the other way around.
- Pull the working end of both yarns to slide the knots tightly next to each other.
- Cut the tails and keep knitting.


Step 6
Binding off
- Knit two knit stitches.
- With the tip of the needle, lift the first knit stitch over the second and release off the working needle, the second stitch remains on the working needle.
- Knit another knit stitch and repeat the process, lifting the stitch closest to your hand over the next one and dropping it off the needle.
- Repeat until the end of the row.
- Cut the yarn (leave a little tail) and pull it through the final stitch to lock it.
- Hide the tail within the stitches of your work, e.g. along the edge. A crochet hook or darning needle will come in handy.


Scarf "Moa"
Yarn: MYO CHUNKY WOOL
Needles: 10 mm circular needles (80 cm)
Gauge: Not critical
Yarn consumption: ~5 skeins (adjustable)
Instructions
CO desired number of sts using long-tail cast-on.
(Example: approx. 30–35 sts for ~25–30 cm width.)
Work in stockinette stitch flat:
- Row 1 (RS): K all
- Row 2 (WS): P all
Repeat Rows 1–2 until scarf reaches desired length. (Approx. 150–180 cm recommended.)
Join new skeins by knotting ends together and trimming tails, or use preferred joining method.
BO: Knit-wise:
- K2, pass first st over, K1, repeat * to end.
Cut yarn, pull through final stitch.
Weave in all ends with a tapestry needle.
The rights to this pattern belong to MYO Make Your Own. The pattern or its pictures may not be copied, shared or resold either in parts or in its entirety, but you may sell items you have crocheted from this pattern. If you have questions about the pattern, contact MYO at hello@makeyourown.se.
Step 1
Start off by determining where to place the slip knot, in order to have a suitable amount of yarn tail to cast on. Rule of thumb: multiply the desired width of your work by 2,5 or 3. Measure up the yarn tail to be 2,5-3 times longer than the width and place your slip knot there.
Make a slip knot: make a loop around your fingers, pull the working yarn through and let the fingerloop tighten around it, creating a new loop.
Step 2
Put the slip knot on your needle in order to cast on:
- Hold the needle in your dominant hand, with the end tail of the yarn towards you and the working yarn away from you.
- Hold the yarn with your other hand. Place the working yarn between index and middle fingers, wrap the tail over your thumb and grip both yarn ends firmly in your palm.
- Insert the needle in the thumb loop from below, then raise the needle to grab the yarn on your index finger from above, pull it through the thumb loop and pull the tail slightly to tighten.
- Repeat until you have your preferred amount of stitches on the needle. The slip knot counts as the first stitch.
Step 3
Knit stitch
The scarf is knitted alternating a row of knit stitches and a row of purled stitches. It doesn't matter which one you start with, here we started with a knit stitch row.
Knit stitches are made as follows:
- Keep the working yarn on the back of your work.
- Insert the right needle in the first stitch on the left needle.
- Wrap the working yarn around the right needle an pull it through the stitch to form a loop.
- Release the stitch from the left needle, the loop aka the new stitch stays on the right needle.
Repeat this until you reach the end of this row, then turn your work to make row 2.
Step 4
Purl stitch
On the next row, purl stitches are made as follows:
- Keep the working yarn in front of your work.
- Insert the right needle in the first stitch on the left needle.
- Put the working yarn behind the right needle and let the right needle pull it through the stitch to form a loop.
- Release the stitch from the left needle, the loop aka the new stitch stays on the right needle.
Repeat until you reach the end.
Step 5
Joining yarn ends
Did you run out of yarn? Here's an easy way to join the next skein to your work.
- Take yarn end 1 and tie it in a tight knot around yarn end 2.
- Repeat the other way around.
- Pull the working end of both yarns to slide the knots tightly next to each other.
- Cut the tails and keep knitting.
Step 6
Binding off
- Knit two knit stitches.
- With the tip of the needle, lift the first knit stitch over the second and release off the working needle, the second stitch remains on the working needle.
- Knit another knit stitch and repeat the process, lifting the stitch closest to your hand over the next one and dropping it off the needle.
- Repeat until the end of the row.
- Cut the yarn (leave a little tail) and pull it through the final stitch to lock it.
- Hide the tail within the stitches of your work, e.g. along the edge. A crochet hook or darning needle will come in handy.
Scarf "Moa"
Yarn: MYO CHUNKY WOOL
Needles: 10 mm circular needles (80 cm)
Gauge: Not critical
Yarn consumption: ~5 skeins (adjustable)
Instructions
CO desired number of sts using long-tail cast-on.
(Example: approx. 30–35 sts for ~25–30 cm width.)
Work in stockinette stitch flat:
- Row 1 (RS): K all
- Row 2 (WS): P all
Repeat Rows 1–2 until scarf reaches desired length. (Approx. 150–180 cm recommended.)
Join new skeins by knotting ends together and trimming tails, or use preferred joining method.
BO: Knit-wise:
- K2, pass first st over, K1, repeat * to end.
Cut yarn, pull through final stitch.
Weave in all ends with a tapestry needle.
The rights to this pattern belong to MYO Make Your Own. The pattern or its pictures may not be copied, shared or resold either in parts or in its entirety, but you may sell items you have crocheted from this pattern. If you have questions about the pattern, contact MYO at hello@makeyourown.se.


Share your creations with us
Thank you!
Your comment was sent!