Make-up bag “Sofia”
Crochet “Sofia” toiletry bag that is perfect to carry in your bag
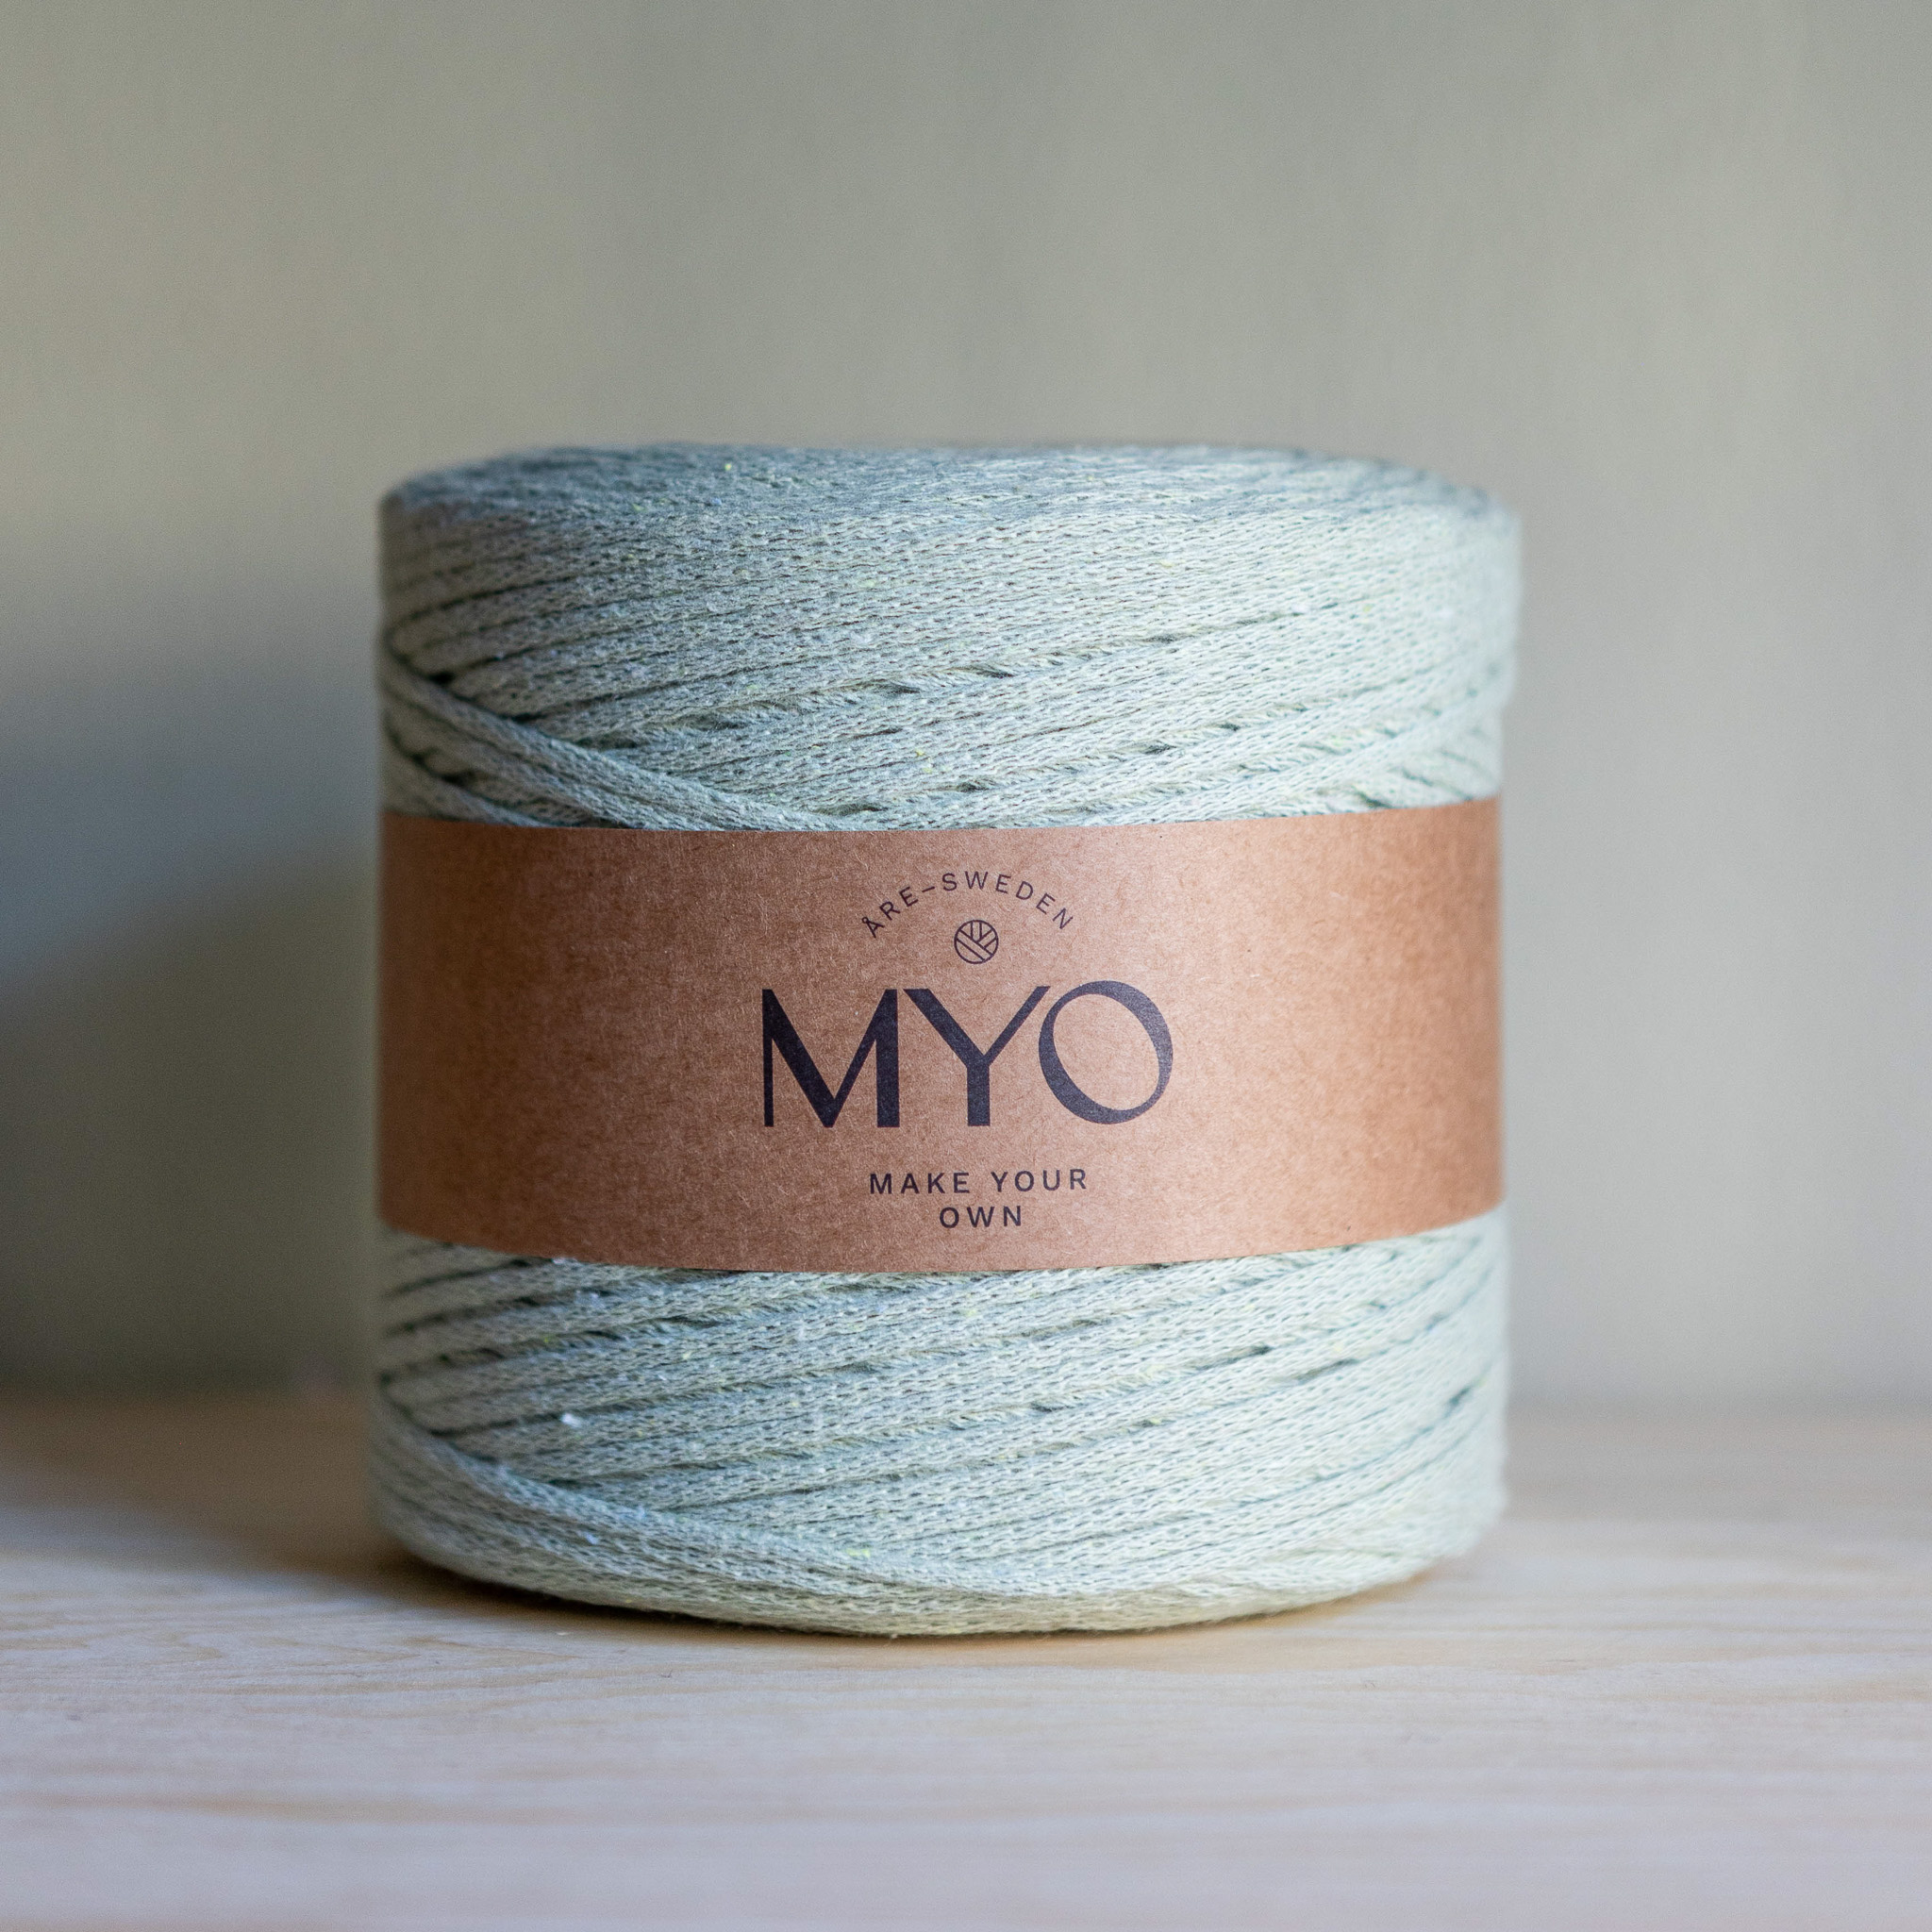
In this instruction we will crochet a toiletry bag in our yarn EKO Nano. The video also shows how to fasten a zipper. For this instruction you will need EKO Nano Tube yarn, 6 mm crochet hook, 20 cm zipper and large sewing needle. The size of the toiletry bag is about 20 cm, but may vary depending on whether you choose to make it larger and how hard/loose you crochet.

This is what you need:
Here you can directly purchase the material for the product. Please note that the instruction is digital and appears here on the page (no written instruction).


Here's how to do it

Start
We start by making a slipknot/loop through which we then thread the crochet hook. To create a slipknot/loop: Take the end of the yarn and twist 2 turns around your fingers. Use the crochet hook to pull the inner yarn under the outer yarn to create a loop. Thread the crochet hook into the loop.
Chain: Now we will crochet a chain consisting of 30 loops/air stitches (if you want to make a larger toiletry bag, crochet more air stitches).
Round 1: Once you have made the chain with air stitches and are satisfied with the length, it's time to crochet single. Insert the crochet hook into the second air stitch from your crochet hook. Pick up the yarn on the other side and pull it through your loop. Now you have probably got two loops on the crochet hook. Connect these two loops together by hooking the yarn one more way around the crochet hook and pull it straight through both loops. You only get one loop around the crochet hook and now you have made your first single crochet.
Now you continue to do the same until the end of the chain. When you get to the end of your chain, make two extra single crochet in the last chain stitch. (a total of three pieces in the same stitch). Now you continue to crochet single crochet even on the other side. Once you've crocheted all the way along the side, finish the lap by making a slip stitch in the first stitch.
Round 2: Now we start the next round by crocheting a single stitch in each stitch, all the way around until we get back to the first stitch on the round. In the first stitch we make a slip stitch. This is how we will then continue until we are satisfied with the height of the toilet bowl. In the instructions, crochet 14 rounds.
When you're satisfied with the height of your toiletry bag, it's time to fasten the zipper. We start by measuring the zipper and the toiletry bag against each other to see that they are the same length. Next, we will sew langette stitches along the edges of the zipper, see video how to sew these stitches. You sew as many loops as the number of stitches on the toiletry bag.
Each stitch should be paired with a loop.
Zipper
Now we are going to crochet the zipper with the toilet bag, we do this most easily by placing them edge to edge and then inserting the crochet hook into the next stitch and then also into the loop on the toilet bag. Now we temporarily have two loops on the hook. Join these two loops by hooking the yarn one more time around the hook and this time pulling through both loops. Continue like this all the way around.
To finish, cut the yarn leaving a 5-10 cm tail. Tie the remaining tail in a knot around the last loop to prevent it from unraveling. Tighten and hide the tail by attaching it through some nearby loops or just let it hang on the inside of your toiletry bag.
Good work!
Abbreviations:
MR = Magic ring
st = stitch
Ch = chain stitch
sl st = slip stitch
sc = single crochet
blo = back loop only
(…) = indicates the number of stitches in the current row
*...* = Everything within ... is repeated the specified number of times
We’re going to crochet a make up bag! If you need help along the way, check out the easier version of this pattern. Since there are no images included here, we refer you to the full-length video tutorial for guidance.
Makeup Bag with Zipper Pattern
Round 1: Ch 30.
Round 2: Start in the 2nd ch from the hook. Work 28 sc, and make 3 sc in the same stitch. Continue on the opposite side of the chain and make 28 sc. Close the round with 1 sl st in the first stitch.
Round 3 and onwards: Continue working sc in each stitch around, finishing with 1 sl st in the first stitch. Work as many rounds as desired for the size of your makeup bag.
Attaching the Zipper:
- Sewing the Zipper:
- Use a whipstitch to attach the zipper.
- To do a whipstitch, insert the needle from top to bottom (the yarn will be on top of the needle).
- Stitch along the edge of the zipper. Each stitch should align with the number of stitches on the bag.
- Make sure each stitch lines up with each hole of the zipper.
- Attaching the Zipper to the Bag:
- Lay the zipper flat next to the bag, matching the edges.
- Insert the crochet hook into the next stitch on the bag, then through the zipper's hole.
- You will now have two loops on the hook. Yarn over and pull the yarn through both loops.
- Continue this process all the way around the bag, attaching the zipper with each stitch.
Finishing:
To finish off, cut the yarn leaving a 5-10 cm tail, fasten off.
Congratulations! You've made your makeup bag with a zipper! 🎉
The rights to this pattern belong to MYO Make Your Own. The pattern or its pictures may not be copied, shared or resold either in parts or in its entirety, but you may sell items you have crocheted from this pattern. If you have questions about the pattern, contact MYO at hello@makeyourown.se.


.jpg)


%252520(6).webp)


.jpg)
