You will lose access to our instructions and member discounts. We hope you want to stay, but understand if it doesn't feel right at the moment — you're always welcome back! :)

Vi vill gärna veta vad du tycker - varför vill du säga upp ditt medlemskap?
Thank you! Your submission has been received!
Oops! Something went wrong while submitting the form.
Buy your material here

You can buy the materials and needles we use at makeyourown.semakeyourown.se

Go to shop
Copyright © 2022 Make Your Own
Please verify your email address by clicking on the link sent to youremail@gmail.com or resubmit.
patterns

Crocheted Laptop Case "Selda 2"

Crochet a Super Stylish Laptop Case Using Leftover Materials from Textile Factories! ♻️

In just a few hours, you can crochet this wonderful laptop case – it's super easy to make. Choose your favorite colors and get started! You'll need EKO Ribbon and EKO Nano yarn, which together create a fun two-color look, as well as a 10 mm crochet hook (available for purchase below). This pattern is a modification of our previous “Selda 1” design – instead of using double Ribbon yarn, you’ll crochet with Ribbon and Nano together for a slightly thinner result. You can easily adjust the size to fit your own laptop or tablet, so this pattern works for all sizes. Good luck!

Yarn Consumption: Approx. 700 g (350 g per color). The total amount depends on the size of your laptop case and how tightly you crochet, but one skein per color should be enough.

Please note that in this pattern, we use videos from our technique school along with images.

This is what you need:

Here you can directly purchase the material for the product. Please note that the instruction is digital and appears here on the page (no written instruction).

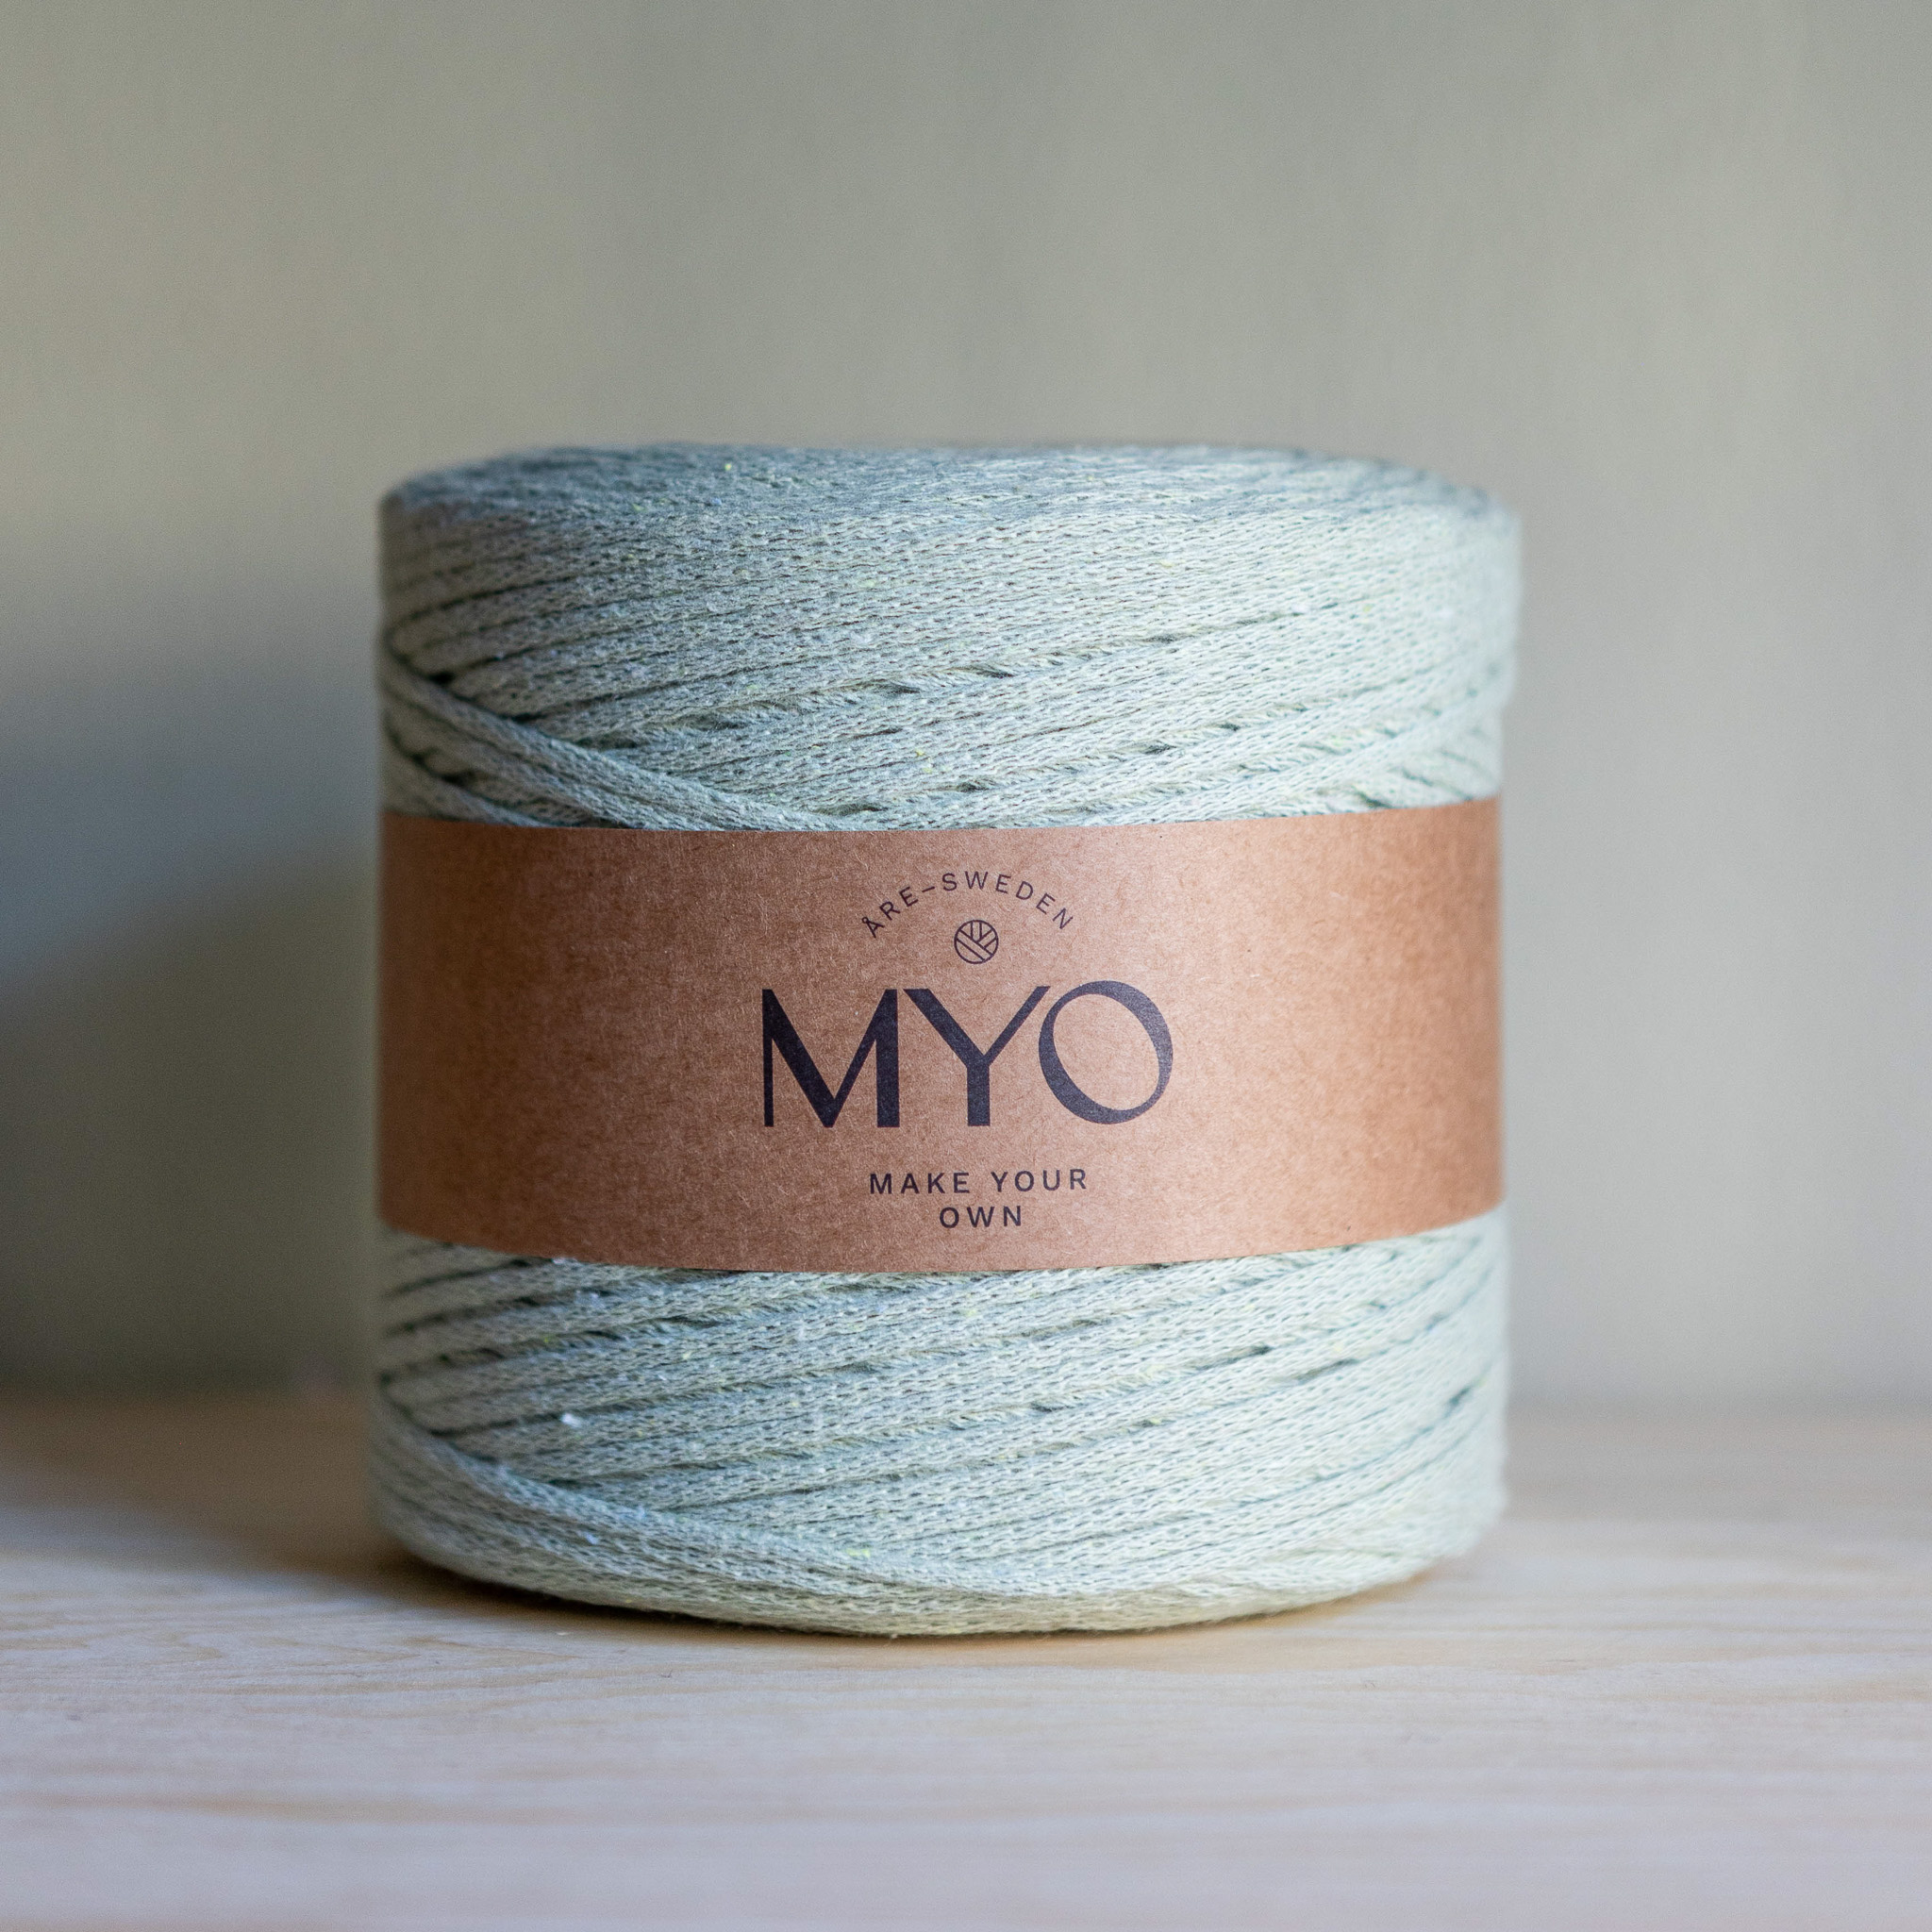
EKO Ribbon | 500g

Vårt bredaste Ribbon-garn för virkning, gjort av 80% återvunnet bomull

Buy product

EKO Nano tube yarn

Yarn for crocheting, 80% Recycled cotton / 20% Polyester

Buy product

Crochet hook 10mm

Bamboo Crochet Hook

Buy product

Here's how to do it

This laptop case is crocheted in one piece. It’s easy to adjust the size to fit your computer. To achieve the two-tone look, crochet with two yarns held together. Have fun! :) /Viktoria

Viktoria Jansson

Easy and inspiring handicrafts – Become a Member at MYO!

Our patterns have been created with love, by our creators, for MYO’s members. By joining our community, you’ll get access to all of our instructions/patterns, digital workshops, member offers, and more. At the same time, you’ll help us further develop this page and release new instructions every week.

Becoming a member is easy and works like a subscription (starting from €7.50/month). The membership has no binding period.

Welcome to create with us! / The girls at MYO

Steg 1

Step 1: The Chain

Start by crocheting a chain. Begin by making a loop around your crochet hook. One way to do this is to wrap the yarn around your index and middle fingers, then pull the yarn through to form a loop that tightens when you pull.

Next, crochet chain stitches by yarning over and pulling through the loop on your hook. The number of chain stitches depends on how wide you want your laptop case to be.

Continue until your chain is as long as the short side of your laptop. Once your chain reaches the desired length, crochet one additional chain and turn your work.

Steg 2

Step 2: Row 2 and Onward

Now we’ll crochet Row 2 of the laptop case. From this point, you’ll start crocheting in the round.

Begin by skipping the first stitch and inserting your hook into the second stitch. Insert the hook, yarn over, and pull through. You’ll now have two loops on the hook. Yarn over again and pull through both loops — you’ve just made a single crochet stitch.

Continue making single crochets in the same way until you reach the end of the chain. You should end up with one stitch fewer than the number of chain stitches you originally made. In the last stitch, make one additional single crochet.

Now you’ll crochet along the other side of the chain. Work single crochets all the way down until you’re back at the starting point.

Round 3 and Onward:

Now, make one single crochet in each stitch. Keep crocheting around until the laptop case reaches the height you want. Remember to stop when you’re at the side of your laptop case.

Cut the yarns and fasten off. Since you’re working with two strands of yarn, it’s a good idea to thread one of them through a nearby stitch on the inside of the case using the hook, then tie the two strands together in a small, tight knot. Tuck the yarn ends under nearby stitches to hide them neatly.

Your laptop case is now complete!

Steg 3
Steg 4
Steg 5
Steg 6
Steg 7
Steg 8
Steg 9
Steg 10

Abbreviations (US Terms)

st = stitch
ch = chain
sc = single crochet

Let’s Crochet a Lovely Laptop Case!

If you need help along the way, check out our simplified version of this pattern. Since there are no step-by-step images here, we recommend watching the full video tutorial for visual guidance.

You’ll be working with both yarn colors held together throughout the project.

Row 1: Make a chain (ch) as long as you want the width of your laptop case to be.

Round 2: Start in the 2nd ch from the hook. Work sc across until you reach the last chain. In the last ch, work 2 sc into the same stitch.

Now continue on the opposite side of the chain and work sc stitches all the way back to the beginning.

Round 3 and Onward: Work 1 sc in each st around. Continue working in the round until the case is the height you want.
Make sure to finish on the side of the case for a clean edge.

Fasten off and weave in the ends.

🎉 Your laptop case is now complete!

Step 1

Step 1: The Chain

Start by crocheting a chain. Begin by making a loop around your crochet hook. One way to do this is to wrap the yarn around your index and middle fingers, then pull the yarn through to form a loop that tightens when you pull.

Next, crochet chain stitches by yarning over and pulling through the loop on your hook. The number of chain stitches depends on how wide you want your laptop case to be.

Continue until your chain is as long as the short side of your laptop. Once your chain reaches the desired length, crochet one additional chain and turn your work.

Step 2

Step 2: Row 2 and Onward

Now we’ll crochet Row 2 of the laptop case. From this point, you’ll start crocheting in the round.

Begin by skipping the first stitch and inserting your hook into the second stitch. Insert the hook, yarn over, and pull through. You’ll now have two loops on the hook. Yarn over again and pull through both loops — you’ve just made a single crochet stitch.

Continue making single crochets in the same way until you reach the end of the chain. You should end up with one stitch fewer than the number of chain stitches you originally made. In the last stitch, make one additional single crochet.

Now you’ll crochet along the other side of the chain. Work single crochets all the way down until you’re back at the starting point.

Round 3 and Onward:

Now, make one single crochet in each stitch. Keep crocheting around until the laptop case reaches the height you want. Remember to stop when you’re at the side of your laptop case.

Cut the yarns and fasten off. Since you’re working with two strands of yarn, it’s a good idea to thread one of them through a nearby stitch on the inside of the case using the hook, then tie the two strands together in a small, tight knot. Tuck the yarn ends under nearby stitches to hide them neatly.

Your laptop case is now complete!

Step 3
Step 4
Step 5
Step 6
Step 7
Step 8
Step 9
Step 10

Abbreviations (US Terms)

st = stitch
ch = chain
sc = single crochet

Let’s Crochet a Lovely Laptop Case!

If you need help along the way, check out our simplified version of this pattern. Since there are no step-by-step images here, we recommend watching the full video tutorial for visual guidance.

You’ll be working with both yarn colors held together throughout the project.

Row 1: Make a chain (ch) as long as you want the width of your laptop case to be.

Round 2: Start in the 2nd ch from the hook. Work sc across until you reach the last chain. In the last ch, work 2 sc into the same stitch.

Now continue on the opposite side of the chain and work sc stitches all the way back to the beginning.

Round 3 and Onward: Work 1 sc in each st around. Continue working in the round until the case is the height you want.
Make sure to finish on the side of the case for a clean edge.

Fasten off and weave in the ends.

🎉 Your laptop case is now complete!

The rights to this pattern belong to MYO Make Your Own. The pattern or its pictures may not be copied, shared or resold either in parts or in its entirety, but you may sell items you have crocheted from this pattern. If you have questions about the pattern, contact MYO at hello@makeyourown.se.

Crocheted Laptop Case "Selda 2"

Crochet a Super Stylish Laptop Case Using Leftover Materials from Textile Factories! ♻️

In just a few hours, you can crochet this wonderful laptop case – it's super easy to make. Choose your favorite colors and get started! You'll need EKO Ribbon and EKO Nano yarn, which together create a fun two-color look, as well as a 10 mm crochet hook (available for purchase below). This pattern is a modification of our previous “Selda 1” design – instead of using double Ribbon yarn, you’ll crochet with Ribbon and Nano together for a slightly thinner result. You can easily adjust the size to fit your own laptop or tablet, so this pattern works for all sizes. Good luck!

Yarn Consumption: Approx. 700 g (350 g per color). The total amount depends on the size of your laptop case and how tightly you crochet, but one skein per color should be enough.

Please note that in this pattern, we use videos from our technique school along with images.

Crocheted Laptop Case "Selda 2"
Steg 1

Step 1: The Chain

Start by crocheting a chain. Begin by making a loop around your crochet hook. One way to do this is to wrap the yarn around your index and middle fingers, then pull the yarn through to form a loop that tightens when you pull.

Next, crochet chain stitches by yarning over and pulling through the loop on your hook. The number of chain stitches depends on how wide you want your laptop case to be.

Continue until your chain is as long as the short side of your laptop. Once your chain reaches the desired length, crochet one additional chain and turn your work.

Steg 2

Step 2: Row 2 and Onward

Now we’ll crochet Row 2 of the laptop case. From this point, you’ll start crocheting in the round.

Begin by skipping the first stitch and inserting your hook into the second stitch. Insert the hook, yarn over, and pull through. You’ll now have two loops on the hook. Yarn over again and pull through both loops — you’ve just made a single crochet stitch.

Continue making single crochets in the same way until you reach the end of the chain. You should end up with one stitch fewer than the number of chain stitches you originally made. In the last stitch, make one additional single crochet.

Now you’ll crochet along the other side of the chain. Work single crochets all the way down until you’re back at the starting point.

Round 3 and Onward:

Now, make one single crochet in each stitch. Keep crocheting around until the laptop case reaches the height you want. Remember to stop when you’re at the side of your laptop case.

Cut the yarns and fasten off. Since you’re working with two strands of yarn, it’s a good idea to thread one of them through a nearby stitch on the inside of the case using the hook, then tie the two strands together in a small, tight knot. Tuck the yarn ends under nearby stitches to hide them neatly.

Your laptop case is now complete!

Steg 3
Steg 4
Steg 5
Steg 6
Steg 7
Steg 8
Steg 9
Steg 10

The rights to this pattern belong to MYO Make Your Own. The pattern or its pictures may not be copied, shared or resold either in parts or in its entirety, but you may sell items you have crocheted from this pattern. If you have questions about the pattern, contact MYO at hello@makeyourown.se.

Crocheted Laptop Case "Selda 2"

Crochet a Super Stylish Laptop Case Using Leftover Materials from Textile Factories! ♻️

In just a few hours, you can crochet this wonderful laptop case – it's super easy to make. Choose your favorite colors and get started! You'll need EKO Ribbon and EKO Nano yarn, which together create a fun two-color look, as well as a 10 mm crochet hook (available for purchase below). This pattern is a modification of our previous “Selda 1” design – instead of using double Ribbon yarn, you’ll crochet with Ribbon and Nano together for a slightly thinner result. You can easily adjust the size to fit your own laptop or tablet, so this pattern works for all sizes. Good luck!

Yarn Consumption: Approx. 700 g (350 g per color). The total amount depends on the size of your laptop case and how tightly you crochet, but one skein per color should be enough.

Please note that in this pattern, we use videos from our technique school along with images.

Crocheted Laptop Case "Selda 2"
Steg 1

Step 1: The Chain

Start by crocheting a chain. Begin by making a loop around your crochet hook. One way to do this is to wrap the yarn around your index and middle fingers, then pull the yarn through to form a loop that tightens when you pull.

Next, crochet chain stitches by yarning over and pulling through the loop on your hook. The number of chain stitches depends on how wide you want your laptop case to be.

Continue until your chain is as long as the short side of your laptop. Once your chain reaches the desired length, crochet one additional chain and turn your work.

Steg 2

Step 2: Row 2 and Onward

Now we’ll crochet Row 2 of the laptop case. From this point, you’ll start crocheting in the round.

Begin by skipping the first stitch and inserting your hook into the second stitch. Insert the hook, yarn over, and pull through. You’ll now have two loops on the hook. Yarn over again and pull through both loops — you’ve just made a single crochet stitch.

Continue making single crochets in the same way until you reach the end of the chain. You should end up with one stitch fewer than the number of chain stitches you originally made. In the last stitch, make one additional single crochet.

Now you’ll crochet along the other side of the chain. Work single crochets all the way down until you’re back at the starting point.

Round 3 and Onward:

Now, make one single crochet in each stitch. Keep crocheting around until the laptop case reaches the height you want. Remember to stop when you’re at the side of your laptop case.

Cut the yarns and fasten off. Since you’re working with two strands of yarn, it’s a good idea to thread one of them through a nearby stitch on the inside of the case using the hook, then tie the two strands together in a small, tight knot. Tuck the yarn ends under nearby stitches to hide them neatly.

Your laptop case is now complete!

Steg 3
Steg 4
Steg 5
Steg 6
Steg 7
Steg 8
Steg 9
Steg 10

The rights to this pattern belong to MYO Make Your Own. The pattern or its pictures may not be copied, shared or resold either in parts or in its entirety, but you may sell items you have crocheted from this pattern. If you have questions about the pattern, contact MYO at hello@makeyourown.se.