
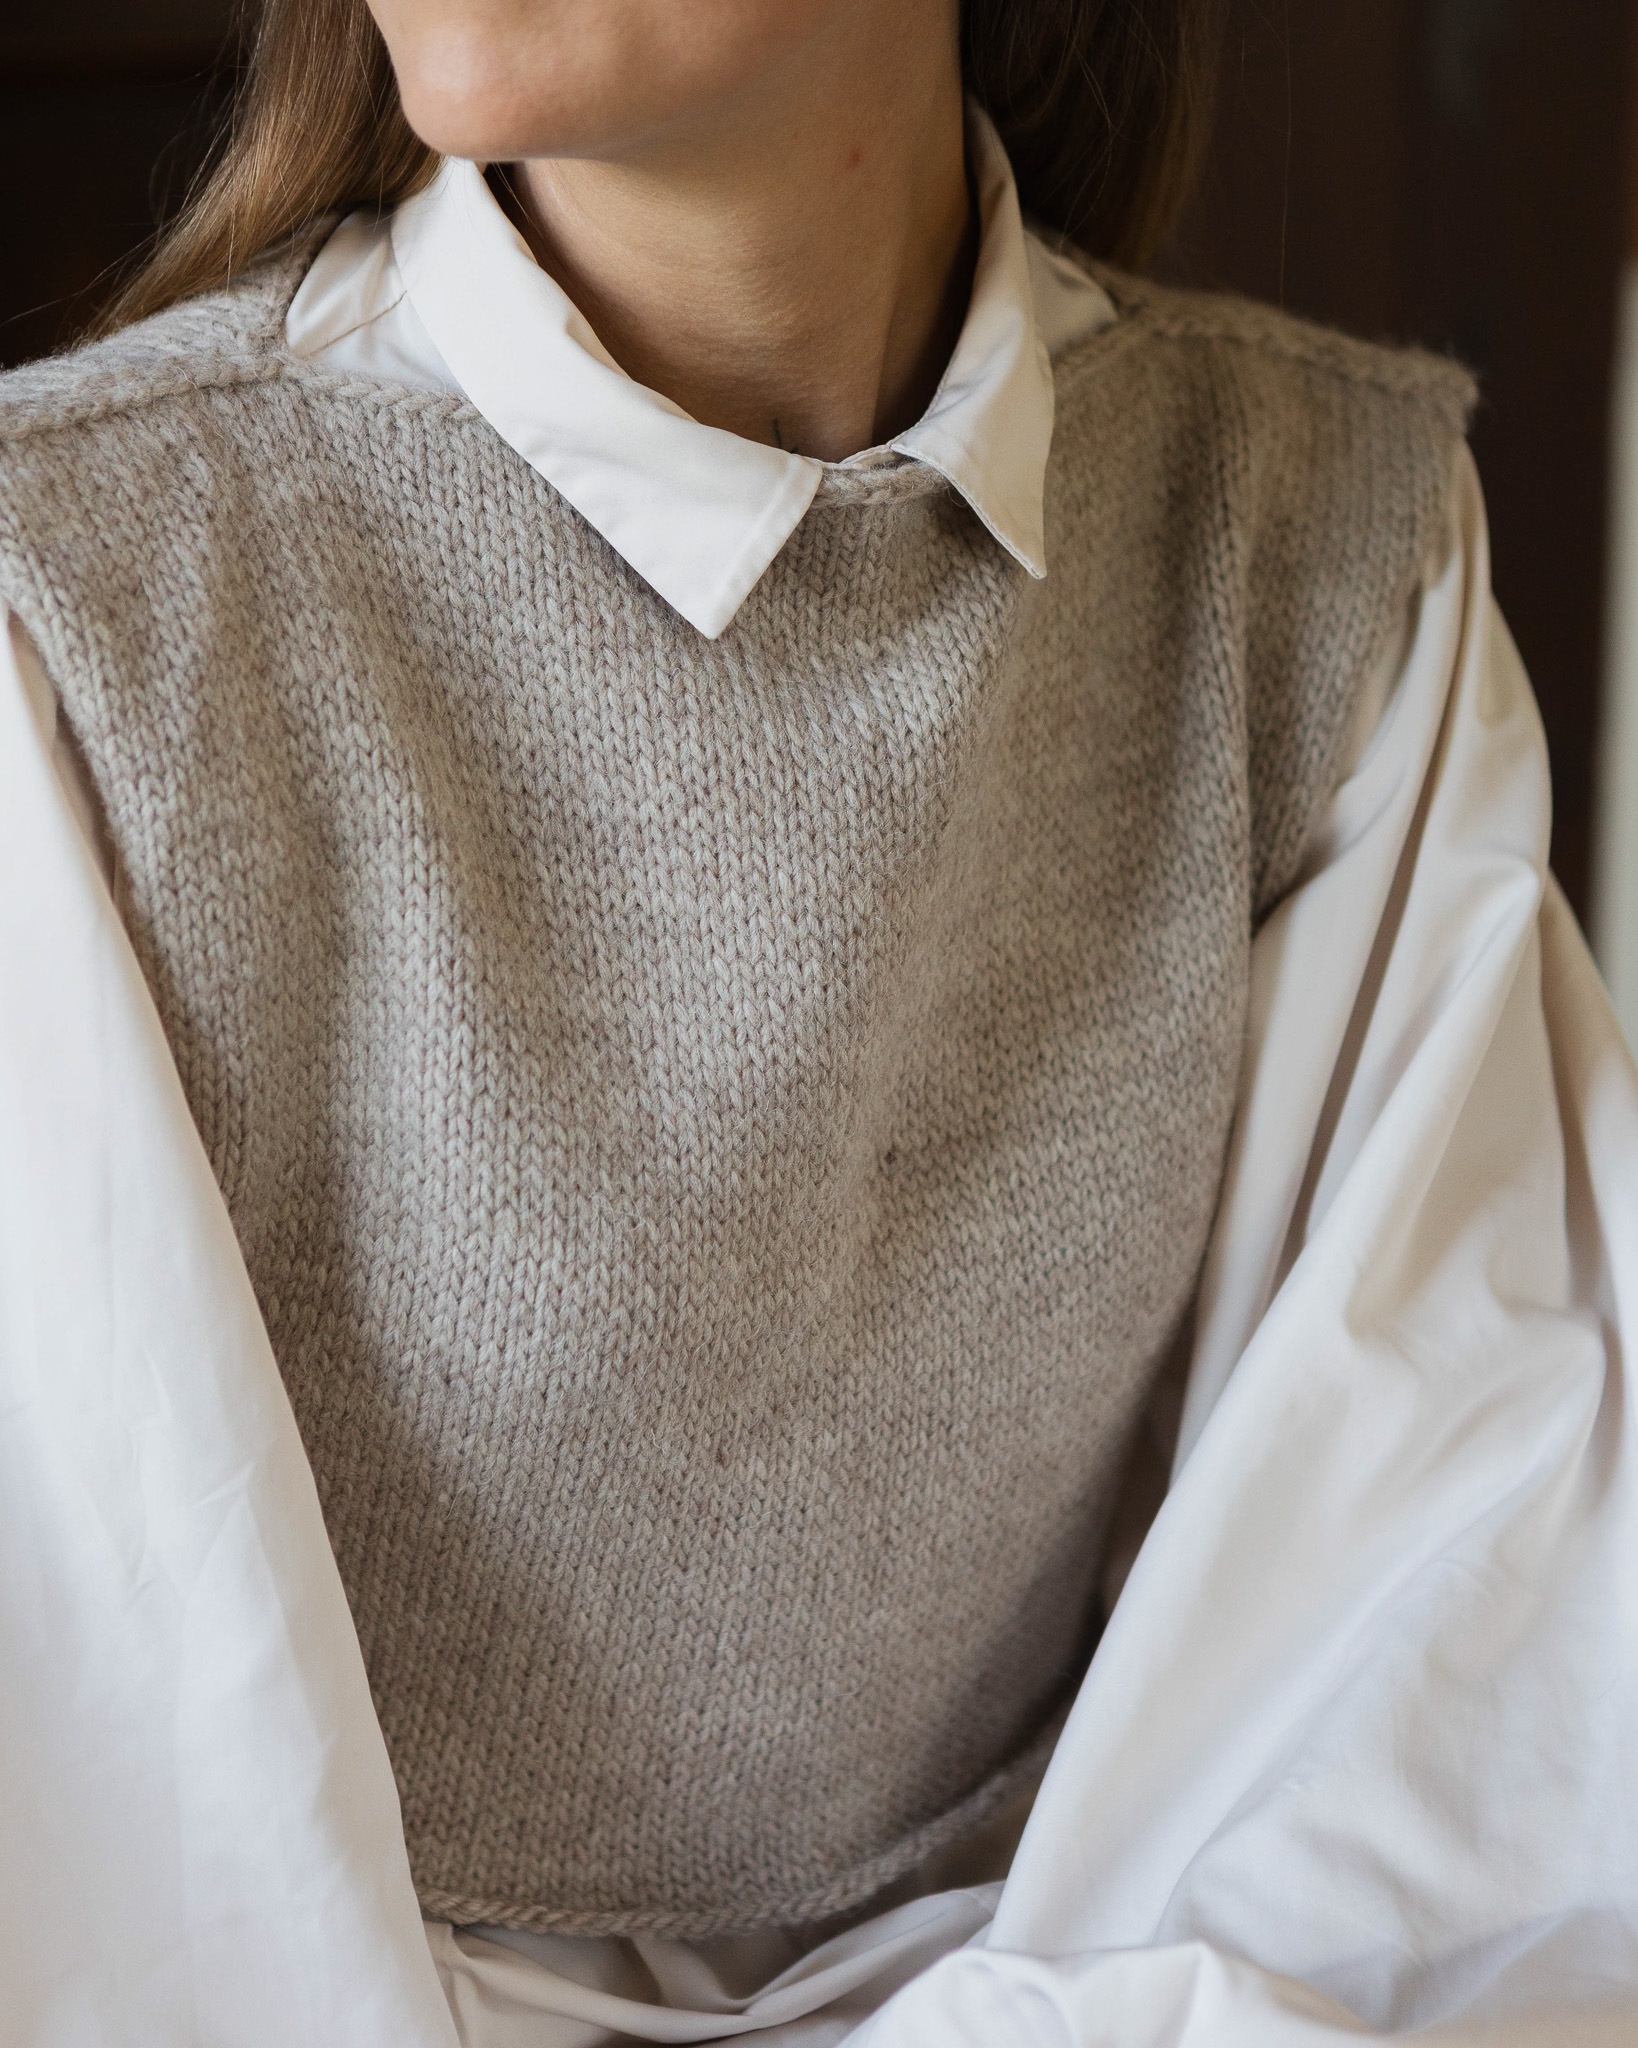
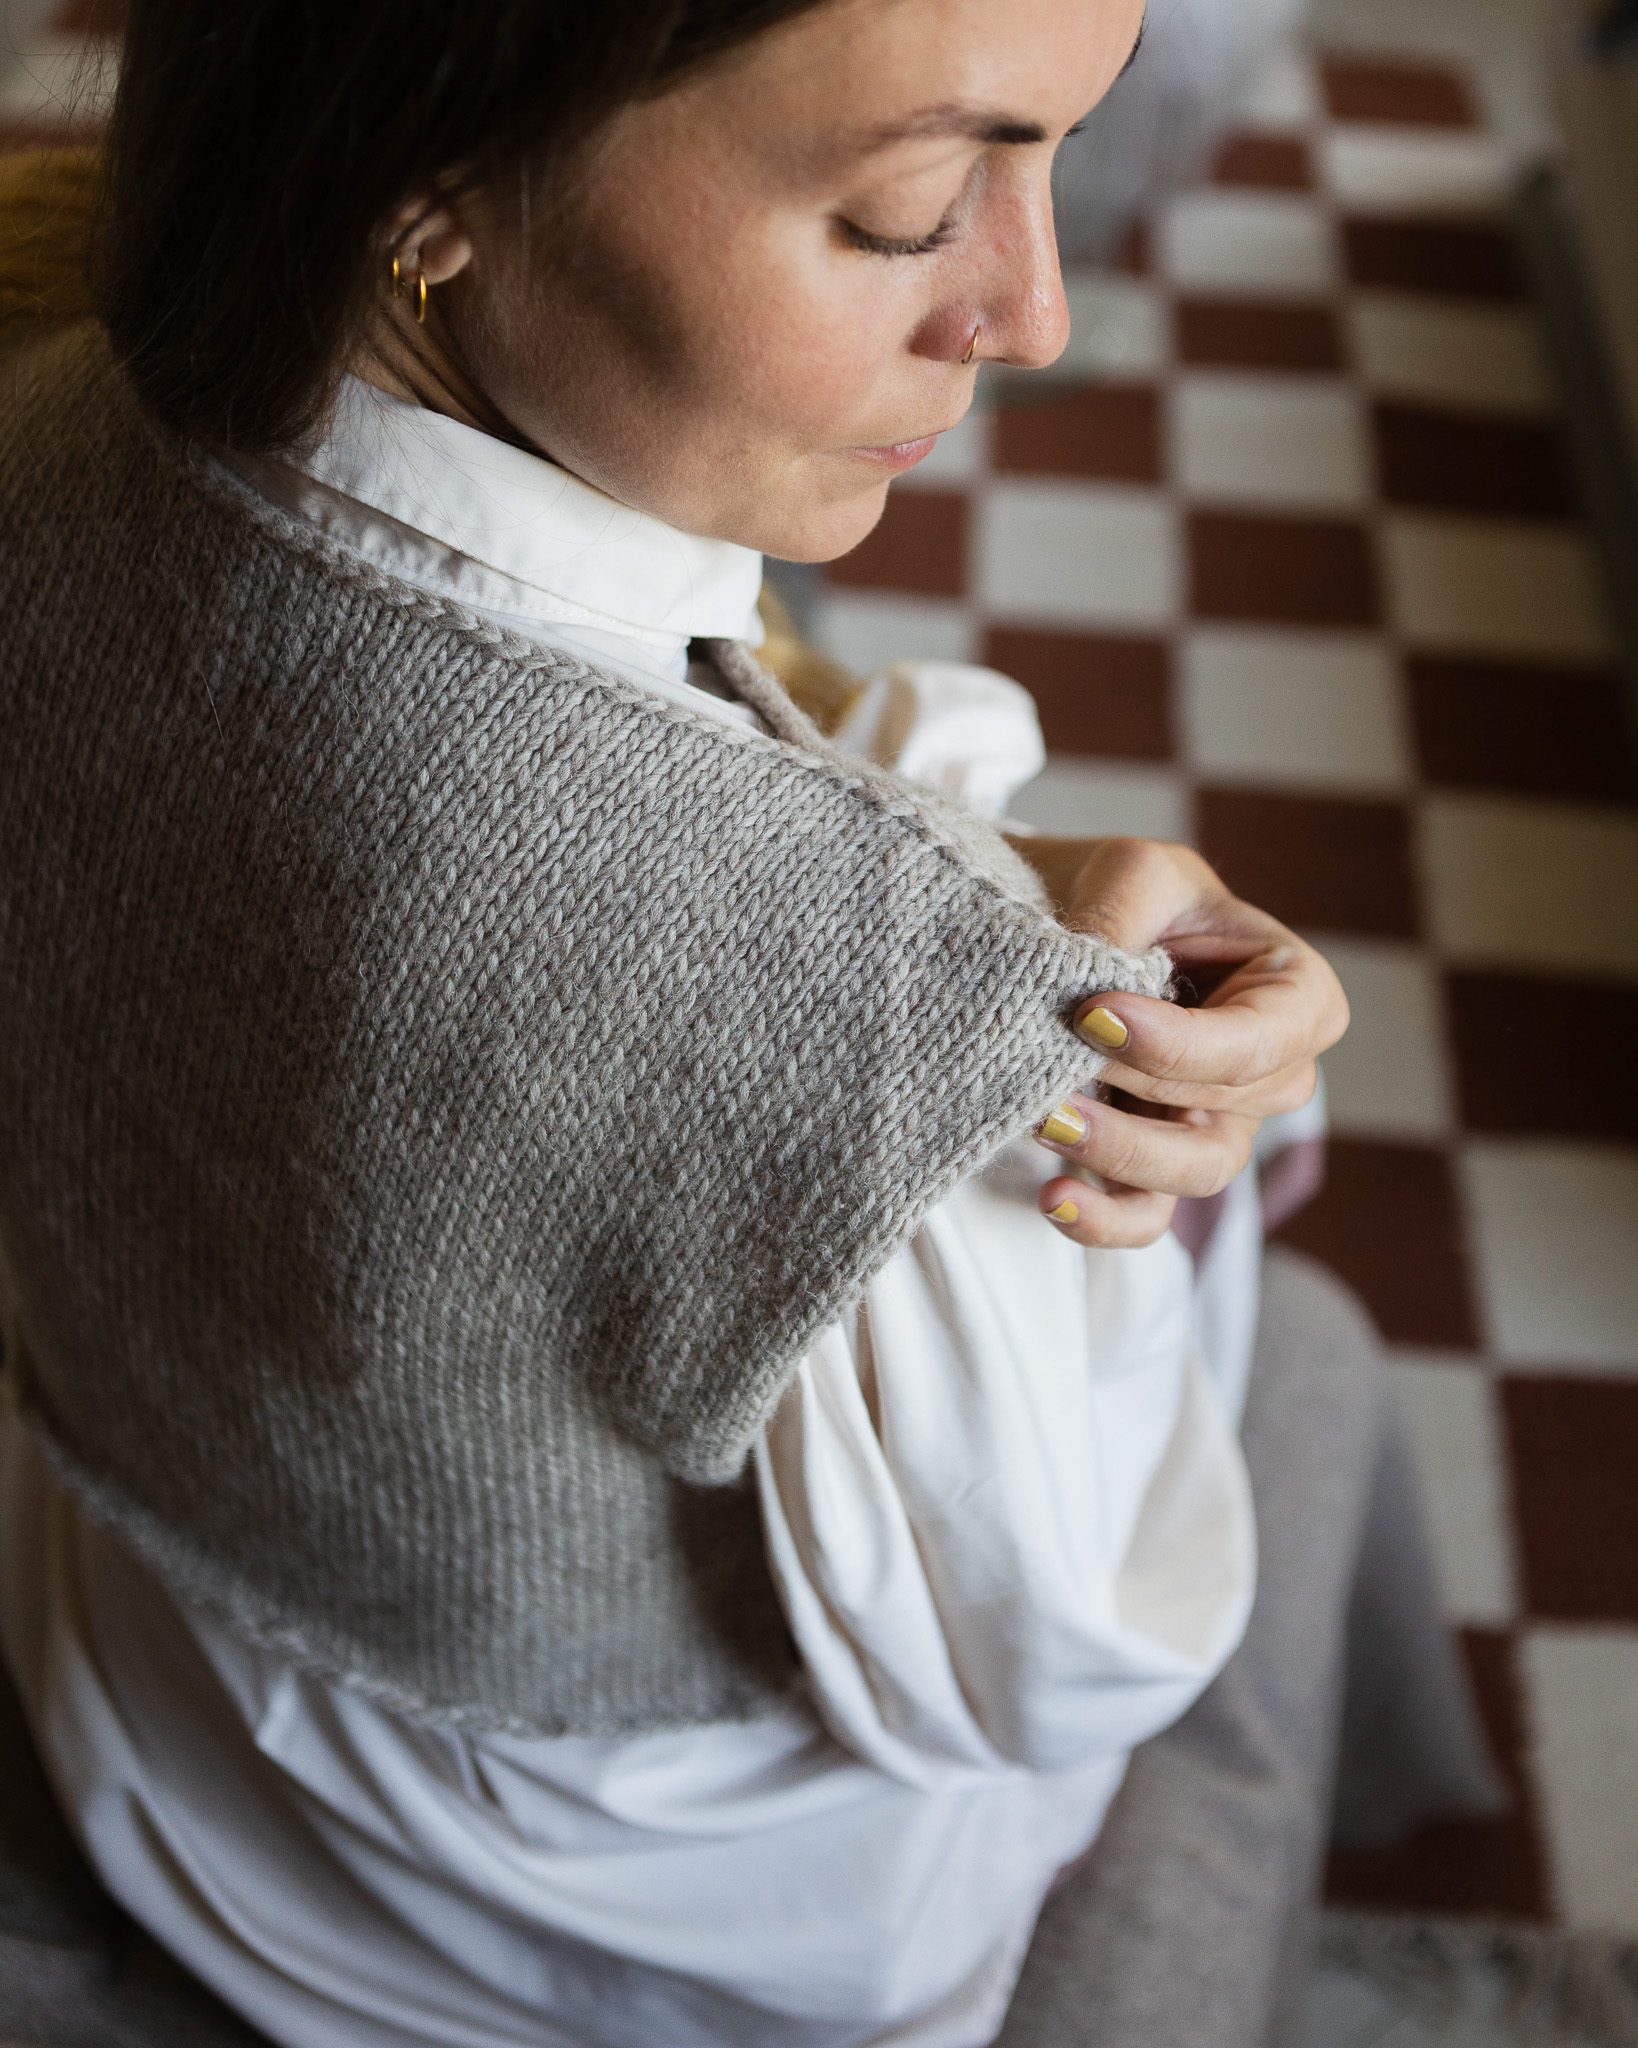
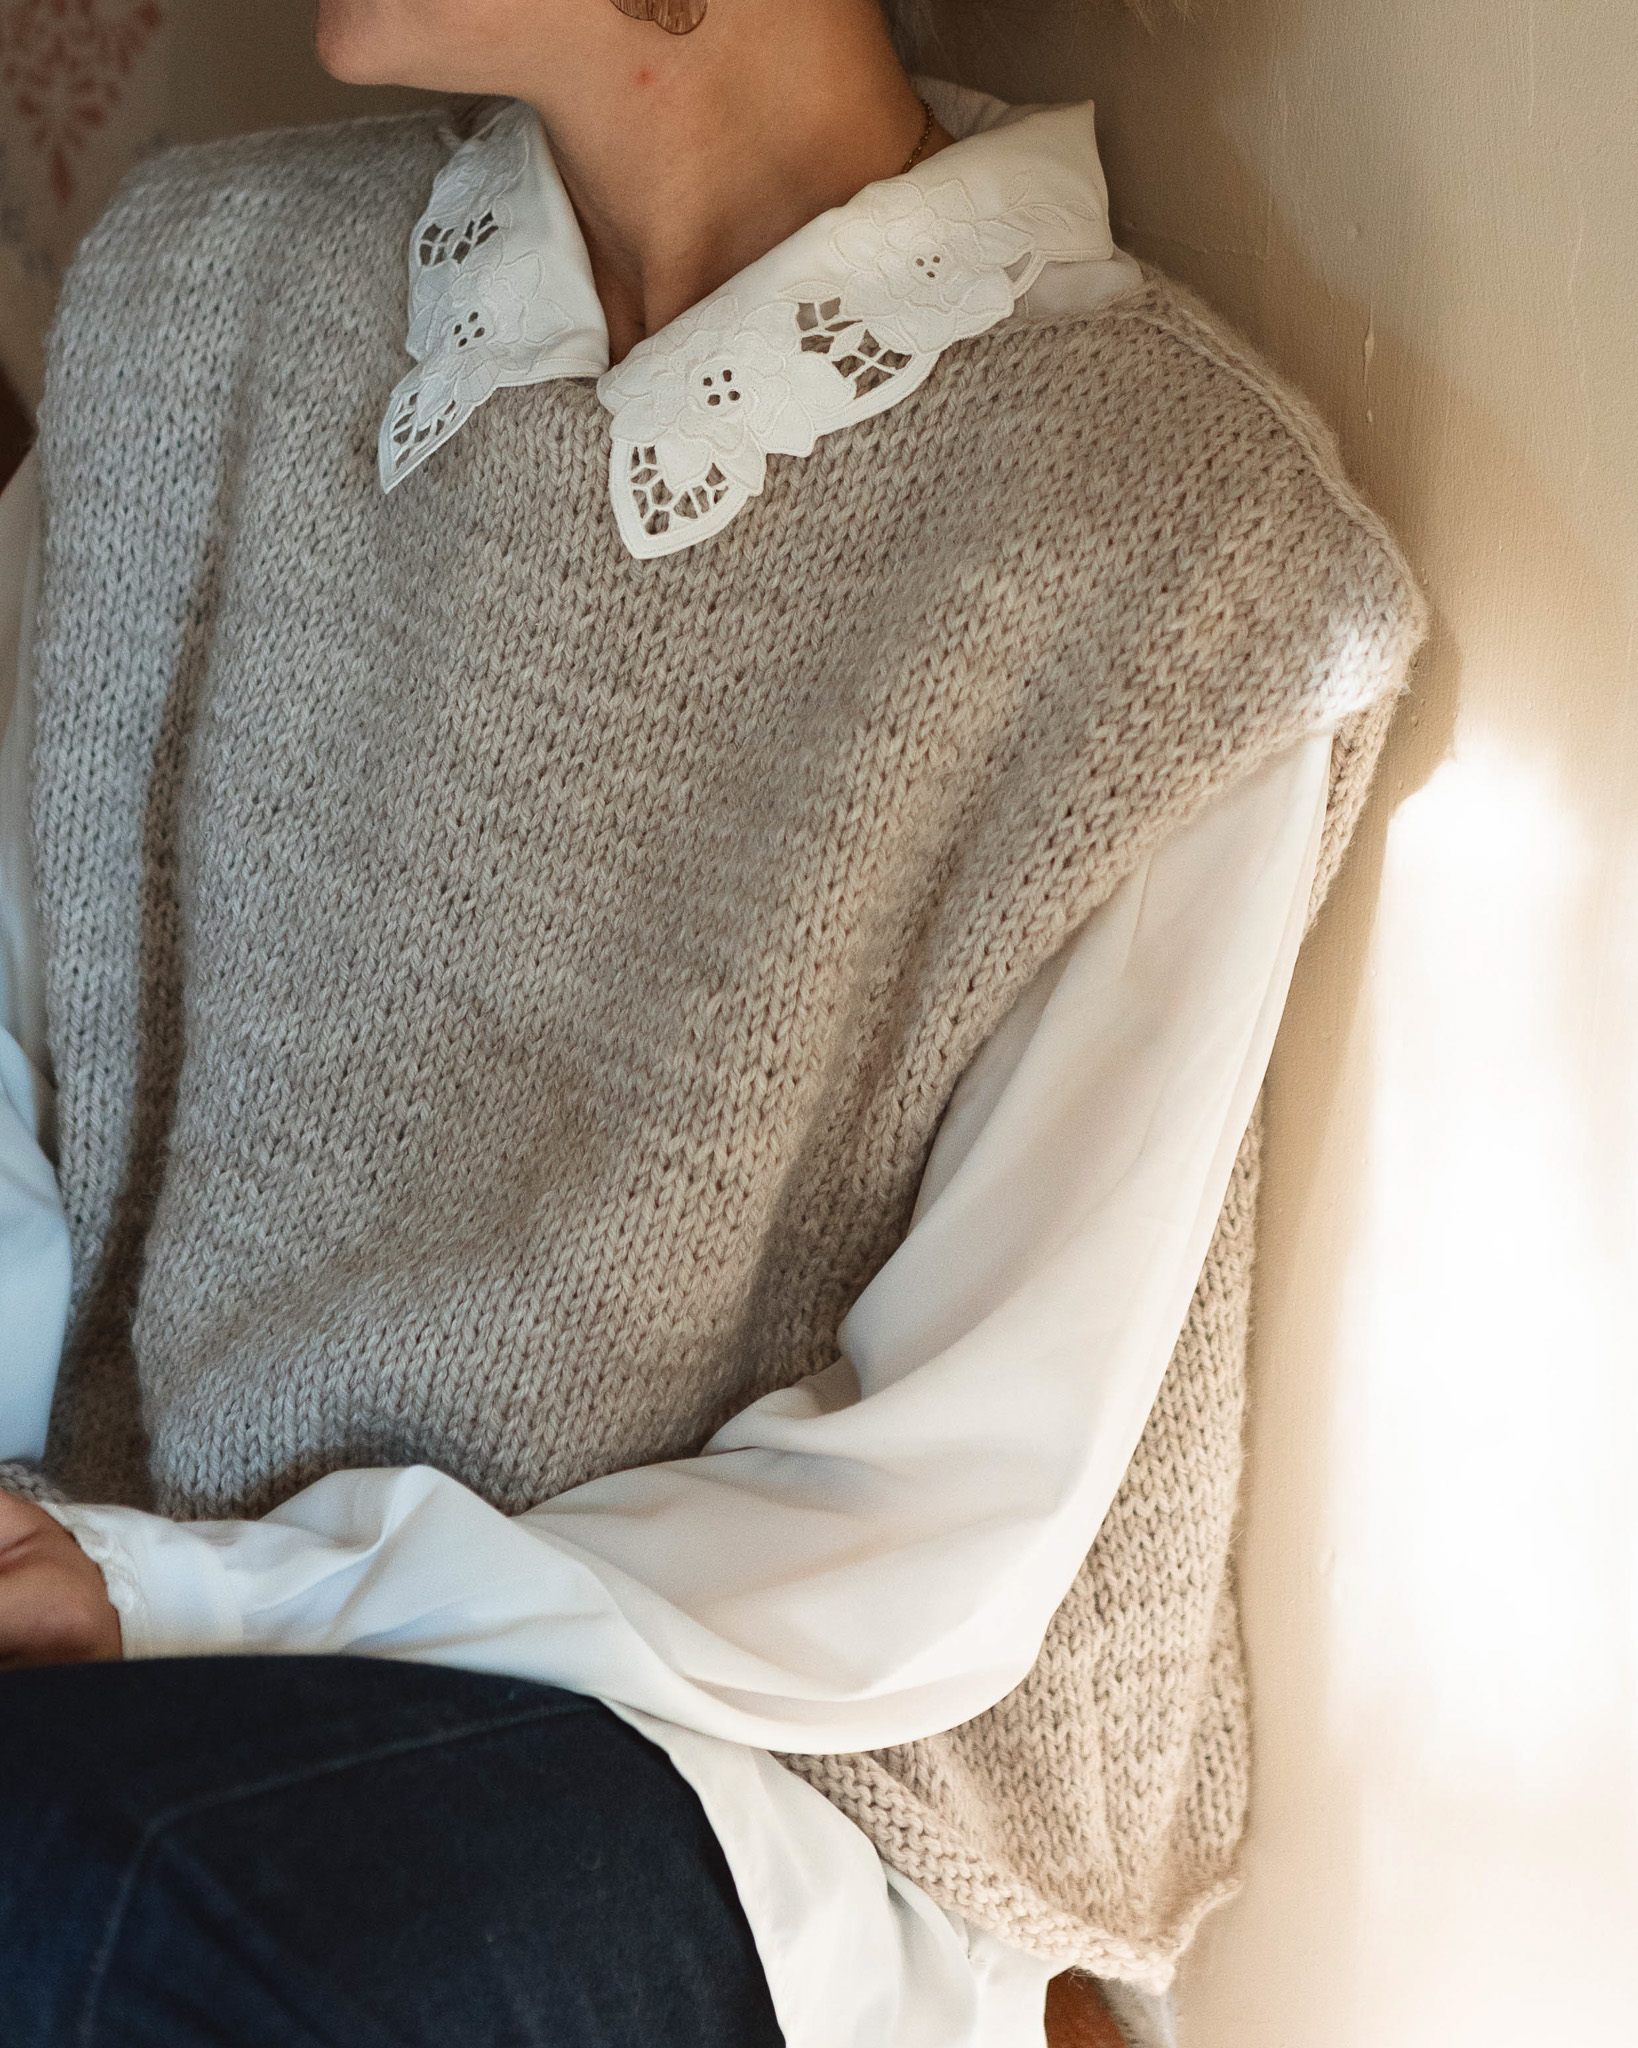
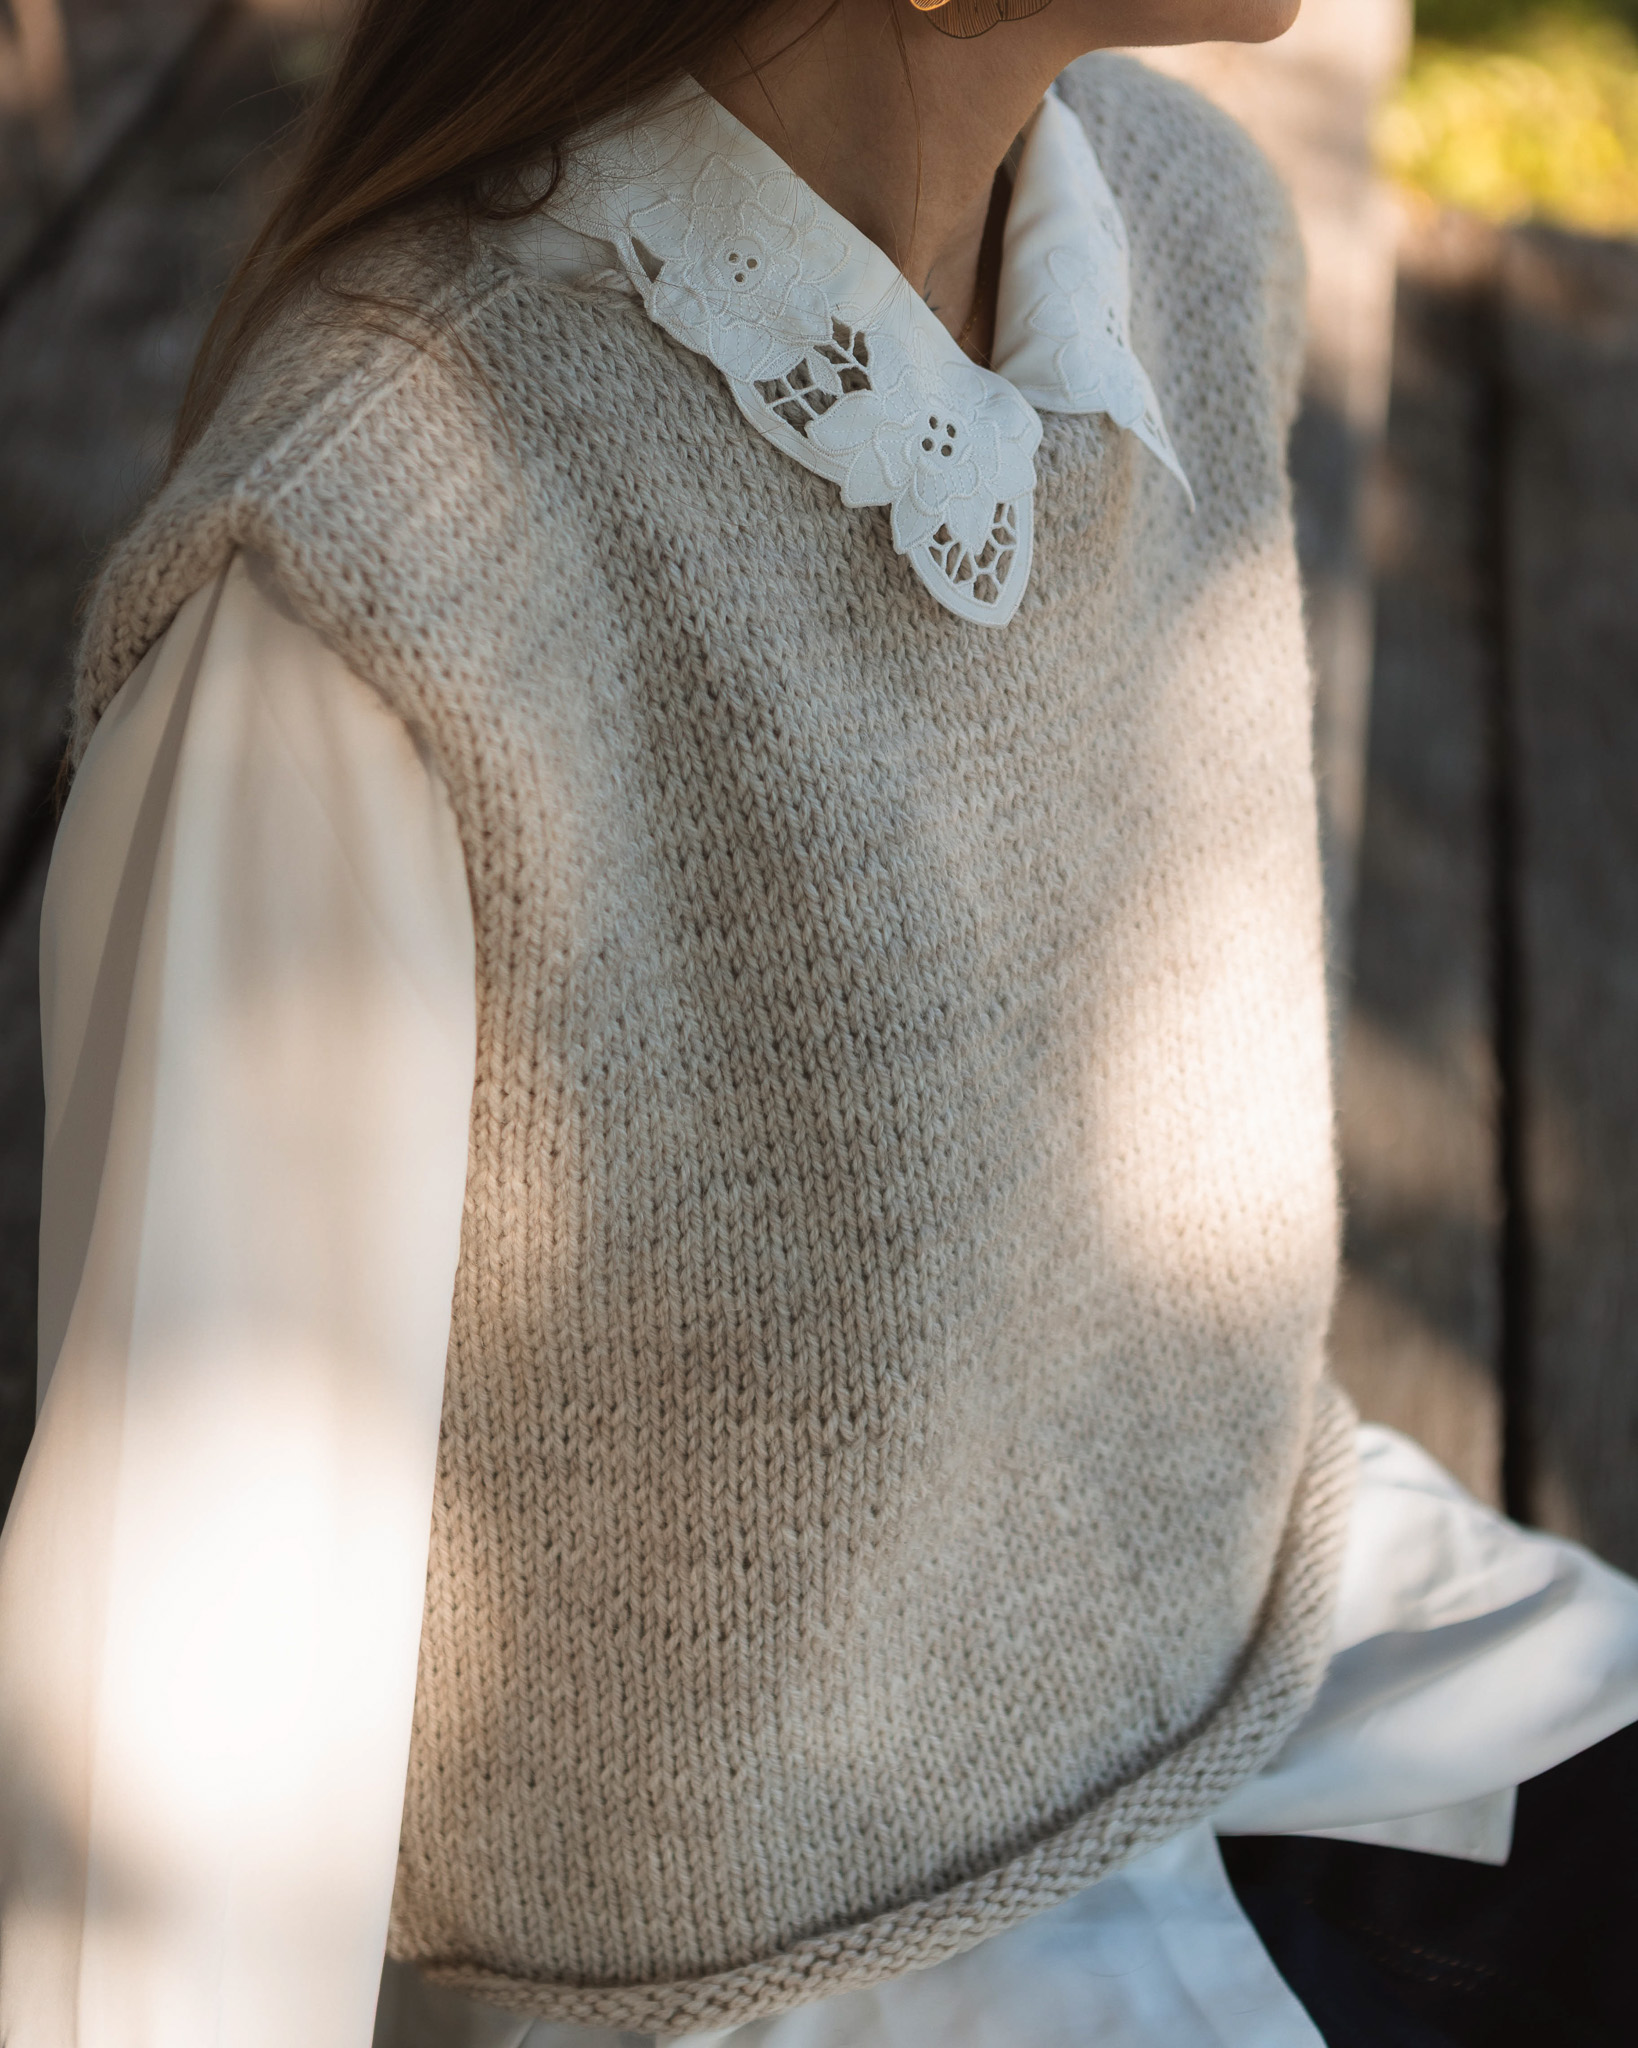
Knitted slipover "Ulrika"
Knit a super easy slipover with no increases or decreases!
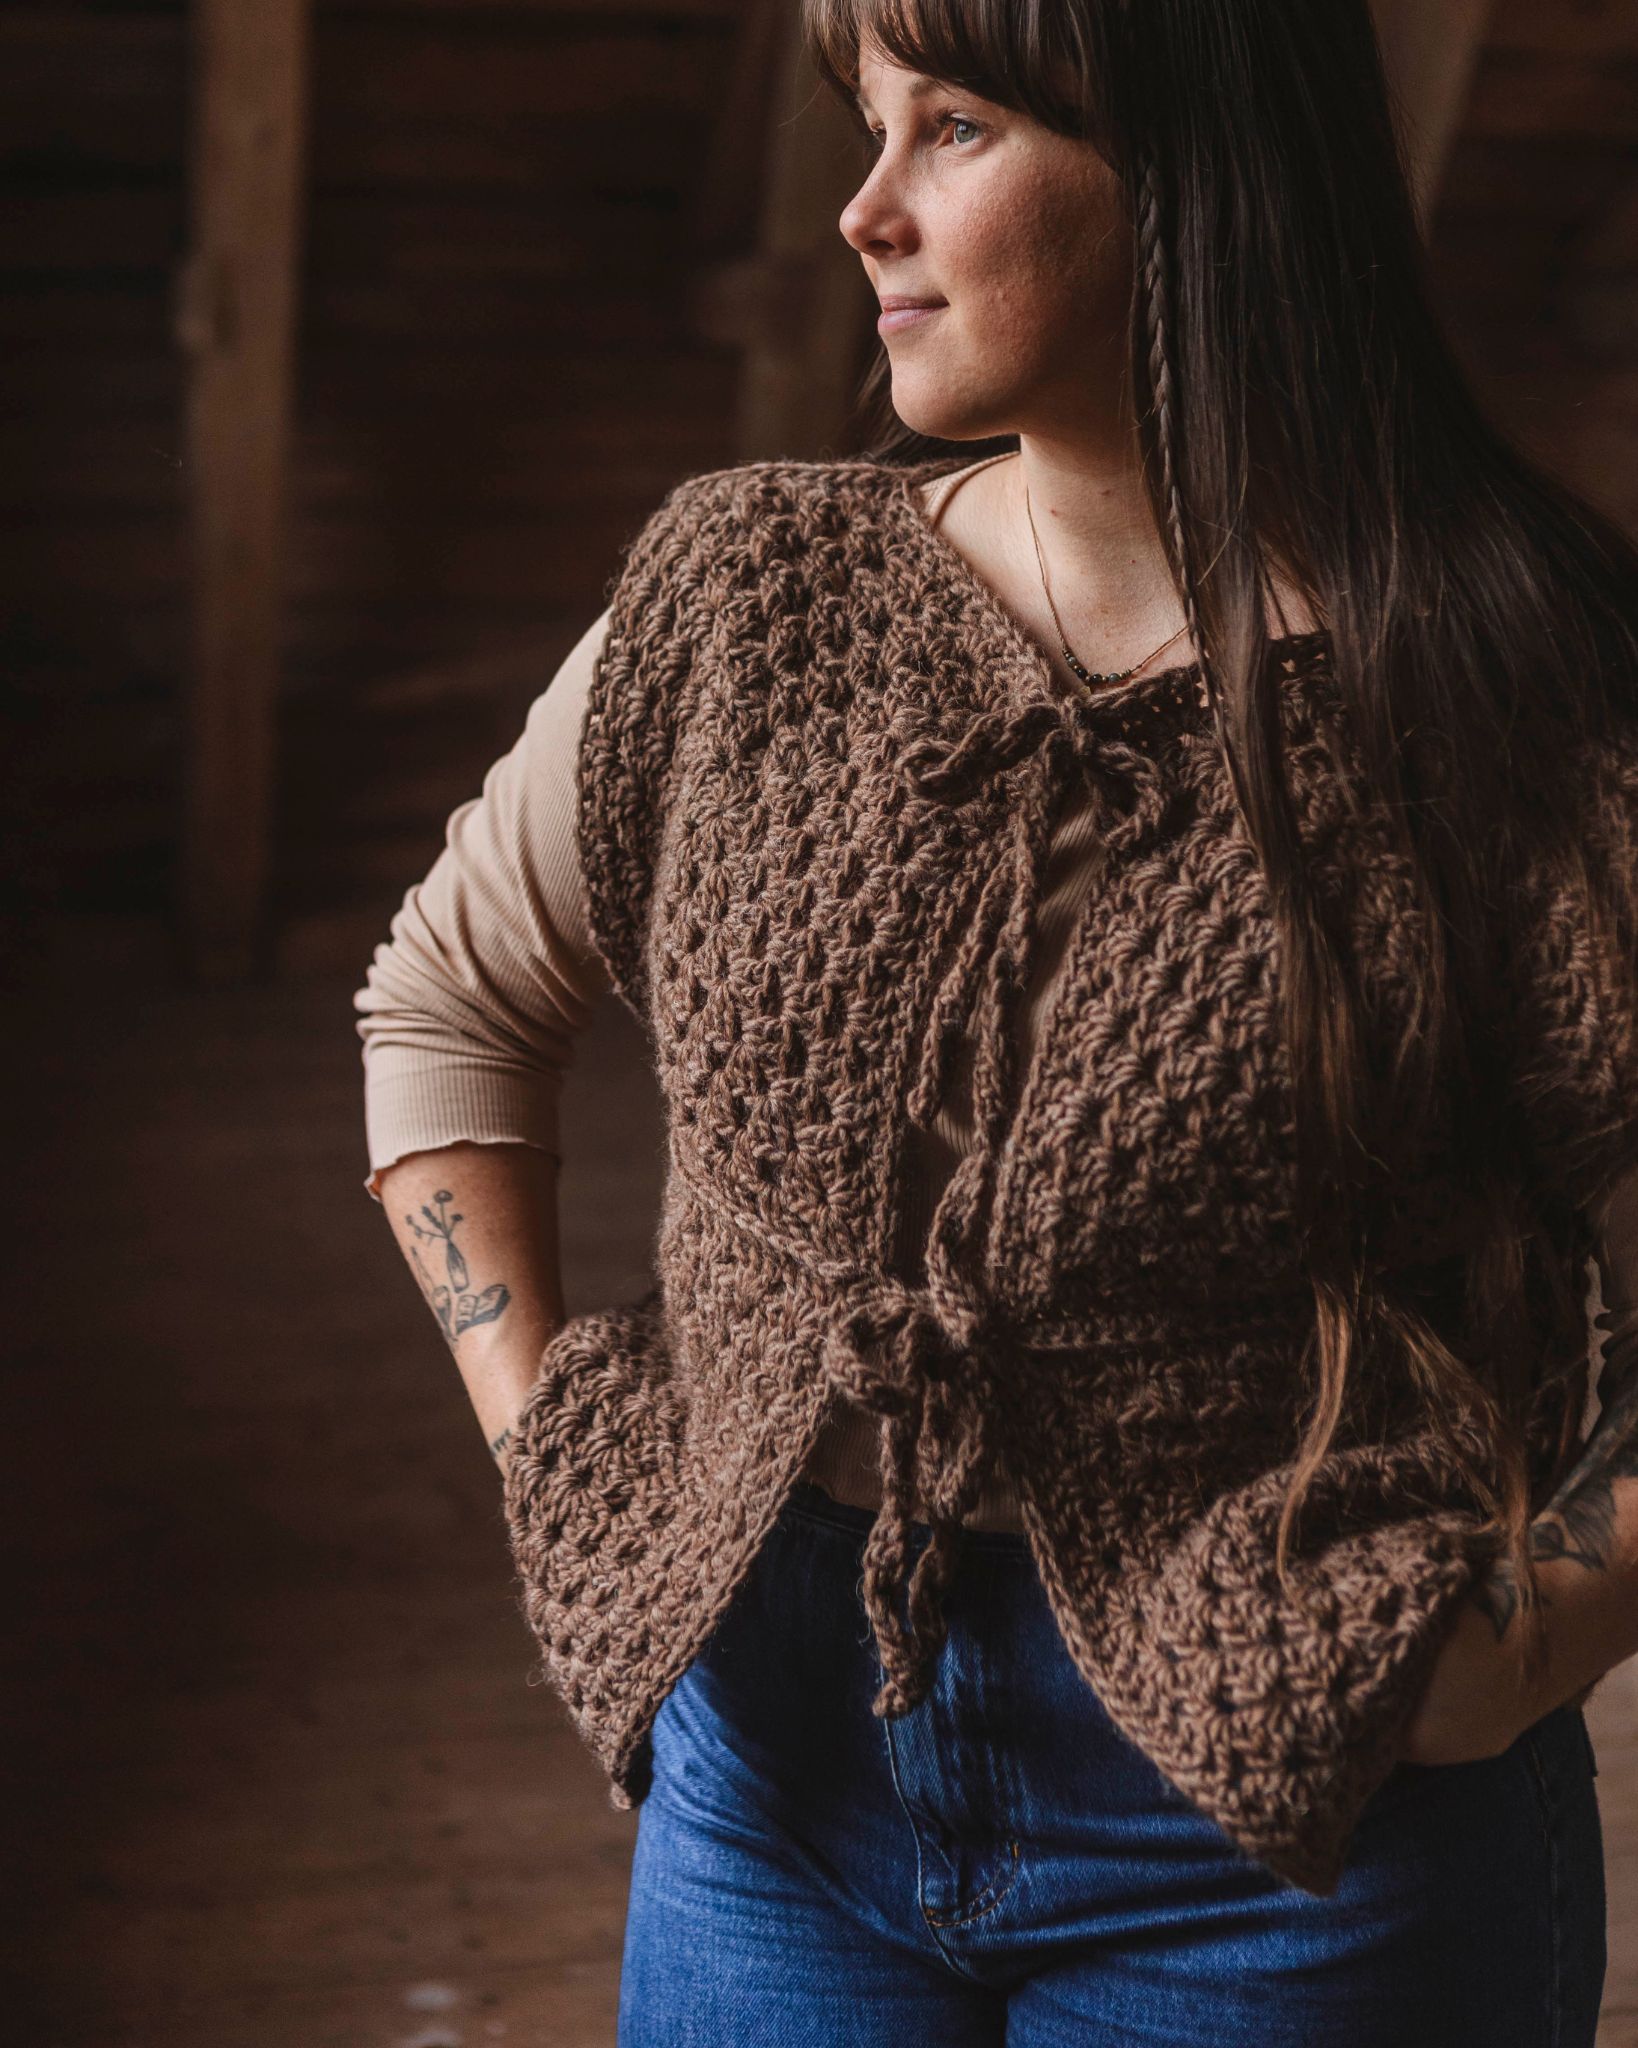
Are you a complete beginner at knitting and not sure where to start? Look no further! “Ulrika” is a slipover made from two identical pieces – two rectangles knitted back and forth and then seamed together at the end. The only techniques you need are casting on, knit stitches, purl stitches, binding off, and some simple sewing skills for assembly. You can choose whether to make it oversized or a bit shorter / cropped.
And if you prefer visual guidance over written instructions, there’s a full-length video that walks you through every step.
All you need to get started is your choice of MYO Soft Wool, a pair of 80 cm circular needles in size 5 mm, a tapestry needle, and a few stitch markers.
Yarn requirement:
For a vest in approximately the same size as the sample (size Medium, bust approx. 94 cm and a slightly longer torso), you will need about 207 g of yarn.
Please note that this is an approximate estimate. Yarn usage may vary by approx. ±25 g per 5 cm in bust circumference you go up or down, as well as an additional ±10–20 g depending on desired length.
This is an approximate yarn estimate and may vary depending on body measurements, chosen length, and knitting tension.


Here's how to do it
This pattern is made to measure – you measure your own upper body at the widest point (bust or stomach) and then calculate how many stitches to cast on. This way, you get a slipover that is fully tailored to your size <3 / Johanna

This is what you need:
Here you can directly purchase the material for the product. Please note that the instruction is digital and appears here on the page (no written instruction).


.jpg)
Your next favorite project is waiting
Get access to this pattern and over 300 other beginner-friendly projects for crochet, knitting, and macramé.
Then 85 SEK/month. Cancel anytime.

Gauge
16 stitches × 20 rows per 10 cm in stockinette stitch worked flat using 5 mm circular needles with an 80 cm cable.
If your fabric is too tight, go up a needle size.
If it is too loose, go down a needle size.
Calculating stitch count
Measure the circumference of the widest part of your body (bust or stomach). Take the measurement in centimeters and multiply it by 0.9. Round to the nearest even number. This is the number of stitches to cast on.
Cast on
Cast on stitches using the long-tail cast-on method.
Preparation
- Measure a yarn tail long enough for your cast-on. The length depends on how many stitches you need, but it’s better to have too much than too little.
- Make a slip knot, hold both needles together, and place the loop on the needles. Pull both yarn ends to tighten slightly.
This counts as your first stitch. Casting on over two needles helps keep the stitches loose and easier to work on the first row.
Hold the yarn correctly
3. Place the yarn tail around your left thumb, with the end resting on the outside of your thumb.
4. Place the working yarn (from the ball) over your left index finger, from the inside of your hand and out.
5. Hold both yarn ends in place with your ring finger and little finger. The yarn should form a “V” shape between your thumb and index finger.
Cast on stitches
6. Insert the right needle from below into the loop around your thumb.
7. Use the needle to catch the yarn from your index finger.
8. Pull the yarn back through the loop on your thumb to form a new stitch.
9. Release the loop from your thumb and gently tighten the stitch on the needle.
10. Wrap the yarn around your thumb again and repeat until you have cast on the required number of stitches.
Tip
The stitches should be firm but not tight on the needle.
If your cast-on feels too tight, start over and work a bit more loosely.
Stockinette stitch
The first row is worked on the wrong side. To create a neat edge, always slip the first stitch of every row without knitting it.
How to purl
Bring the yarn to the front of the work.
Insert the right needle from back to front through the stitch.
Wrap the yarn around the needle.
Pull the yarn through the stitch.
Slip the old stitch off the needle.
After completing one row of purl stitches, turn your work. You will now knit the next row.
How to knit
Insert the right needle from front to back through the front leg of the stitch.
Wrap the yarn around the needle.
Pull the yarn through the stitch.
Slip the old stitch off the left needle.
On the right side as well, always slip the first stitch without knitting it.
How many rows?
Continue working stockinette stitch across the entire piece.
To calculate the number of rows:
Total number of cast-on stitches × 0.95
Example:
Number of stitches = 84
84 × 0.95 = 79.8
Round up or down to the nearest whole number = 80 rows
Bind off – Basic bind-off
The last row is worked on the wrong side. From the right side, begin binding off as follows:
Knit two stitches
Lift the first stitch over the second
Knit one stitch
Lift over again
→ Repeat until all stitches are bound off
Cut the yarn and pull it through the last stitch.
Knit a second identical piece
Repeat all steps for the second piece. You should now have:
1 front piece
1 back piece
Finishing – Side seams
Place the bound-off edge at the top (shoulders/neckline) and the cast-on edge at the bottom.
Divide the total length of the pieces by 3. This is the length to be seamed under the armholes. Place a marker to indicate how far to sew.
Example:
36 ÷ 3 = 12 cm to seam
→ the remaining length forms the armhole
Mattress stitch
- Place the pieces side by side with the right side facing up
- Work into the horizontal bars between stitches, in the first row of knit stitches (skip the edge stitches)
- Right side: pick up 2 horizontal bars from one side
- Left side: pick up the corresponding bars
- Right side: insert the needle back into the same stitch where it last came out
- Continue working back and forth
After a few stitches: gently pull the yarn to close the seam → the seam becomes invisible
Sew up the calculated length (e.g. 12 cm)
Finishing – Shoulder seams
Take the total number of cast-on stitches ÷ 4. This is the number of stitches to be joined at each shoulder.
Example:
84 ÷ 4 = 21 stitches to seam
→ the remaining stitches form the neckline
Place a marker to indicate how many stitches should be seamed.
In this step, we want the bound-off edge (the decorative chain) to be visible.
- Place the pieces with wrong side facing wrong side
- Insert the needle under both legs of the first stitch (forming a small V)
- Insert the needle under both legs of the first stitch on the back piece (from the wrong side) and pull the yarn through
- Insert the needle under both legs of the next stitch on the front piece
- Insert the needle under both legs of the next stitch on the back piece and pull the yarn through
Result: a decorative, visible seam
Weave in ends
- Turn the vest inside out
- Follow the path of the stitches with the needle on the wrong side
- Cut the yarn ends
Blocking the vest
- Soak in lukewarm water
- Gently squeeze out excess water (do not wring)
- Place on a towel
- Roll it up like a “sausage” and press to remove more water
- Lay flat on a dry towel
- Shape the garment
- Gently stretch if you want it larger
- Add weight to the edges if they curl up
Let dry completely
Stitch abbreviations
sl1 = slip 1 stitch without knitting
k = knit
p = purl
RS = right side
WS = wrong side
Gauge
16 sts × 20 rows = 10 × 10 cm in stockinette stitch
Needles: 5 mm (80 cm circular needles)
Calculating stitch count
Measure the bust circumference (widest part of the upper body).
Formula:
Bust measurement × 0.9
Round to the nearest even number.
→ This is the number of stitches per piece.
Cast on
Cast on stitches using a long-tail cast-on over two needles.
Body
Worked back and forth in stockinette stitch.
Row 1 (WS): sl1, p to end
Row 2 (RS): sl1, k to end
Repeat these two rows.
Number of rows
Formula:
Cast-on stitches × 0.95
Round to the nearest whole number.
Bind off
Bind off from RS using standard bind-off (k2, pass first stitch over second, repeat).
Knit 2 pieces
Work a second identical piece.
Finishing
Side seams
Place pieces side by side with RS facing up.
Calculation:
Total length ÷ 3 = length to seam
Sew using mattress stitch along the sides.
Shoulder seams
Place pieces WS against WS.
Calculation:
Cast-on stitches ÷ 4 = stitches per shoulder
Mark shoulder sections.
Sew through both legs of each stitch (under the bind-off edge), working back and forth between pieces → creates a decorative chain effect on the RS.
Weave in ends
Weave in all yarn ends on the WS following the structure of the stitches.
Blocking
Block the vest and shape it to the desired measurements.
The rights to this pattern belong to MYO Make Your Own. The pattern or its pictures may not be copied, shared or resold either in parts or in its entirety, but you may sell items you have crocheted from this pattern. If you have questions about the pattern, contact MYO at hello@makeyourown.se.
Gauge
16 stitches × 20 rows per 10 cm in stockinette stitch worked flat using 5 mm circular needles with an 80 cm cable.
If your fabric is too tight, go up a needle size.
If it is too loose, go down a needle size.
Calculating stitch count
Measure the circumference of the widest part of your body (bust or stomach). Take the measurement in centimeters and multiply it by 0.9. Round to the nearest even number. This is the number of stitches to cast on.
Cast on
Cast on stitches using the long-tail cast-on method.
Preparation
- Measure a yarn tail long enough for your cast-on. The length depends on how many stitches you need, but it’s better to have too much than too little.
- Make a slip knot, hold both needles together, and place the loop on the needles. Pull both yarn ends to tighten slightly.
This counts as your first stitch. Casting on over two needles helps keep the stitches loose and easier to work on the first row.
Hold the yarn correctly
3. Place the yarn tail around your left thumb, with the end resting on the outside of your thumb.
4. Place the working yarn (from the ball) over your left index finger, from the inside of your hand and out.
5. Hold both yarn ends in place with your ring finger and little finger. The yarn should form a “V” shape between your thumb and index finger.
Cast on stitches
6. Insert the right needle from below into the loop around your thumb.
7. Use the needle to catch the yarn from your index finger.
8. Pull the yarn back through the loop on your thumb to form a new stitch.
9. Release the loop from your thumb and gently tighten the stitch on the needle.
10. Wrap the yarn around your thumb again and repeat until you have cast on the required number of stitches.
Tip
The stitches should be firm but not tight on the needle.
If your cast-on feels too tight, start over and work a bit more loosely.
Stockinette stitch
The first row is worked on the wrong side. To create a neat edge, always slip the first stitch of every row without knitting it.
How to purl
Bring the yarn to the front of the work.
Insert the right needle from back to front through the stitch.
Wrap the yarn around the needle.
Pull the yarn through the stitch.
Slip the old stitch off the needle.
After completing one row of purl stitches, turn your work. You will now knit the next row.
How to knit
Insert the right needle from front to back through the front leg of the stitch.
Wrap the yarn around the needle.
Pull the yarn through the stitch.
Slip the old stitch off the left needle.
On the right side as well, always slip the first stitch without knitting it.
How many rows?
Continue working stockinette stitch across the entire piece.
To calculate the number of rows:
Total number of cast-on stitches × 0.95
Example:
Number of stitches = 84
84 × 0.95 = 79.8
Round up or down to the nearest whole number = 80 rows
Bind off – Basic bind-off
The last row is worked on the wrong side. From the right side, begin binding off as follows:
Knit two stitches
Lift the first stitch over the second
Knit one stitch
Lift over again
→ Repeat until all stitches are bound off
Cut the yarn and pull it through the last stitch.
Knit a second identical piece
Repeat all steps for the second piece. You should now have:
1 front piece
1 back piece
Finishing – Side seams
Place the bound-off edge at the top (shoulders/neckline) and the cast-on edge at the bottom.
Divide the total length of the pieces by 3. This is the length to be seamed under the armholes. Place a marker to indicate how far to sew.
Example:
36 ÷ 3 = 12 cm to seam
→ the remaining length forms the armhole
Mattress stitch
- Place the pieces side by side with the right side facing up
- Work into the horizontal bars between stitches, in the first row of knit stitches (skip the edge stitches)
- Right side: pick up 2 horizontal bars from one side
- Left side: pick up the corresponding bars
- Right side: insert the needle back into the same stitch where it last came out
- Continue working back and forth
After a few stitches: gently pull the yarn to close the seam → the seam becomes invisible
Sew up the calculated length (e.g. 12 cm)
Finishing – Shoulder seams
Take the total number of cast-on stitches ÷ 4. This is the number of stitches to be joined at each shoulder.
Example:
84 ÷ 4 = 21 stitches to seam
→ the remaining stitches form the neckline
Place a marker to indicate how many stitches should be seamed.
In this step, we want the bound-off edge (the decorative chain) to be visible.
- Place the pieces with wrong side facing wrong side
- Insert the needle under both legs of the first stitch (forming a small V)
- Insert the needle under both legs of the first stitch on the back piece (from the wrong side) and pull the yarn through
- Insert the needle under both legs of the next stitch on the front piece
- Insert the needle under both legs of the next stitch on the back piece and pull the yarn through
Result: a decorative, visible seam
Weave in ends
- Turn the vest inside out
- Follow the path of the stitches with the needle on the wrong side
- Cut the yarn ends
Blocking the vest
- Soak in lukewarm water
- Gently squeeze out excess water (do not wring)
- Place on a towel
- Roll it up like a “sausage” and press to remove more water
- Lay flat on a dry towel
- Shape the garment
- Gently stretch if you want it larger
- Add weight to the edges if they curl up
Let dry completely
Stitch abbreviations
sl1 = slip 1 stitch without knitting
k = knit
p = purl
RS = right side
WS = wrong side
Gauge
16 sts × 20 rows = 10 × 10 cm in stockinette stitch
Needles: 5 mm (80 cm circular needles)
Calculating stitch count
Measure the bust circumference (widest part of the upper body).
Formula:
Bust measurement × 0.9
Round to the nearest even number.
→ This is the number of stitches per piece.
Cast on
Cast on stitches using a long-tail cast-on over two needles.
Body
Worked back and forth in stockinette stitch.
Row 1 (WS): sl1, p to end
Row 2 (RS): sl1, k to end
Repeat these two rows.
Number of rows
Formula:
Cast-on stitches × 0.95
Round to the nearest whole number.
Bind off
Bind off from RS using standard bind-off (k2, pass first stitch over second, repeat).
Knit 2 pieces
Work a second identical piece.
Finishing
Side seams
Place pieces side by side with RS facing up.
Calculation:
Total length ÷ 3 = length to seam
Sew using mattress stitch along the sides.
Shoulder seams
Place pieces WS against WS.
Calculation:
Cast-on stitches ÷ 4 = stitches per shoulder
Mark shoulder sections.
Sew through both legs of each stitch (under the bind-off edge), working back and forth between pieces → creates a decorative chain effect on the RS.
Weave in ends
Weave in all yarn ends on the WS following the structure of the stitches.
Blocking
Block the vest and shape it to the desired measurements.
The rights to this pattern belong to MYO Make Your Own. The pattern or its pictures may not be copied, shared or resold either in parts or in its entirety, but you may sell items you have crocheted from this pattern. If you have questions about the pattern, contact MYO at hello@makeyourown.se.

%20(5).jpg)
Share your creations with us
Thank you!
Your comment was sent!