
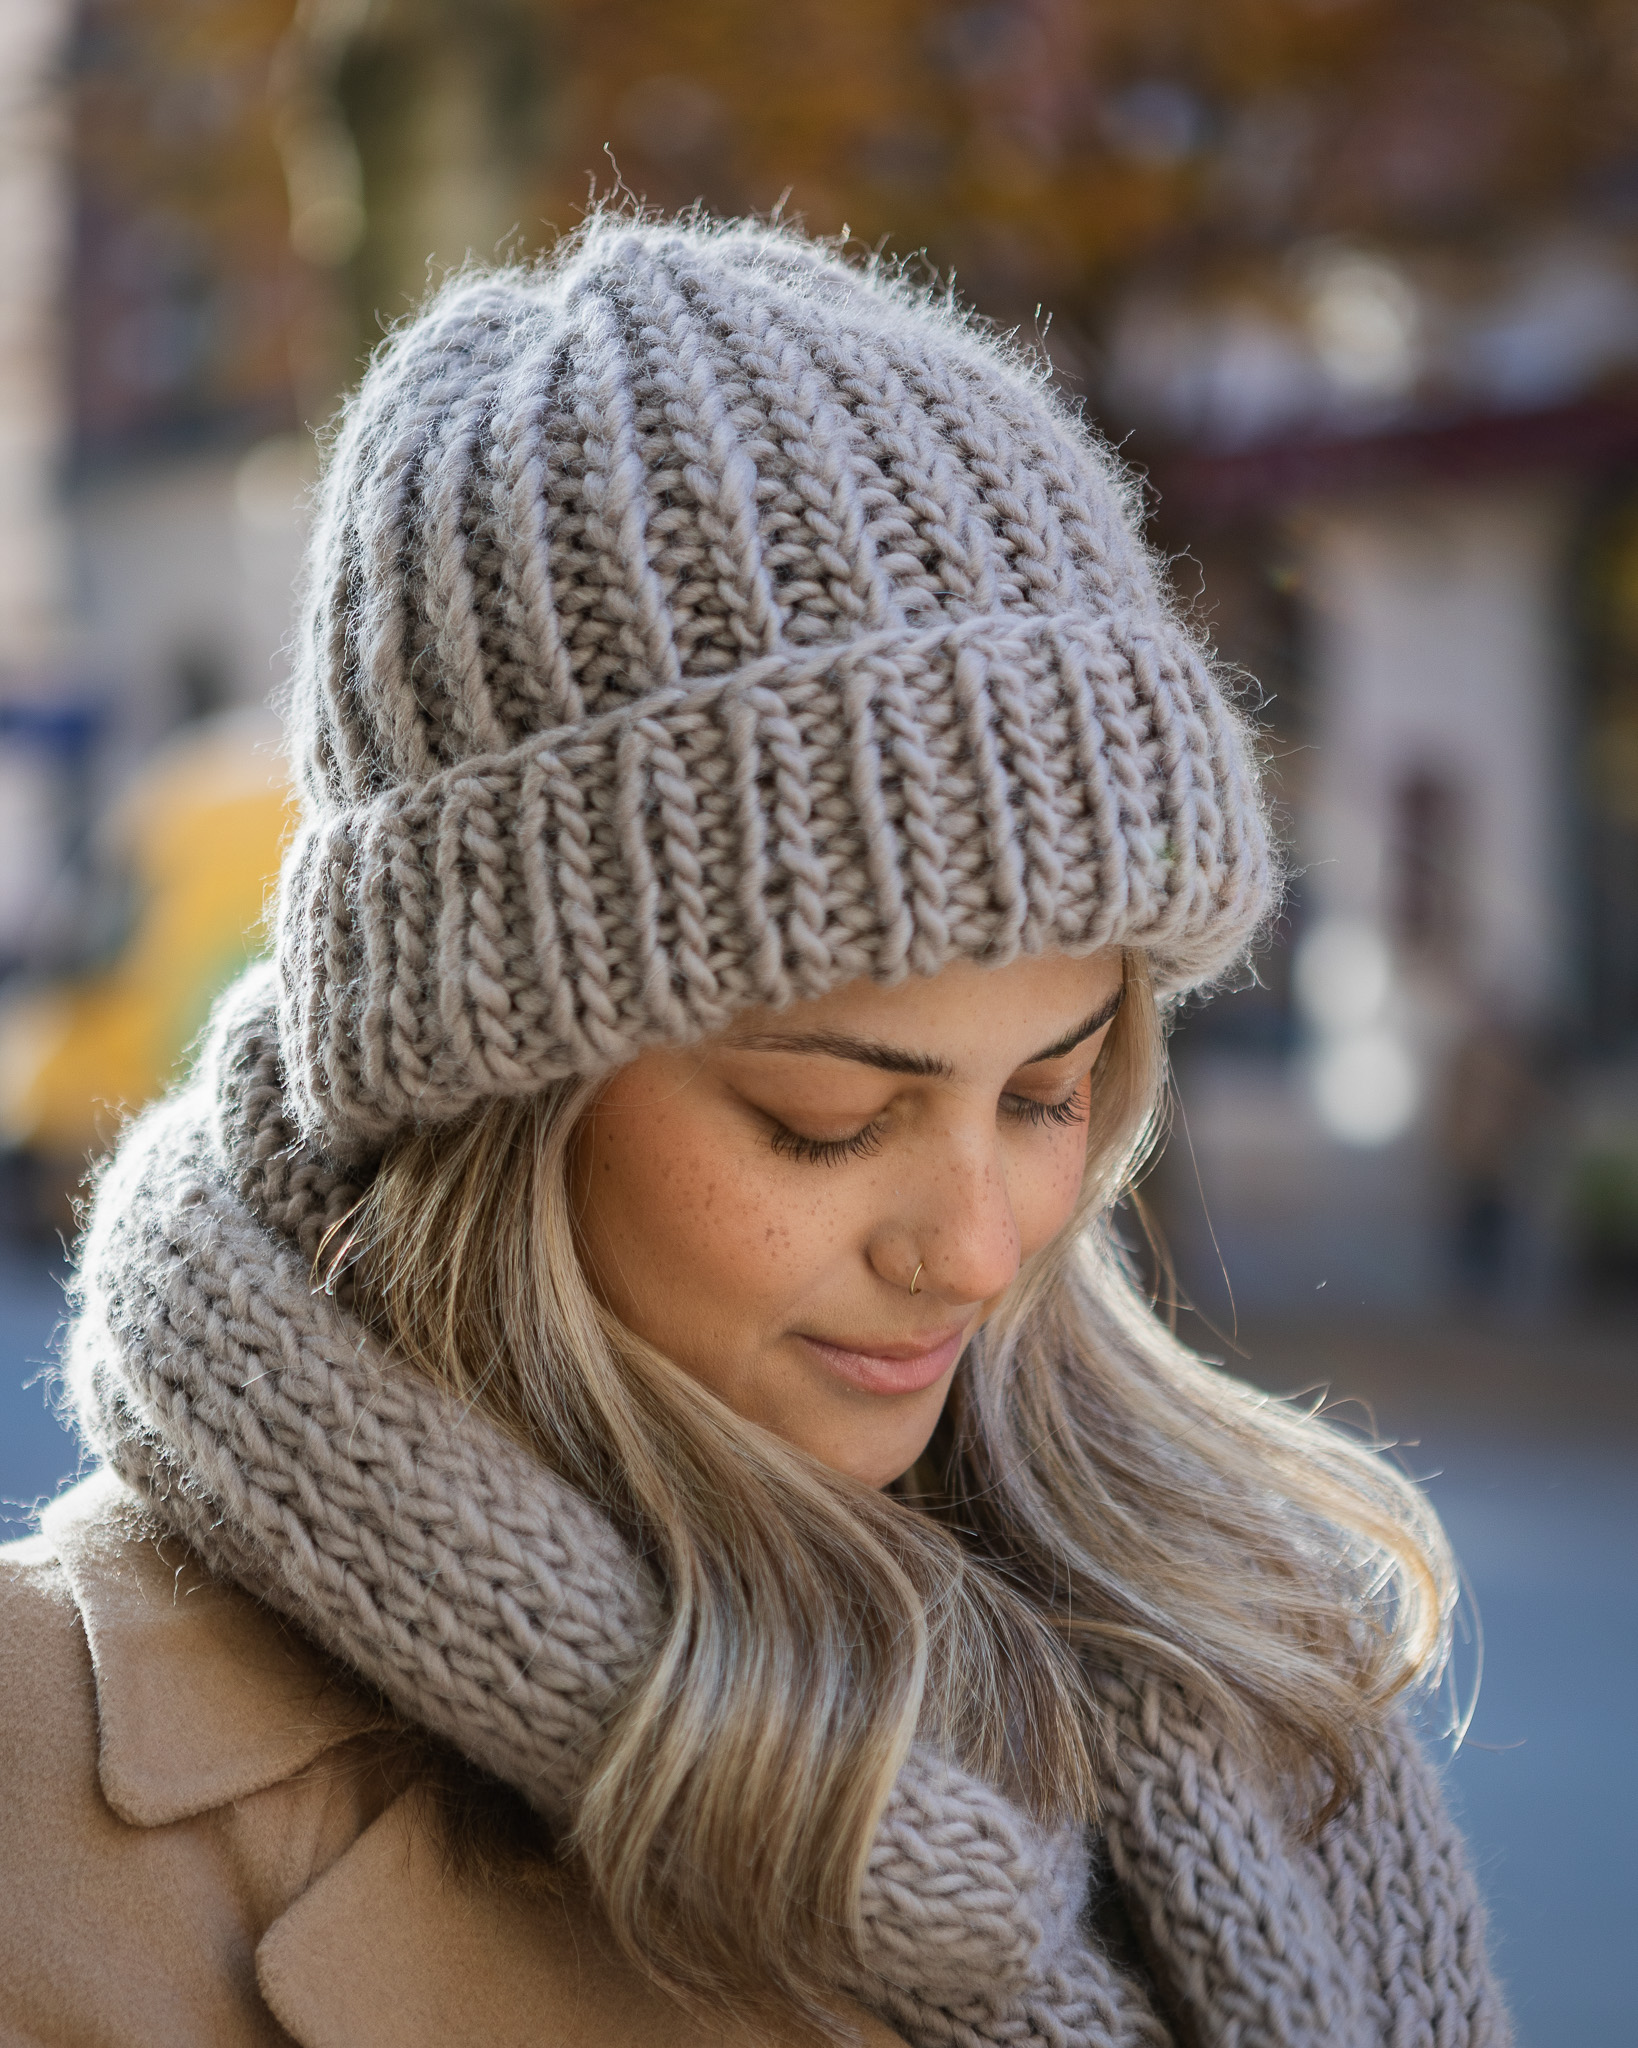
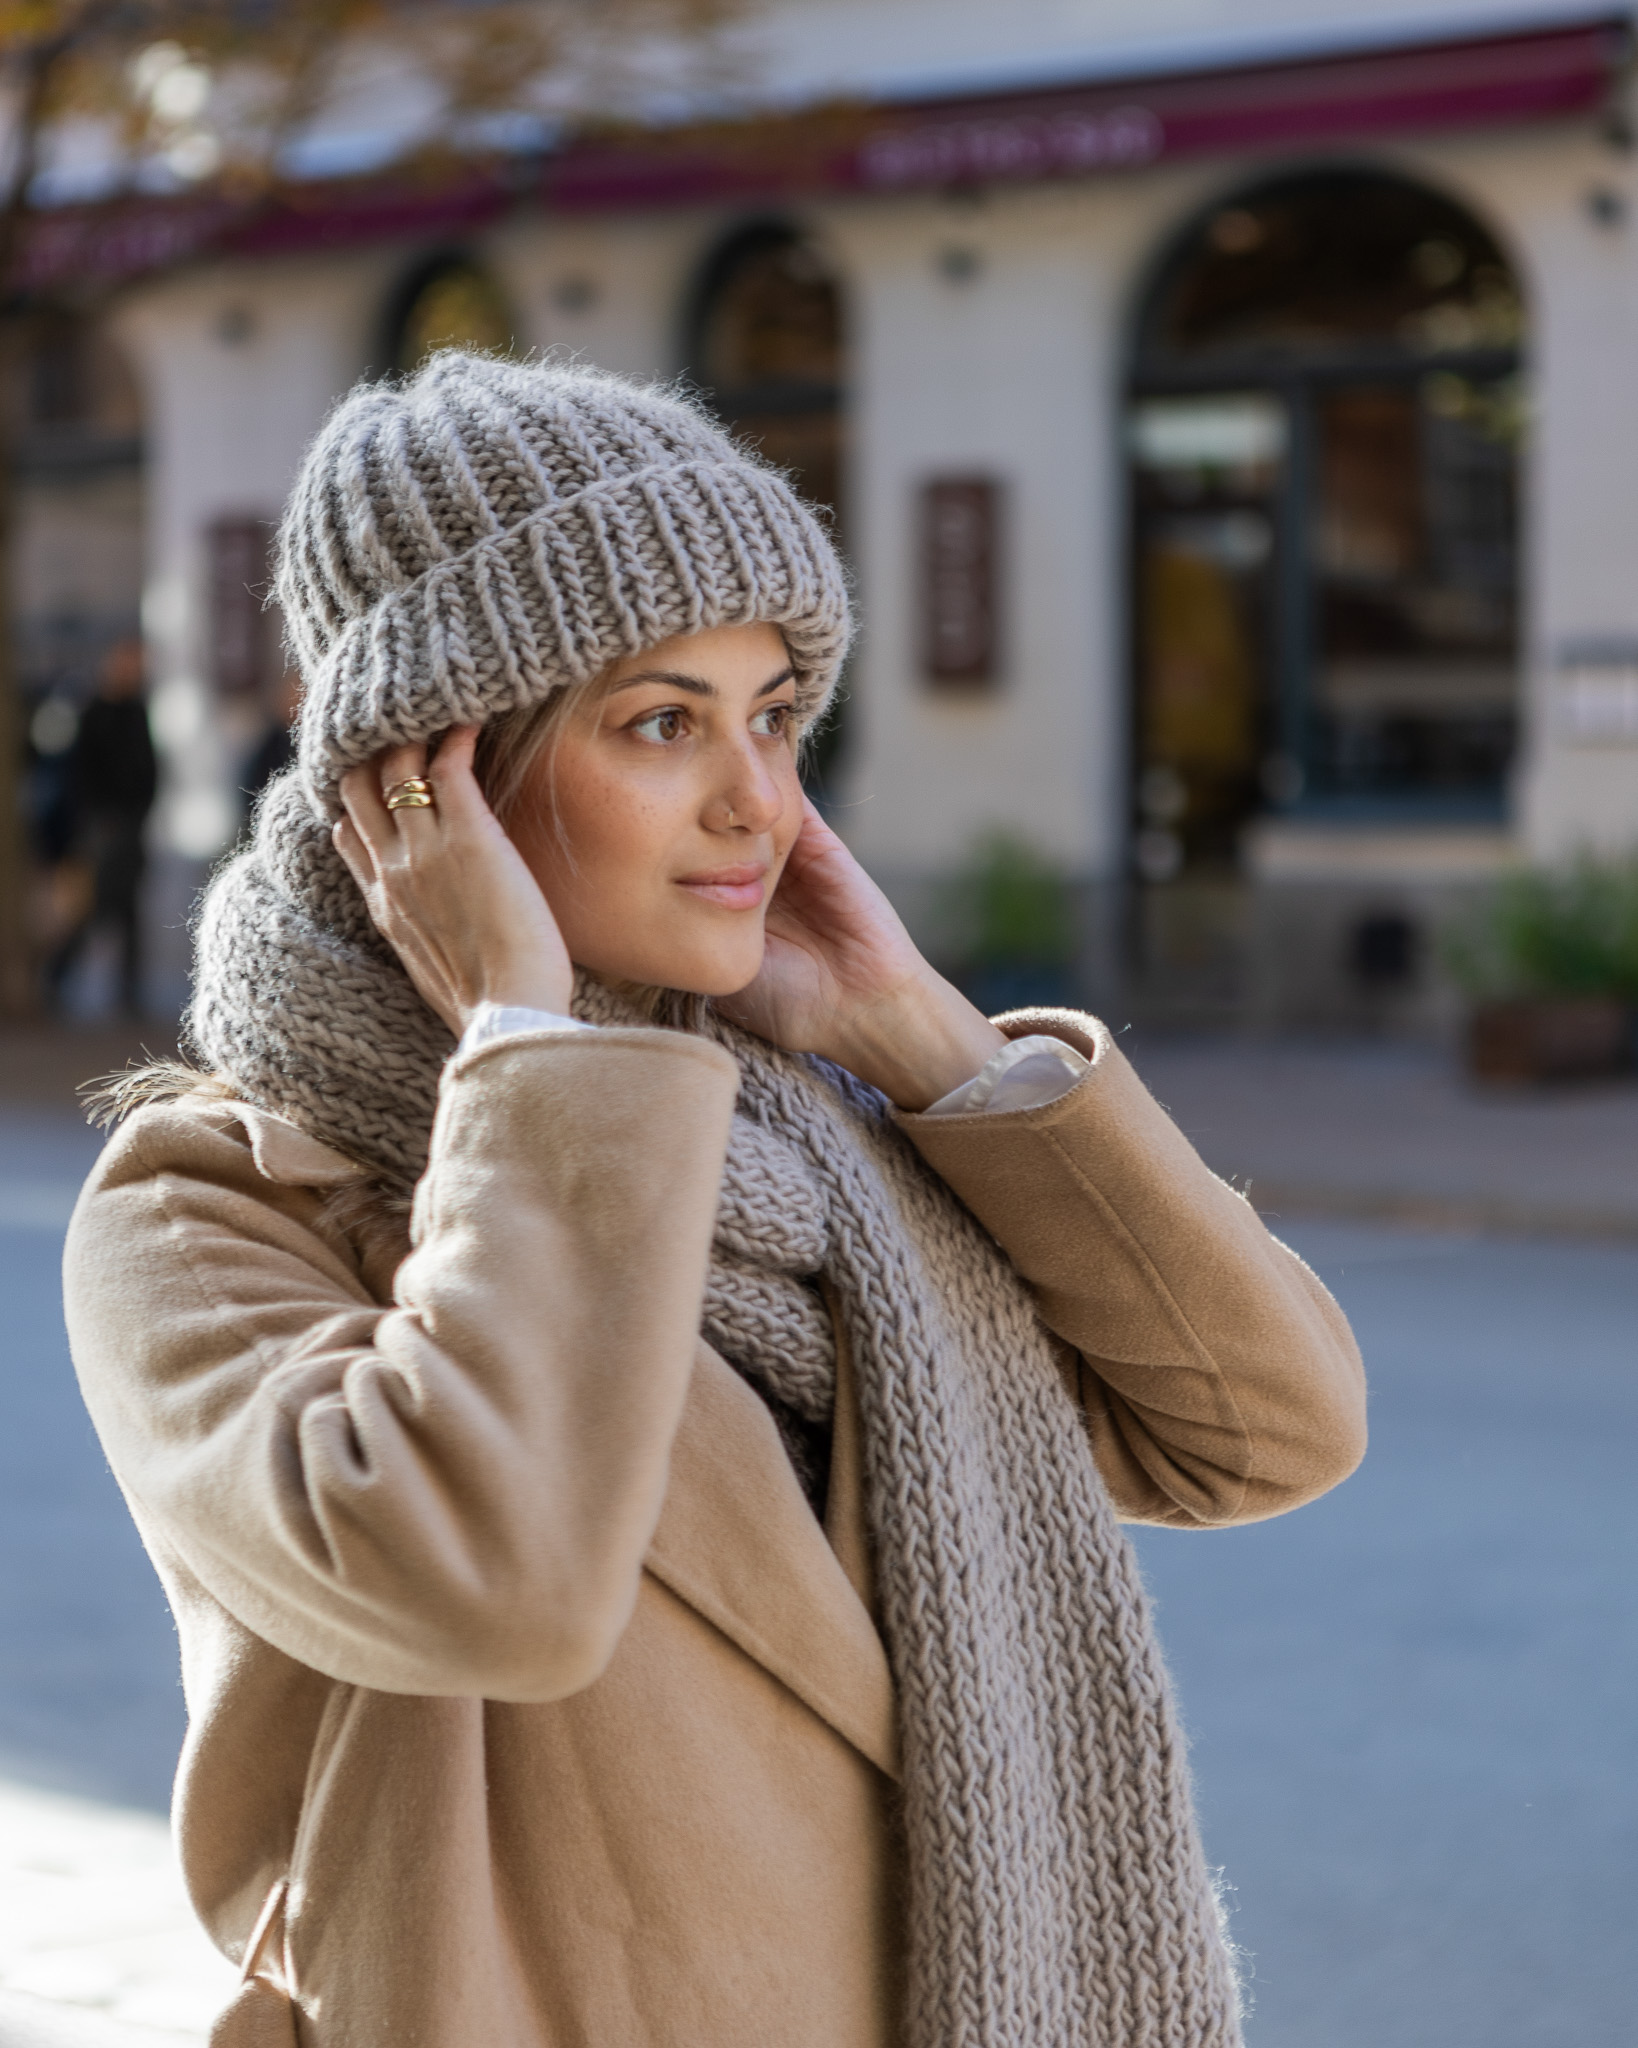
Knitted beanie "Magda"
Knit a warm and cozy beanie in Chunky wool!
Getting started with knitting? Learn how to knit a cozy beanie with us! This tutorial is beginner-friendly and features a full-length video where our creator shows every step of the entire instruction. You will need Chunky Wool and MYO's 10mm circular needles (40cm) for the project. The colorway in the picture is “Warm Gray”.
Yarn consumption: 1,5-2 skeins (150g-200g)

Here's how to do it
Sizing: I have created this instruction based on my own hat size, which is 54 cm. To achieve this beanie with a folded rim I went with 54 stitches and 36 rows. When adjusting the size to yourself, make sure to keep the stitch number even, as the beanie is worked in knit 1, purl 1 rib. I have not included a sizing chart, it all comes down to how baggy or snug you want your beanie. The rib knit is quite stretchy, try sizing up or down with 4 stitches at a time to vary the size, and try your beanie on as you go. I hope you like it! /Rebecca

This is what you need:
Here you can directly purchase the material for the product. Please note that the instruction is digital and appears here on the page (no written instruction).


.jpg)
Unleash your creativity
For only 85kr per month you get access to all our 300+ beginner-friendly instructions for crochet, knitting and macrame.
A perfect way to get started with your new hobby!

Step 1
Start off by determining where to place the slip knot, in order to have a suitable amount of yarn tail to cast on. Rule of thumb: multiply the width of your work (here it's 54 cm) by 2,5 or 3.
An easy way to do this is to wrap the yarn around your head once, where the rim of the beanie would go. Pull out yarn to 2,5 or 3 times that length and make a slipknot: make a loop around your fingers, pull the working yarn through an let the fingerloop tighten around it, creating a new loop.


Put the slip knot on your needle in order to cast on, keeping in mind there needs to be an even number of stitches.
- Hold the needle in your dominant hand, with the end tail of the yarn towards you and the working yarn away from you.
- Hold the yarn with your other hand. Place the working yarn between index and middle fingers, wrap the tail over your thumb and grip both yarn ends firmly in your palm.
- Insert the needle in the thumb loop from below, then raise the needle to grab the yarn on your index finger from above, pull it through the thumb loop and pull the tail slightly to tighten.
- Repeat until you have your preferred amount of stitches on the needle. The slip knot counts as the first stitch.


Step 2
Join the chain of stitches together to start knitting in the round. Here it's shown from a right-handed person's perspective.
- Start by casting on one extra stitch.
- Make sure all your stitches are in order and nothing is twisted. To make things easy, make sure all the "knots" are in line on the inside of the needle and all the "loops" on the outside.
- Move the first stitch on the left needle on to the right needle. Put the left needle into the second stitch on the right needle. Lift it over the first stitch and drop it off the end of the right needle altogether.
- Place a stitch marker here, e.g. a ring or a safety pin, to mark the beginning of the round.


Step 3
Time to knit! You are knitting a 1x1 rib, which means every other stitch is knitted, and every other is purled.
Round 1:
Start with a knit stitch:
- Keep the working yarn on the back of your work.
- Insert the right needle in the first stitch on the left needle.
- Wrap the working yarn around the right needle and pull it through the stitch to form a loop.
- Release the stitch from the left needle, the loop aka the new stitch stays on the right needle.
Continue with a purl stitch:
- Keep the working yarn in front of your work.
- Insert the right needle in the first stitch on the left needle.
- Put the working yarn behind the right needle and let the right needle pull it through the stitch to form a loop.
- Release the stitch from the left needle, the loop aka the new stitch stays on the right needle.
Repeat 1 knit, 1 purl to the end of the round.
Round 2 and the rest:
Repeat round 1, making sure you always knit a knit stitch in a knit stitch and purl in a purl stitch, i.e. always start the round with a knit stitch.
Knit as many rounds as you like to achieve the beanie of your dreams. If you want a folded brim, try your work on as you go to see how wide you want the fold to be. No need to make final decisions at this point.
Step 4 : Joining yarn ends
Did you run out of yarn? Here's an easy way to join the next skein to your work.
- Take yarn end 1 and tie it in a tight knot around yarn end 2.
- Repeat the other way around.
- Pull the working end of both yarns to slide the knots tightly next to each other.
- Cut the tails and keep knitting.


Step 5
When you have reached the desired height of your beanie, it's time to finish off the top. Use a crochet hook or darning needle in a size that suits the yarn.
- Start by cutting the yarn, leave a tail of 20-25 cm.
- Pull the tail through all your live stitches with the help of your needle or hook.
- Finish off by pulling all the stitches snugly together in the middle, fasten by tying the tail in a knot through one of the stitches.
- Cut the tail a little bit shorter and hide it by weaving it in through some stitches of your work.
If you haven't already, you can now weave in the tail from the slip knot in the beginning of your work in the same way.
Finished, well done!


Beanie "Magda"
Yarn: MYO CHUNKY WOOL
Needles: 10 mm circular needles (40 cm)
Gauge: Not critical
Yarn required: 150–200 g (approx. 1.5–2 skeins)
Instructions
CO an even number of sts using long-tail cast-on (e.g., 44–48 sts depending on head size).
Join in the round, being careful not to twist sts. PM for BOR.
Rnd 1: K1, P1 around.
Repeat Rnd 1 to work in 1x1 rib until piece measures approx. 25–30 cm or desired height.
For folded brim, try on as you go and adjust length accordingly.
Break yarn, leaving a 20–25 cm tail.
With tapestry needle or crochet hook, thread tail through all live sts.
Pull tight to close top and secure with a knot.
Weave in all ends.
Optional: Use a double knot to join skeins mid-project and trim closely, or use Russian join/spit splice as preferred.
The rights to this pattern belong to MYO Make Your Own. The pattern or its pictures may not be copied, shared or resold either in parts or in its entirety, but you may sell items you have crocheted from this pattern. If you have questions about the pattern, contact MYO at hello@makeyourown.se.
Step 1
Start off by determining where to place the slip knot, in order to have a suitable amount of yarn tail to cast on. Rule of thumb: multiply the width of your work (here it's 54 cm) by 2,5 or 3.
An easy way to do this is to wrap the yarn around your head once, where the rim of the beanie would go. Pull out yarn to 2,5 or 3 times that length and make a slipknot: make a loop around your fingers, pull the working yarn through an let the fingerloop tighten around it, creating a new loop.
Put the slip knot on your needle in order to cast on, keeping in mind there needs to be an even number of stitches.
- Hold the needle in your dominant hand, with the end tail of the yarn towards you and the working yarn away from you.
- Hold the yarn with your other hand. Place the working yarn between index and middle fingers, wrap the tail over your thumb and grip both yarn ends firmly in your palm.
- Insert the needle in the thumb loop from below, then raise the needle to grab the yarn on your index finger from above, pull it through the thumb loop and pull the tail slightly to tighten.
- Repeat until you have your preferred amount of stitches on the needle. The slip knot counts as the first stitch.
Step 2
Join the chain of stitches together to start knitting in the round. Here it's shown from a right-handed person's perspective.
- Start by casting on one extra stitch.
- Make sure all your stitches are in order and nothing is twisted. To make things easy, make sure all the "knots" are in line on the inside of the needle and all the "loops" on the outside.
- Move the first stitch on the left needle on to the right needle. Put the left needle into the second stitch on the right needle. Lift it over the first stitch and drop it off the end of the right needle altogether.
- Place a stitch marker here, e.g. a ring or a safety pin, to mark the beginning of the round.
Step 3
Time to knit! You are knitting a 1x1 rib, which means every other stitch is knitted, and every other is purled.
Round 1:
Start with a knit stitch:
- Keep the working yarn on the back of your work.
- Insert the right needle in the first stitch on the left needle.
- Wrap the working yarn around the right needle and pull it through the stitch to form a loop.
- Release the stitch from the left needle, the loop aka the new stitch stays on the right needle.
Continue with a purl stitch:
- Keep the working yarn in front of your work.
- Insert the right needle in the first stitch on the left needle.
- Put the working yarn behind the right needle and let the right needle pull it through the stitch to form a loop.
- Release the stitch from the left needle, the loop aka the new stitch stays on the right needle.
Repeat 1 knit, 1 purl to the end of the round.
Round 2 and the rest:
Repeat round 1, making sure you always knit a knit stitch in a knit stitch and purl in a purl stitch, i.e. always start the round with a knit stitch.
Knit as many rounds as you like to achieve the beanie of your dreams. If you want a folded brim, try your work on as you go to see how wide you want the fold to be. No need to make final decisions at this point.
Step 4 : Joining yarn ends
Did you run out of yarn? Here's an easy way to join the next skein to your work.
- Take yarn end 1 and tie it in a tight knot around yarn end 2.
- Repeat the other way around.
- Pull the working end of both yarns to slide the knots tightly next to each other.
- Cut the tails and keep knitting.
Step 5
When you have reached the desired height of your beanie, it's time to finish off the top. Use a crochet hook or darning needle in a size that suits the yarn.
- Start by cutting the yarn, leave a tail of 20-25 cm.
- Pull the tail through all your live stitches with the help of your needle or hook.
- Finish off by pulling all the stitches snugly together in the middle, fasten by tying the tail in a knot through one of the stitches.
- Cut the tail a little bit shorter and hide it by weaving it in through some stitches of your work.
If you haven't already, you can now weave in the tail from the slip knot in the beginning of your work in the same way.
Finished, well done!
Beanie "Magda"
Yarn: MYO CHUNKY WOOL
Needles: 10 mm circular needles (40 cm)
Gauge: Not critical
Yarn required: 150–200 g (approx. 1.5–2 skeins)
Instructions
CO an even number of sts using long-tail cast-on (e.g., 44–48 sts depending on head size).
Join in the round, being careful not to twist sts. PM for BOR.
Rnd 1: K1, P1 around.
Repeat Rnd 1 to work in 1x1 rib until piece measures approx. 25–30 cm or desired height.
For folded brim, try on as you go and adjust length accordingly.
Break yarn, leaving a 20–25 cm tail.
With tapestry needle or crochet hook, thread tail through all live sts.
Pull tight to close top and secure with a knot.
Weave in all ends.
Optional: Use a double knot to join skeins mid-project and trim closely, or use Russian join/spit splice as preferred.
The rights to this pattern belong to MYO Make Your Own. The pattern or its pictures may not be copied, shared or resold either in parts or in its entirety, but you may sell items you have crocheted from this pattern. If you have questions about the pattern, contact MYO at hello@makeyourown.se.


Share your creations with us
Thank you!
Your comment was sent!