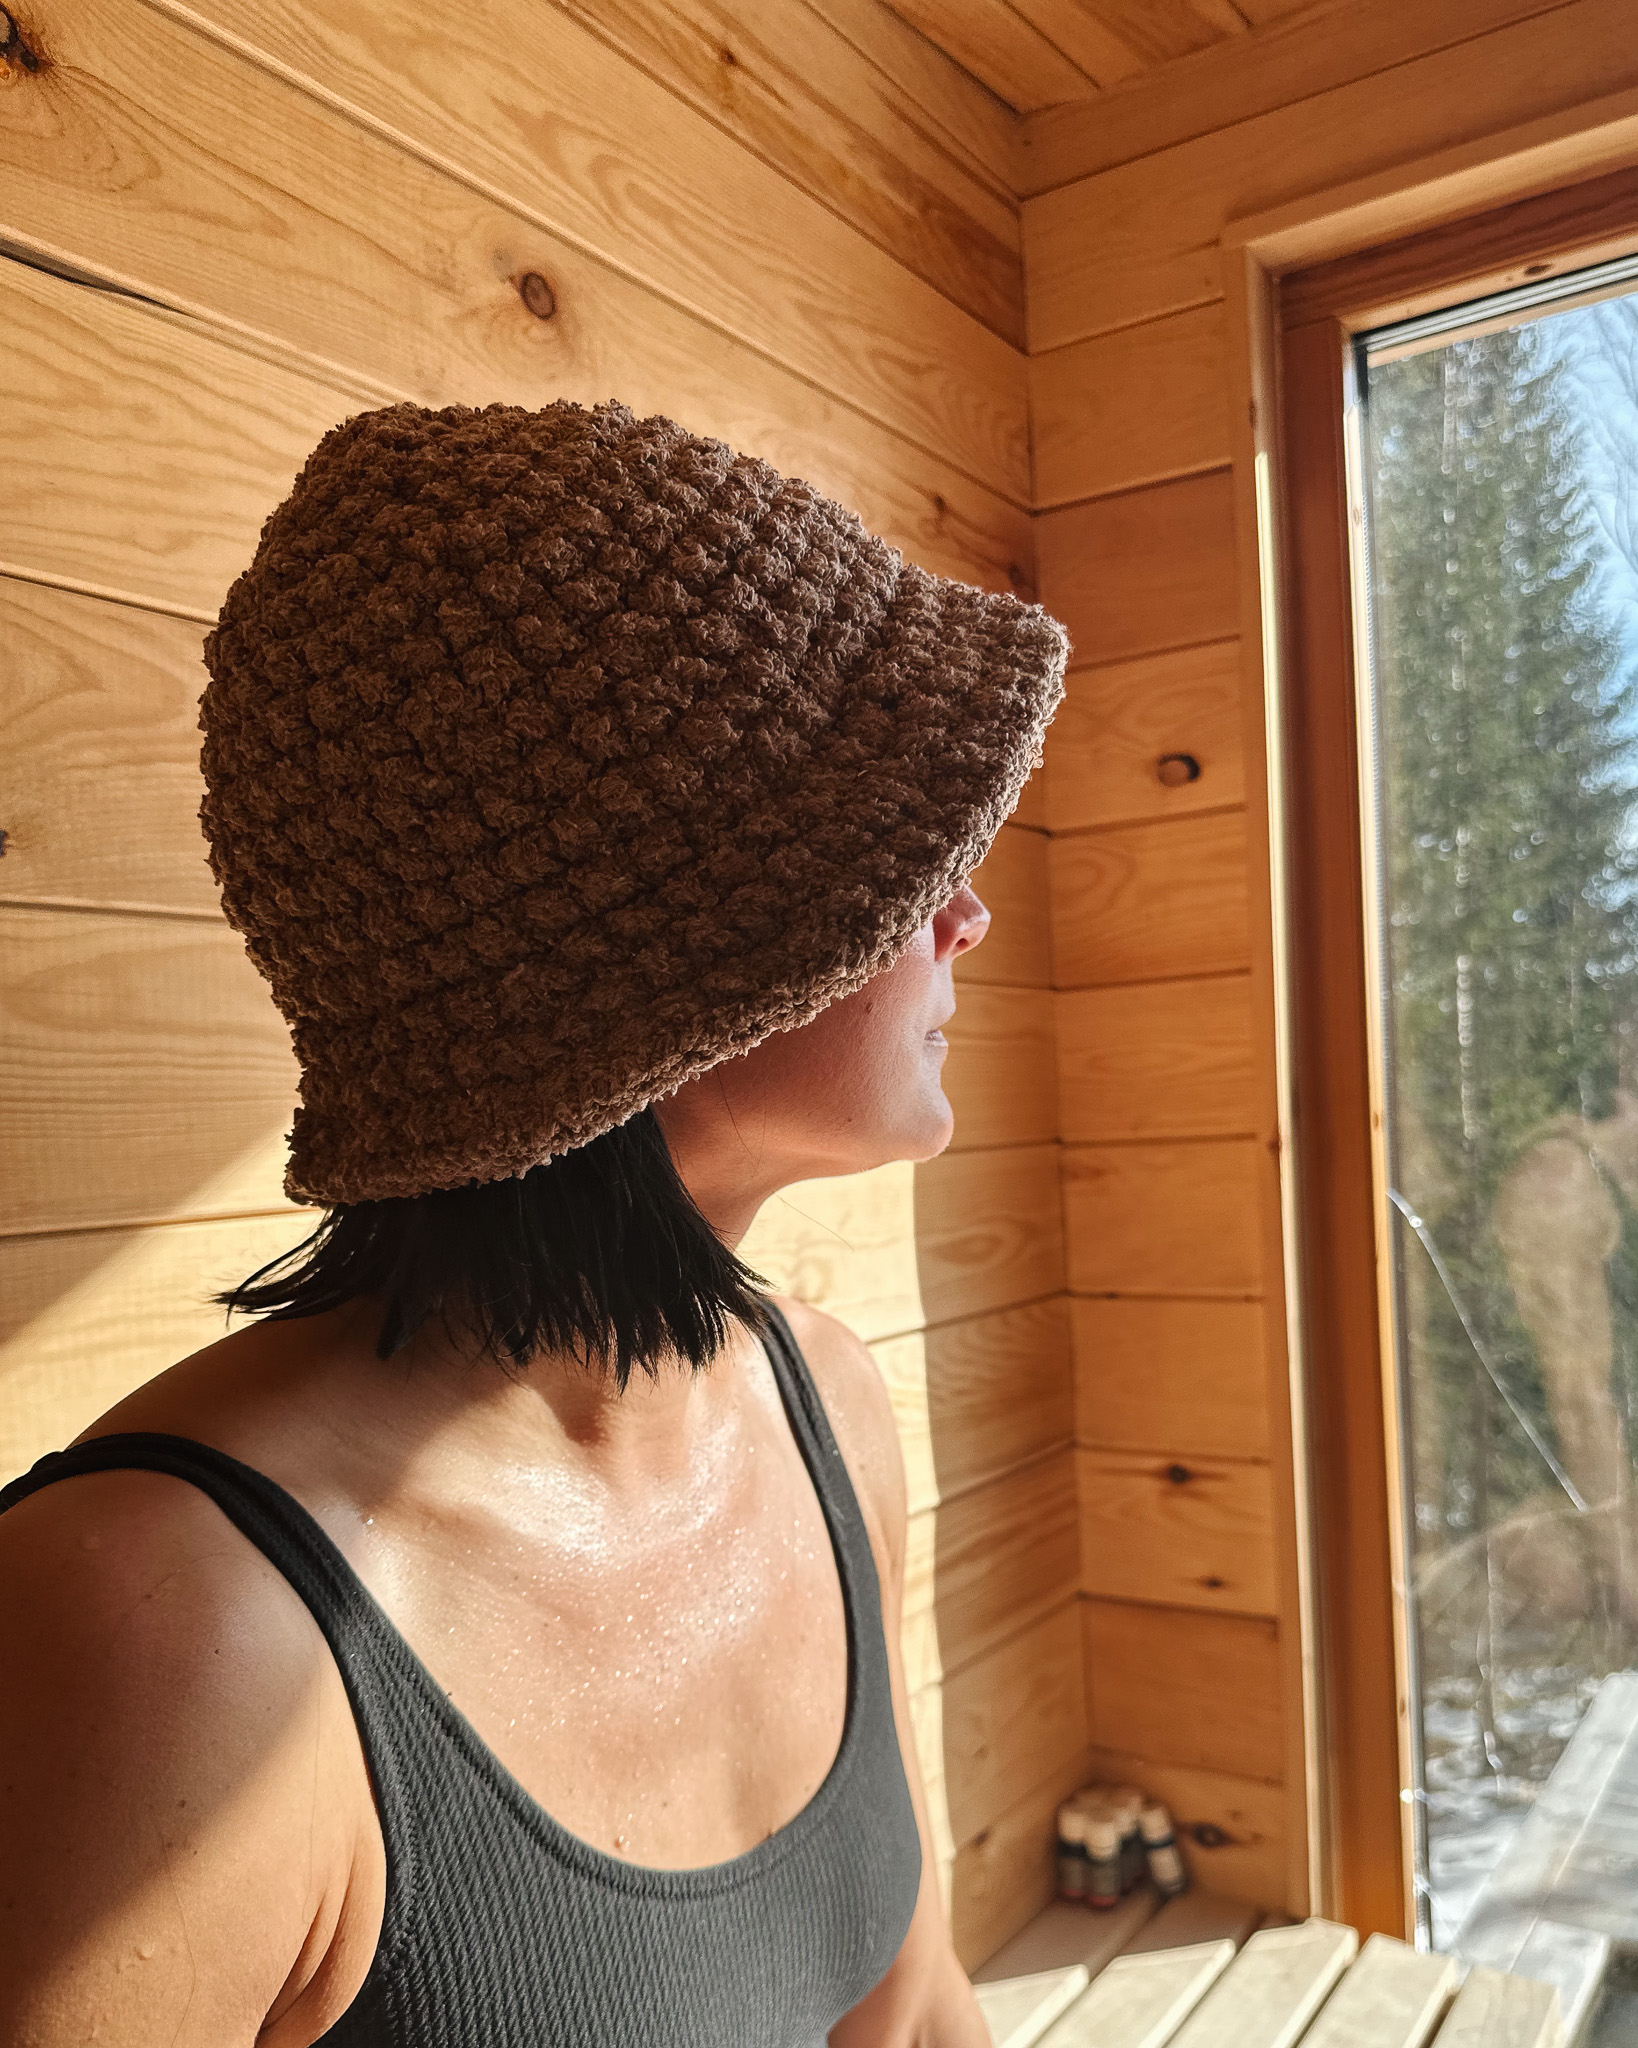
Sauna hat “KAJ"
Crochet a stylish hat from recycled cotton yarn
In this instruction, we will teach you how to crochet your own sauna hat! Esta instrucción contiene Step-by-step pattern with size guide and is adapted for beginners. Instruktion a hat is a modification of our bucket hat “Amanda” where we have simply changed the yarn to terry yarn. Read the description below before you get started so you know what you need to keep in mind to get the hat to the right size.
Yarn Access: About 300-400 g

This is what you need:
Here you can directly purchase the material for the product. Please note that the instruction is digital and appears here on the page (no written instruction).

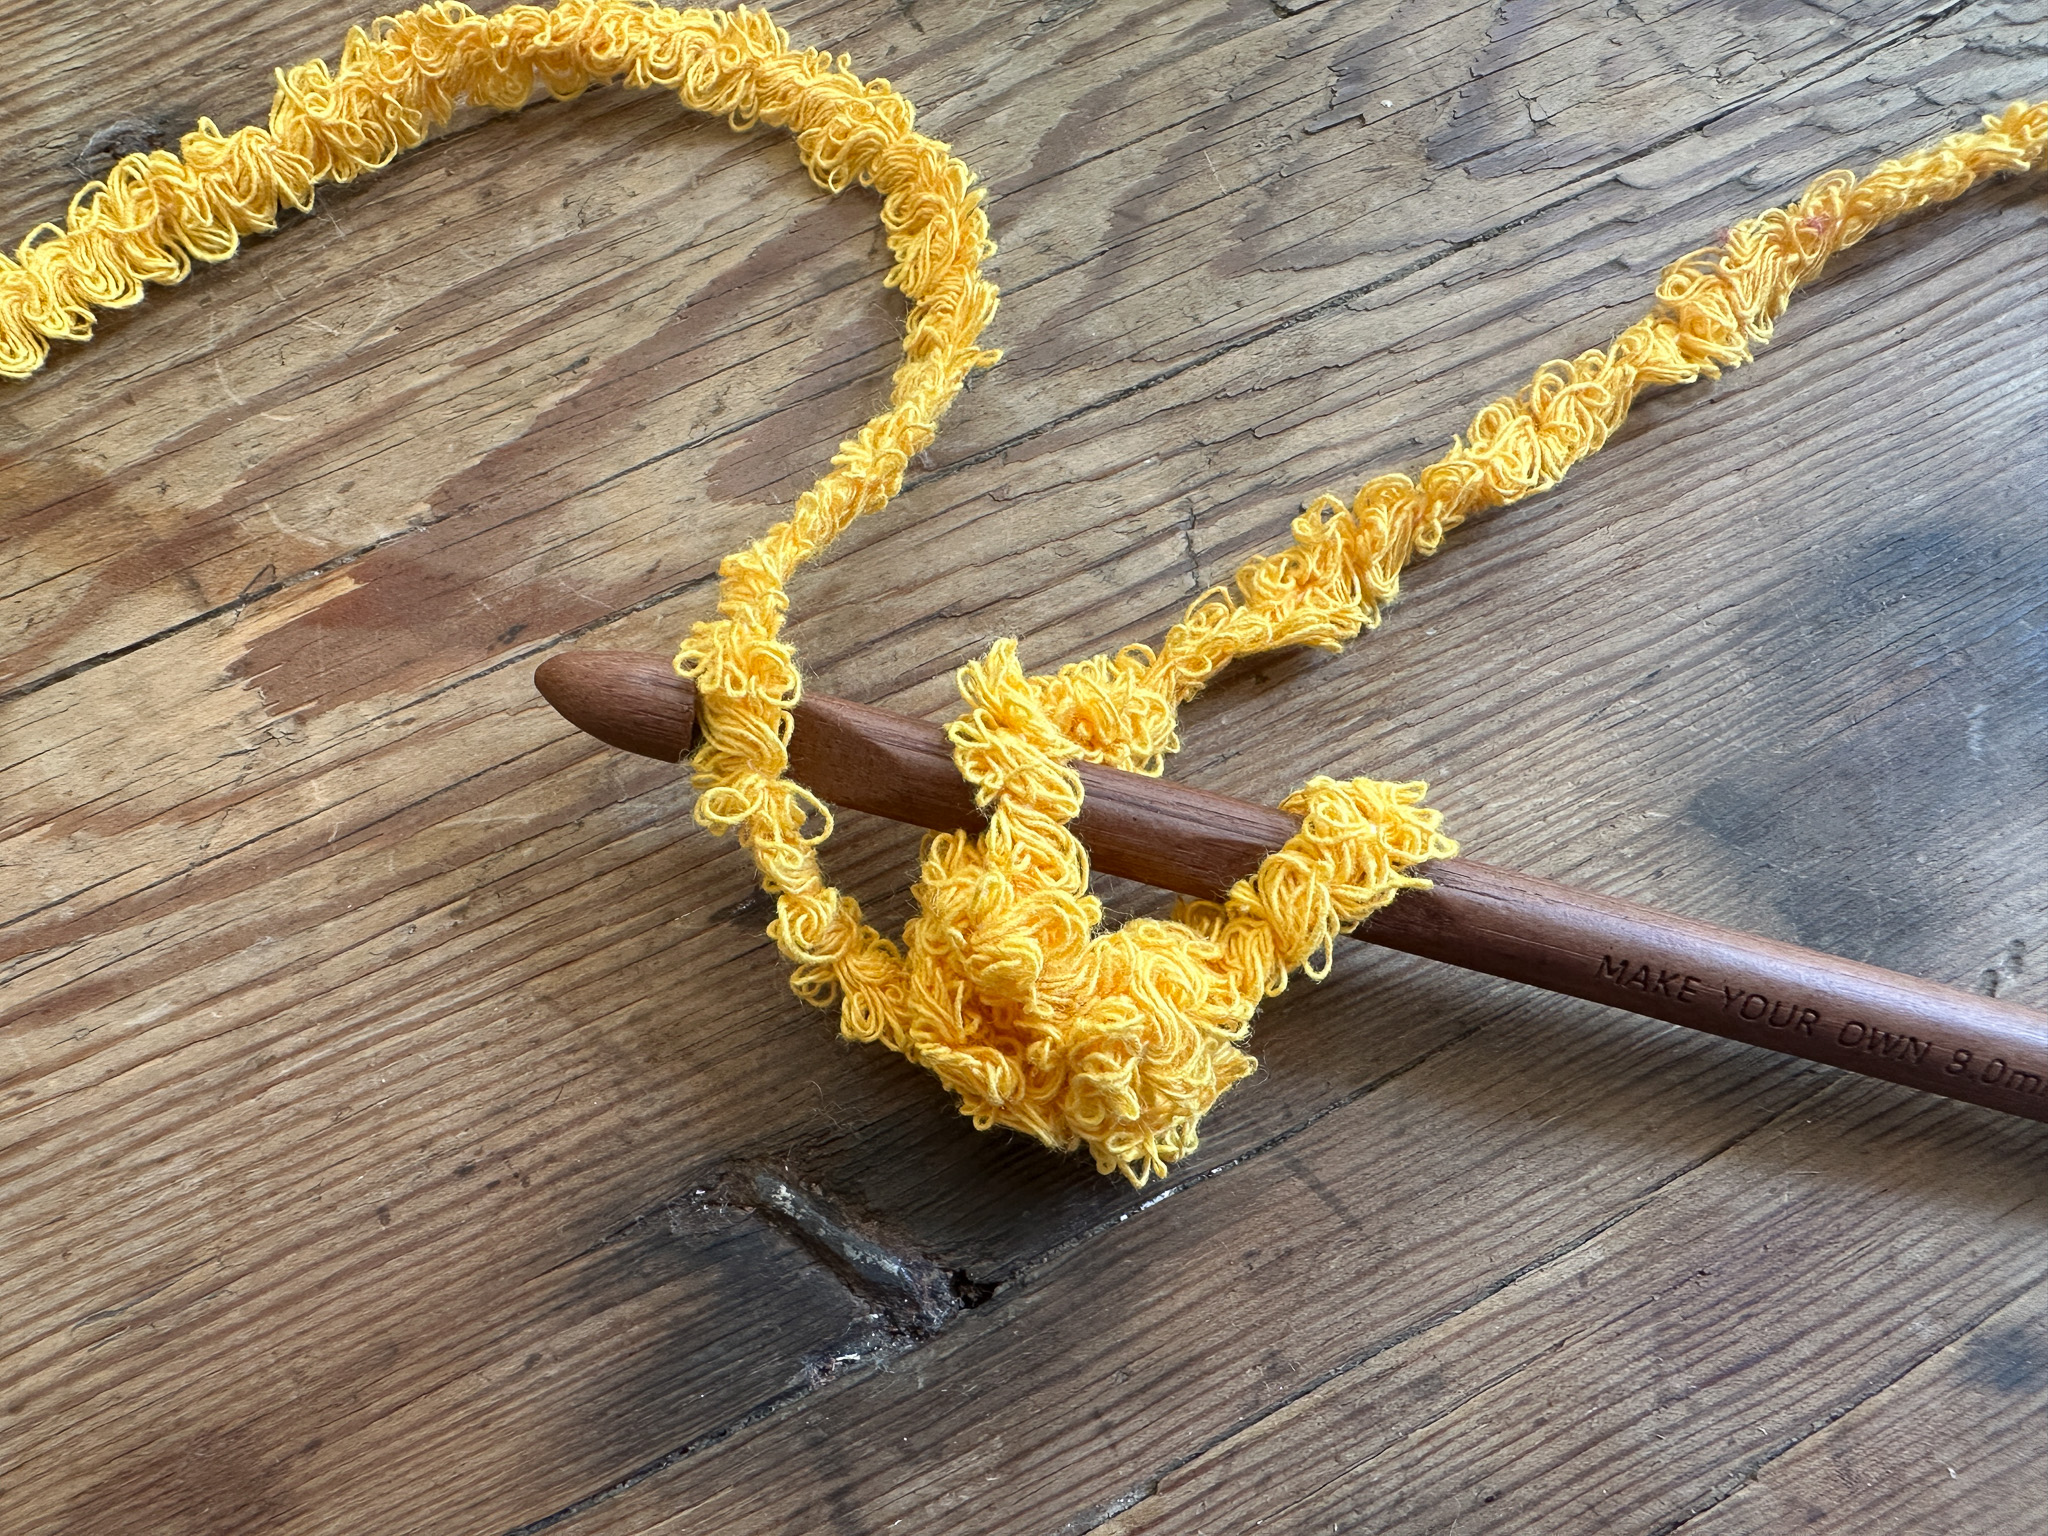
EKO Froté Craft yarn | 1200g
A soft and lovely terry yarn that is ideal for crocheting, knitting or weaving carpets and towels
Buy product
Here's how to do it
Instruktion a hat is a modification of our bucket hat “Amanda” where we have simply changed the yarn to a slightly thicker terry yarn. Keep in mind that the number of increments may differ slightly from the original instruction because the yarn is thicker - you just have to feel your way! Seeing the stitches can be a bit tricky, but because of the fluffy yarn, small “mistakes” will not be visible - just test yourself.:)

1st start
Start by making a simple drawknot crochet hook. One way you can do this is to wrap the yarn around your index and middle finger and then pull the yarn up so that the knot locks when you tighten.
Leave about 15cm tail.

2. The Chain
We will now make a chain of 3 air meshes. Adjust the loop you just made around your crochet hook so it is tight around the crochet hook. Now we will start to crochet the chain, using the crochet hook and catch the yarn with the end that comes from the yarn roll (you temporarily have 2 loops on the crochet hook) and pull through so a loop is formed (first loop). Do this until you have 3 loops on the crochet hook. Now you should crochet together your first and last stitch, this will be the top of the hat.

3. Top of the hat
Now we assemble the chain into a small “ring” that you will crochet around to make the hat grow in size, inside and out. In the beginning it looks like this:


Now crochet around until you have the diameter you want - follow below increments to get a good increase. Keep track of your laps by putting a safety pin at the start of each round.
Round 1: Increase single stitch in each stitch = crochet a double stitch in each stitch
Round 2: Increase single stitch in each stitch = crochet a double stitch in each stitch
Round 3: 1 single stitch, 1 increase = every second stitch single, every other stitch double
Round 4: 2 single stitches, 1 increase = make a single stitch in 2 stitches, in the third do double.
Round 5:: 3 single stitches, 1 increase
After the 5th round- check the dimensions of your head. If you need a bigger cap, do another row or two before continuing with lap 11.
Extra round 1: 4 single stitches, 1 increase
Extra round 2: 5 single stitches, 1 increase
Extra round 3: 6 single stitches, 1 increase
4. Side of the hat
Single stitches only - no increases. This will create the side of the hat.
5. Brim
Look at the stitches, they consist of two rows. Het is het eerste mesh arch, en het onderstaande mesh arch is het hind mesh arch. Crochet this row in only front mesh arch. Crochet 4 single stitches, increase 1 stitch
Round 2: 6 simple stitches, increase 1 stitch
Continue with simple stitches until you have the width of the brim you want!
6. Closing
Finish by cutting off the yarn, leaving a 5-10 cm tail. Tie the remaining tail in a knot around the last loop to prevent it from going up. Tighten and hide the tail by fastening it through a few neighboring loops. Do the same on the tail that was left from the start (if you have not already crocheted it so it is hidden).
Now the hat is ready! :)
Abbreviations
st = stitch
sc = single crochet (sc)
ch = chain stitch (ch)
inc = two stitches in the same stitch
flo = front loop only
*...* = Repeat everything within the asterisks the number of times specified
Now we’re going to crochet a lovely sauna hat! If you need help along the way, check out our simplified version of this pattern. In this case, there are no pictures to guide you, so we refer you to the full video tutorial for this pattern.
Pattern
Crochet sc into a magic ring (MR), make as many as needed.
Round 1: inc in every st
Round 2: inc in every st
Round 3: *1 sc, inc* repeat around
Round 4: *2 sc, inc* repeat around
Round 5: *3 sc, inc* repeat around
After Round 5 – check the size against your head. If you need a larger hat, crochet one or two additional rounds before continuing to Round 11.
Extra Round 1: *3 sc, inc* repeat around
Extra Round 2: *4 sc, inc* repeat around
Extra Round 3: *5 sc, inc* repeat around
Sides of the Hat
Round 1 and onward: Crochet 1 sc in each stitch.
Continue crocheting until you are satisfied with the height of the hat.
Brim
Round 1: *4 sc, inc* in flo repeat around
Round 2: *6 sc, inc* repeat around
Round 3 and onward: 1 sc in each stitch
Continue each round with one sc in each stitch until you reach the desired brim width.
You’re done! Hope you’re happy with your sauna hat :)
1st start
Start by making a simple drawknot crochet hook. One way you can do this is to wrap the yarn around your index and middle finger and then pull the yarn up so that the knot locks when you tighten.
Leave about 15cm tail.

2. The Chain
We will now make a chain of 3 air meshes. Adjust the loop you just made around your crochet hook so it is tight around the crochet hook. Now we will start to crochet the chain, using the crochet hook and catch the yarn with the end that comes from the yarn roll (you temporarily have 2 loops on the crochet hook) and pull through so a loop is formed (first loop). Do this until you have 3 loops on the crochet hook. Now you should crochet together your first and last stitch, this will be the top of the hat.

3. Top of the hat
Now we assemble the chain into a small “ring” that you will crochet around to make the hat grow in size, inside and out. In the beginning it looks like this:


Now crochet around until you have the diameter you want - follow below increments to get a good increase. Keep track of your laps by putting a safety pin at the start of each round.
Round 1: Increase single stitch in each stitch = crochet a double stitch in each stitch
Round 2: Increase single stitch in each stitch = crochet a double stitch in each stitch
Round 3: 1 single stitch, 1 increase = every second stitch single, every other stitch double
Round 4: 2 single stitches, 1 increase = make a single stitch in 2 stitches, in the third do double.
Round 5:: 3 single stitches, 1 increase
After the 5th round- check the dimensions of your head. If you need a bigger cap, do another row or two before continuing with lap 11.
Extra round 1: 4 single stitches, 1 increase
Extra round 2: 5 single stitches, 1 increase
Extra round 3: 6 single stitches, 1 increase
4. Side of the hat
Single stitches only - no increases. This will create the side of the hat.
5. Brim
Look at the stitches, they consist of two rows. Het is het eerste mesh arch, en het onderstaande mesh arch is het hind mesh arch. Crochet this row in only front mesh arch. Crochet 4 single stitches, increase 1 stitch
Round 2: 6 simple stitches, increase 1 stitch
Continue with simple stitches until you have the width of the brim you want!
6. Closing
Finish by cutting off the yarn, leaving a 5-10 cm tail. Tie the remaining tail in a knot around the last loop to prevent it from going up. Tighten and hide the tail by fastening it through a few neighboring loops. Do the same on the tail that was left from the start (if you have not already crocheted it so it is hidden).
Now the hat is ready! :)
Abbreviations
st = stitch
sc = single crochet (sc)
ch = chain stitch (ch)
inc = two stitches in the same stitch
flo = front loop only
*...* = Repeat everything within the asterisks the number of times specified
Now we’re going to crochet a lovely sauna hat! If you need help along the way, check out our simplified version of this pattern. In this case, there are no pictures to guide you, so we refer you to the full video tutorial for this pattern.
Pattern
Crochet sc into a magic ring (MR), make as many as needed.
Round 1: inc in every st
Round 2: inc in every st
Round 3: *1 sc, inc* repeat around
Round 4: *2 sc, inc* repeat around
Round 5: *3 sc, inc* repeat around
After Round 5 – check the size against your head. If you need a larger hat, crochet one or two additional rounds before continuing to Round 11.
Extra Round 1: *3 sc, inc* repeat around
Extra Round 2: *4 sc, inc* repeat around
Extra Round 3: *5 sc, inc* repeat around
Sides of the Hat
Round 1 and onward: Crochet 1 sc in each stitch.
Continue crocheting until you are satisfied with the height of the hat.
Brim
Round 1: *4 sc, inc* in flo repeat around
Round 2: *6 sc, inc* repeat around
Round 3 and onward: 1 sc in each stitch
Continue each round with one sc in each stitch until you reach the desired brim width.
You’re done! Hope you’re happy with your sauna hat :)
The rights to this pattern belong to MYO Make Your Own. The pattern or its pictures may not be copied, shared or resold either in parts or in its entirety, but you may sell items you have crocheted from this pattern. If you have questions about the pattern, contact MYO at hello@makeyourown.se.


.jpg)


%252520(6).webp)


.jpg)
