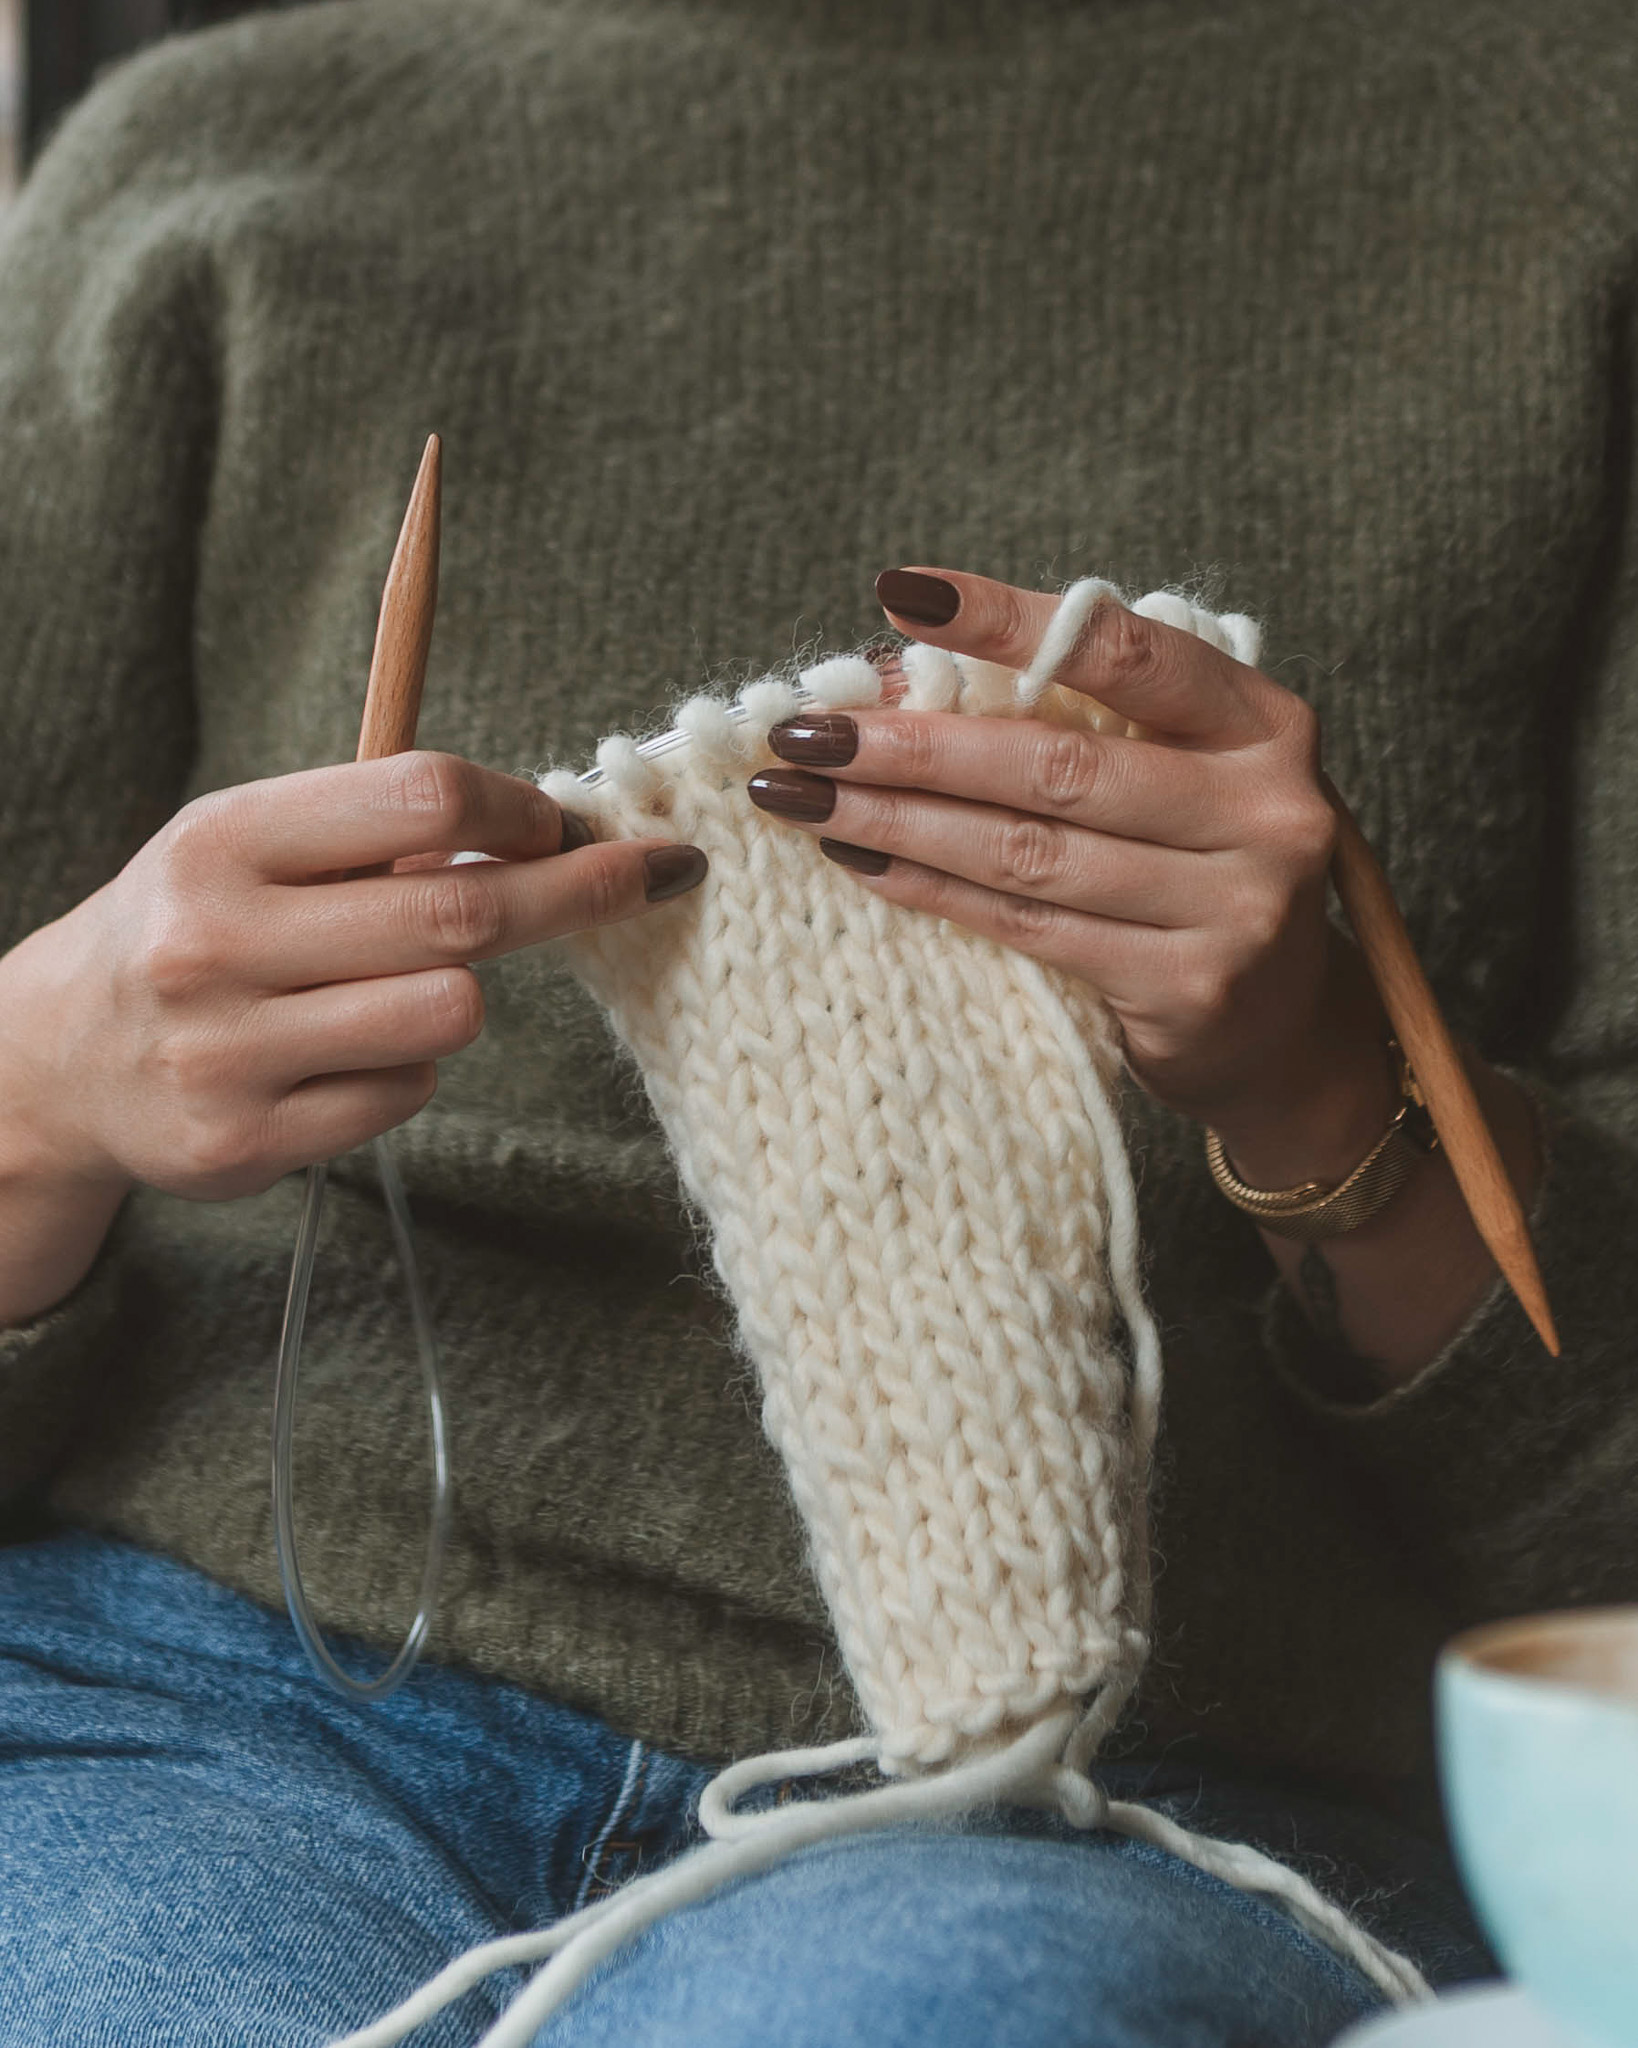
How to read a knitting pattern - a beginner's guide
Are you new to knitting and finding patterns a bit confusing? In our guide, you will learn step-by-step how to read and understand a knitting pattern. We cover common knitting abbreviations, symbols, and terms like stitches, rows, and gauge. With our simple tips, it becomes easier to follow knitting instructions and get started on your next project – even if you have never read a knitting pattern before!
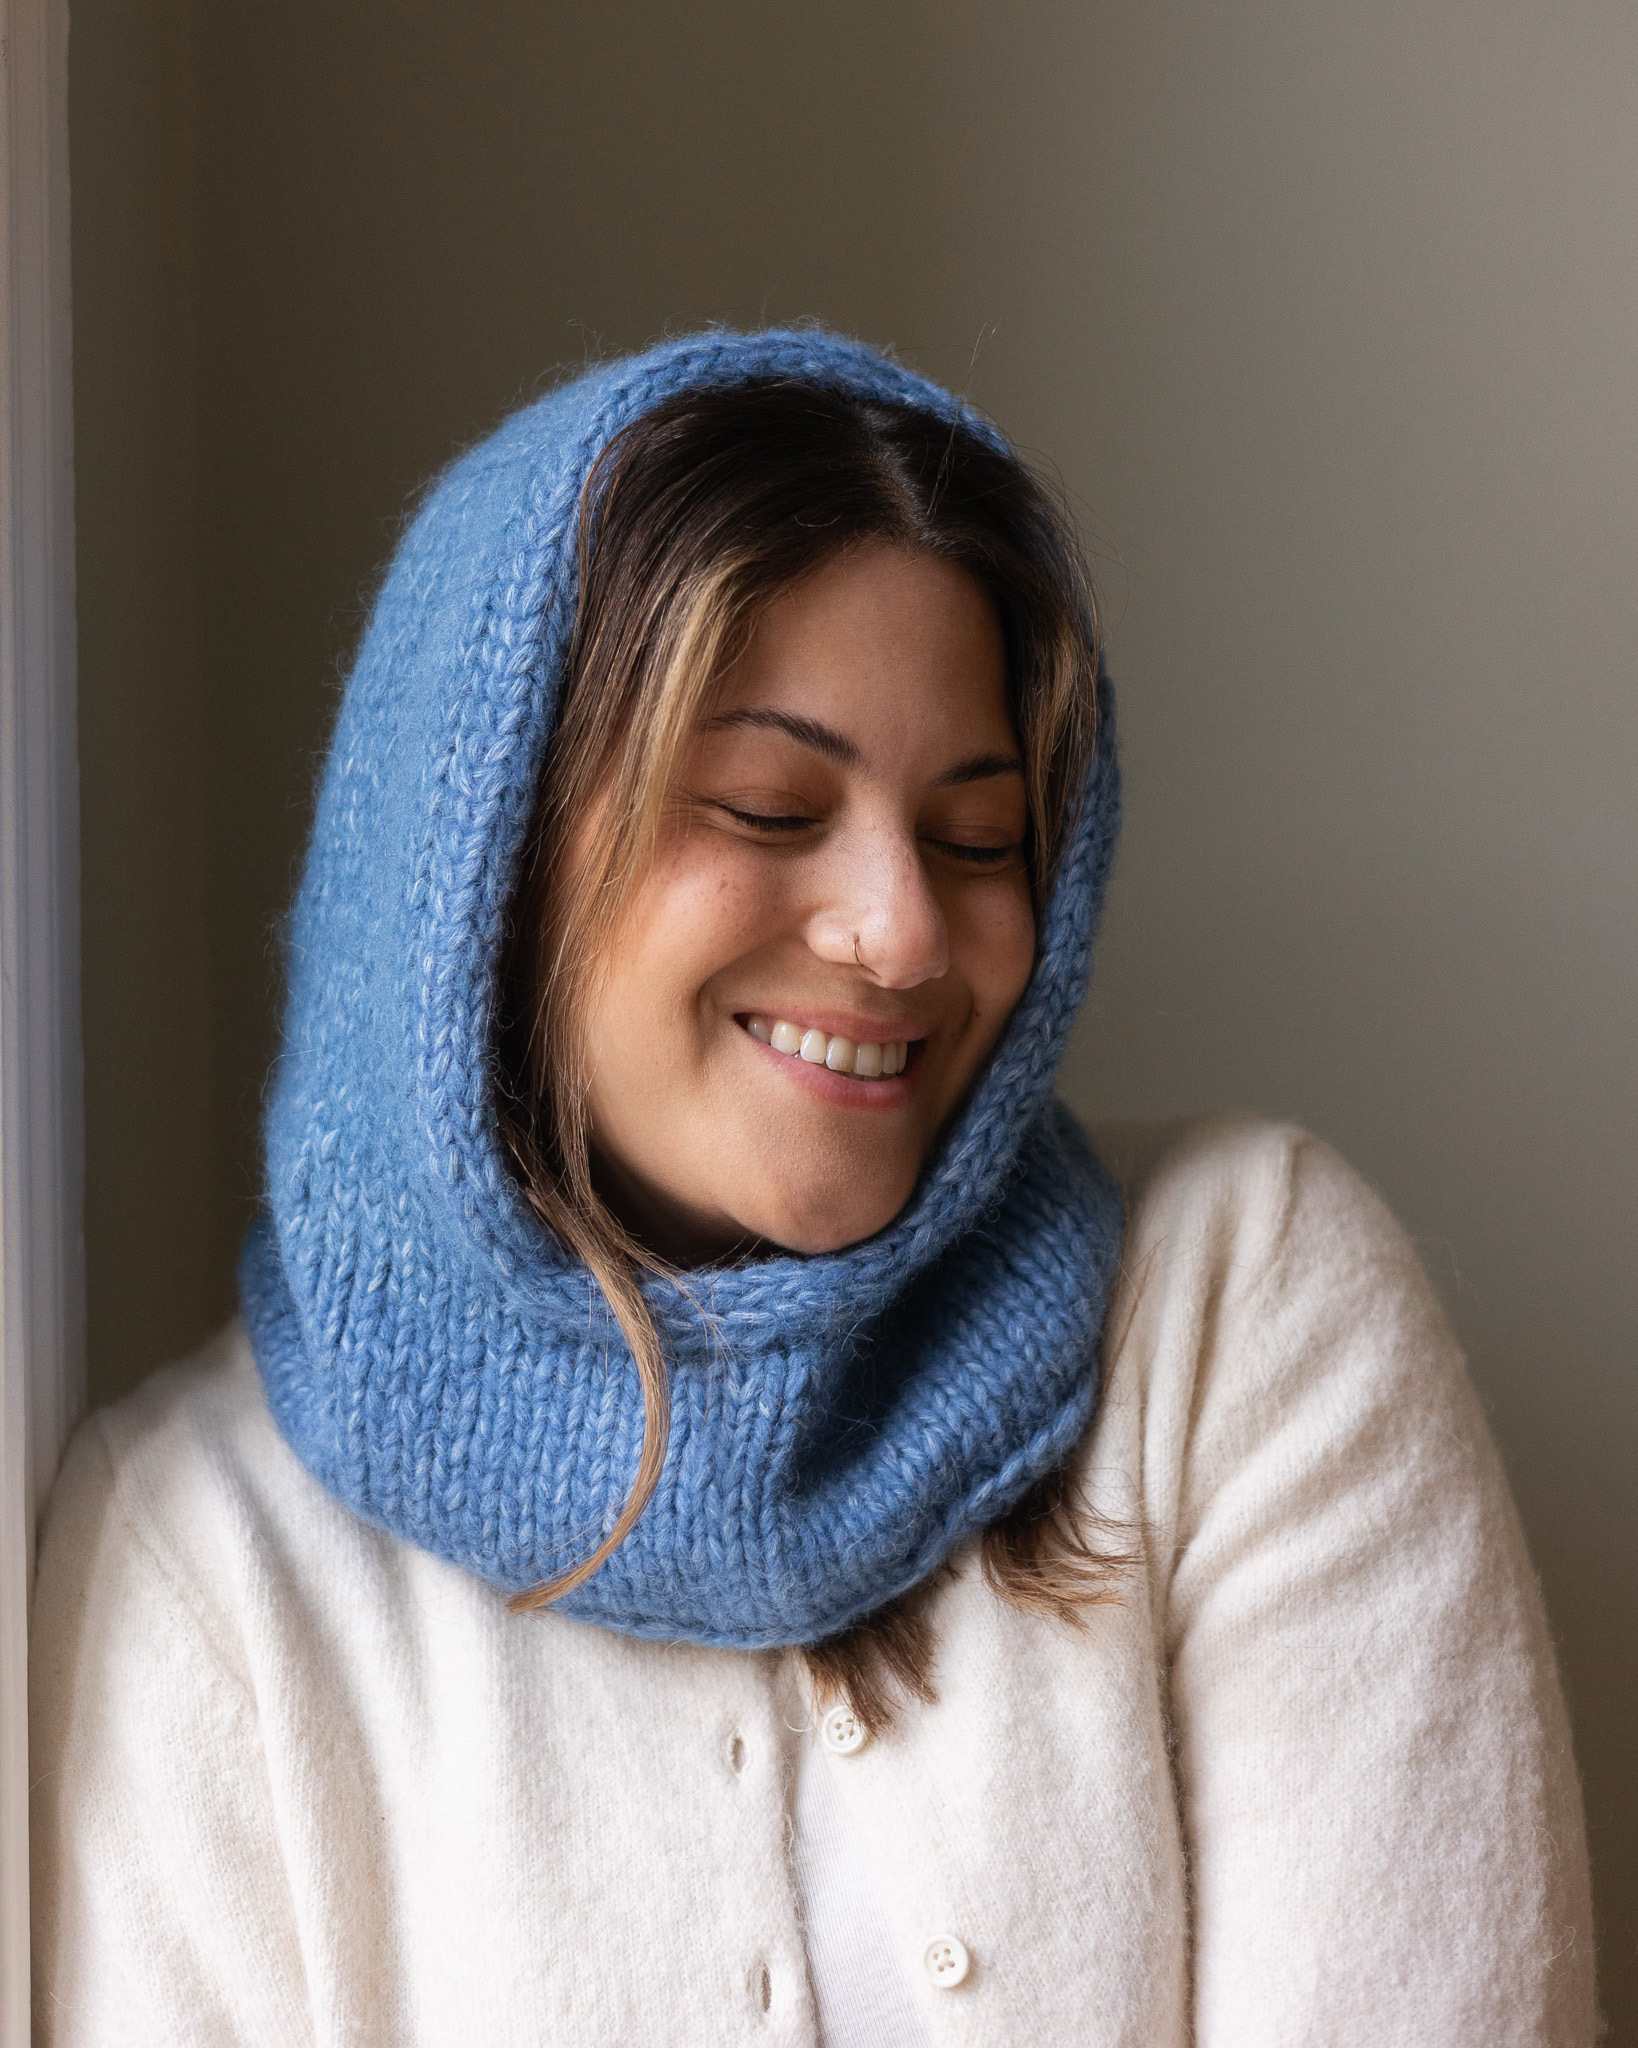
Reading your first knitting pattern can feel like trying to learn an entirely new language. Abbreviations, numbers, parentheses, and instructions—all of which must be interpreted in the correct order. It’s enough to make anyone panic! But a knitting pattern is really just a way of describing all the steps that together create what you are going to knit. Once you learn to recognize the most common parts, it becomes much easier to understand what to do. In this guide, we will go through the basics and look at concrete examples from the “Lisa” knitted balaclava.
Start with the overview
Before you start knitting, it can be helpful to read through the beginning of the pattern. Here you will often find information about:
- recommended yarn
- the needle size you need
- gauge
- which sizes are available
- measurements of the finished garment
- the techniques and accessories required
For “Lisa,” for example, it specifies about 150 grams of MYO Dreamy Blend, a 10 mm circular needle, and two stitch markers. The pattern also specifies a gauge of 10 sts × 17 rows = 10 × 10 cm in stockinette stitch.
You don’t need to learn everything before you start. Think of the overview as a map of the project, and then take the instructions one step at a time.
Read one step at a time
A pattern can look quite dense when you see all the steps at once. Try to think of the project as many different parts that together create a larger whole. This can make the knitting feel less overwhelming. Focus on the row or step you are working on right now.
Read the instruction, do what it says, and then move on. If you have printed the pattern, you can make a small mark on the line you are working on. This makes it easier to find your place if you need to look away from the pattern for a moment.
Right side and wrong side
When knitting back and forth, you turn your work after every row. Therefore, you need to keep track of the right side (RS) and the wrong side (WS).
The right side is the side that should face outward on the finished piece—the “pretty” side—while the wrong side faces inward.
In “Lisa,” for example, it says:
R 1 (WS): p all
R 2 (rs): …
This means that row 1 is worked from the wrong side and row 2 from the right side.
This matters because the instructions may differ depending on which side you are working from.
Back and forth or in the round?
Another important thing is to check how the current part of the work should be knitted. When knitting back and forth, you work in one direction, turn, and work back. You then alternate between the right side and the wrong side. When knitting in the round, you instead continue around the work without turning. You then usually work from the right side the entire time. This affects, among other things, stockinette stitch:
Back and forth: knit stitches on the right side and purl stitches on the wrong side.
In the round: knit stitches on every round. In “Lisa,” the hood and the main body are first knitted back and forth. Later, new stitches are cast on and the work is joined for knitting in the round. Therefore, always read the instructions based on how that specific part should be knitted.
Common abbreviations
Knitting patterns often use abbreviations to keep the instructions concise. Which ones are used can vary between different patterns, so always refer to the list that belongs to your specific pattern.
Some common abbreviations in “Lisa” are:
- k = knit stitch
- p = purl stitch
- st = stitch/stitches
- r = row/round
- RS = right side
- WS = wrong side
- pm = place marker
- rm = remove marker
- BO = bind off
- k2tog tbl = knit 2 stitches together through the back loop
- CO = cast on
- lp = loop
You don't need to memorize them – keep the list handy and look up anything you're unsure about.
Understanding numbers and repeats
Numbers in a knitting pattern can have different meanings. They might tell you how many stitches to cast on, how many times to repeat a step, or how many stitches you should have after a sequence. In "Lisa," for example, the bonnet begins with:
CO 16 sts using the long-tail cast-on.
This means you should cast on 16 stitches.
You will also come across repetitions. For example:*k2, p2* ×5
The asterisks * indicate which part should be repeated. In this case, you knit 2 stitches and purl 2 stitches, then repeat that sequence five times. Sometimes, you might see something like "repeat to the end of the round". In that case, you continue with the step until you have completed the entire round.
Use stitch markers
Stitch markers help you keep track of important points in your work. In "Lisa," for example, two markers are used at the corners when stitches are picked up for the main body. Later, these are used to indicate where decreases should be made. The pattern includes instructions such as:k to 1 st before first M, k to back loop, sm
Here, M means marker and rm sm means slip marker. Think of the marker as a little road sign in your knitting. It shows you where you are and helps you stay on track.
Don't forget the gauge swatch
If the pattern specifies a gauge, it is wise to knit a swatch before you begin. "Lisa" specifies:
10 sts × 17 rows = 10 × 10 cm in stockinette stitch.
This means you should have 10 stitches across and 17 rows high within a 10 × 10 cm area.
Gauge is affected by factors such as your knitting tension, the yarn, and the needle size. If you have more stitches than the pattern specifies, your knitting is tighter and you may need to go up a needle size. If you have fewer stitches, you may need to go down.
A gauge swatch might feel like an extra step, but it is especially important when you are knitting something where the fit matters.
An example from “Lisa”
Now let’s look at an actual step from the balaclava:
R 2 (RS):
k to 1 st before first M, ssk, sm
k to 1 st before second M, k2tog, sm
k to end → 2 sts decreased
We will break it down into smaller parts.
R 2 (RS)
You are on row 2 and working from the right side.
k to 1 st before first M
Knit until you have one stitch left before the first marker.
k to back loop
Knit two stitches together through the back loop. This is a decrease.
sm
Remove the marker.
Then do the same thing at the second marker: knit until one stitch before the marker, perform the decrease, and remove the marker.
k to end
Knit to the end of the row.
→ 2 sts decreased
You have made two decreases during the row and therefore have two fewer stitches than before.
What first looked like a rather advanced instruction actually consists of a few simple steps that have just been written together.
If you get stuck
Even experienced knitters sometimes encounter instructions that feel unclear. Start by reading the instruction again and checking:
- that you are on the right row
- if you are working from the right side or the wrong side
- that the markers are placed correctly
- that the stitch count is correct
- what the abbreviations mean
If something still doesn't feel right, you can go back to the last point where you know everything was correct and start from there.
Having to rip out a few rows sometimes is part of knitting. The most important thing is not to let a small mistake grow into a big one.
Summary
When you start reading knitting patterns, try to see the instructions as a series of small steps instead of one long and complicated text.
Start with the overview, check your gauge, and learn the most common abbreviations. Keep track of your stitch count and pay attention to whether you are knitting from the right side or the wrong side, back and forth, or in the round.
And when an instruction looks complicated – break it down. It is often much simpler than it first appears. The more patterns you knit from, the more natural the pattern language will feel.