
Crochet Cleaning Cloth “Ada”
Learn to crochet the classic bamboo dishcloth that can be used as a dishcloth in the kitchen, but also as a face towel.
This cleaning cloth made of soft bamboo yarn is not only the perfect crochet for beginners, it's also a great start to a more eco-friendly lifestyle.
The crocheted bamboo cloth “Ada” is very durable and is for reuse many times over. When it gets too dirty, just wash it fresh again (machine wash 40 degrees). The best thing about the cloth is, it only gets better with time!

Here's how to do it

This is what you need:
Here you can directly purchase the material for the product. Please note that the instruction is digital and appears here on the page (no written instruction).


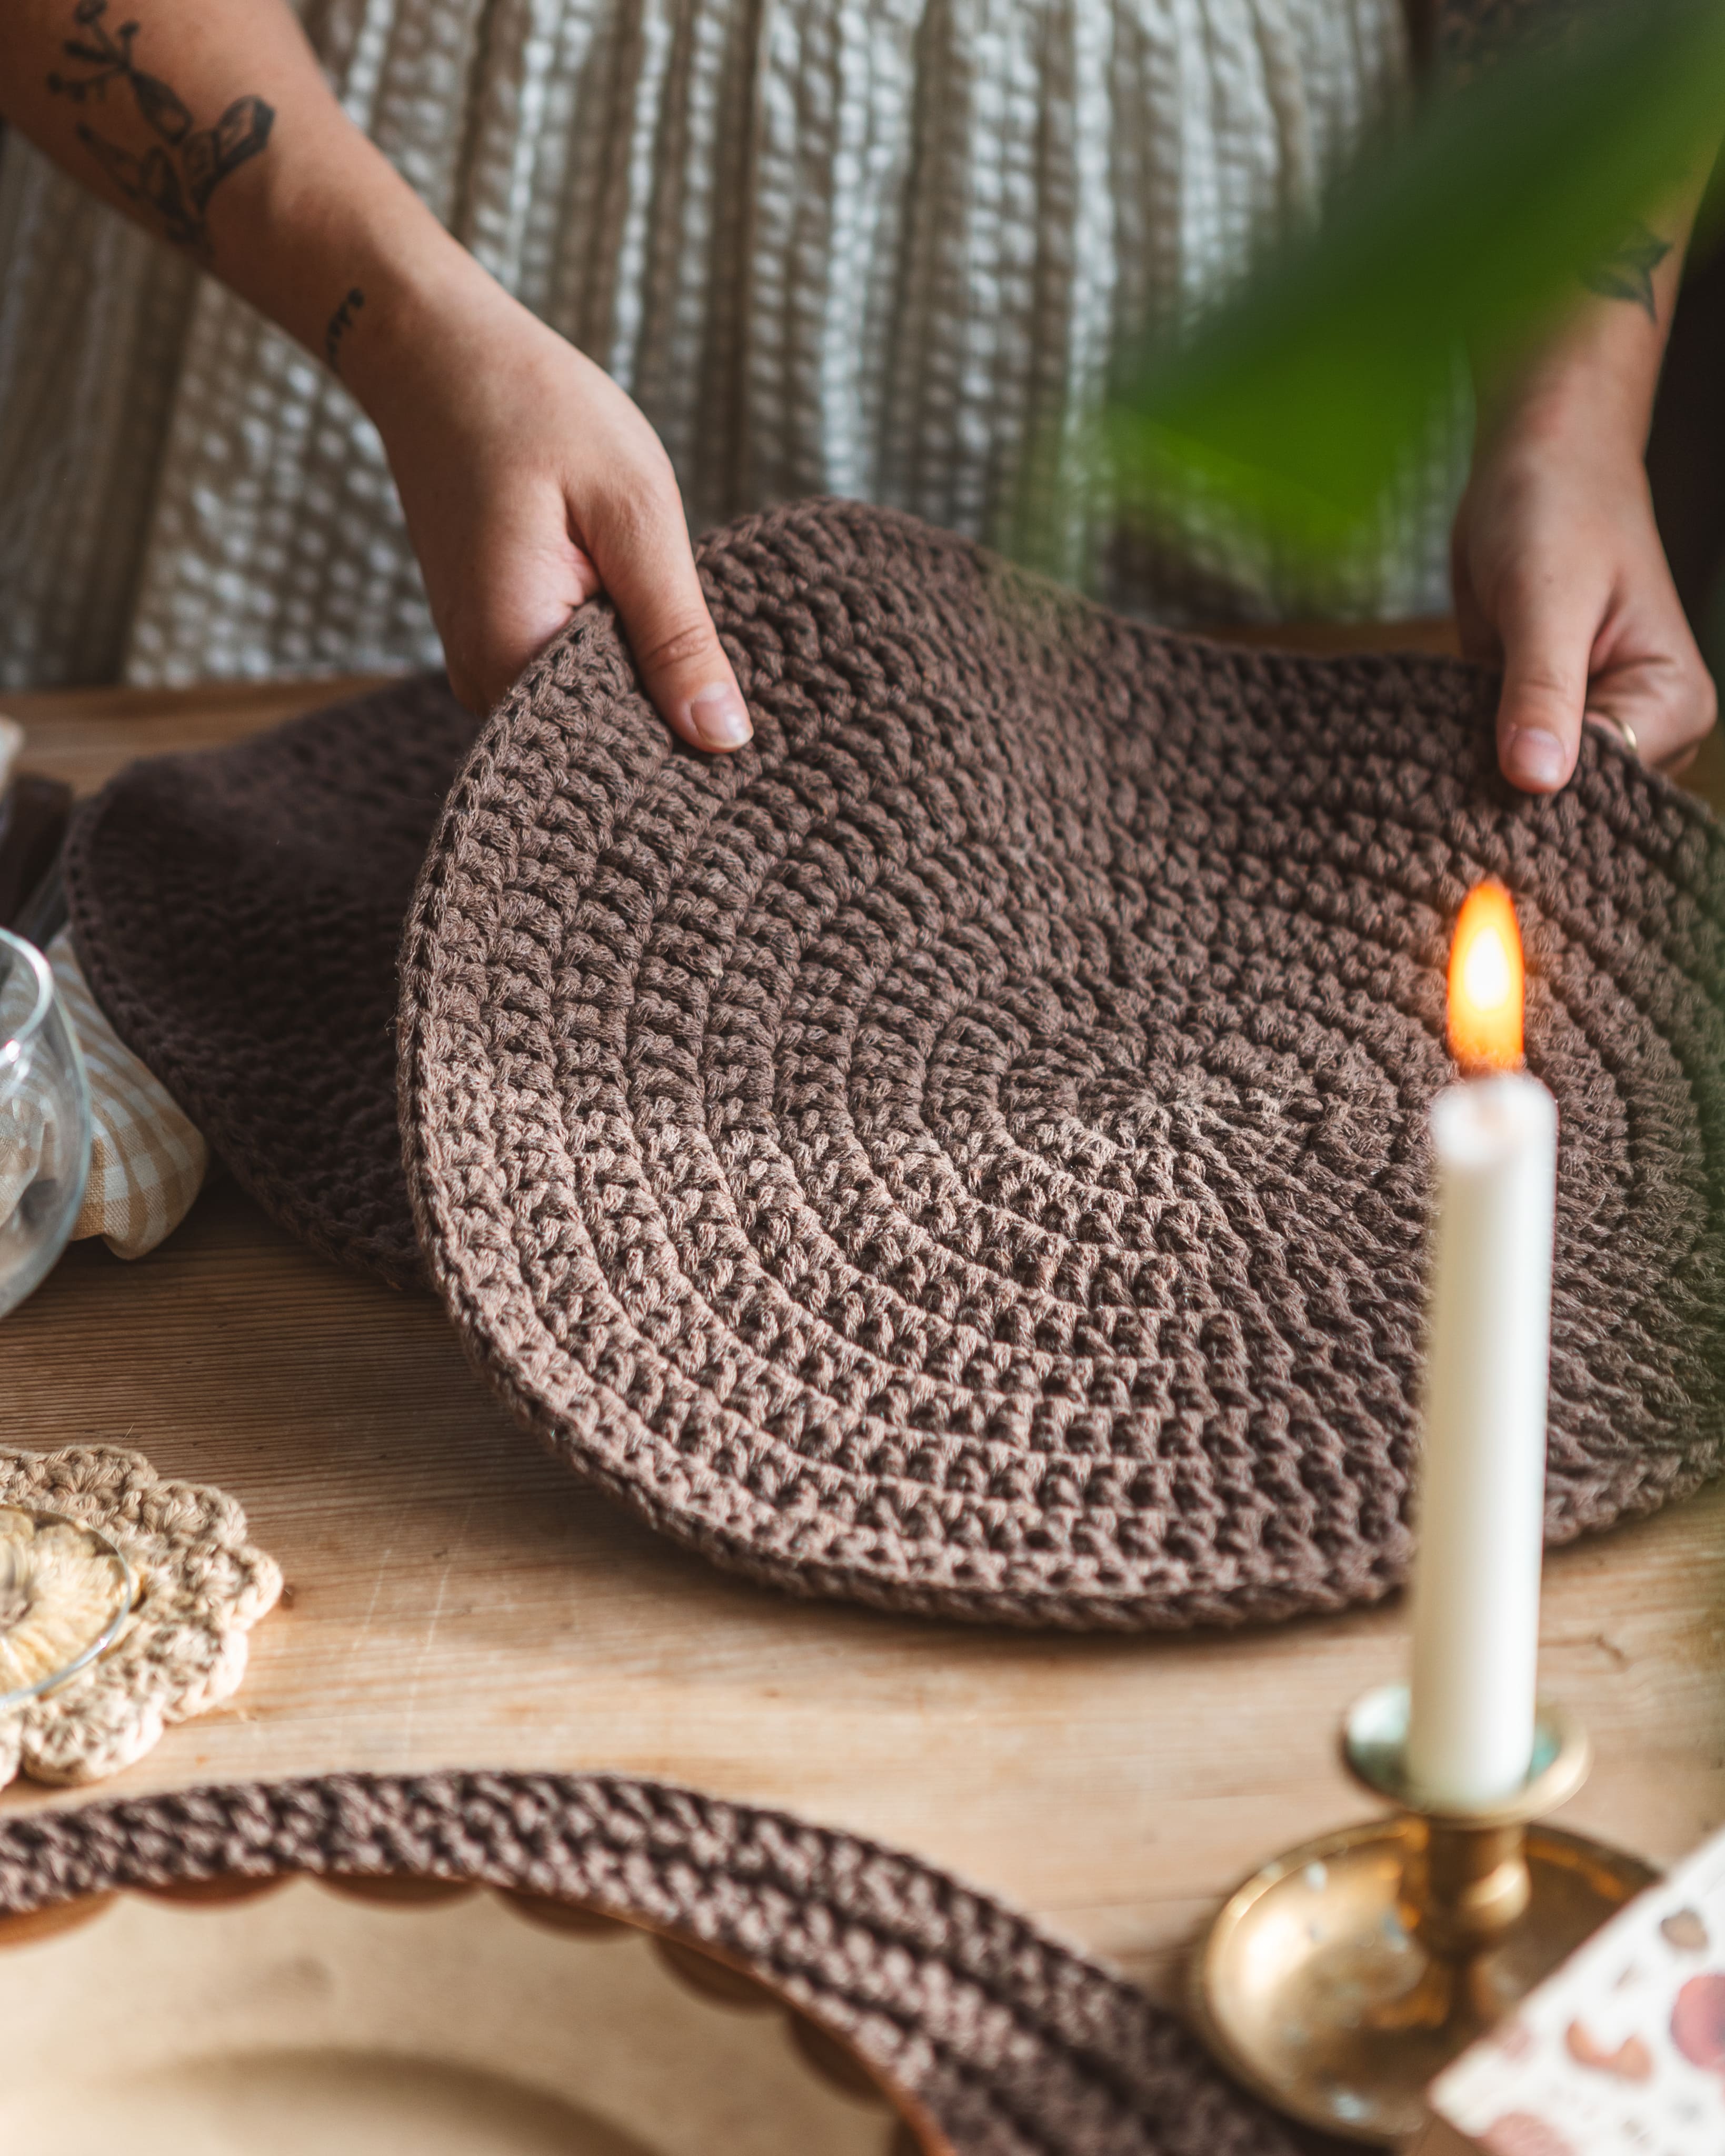
.jpg)
Unleash your creativity
For only 85kr per month you get access to all our 300+ beginner-friendly instructions for crochet, knitting and macrame.
A perfect way to get started with your new hobby!

Get started
Start by making a simple pull knot around your crochet hook. One way to do this is to put the yarn 1.5 turns around your fingers and then pull the "tail" through from the back, so that the loop locks when you tighten. Leave about 5-7 cm tail.

Row 2
When you are happywith the length of the chain, it is time to go back. Jump over the loop that is in your crochet and go through the one that comes after. Hook and pull the yarn through so that you get two loops on your crochet hook, then stitch these two together by crocheting and pulling the yarn once more through the two loops. Now you have made your first single crochet. Continue until you reach the end of the chain.

When you've worked a full row, add an extra loop (just hook and pull the yarn through) before turning your work around and continuing with the third row. Be careful here - if you forget to add, your work will be uneven on the pages.

Row 3 & Continuation
Again, jump over the first loop that holds your crochet hook. Look at your work from above and you will see two “lines”. Go through the two "lines" with your crochet hook. As with the previous row, take the yarn through so that you get two loops on your crochet hook, then take the yarn once more and pull through both loops. Continue to the next. Now you continue with the rest of the work, until you are satisfied with the size. Do not forget to add an extra, loop at the end of each row.

Remember
- After a few rows, your work may look a little strange, as in the picture below - this is normal and will stop when the cloth gets bigger. Even the crocheting will be much easier when you have finished 4-5 rows.
- Keep an eye on the side of your work, so that it stays straight. You can also count the number of stitches to make sure you have the same number at all times. If the side becomes uneven it is likely that you either forget to add a loop at each end or continued too long at the end of the row.

The Edge
If you are happy with the size of your cloth, you can crochet around the sides once to get a neat edge. In this case, continue from the corner you come to (without worrying about the work) and crochet the side by picking up loops as in the picture. Single Crochet. Crochet a full lap like this until you come back to the same corner as you started.

Closing
When you are done with the sides, cut the yarn and leave about 5 cm of tail. Make a simple knot and pull it through some stitches in your cloth to hold it.
Now you're done with your cloth! :)

Crochet Terms & Abbreviations
st = stitch
ch = chain
sc = single crochet
Let’s Crochet a Practical Dishcloth! If you need help along the way, check out our simplified version of this pattern. There are no pictures provided here, so we recommend watching the full video tutorial for guidance.
Pattern
Row 1: Chain as many stitches as needed to reach the desired length of your dishcloth.
Row 2 and onward: Start in the 2nd chain from the hook, and work sc in each stitch across. Repeat Row 2 until your dishcloth reaches the size you like.
Cut the yarn and weave in the ends.
You’re done — simple and useful! 😊
The rights to this pattern belong to MYO Make Your Own. The pattern or its pictures may not be copied, shared or resold either in parts or in its entirety, but you may sell items you have crocheted from this pattern. If you have questions about the pattern, contact MYO at hello@makeyourown.se.
Get started
Start by making a simple pull knot around your crochet hook. One way to do this is to put the yarn 1.5 turns around your fingers and then pull the "tail" through from the back, so that the loop locks when you tighten. Leave about 5-7 cm tail.
Row 2
When you are happywith the length of the chain, it is time to go back. Jump over the loop that is in your crochet and go through the one that comes after. Hook and pull the yarn through so that you get two loops on your crochet hook, then stitch these two together by crocheting and pulling the yarn once more through the two loops. Now you have made your first single crochet. Continue until you reach the end of the chain.
When you've worked a full row, add an extra loop (just hook and pull the yarn through) before turning your work around and continuing with the third row. Be careful here - if you forget to add, your work will be uneven on the pages.
Row 3 & Continuation
Again, jump over the first loop that holds your crochet hook. Look at your work from above and you will see two “lines”. Go through the two "lines" with your crochet hook. As with the previous row, take the yarn through so that you get two loops on your crochet hook, then take the yarn once more and pull through both loops. Continue to the next. Now you continue with the rest of the work, until you are satisfied with the size. Do not forget to add an extra, loop at the end of each row.
Remember
- After a few rows, your work may look a little strange, as in the picture below - this is normal and will stop when the cloth gets bigger. Even the crocheting will be much easier when you have finished 4-5 rows.
- Keep an eye on the side of your work, so that it stays straight. You can also count the number of stitches to make sure you have the same number at all times. If the side becomes uneven it is likely that you either forget to add a loop at each end or continued too long at the end of the row.
The Edge
If you are happy with the size of your cloth, you can crochet around the sides once to get a neat edge. In this case, continue from the corner you come to (without worrying about the work) and crochet the side by picking up loops as in the picture. Single Crochet. Crochet a full lap like this until you come back to the same corner as you started.
Closing
When you are done with the sides, cut the yarn and leave about 5 cm of tail. Make a simple knot and pull it through some stitches in your cloth to hold it.
Now you're done with your cloth! :)
Crochet Terms & Abbreviations
st = stitch
ch = chain
sc = single crochet
Let’s Crochet a Practical Dishcloth! If you need help along the way, check out our simplified version of this pattern. There are no pictures provided here, so we recommend watching the full video tutorial for guidance.
Pattern
Row 1: Chain as many stitches as needed to reach the desired length of your dishcloth.
Row 2 and onward: Start in the 2nd chain from the hook, and work sc in each stitch across. Repeat Row 2 until your dishcloth reaches the size you like.
Cut the yarn and weave in the ends.
You’re done — simple and useful! 😊
The rights to this pattern belong to MYO Make Your Own. The pattern or its pictures may not be copied, shared or resold either in parts or in its entirety, but you may sell items you have crocheted from this pattern. If you have questions about the pattern, contact MYO at hello@makeyourown.se.


Share your creations with us
Thank you!
Your comment was sent!